about shop patterns projects printables extras sponsorship wild olive twitter flickr pinterest subscribe

join the wild olive ko-fi klatsch!

Wild Olive's Ko-Fi Klatsch

It's just about 2023, and a new year is always a good time to shake things up a little. Which is what I'm doing with my little Wild Olive community! There are lots of ways that I connect with folks here on my blog, on Instagram, through my newsletter, and elsewhere, including a bit on Ko-Fi, which is kind of like Patreon.

I'm now expanding what I'm doing on Ko-Fi and om offering a full menu of options for my community, which I'm calling the Wild Olive Ko-Fi Klatsch. Now you can join a membership tier with a variety of options. Signing up gives you exclusive access to all benefits at that level (including some previous content), and you can either upgrade or cancel at any time.

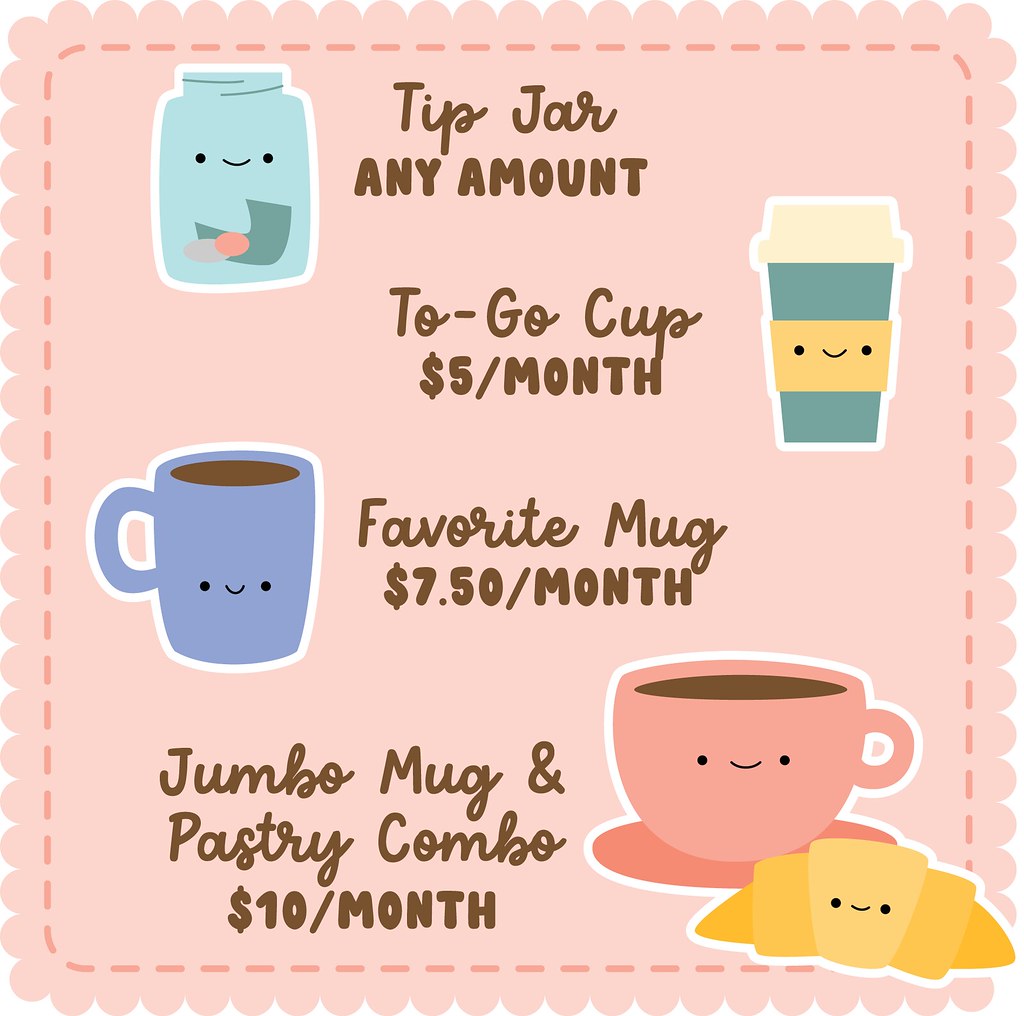
Here's a look at that menu (with more details on the Wild Olive page):

Wild Olive's Ko-Fi Klatsch

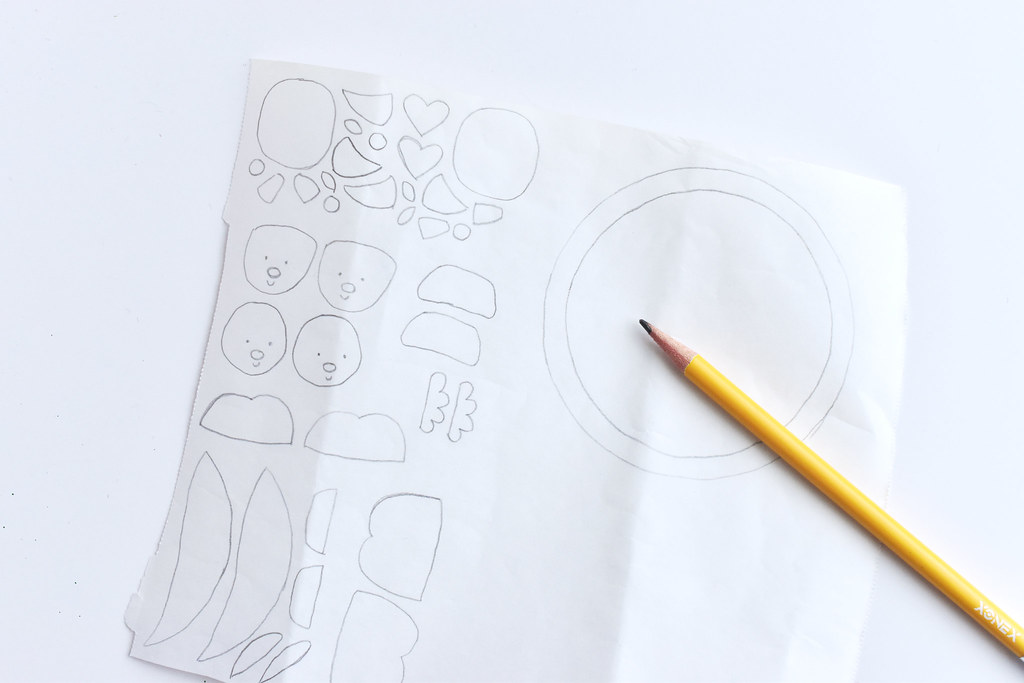
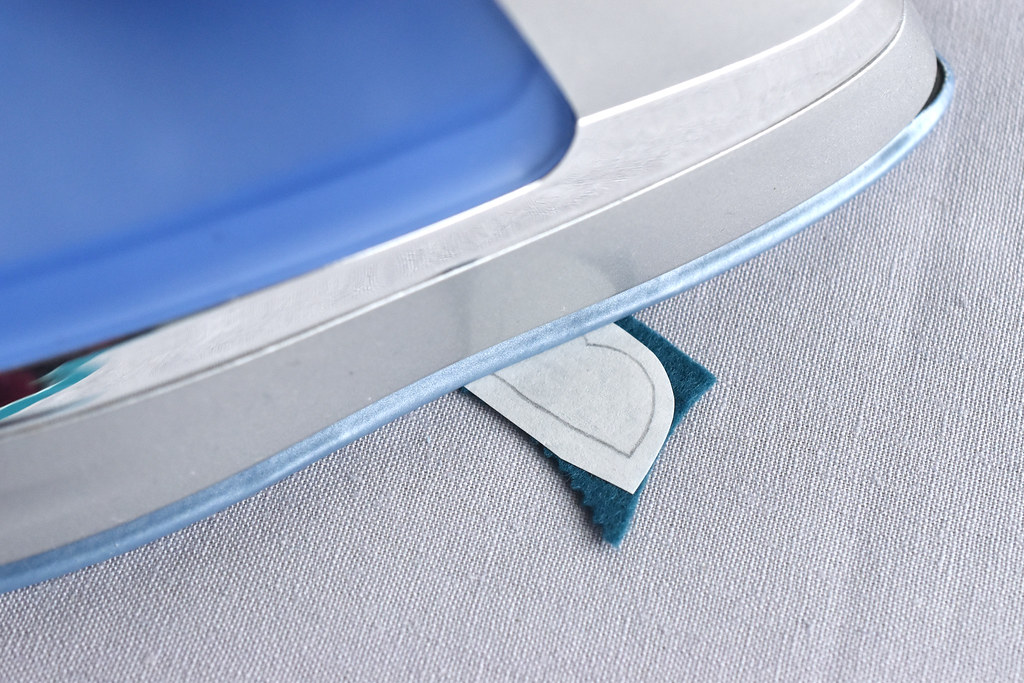
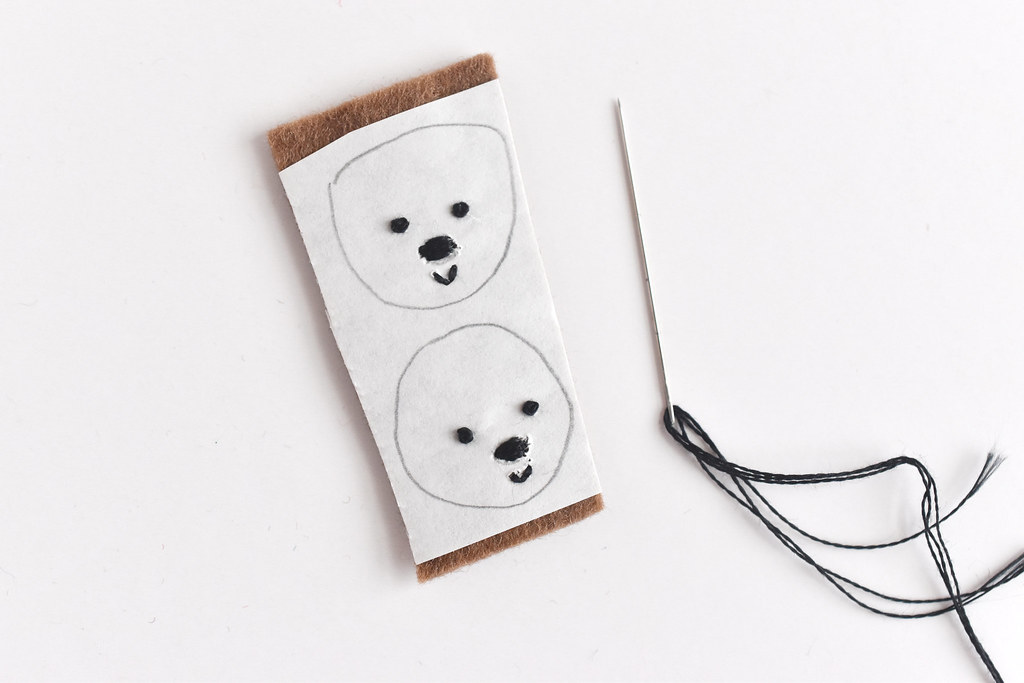
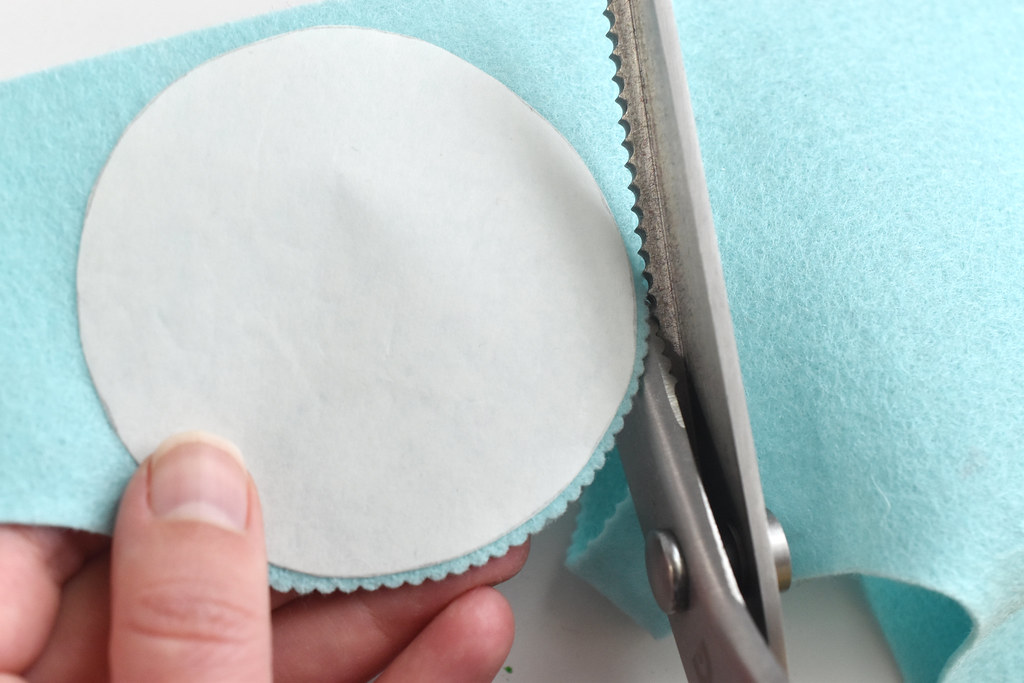
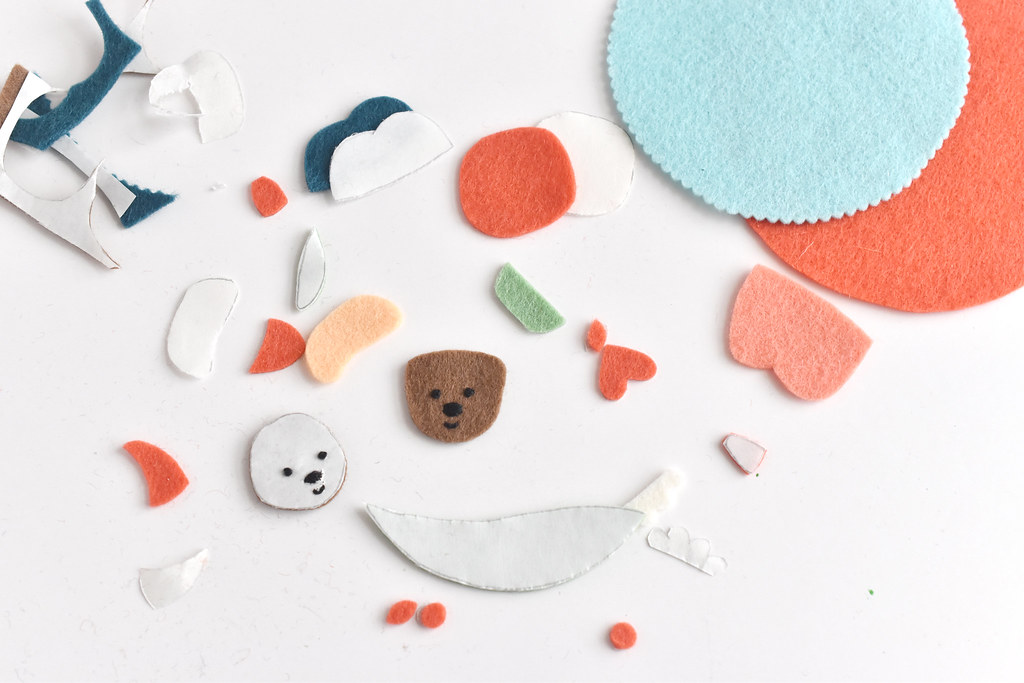
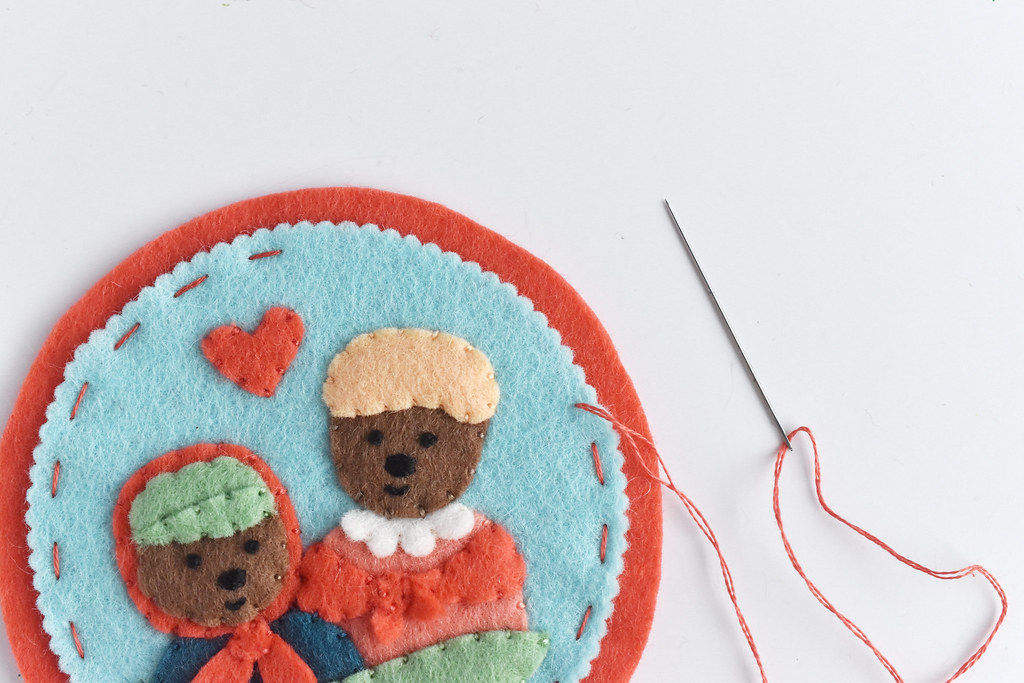
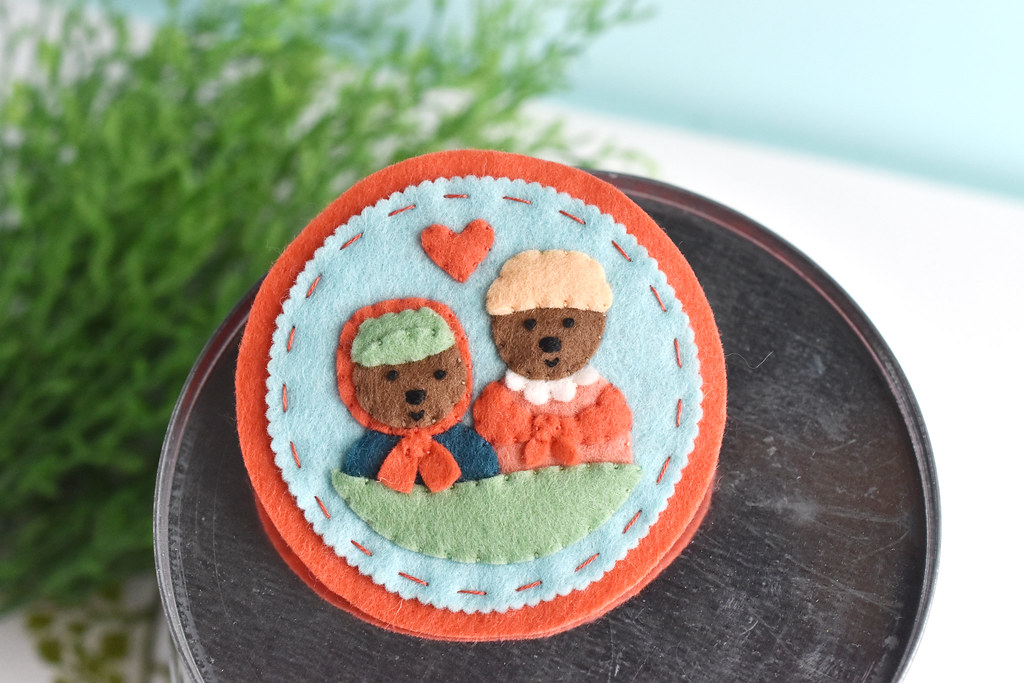
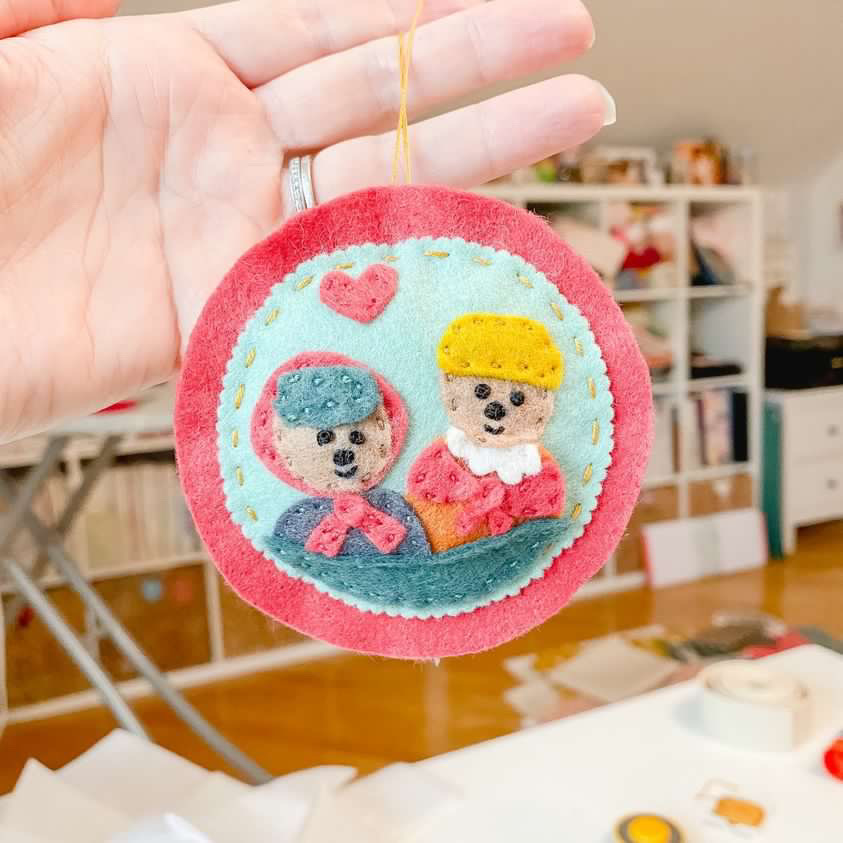
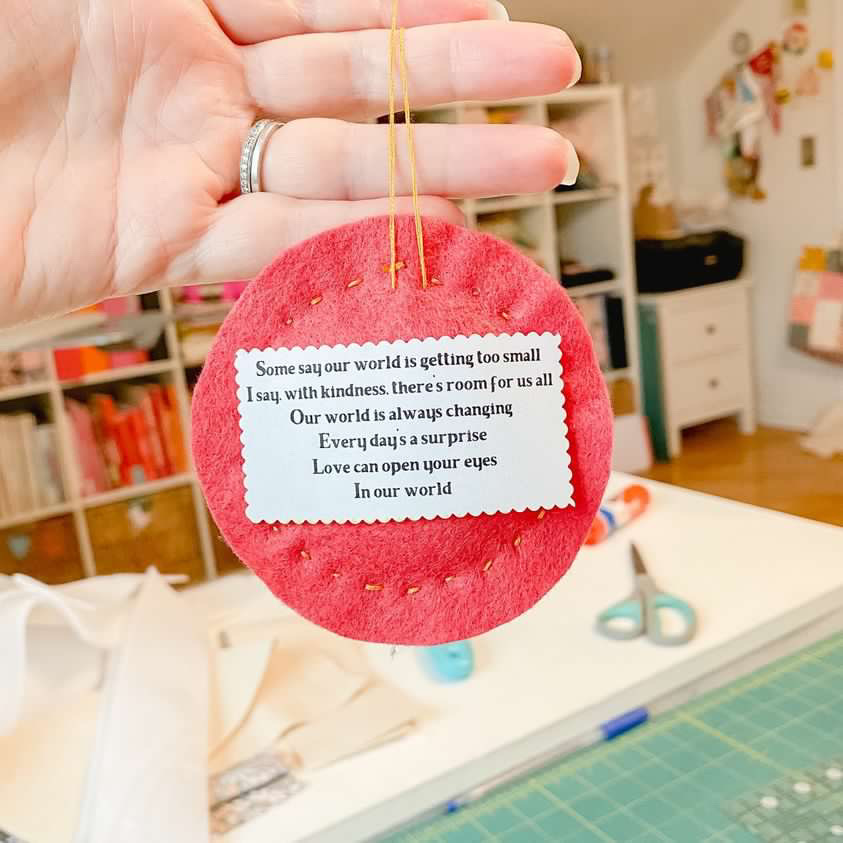
And this is some of the fun goodies I'll be sharing with the folks who join!

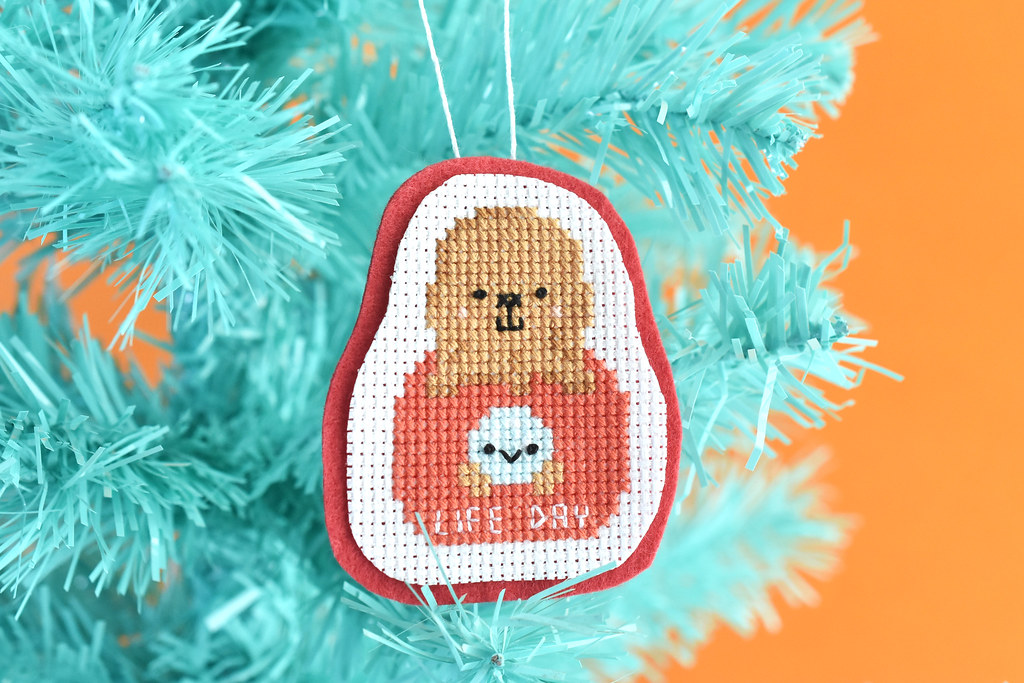
Exclusive patterns in 2023 (for the To-Go Cup tier and above) will include coffee shop-themed designs for both embroidery and cross stitch (with a mix of coffee, tea, and treats).

Video call days/times (for the Favorite Mug tier and above) will be announced early in the month and are for the community to hang out online while crafting (no participation required...this is just for fun!).

15% discount codes (for the Jumbo Mug and Pastry Combo tier) will be posted at the beginning of each month.

Newly released patterns from my shop (for the Jumbo Mug and Pastry Combo tier) will get emailed out at the same time they get added to my shop. While I don't know exactly how often these will happen, I do have plans for new non-Christmas felt ornaments, some teeny tiny patterns, something inspired by a recent trip to Disney World, and even a larger embroidered quilt project!

If you don't want a monthly membership, you can still leave a tip to access some of the bonus content.

Connecting with the people who follow and support my work has always been something I love, and creating this space to do more of that has me so excited. I hope you join in! Of course, I'll still be posting patterns and projects here on my blog, creating things for my shop, and even making other kinds of videos and tutorials. It's just a good time to mix up the way I'm doing things to keep it all fresh!

pattern // mel the mouse embroidery

Mel The Mouse Embroidery Pattern Not a creature was stirring. Not even a mouse. Well, that's not quite true because today's embroidery pattern has Mel the Mouse stirring up a batch of Christmas cookies!

This is the last of the patterns that fit in a border pattern that holds all of the Kawaii crossing residents from this year. All 12 of the designs have an animal friend, plus two mini designs showing their favorite activity. They're designed to use together, but they also work separately, and they'd also look super cute as little ornaments, or stitched onto some English paper piecing.


Now it's time for a confession. I have LOVED making these Kawaii Crossing designs each month. Creating little characters with backstories is pretty much amazing. AND? I'm kinda glad to be wrapping this up. I may revisit Kawaii Crossing again in the future, but seeing 2023 just around the bend and knowing that it can be filled with whatever I want is exciting. Anything can happen and I'm ready to throw in some types projects that I haven't done here on the blog for awhile.

Lots of good things to come, including some fresh-baked cookies from Mel the Mouse!

project // emmet otter's jugband christmas ornament

Emmet Otter Felt Ornament

Do you love Emmet Otter's Jug-band Christmas and want to craft something cute to go with it? I have the ornament pattern for you!

I love watching this Jim Henson movie every year and after reminding me that it's Emmet season, my friend Stephanie pointed out that there just aren't a lot of Emmet Otter patterns out there. And I had the power to do something about that. So I quickly drew Emmet and Ma to become a felt ornament.

This is done in the same kind of style as many of my felt ornaments. Little pieces, all stitched down with whip stitch. The result is, I think, a pretty good likeness of this sweet animal family.

If you haven't ever watched Emmet Otter's Jug-band Christmas, you need to (it's on Amazon Prime as of December 2022!). It will touch your heart. The song Our World/Brothers is my favorite because it tells of the world we all want to see. The lyrics are so good that I included a printable tag on the pattern page so you can include them with your ornament.

Emmet Otter Felt Ornament

Ready to start stitching your own Emmet ornament?

Here's what you need:

Felt in small amounts of a few colors
Embroidery floss in colors to match your felt
Freezer paper
Pencil
Iron
Scissors
Scallop shears
Embroidery needle

DOWNLOAD THE EMMET OTTER ORNAMENT PATTERN PDF

About the felt: I used Benzie Bellwether 100% Wool Felt in Persimmon, Salmon, Dreamsicle, Agave, Nordic, Veridian, Cocoa, and Ecru. Benzie provided the felt for me when designing my Jesse Tree ornaments. It's a dream to work with! You can, of course, use any colors or type of felt you like...but I always recommend wool or wool blend.

Emmet Otter Felt Ornament

Trace around the pattern pieces on freezer paper, grouping them by color and tracing on the non-shiny side.

I traced two sets of pieces because I made two ornaments, but I only traced one set of the circles because you can use them more than once. (It's harder to do that with the tiny pieces.)

Emmet Otter Felt Ornament

Iron the pieces of freezer paper onto the felt.

Emmet Otter Felt Ornament

Embroider the faces on Emmet and Ma. Stitching through freezer paper isn't ideal, but I went for it here. It saved time to not need to transfer the pattern another way.

Emmet Otter Felt Ornament

The two circle templates are nested together, and I traced them that way. After I ironed and cut out the larger circle, I peeled the paper off and then cut the template down to the smaller circle.

Next, iron and cut around the smaller circle. This time, use scallop scissors around the outside of the small circle template.

Emmet Otter Felt Ornament

Cut out the rest of the pieces, then peel away the papers. When removing the paper from the faces, tear it away very carefully.

Emmet Otter Felt Ornament

Layer all the pieces on the smaller circle following the illustration on the pattern page. This helps you see how all the pieces come together before you start to stitch.

Emmet Otter Felt Ornament

Stitch the pieces to the circle with two strands of embroidery floss (match it to the felt piece!) and whip stitch. Be sure to start with the bottom layer and then build up the pieces.

Emmet Otter Felt Ornament

When all the pieces are stitched in place, layer the smaller circle on top of the larger one. Stitch around the edge with running stitch.

Emmet Otter Felt Ornament

Take a stitch through the top of the back layer to make a hanger out of embroidery floss. Tie the ends together about 3 to 4 inches from the ornament. Trim the excess thread.

Emmet Otter Felt Ornament

Now you have an ornament that will give you warm fuzzy feelings, just like the movie! It definitely has me singing all the songs in my head this season, and I'm not mad about it.

Emmet Otter Felt Ornament

Since Stephanie pointed out the shortage of Emmet Otter patterns, she was the first person to stitch one of these! She added the lyric tag to the back, but you could also punch a hole in the tag and string it on the hanger.

Speaking of the back of this ornament, the back circle would also be a perfect place to stitch the year or a special message...such as a favorite Emmet Otter phrase! I didn't stitch mine, but I did make some little patterns that exactly fit the circle. The set of four patterns are on my Ko-Fi feed and include a set of numbers and the following phrases:

Emmet Otter's Jug-band Christmas
Our World
Love can open your eyes
Ain't no hole in the washtub


They're just a fun little extra to make your ornament even more special.

Emmet Otter Felt Ornament

Happy stitching!

pattern // mel the mouse cross stitch

Mel the Mouse Cross Stitch Pattern

This December is a perfect time to stitch a mouse who loves to bake cookies, so I happily present this new free cross stitch pattern! Curl up by the fireplace with a freshly-baked cookie and start stitching. (Just be sure to keep those hands clean when touching your cross stitch project!)

Speaking of clean, I know that the idea of a mouse in the kitchen, making food of any kind isn't always appealing. But Mel keeps her kitchen squeaky clean. Probably more than I do. I try to tidy up after myself, but there are always lots of bowls and oh so many spatulas around! At least Mel has me thinking about baking some Christmas cookies instead of just watching holiday baking shows where other people (or mice!) do the baking.

But now let's talk about this cross stitch pattern. When I started this series of patterns at the beginning of the year, I wanted to list the complete set of colors so you could know what was expected. And then Mel came along. I liked the idea of making her more indigo-ish, but I also wanted her to be a light tint of that. So I added an extra color for this that hasn't been used any other time in the patterns.

It's pretty light, so you may just want to use the darker DMC 156. But I do love the 3747 that I suggested here. As with all of my patterns, you can ALWAYS choose to swap in what you like!


And as I mentioned, this is part of a series of patterns that I've released through 2022. There are both embroidery and cross stitch versions of 12 animal friends, all residents of Kawaii Crossing. You can stitch them up in one large piece that fits in a ribbon border, available when you support me on Ko-Fi.


If you're not looking to make a large project, you can stitch the residents on their own and it's sill super cute! Put them in a small hoop or use my super easy cross stitch ornament tutorial to add them to your tree.

Happy stitching!

youtube // easy cross stitch ornament

Life Day Cross Stitch Ornament

Want to turn a bit of cross stitch into a Christmas ornament? There are lots of ways to do that, but this is a quick way that is cute and doesn't require any sewing or special techniques. And I'm showing it off in almost real-time video!

Cross stitch can take some time (although when you use the sewing method, it's a lot faster), but small designs are stitchable in an evening...some even faster than that! When you pair a small design with this ornament DIY, you can create some special gifts for friends and family or add some unique decor to your tree in no time at all.

The design I used for my ornament sample is the Star Wars Life Day pattern that I shared a few weeks ago. It's not Christmas, but it kinda is. And I love it. But this tutorial obviously works with all kinds of patterns. In fact, a lot of the patterns sets I have in my Etsy shop are a perfect size, as well as all of the little free Kawaii Crossing charts and virtually every cross stitch pattern I've shared here on my blog.

Here's the basic idea of how to make these: stitch, trim, stick, trim, add a hanger. Now, watch it all come together:


The adhesive that I use is permanent fabric tape and while it doesn't always immediately stick, once you press it down well, it holds. Which means you don't want to peel it off the back of your stitching because it could damage it. Only do this when you are committed to the cross stitch being an ornament!

When I've made some embroidered ornaments on felt, I use glue, which is also permanent, but I don't recommend that here because the glue will soak through the Aida cloth. I feel so much better about this tape. That said, I haven't had the many years needed to know how this holds up long term. If you want to make an heirloom, it's better to use another finishing technique, such as sewing.

But what's stopping you now? Start stitching and making some fun ornaments for Christmas, Life Day, or any time of the year!