about shop patterns projects printables extras sponsorship wild olive twitter flickr pinterest subscribe
Showing posts with label video. Show all posts

youtube // easy cross stitch ornament

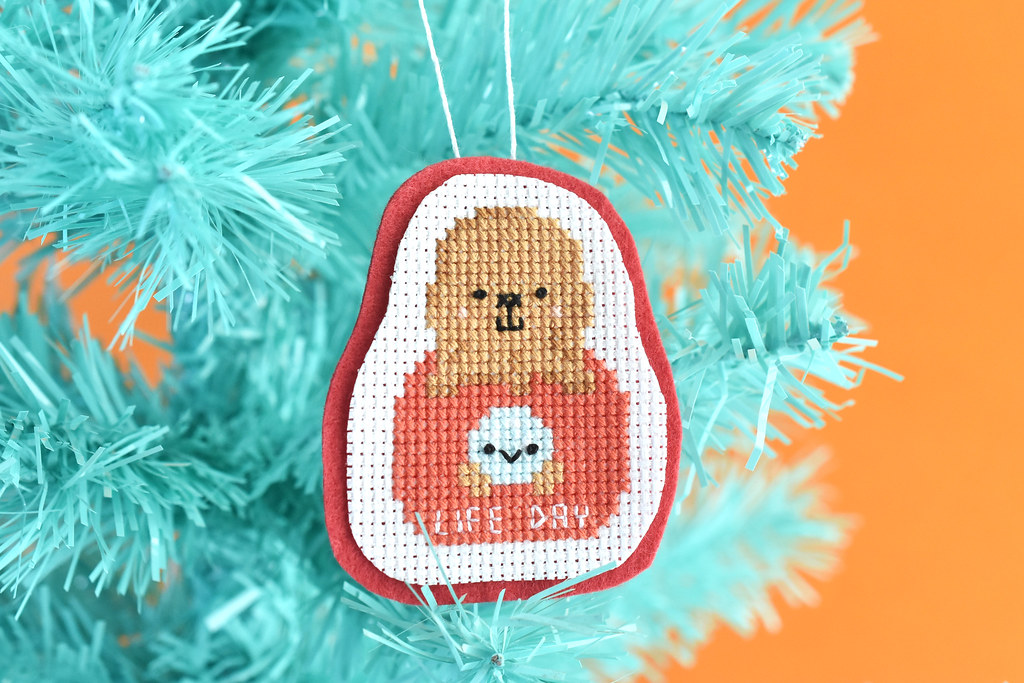
Life Day Cross Stitch Ornament

Want to turn a bit of cross stitch into a Christmas ornament? There are lots of ways to do that, but this is a quick way that is cute and doesn't require any sewing or special techniques. And I'm showing it off in almost real-time video!

Cross stitch can take some time (although when you use the sewing method, it's a lot faster), but small designs are stitchable in an evening...some even faster than that! When you pair a small design with this ornament DIY, you can create some special gifts for friends and family or add some unique decor to your tree in no time at all.

The design I used for my ornament sample is the Star Wars Life Day pattern that I shared a few weeks ago. It's not Christmas, but it kinda is. And I love it. But this tutorial obviously works with all kinds of patterns. In fact, a lot of the patterns sets I have in my Etsy shop are a perfect size, as well as all of the little free Kawaii Crossing charts and virtually every cross stitch pattern I've shared here on my blog.

Here's the basic idea of how to make these: stitch, trim, stick, trim, add a hanger. Now, watch it all come together:


The adhesive that I use is permanent fabric tape and while it doesn't always immediately stick, once you press it down well, it holds. Which means you don't want to peel it off the back of your stitching because it could damage it. Only do this when you are committed to the cross stitch being an ornament!

When I've made some embroidered ornaments on felt, I use glue, which is also permanent, but I don't recommend that here because the glue will soak through the Aida cloth. I feel so much better about this tape. That said, I haven't had the many years needed to know how this holds up long term. If you want to make an heirloom, it's better to use another finishing technique, such as sewing.

But what's stopping you now? Start stitching and making some fun ornaments for Christmas, Life Day, or any time of the year!

video // epp basting and joining

EPP Hexagons

While I enjoy a lot of different crafts, English paper piecing or EPP is one of my most favorite. So it's about time that I have more EPP basics tutorials around here!

I've shared lots of free patterns for EPP projects and of course I do stitching clubs every year that combine embroidery and EPP. But it's been ages since I just made a basic tutorial here on my blog. Enter my plan to make videos. This started back in November, and one of the videos included here is from then. But I wanted one easy post to send folks to that has the two key processes for this hand-sewn quilt technique.

The first step for English paper piecing is cutting and basting the pieces. In this video I show you two methods for thread basting, which I still prefer over glue basting. These work for all shapes with straight edges.


If you're looking for the happy hexagons I used for the sample in this, you can find the free printable here on my blog!

After you prepare your EPP shapes, you need to stitch them together. Over the years, I've worked with three methods to join my pieces, and I truly think it comes down to what you like. It's about finding what works for your hands and how you feel about the way the stitches look.


After you finish joining all your pieces together, the last official step for the EPP portion is to remove the paper pieces from the back of your work. If you have large pieces that you basted through the paper, you need to snip and remove those basting threads first. Then just pull out the papers. It's sooooo satisfying!

From there, each project you do is likely to have a specific set of instructions for proceeding, but it's usually a lot like any other quilt!

If you're looking for some EPP inspiration, be sure to look through my EPP posts!

video // stitching faces with french knots and scallop stitch


Something's happened that I didn't expect to happen. I started a YouTube channel. At least, sort of. Right now it looks like a first video on how to stitch the little Wild Olive faces we know and love.

I've wanted to add to, update, and upgrade my stitching tutorials for a while. It's time for a refresh on my Embroidery Basics, but I also don't have any basic guides for cross stitch (which has become a favorite) and English paper piecing. That last one is especially dear to me, and I barely have anything here on my blog that just covers the process of basting and piecing.

If you have any techniques or other kinds of things you'd like to see and hear from me (on video!), let me know in the comments.

My goal is to keep this short and simple, but also fun.

With that in mind, this isn't a grand announcement, but I also thought you'd like to know that, well, I'm officially now on YouTube.