about shop patterns projects printables extras sponsorship wild olive twitter flickr pinterest subscribe
Showing posts with label embroidery. Show all posts

pattern // kawaii flower pocket embroidery

Kawaii Flower Pocket Embroidery Pattern

Add some cuteness to your clothes with this easy and free embroidery pattern! Each month I write a column of sorts for Simply Sewing magazine. It's called Stitch Upcycle and I show ways to add embroidery to clothing and accessories or use scraps to make new things (and also stitch on them!). This is a project like that!

While on a trip to my local Salvation Army store, I found this linen Old Navy Boyfriend Shirt for a couple dollars. It was exactly the kind of thing I like to stitch on, so I bought it and waited for a fun idea to come along. And then I had the idea and opportunity!

Recently I was invited to go live with Clover and Amy from Curious Papaya and show how to add embroidery to your clothes. You can watch the entire thing (including my tech going horribly wrong), but I'm sharing the pattern here for you now!

Kawaii Flower Pocket Embroidery Pattern

I printed the pattern at 100% on Sulky Sticky Fabri-Solvy so that the flowers really make a bold statement. And then I used all six strands of floss with a chenille needle.

Because I like things that are kawaii and super cute, I chose colors that match my aesthetic. The colors I used are DMC 899, 3825, 743, 472, 964, and 3608. But you can go with colors that you love or that match whatever you're stitching on. You can also use all one color or just a few. I started with the pink on one side and then changed colors every few flowers to make a rainbow.

Kawaii Flower Pocket Embroidery Pattern

Grab the free pattern below and start stitching! You only need to know lazy daisy stitch and straight stitch, and it's truly a fast and fun upgrade to your clothes!

pattern // a little teapot

A Little Teapot Embroidery Pattern It's National Tea Day, and I'm celebrating with a free embroidery pattern!

The timing of this was too perfect. The other day, I was looking at an old file because I was trying to track down something I made over ten years ago. In the process of doing that, I found a pattern that I made but that never became anything. I had forgotten about it entirely, and it was just sitting there waiting.

The pattern was this "I'm a Little Teapot" design, which I originally intended to stitch on a teapot cozy.

When I heard that it was National Tea Day, I knew that it was meant to be and I pulled out the pattern so I can share it with you now. This is a no-frills pattern, so that means you get to choose which colors and stitches to use. But I know you'll get creative!


Now, go make yourself a cup of tea and enjoy some happy stitching!

pattern: teeny tiny lanterns

Lunar New Year Lanterns

Lunar New Year is a great time to stitch up some little lanterns. These ones are teeny tiny, which might just be my favorite kind of embroidery! After I did the lantern embroidery, I threaded a bit of floss through the hanger on the lantern, then secured the ends of the thread in the hoop edges. I like that it looks like it's hanging there!

Lunar New Year Lanterns
Lunar New Year

I created this pattern and wrote the original post for this way back in 2012, but I was thinking about the patterns again and I'm going to stitch another...and maybe a few more! I grabbed some adorable fabric that will end up giving my lantern a subtle rain bow on it. Pattern traced, and now I just need to stitch.

And pulling these out again made me think about the shapes and wonder how accurate my designs were from way back when. Thankfully I had a few photos from the Lunar New Year celebration at Disney California Adventure to compare them to:

Lunar New Year
Lunar New Year

The faces weren't on the actual lanterns, but I just HAD to add some Wild Olive flair to them! I also realize that Disney may not be the MOST accurate celebration, but I think it's still a decent representation. And the colors might just inspire my own new stitching!

In the pattern, there are a total of four lantern styles that I've drawn up for you. Embroider just one or a whole bunch of them on a string! They're tiny and quick to stitch!


Lunar New Year Lanterns

If you stitch some of these up, I'd love to see them! Tag me (@molliejohanson) on Instagram, or leave a link in the comments.

pattern // do the next right thing embroidery

DoTheNextRightThing1

In the movie Frozen 2, the phrase Do the Next Right Thing comes up, and Anna even sings about it, and I decided to embroider it! And you can too with my free embroidery pattern!

It's just a little bit kawaii-Mollie, with my signature faces stitched on the crystals around the words.

And I love it's sort of secretly Disney. Only the people who know will know. But the message of Do the Next Right Thing is one that is good for all of us. It's something that I definitely connect with and one that I need a steady reminder of.

I first started thinking about this pattern pretty early in 2024, then decided it would be perfect as a hoodie to wear to Walt Disney World. We had a trip planned for December, so it all felt perfect. Of course, I had all manner of things going on and my Frozen 2 sweatshirt felt like a low priority.

Thinking that I would need to just put this idea off for a while made me sad, but it was fine. And then my mom made a suggestion. What if I were to embroider my hoodie while on the big roadtrip from Illinois to Florida?

And so that's what I did.

DoTheNextRightThing5

Not only did I finish all the embroidery while on the road, but I was able to wear it on our first day of visiting the parks and going to EPCOT, where you can ride Frozen Ever After and walk through spaces that are a lot like Arendale!

Did I take the opportunity to have my photo taken there? Yes, I did!

If you would like to make your own Do the Next Right Thing hoodie (or a tee, or even a pillow or hoop art), you can grab the pattern below. It's sized as I used it for my sweatshirt, but you could print it at a lower percentage to make yours smaller.

DoTheNextRightThing2


For a design of this size, I recommend using Sulky Stick n' Stitch (also called Sticky Fabri-Solvy). It's especially helpful on a thick material like a hoodie.

The colors I used are DMC 964, 958, 156, 211, 3609, and 310. I just tried to space out the colors in a way that wasn't too much of a pattern, but still felt like they were balanced. You could, of course, stitch this in other colors, or all in one color.

DoTheNextRightThing3

For the words, I used three strands and chain stitch, while for the crystals, I used three strands and back stitch. The faces are three strands with French knots and scallop stitch. Like with all my patterns, if the kawaii faces aren't for you, you can just skip stitching them.

DoTheNextRightThing7
DoTheNextRightThing4

Real talk here. Some days life can feel a lot like it did for Anna during the moment of this song in Frozen 2. When I feel that way, I remind myself to do the next right thing. Whatever that might be. Sometimes it's big and sometimes it's small. But do the next right thing.

DoTheNextRightThing6

Happy stitching, friends!

pattern // disney gingerbread cookies

Disney Gingerbread Cookie Felt Ornament

At my house, everyone's favorite treat for the holidays, but also any day, is a Mickey Gingerbread Cookie. And I HAD to make an embroidery pattern of not just Mickey, but some of his pals. But as gingerbread.

The first time my mom had a gingerbread cookie at Walt Disney World, she was hooked. I also had a gingerbread piece from one of the resorts where they have gingerbread displays and it was just so yummy! So I found a copycat recipe and we started making them at home. Simply because we don't want to wait until a trip to the parks to enjoy them!

Along with loving the cookies themselves, we've become big fans of a game called Cookie Swap. It's a simple card game that requires a good memory and a bit of luck, and it's filled with favorite Disney characters all in the form of gingerbread cookies!

With all this love of Disney gingerbread, and with all the Disney Eats patterns I've made this year, I couldn't wait to bake up some new patterns.

You can download the pattern below, which is really four embroidery patterns: Mickey, Minnie, Donald, and Daisy. You can stitch them on anything you like! I made mine into felt ornaments, so I'll show you how to do that too.

DOWNLOAD THE DISNEY GINGERBREAD EMBROIDERY PATTERN PDF

Disney Gingerbread Cookie Felt Ornament

For my ornaments, I used Benzie Design's cinnamon wool blend felt. (affiliate link)

I'll share most of this as a regular tutorial, but first, let me tell you about how this started. I tested out using an iron-transfer pen on felt and my test went great! So I ironed the full pattern and the transfer was uneven and hard to see. So I sort of went over it with pencil.I can't recommend this method, but it is what I did.

I'd probably suggest pre-soaking your felt and then letting it dry, ironing it, and then use Sulky Stick n' Stitch for the pattern. Or you could use tracing paper, but that's a bit harder.

Now for more traditional instructions!

Disney Gingerbread Cookie Felt Ornament

Use three strands for everything. Embroider the outline with chain stitch. Stitch the eyes with scallop stitch (and straight stitches on Minnie and Daisy!). Embroider the mouths and other details with back stitch. Embroider the solid noses, rosy cheeks, and Mickey's large buttons with satin stitch.

Use French knots for small buttons. Stitch the zig zags on the arms and legs with zig zag chain stitch.

Disney Gingerbread Cookie Felt Ornament

Trim around the outside of the embroidery, leaving about 1/4" of felt showing. This makes it look more like a decorated cookie!

Disney Gingerbread Cookie Felt Ornament

Apply a thin layer of craft glue on the back of the embroidered cut out.

Disney Gingerbread Cookie Felt Ornament

Cut a 6-inch piece of string or embroidery thread and tie the ends together with a knot. Glue the knot at the top center of the ornament.

Disney Gingerbread Cookie Felt Ornament

Press the glue side down onto matching gingerbread felt and let it dry. Be sure it's drying flat!

Disney Gingerbread Cookie Felt Ornament

Cut around the cookie, holding the ornament hanger out of the way.

Disney Gingerbread Cookie Felt Ornament

Now Mickey is ready to hang on your tree!

You can, of course stitch the layers of felt together instead of gluing them. But what I like about the glue is that it also gives the felt some stiffness and that's nice for a cookie like this.

Disney Gingerbread Cookie Felt Ornament

Now I just need to stitch up more of the characters...and then design even more cookie patterns!

project // christmas in july stitching with MSQ

Ho Ho Ho Felt Applique Stocking

It's a good time for Christmas in July and making some cute and easy projects with felt and embroidery! In fact, I have two free patterns that you can use different techniques with while making a stocking or an advent calendar.

Both of these projects start with stitchable bases, which means all you have to think about is adding embellishments. Depending on when you start these, you could take all the time you like with hand embroidery, you can take a bit more time and do felt applique, or you can make it super quick with felt and a bit of craft glue.

Ho Ho Ho Felt Applique Stocking

I'm starting with the Ho Ho Ho Stocking, which features a jolly Santa face. I made mine with felt and kept it super simple. The Santa face is actually the same one that's in my Kitschy Christmas felt ornament set, but it's larger for the stocking. Of course, if you want to make those ornaments, you can get the pattern in my Etsy shop.

Ho Ho Ho Felt Applique Stocking

The stocking and advent calendar I'm using here are both from Missouri Star Quilt Co., and were given to me as an MSQ Partner. I chose them because they are perfect for the kinds of things I design, and I thought you'd like them too! And if you use my affiliate link, it helps support what I do.

Here's what you'll need:

Missouri Star Blank Craft Base: Cotton/Canvas Stocking
Wool or wool blend felt
Freezer paper and pencil
Iron
Scissors
Embroidery floss
Needle
Craft glue


This pattern shows the design all together, which you can use as an embroidery pattern or as a placement guide. It also has the different elements as seperate pieces, which is what you'll need for working with felt. I'll be showing the felt version for the stocking.

Ho Ho Ho Felt Applique Stocking

Trace the patterns onto freezer paper and then iron the freezer paper onto your felt. I try to group the shapes by color.

Ho Ho Ho Felt Applique Stocking

Cut out the shapes that don't have any embroidery and then peel off the paper.

Ho Ho Ho Felt Applique Stocking

For the pieces that will have embroidery, use three strands of embroidery floss and stitch the markings through the paper. I used french knots for the eyes and scallop stitch for the nose and mouth.

On the ornament that this Santa is based on, I used matching skin-tone thread for the nose, but to make it simple here, I used black thread for everything.

Cut out the shapes and then carefully peel and tear away the freezer paper.

Ho Ho Ho Felt Applique Stocking

Arrange the shapes on the stocking cuff. If you're going to applique around them, use just a tiny bit of glue to hold them in place while you work. Or if you're skipping the stitching (as I did), use more glue so the pieces stay secure.

Ho Ho Ho Felt Applique Stocking

Simple and easy! If you are going to embroider or hand stitch the applique, it may help to unfold the cuff on the stocking and turn it inside out. But you can also just slide your hands under the cuff as you work.

Ho Ho Ho Felt Applique Stocking

When all the pieces are in place, your stocking is ready to hang by the chimney with care! Okay, so it may be a little early for that, but you get the idea.

Merry & Bright Advent Calendar

This advent calendar is also from Missouri Star Quilt Co. (affiliate) and I love that it has 25 little pockets all ready for you. All you have to do is stitch!

You can do this one with embroidery (as shown...sort of!) or also with felt letters. The pattern features kawaii letters that are excited to see what's in each little pocket when you count down to Christmas. Of course, you could leave the faces off if you'd prefer. Choose super cute kawaii colors for the letters or go more traditional with red and green!


Like with the Ho Ho Ho pattern, there's a version with the letters overlapping like you see on the advent calendar and one with the letters seperate for working with felt.

Merry & Bright Advent Calendar

Obviously this hanging calendar would be great for kids and families. You could put small candies or tiny trinket in the pockets, or even some little printed activity ideas, jokes, or other simple things like that. But what if you made a crafty advent calendar for yourself? Choose some goodies and small supplies like you see in mine and treat yourself!

Many thanks to Missouri Star Quilt Co. Start shopping MSQ (affiliate) and get a jump on Christmas!

pattern // triple star (perfect for a summer table runner!)

Triple Star Bandana Runner

Celebrate summer with a super easy embroidered table runner! This free Triple Star embroidery pattern is perfect to stitch onto table linens and lots of other things too. Stars are a patriotic symbol, but depending on the colors you use, they can just be cute.

I'm showing off my pattern on table runner that I made with literally two simple hems. That's because it's made with toweling. This material comes by the yard and the sides are pre-hemmed. That's because it's designed for making, well, towels. Of course, you can do so much more with it!

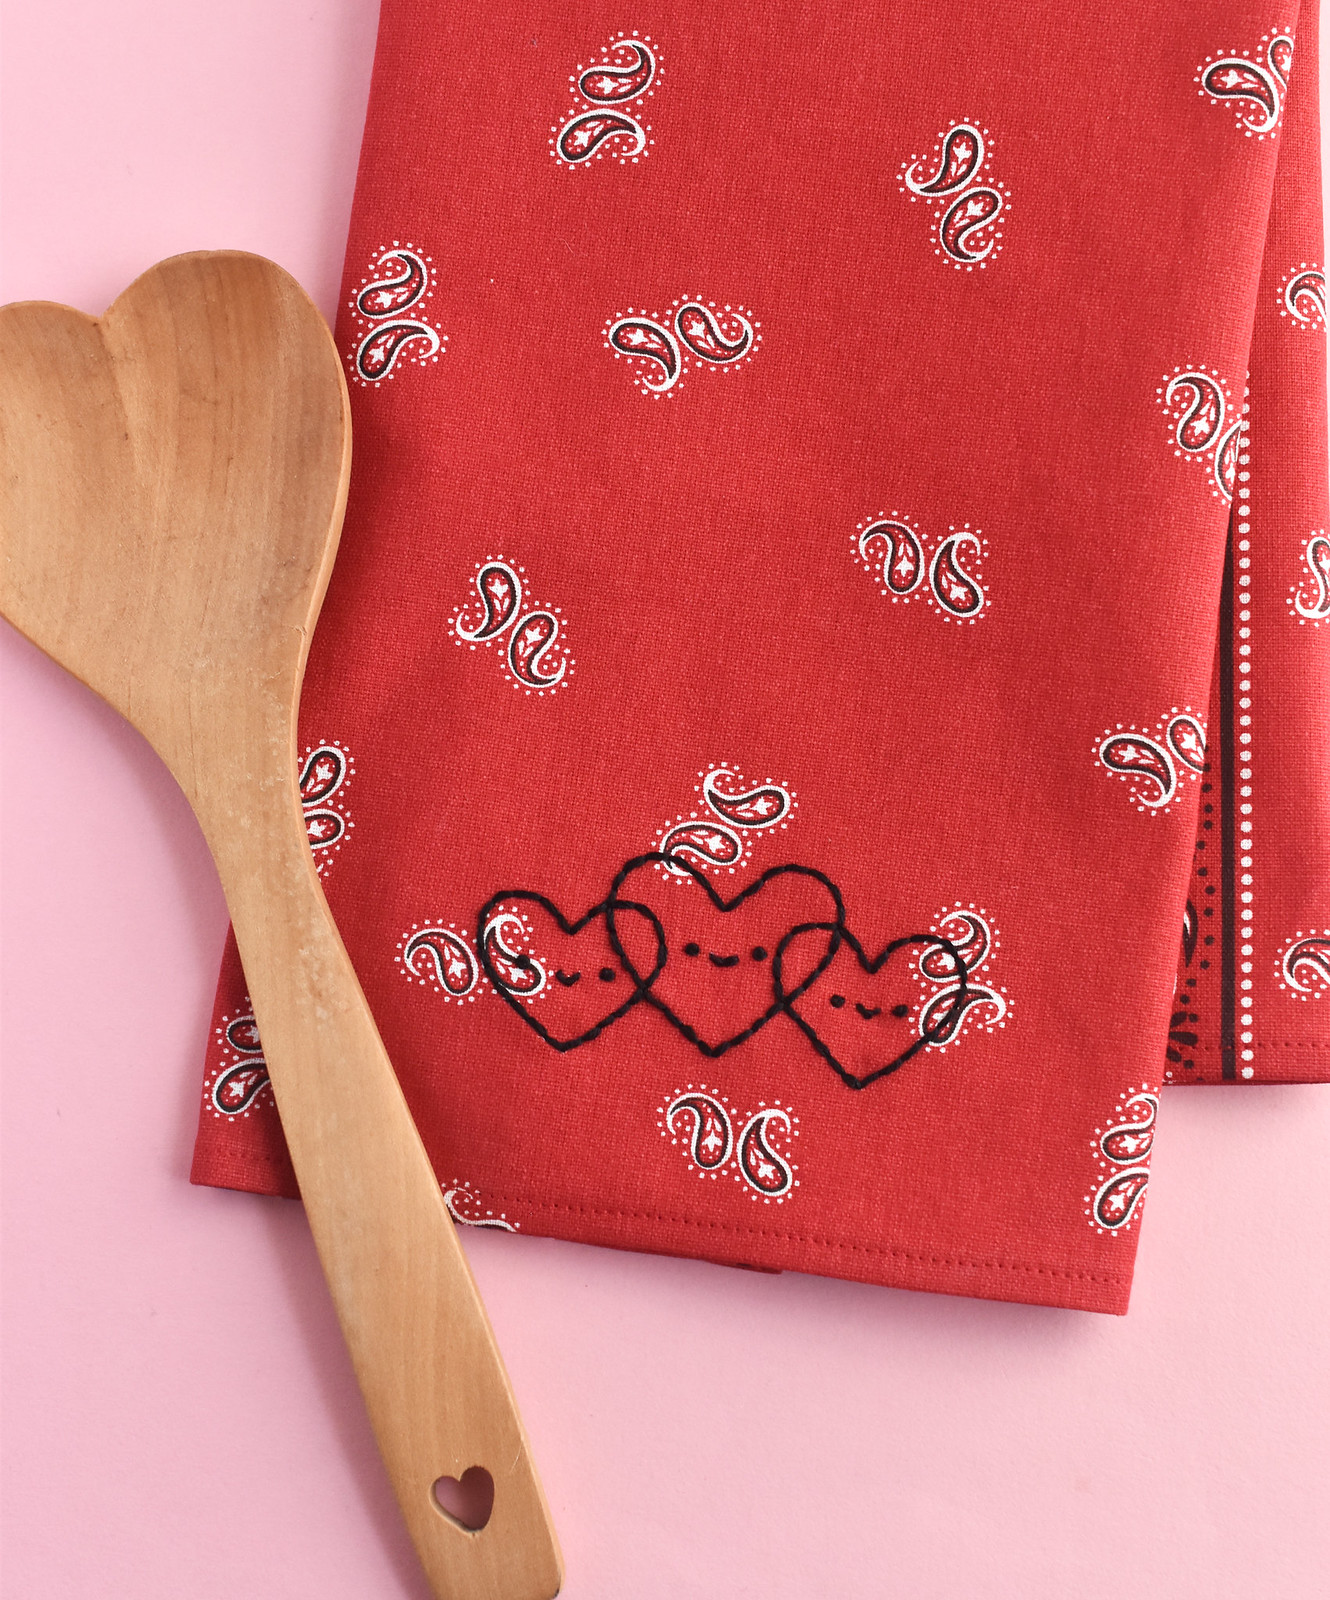
Triple Heart Bandana Towel

Back in February I showed how I hemmed and embroidered the toweling to make some towels with a Triple Heart design. The "triple heart" and now "triple star" idea comes from ranches with similar names because the bandana print feels very dude ranch to me.

The bandana toweling I used for both the kitchen towels and the table runner was provided by Missouri Star Quilt Co., and they have it in several colors. They also have other toweling with some very cute fabric patterns. If you order from MSQC and use this (affiliate) link, it really helps support the work I do.

The process for making the table runner is pretty much the same. The only difference is the length. To make the runner, I used two yards of toweling and left it UNCUT. The towels were two yards cut into three towels.

After you trim the ends to make sure they are straight, you just double fold the ends and stitch across. Add the embroidery, and you're done! You end up with a runner that's about 18x70 inches.

Triple Star Bandana Runner

I haven't embroidered my runner just yet, but I didn't want to wait any longer to share this pattern and idea with you. At least I've done the hemming, right?


Now, as I sit here thinking about this delightfully easy material to make things with, I'm considering more uses. Placemats would be fun because you'd just need to cut the fabric down to 12 inch pieces. And I've been considering making some narrow curtains too.

Of course, any simple project where you can add embroidery is a good idea in my book!

pattern // pumpkin piles embroidery design

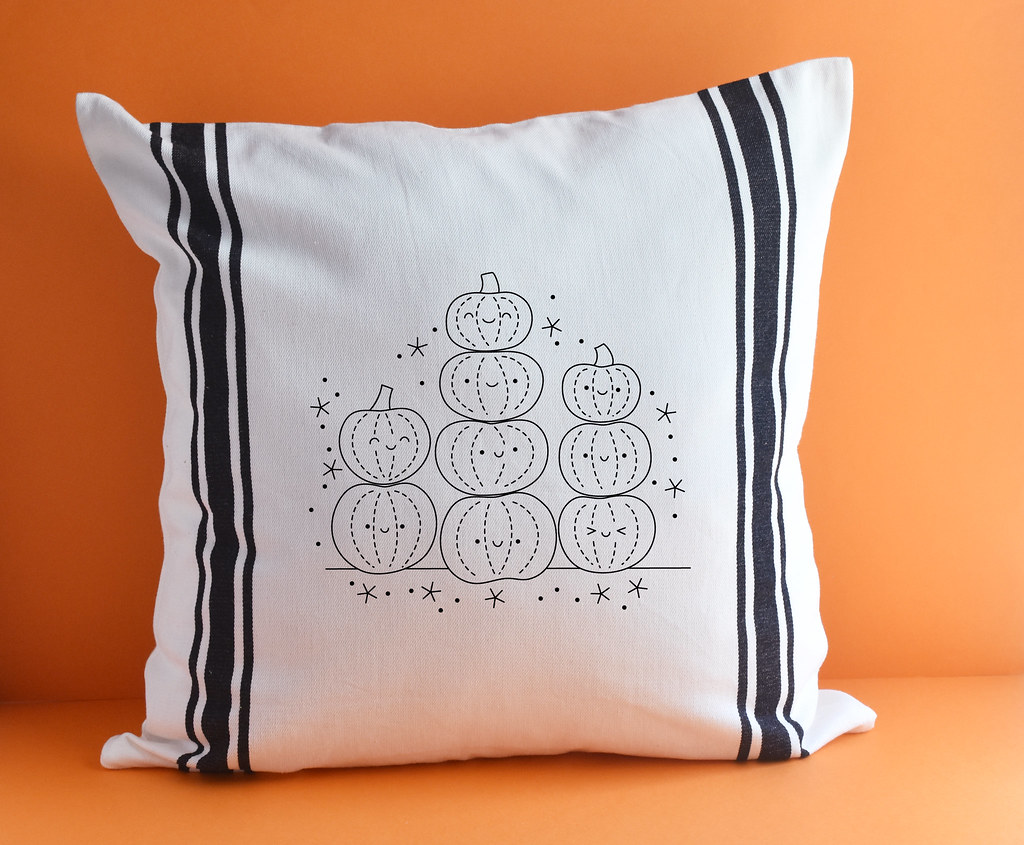
Pumpkin Piles Embroidery Pattern

Did you know that in May, we're halfway to Halloween? That makes this a great time to pick up a not-so-spooky stitching project like this pumpkin piles embroidery pattern! The stacks of gourds are ready to decorate a pillow in a super cute way, which is exactly how I like my pumpkins to look.

This design could even work for all of the fall season, which is perfect if you start now and stitch through the summer. Best of all, the pattern is 100% free!

Pumpkin Piles Embroidery Pattern

On the mocked-up pillow cover, I showed stitching the pattern all in black, and I actually think that would be adorable. Very Halloween. But of course, you can make the pumpkins orange with other color accents, or go a little more kawaii with the colors you see here.

I honestly love seeing pastel pumpkins, especially with some pink in there. So for the color version, I chose some suggested shades like that. Again, you can use any colors you want.

Pumpkin Piles Embroidery Colors

If you want to go with the colors in the example above, I'd use the following DMC colors: 310, 840, 743, 3825, 3340, and 3716.

These would also make a great color combo for other kawaii Halloween stitching projects!
Pumpkin Piles Embroidery Pattern

There aren't any specific stitch instructions/recommendations in the pattern (though you should spot running stitch right away), but that just means you can have some fun with it. And if you're newer to embroidery, you might want to check out my new beginner's course, Super Cute Intro to Embroidery. You'll find some tips for making the faces extra cute too!


Many thanks to Missouri Star Quilt Co. (affiliate link) for sending me the stitchable pillow cover!

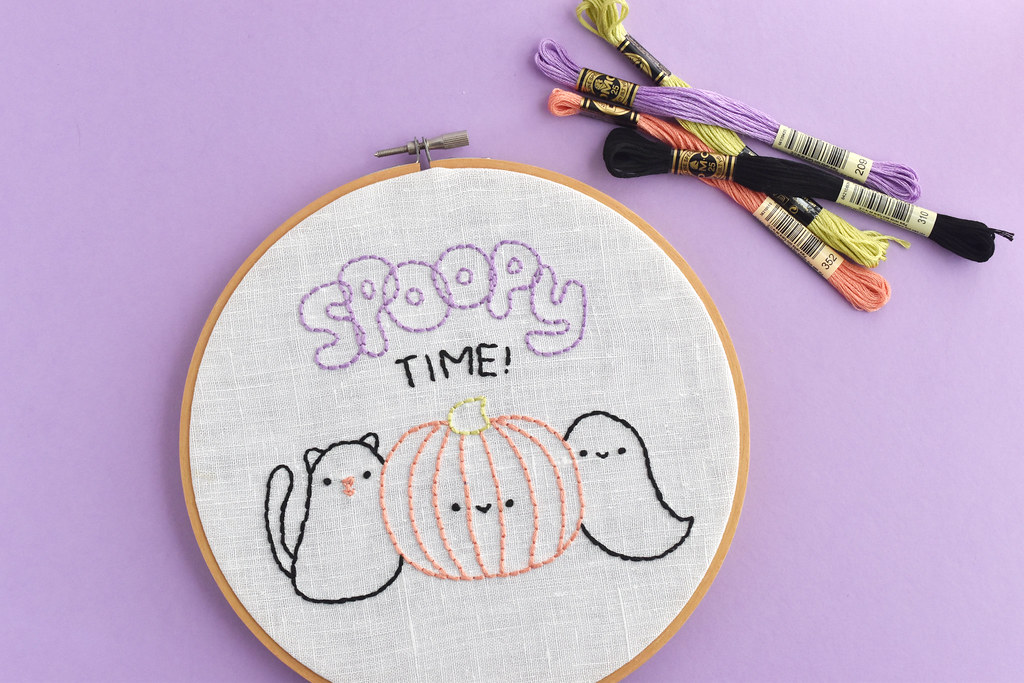
Spoopy Time Embroidery Pattern

If you're looking for even more things to make for Halfway to Halloween, be sure to check my Etsy shop or take a look in the Wild Olive blog archives!

learn to embroider in a super cute way!

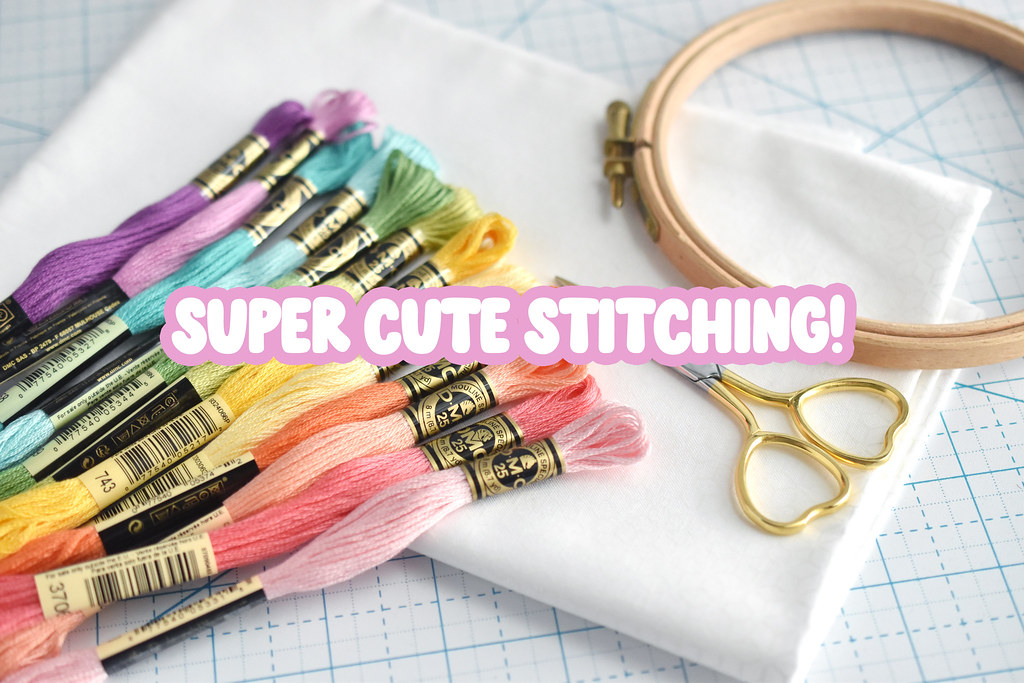
Super Cute Stitching Sampler If you love kawaii cute things and want to learn how to embroider, I'm here for you. In fact, I have an all-new course that's designed for beginners.

There are lots of embroidery courses and I've certainly made plenty of embroidery tutorials here on my blog and some on YouTube. But I wanted to make something that would take you from start to finish. From what materials to use all the way to how to soak, iron, and frame your stitching, all in one place.

Super Cute Intro to Embroidery is just that. It's an online class filled with videos to each you all the embroidery basics. But it's not just about learning some stitches. It's also a way to do that while making things super cute.

Super Cute Stitching Sampler

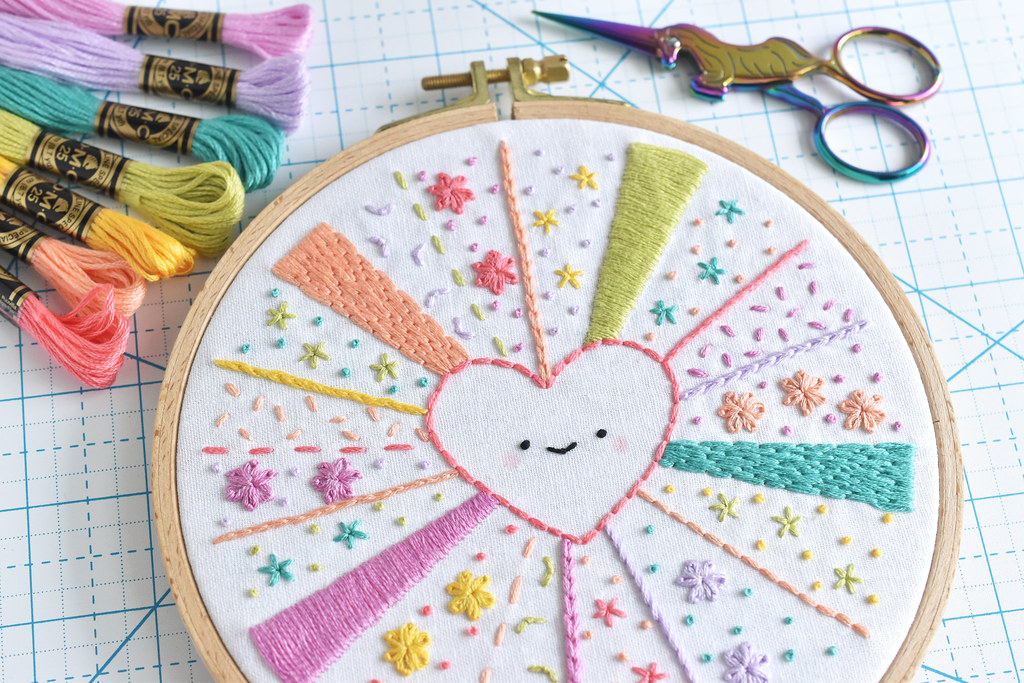
I created a special sampler pattern that allows you to practice all of the stitches and use adorable candy colors, while learning how to get ready to stitch and finish off the project. Actually, there are two version of the sampler so you can choose if you want to stitch a heart or a star in the center of your design! In the lessons you'll also learn several ways to stitch faces and add some extra cute details.

In 2+ hours of video, plus written instructions, with stitch diagrams, you'll learn:

• What supplies you'll need
• How to prepare your fabric
• Multiple ways to transfer a pattern
• How to separate strands of embroidery floss
• How to hoop your fabric
• The Basic 3 stitches I use (back stitch, scallop stitch, and French knot)
• More stitches: straight, star, running, split, stem, chain (2 ways!), lazy daisy, satin, and long-short
• A bonus stitch for making faces
• How to strip embroidery floss
• How to soak and iron your embroidery
• A simple way to frame your finished stitching
• How to add a bit of extra cuteness to embroidered faces

Super Cute Intro to Embroidery will prepare you for all kinds of embroidery, whether you're stitching my kawaii-style embroidery patterns or designs from other creators. Super Cute Stitching Sampler

My goal is to teach more people to embroider. Which is where there is a low, one-time cost for registration. And then you get full access to all the class content.

I want to make all my favorite stitching techniques accessible, enjoyable, and super cute. Even if you've never picked up an embroidery hoop and needle, YOU CAN DO THIS!

Now, if you're already an experienced embroiderer, this course may not be for you. But if you've just dabbled a bit and want to feel more confident, this will help get you there! It would also be a great class to assist you as you teach a young crafter how to embroider. It's not designed for specifically kids, but I think they would love it!

Super Cute Stitching

You can find my Super Cute Intro to Embroidery course at SuperCuteStitching.com, where you'll also find some other fun stuff. And more to come soon!