about shop patterns projects printables extras sponsorship wild olive twitter flickr pinterest subscribe
Showing posts with label stitch guide. Show all posts

learn to embroider in a super cute way!

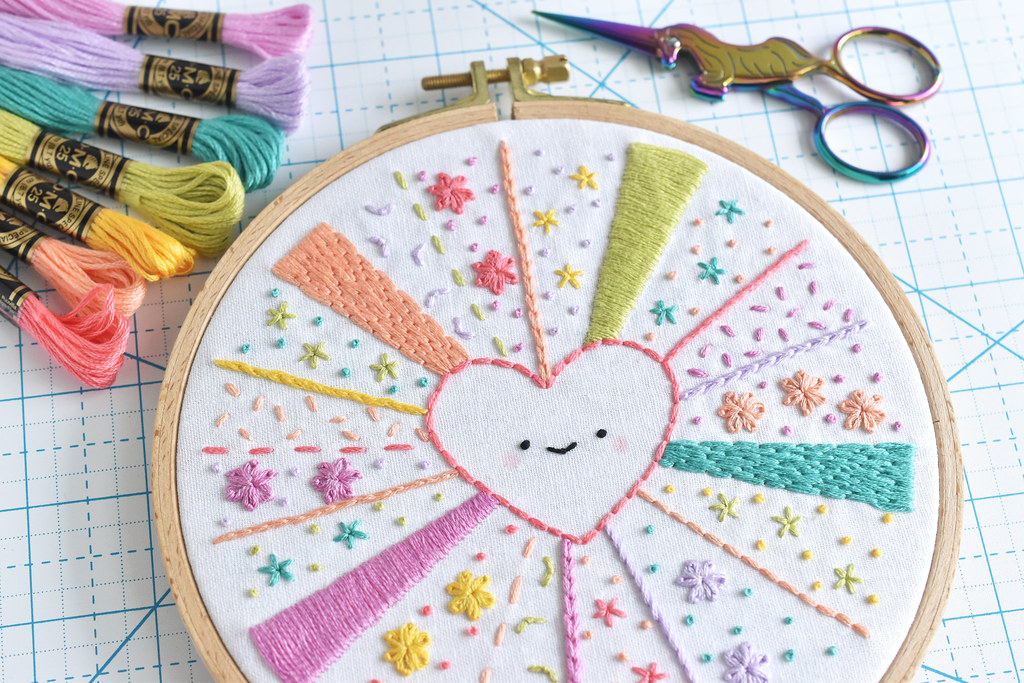
Super Cute Stitching Sampler If you love kawaii cute things and want to learn how to embroider, I'm here for you. In fact, I have an all-new course that's designed for beginners.

There are lots of embroidery courses and I've certainly made plenty of embroidery tutorials here on my blog and some on YouTube. But I wanted to make something that would take you from start to finish. From what materials to use all the way to how to soak, iron, and frame your stitching, all in one place.

Super Cute Intro to Embroidery is just that. It's an online class filled with videos to each you all the embroidery basics. But it's not just about learning some stitches. It's also a way to do that while making things super cute.

Super Cute Stitching Sampler

I created a special sampler pattern that allows you to practice all of the stitches and use adorable candy colors, while learning how to get ready to stitch and finish off the project. Actually, there are two version of the sampler so you can choose if you want to stitch a heart or a star in the center of your design! In the lessons you'll also learn several ways to stitch faces and add some extra cute details.

In 2+ hours of video, plus written instructions, with stitch diagrams, you'll learn:

• What supplies you'll need
• How to prepare your fabric
• Multiple ways to transfer a pattern
• How to separate strands of embroidery floss
• How to hoop your fabric
• The Basic 3 stitches I use (back stitch, scallop stitch, and French knot)
• More stitches: straight, star, running, split, stem, chain (2 ways!), lazy daisy, satin, and long-short
• A bonus stitch for making faces
• How to strip embroidery floss
• How to soak and iron your embroidery
• A simple way to frame your finished stitching
• How to add a bit of extra cuteness to embroidered faces

Super Cute Intro to Embroidery will prepare you for all kinds of embroidery, whether you're stitching my kawaii-style embroidery patterns or designs from other creators. Super Cute Stitching Sampler

My goal is to teach more people to embroider. Which is where there is a low, one-time cost for registration. And then you get full access to all the class content.

I want to make all my favorite stitching techniques accessible, enjoyable, and super cute. Even if you've never picked up an embroidery hoop and needle, YOU CAN DO THIS!

Now, if you're already an experienced embroiderer, this course may not be for you. But if you've just dabbled a bit and want to feel more confident, this will help get you there! It would also be a great class to assist you as you teach a young crafter how to embroider. It's not designed for specifically kids, but I think they would love it!
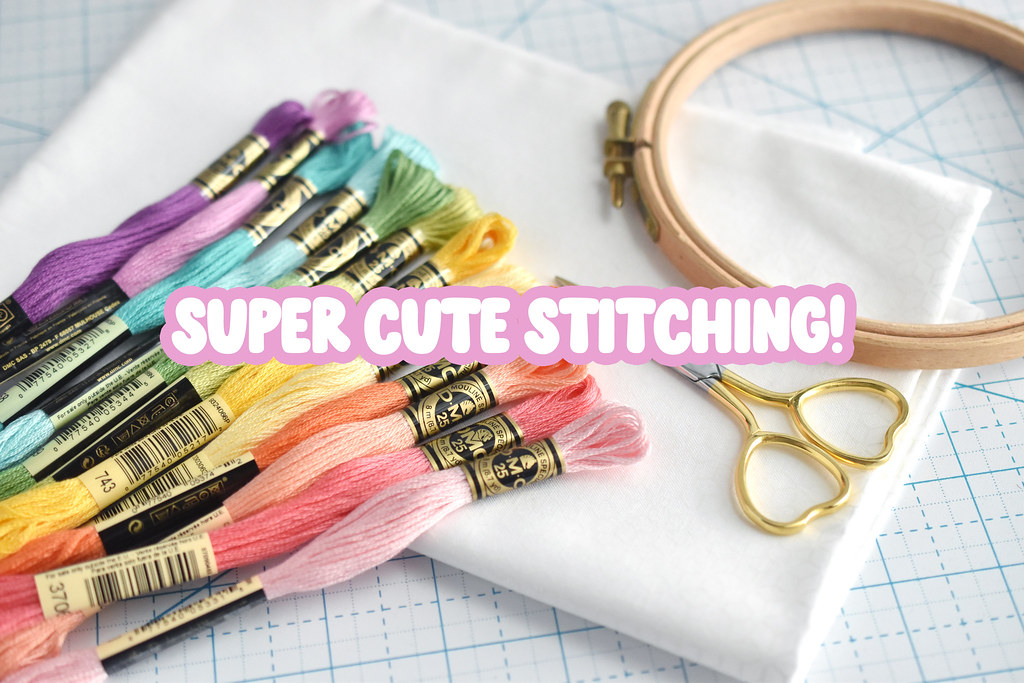
Super Cute Stitching

You can find my Super Cute Intro to Embroidery course at SuperCuteStitching.com, where you'll also find some other fun stuff. And more to come soon!

sampler stitch-along with cloud craft

Cloud Craft Stitch Sampler

I love a good embroidery sampler. So does Nicole from Cloud Craft, so I was delighted when she asked me to design one for the Cloud Craft website. Not only that, we wanted this to be a way to try something new or show off your favorite stitches. You can learn and practice 13 stitches with this sampler and there are full instructions for each stitch.

AND, there's a stitch-along on Instagram that just started! Two petal shapes per week for six weeks.

The version of the sampler that I stitched is based loosely off of the Cloud Craft logo, but those shapes are common in quilting (known as the orange peel design) and sashiko (known here as the seven treasures pattern). Included in the free pattern download there are 3 other designs that use this same shape but in different arrangements. I honestly love them all!

I also had the pleasure of making a video to go along with this. It's a big one, but it shows the whole sampler coming together.


You can make this with your favorite supplies, but there's also a kit so you can buy everything you need to get started right away! Find the pattern and stitching details at Cloud Craft.

k is for knots

knots


When thinking up a good post for K, I started thinking about eyes. What? Let me explain. When I stitch the little faces that are on most of my patterns, I use french knots. But sometimes they can be a little wonky, so I've wondered if I should find an alternative stitch. Which is how I decided that K is for Knots.

French knots feel very normal for me to make, but I know that's not the case for everyone. Although I'd never made one before, I knew about colonial knots, and in my mind, I pictured several other similar knots. But after looking through many stitches, I was disappointed. Yes, there are lots of knots, but they all make bigger and more ornate stitches.

And so I set to comparing my two knots.

knots

First, here's a regular French knot, stitched with six strands (which were a little twisty weird, causing that loose loop on the right), and wrapped two times around the needle.

I like the size and the familiarity.

knots

Next I tried a colonial knot. This is actually my very first, officially documented here!

To make a colonial knot, you bring the floss up from the back, then make a sort of backwards "c" with the thread. Place the needle over the loose thread and under the thread that is coming up from the fabric, as you see in the photo.

knots

Then, bring the floss over the needle to the top, then back under the needle towards the bottom. It kind of makes a figure 8 with the thread.

knots

Pull the thread taut around the needle, and hold it as you push the needle down just adjacent to where the floss came up.

knots

And there's a colonial knot, side by side with the French knot. A bit more compact, I think. I like it. But I'm thinking it wouldn't ever get any larger than this with regular cotton floss. Unless you wrap it looser? Hmm...

But what if you are just knot impaired? Or what if you want something flatter? Or just different? I thought I might try a knot alternative.

knots

This is just a single tiny straight stitch, worked vertically.

knots

And this is a second tiny straight stitch worked right in the same holes as the first, but on the right hand side.

knots

And this is how it looks when you add a third tiny straight stitch on the left hand side to round it out. Compared to the colonial knot, it's smaller, but flatter and more even, I think. It's sort of like a double seed stitch, which I guess makes this a triple seed stitch! A very nice alternative.

But what about bigger?

knots

This time I did almost the same thing as the "triple seed stitch", but made two slightly longer stitches in the middle. Then I made shorter stitches on the sides, and not quite in the same holes. Wait...now I'm practically satin stitching!

So what's my verdict? I declare my love for all of these! French knots are dear to my heart, but I can definitely see more colonial knots and smooth flat eyes in my future. Try them all out and let me know what you think!

PS: When is a knot not a knot? When it's not! Ha!

pattern: tiny easter eggs (and a polka dot stitch!)

Tiny Eggs

I love stitching at a small size, something you've seen here before, and will definitely see again. (In a big way soon...but that's still a secret!) For Easter, I thought it would be fun to stitch some tiny Easter eggs. Somewhere I have some not quite finished counted cross-stitch eggs that are similar, but I don't think I've seen that work in progress for, oh, 15 years or more!

These new eggs, on the other hand, were quick to stitch, and they are already done! At least, the three that I chose are done. Because in the PDF pattern that I have to share with you has a total of NINE egg designs, and each is just 1.5 inches tall.

One of the eggs has polka dots, and I did that to use a new stitch that I learned and thought you'd like to try! I found this stitch in an old book, and it was listed as a variation on the lazy daisy. Hmm...It sort of is, but it's not a stitch that I've seen anywhere else. And the diagram made it confusing, so I'm going to revise it with photos and call it the Polka Dot Stitch!

Here's how to do it:

Polka Dot Stitch

1. Bring your needle up from the back, just inside the bottom of the circle.

Polka Dot Stitch

2. In one stitch, go down just outside the bottom of the circle, then back up just inside the top of the circle. Don't pull it through yet. (The original diagram numbered it in such a way that you would need to make a loop like this. It's just too difficult!)

3. Loop the thread around the needle point that is poking out at the top. Make two loops that are circular, then pull the needle through gently so as not to pull the circles.

Polka Dot Stitch

4. Go back down just outside the top of the circle. This small stitch holds the top of the circle in place.

5. Bring the needle back up just outside the bottom of the circle, then go down just inside the bottom of the circle. This small stitch holds the bottom of the circle in place.

Polka Dot Stitch
Polka Dots

It take a few practice tries, but then they go fairly quickly. They make good tiny flowers, or polka dots for eggs!

If you know more about this stitch or what it's really called, please let me know!

Tiny Eggs
Tiny Eggs

Now, how about stitching up these eggs? On their own they'd make lovely little pins or patches, or you could stitch a whole row of them for the edge of a towel or table runner!


Tiny Eggs
Tiny Eggs

Come back tomorrow for a printable with some tiny Easter eggs!