about shop patterns projects printables extras sponsorship wild olive twitter flickr pinterest subscribe

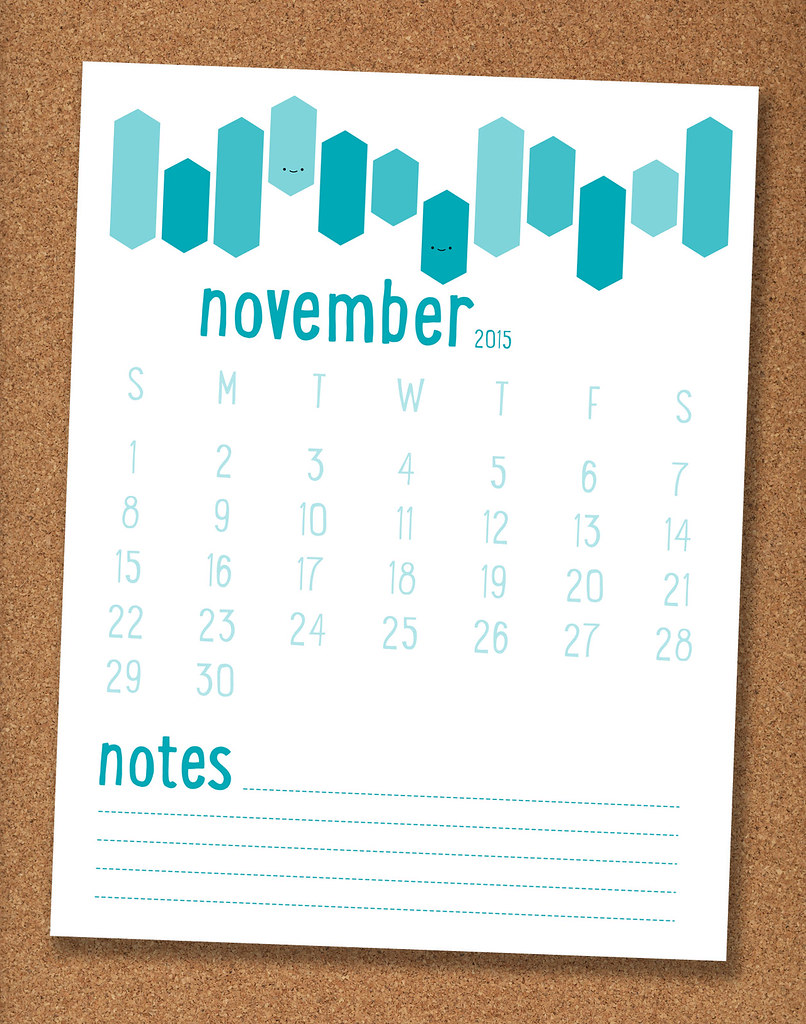
calendar // print and post elongated hexagons for november


Okay, so October is fine and good and actually, this October was a fine and good one. But November is my favorite. It's my birthday month, it's Thanksgiving, and it's jeans and sweaters, tights and scarves.

Before I get too far, here are a few posts that I shared over on About.com this month...


Okay, and now it's November time! A friend of mine and I have talked about how we're not always fans of the "elongated hexagon" shape that is used in some English paper piecing. I'm not exactly sure why, but my best guess is that I see it looking very traditional, and I like modern (or super vintage) better.

That said, I chose the elongated hexagon for this month. Why? well, I wanted to see if I could make it more modern. I've seen some quilters do it successfully, and then there's this. When I saw Sufjan Stevens' concert stage in Chicago with these beautiful shapes, I knew that I needed to explore the shape more.

I can't wait to see where they lead me!


For iPhone 6+, choose the iPad version. To use the iPhone and iPad versions, click the link for the wallpaper you want. When it opens, touch and hold the image until it pops up with the option to save. After you've saved the image, go to your settings, choose wallpaper, then find the image you've just saved.

2015 November Print Calendar

To PRINT a calendar page (with a place for notes), download the October 2015 calendar page PDF. The dates are lighter print so you can write over them if you want, or let your little ones trace over the numbers for practice!

Let's have a wonderful November, filled with gratitude and great days!

eight days a week epp block // cutting and basting

Eight Days a Week // EPP Block Basting


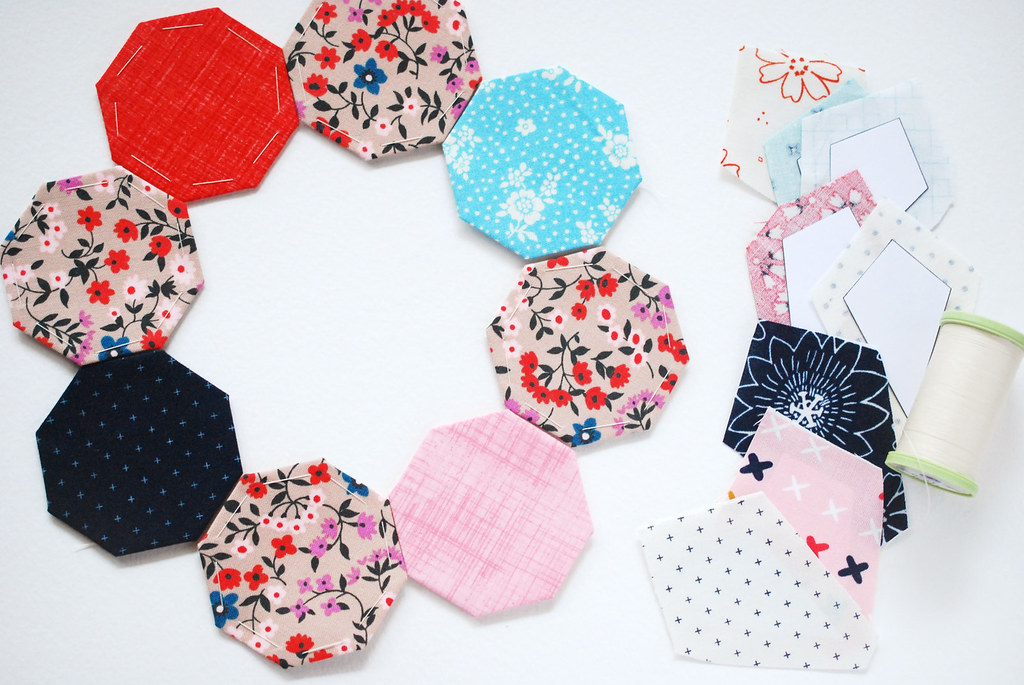
Last night I started cutting and basting the pieces for my Eight Days a Week EPP design. I can tell this will take me far more than eight days to make this whole thing, but then, that's part of the charm of slow sewing.

The octagons have 1-inch sides. In All-Points Patchwork Diane Gilleland says that you can tack the corners if the pieces have 1-inch sides or less. I tried that with a few, but wasn't thrilled with the snugness of the basting. So for the rest I basted through the fabric and paper. I'm much happier now.

When I set up the block, I made it two ways. One way is to make an eight-inch single block, and the other way is to lay it out in repeat. For the pillow I'm making, I'll do a 2x2 layout (which is more like 1-3/4 x 1-3/4) that will look like this:


...sort of. After I basted the octagons and arranged them like my plan, I didn't like the placement. So I've already switched some pieces around. And I may do more of that as I go. Of course, now I'm faced with a dilemma. Do I start joining pieces, or wait until I have every piece basted so I can play with the arrangement more? We'll see how I feel.

I'm blogging this block in near-realtime, so what you see is as far as I've gotten. The block isn't officially tested yet, but if you'd like to get a jump on it (or maybe even pass me by!), you can download the template.


The PDF shows a single block and a chunk of repeat (like my color plan above), then it has the pieces for a single block, plus the square needed for the repeat.

The partial octagons you see at the center of the four edges would be full octagons that lead into the next repeat. Similarly, if you're repeating, you wouldn't make triangles, but they would be the "kite" shapes that lead into the next repeat.

Now, I think I had better get some more basting stitches in place!

eight days a week epp block // pulling fabric

Fabric Pull for My Next EPP Project


In a month of octagons, I decided that I could not resist making a true EPP project with this shape. I needed to start another project. Right? But for some reason, I had a hard time finding a design that I liked. Surely there are more options than what I found?

Not wanting to waste any more time, I drew up a pattern of my own.

But let's go back. Do I need another project? Do I have time for another project? Not unless I suddenly find that there are now eight days in a week. Which is what I'm calling my new block: Eight Days a Week. I'm sharing it bit by bit this week, working in near real-time.

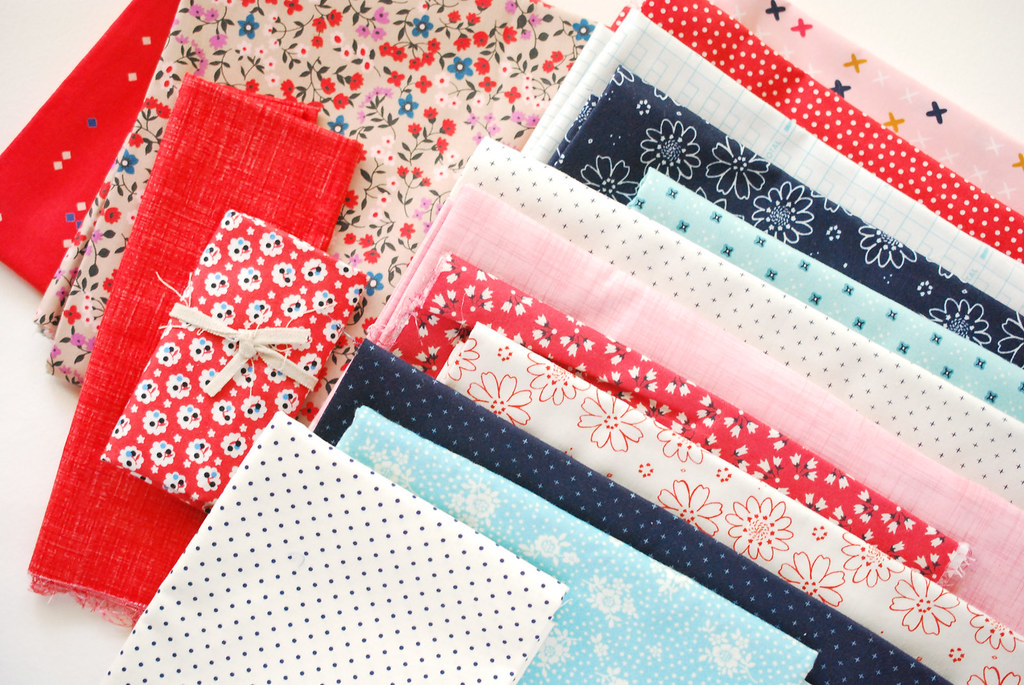
Today you get to see the fabric I've pulled.

My goal is to make a pillow with the finished panel, and I want to keep it for myself. So I selected colors and fabrics that I'm excited about. Originally I thought I'd go with something more rainbow in nature, but as I looked at my fabrics, I knew I needed to go another way.

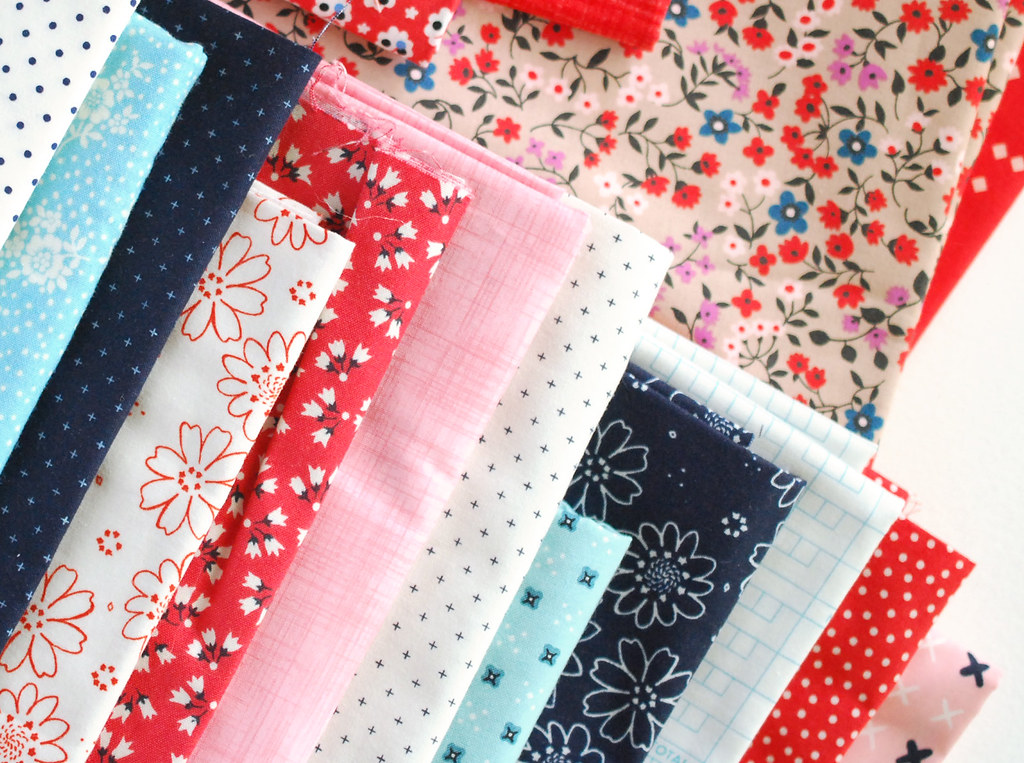
Since the design (which you'll see tomorrow!) features octagons, I needed colors or patterns that would be in multiples of twos, fours, and/or eights. I selected four main colors: red, navy, pink, and blue. Then I added in a floral that coordinates and some low-volume prints that also coordinate.

Fabric Pull

Since I have more reds than others right now, I'm not sure if I'll use them all. Once I start actually cutting and assembling, I might adjust this some, or even add in some others (any excuse to go fabric shopping?).

Eight or nine of these prints are Cotton + Steel, which really helps hold it all together, I think. Then there are a couple from other designers and some JoAnn fabrics from my stash.

Pulling fabric absolutely brings me joy. Which sometimes gets me into trouble because I start grabbing fabrics for projects that I'm not really ready to start yet, and then I just little stacks of fabric everywhere. But I think I might just need to share them here on occasion.

For now, I'm going to start cutting out my Eight Days a Week pieces so I can show you the next step tomorrow!

making pincushions with grace

Making Pincushions with Grace

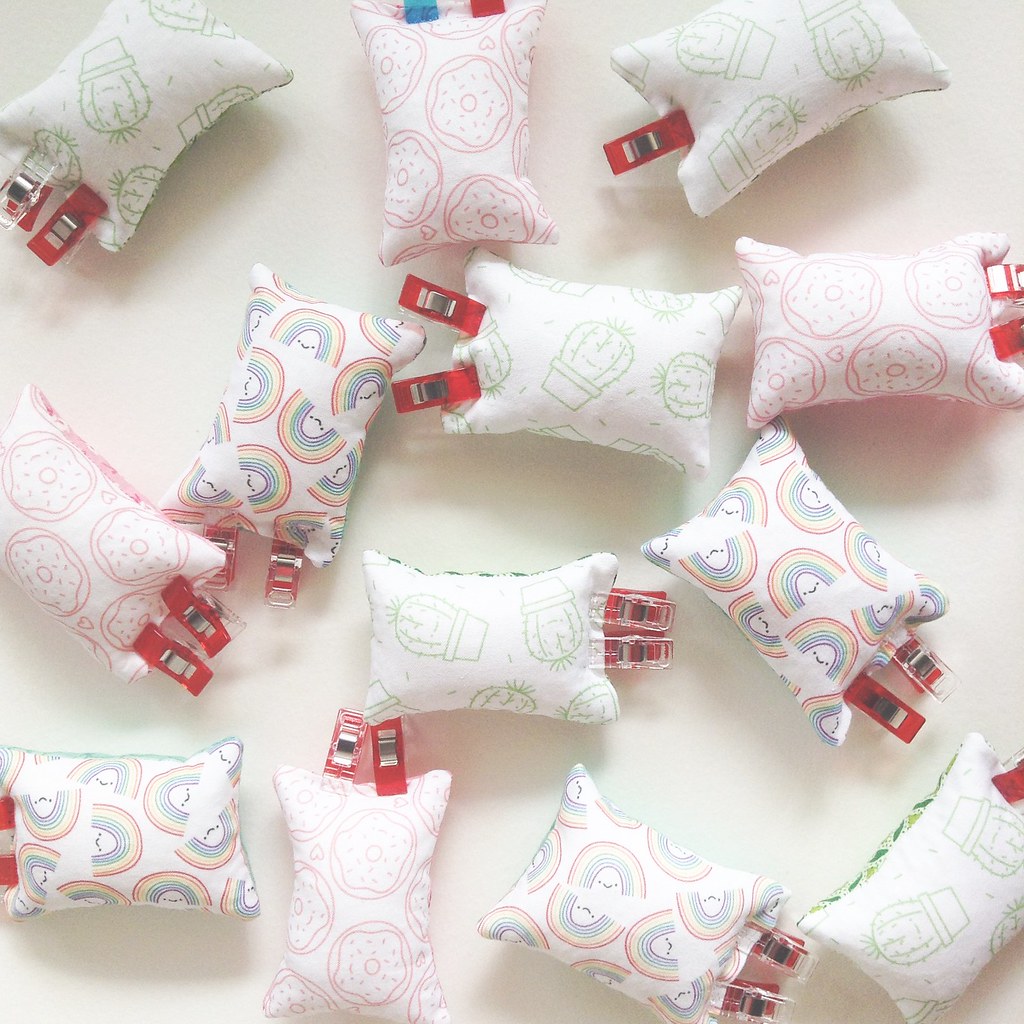
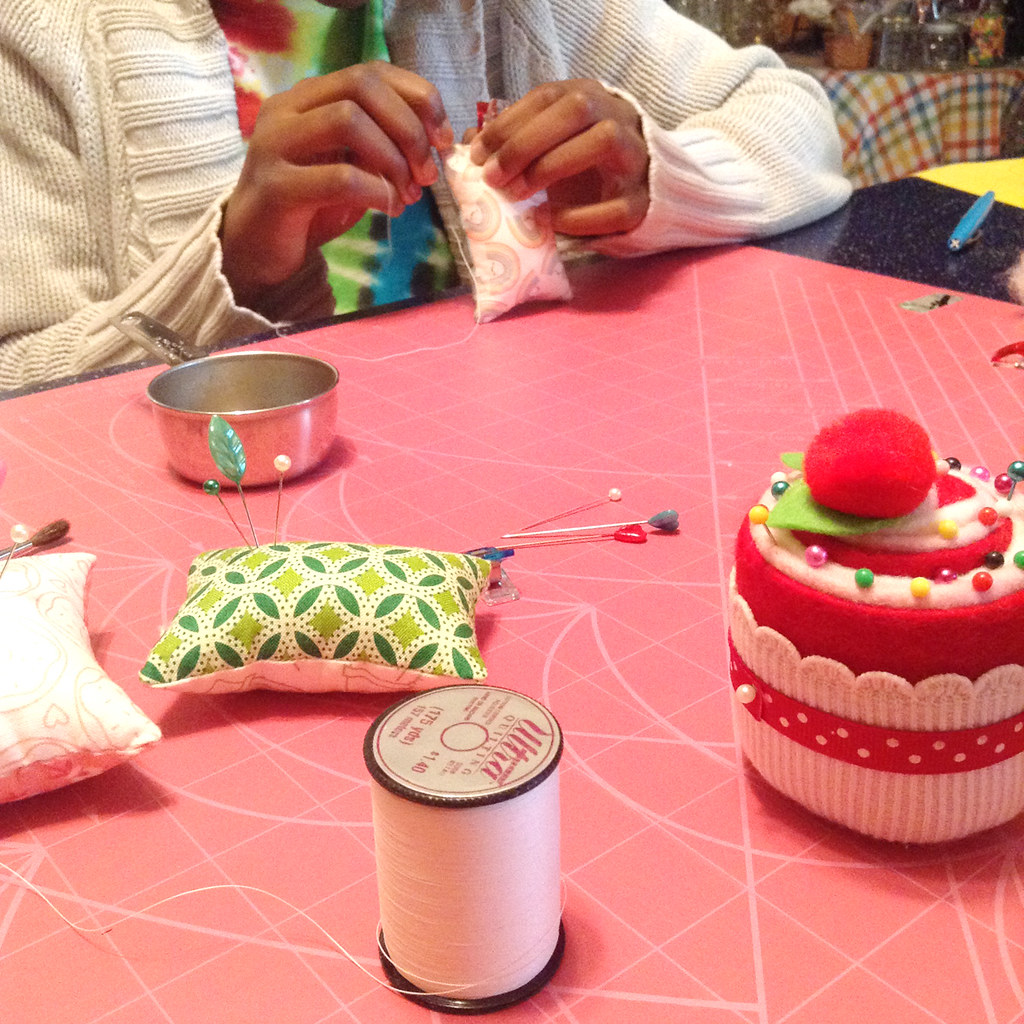
Last week I mentioned that I took some time to sew with my sister. And over the course of the week I spent bits of time here and there helping her some more. My mom and I worked with her at the end of the week, packaging up all of Grace's hard work. What was she up to?

Well, she wanted to earn some money, so she sewed up a few pincushions and we put them on Instagram. They sold. And she had requests for more, so she sewed a few more. In all, I think she made 17.

I'm so proud of her.

And I'm so proud of this creative community that is willing to support a 10-year-old. A 10-year-old who just kept on sewing, stuffing, and stitching. A 10-year-old who has plans to make more things to sell.

I will never underestimate the power of taking a little bit of time out to encourage a fellow human being.

book review // sew sweet creatures

book review // sew sweet creatures

Prepare yourself for some of the cutest and cuddliest creations you could ever sew up.

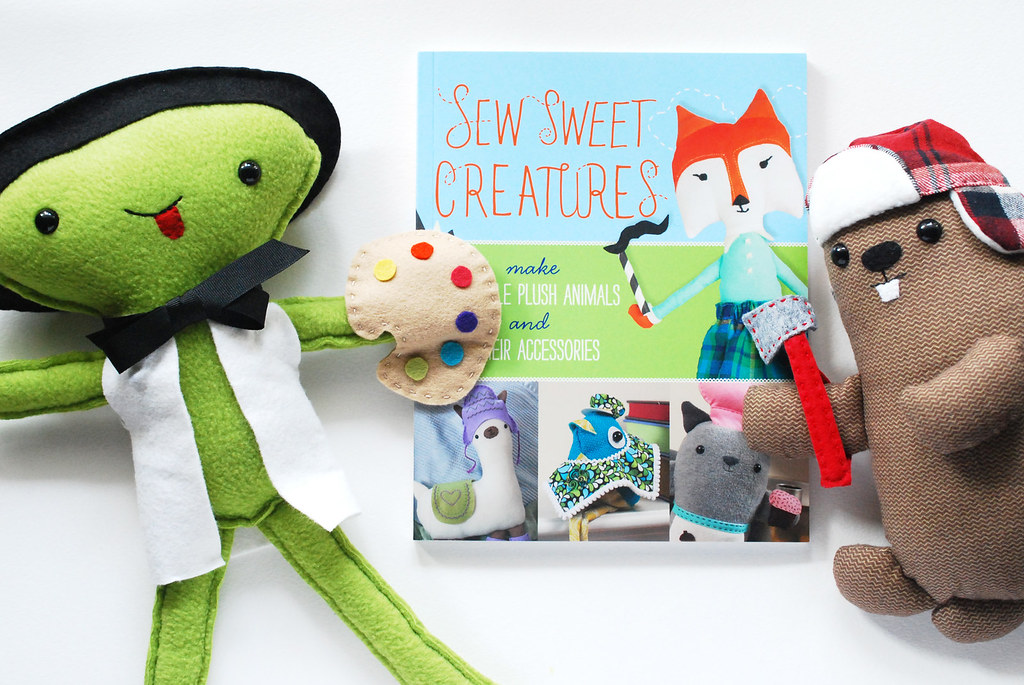
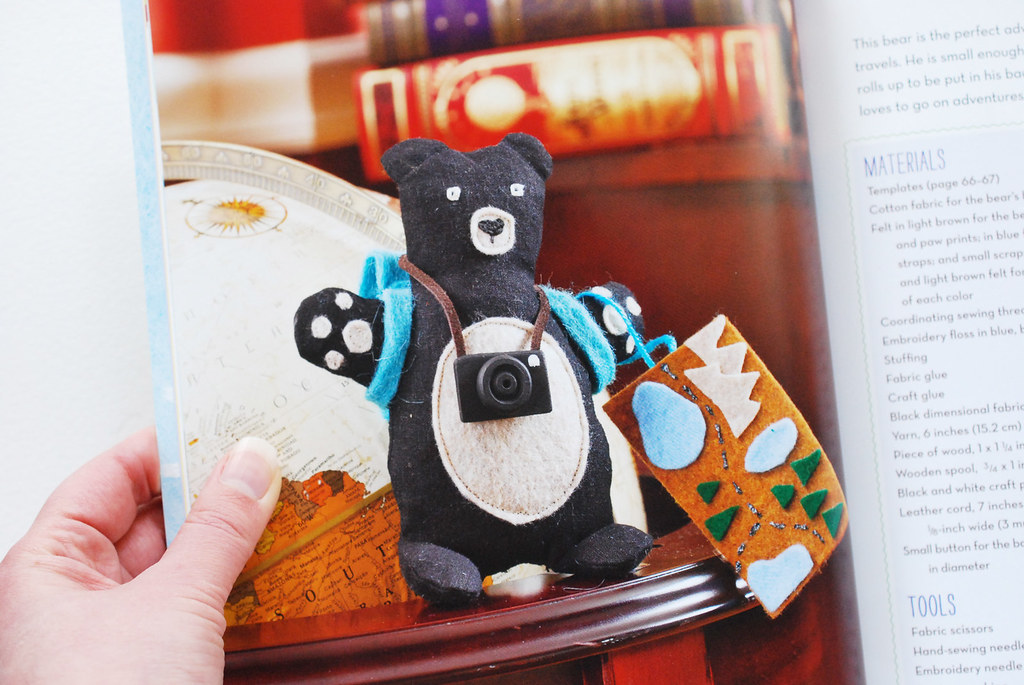
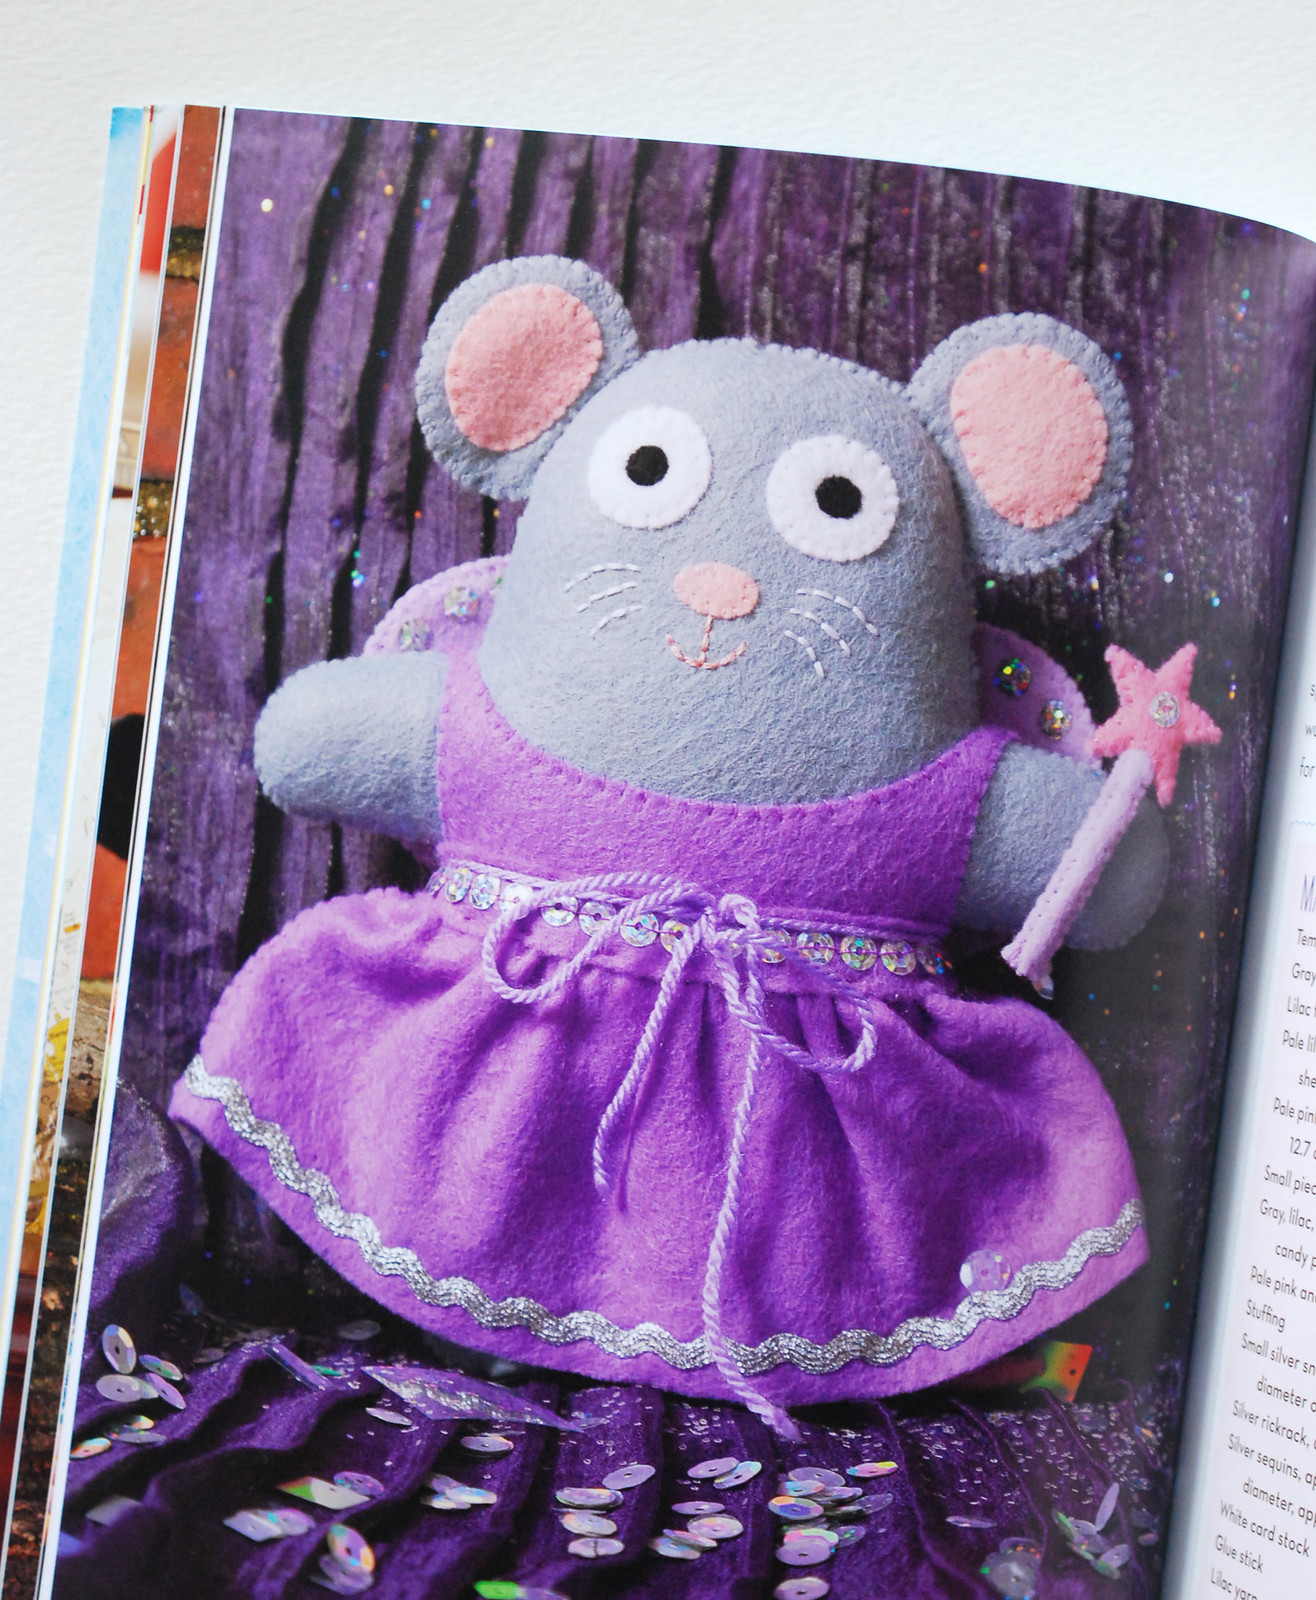
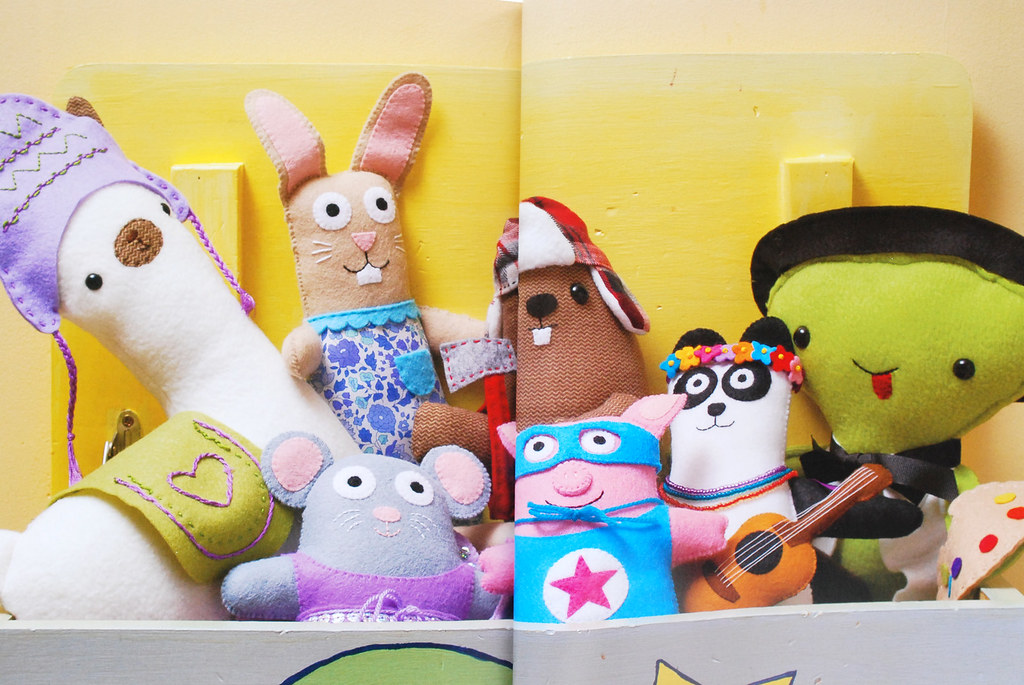
Sew Sweet Creatures is a new book from Lark Crafts that is filled with stuffed animal projects. What sets this title apart is that each animal is a character with its own story and accessories that you can also make. And let me tell you, these are the most adorable friends you'll ever make.

I'll be up-front and say that I'm totally biased because some of the critters in Sew Sweet Creatures were designed by yours truly. But the animals I sewed aren't my favorites. Seriously, there are so many sweet projects in here!

book review // sew sweet creatures

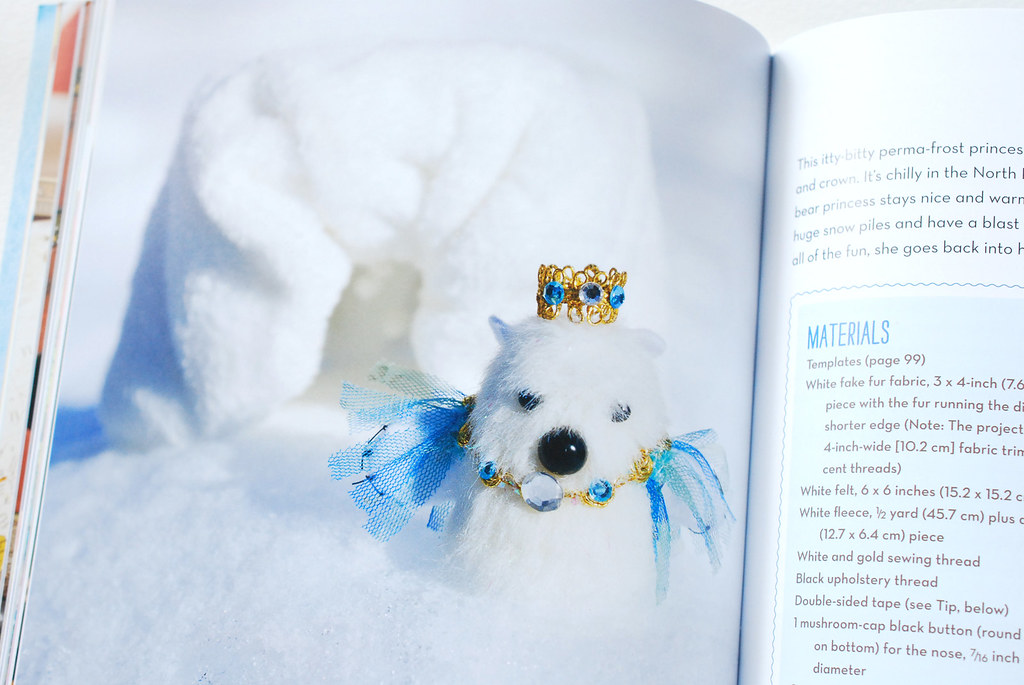
There are five designers who contributed to this book, and each has her own style. And yet, they all work well together.

The tiny polar bear above is the most different from the others. But do you see that igloo in the background? Whether I make the bear or not, I think I need a fleece igloo. I might make the felt panda bear into a little felt polar bear that can live inside!

And that's another great thing about Sew Sweet Creatures: you can mix and match many of the accessories with other animals!

book review // sew sweet creatures

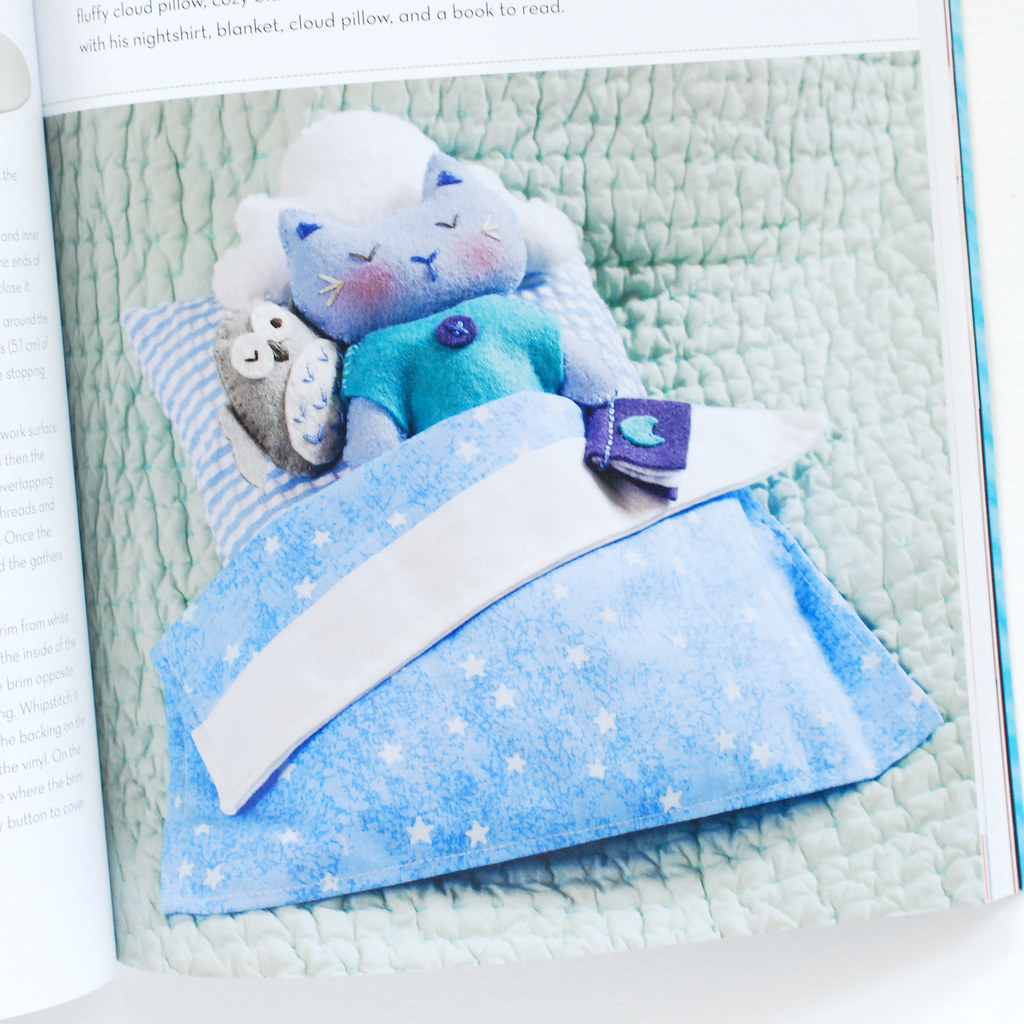
For example, so many of the little creatures could snuggle up with this mattress, pillow and blankie! I love everything about this set. Just look at those rosy cheeks!

book review // sew sweet creatures

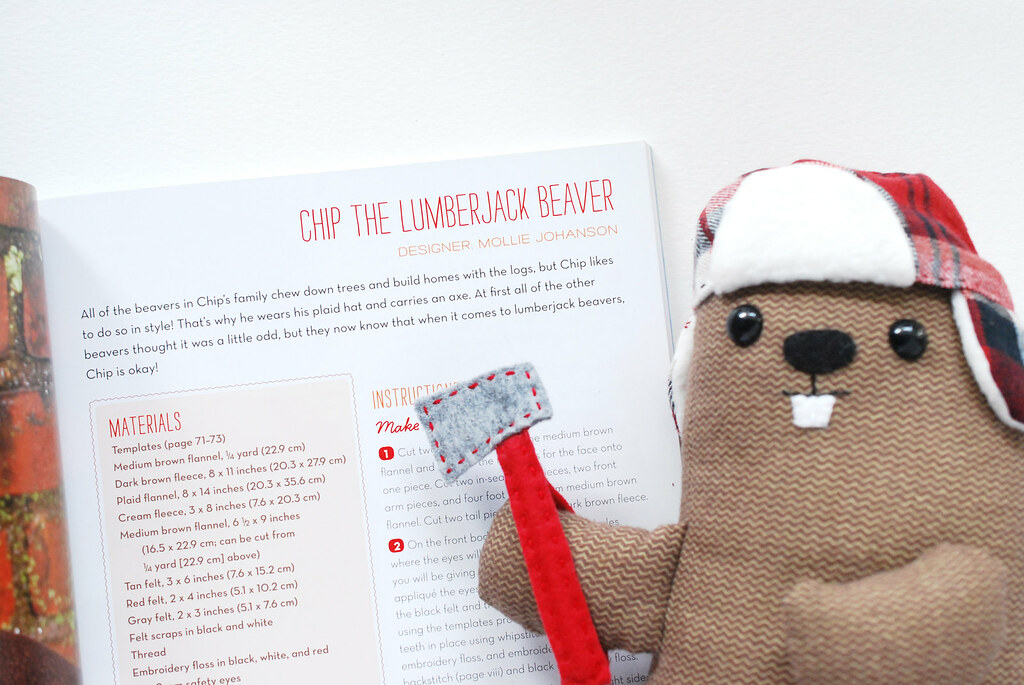
There's also a little story about each animal in the book. Chip the Lumberjack Beaver is one of the friends I made, and it was a fun story to write. I couldn't help but throw a little Monty Python reference in there. Oh, and his hat? It felt like such an odd thing to design...a tiny hat with ear flaps, and it's set on a bit of an odd rotation. But it was my favorite accessory that I made.

book review // sew sweet creatures

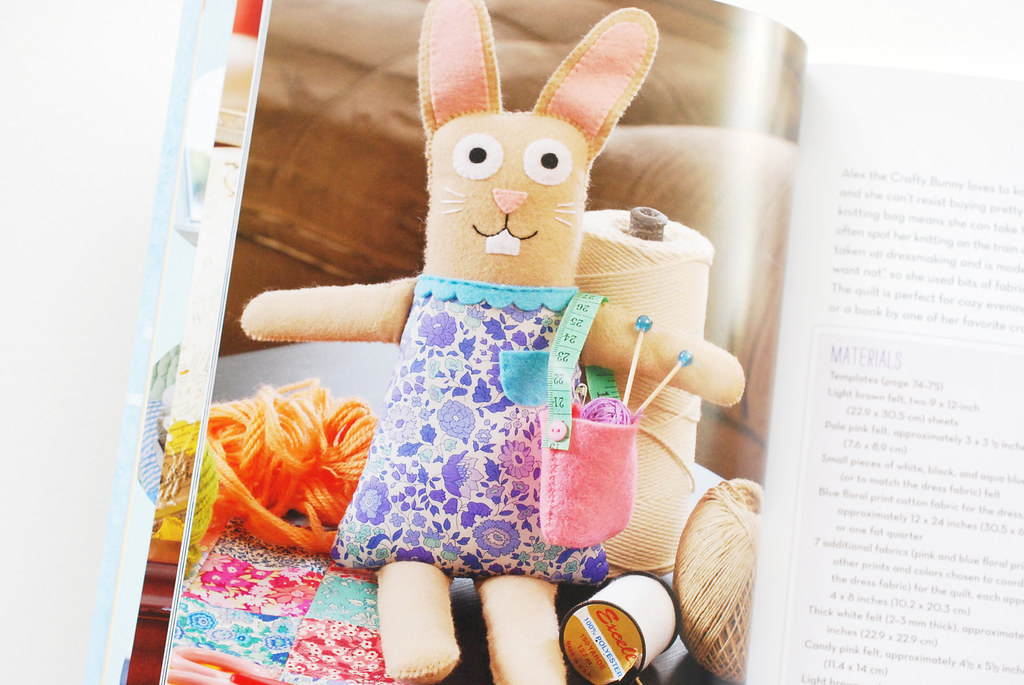
Speaking of favorites, this is the project that I simply must make. A crafty felt bunny? With a Liberty dress? Could there be anything better? I'm smitten.

book review // sew sweet creatures

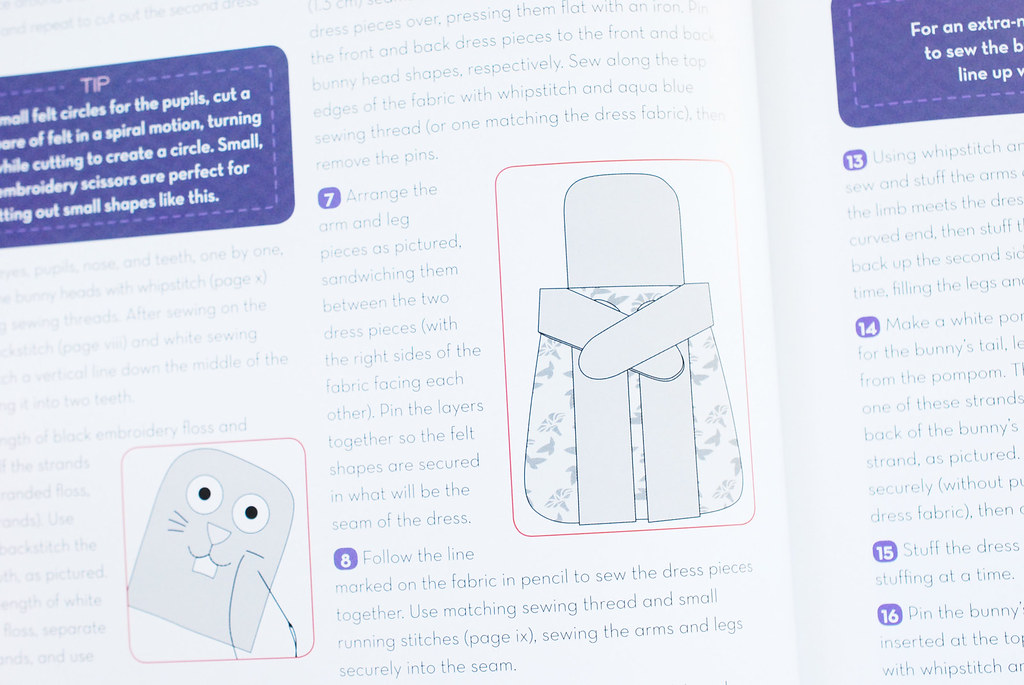
Each project has thorough instructions for the animal and all the accessories. The patterns are not all full size, but I'm willing to bet that if you didn't want to enlarge them, you could still make these guys just a little smaller. (For all of my fleece animals, I'd recommend switching to felt if you do this).

Any time a step in the making process requires some extra visual assistance, there are illustrations to help, and plenty of tips too. You'll be making your own menagerie in no time!

book review // sew sweet creatures

Aren't they a cute bundle? Sew Sweet Creatures is available now from Amazon, Barnes & Noble, or your local bookseller.

Now I want to know...which animal from this book is the one you'd start making first?

pattern // home sweet home

Home Sweet Home


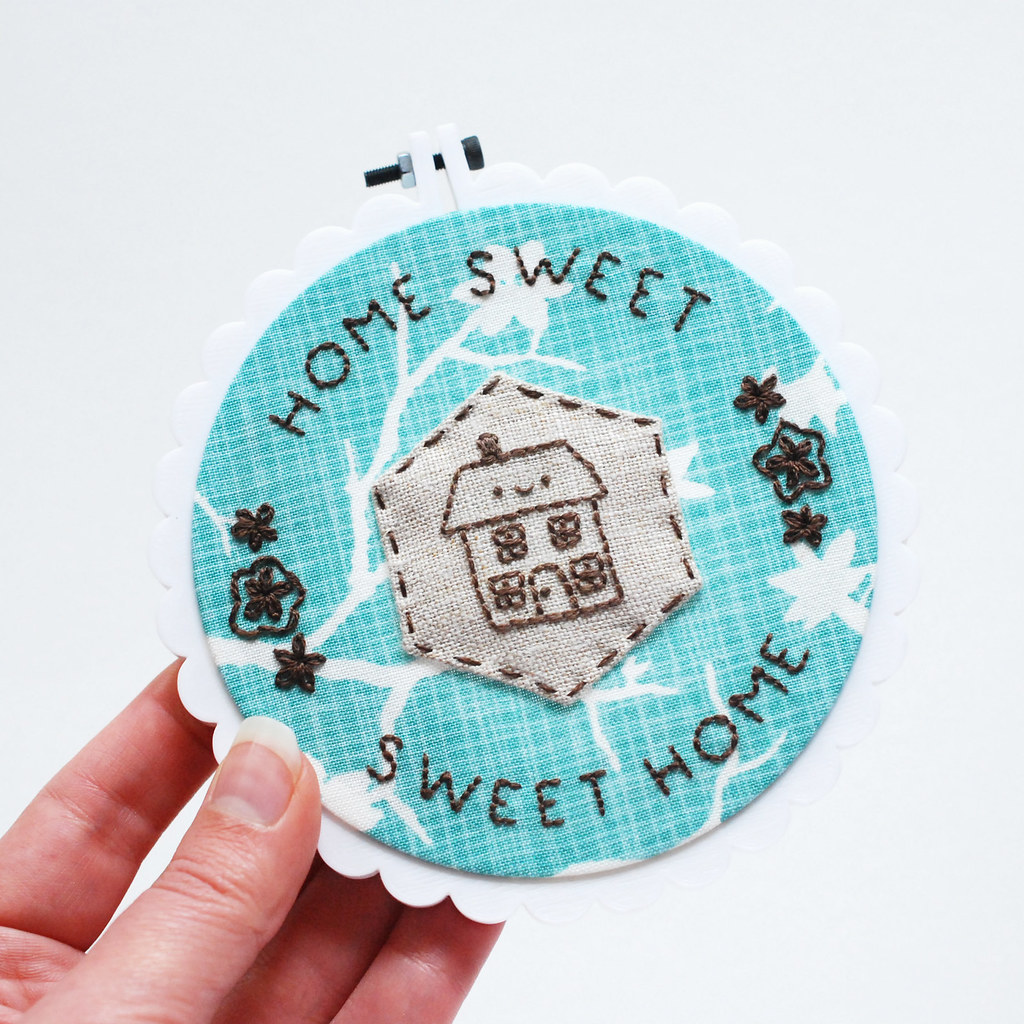
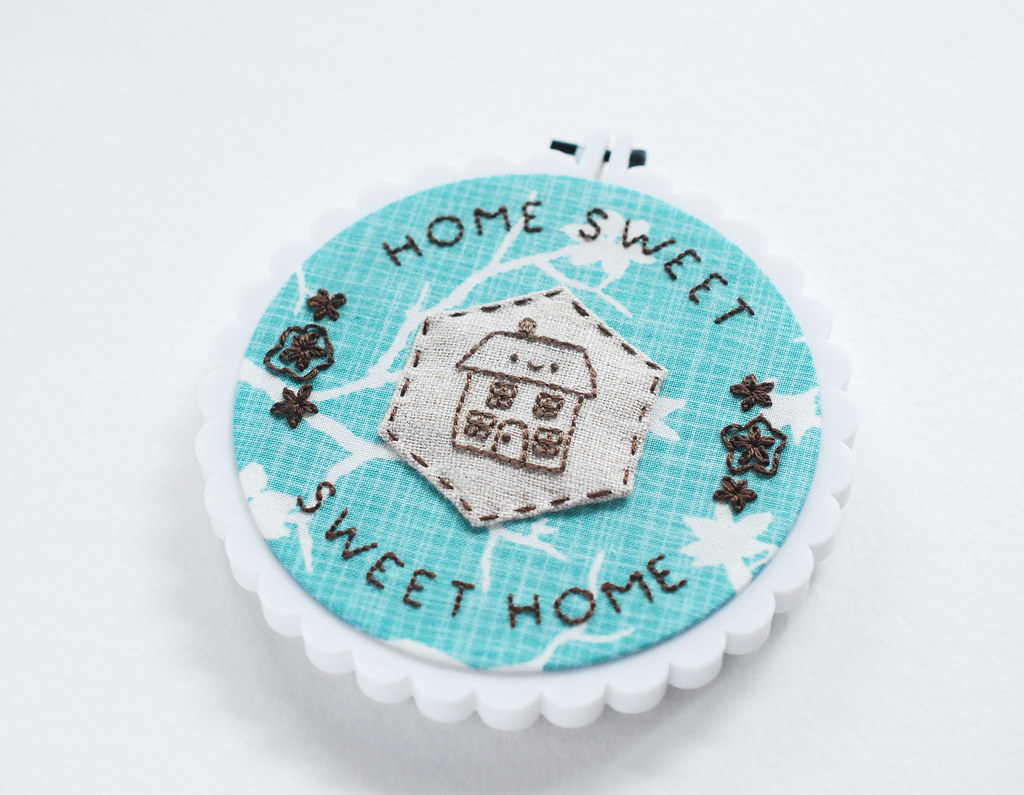
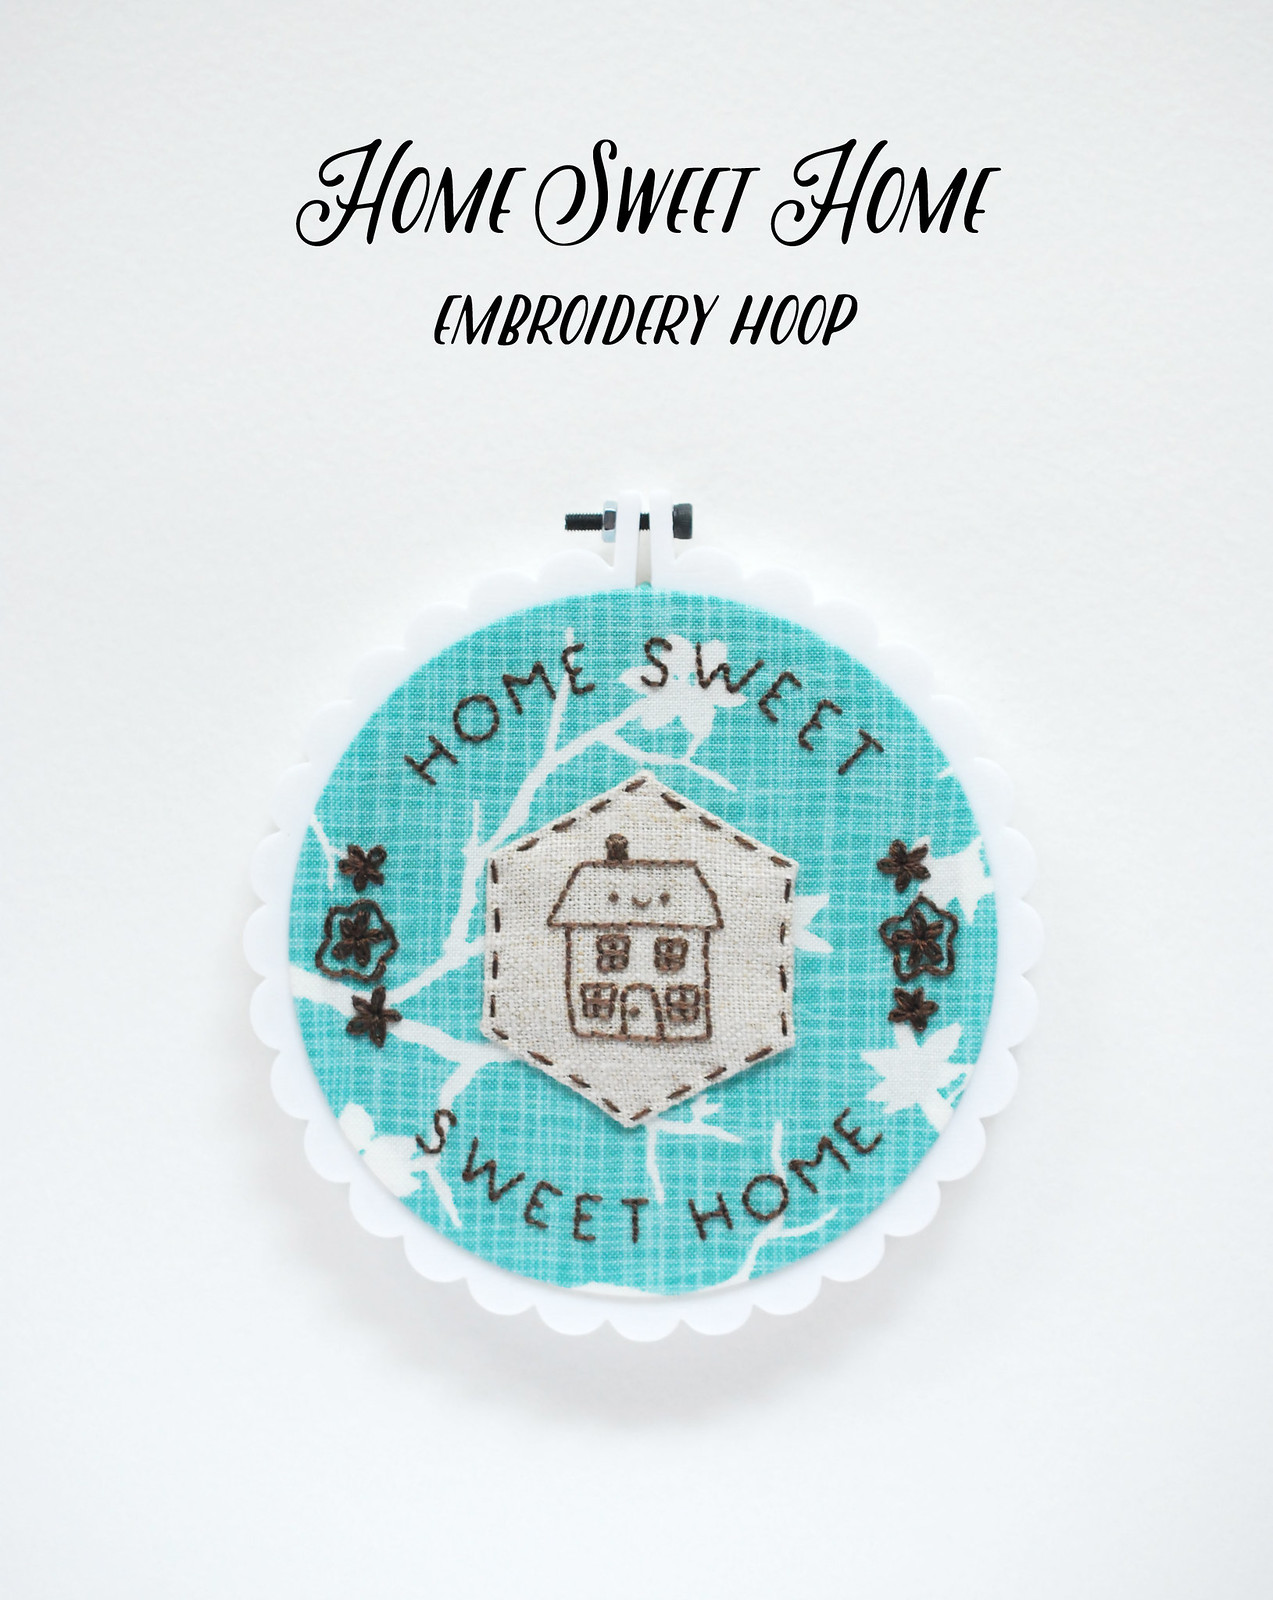
Do you have a home sweet home? We all do, in one way or another. And so why not name it? Display this little hoop to label your home sweet home. And if that happens to be someplace that moves (even daily!), just stitch it on a zip pouch or something else you can carry with you.

What I like about this is the combination of embroidery on both the backing fabric and on a hexagon. Plus, all together, it reads Home Sweet Home Sweet Home. Now that's a statement!

To make your own, you'll need to grab the little Hexagon Tinies house pattern. And while you're there you can see how I make my embroidered hexagons. Then you can combine it with the pattern here.


Home Sweet Home

Embroider the Home Sweet Home pattern on your backing fabric, then center the embroidered house hexagon in the middle. Stitch it in place with three strands of matching floss and running stitch.

I went with all one color for this, but you could use several, especially for the flowers. Just be sure to choose backing fabric that will allow the stitching to show well. Busy designs aren't so good for this hoop.

Home Sweet Home Sweet Home


Hang this little hoop in your own home sweet home, or use it as a perfect house-warming gift! (You may even want to make a few of them in advance if you have a bunch of friends who are starting to think about moving.)

Happy stitching!

Adorable scallop hoop: Stars & Sunshine

9 fall patterns and projects you can't miss

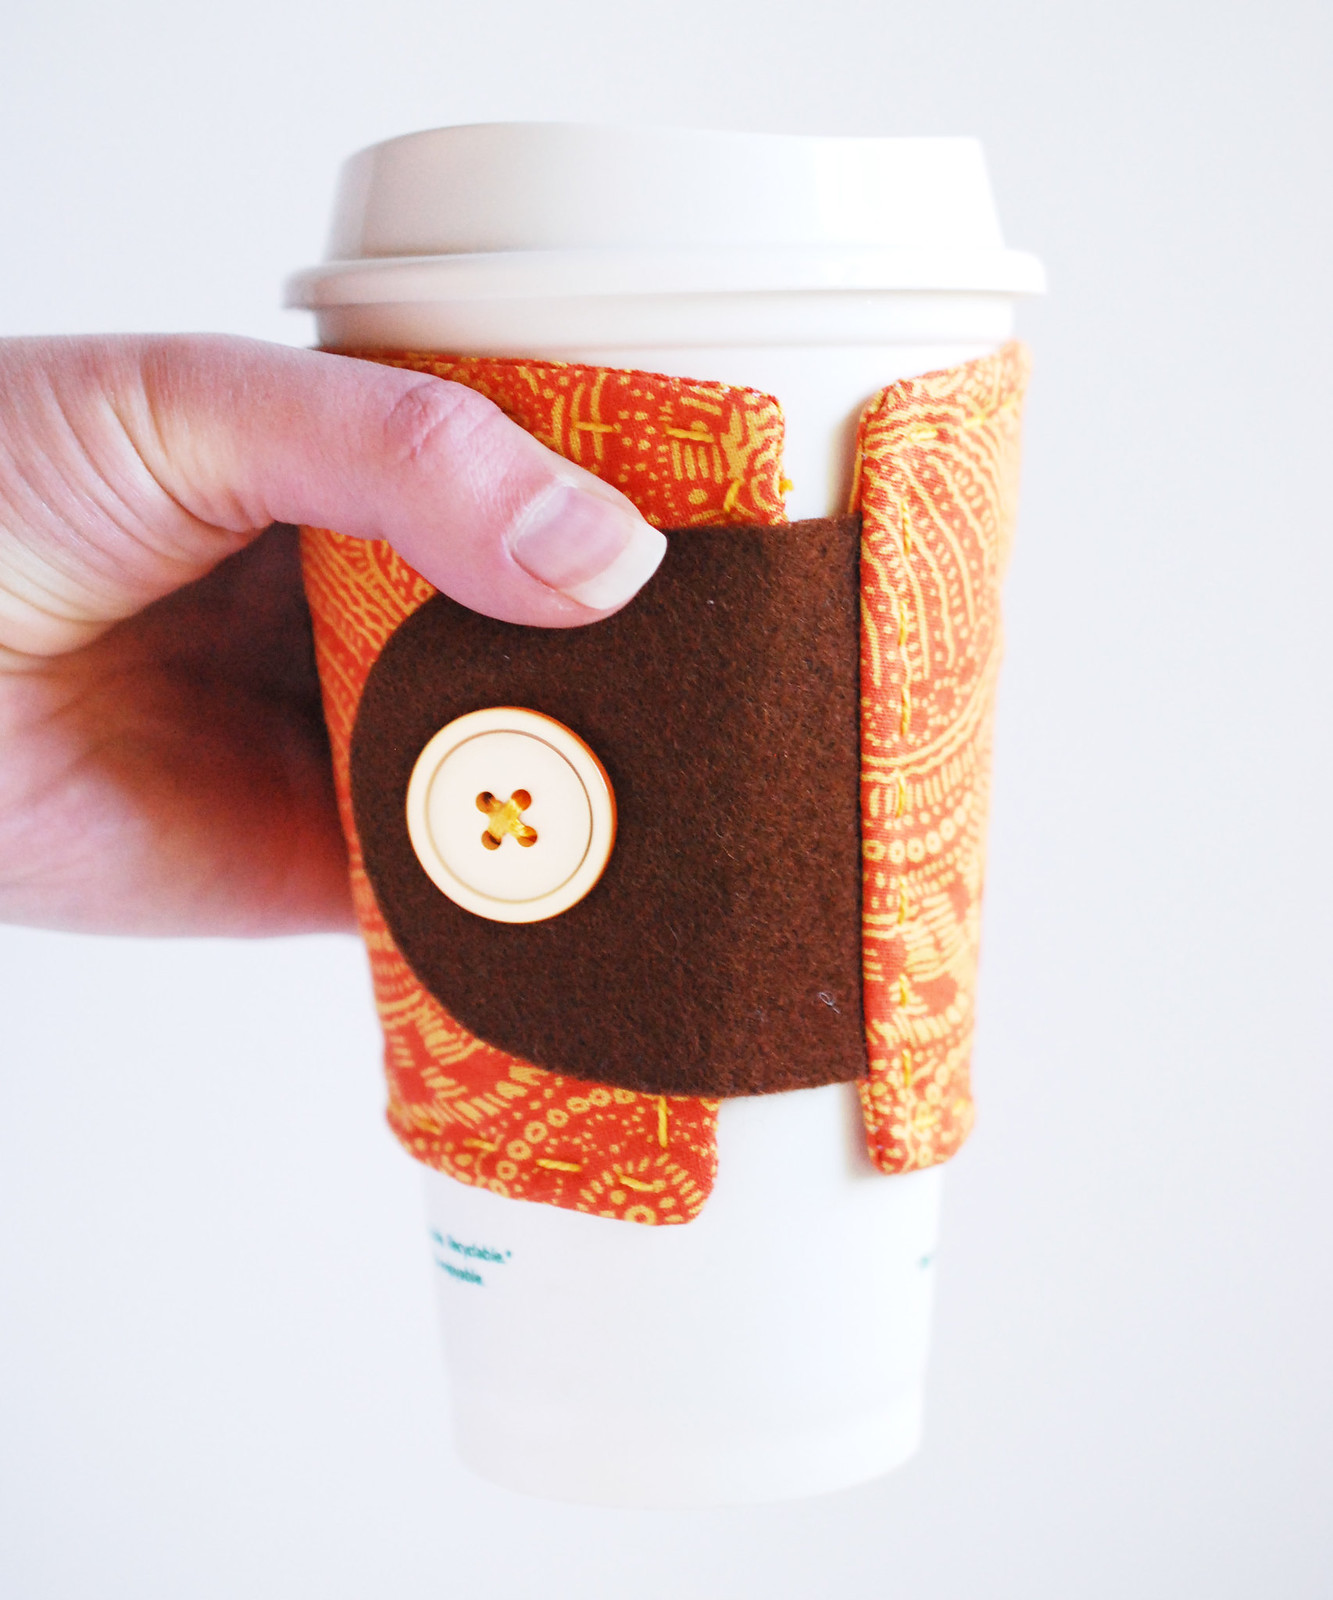
Favorite Fall Cup Holder

Last year I shared a little round-up of Halloween posts I've created over the years. Many of them can be done in no time at all, so be sure to check that out. But there are more than just what I shared there, so how about another link list for you?

These patterns and projects will keep you busy now through the end of November, so get ready to DIY your autumn! Because this is the most wonderful time of the year!

because it's all about the people you share life with

A Stitching Day

I had a post planned for today, and never got around to actually posting it. Because I spent the morning with friends and the afternoon with my little sister. And even though I feel bad about less frequent blog posts, I know that spending time with friends and family are more important.

Especially when your 10-year-old sister says she wants to sew some things to sell. Then you encourage and help her.

My next blog post will come when it comes. (Hopefully tomorrow!)

printable // octagon spiderweb stitching card

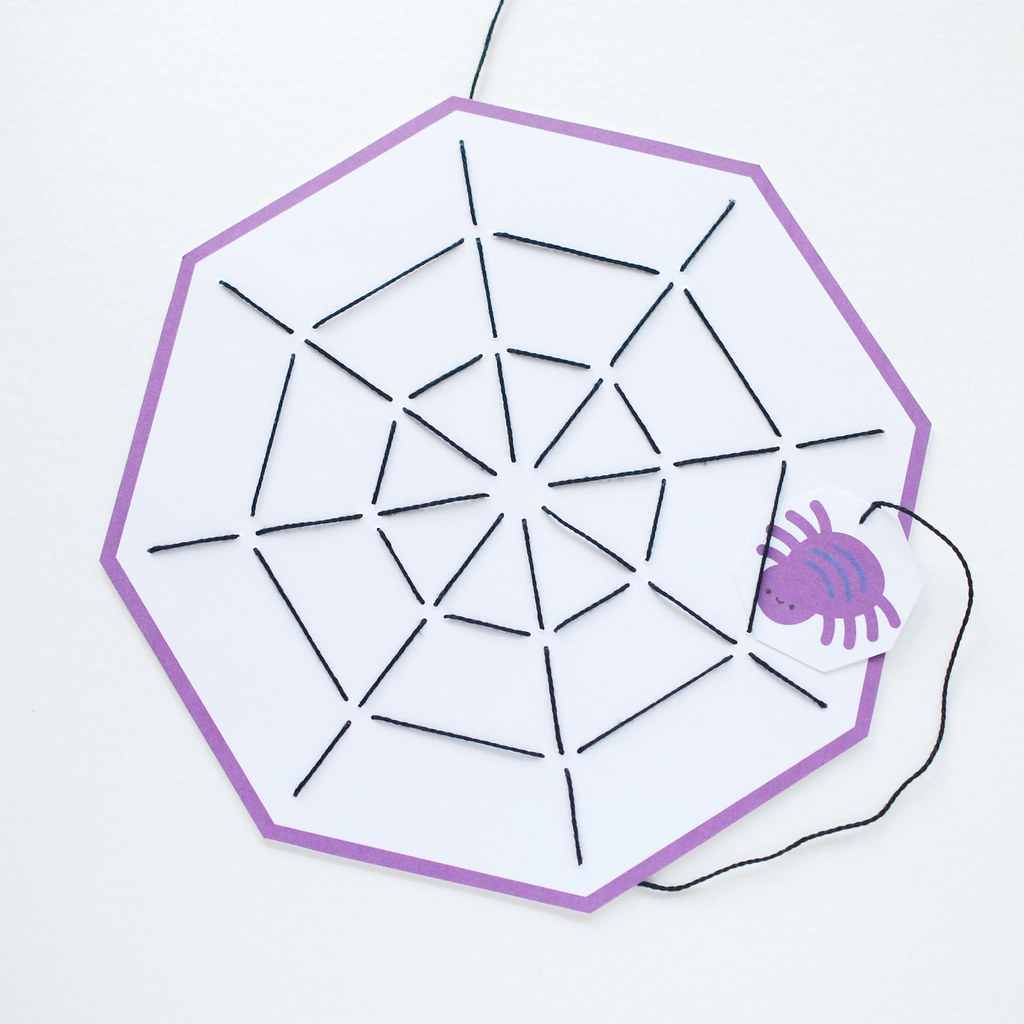
Printable Octagon Spiderweb Stitching Card


We like to decorate our house for Halloween with spider webs. We work on the decorations all year round by carefully avoiding cleaning them out of corners. We find this to be the most authentic decor.

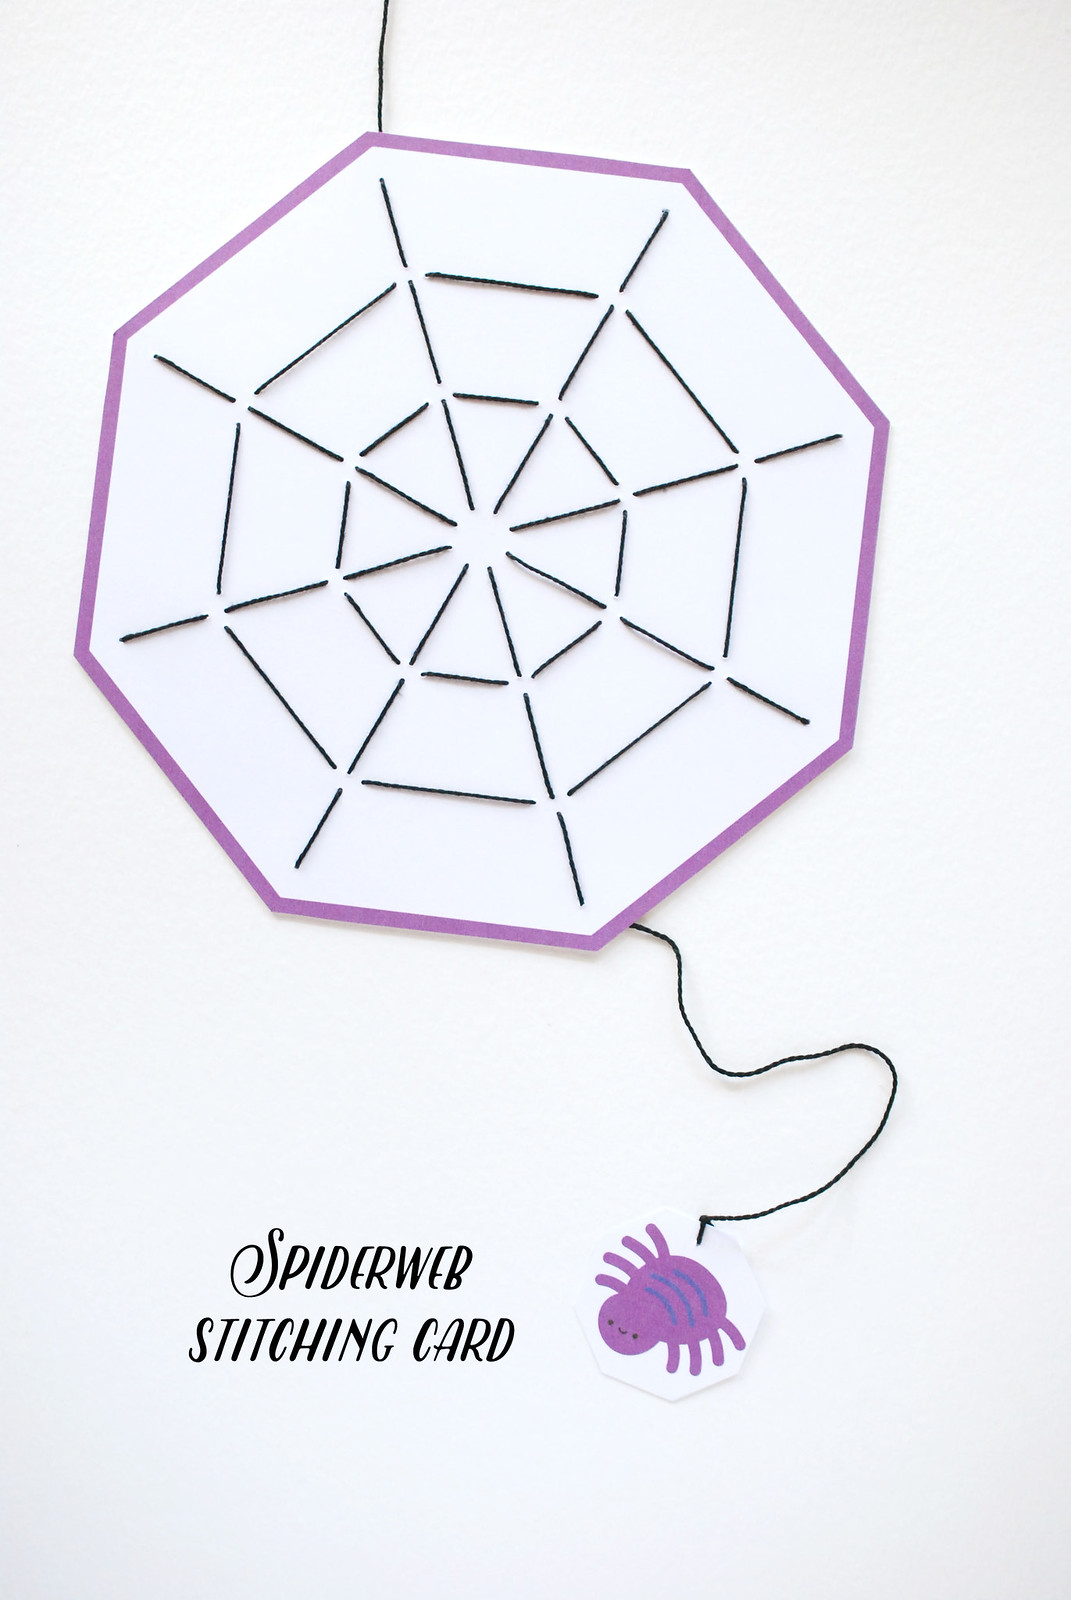
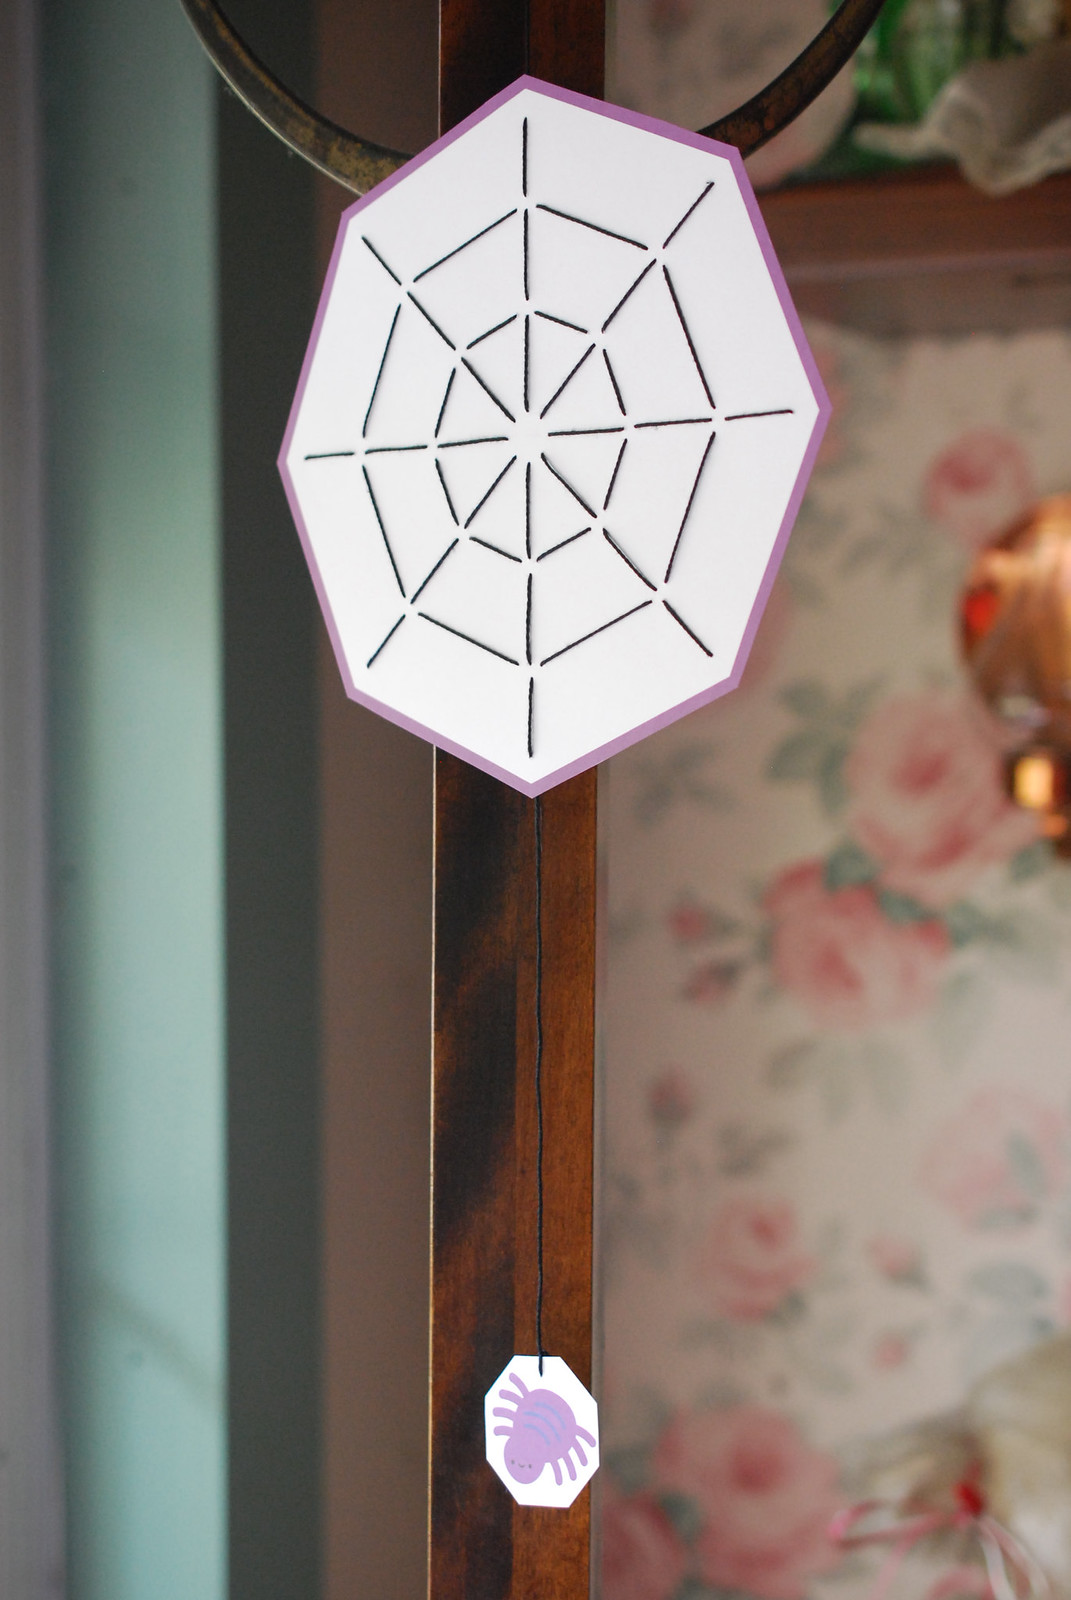
But if you're more into regular cleaning than I am, maybe you'd like to stitch a spiderweb? Or better yet, maybe your kids would like to give it a try! This printable stitching card creates a simple web for a sweet spider to hang out.

And since I've been playing with octagons this month, I thought it was a perfect shape for our spiderweb to spread out.

Printable Octagon Spiderweb Stitching Card

You will need:

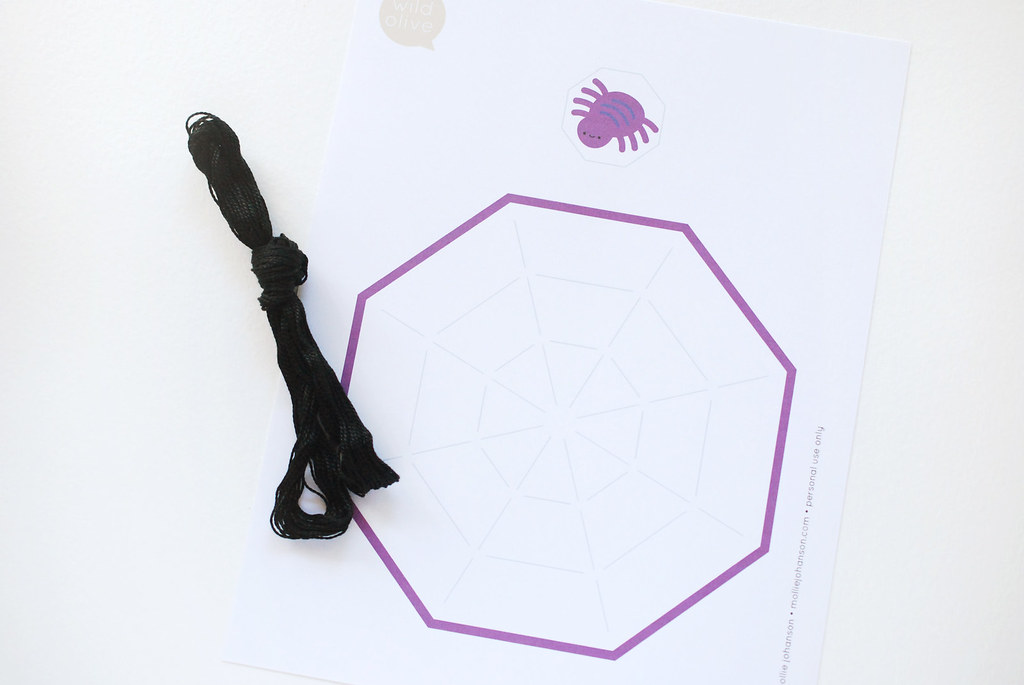
Card stock
Black embroidery floss or perle cotton
Large sharp needle

Octagon Spiderweb Stitching Card PDF

Print the PDF on card stock and cut out the web and spider. Use the needle to poke a hole at each end of the gray web lines.

Printable Octagon Spiderweb Stitching Card

Thread the needle with floss or perle cotton and tie a double knot at one end. Stitch the web lines, but leave one of the "spokes" across the entire web until the end.

Cut a 24" piece of floss or perle cotton and starting at the outside edge, stitch the last spoke. Leave an 8-10" tail hanging off the side and attach the spider here. Tie a loop in the extra string on the other side.

The spiderweb can hang as a decoration, and the spider can hang down below, or she can play in the web!

Printable Octagon Spiderweb Stitching Card

Wouldn't it be fun to stitch a few of these to have hanging around your house? I bet your kids would be very excited to be able to help by stitching them, but I know that I had fun making one as an adult. You will too!

Happy Halloween crafting!

halloween epp blog hop // happy hexagon candy basket

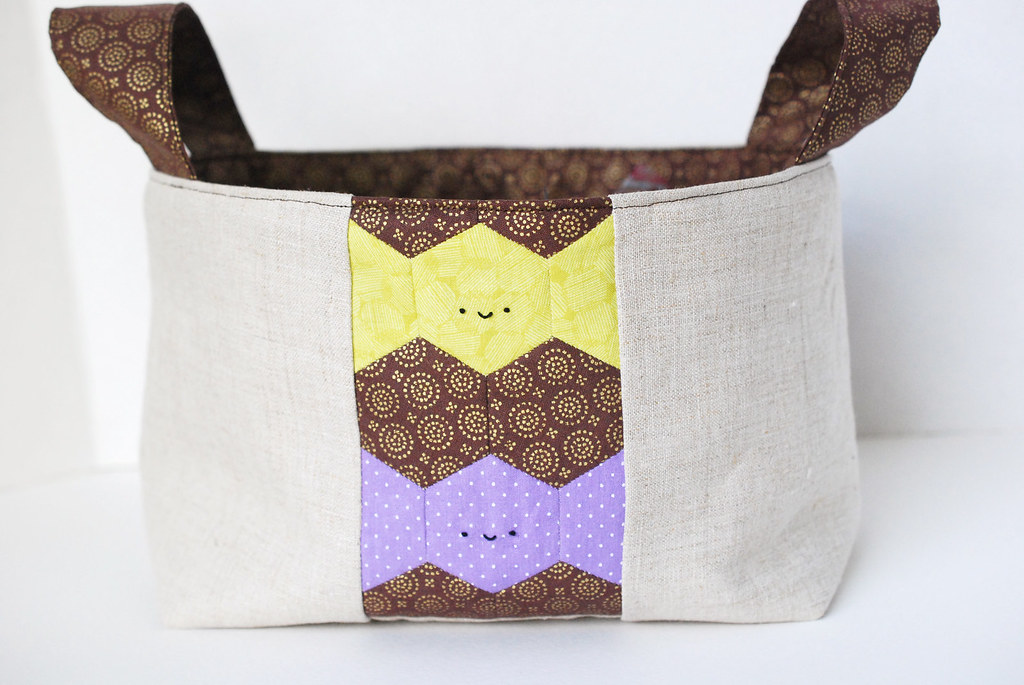
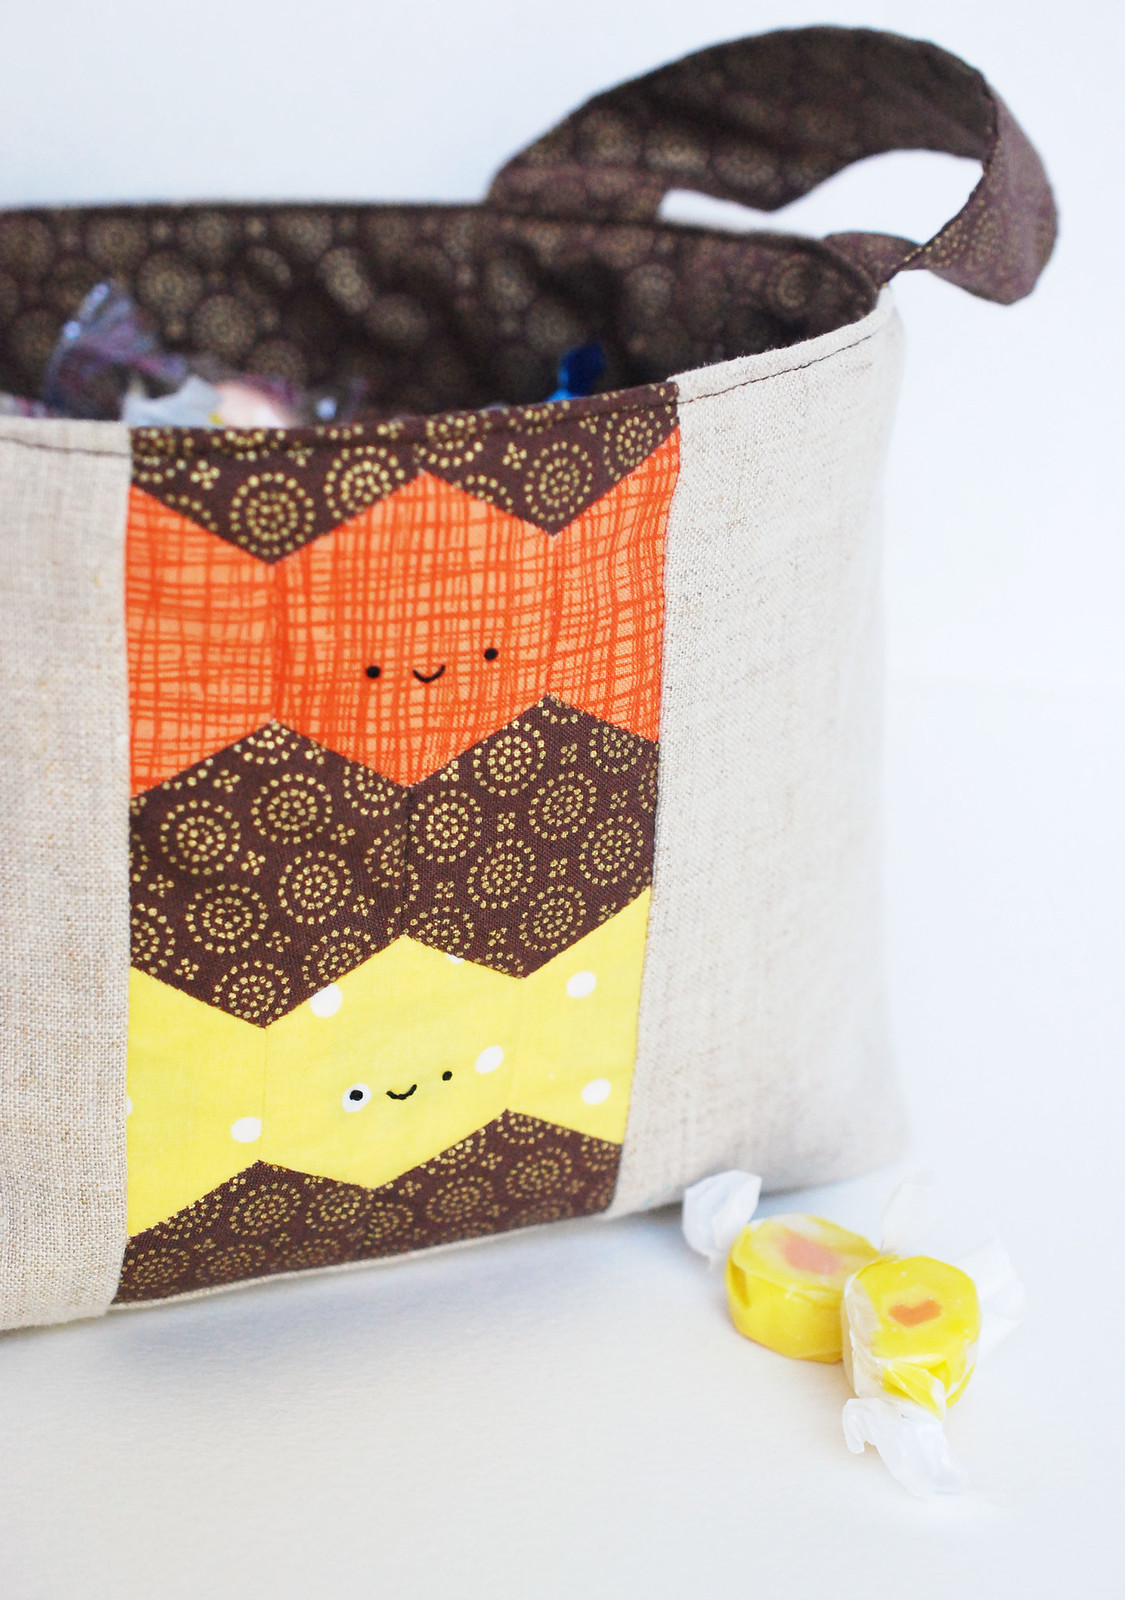
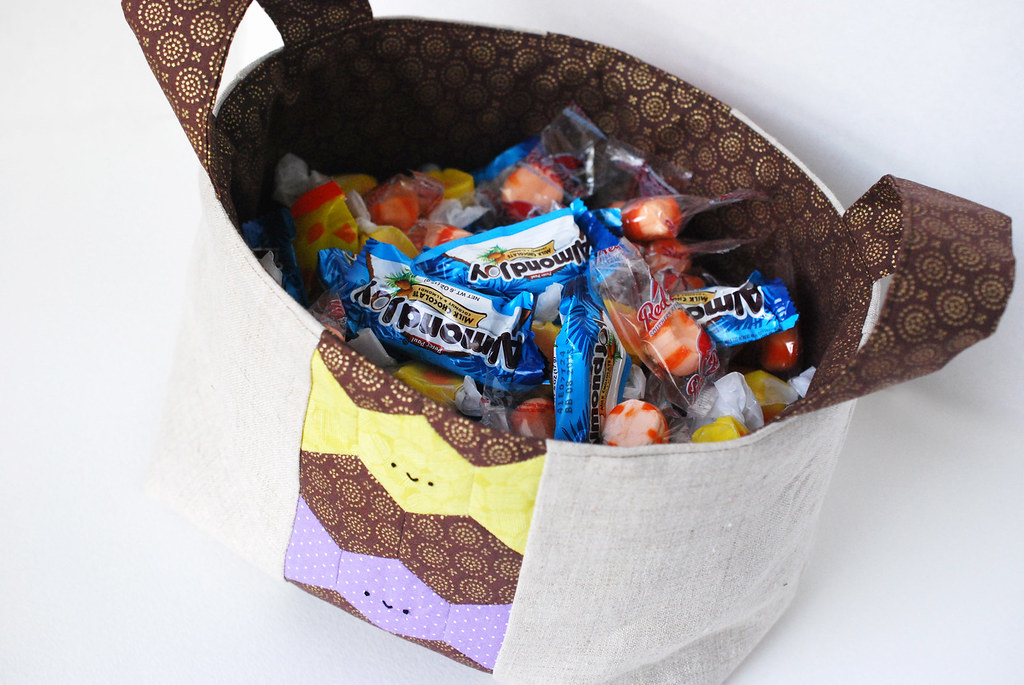
EPP Halloween Candy Basket


It's nearly Halloween, and I hope you've purchased plenty of candy. You know...some to hand out, but plenty for you to just enjoy. I always regret not buying enough for myself, so I'm officially giving you permission to do this.

After you have the candy, all you need is something super cute to hold it all, and that's where I come in. Diane Gilleland wrote an incredible book on English paper piecing (it's the textbook on EPP...you need it), and she has organized a little blog hop with ideas for things to make for Halloween...all using EPP!
EPP Halloween Candy Basket

This candy basket has two panels of hexagon candies, and is put together using the 1-Hour Basket tutorial. It's just $5.00 and highly customizable. You'll be glad to have it in your pattern library.

To save time, you could make just one EPP panel and do the second side solid (you will need 1/3 yard of linen instead of 1/4). But I promise that the hand sewing portion of this goes faster than you think. Plus, you'll get a chance to watch a couple of your favorite Halloween movies while you work!

Now, let's get started!

Here's what you need:

Quilting cotton for candy pieces (enough to make 4 hexagons and 8 half hexagons)
Quilting cotton for accent hexagons, lining, and handles (1/2 yard)
Linen (1/4 yard)
Fusible fleece batting
Basic sewing notions

Hexagon and Half Hexagon Templates

Note: You can use standard 1-inch hexagon templates for this, and just cut a few in half.
EPP Halloween Candy Basket

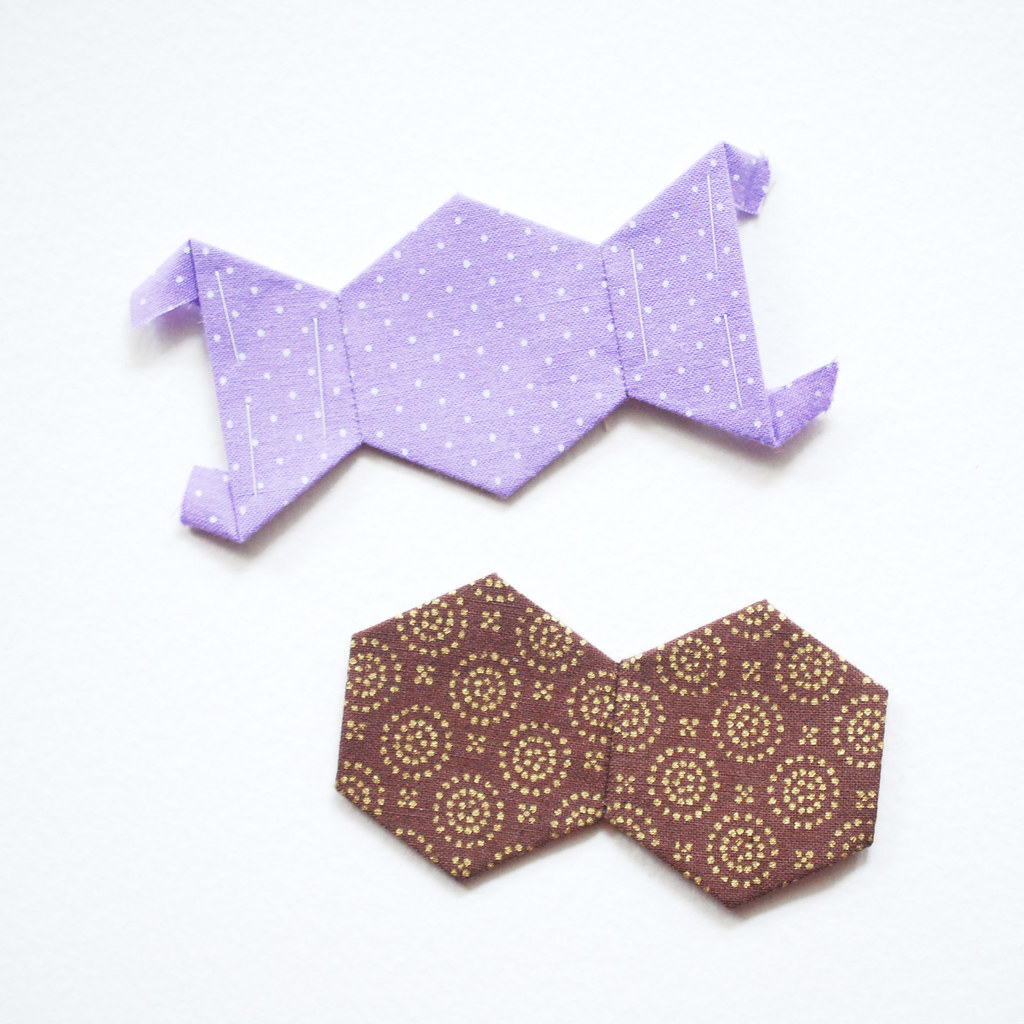
First, baste the hexagons and half hexagons. You will need 12 whole hexagons from the accent/lining fabric. For each piece of candy, baste one whole hexagon and two half hexagons. You can make each candy piece in a different color, or make them all the same. But you'll need four in total.

Normally I baste 1-inch hexagons by tacking the fabric on the back, which is what you see pictured. I've found that half hexagons come out nicer if I stitch through the paper (because of the acute angles). After I made my basket, I realized it would have been helpful if I had stitched through the paper on all of these pieces. You'll see why soon.

Join the candy pieces to look like little pieces of candy, and stitch the accent hexagons into groupings of two.
EPP Halloween Candy Basket

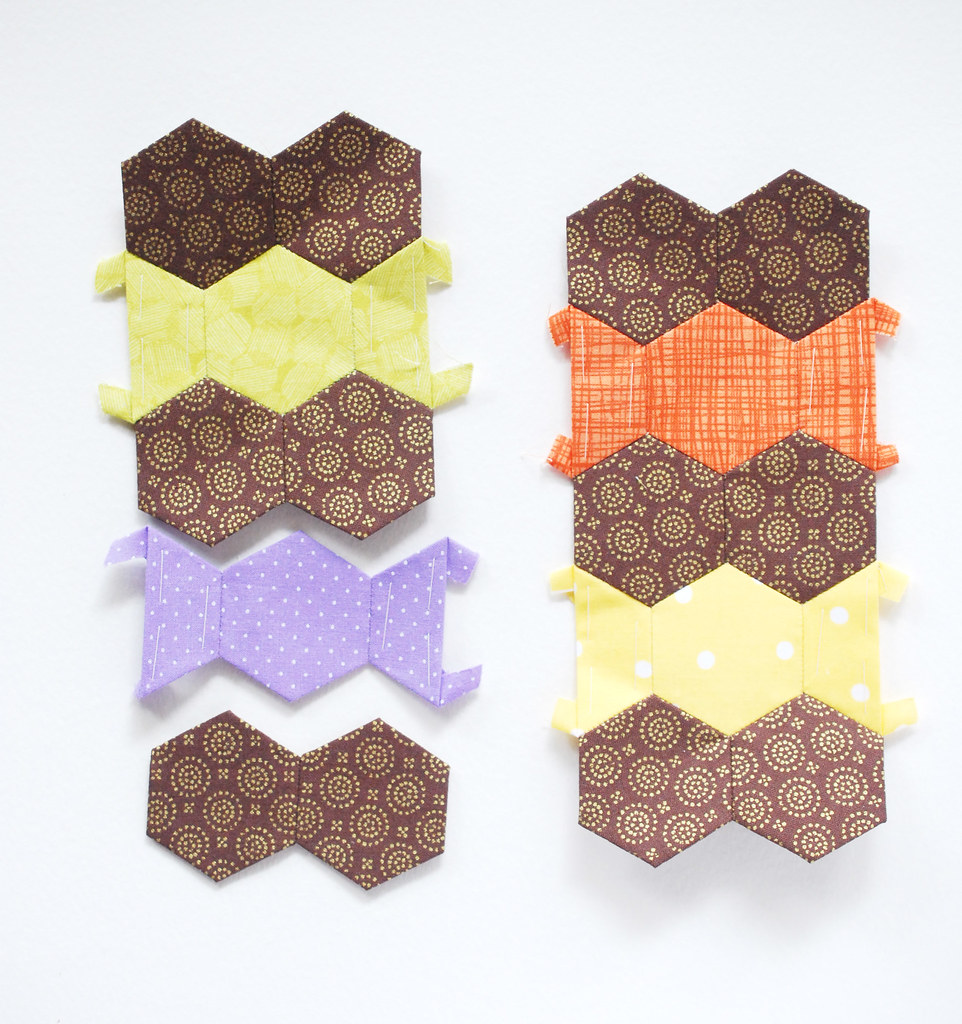
Join the candies and the accent hexies into two rows. Each row should be a stack with accent hexies, a candy, accent hexies, a candy, and finally one last set of accent candies.
EPP Halloween Candy Basket

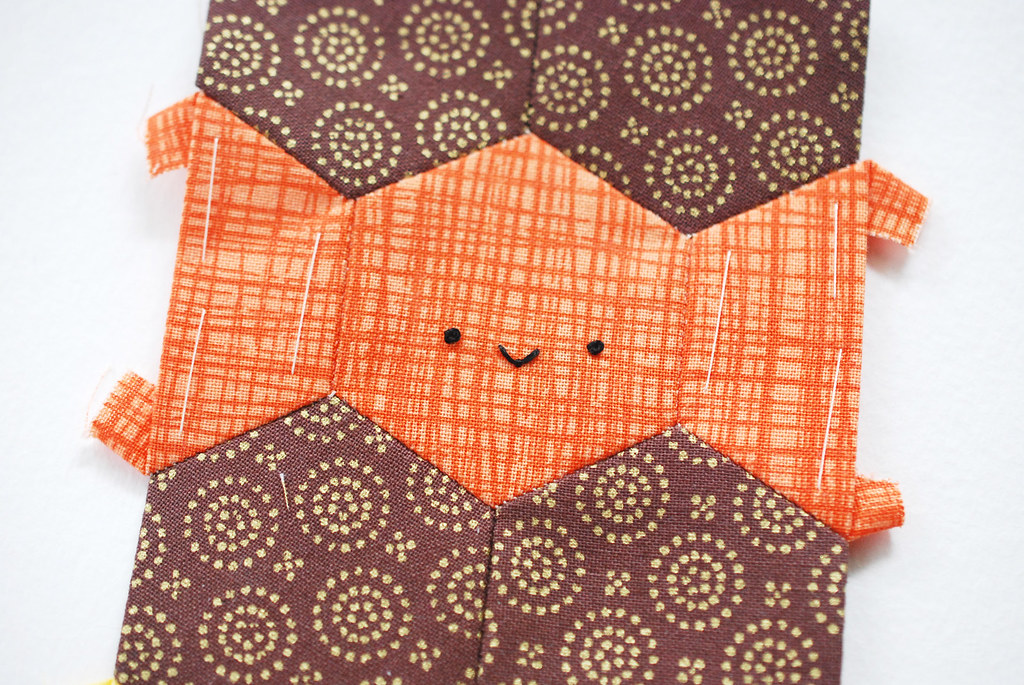
Remove the templates from the center of the candies, then embroider the faces. The faces are french knots and a scallop stitch. Of course, you can skip the faces, but you wouldn't want to do that, would you?
EPP Halloween Candy Basket

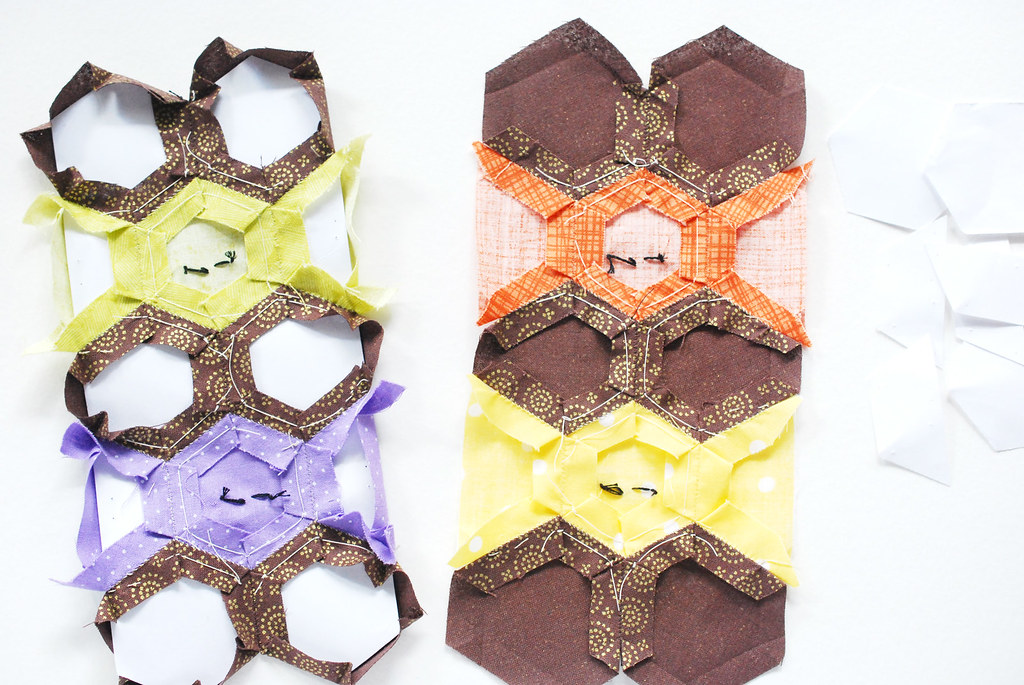
Now, remove the paper templates from all of the pieces. If you stitched through the paper, you'll need to remove the basting stitches. If you only took tack stitches, you'll still probably need to remove the basting stitches...at least around the edges. (It's easier to remove basting that goes through the paper!)

Open up the seam allowance all around the EPP panel and give it a gentle pressing with an iron. Don't remove the creases entirely, because they'll be your friend coming up.
EPP Halloween Candy Basket

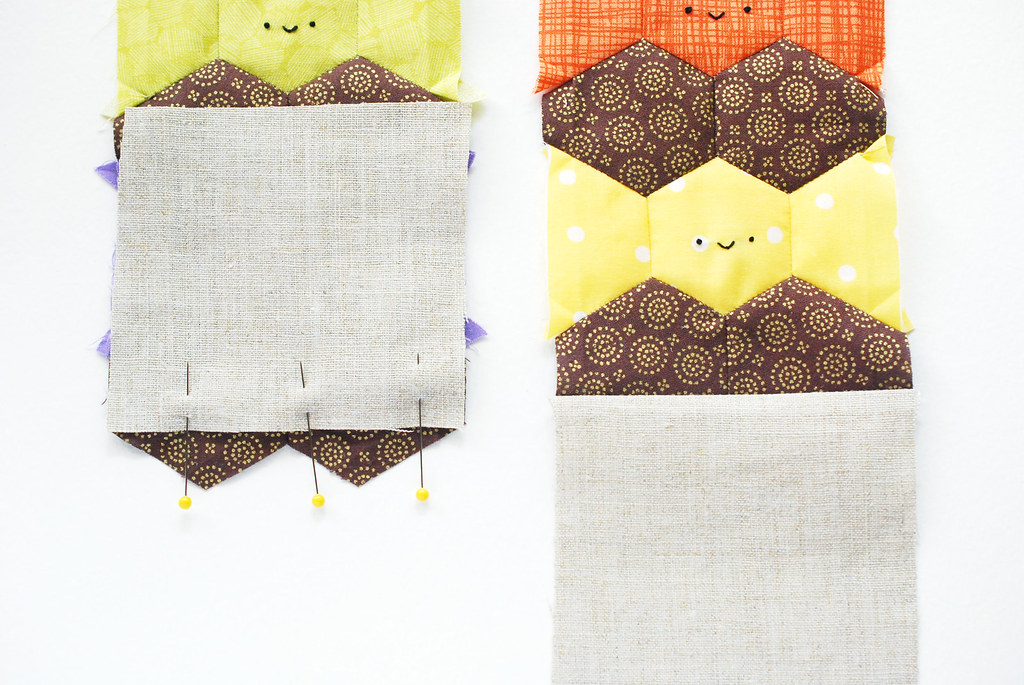
Cut two pieces of linen: 4 x 4-1/4 inches.

Pin a linen piece to the right side of the bottom of each EPP panel. I like to leave the points of the hexagons on until after it's all sewn, but imagine if you had cut off the bottom so it has a straight edge. That's where you line up the bottom of the linen.

Sew along the edge with a 1/4 inch seam and press the allowance toward the linen. Repeat for each panel.
EPP Halloween Candy Basket

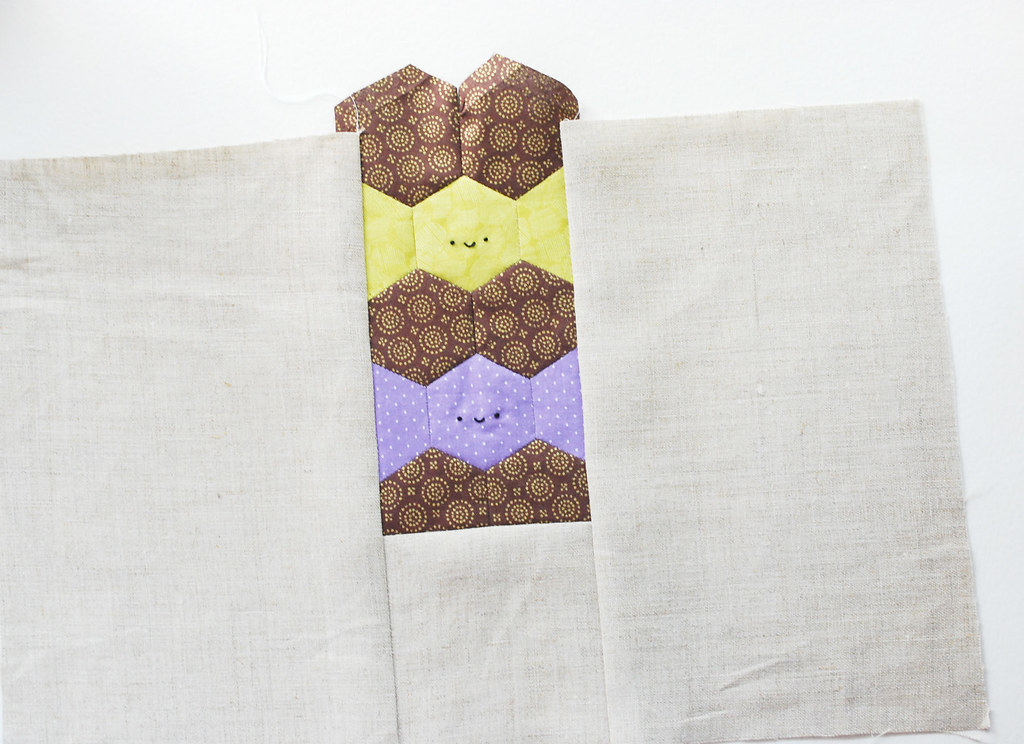
Cut four pieces of linen: 10-1/2 x 6-7/8 inches.

Pin and sew a piece of linen along each side of the EPP panel, aligning the pieces with the bottom linen piece. Repeat for each side.

When you sew the edges, use the crease of the hexagons as your guide for seam allowance. If your seam allowance is too small and your seam falls outside of the crease, the seams of the joined hexagons won't go all the way to the new seam. If this is super confusing, let me know.

Trim the top hexagons to be even with the linen.

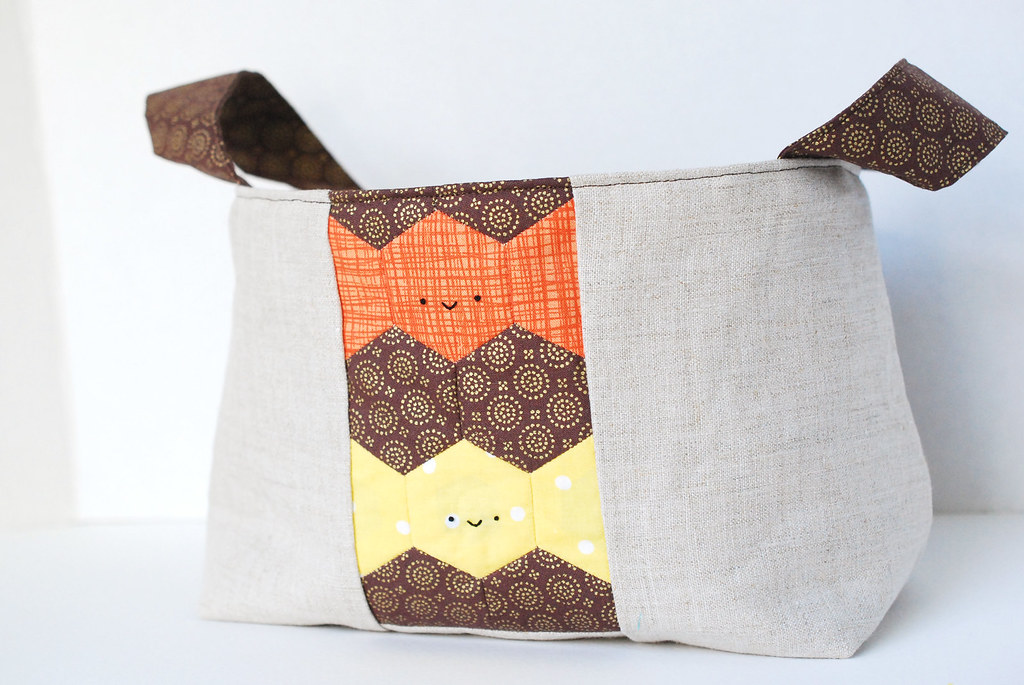
Now you're ready continue the tutorial for the 1-hour basket. Basically, you've just created the two exterior pieces.
EPP Halloween Candy Basket

When you're finished, it should look something like this!

What I love about the 1-hour basket is that it's pretty adaptable when it comes to size. Piecing this together I had some moments where the linen shifted or my seams were off just a bit. But as long as the exterior, interior, and batting all match up (trim as needed!), it works. I need forgiving sewing projects in my life!
EPP Halloween Candy Basket

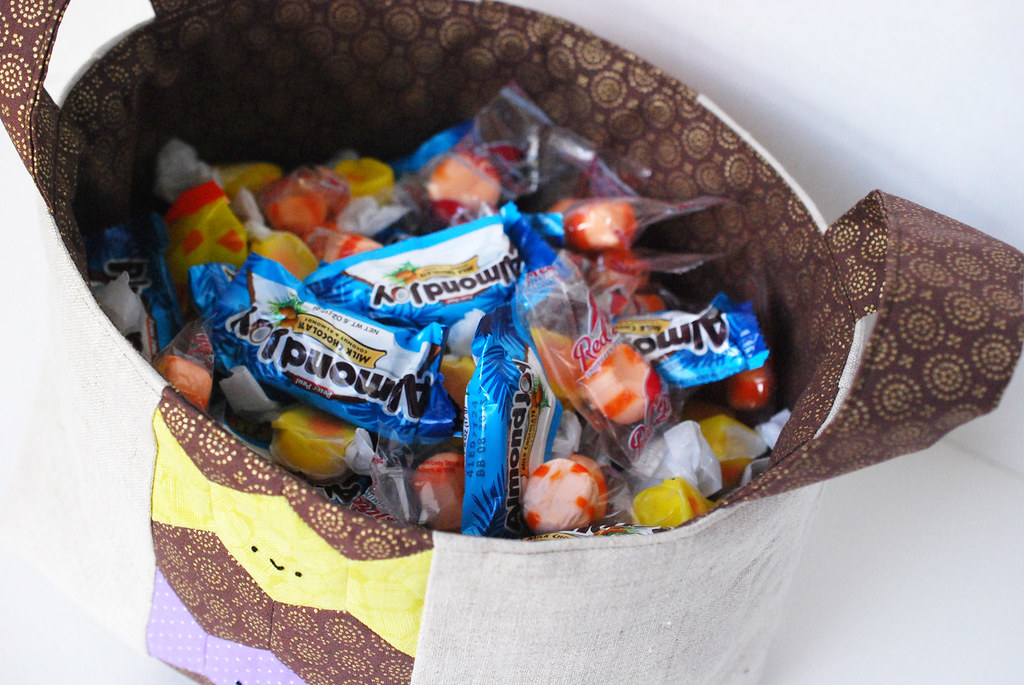
All that's left now is to fill your basket with your favorite candy! Er, I mean, the candy you'll pass out on Halloween! Okay, so I guess that could be the same thing. You know, just in case you forget to turn on the front light and no one knocks on your door.

And while the design for this was inspired by those black and orange wrapped peanut butter candies, please promise me that you won't hand those out. Nobody likes those.
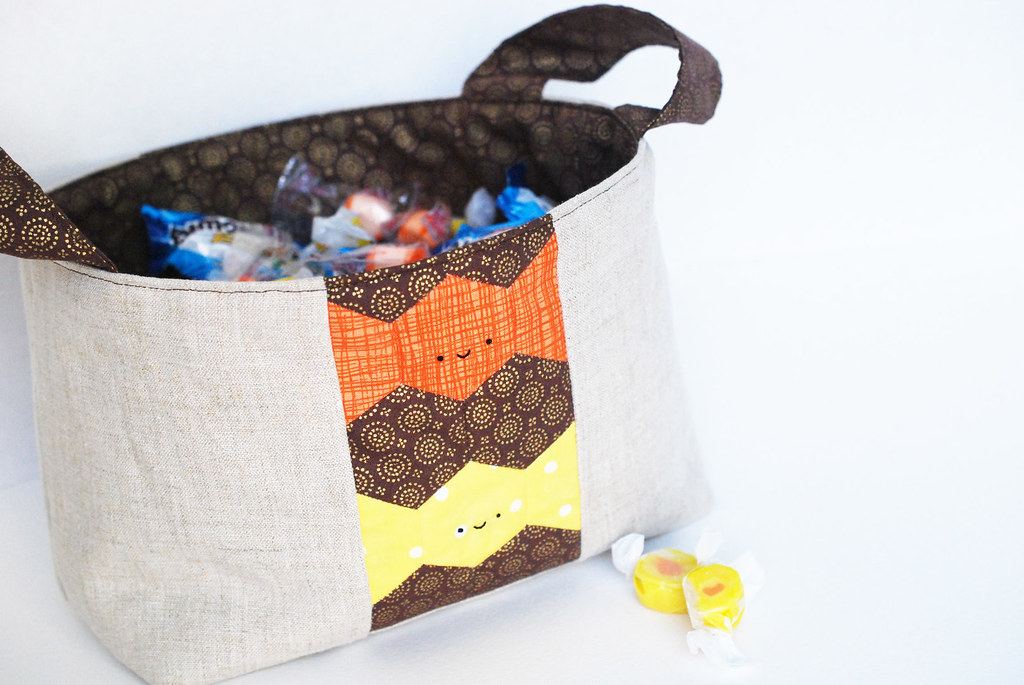
EPP Halloween Candy Basket

For more fun Halloween EPP tricks and treats, check out the other stops in Diane's blog hop! I'm only the third stop, and there will be more added as the week continues. Happy Halloween stitching!
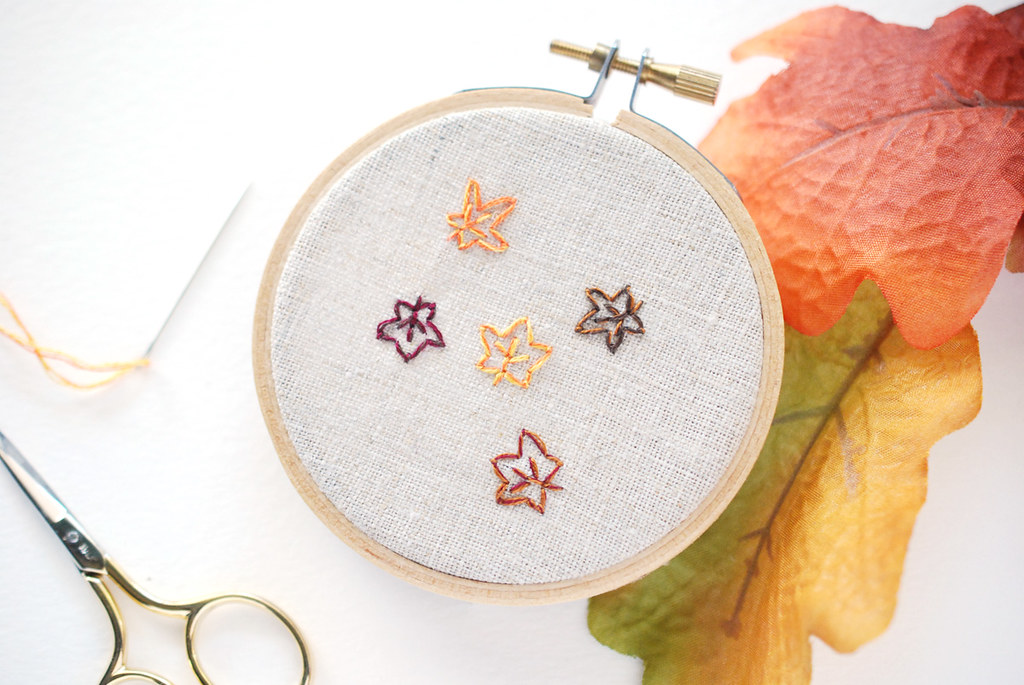
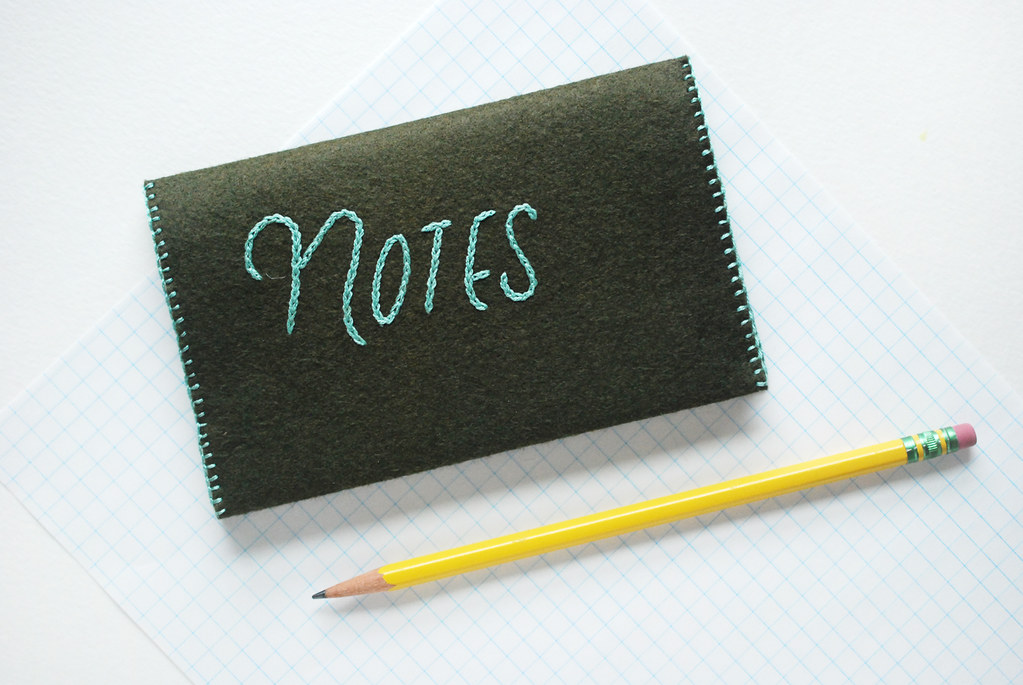
stitching and sketching behind the scenes

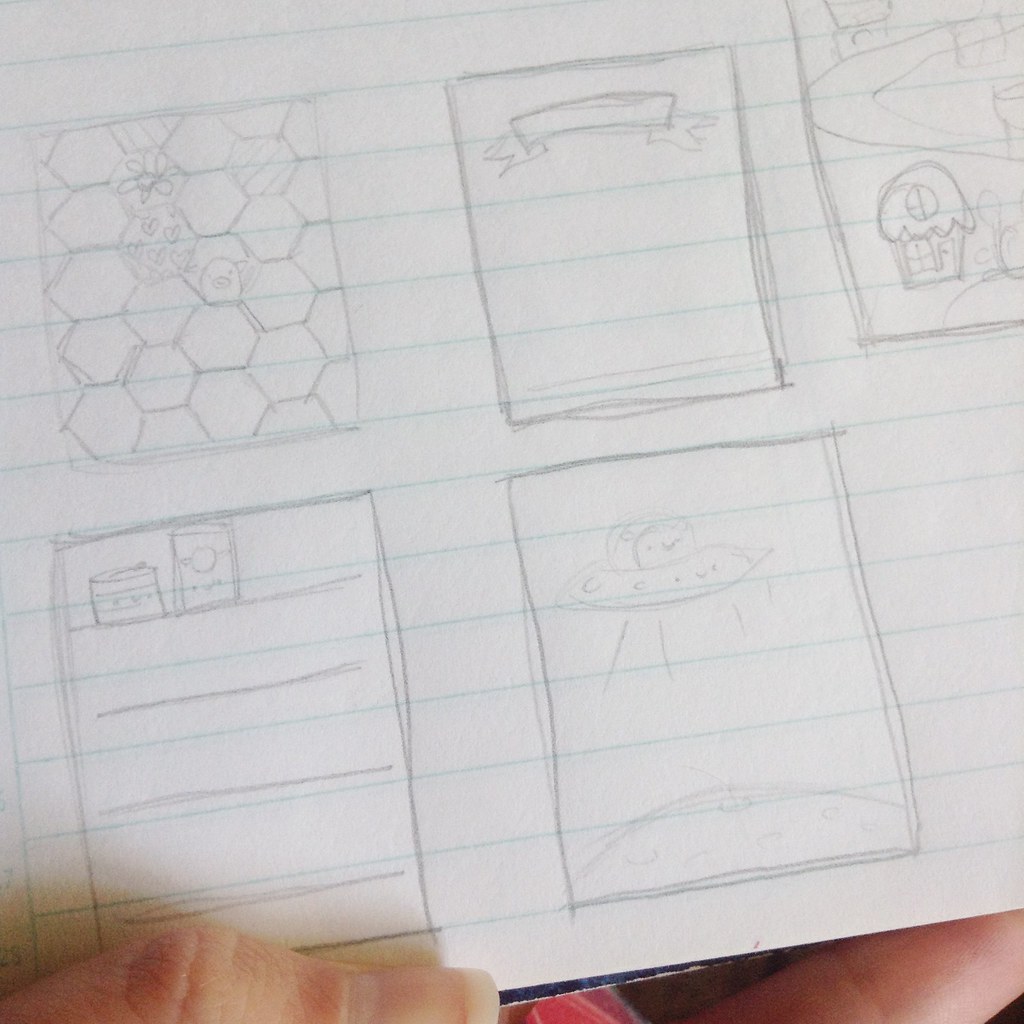
little sketches

The other day I was talking with my good friend about how it seems like we used to be able to do a lot more than we can now. There were times when I was posting here every day, plus releasing several new pattern sets a month. Plus more. I look back on that time and laugh. Or cry. Sometimes both.

Right now I'm not posting tons of blog posts or releasing new patterns very often. But I am doing plenty of the "plus more".

There has been much sketching for something super exciting and a ridiculous amount of stitching. Also for some very happy things! And I can't show you any of it. (Like, those sketches above are only there because they ended up becoming nothing.)

What are you working on these days? Fun things? I hope so. In the meantime, I've got a new free Halloween pattern up over on About.com.

Happy stitching and sketching and crafting and creating!

pattern // dia de los muertos skulls and flowers

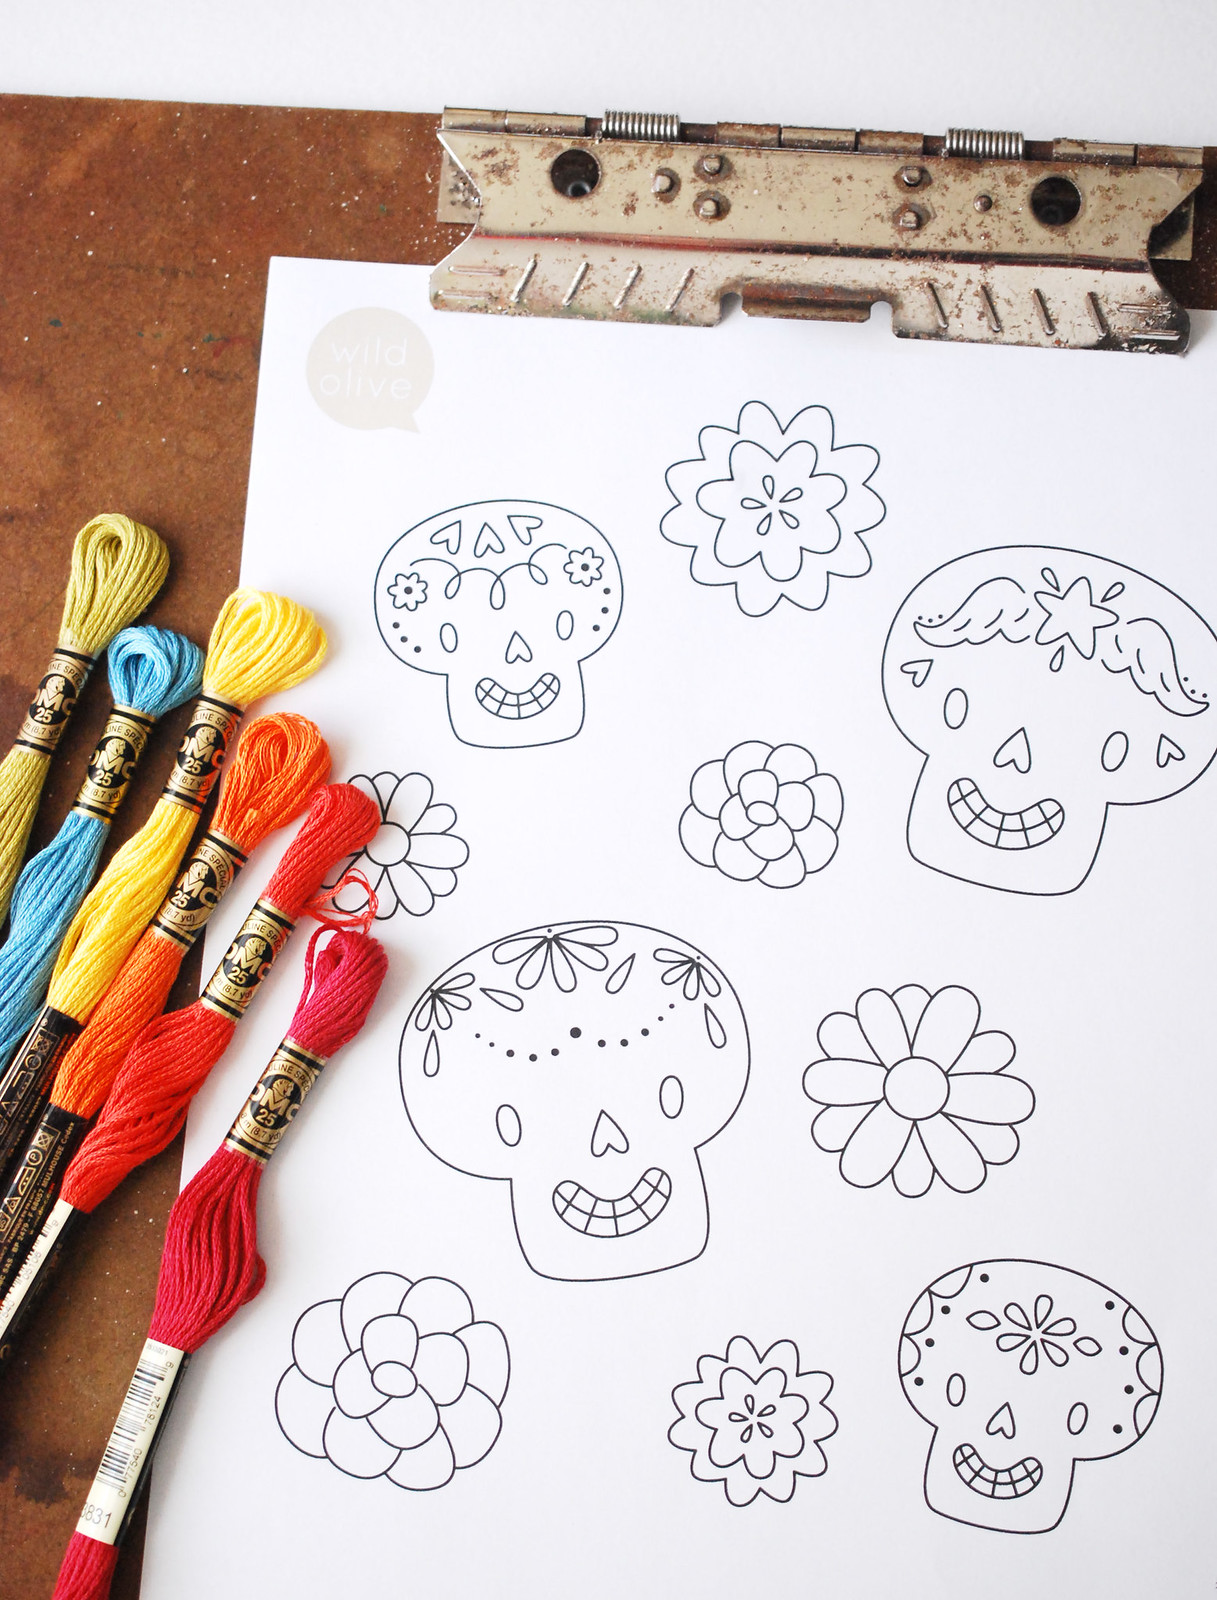
Dia De Los Muertos Embroidery Patterns

At my house we don't do much celebrating for Day of the Dead, but I find many of the decorations to be pretty fun. So last year I designed a printable wreath project for Handmade Charlotte. The wreath features layered flowers and sugar skulls...with a bit of a Wild Olive flair.

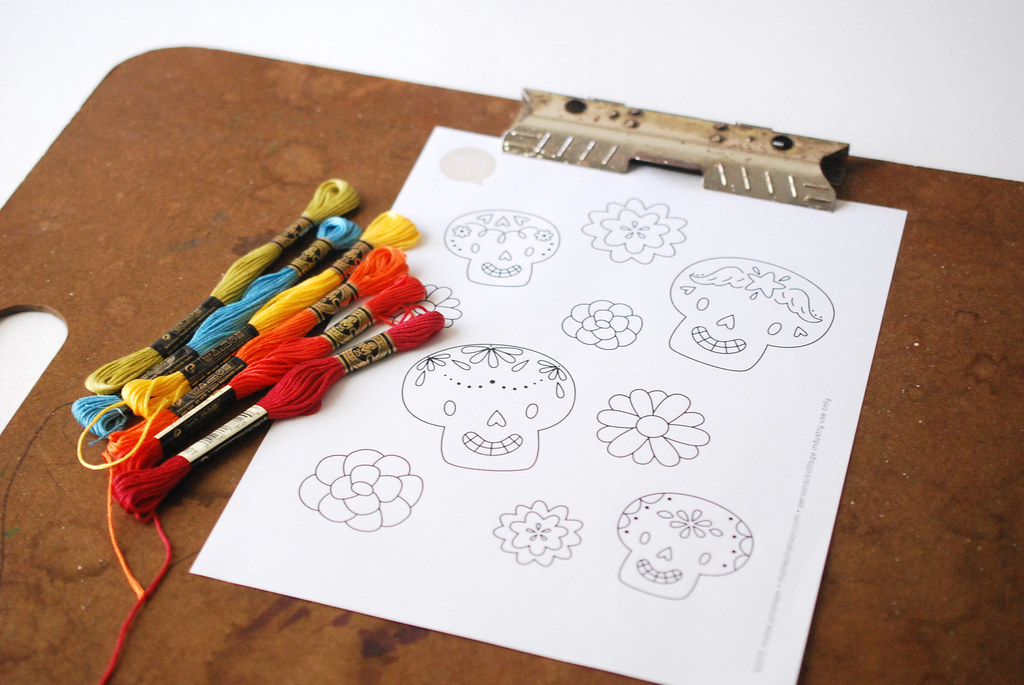
I always thought they'd make excellent embroidery patterns too, so I adapted them slightly so they are stitchable.

Dia De Los Muertos Embroidery Patterns


They can be used as individual motifs, but I think they'd be fantastic layered. You know, a skull with a grouping of flowers, or maybe even a few skulls for a larger design! I'll leave that up to you.

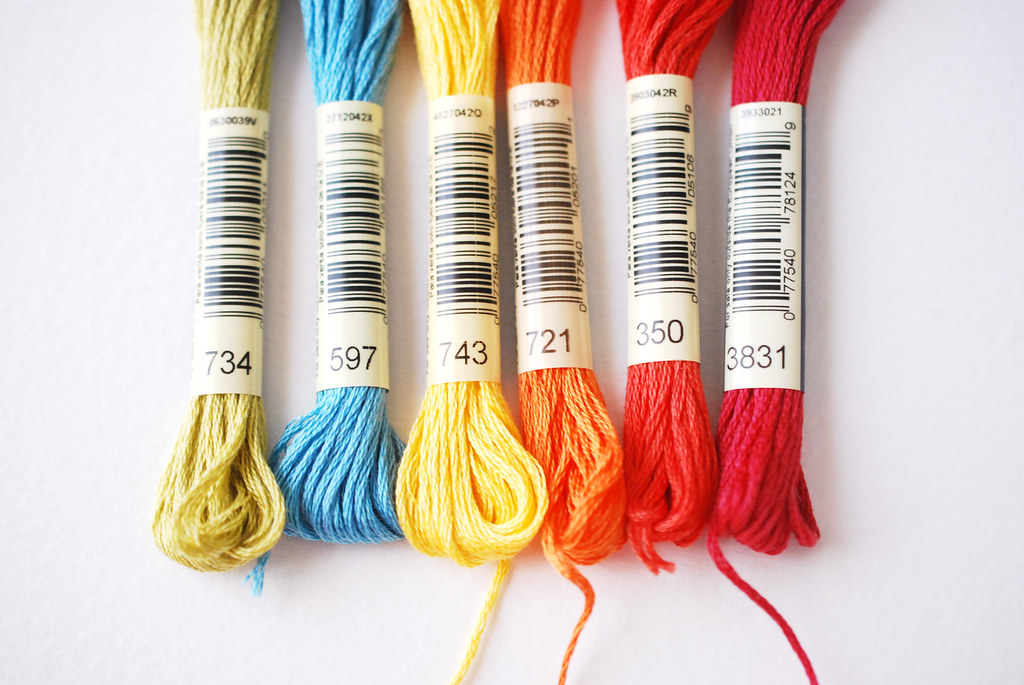
I did take the liberty of choosing a few colors that would be fun for your Dia de los Muertos stitching...

Dia De Los Muertos Embroidery Patterns

Add some black and/ or white to these DMC colors and you'll be ready to stitch a celebration!


And then don't forget to check out the printable wreath. There are more skull designs there too, so you may even be inspired to create your own decorative designs on the sugar skull outline!