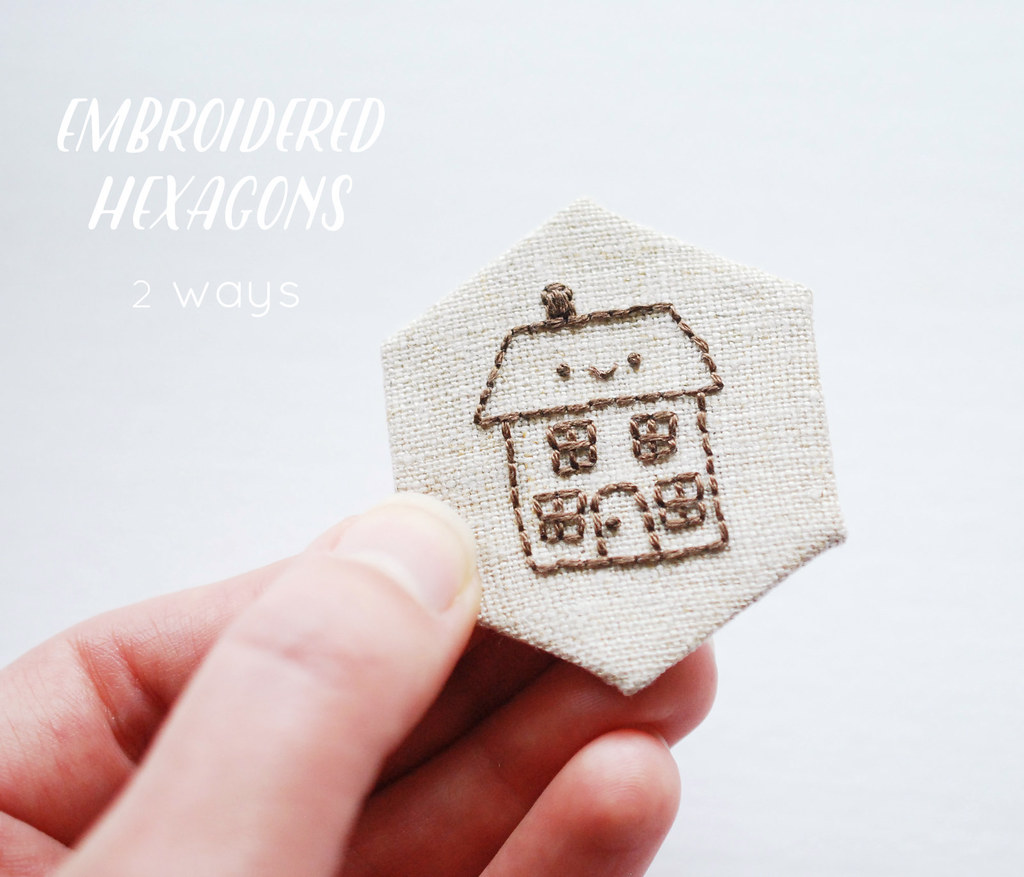

I am willing to try just about any craft, but my favorite is stitching. I say stitching because I like embroidery and hand sewing types of things, and that covers both. So when I can bring embroidery and English paper piecing (the ultimate hand sewing, if you ask me!) together in one project, I'm a happy gal.
Since I've been showing and sharing patterns for making embroidered hexagons, I thought it might be helpful if I showed how I make them. It's really easy, and you may have already figured it out. But just in case, here are two ways to make them.
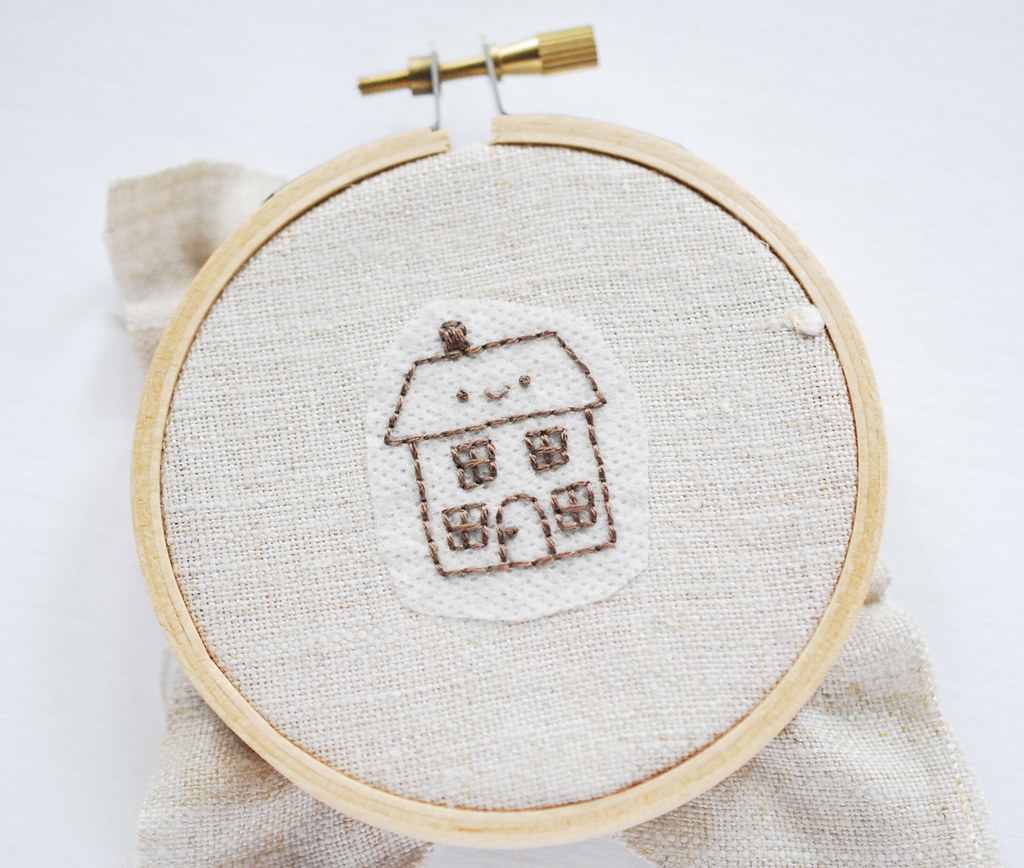
This first way is what I prefer to do, and it's what I would recommend. Potentially it has a bit more fabric waste, but it's the easier way.
Start by doing some embroidery on a piece of fabric that is large enough to accommodate the hexagon (or other EPP shape) you'll be cutting out. That means the actual shape, plus seam allowance.
When I stitch on linen, I pretty much always use this method for transferring my pattern. I also allow extra seam allowance, because linen does fray a bit.
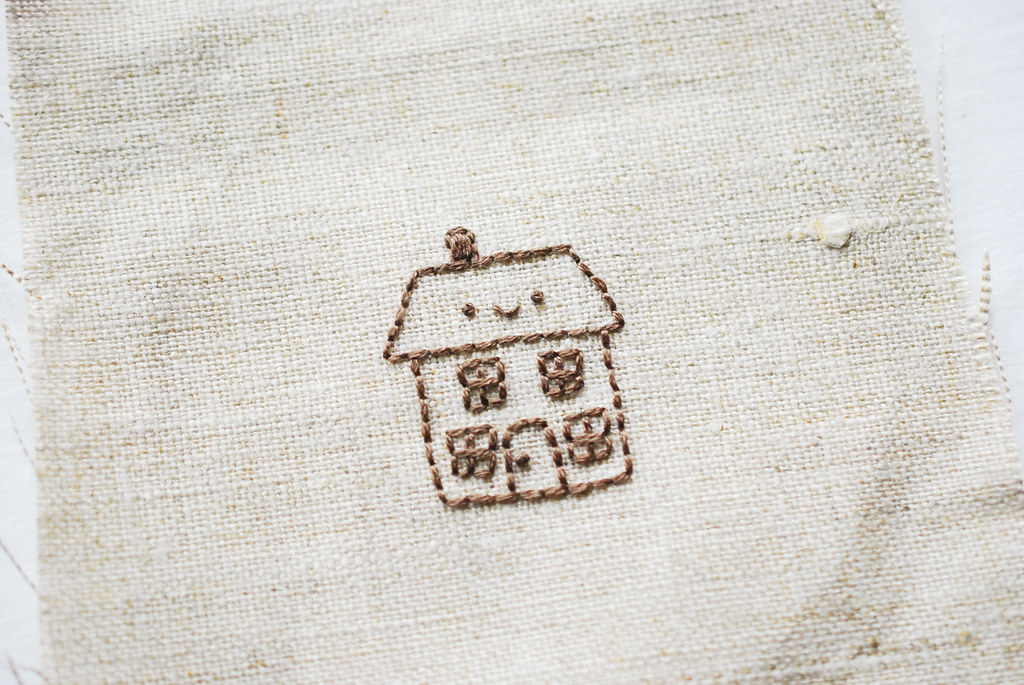
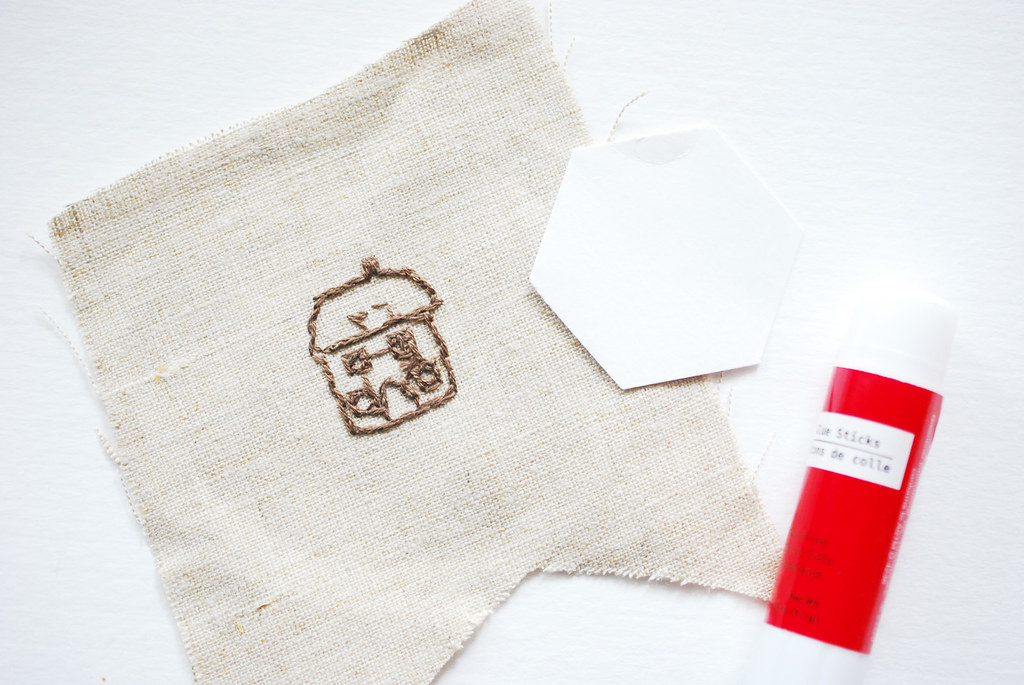
After soaking away the pattern material and letting it dry, it's ready to make a hexagon. If you traced your pattern another way, as soon as the embroidery is finished, you can start making a hexagon. Or, if you're working with some already finished embroidery, that will work too.
Flip the embroidery over, and use a bit of washable glue to attach the hexagon to the back of the fabric.
I find that you need to have enough glue touching the embroidered part to hold, otherwise the difference in texture/thickness between the fabric and floss can make it not stick. However, you don't want too much, or it will pull your stitches when you remove the hexagon template. A quick swipe is good.
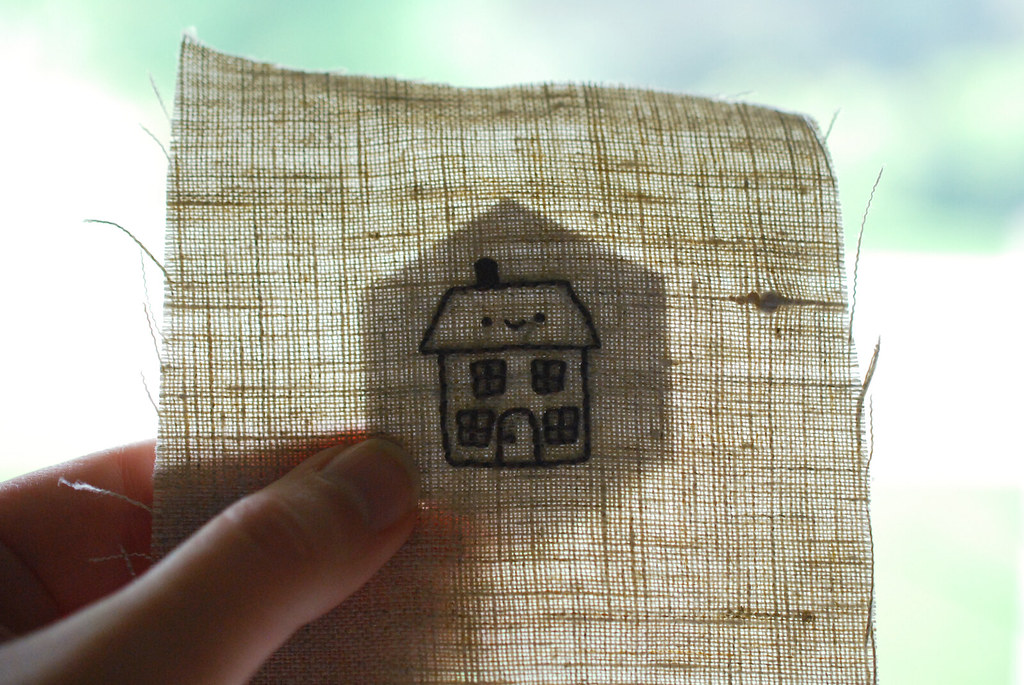
As you place the hexagon with glue in place, make sure that you are centering the embroidery on the template. Okay, so actually, you don't have to center it. You can be all asymmetrical if you want. Just place it where you are intending for it to be, okay?
I find that holding it up to the light works really well for this. It's simple and effective. But you can also get a fussy cutting template.

Trim around your template and make the hexagon as usual. (Like this, but without pins!) Easy peasy!
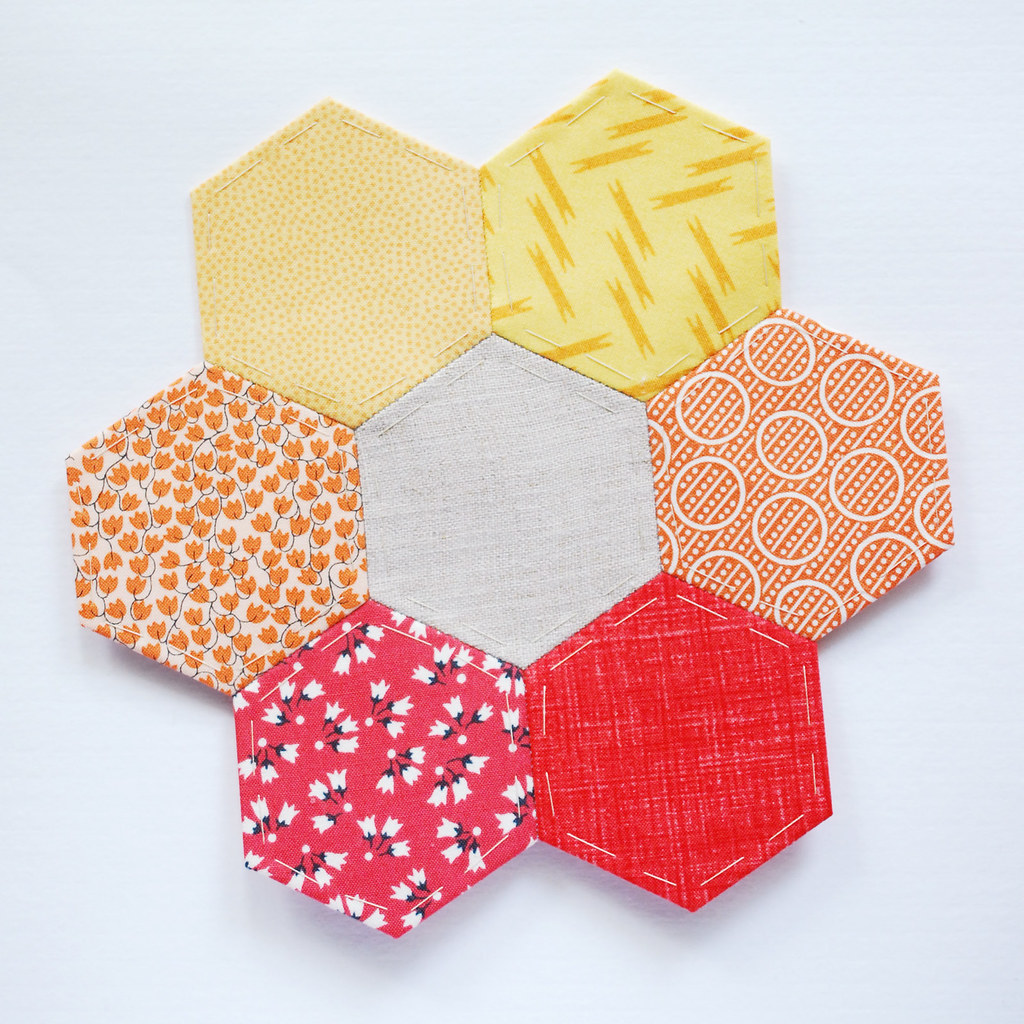
But sometimes things don't work that way. Sometimes you realize too late that you wanted some embroidery in your EPP, and what do you do then? I've gotten so excited about projects that I start putting it all together and then remember that I was going to embroider part of it. Other times, it's helpful to get a jump on assembling the EPP before you have the embroidery patterns.
No problem! Just embroider on the assembled piecing!
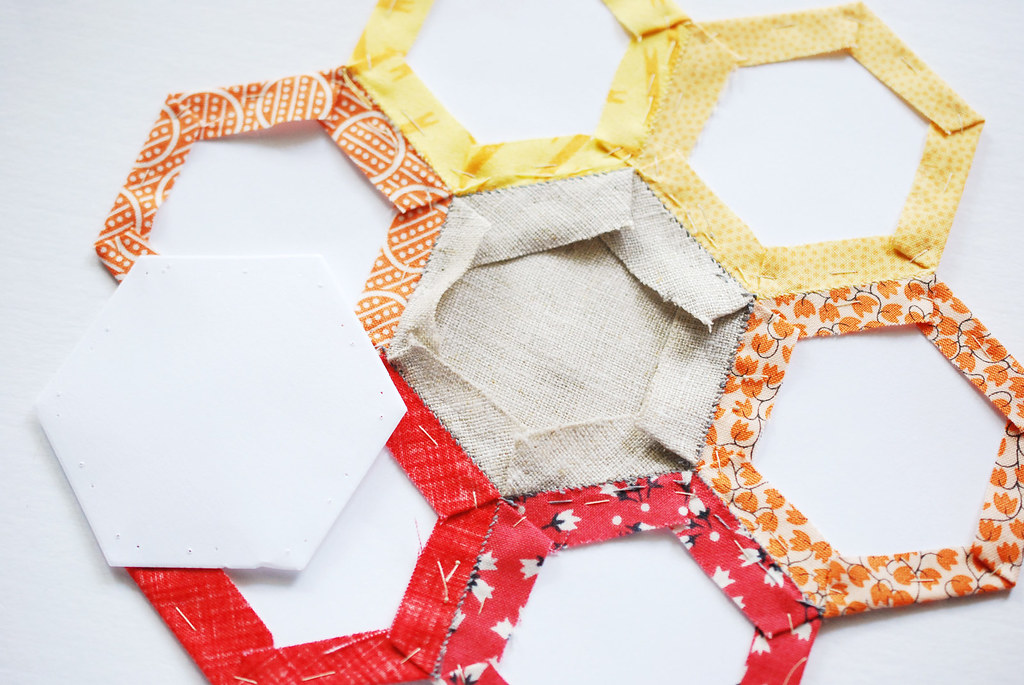
If you really, really need to work in a hoop, or if your paper templates are already removed, place the EPP panel in a hoop and stitch as usual!
If you still have the templates in place, just remove the piece that you want to embroider. The surrounding templates will help stabilize your work as you stitch.
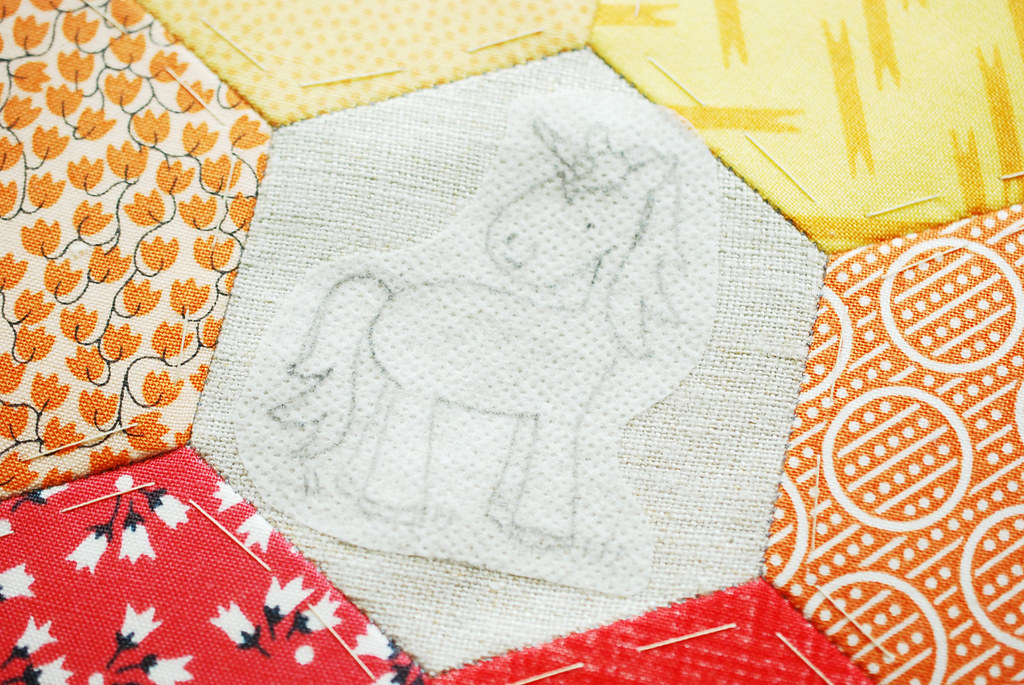
Transfer the pattern to the front of the work.
This sweet unicorn is from my book, Stitch Love: Sweet Creatures Big & Small. I chose her because this is going to become part of a rainbow EPP project that I will hopefully finish before too long. Rainbows + unicorns = yes.
Note that the pattern gets fairly close to the edges of the hexagon.
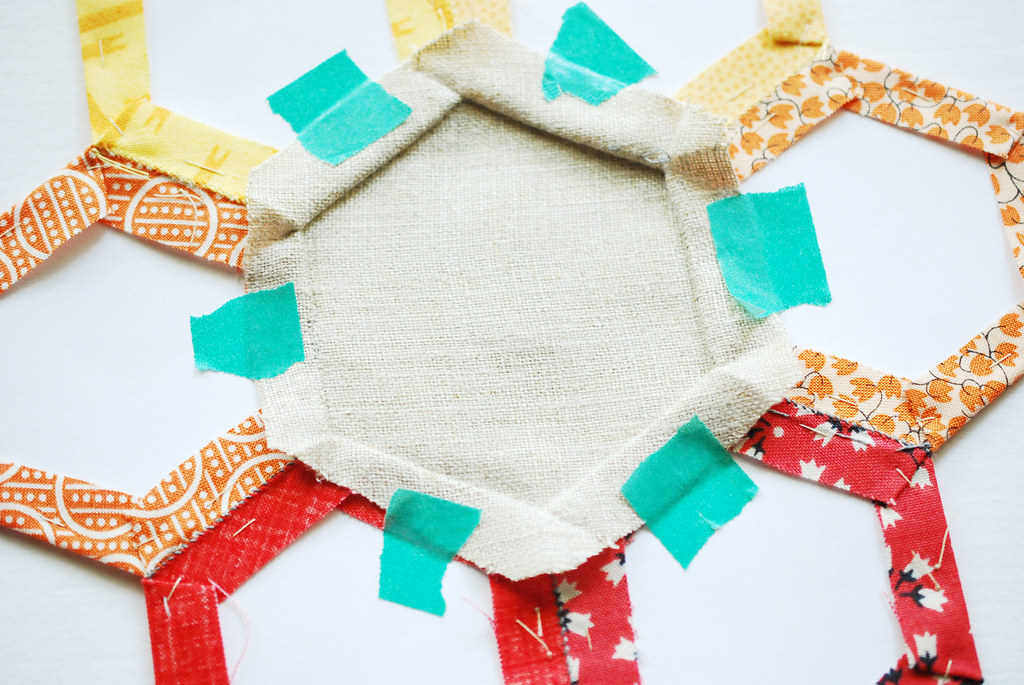
Since you don't want to stitch through the seam allowance on the back and risk that things will get lumpy, use some removable tape to hold the seam allowance out of the way.
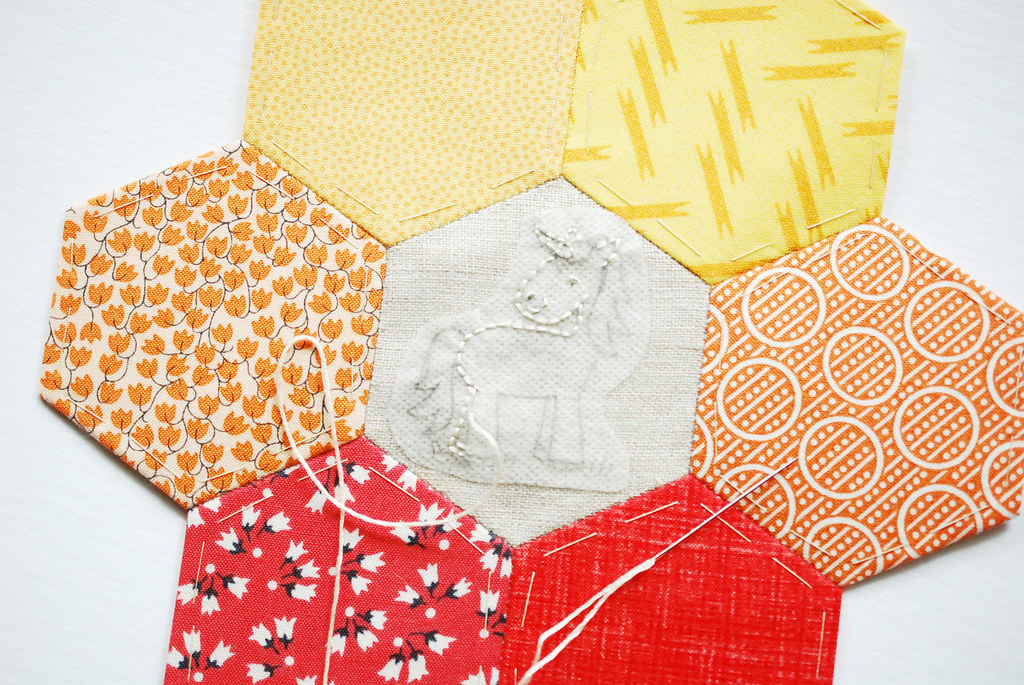
Embroider as usual. When this is all finished, remove the paper templates, then soak the embroidery. Or, if you're not using a transfer method that requires soaking, you're all finished.
Again, this second method isn't my ideal, but it works when you need it!
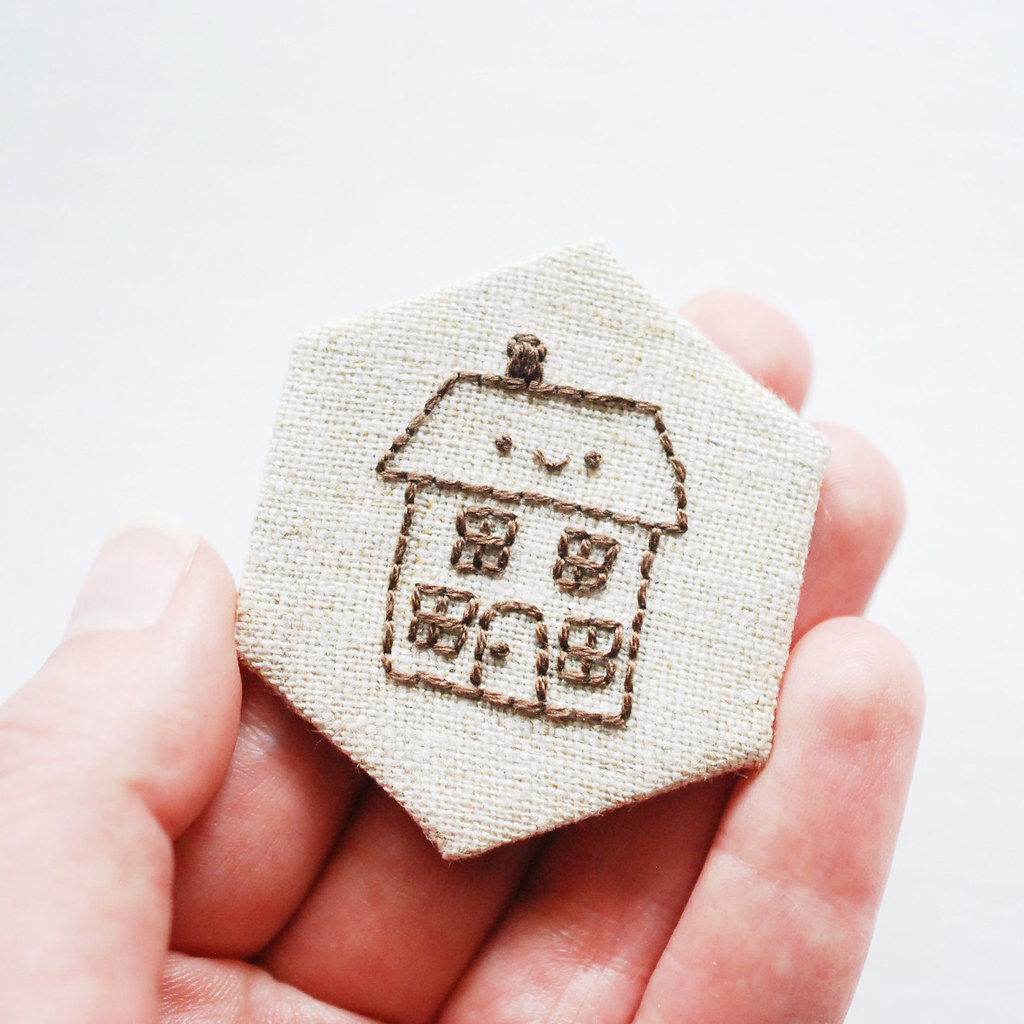

And that little house pattern is today's Hexagons Tinies design for you! It's inspired by the lovely houses that Amy of nanaCompany often has in her work, and it will find its way into a project I'm trying from her book Sweetly Stitched Handmades.
Happy hexagon stitching, friends!
Dear Mollie,
ReplyDeleteThat's soooooo cute! Thanks fir this idea!
Greetings, Rike
So super cute... love it, thanks!!!
ReplyDeleteHow do you "trim around your template and make the hexagon as usual"? I've never done EPP before, so I'm a little lost. Could you kindly help me out?
ReplyDeleteThanks!
Anonymous
Sorry about that! Here's a basic overview of how to baste hexagons:
Deletehttp://wildolive.blogspot.com/2013/04/starting-hexagon-habit.html
Since that post, I've switched from using pins to using a dab of glue stick.
Mollie I am thinking of trying my hand at EPP. Super nervous. Would you up for questions if I get stuck? As always ...thanks a heap!
ReplyDeleteDon't be nervous! It's actually quite easy, which is why it's addictive. You'll find that you're able to make complicated looking designs with the same effort as a simple one. And yes, you can always come to me with questions!
DeleteThis is great Mollie, I will be sending people here for sure :-) xo
ReplyDeleteAnother way to do it is to mark all of your hexagons on a larger piece of fabric, leaving room for seam allowance, hoop the fabric, and embroider each hexagon. Then you can embroider several hexagons on one piece of fabric and cut them apart when you're done. Far less fabric waste.
ReplyDeleteDefinitely! If you are doing more than one embroidered hexagon from the same fabric, this is the way to go. Thanks!
Deletethese would be so cute for basket/container labels around my house!
ReplyDeletethese would be so cute for basket/container labels around my house!
ReplyDelete