about shop patterns projects printables extras sponsorship wild olive twitter flickr pinterest subscribe
Showing posts with label hexagons. Show all posts

printable // hexagon number puzzle

Printable Hexagon Puzzle


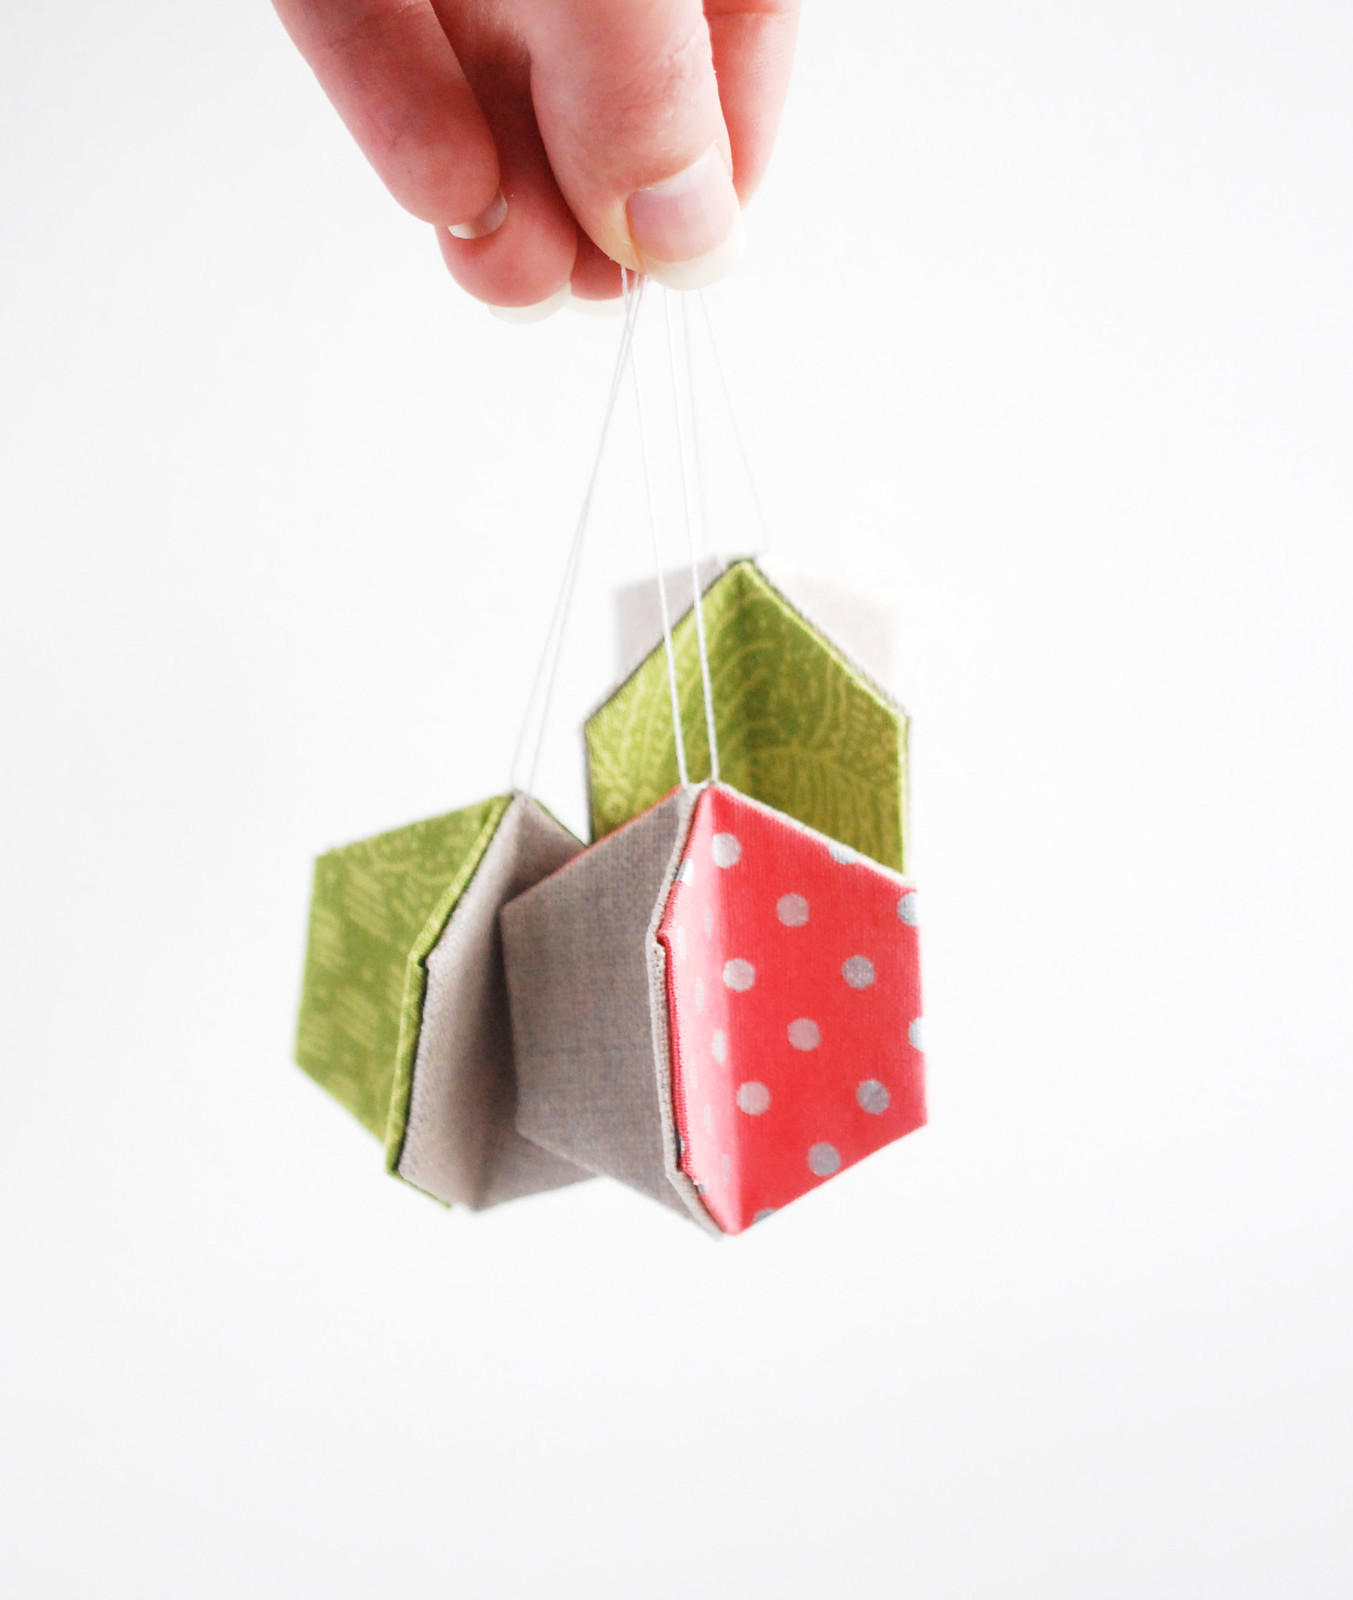
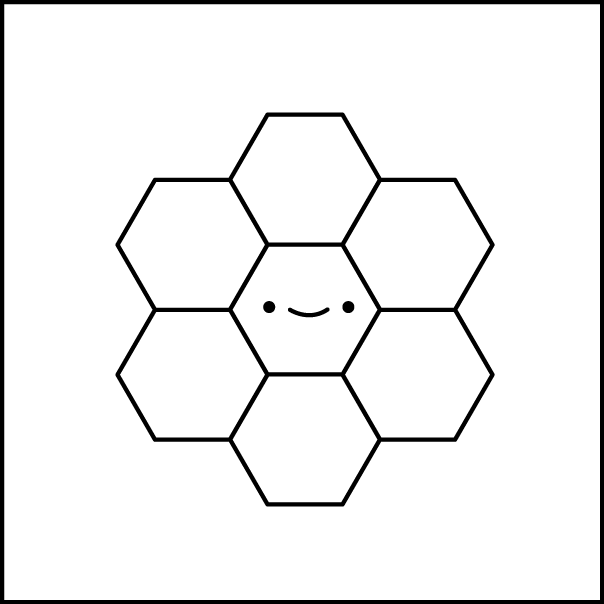
When I was little, my grandparents had a puzzle that was also sort of a game. It was called "Drive Ya Nuts" because it looked like hex nuts. As in, hexagons. Which happen to be my favorite shape.

I was reminded of that game recently, and thought it might be fun to make a printable version. In rainbow colors of course!

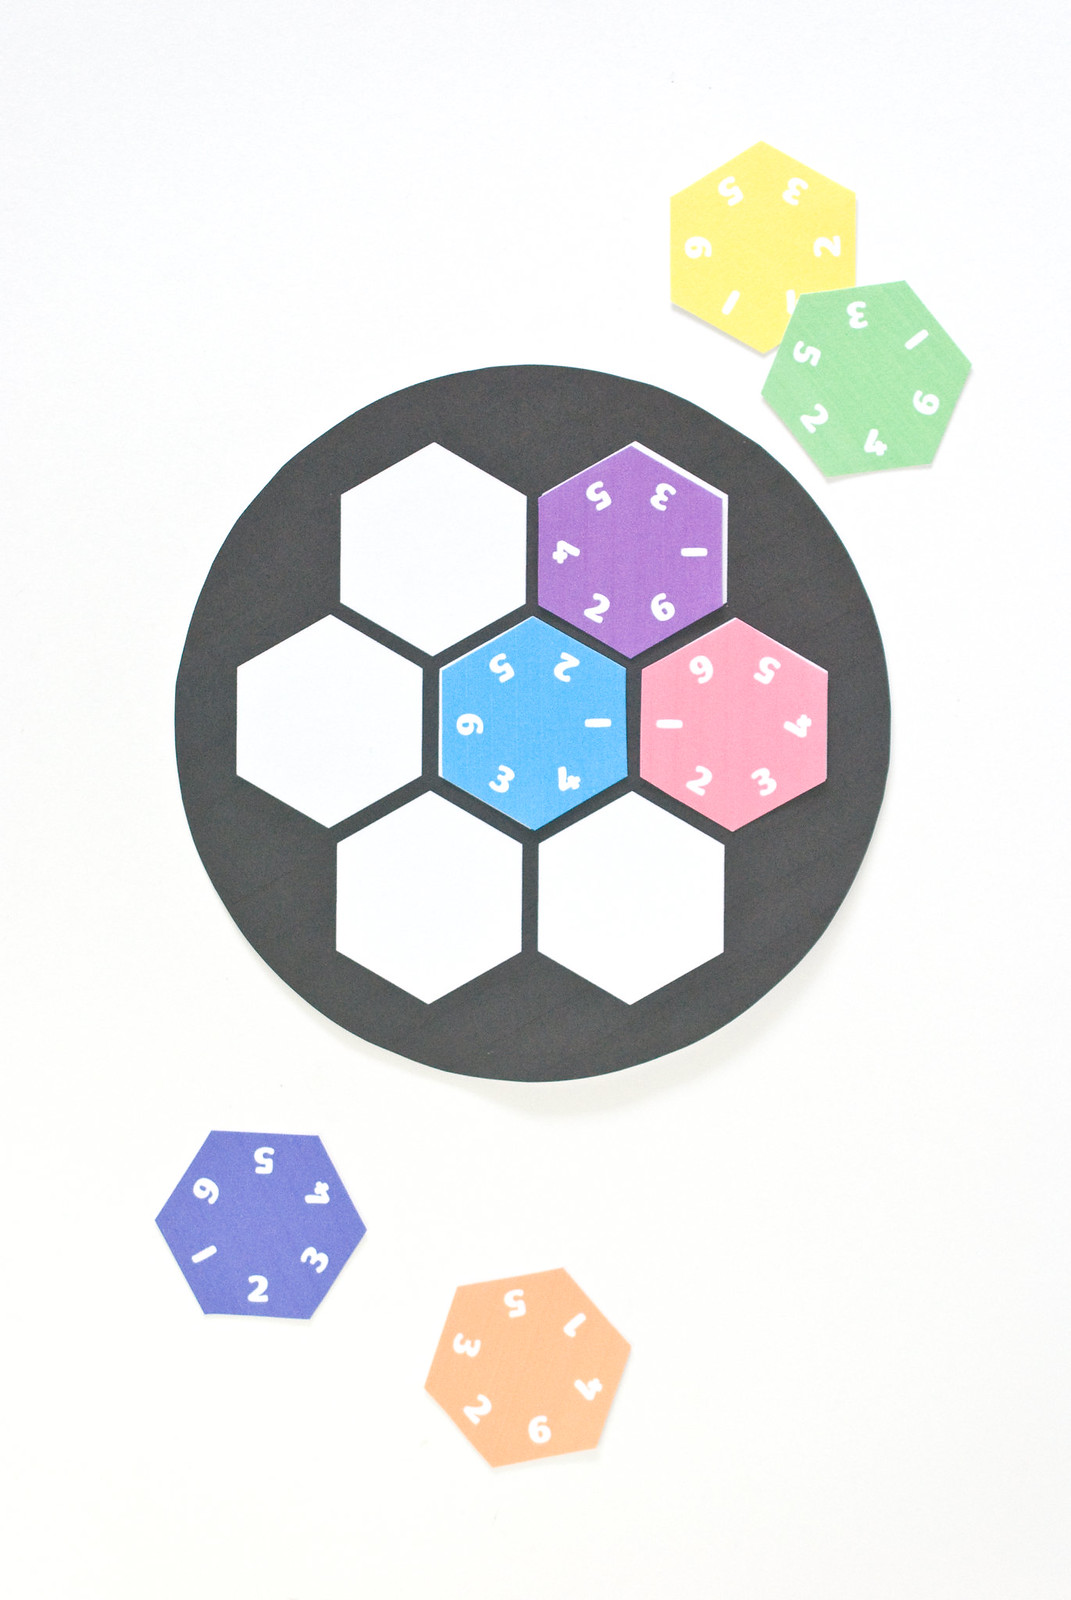
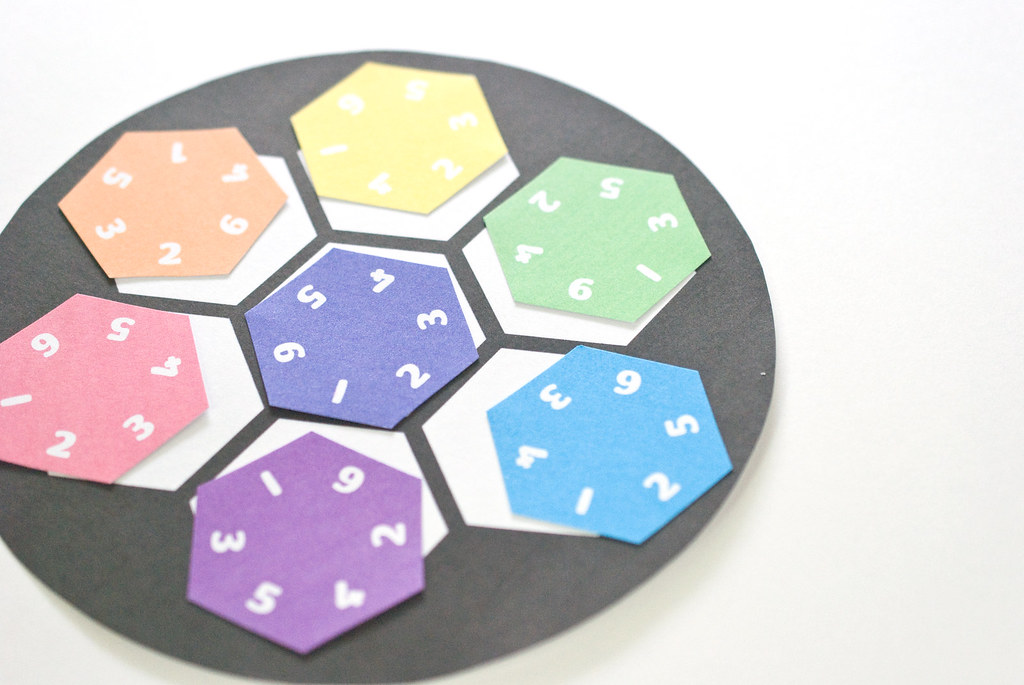
The goal of the puzzle is to fit all of the pieces into the circle frame (which also happens to form a traditional hexagon flower), with all of the numbers matching up on the sides where they touch. The idea is simple, but it's actually quite tricky to get right.


Printable Hexagon Puzzle

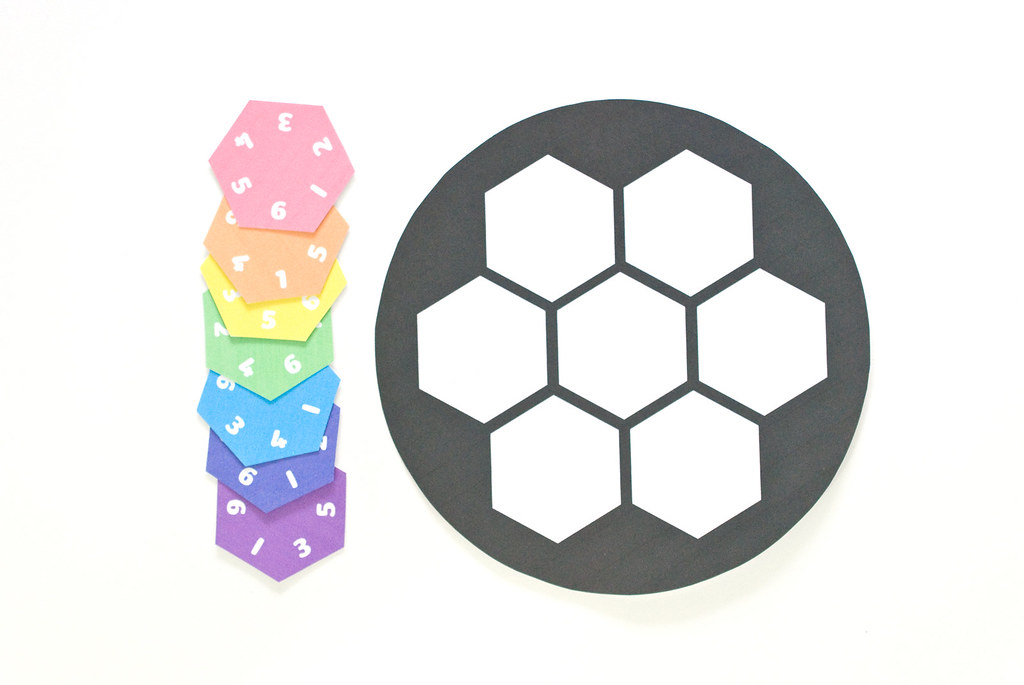
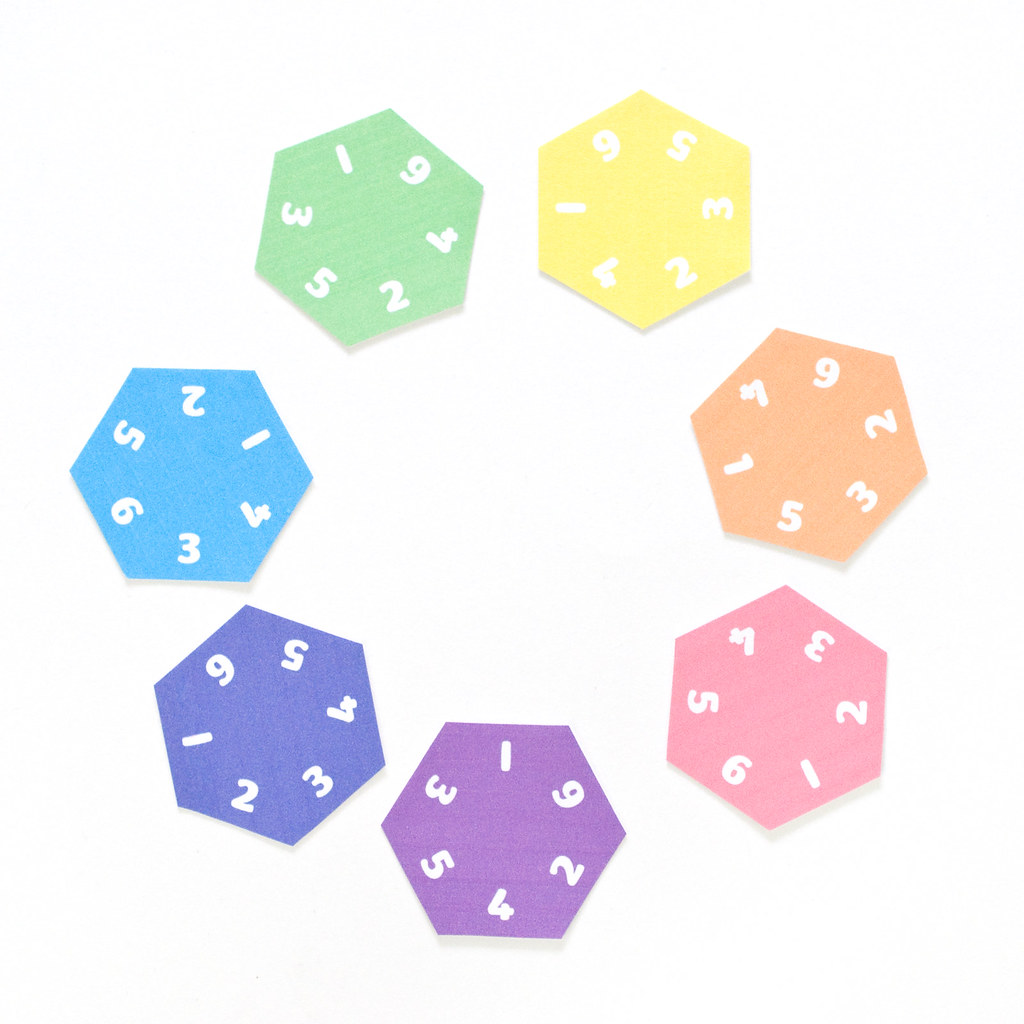
Print the pages on card stock and cut out the hexagons and circle frame. The frame is optional, because you can figure out the formation without it. But it's kind of cute and reminds me of the game at Nanny & Papa's house.

Printable Hexagon Puzzle

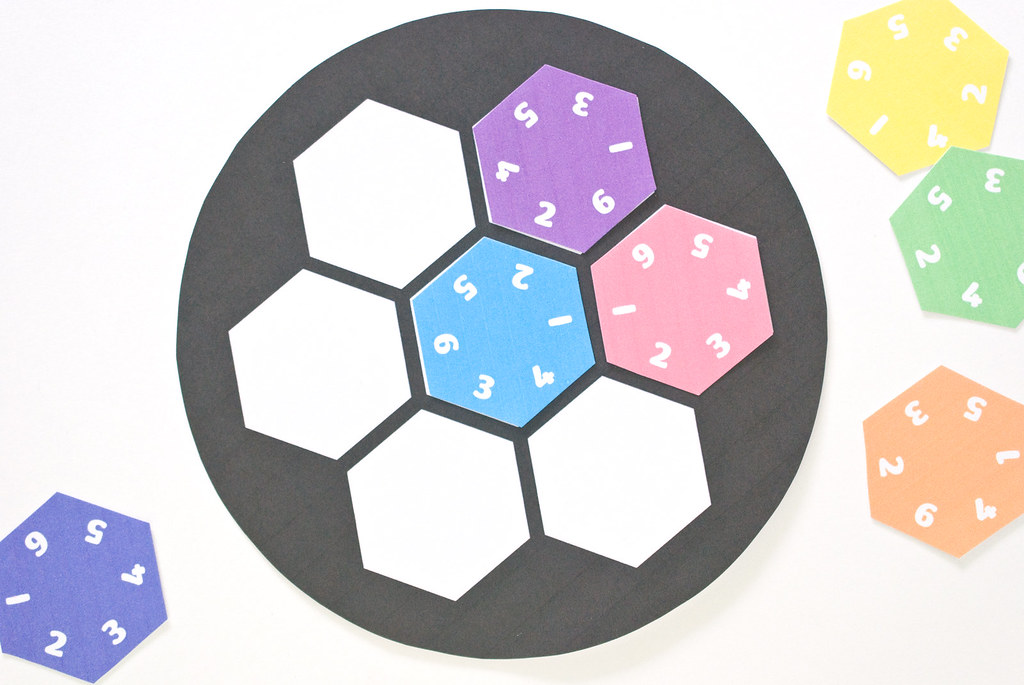
Start laying down the pieces and matching up the numbers. I usually begin in the middle and then add them one by one around the sides. Of course, you need to make sure that each touching side matches.

Printable Hexagon Puzzle

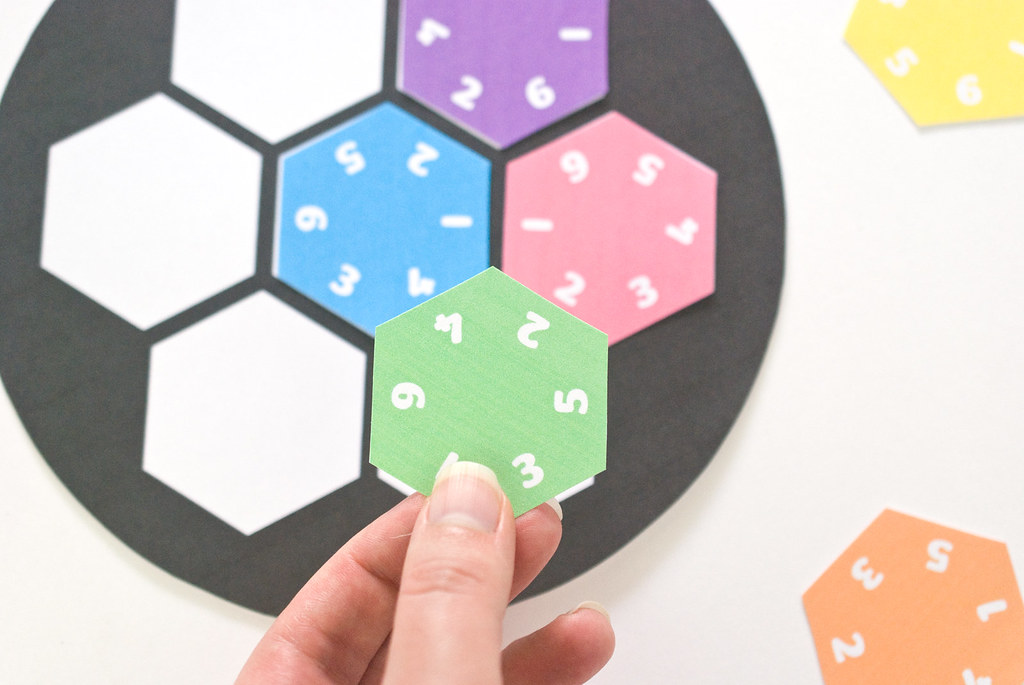
In this case, the 2 and the 4 on the green hexagon match up with the blue and the pink.

Printable Hexagon Puzzle

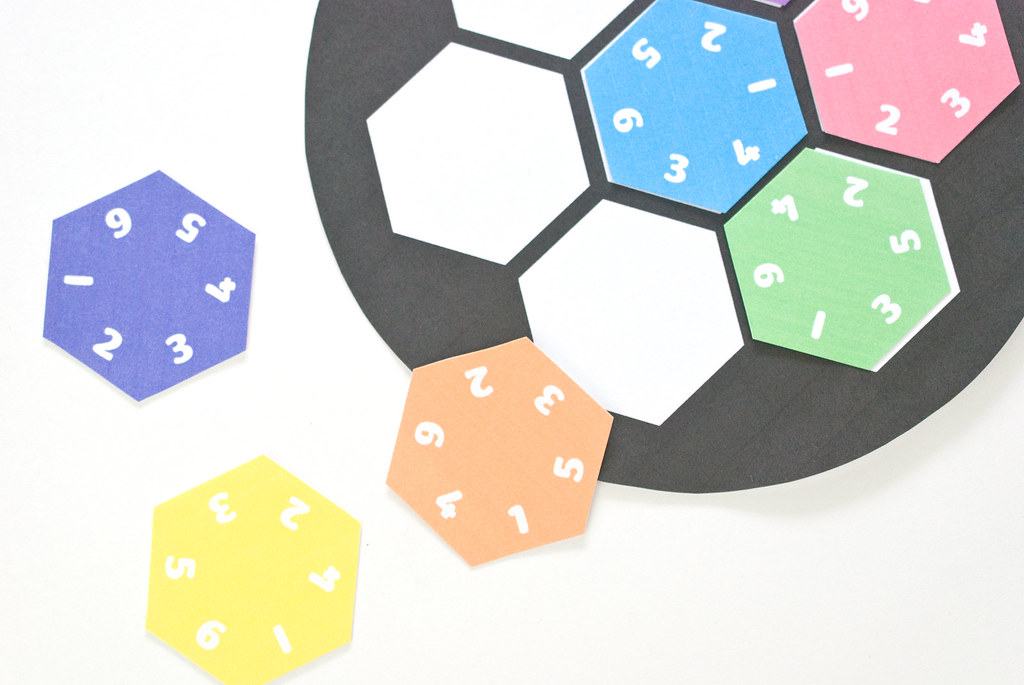
Unfortunately, after that, none of the pieces would fit. Time to start again!

Printable Hexagon Puzzle

You could make this into a family challenge by adding magnets to the back of the pieces and putting them on your fridge. Then everyone can try to solve the puzzle as they pass by!

Printable Hexagon Puzzle

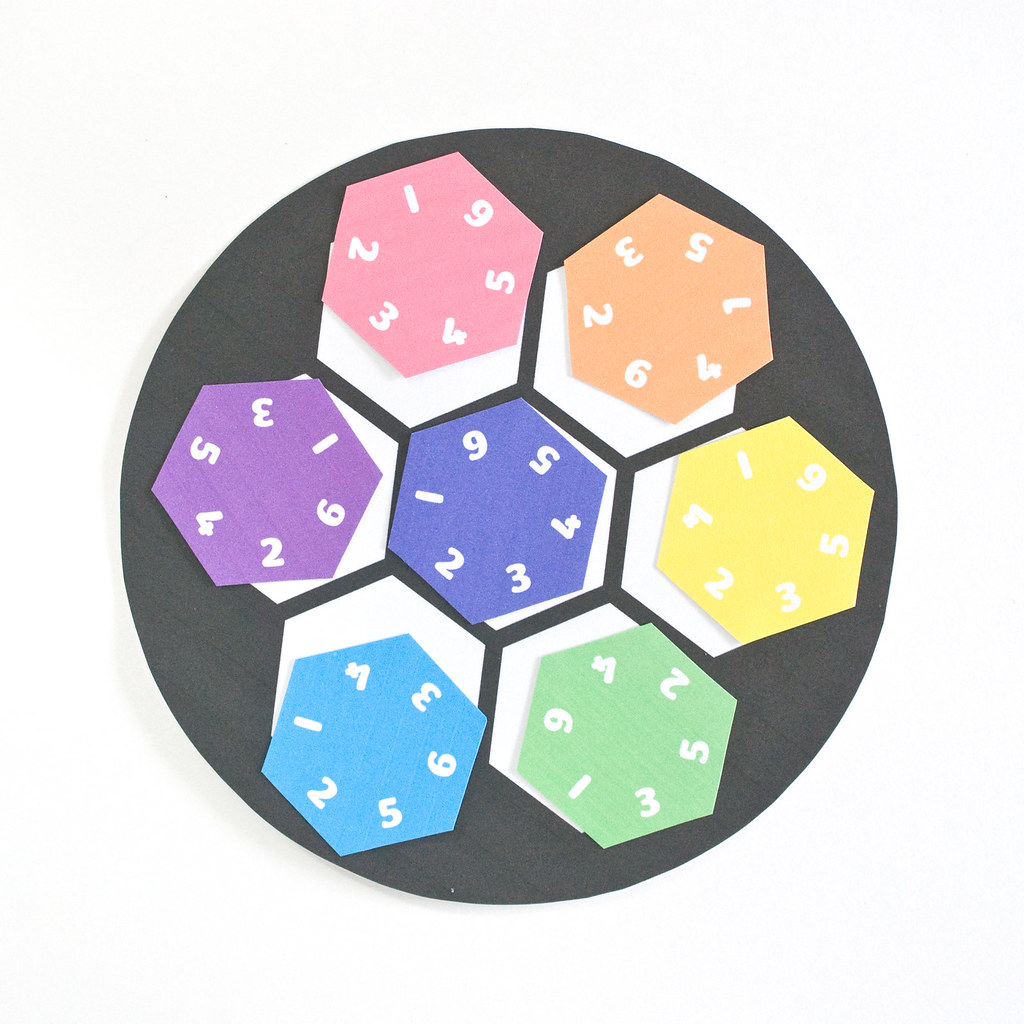
And although I'm not showing off the correct solution here (you want a challenge, right?), it is possible to fit all of the hexagons with matching numbers. And no, they won't be in color order because that would be too easy!

Good luck!

project // easy 3d hexagon ornament

Easy Hexagon Christmas Ornament


This Christmas I'm making lots (and lots!) of geometric ornaments. At least, that's the plan. At this moment, I have about a dozen done, and a whole tree's worth still left to make. There's a chance that I'm certifiable, and yet, it's one of my favorite December traditions.

At the same time that I started planning all the making I'll be doing, my friend Becca started planning what she's calling A Very Hexie Christmas.

hexie christmas

How could I resist this? You can find her first post over at Hugs are Fun, and be watching for more hexagon projects too. I've seen a bit of what's coming, and it's wonderful!

So as I worked out the designs for my own Christmas tree, I HAD to work in some hexagons. For Becca's series and for me, because Hexagons! This simple ornament is based on paper circle ornaments. It uses a few basted hexagons and then is glued together, so they're quick and easy.

Easy Hexagon Christmas Ornament Supplies

Here's what you need:

Four basted 1-inch hexagons
String for hanging
Craft glue
WonderClips or clothespins (optional, but helpful)
Scissors
Needle

Note: I recommend 1-inch hexies, but you can change the size to suit your tastes. If you need templates, here are some happy hexies I made. (Just be sure to have the printed size facing away from the fabric so it doesn't show through!)

Easy Hexagon Christmas Ornament Assembly

Fold the hexagons in half, on point, right sides together. Leave the papers inside the hexagons.

Easy Hexagon Christmas Ornament Assembly

Run a line of glue along one half of a hexagon and attach a second hexagon to it. Repeat with the other two hexagons.

Hold the pieces together with clips. This part is optional (I made one without the clips), but I found it very helpful to keep the pieces tight as the glue dries. You could probably use hot glue instead and also skip the clips.

Easy Hexagon Christmas Ornament Assembly

Join the two halves together in the same way.

With all these clips, I kinda thought I had designed a whole new snowflakey sort of ornament! Or Sputnik!

Easy Hexagon Christmas Ornament Assembly

When the glue has dried, cut a six-inch piece of string or thread and thread the needle. Slide the needle through two opposite points on the ornament and tie the ends to form a loop for hanging.

Easy Hexagon Christmas Ornament

Hey! It's an ornament! Hey! It's three ornaments!

The basting part of this is taking the longest for me because I'm making all new hexies so they all match (I'm aiming for at least 20 of these!). But if you work from a stash of pre-basted hexagons, you'll be putting ornaments together in no time!

Use one, two, or four different fabrics. You could add more embellishments like sequins, buttons, or other trims too. I think they'd also make great gift toppers!

Now go make some ornaments! And when you do, tag them with #averyhexiechristmas on Instagram!

pattern // making is the point of making

Making Quote Pattern


My mom taught me something very important as I was growing up: process, not product. Essentially, she wanted me to enjoy the process and hold onto that experience more than I cared about and held onto a finished product. It took awhile, but I've started to get it.

Okay, so sometimes I still have a hard time parting with finished items, but I have learned that not finishing something is not the end of the world. And that's an idea that jumped out at me in a post that Diane Gilleland wrote.

She writes: "I think many of us put pressure on ourselves to finish every project we start, as if finishing were the whole point of making. It isn’t! Making is the point of making."

And with that, I knew that I had a new favorite expression. Making is the point of making. I need these words close at hand and I think we need to share these words with each other to encourage each other as we make.

Diane gave me permission to make it into a pattern, and I've just started my stitching. Will it ever become a finished something? I don't know. But I'll stitch it and enjoy the process.


And since it's June 30, it's time for the last of the Hexagon Tinies. This one is also part of the pattern above, because it felt like a perfect connection...especially for Diane and her newest book on EPP!


I hope you've enjoyed the Hexagon Tinies, and as you stitch and them online, be sure to tag me! I'm @molliejohanson on Twitter and Instagram, or you can use #HexagonTinies.

pattern // hexagon tinies lemonade pitcher


Have you been enjoying a good weekend? I went to a parade this afternoon with my family, and it was really a great day. Perfect for sipping or stitching some lemonade. And that's what I'm going to leave you with for today! Some stitchable, sippable lemonade!

lovely hexagons

More hexagons in the wild. #EllisIsland #latergram

It has been a great month of hexagons around here. Of course, it's not over yet and this delightful shape cannot be contained to a single month. But I've been collecting some fun extra hexagon projects over on a new-ish Pinterest board. I'm especially looking for things that aren't just English paper piecing. You can find the board right over here.


If you've been collecting the Hexagon Tinies all month, you may have noticed that along the way there are some designs that go together. Like this flashlight that kinda goes along with the canteen and the marshmallows...it's a camping theme!

Have a great Saturday, friends!

pattern // hexagon tinies balloon animal dog


I'm getting later and later on these daily posts with the Hexagon Tinies! Yikes! But so far every day in June has had a new little pattern...and I'm NOT gonna mess it up.

Today you get a little balloon dog. I've never really been a big fan of balloons, but I always thought it was so cool when someone was twisting balloon animals and they did that thing where the little puff appears on the dog's tail. That was pure magic to me as a child! Of course, I had to add that to my embroidery pattern.

Also, I realize that the face on this doggy might seem strange to some. I wrestled with it, and in the end, I went with the face on the dog's belly. If it just isn't your thing, leave it off...or put a face on his head. The choice is up to you!

printable // weekly hexagon planner

Hexagon Planner


How do you like to plan your week? What things do you plan? How detailed do you get?

I like a plan, but a flexible one. I like planning my blog posts in Google Calendar so I can change them around as needed. When I have things to do (which is forever and always!), I like planning on small pieces of paper that get thrown away when the work is done. And our biggest planning challenge around here is for meals. The meal plan needs to be changeable and reusable.

To address all of these sorts of things, I made a rainbow hexagon planner page. It is just seven lines...one for each day of the week. Use it for whatever you like to plan.

I'll probably end up laminating mine and use it for meal planning. That way I can wipe it off and use it again the following week. Another way to create a wipe-off planner is in a frame with glass in it, or with write & wipe pockets (which they have in the Target Dollar Spot right now!)

Grab the PDF for the full page or half-size hexagon planner.


And since we're on a planner theme...how about a little calendar Hexagon Tinies pattern today? You could even stitch this to go on your personal planner!

pattern // hexagon tinies life ring


Happy Father's Day to you! I'm thinking that many of my Wild Olive friends are celebrating with their dads and/or husbands today. I'm keeping it quick today.

Last week's sailboat gets a companion life ring. Gotta be safe, right? Happy stitching!

pattern // a hexagon tinies sleepy kitty for your caturday

Quilty Goodness!

Do you have a kitty that likes to curl up on your craftiness? Our family kitty swipes my hexagons, attacks my embroidery floss, lays on my fabric, and tries to eat my sequins. Nothing is safe, and I can't decide if she likes crafts, or if she just wants to be a nuisance. Perhaps both?

Anyhow...Saturday is Caturday, so enjoy this pic of my pesky cat, and then stitch a sweet sleepy kitty!

pattern // hexagon tinies canteen


Mollie Fact: I've never gone camping. And I'm okay with that. When I was little I wanted to camp in the backyard, but I don't really remember if that ever truly happened. The closest I've come to camping in my entire life was when we stayed in The Cabins at Disney's Fort Wilderness Resort. It may have been fancier than glamping.

When you're staying in a cabin like this, you have running water inside, and it's all quite Disney-fied. It's awesome. And you have no need for a canteen. Unless you want to look like you're a real camper. Then you carry a canteen when you go to the campfire with Chip and Dale.

Or perhaps you just stitch one on your quilt that you sit under while staying in the air conditioning.

project // stitch a card for dad with EPP templates

EPP Tie Father's Day Cards


Does dad need another tie this Father's Day? Mine doesn't. But as far as Father's Day icons go, the tie is a top contender, and I still love it.

I especially love when I can do something a little different with the tie motif. I've done embroidery patterns and a printable banner, and now I've added some English paper piecing into the mix. You can make one of these in less than an hour, and it's a fun way to use a favorite hobby to make something for dad.

EPP Tie Father's Day Cards

You will need:

Fabric
Glue Stick
Scissors
Needle
Thread (matching or a neutral)
Blank Card & Envelope
Craft Glue

EPP Tie Templates

EPP Tie Father's Day Cards

Print the template on card stock and cut out the pieces. These are based on standard EPP shapes, but, other than the square, have been adjusted slightly to get a pleasing look. You can make both ties, or just choose one.

Use glue stick to attach the pieces to the back of the fabric, then cut out around them leaving about 3/8-inch seam allowance.

EPP Tie Father's Day Cards

Baste the pieces. On the small trapezoids you can tack the corners through only the fabric. At the wider side there will be flaps.

EPP Tie Father's Day Cards

You can fold those flaps to the back and tack them down with a stitch. This will make it easier to attach the tie later.

EPP Tie Father's Day Cards

The long piece for the necktie is better basted by going through the paper and the fabric (although it may not be completely necessary). By doing a few stitches down the long sides, they hold well and you'll get a nice, crisp shape.

EPP Tie Father's Day Cards

The two sides of the bowtie are just like the top of the necktie. The center square can also be basted through only the fabric. I found that folding and tacking back the flaps on this is also helpful. The flaps go right to the edge without hanging over much, but tacking them prevents them from showing.

EPP Tie Father's Day Cards

Match up the pieces and join them together with your favorite joining method.

At this point, I recommend giving your tie a good pressing with an iron if you have one available. It just helps it keep its shape better.

EPP Tie Father's Day Cards

Now, pull the papers out from the back. If it's become misshapen at all, give it another press with an iron.

If you want to make your tie happy and kawaii like I did for the necktie, now is a good time to stitch it on there. If I didn't stitch a face on the tie, my dad wouldn't know it was from me!

EPP Tie Father's Day Cards

Use craft or fabric glue around the edge of the back of the tie...

EPP Tie Father's Day Cards

...and attach it to the front of the card.

EPP Tie Father's Day Cards

On the inside you can write a big long letter, or a simple message.

EPP Tie Father's Day Cards

Make one for each of the dads and granddads in your life!


And for another popular Father's Day icon...how about a mini grill that you can stitch! You could even embroider this on a hexagon and attach it to the front of a card, much like the ties above!

project // making fabric (hexagon!) stamps like nanaCompany

Hexagon Stamps


Did you know that in some countries you can buy stamps...postage stamps...that are hexagons? I can't even tell you how jealous that makes me. I don't use stamps that often, but I feel like I'd mail more things with stamps if they were in my favorite shape.

And yes, I'm a thirty-cough-cough year old who has a favorite shape.

But back to stamps. Amy Sinibaldi of nanaCompany often has little stamps, postmarks, and other mail-related things in her work, and her fabric stamps are simply adorable. I credit her for this project, and she credits another. This is how ideas travel. Via air mail.

My adaptation is to make them into the foreign hexagon stamps that I covet. I even added some embroidery!

Hexagon Stamps

First, trace a hexagon onto paper-backed fusible interfacing.

Hexagon Stamps

Iron the hexagon(s) to the back of the fabric. If you are using print fabrics, this is the perfect opportunity to fussy cut and get the part you like the most.

Hexagon Stamps

If you plan to embroider a stamp, make sure that you place the hexagon in from the edges a bit so you can hoop the fabric. Transfer the pattern, then remove the paper backing.

A thing to consider here...I don't know what would happen if you used a pattern transfer method that would require soaking. I used a fine-tip transfer pen this time. I'll give the soaking method a go soon.

Hexagon Stamps

Embroider the fabric, centering the design on the interfacing that's on the back. Also, avoid knots, as they'll give your stamp some lumpiness. Use the method described here to start and stop without knots.

Hexagon Stamps


Cut out the hexagon, and iron it onto some creamy white fabric. Add interfacing to the back of the white, then cut it out with pinking shears for a nice stamp edge.

Hexagon Stamps

How about these fussy cut racing cats? I do believe that they are worthy of their own project. Maybe I'll try making some stamped coasters...all with kitties? Thanks to Fabric Supply, I officially have a kitty fabric collection.

Hexagon Stamps
Hexagon Stamps

The tiny ones are equally cute, although harder to cut with the pinking shears. The corners don't always come out pretty, so I trimmed one down with straight edges. Still fun!

Hexagon Stamps

I may have just become a fabric philatelist.


A little envelope was too perfect for today's stamps, right? This way you can stitch some happy mail...literally!