about shop patterns projects printables extras sponsorship wild olive twitter flickr pinterest subscribe
Showing posts with label tips. Show all posts

3 top tips for cutting felt with freezer paper

Top Tips for Cutting Felt With Freezer Paper

I don't know about you, but I love crafting with felt. And when I need to cut out pieces with any kind of precision, I use freezer paper as the templates. This simple product you can buy at a grocery store is a game changer. If you've never tried it, you're in for a treat! And if you've used freezer paper for cutting felt (or other fabrics!) before, I have a few tips that might just make things even easier.

First, let me tell you about freezer paper if you've never used it. 

This is paper that has a plastic backing. Its original purpose was wrapping meats and things to—surprise, surprise—go in the freezer! Somewhere along the line crafters figured out that it's so much more than that. Now the packaging even lists crafts in the list of uses. Instead of only finding it at the grocery store near things like plastic wrap or aluminum foil, you can often find it at craft stores.

Because it has a plastic coating on the back, when you place the shiny plastic side down on your felt or fabric and iron the paper side, it sticks to the material. That means you can trace a pattern on the paper, iron it down, cut out your shapes, and then the freezer paper peels off without leaving any residue. Magic!

I first learned about this trick as a kid from an introductory sewing book and I've never been the same. In a good way!

Now, let's talk about felt.

When it comes to making almost any kind of felt project, I recommend wool or wool blend felt. It is much more pleasant to work with and it makes for a nicer finished item. Using freezer paper on wool or wool blend has never let me down.

I DO NOT recommend using freezer paper on acrylic felt. I have tried it and while it can be done, you risk melting the felt and it also doesn't peel off as easily.

Now, are you ready for my 3 top tips for cutting felt with freezer paper?

Stick Freezer Paper Onto Standard Paper for Printing

1. Print the patterns instead of tracing them.

I honestly can't believe I didn't try this one sooner. Folks have probably been doing this for a while because you can actually buy sheets of freezer paper that are cut to standard paper size. I am a recent adopter of this and I won't be going back.

You don't need to buy the pre-cut kind though because the stuff on the roll works just great! Simply cut a piece that's the same size as a piece of printer paper. Next, use doubled sided tape to tack it down to a regular piece of paper. Doing this really helps make it easier for your printer to grab it and pull it through.

Once you print the templates, they're ready to use as you typically would.

One important thing to remember. This is only for inkjet printers. Laser printers use heat and that would just melt the plastic on the paper!
Move the Felt, Not the Scissors

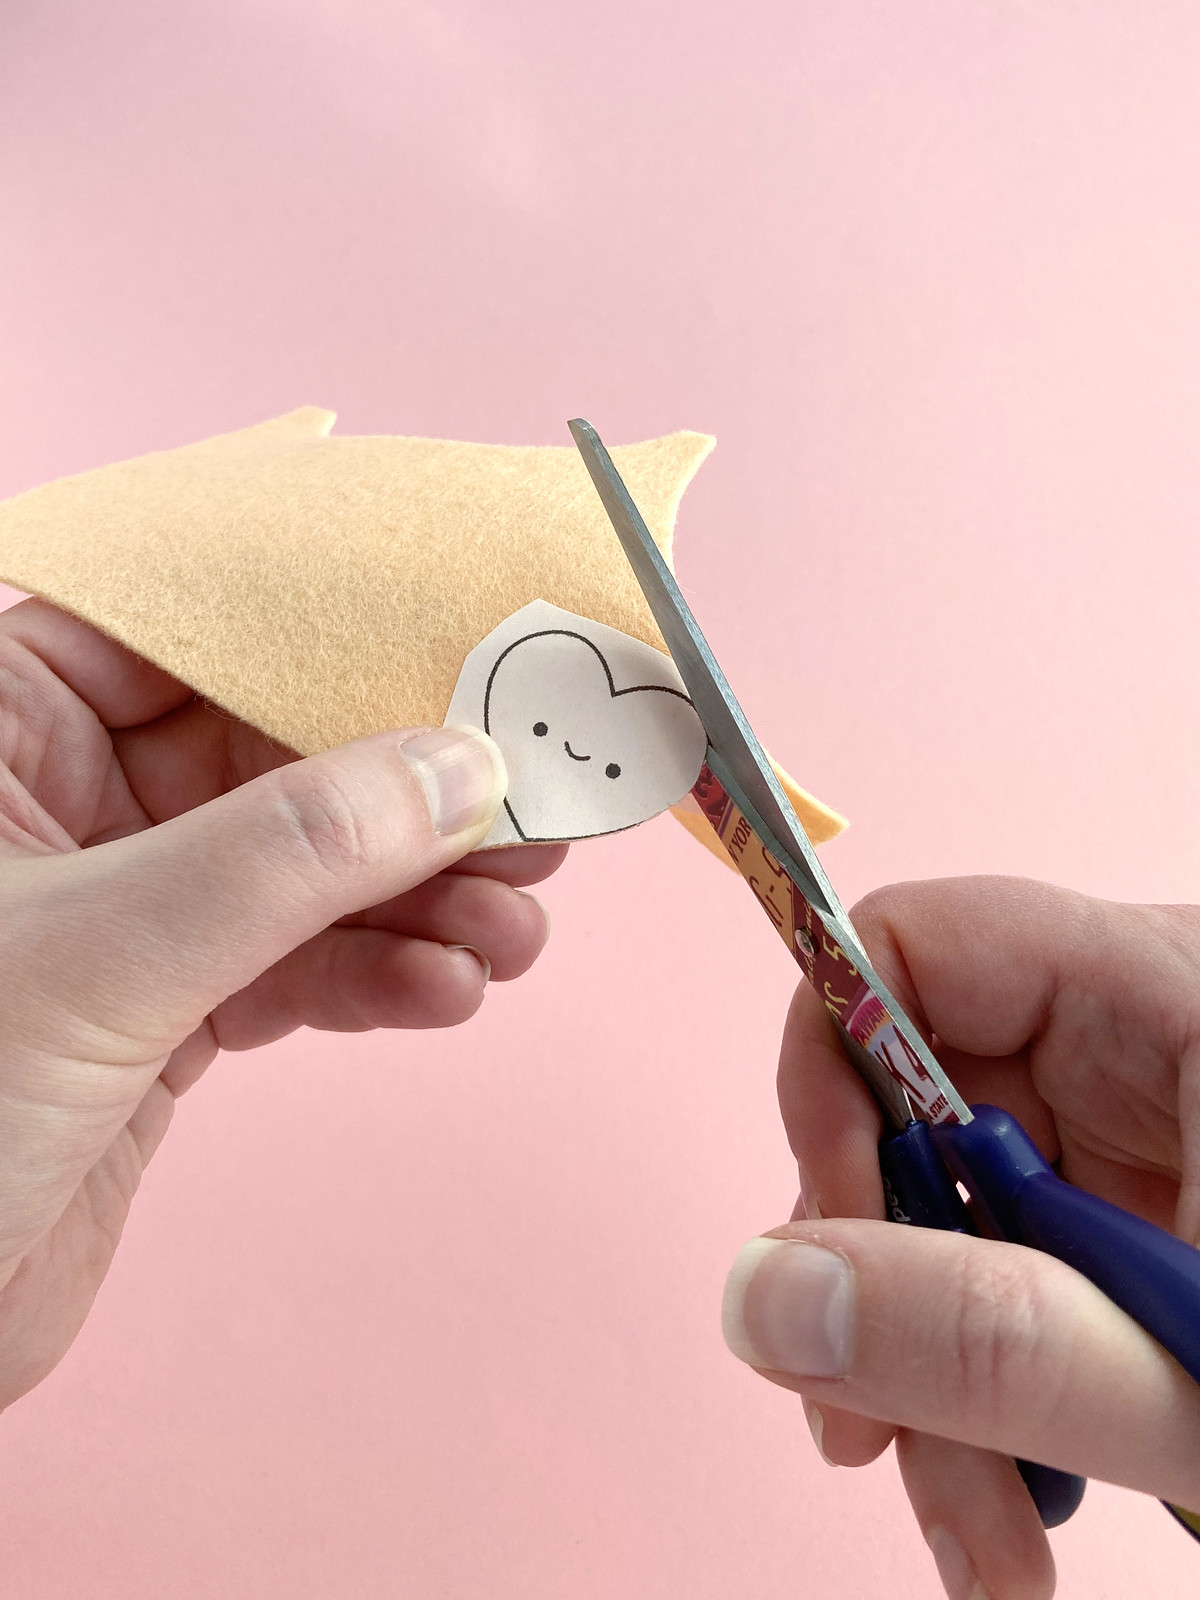
2. Move the Felt, Not the Scissors. 

 My grandma taught me this one and I know a lot of folks learned this in early elementary school, but it bears repeating.

When cutting out a shape, guide the felt with your non-dominant hand and keep your cutting hand steady. Your cuts will be so much more accurate this way! This is also a huge benefit to using freezer paper because the pattern doesn't shift around as you move the felt.

Bonus tip: Find a pair of scissors that cuts your felt with the paper easily and keep it as your felt scissors. You don't want to use expensive sewing scissors because the paper will dull them. I like using inexpensive student scissors that still do the job...if they get dull, I don't feel bad and just use them for paper going forward!
Use Simple Freezer Paper Shapes More Than Once

3. Use simple freezer paper shapes more than once. 

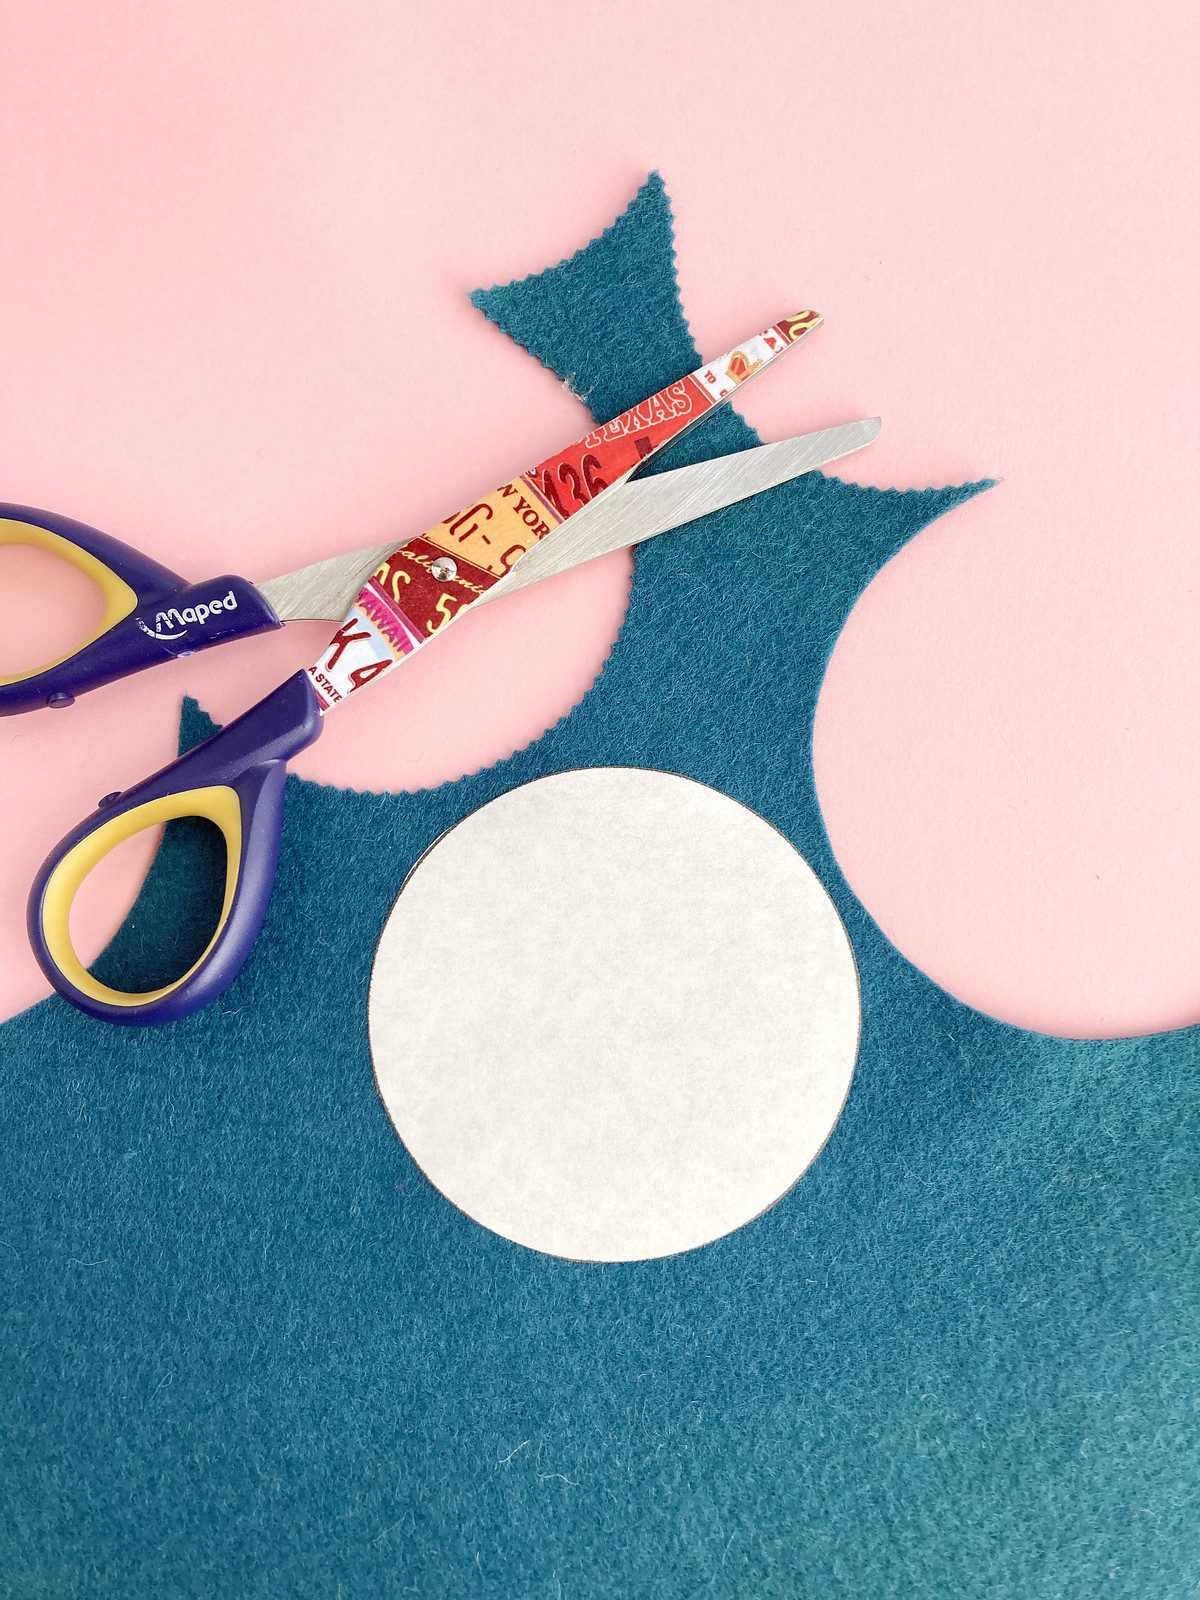
For a long time I assumed that this was a single-use product, but I was wrong! After you cut out a shape and peel the freezer paper away, you can iron it down and use it again...and again...and still again.

This tip is best suited to simple shapes that allow you to cut around the already cut template, but that's still helpful in my book. Of course, you could also use reuse larger templates by tracing smaller pieces on them.

When I recently made a set of 34 felt ornaments, I reused the same few circle templates (like you see above!) over and over and they still held!

Speaking of ornaments, I have made a lot of felt ornaments and other felt-focused patterns over the years. You can find some in my Etsy shop, and lots more here on my blog. Pretty much any time I have to cut small pieces of felt or anything that has details, I use freezer paper.

If you haven't tried it yet, now is the time!

how to use every scrap of sulky sticky fabri-solvy

Sulky Saving

If you follow me on Instagram, you frequently see me stitching projects with Sulky Sticky Fabri-Solvy. It's my favorite method for pattern transfer onto nearly any material and I use it a TON. Although I do sometimes just trace with a pencil for small, easy designs, I love that you can print the patterns directly onto the Fabri-Solvy. Especially for more detailed patterns.

But when you print a pattern onto a sheet, there's almost always extra Fabri-Solvy that you don't use. I shared one way that I save on these sheets, but I have another way that I make sure as many scraps get used as possible. Someone else shared this idea with me, so I can't take credit, but I'm very happy to share it with you!

All around the edge of the photo above, you see my many scrap pieces. Every time I print a larger pattern, that requires that I start with a full sheet, I trim these piece off and save them.

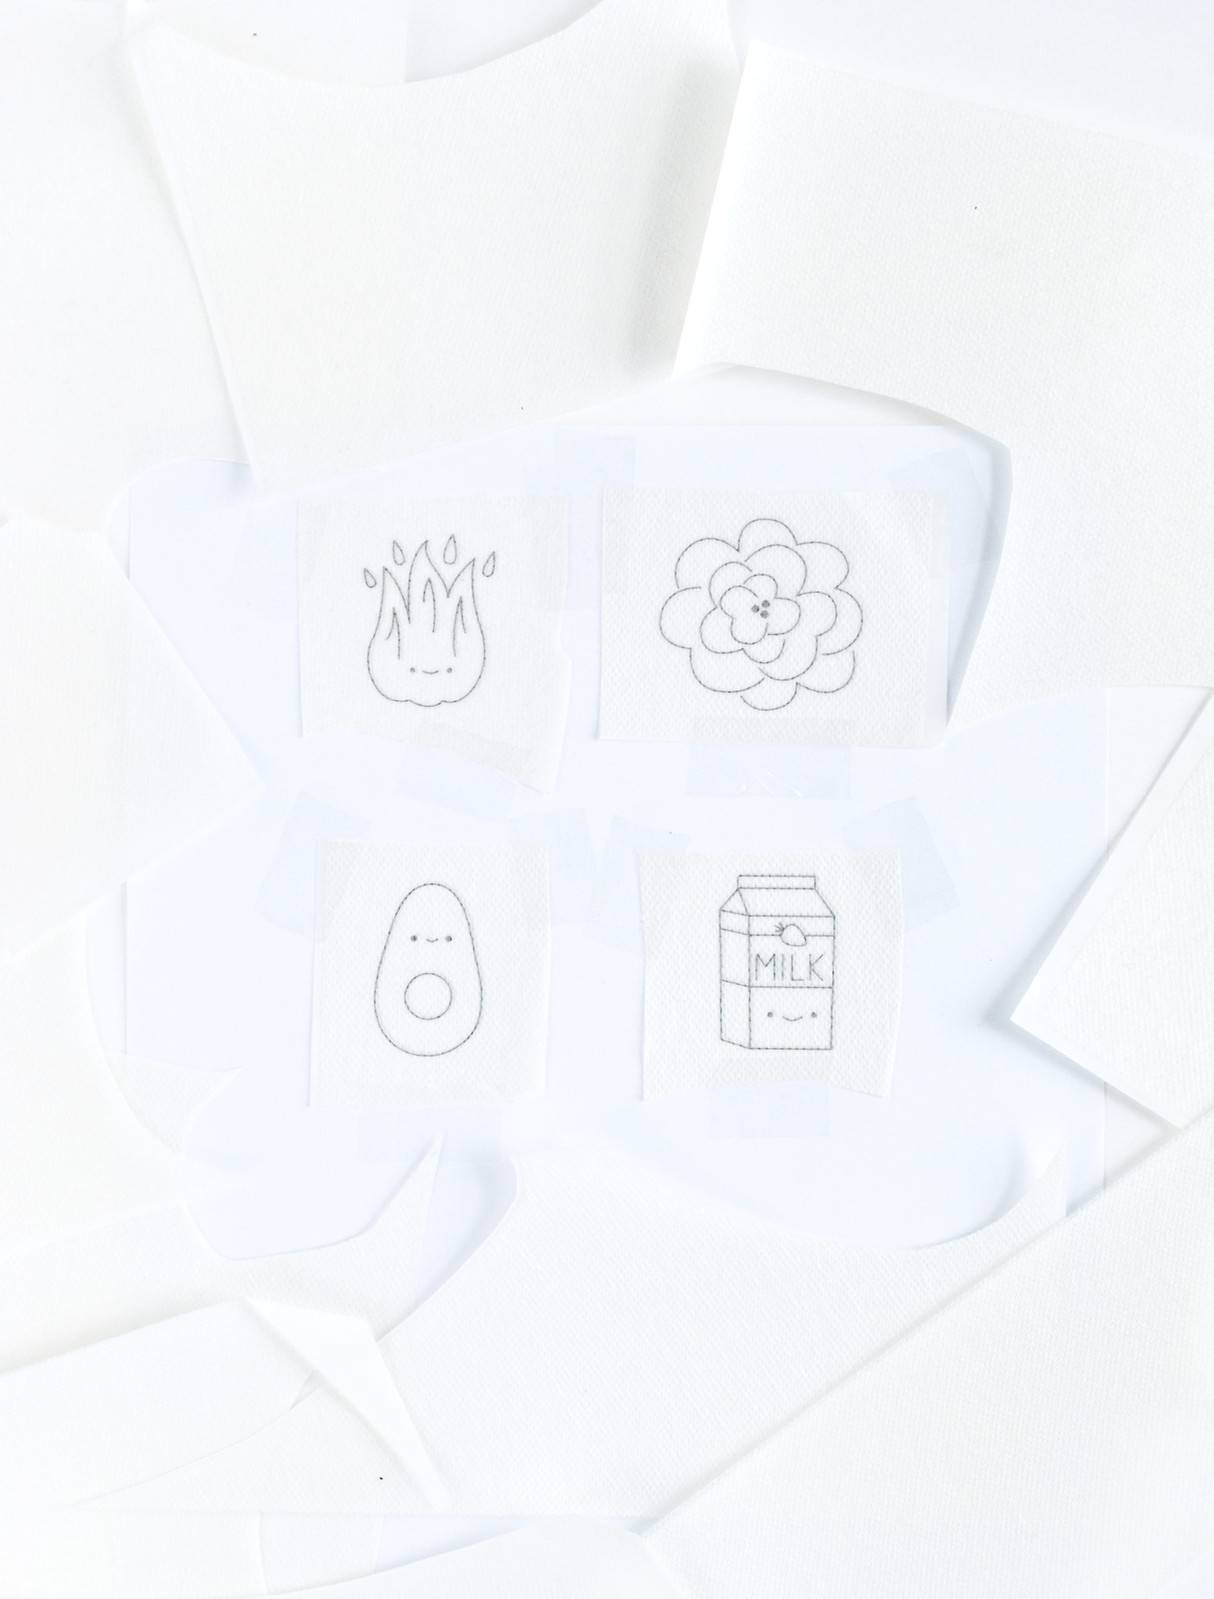
When I have a smaller pattern to print, I start by printing the pattern(s) on regular paper. Next, I trim piece(s) of Fabri-Solvy to fit the pattern(s), with some extra room.

Then I tape the piece(s) over the printed pattern(s), making sure that the tape doesn't go over where the pattern is. This is why it's important to have some extra room around the edges.

Finally, the page goes through the printer once again, with the paper feeding through in the same direction as the first time so the patterns line up with the Fabri-Solvy. And I always print in draft mode so there's less ink.

And all those bit of Fabri-Solvy get used instead of trashed!

Note: I'm not affiliated with Sulky in any way, I just LOVE their product. However, the link to Amazon is an affiliate link. If you choose to order via that link, it helps support this site!

5 things to do when your stitching gets frustrating

Stitch Mess Up

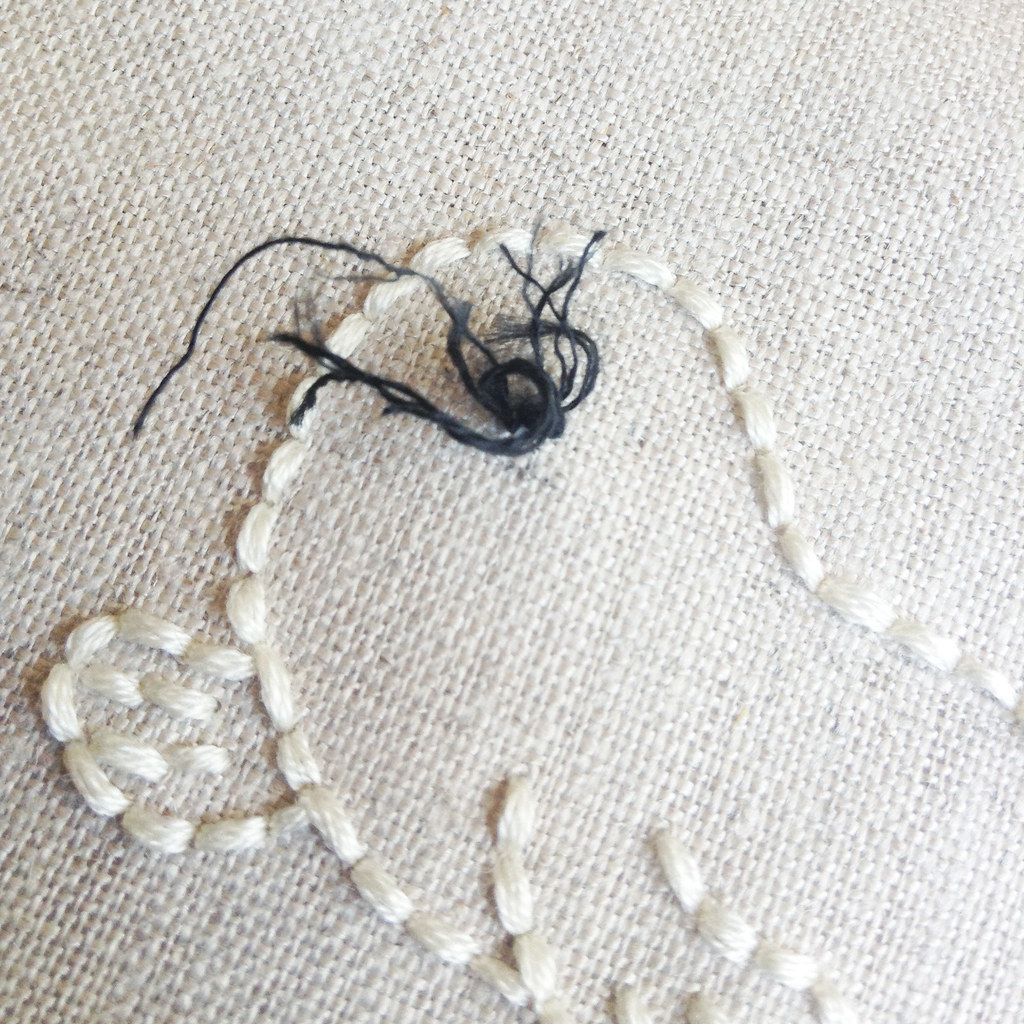
Has this ever happened to you? You're going along, stitching normally, and then the mother of all knots appears. You try to remove the knot, but what happens after this can only be described as catastrophic. The floss frays and splits, more knots appear, you start crying, and then the scissors or seam ripper comes out.

I'm here to tell you that you're not alone.

I've been stitching for a while now, learning from books, videos, blogs, and much of my own trial/error/practice. I've blogged, taught online classes, worked with people one-on-one, and even written a book. In my mind, I should never have trouble with stitching. Ever.

My mind doesn't know what it's talking about.

You see, it's normal to think that when you're just getting started with a new craft or technique that you will run into problems. That you'll make mistakes or struggle for a bit. But the expectation is that you'll reach a level of mastery where mistakes don't happen.

I think that's a lie.

Lately I've been doing all the same things that I've been doing that have been working well for so long. But I've run into issues. Far more than I have had for a long while. Threads knotting or pulling through. Needles catching and floss fraying. Or maybe the embroidery just doesn't look like I want it to. And maybe this is a new lie that I'm telling myself, but I think that these things just happen sometimes. No matter how long you've been at it. Sometimes you just get in a stitching funk.

But there's hope. Any time that these issues come up, I have a few ways to be able to press on.

1. Try it again. But not too much. It's good to not give up, but the more you run into the same problem over and over, the more frustrated you'll get, and that usually makes it worse.

2. Look for an alternative. If a particular stitch or material isn't working, see if you can substitute another.

3. Ask for help. Going to an expert is great, but even just putting the question out there to your crafty friends will help you get ideas for fixing the issue.

4. Stop. Just stop and work on something else for a while.

5. Take a breath and move on. This can be hard, but learning to accept that these are just little blips is the best thing you can do. Keep stitching because it's going to be okay.

Remember, this post comes to you because I've been working through my own stitching struggles. Seriously, you're not alone. Keep on stitchin'!

thread bits // embroidery floss grain

Thread Bits // Floss Grain

I've been doing embroidery on and off since I was a little girl, and seriously for nearly ten years. And yet, it wasn't all that long ago that I learned something mind blowing. Now it's time to pass it on to you.

There is a right and wrong end to your embroidery floss.

Thread Bits // Floss Grain

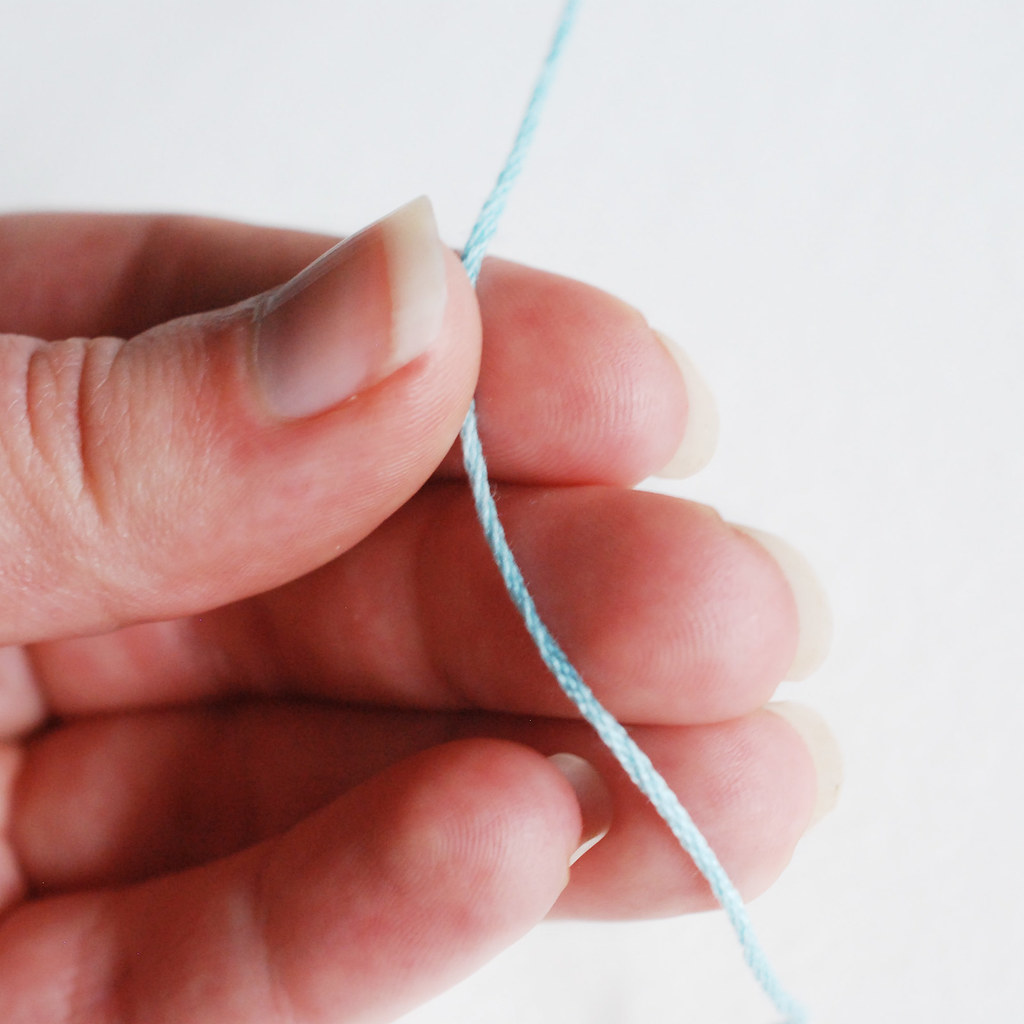
Embroidery floss has a "grain" to it. And for a smoother, happier embroidery experience, you should go with the grain. Threading the floss through your needle the wrong way will pull your thread against the grain, which will make the floss get roughed up. Stitching with the grain keeps it smooth.

So how can you tell and make sure that you are starting with the right end?

Well, usually the end that is sticking out of a skein of DMC floss will be the right end to thread. That's not always the case with all embroidery floss. To check, run the floss through your fingers, there's a subtle difference, but going with the grain will feel smoother. You'll want to pull the floss through the fabric with the grain, so thread your needle accordingly.

I find that it's easiest to tell on a cut that is all six strands. After I separate the strands (when I'm doing so), I try to keep track of the "right end".

Do you stitch with the grain? Were you in the dark on this fact for as long as I was?

UPDATE: Mary Corbet emailed me about this topic, and has now shared her own thoughts. Read them here!

thumbs up for even embroidery stitches

Thumb Marking

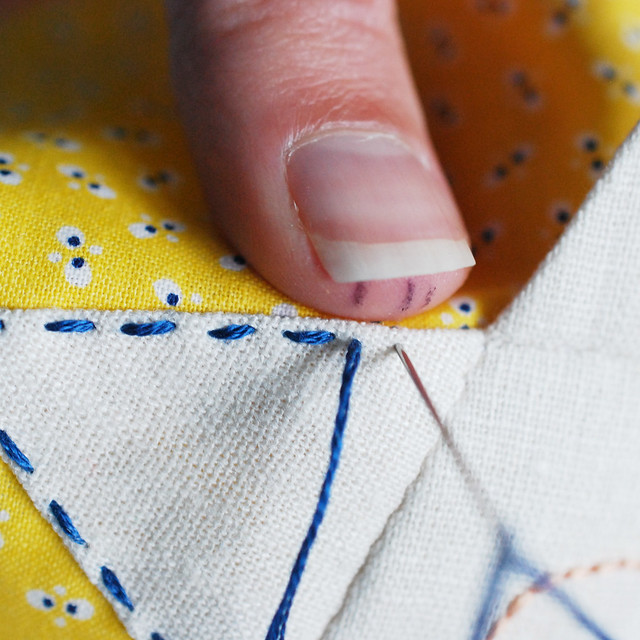
People regularly ask me for tips on how to achieve even stitches, and recently I wrote a post about "a stitch in time". Usually my best advice is to visualize the stitch length, take your time, and practice. Then, last week something popped up on the internet.

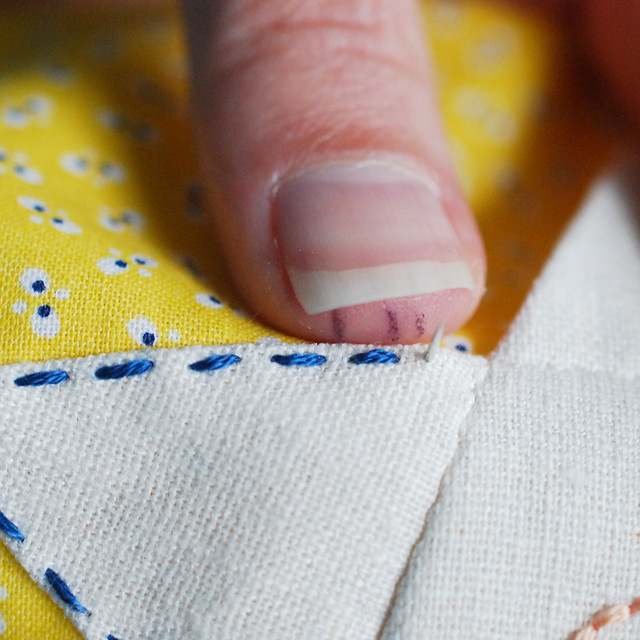
If you're on Pinterest and follow any stitchers, you may have seen a photo of a thumb with some markings, measuring out spacing on blanket stitch. Brilliant! But I did some searching and couldn't officially nail down the original source. I wish I knew who shared the idea, because I love it.

Since I've always worked primarily by eye, I thought I'd test out this tip and share my thoughts. I was doing some running stitch, and so I adapted the markings a bit to suit my needs.

Thumb Marking

First, I looked at how I typically hold my work and decided that it made more sense for me to mark my thumb tip, rather than the side of my thumb. Then, because I was doing running stitch, I added an extra mark that I could use for the gap between the stitches.

And guess what? It totally worked. Holding your marked thumb up as a gauge is a great help for getting even stitches. However, I also found that it slowed me down considerably. Sometimes that's what you need to do. If you have halfway decent stitching already, you may not want to bother, but if you struggle with even stitching, I'd say, give this a try!

how to craft great photos // editing and more

how-to craft great photos : equipment

In the blogging world, eye-catching photos are a must. As an amateur photographer (most of us bloggers fall into this category!), you might not suddenly have perfect, magazine quality pictures, but you can learn to craft great photos with some simple tips.

For this last part of my craft photo series, I was going to show you how I edit images before posting them. However, my process isn't too different from others. So why not direct you to a really well written, easy to follow post?

Babble Dabble Do walks you through five tools to get your pictures ready to share with the world. And the reason I like this post is that she tells you how to do these things in both Photoshop (which I use) and in Pic Monkey (which I don't use, but know that many folks do). While you're there, check out the other tips she links to!

One tip that I think is important to add: once you start taking great pictures and pairing them with fun, original ideas, it's possible that more people will find your blog, and if you're lucky, your project could end up in print! For printing, images need to be larger than they are online. Always keep your original photos. Always.

Usually, I save the original, a copy of the edited image at full size, and a copy at a smaller, web size. (My blog layout is 640px wide, so that's the smallest I would ever make them.) Keeping copies eats up computer memory, but it's better than the sinking feeling of not having that larger version that a magazine, or even another blog with a wider layout, needs.

Before I officially wrap this up, I mainly take step by step photos, but for some inspiration and help with lifestyle photography, check out Justina Blakeney's helpful post. I want to step right into these pictures!

The most important thing is practice. Take lots of photos and try out different ideas until you find what works for you.

how to craft great photos // the setup

how-to craft great photos : equipment


If you have a blog, or even if you just read blogs, you know that great photos can make all the difference. The same is true if you have an online shop. There are different types of photography, for example portraits, events, products, etc. for craft blogging, I do a lot of step-by-step photography, which can be a lot like product photography.

The goal is to show very clearly what an item is or what you're supposed to do in a particular part of a project. To put the focus on the materials or product, I like a clean background and a well-lit shot. Some folks do this with big studio lights, large backgrounds, or even light boxes, which, I'll admit, would be amazing to have, especially for late-night work.

Let me show you what my photo studio setup looks like...

Craft Great Photos - Setup

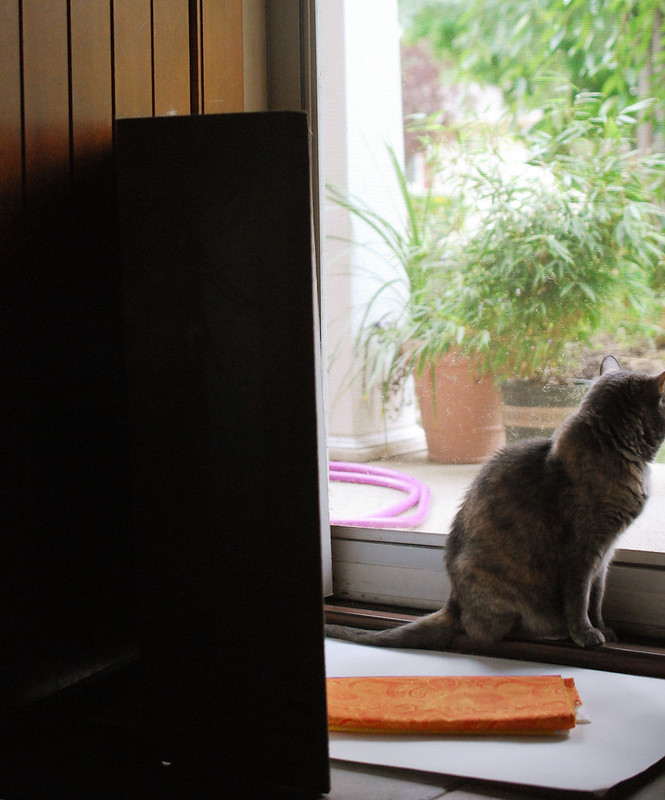
This is my front door, some art paper, a school project board, and my photo assistant. I have to believe that even if I had a fancy set up, she would sit in the middle of that too.

By relying on natural light, I have limited hours that I can take my photos, and usually that's between 10am and 3pm, though that's about the widest range. I like bright overcast days so i have light without the intensity of the sun. Other areas in my house have different lighting, so sometimes I move, but the setup remains very similar.

Craft Great Photos - Setup

Going in a little closer, this is what I've got. A sheet of art paper on the floor, with the project board reflecting light. Sometimes I place this board as a background, and sometimes the art paper gets taped up to form a background/base, but most of the time it's this way.

I also have an extra piece of art paper that I use as another reflector. With light coming from just one direction (the door), using these pieces to bounce light onto my photo subjects helps so much. A little bit of shadow is okay, but lots of shadows aren't pretty. And on days when it's just a little extra overcast, these brighten things up.

Supplies

When I take the actual photo, the crop in my camera looks like this. This has just a tiny bit of editing, which I'll talk about next time.

Craft Great Photos - Setup

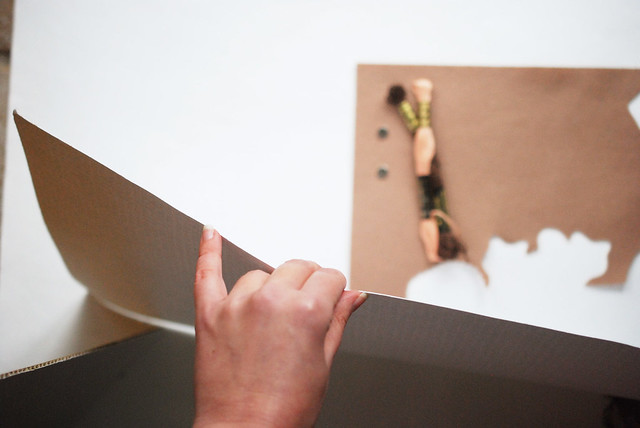
When I get in close for some photos, I grab my smaller piece of art paper and hold it with my left hand while shooting with my right hand. I can move it around and even flex it to fill in the light as needed.

Supplies

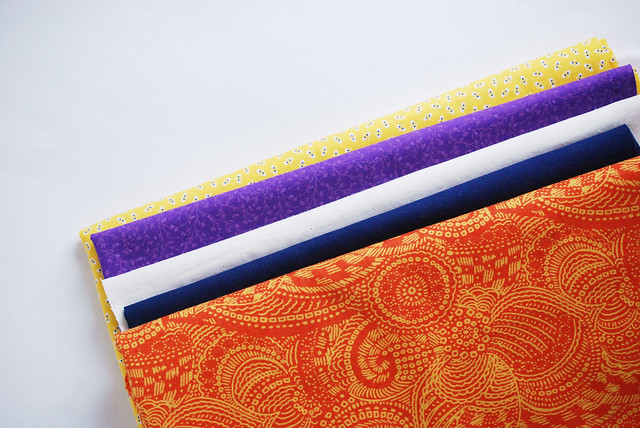
And then I end up with this!

Working with a plain background and some light reflectors is easy and super inexpensive. And they work great for when you need to take other photos with not-so-plain backgrounds too. Like for a shot of a pillow on a chair or even of your child hugging a soft toy. Once you start playing with how the light bounces, you'll never go back.

Do you have a favorite tip for taking great craft photos? Share it in the comments! And be sure to check out my post from last week about the camera equipment I use!

how to craft great photos // camera equipment

how-to craft great photos : equipment


This summer I celebrated 10 years of blogging, and while there are a lot of things I've learned over time, one of the biggest things I've improved has been my photography. Believe me...I've still got TONS to learn...my photos just started out really rough. Even now, I see every flaw and compare my pictures to what I see on other blogs, and I'm sure you know how it is.

With all of my self-criticism, I'm still asked to take step-by-step photos for book and magazine contributions, and people say kind things from time to time, and I thought I might show you my process for getting great photos. At least...as great as I'm getting them these days. We all have room for improvement, right? This is going to be a three-week series, and today I'm starting with the equipment I use. Next week I'll show you my photo set-up, followed by how I edit my pictures.

how-to craft great photos : equipment

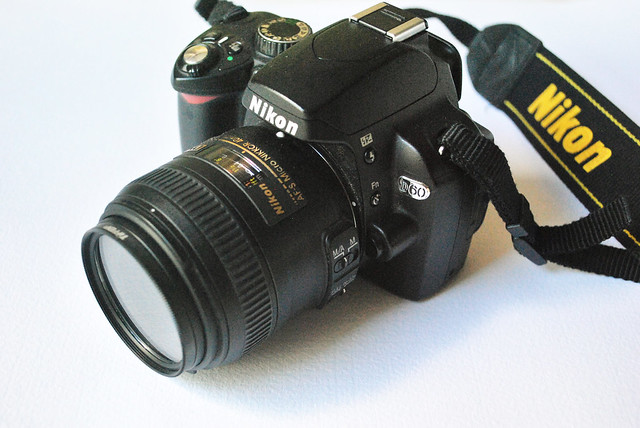
This is my camera.

It's a Nikon d60, and I've had it for just about five years. It's not the fanciest of DSLR cameras anymore, but it works. Over time I've gone from shooting all automatic to shooting all manual, and lots of options in between. For craft photos, I now only shoot manual with auto-focus so that I have more control. And often I have to take a bunch of photos to find the right settings for what I'm aiming for.

Ironically, my photos for this post feel a little different to me, because I took them with my sister's camera. She has the same model as mine, but it feels different, and she primarily uses a different lens. Which brings me to...

how-to craft great photos : equipment

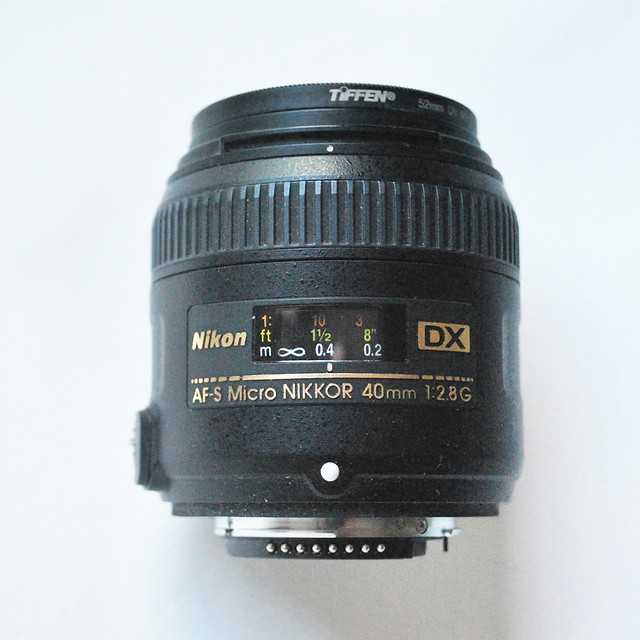
This is my lens.

It's a Nikon Micro Nikkor 40mm fixed length lens. This lens has no zoom, so if you want to zoom in, you get yourself closer to your subject and vice versa. It's great for getting nice and close for detail shots, but it also takes amazing all-purpose photos (I used it all through Disney World!). What makes this my favorite lens is that you can get really close pics AND the aperture allows for light, bright photos.

I like bright pictures that pop on a white background. Which brings me to...

how-to craft great photos : equipment

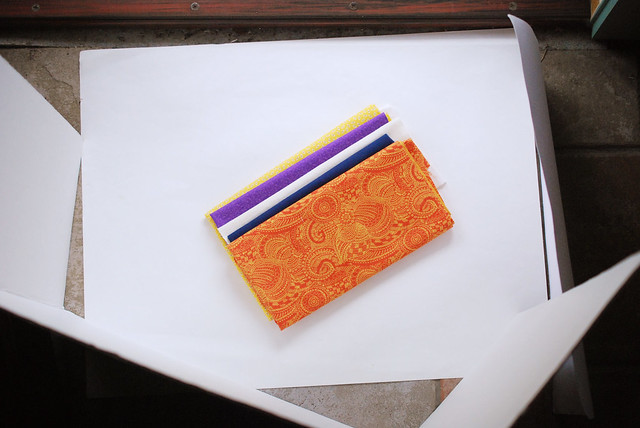
These are my backdrops.

You might notice that they look a little like cardboard and paper. They are. Total cost here was less than $3.00. The project display board sometimes shows up in the background of my photos, though the seams drive me crazy. It's more likely that I use a sheet of white art paper. Sometimes, if I need more space, I use a freshly ironed white sheet that is doubled, or even tripled so that it's smooth and nothing shows through.

I use an extra piece of white art paper to bounce some light onto what I'm shooting. The display board comes in handy for this, because it stands on its own. Next week, you'll see this in action.

It's tricky to see in this photo, but the whites of these papers are all slightly different. This, and other factors, will make a difference in the coloring of photos, through what we call white balance. Which brings me to...

how-to craft great photos : equipment

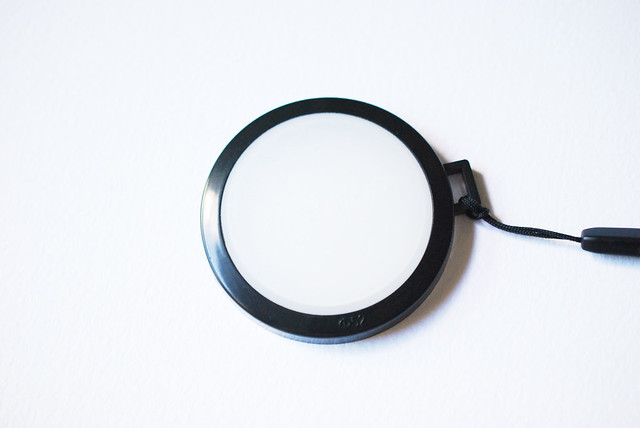
This is my white balance lens cap.

It's the latest addition to the equipment I use. Again, this cost me all of $4.19. There are fancier versions available, and at some point I may try one, but this is helping me a ton right now. Most cameras have a way to set the white balance based on the lighting conditions. DSLR cameras get a little more detailed with this setting, and most have an option to customize it by taking a photo of a white or gray card. The way this cap works is once the camera has been told to set the custom white balance, you take a photo with the lens cap ON the lens and it gathers the light coloring through the cap. It produces more accurate color in your photos, which means less editing. Yay!

You might notice that a tripod isn't on my list of camera equipment, nor is a lighting system of any kind. I rely on a steady hand and natural daylight. And most of the time, they work for me!

Next week, I'll show you what it looks like when I take pictures (probably minus me scrunching into weird poses), where I take them, and how all this stuff comes together.

And if you have any questions for me, please ask away! I'm by no means a professional photographer, but sometimes I think that helps. At least, that's what I tell myself...

the proverbial truth of a stitch in time

A Stitch in Time...

You've probably heard the adage "a stitch in time saves nine." The meaning is that doing something well from the beginning saves much effort in the long run. And amazingly enough, it applies to actual stitching.

When people ask me how it is that my stitches are so neat and even (especially running stitch), I don't usually have an easy answer. I tend to have an eye for spacing, and that helps. I also stitch a lot, and practice makes perfect! But probably the biggest help is taking time to get them just right.

It's not that I agonize over each stitch, or even that I go very slowly. It's simply a matter of paying attention to the size and placement of each stitch. One stitch, done well, is far better than nine stitches done sloppily.

Running Stitch sample

Believe me.

When I'm working under a deadline, it's amazing how poor my stitching can become. I hurry along trying to get it done, and then I realize that I've embroidered an inch or more of wobbly stitches. So I take them out. I could have saved nine! Or more!

Karen Barbé wrote a post about this undoing of stitches. It can be so disheartening, and yet, even when you remove the work you've just completed, it still saves you time when you consider the big picture and that you want that picture to look as pretty as possible! Not to mention, a bit of undoing can inspire better stitching next time.

So here's my challenge for you. Stitch a little slower. Look at each stitch as you go. Don't be afraid to go back and re-stitch.

After some time in this practice, you'll find that it goes faster...but hopefully not too fast! After all, a stitch at medium speed might save three or four, and perfection is overrated, but it is a wonderful feeling to look over your finished embroidery and feel truly proud of what you've created.

my 3 favorite needles // a non-technical guide

My 3 Favorite Needles


I love to embroider and stitch all kinds of things, and I love sharing my passions and process with others. I've taught online classes and have heard from many people that it was my tutorials that got them started. And still, every once in a while, I think, "I hope they don't find out that I don't know what I'm doing."

Lest you lose all confidence in me, I will say that I've probably earned at least some right to pass on my knowledge, through reading books on stitching (old and new), studying the embroidery work of others, and learning first hand from my grandma. I just don't take it too seriously. My non-technical needle guide will prove that.

My 3 Favorite Needles

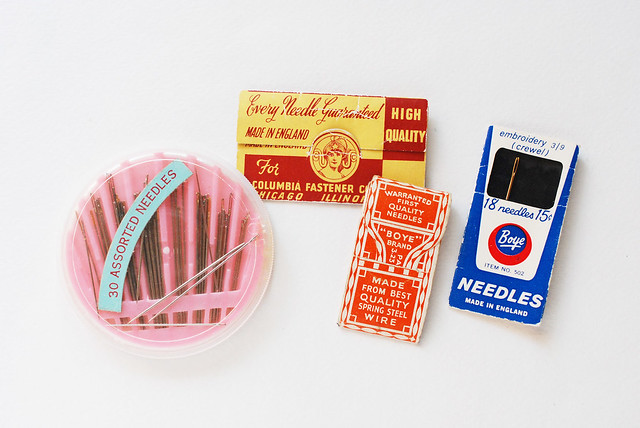
There are a shocking number of needle types. Honestly. And my first thought is to just grab whatever is closest. Then I get started and realize that oh yeah, some needles are more suited than others for certain kinds of stitching. I've even shared a little about this before. But today, I thought I'd go into a little more detail. Sort of. This is my list of three-ish favorite needles for embroidery, English paper piecing, hand sewing, and hand quilting.

My 3 Favorite Needles

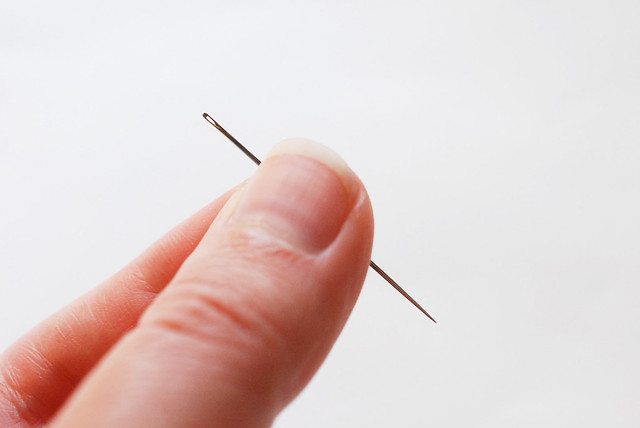
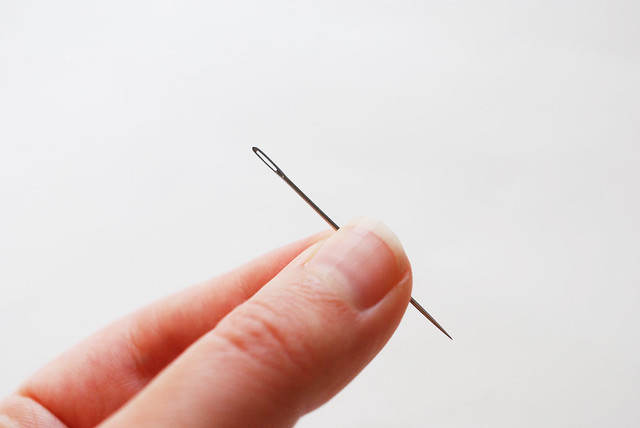
This one is small.

A long, skinny, sharp needle with a small eye is my choice for joining hexagons for EPP. I find that it is good for grabbing only the fabric and not the paper, which makes a big difference in the speed of your work.

My 3 Favorite Needles

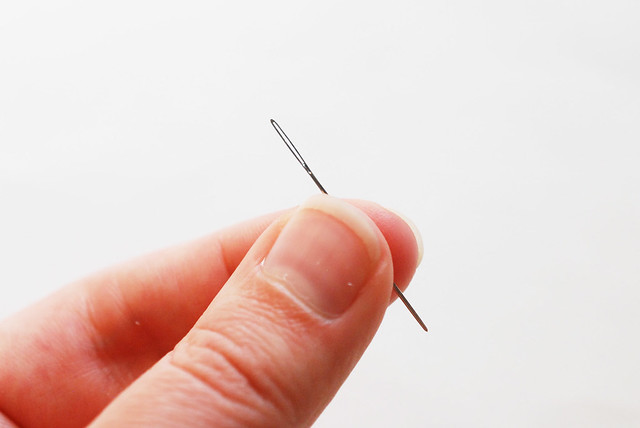
This one is big.

A needle with some heft and a large eye is my choice for any time I need to use perle cotton. It's great for hand quilting because it holds up when going through a lot of layers. Going bigger still makes it possible to use yarn.

My 3 Favorite Needles

This one is just right.

A needle that is medium in thickness, but has a large eye, is my choice for most everything else. Embroidery, basting EPP shapes, hand sewing, and more, are what I use this for. Sometimes I use a sharp needle for felt or if I need to go through paper or interfacing, sometimes I use a ball point needle for when I don't want to poke my fingers too much. Sometimes I'm just not particular.

There are technical names and sizes for all of these (sewing, chenille, embroidery, tapestry), but when I need a needle, if it looks approximately right, I go with it.

No fancy rules here...just stitching for enjoyment!

6 thoughts on changing it up

ChangingItUp


When I look at a project tutorial, whether it's my own or someone else's, I almost instantly start thinking about ways to adapt it, alternate methods, and more. Now, in the interest of full disclosure, I feel a twinge of insecurity (or maybe jealousy) when someone changes one of my own tutorials (especially when I think they improved on it!), but it doesn't last long. Why? Because ideas beget ideas, and changing it up and making something your own are good things.

Last week I showed the Dala Horse that I made from Stitched Blooms and mentioned a few changes I made. The changes weren't because Carina's project needed improvement...they were for a purpose...to make it work for me. But what might that look like for you?

Ahh, Autumn Trivets

Using my Ahh, Autumn Trivets pattern for an example, here are 6 thoughts on changing it up:

1. What is the purpose?

My trivets pattern contains instructions and templates for making hot pads. Maybe you like the look, but you don't need hot pads. What you need is a set of place mats or coasters! By changing the size, you can change the how the finished project will be used. Sometimes a simple shift or a small addition can give you exactly what you need.

2. How will changing the purpose affect what you're making?

If you've decided that you need to change how a project will function, it's important to consider what that will mean. For example, enlarging a DIY requires you to figure out how much more of the materials you'll need. If you make the same thing smaller, you might need to simplify some details or look for ways to reduce bulky materials. It takes a little bit of thought, but you'll end up with a newly purposed tutorial taylor made for you!

Ahh, Autumn Trivets

3. What supplies will you use?


I'm a total homebody, so if I can avoid a supply run (even to to the craft store!), I will. Plus, isn't it more fun to jump right in to a new project? That might mean using different supplies than the DIY calls for. In the case of trivets, you could use extra batting (this project calls for cotton!) instead of the Insul-bright I recommend. Or sometimes I like using felt in a project because of it's non-woven qualities. Changing the materials is a great way to solve a problem or infuse creativity.

4. How will changing the materials affect what you're making?

It's a cute hot pad emergency and you don't have insulated batting. No problem! You've got plenty of regular cotton batting! Can you use it? Of course...but you're gonna want to make sure that you use enough layers to really protect yourself from the heat. Do a test (carefully!) to make sure it's safe. You're gonna use felt for your trivets? Nice! But remember that felt makes seams a little more bulky and isn't as laundry-friendly. Trim those seam allowances after you've stitched (or make it without turning!) and plan to spot clean your finished work.

5. Is the embellishment a fit?

Everyone is different and we all have different preferences. I like pumpkins and acorns with faces, but maybe you don't. Easy fix: don't stitch the faces! I think fall is a perfect time for using hot pads, but you really want them for Christmas gifts. Find a large, simple design that is a more suitable seasonal motif! Embroidery designs or other embellishments are easy to change out in most cases, but they can make a big difference in the overall style of what you're making.

6. How will changing the design affect what you're making?

If the project you're making is adding an embroidery motif to a shirt, switching out the design is unlikely to make a difference. But what if the proportions of your chosen design vary greatly from the original, such as wanting to use a circular pattern on a bookmark that is long and thin? Changing the pattern on the trivets could require altering the outer shape, which you could do without much effort. However, the stitching isn't just embroidery, but quilting, so consider the level of detail in a new design and how that will look (or if you can even stitch it that way).

Bottom line: think it through, then don't be afraid to change it up!

making wild olive patterns extra kawaii

Tinted Cheeks = Extra Kawaii


For those not familiar, "kawaii" is a Japanese word that means "cute". But when I think of or use the word, I think "extra cute". So now, I'm going to show you how to make something extra kawaii, or extra extra cute. Mmmmkay?

Often you'll see kawaii items and illustrations that have the sweetest little blushing cheeks. That has never been a part of the drawings I do, and one reason is that I find it to be a distracting element when you embroider them. I think those cheeks are sooooo cute, but I've never used them. Thankfully, a wonderfully creative customer sent me a photo of a quilt labels she stitched, and she had found the answer!

It involves crayon or colored pencil tinting, and it really does make my patterns extra kawaii!

Tinted Cheeks = Extra Kawaii

Just look at that baseball and mitt! Amanda crayon tinted both designs so well, but it was the cheeks that jumped out at me. I'm so thankful to her for letting me share her work, and for coming up with a way to make cute into extra extra cute.

Tinted Cheeks = Extra Kawaii

Here's how you can try this out when stitching something that needs some darling blushing cheeks. Grab some pink crayons or colored pencils. I used Prismacolor Art Stix, which are like a colored pencil in stick form.

Test some little circles on a scrap of your fabric. This is also a good way to practice how you want those cheeks to come out, because once you start coloring on your embroidery, you really can't go back. I went with the lightest color for this piece.

Tinted Cheeks = Extra Kawaii

Gently add your tinted cheeks to the face on your embroidery. Start out light and make it darker as you go. I probably could have gone a little darker on mine, but in person it shows up really well.

There you have it! Extra kawaii!

As a side note, when Disney made Snow White and the Seven Dwarfs, each animation cel that featured Snow White was hand tinted with real blush to give her soft, rosy cheeks. When I was tinting this pan of cookies, that's all I could think about!

how to transfer an embroidery pattern onto any fabric

Stitching with Water-Soluble Paper


Prepare to have your embroidery experience change forever.

First, let me start by thanking Wendi Gratz for enlightening me. In the middle of a big stitching project, she saved my sanity, and it's too important for me to not pass along to you.

When beginning an embroidery project of any kind, one of the first things you do is transfer your pattern onto your fabric. The most basic way is to trace the pattern (I usually use either a plain pencil or a water-soluble pen), but there are plenty of other options. For some situations they work perfectly well, and other times they create a nightmare or they aren't even worth trying.

Dark fabrics and felt are practically impossible to trace onto. And lately I've discovered that linen is often just as difficult. This is the problem I was facing when Wendi told me about this:

Stitching with Water-Soluble Paper

I had heard of Sulky Sticky Fabri-Solvy before, but never really thought about what it could do for me. (I'm rather frugal, so why buy this when I could use a regular pencil?) And here's the truth: I wish that I had tried water-soluble fabric years ago.

This material feels like stabilizer...because it is! The stabilizer/fabric is sticky on the back, and comes on a peel-off sheet. It comes on rolls or in US letter-sized sheets. And the purpose of them being 8-1/2 x 11 inches? They will go through your inkjet printer! Think about when you have a really large design or a whole bunch of patterns that need to be transferred. Instead of tracing, you can just print the patterns onto the stabilizer!

You can find other brands that are similar (Pellon and C&T both make it), but so far I've found the Sulky to be the best value, especially when I add it on to an Amazon order with free shipping!

I should note, you can buy water-soluble stabilizer that isn't sticky-backed and isn't printable. You can still trace onto it and tack it on with a few basting stitches.

Stitching with Water-Soluble Paper

For a quick demo, I grabbed a scrap. This is from a sheet that I ran through the printer, then trimmed out the printed area. The edges were large enough to justify keeping, given the number of tiny patterns I stitch.

Since I can't print on this again, I did the next best thing...

Stitching with Water-Soluble Paper

I know I just got through telling you how you should get this to avoid tracing, but hear me out. Inevitably, after you print out some patterns onto the water-soluble fabric, there will be scraps like this. The point is, you can also trace onto them to put the pieces to use. And tracing onto this is much easier than most (if not all) fabrics.

By the way, this little Pumpkin Spice Latte will be coming soon on the blog!

Stitching with Water-Soluble Paper

Cut around the printed or traced pattern, peel off the backing, then stick it onto your fabric. It's semi-reposition-able, so if it doesn't go down just right, you can smooth out any wrinkles. Your pattern is officially transferred!

Stitching with Water-Soluble Paper

Start stitching as you normally would. Your stitches will go through both the fabric and the water-soluble fabric. Because this makes your fabric stiffer, you might be able to go without the hoop, but I still prefer it, if only to make it easier to hold.

I've noticed that my needle gets a little gummy as I work, so every so often I just wipe if off with the corner of my fabric. Wendi tells me this happens if the material gets too warm, and when mine was delivered, the package definitely felt like it had been sitting in the back of the mail truck all day. This is the downside of ordering in the summer when your house is toward the end of the mail route.

Stitching with Water-Soluble Paper

Also, sometimes the stabilizer lifts as you come up from the back. Just smooth it out and keep stitching!

Stitching with Water-Soluble Paper

When your stitching is done, prepare for magic. Get a shallow dish of warm water. The warmer the water, the faster it works, but if you're using wool, you'll want to keep it cooler to avoid shrinkage.

Stitching with Water-Soluble Paper


Submerge the embroidery and wait.

Stitching with Water-Soluble Paper

Wait a little longer. This photo was taken at around 30 seconds in and the stabilizer is starting to change.

Stitching with Water-Soluble Paper

Keep waiting, and keep watching, because after about a minute, you'll start to see bits floating to the surface.

Stitching with Water-Soluble Paper

When you've lost your patience, agitate the fabric. No, don't say things to get it upset...shake the fabric around in the water a little. Even more bits come off!

Stitching with Water-Soluble Paper

Finally, when you really, really can't wait any more, or if there are tiny pieces stuck in the teeniest stitches, blast it with some water at your kitchen sink. Every part of the water-soluble fabric will vanish and wash away. It's pretty much amazing.

Will I give up regular tracing? Probably not. (It's cheap and doesn't need special supplies!) I might not even completely give up stitching though tracing paper, which I often do for felt projects. But I will use this any time that I'm even starting to feel a struggle come on with my transfer process, which includes using linen, which I love.

Now, can anyone tell me why I didn't use this sooner?

Notes from readers:

On soaking your embroidery: As a couple people have mentioned, it's really important that your embroidery floss be colorfast when using this technique. In all of the embroidery I've done (using primarily DMC threads), only one time did I have some color run (red! on white! yikes!), but it came out with color grabber in the wash. Just be certain before soaking, mmmkay?

On long projects: I received an email from someone who said that when using this product (a few years ago) in low-humidity and over a longer period of time, her stabilizer became brittle. Has anyone who has tried this run into that?

On other fabrics: Wendi reminded me that this is also perfect for stitching on stretchy knit fabrics where you'd need a stabilizer because...this is stabilizer! Hmm...more t-shirt and onesie embroidery may be in my future...