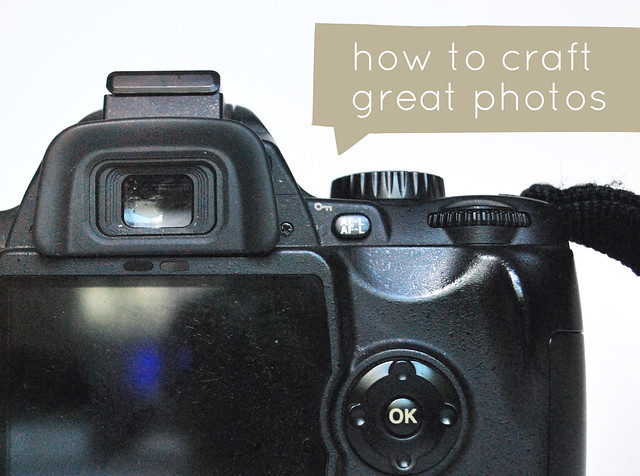
In the blogging world, eye-catching photos are a must. As an amateur photographer (most of us bloggers fall into this category!), you might not suddenly have perfect, magazine quality pictures, but you can learn to craft great photos with some simple tips.
For this last part of my craft photo series, I was going to show you how I edit images before posting them. However, my process isn't too different from others. So why not direct you to a really well written, easy to follow post?
Babble Dabble Do walks you through five tools to get your pictures ready to share with the world. And the reason I like this post is that she tells you how to do these things in both Photoshop (which I use) and in Pic Monkey (which I don't use, but know that many folks do). While you're there, check out the other tips she links to!
One tip that I think is important to add: once you start taking great pictures and pairing them with fun, original ideas, it's possible that more people will find your blog, and if you're lucky, your project could end up in print! For printing, images need to be larger than they are online. Always keep your original photos. Always.
Usually, I save the original, a copy of the edited image at full size, and a copy at a smaller, web size. (My blog layout is 640px wide, so that's the smallest I would ever make them.) Keeping copies eats up computer memory, but it's better than the sinking feeling of not having that larger version that a magazine, or even another blog with a wider layout, needs.
Before I officially wrap this up, I mainly take step by step photos, but for some inspiration and help with lifestyle photography, check out Justina Blakeney's helpful post. I want to step right into these pictures!
The most important thing is practice. Take lots of photos and try out different ideas until you find what works for you.
0 comments:
Post a Comment
I often reply to comments in the comments...check back if you have a question!