
If you have a blog, or even if you just read blogs, you know that great photos can make all the difference. The same is true if you have an online shop. There are different types of photography, for example portraits, events, products, etc. for craft blogging, I do a lot of step-by-step photography, which can be a lot like product photography.
The goal is to show very clearly what an item is or what you're supposed to do in a particular part of a project. To put the focus on the materials or product, I like a clean background and a well-lit shot. Some folks do this with big studio lights, large backgrounds, or even light boxes, which, I'll admit, would be amazing to have, especially for late-night work.
Let me show you what my photo studio setup looks like...
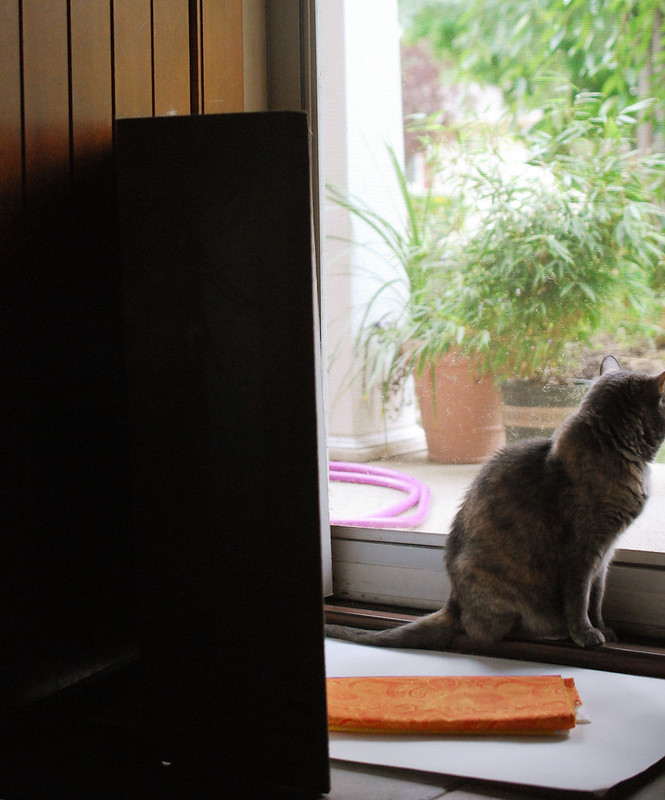
This is my front door, some art paper, a school project board, and my photo assistant. I have to believe that even if I had a fancy set up, she would sit in the middle of that too.
By relying on natural light, I have limited hours that I can take my photos, and usually that's between 10am and 3pm, though that's about the widest range. I like bright overcast days so i have light without the intensity of the sun. Other areas in my house have different lighting, so sometimes I move, but the setup remains very similar.
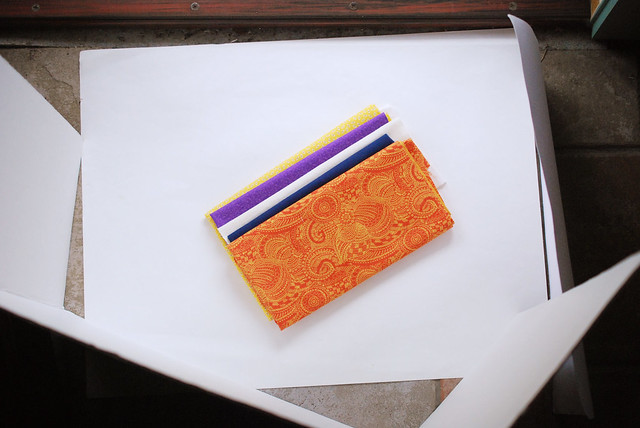
Going in a little closer, this is what I've got. A sheet of art paper on the floor, with the project board reflecting light. Sometimes I place this board as a background, and sometimes the art paper gets taped up to form a background/base, but most of the time it's this way.
I also have an extra piece of art paper that I use as another reflector. With light coming from just one direction (the door), using these pieces to bounce light onto my photo subjects helps so much. A little bit of shadow is okay, but lots of shadows aren't pretty. And on days when it's just a little extra overcast, these brighten things up.
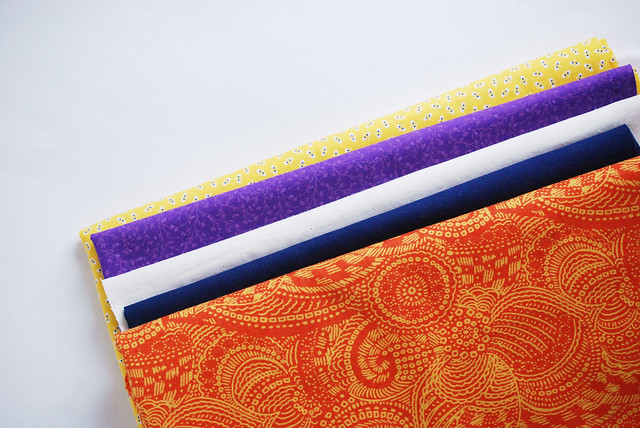
When I take the actual photo, the crop in my camera looks like this. This has just a tiny bit of editing, which I'll talk about next time.
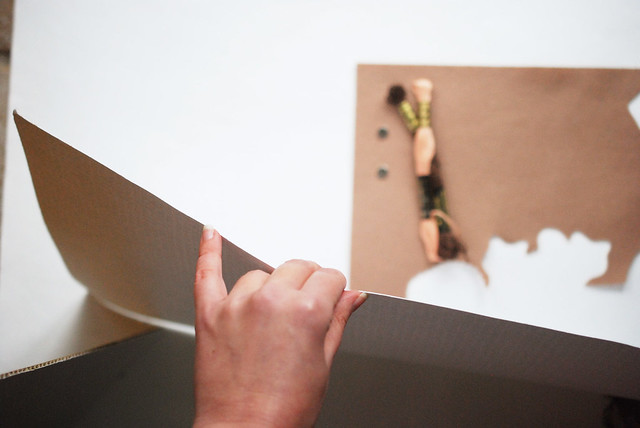
When I get in close for some photos, I grab my smaller piece of art paper and hold it with my left hand while shooting with my right hand. I can move it around and even flex it to fill in the light as needed.
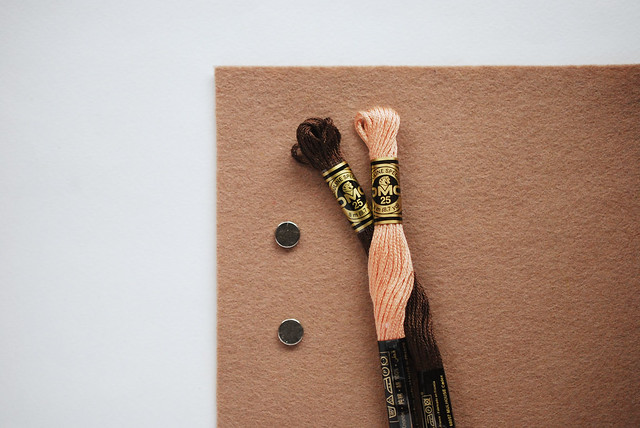
And then I end up with this!
Working with a plain background and some light reflectors is easy and super inexpensive. And they work great for when you need to take other photos with not-so-plain backgrounds too. Like for a shot of a pillow on a chair or even of your child hugging a soft toy. Once you start playing with how the light bounces, you'll never go back.
Do you have a favorite tip for taking great craft photos? Share it in the comments! And be sure to check out my post from last week about the camera equipment I use!
That's awesome, really helpful post. I can use this for my photos. Thank you very much.
ReplyDeleteDomestic cleaning Wembley
This comment has been removed by the author.
ReplyDeleteThanks for the tip. My photos are always dark. This is a solution. Kisses from Venezuela!
ReplyDeleteGreat set up! Thanks for sharing :)
ReplyDeleteThank you so much for this! I usually go outside in a shaded area, and take a picture of my things sitting on some white foam board. Since I'm in AZ there's not a lot of overcast days, and I just try to avoid the direct sun. But this usually ends up with a blue cast. I will definitely try it this way indoors (saves me from being out in the heat too)!
ReplyDeleteI really need to get a flexible light reflector, but feel so stuck with only two hands! Small details make the most difference!! Thanks for the share. Hope the bright overcast days are kind to you and your camera in the future :)
ReplyDeletewww.ohheyblog.com
Using a school project board as a reflector is genius!! I have seen all kinds of ideas online but this is the first I have seen this idea. I love how it can stand on it's own. I used foam board a lot but it has to lean on something and is flat. The project board has the 3 angles for bouncing even more light.
ReplyDelete