about shop patterns projects printables extras sponsorship wild olive twitter flickr pinterest subscribe
Showing posts with label printables. Show all posts

printable // embroidery stitch punch card

Printable Embroidery Stitch Punch Card

It's the beginning of January so you might be thinking of learning something new this year. Embroidery, perhaps? I'm always a fan of helping people learn how to embroider or try out new stitches. So I made a fun little printable punch card to motivate and track your progress!

My sister showed me some adorable punch cards that people were making and I immediately thought of embroidery stitches for this. Rather than listing specific stitches on the card, I used little hoops as the punch spots. This way you can use the card if you're just starting out with the basics, but it's also great if you already know 25 stitches and want to learn 10 more. Because there are so many stitches you can learn and try in embroidery!

I ususally use the same four or five, so this might get me working more special stitches into my work.

Printable Embroidery Stitch Punch Card

For optimal punch card experience, I recommend printing this on card stock. To make the best use of a sheet, I put two of these on a sheet. Now you can learn 20 stitches OR share one with a friend so you can stitch together!


Wondering which stitches you should learn or practice? If you're just starting out, these are the ten of the most common embroidery stitches you'll find in patterns:

• Straight Stitch
• Running Stitch
• Back Stitch
• Split Stitch
• Stem Stitch
• Chain Stitch
• Lazy Daisy
• Fly Stitch/Scallop Stitch
• French Knot
• Satin Stitch
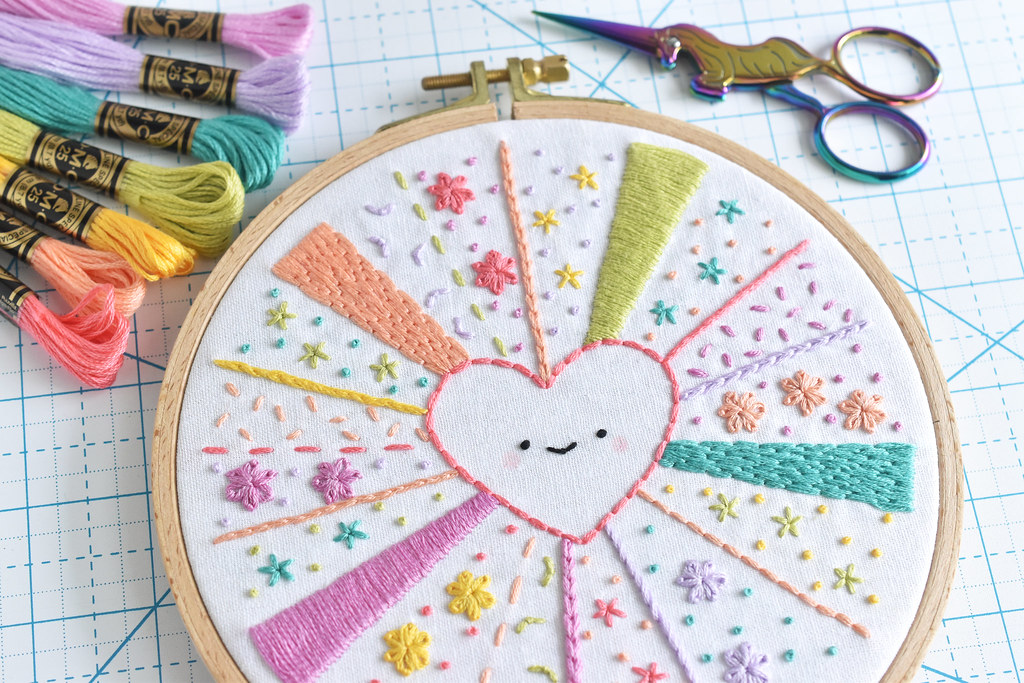
Super Cute Stitching Sampler There are lots of ways for you to learn these stitches, and I have some embroidery basics posts here on my blog. But if you'd like to learn with videos, all of these stitches and a few others are included in my Super Cute Intro to Embroidery eBook and video course. I recently updated the course to now be a PDF, available in my Etsy shop.

You can practice all ten of the stitches in that list (plus a few more) while making the adorable sampler shown above!

Printable Embroidery Stitch Punch Card

If you want to learn more advanced stitches, these are ten more stitches to start practicing:

• Blanket Stitch
• Pistil Stitch
• Feather Stitch
• Herringbone Stitch
• Fishbone Stitch
• Woven Wheel Stitch
• Couching Stitch
• Long-Short Stitch
• Bullion Knot
• Turkey Work Stitch

As I said, there are still many more stitches that I could list, but these are a good bunch to work on. Find the stitches you want to learn and then don't stop! You can just keep printing out punch cards until you feel like an absolute expert.

printable: floss bobbin thread organizer

Thread Bobbin Printable Floss Organizer Cards


Over the years, I've crafted many ways to store and organize embroidery floss. Sometimes I think that I like the process of making these even more than using them. The one that has stuck for me the longest is sorting the skeins in small containers sorting them based on the DMC color card. You can see that here. But that's storing my threads in an organized way.

But when it comes to keeping embroidery floss organized while actually working on a project, I'm usually pretty horrible about it. I typically have little nests of thread in a project bag, which you'll see later in this post. And that's despite the fact that I designed these embroidery floss bobbin thread organizers ten (yes TEN!) years ago.

These are based off of similar cards you can buy as well as some simple handmade ones, and even the acrylic or wood variety. My printable is based on the thread bobbins I've made in the past, but bigger and made for holding a bunch of threads and labeling them too! As I've been doing more cross stitch, it's been especially helpful because I'm pulling off single strands, as opposed to using three strands like I usually do with embroidery. I'm still new to using this, but now I don't have messy wads of floss to sort through!

Want to print your own and give them a try?

Thread Bobbin Printable Floss Organizer Cards

I have two versions of these available. One has four colors (red, yellow, green, and blue), and then for those who support me on Ko-Fi, there's a version with an additional four colors (pink, orange, teal, and purple).

DOWNLOAD THE 4-BOBBIN ORGANIZER

Thread Bobbin Printable Floss Organizer Cards

Print the page on heavy card stock (or you could mount it onto thin cardboard using my stronger card method), then trim the bobbins.

Thread Bobbin Printable Floss Organizer Cards

Punch holes along the sides. If you want, you can also punch a hole in the top so you can keep all of your bobbins on a ring.

Thread Bobbin Printable Floss Organizer Cards

Now, grab those nests of embroidery floss (or if you're smart, use these organizers from the beginning so you don't have this problem).

Thread Bobbin Printable Floss Organizer Cards

When you start a project, or as you're working, place the cut strands through the hole and secure with a cow hitch (yes, that's what that "knot" is called!)). You can write the color numbers next to each loop if you want, and even add your project name at the top. No more guessing, especially when you have colors that are close to each other!

Thread Bobbin Printable Floss Organizer Cards

If you look closely, you'll see that when I ended up with an extra thread, I added it in with the matching color. It's a handy way to keep alllll the threads tidy.

Oh, and if you want to know an easy way to remove a thread to use it, check out my YouTube short showing me trying this for the first time!

Thread Bobbin Printable Floss Organizer Cards

When I'm not using the floss, I just wrap the hanging threads around the card like you see here!

Before I sign this off, I want to highlight my Ko-Fi page. There are several ways to support me there, including what I call the tip jar so you can drop something in and get bonus files from time to time (like the full rainbow of floss organizers!). But my Ko-Fi Klatsch is the best value, while really helping me do what I do. That monthly membership includes all the bonus files, plus exclusive patterns, video calls, discounts, and new release patterns, depending on the tier. I'd love it if you took a look.

And now, happy stitching!

printable // leaf stitching cards

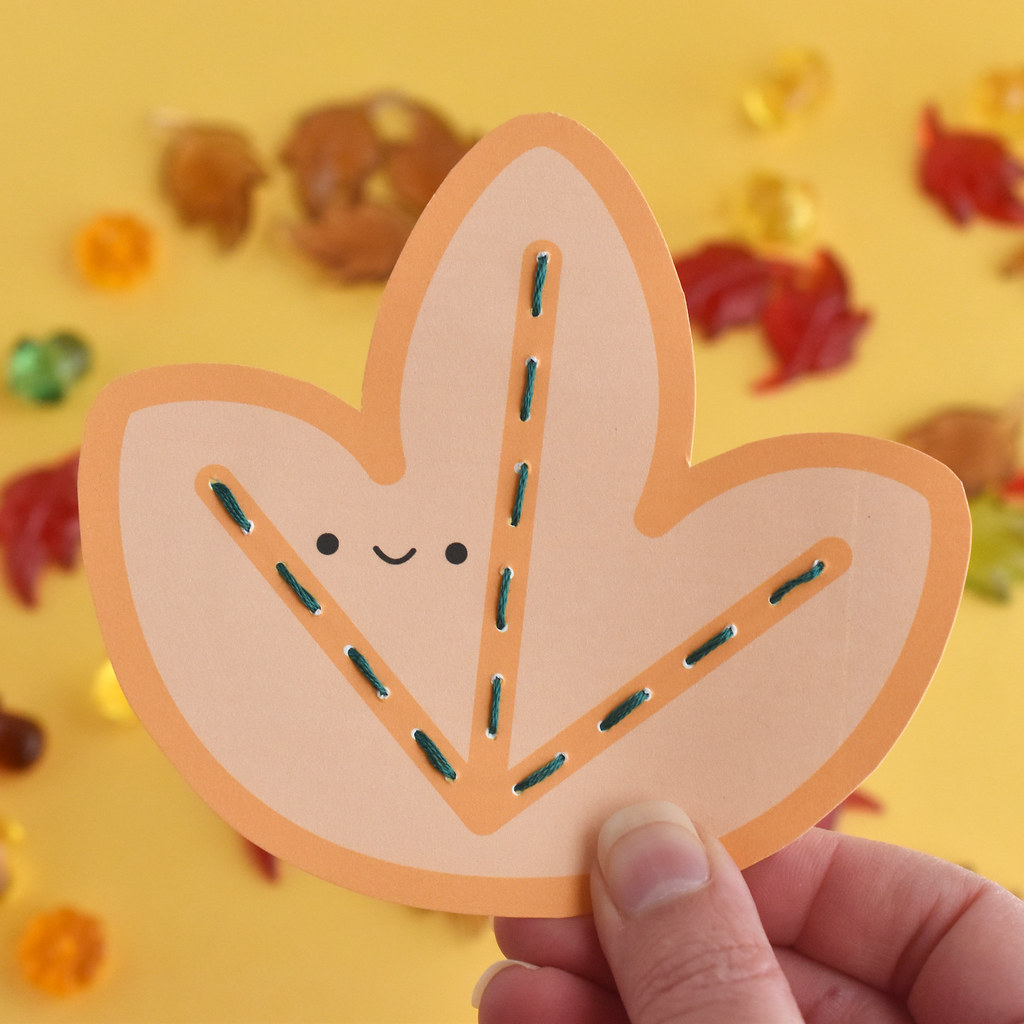
Leaf Stitching Cards

What's better than walking through crunchy autumn leaves? Stitching them! Okay, so this isn't about stitching real leaves (but you can do that). It's about practicing some stitches on printable kawaii leaves. This is a fun project for nearly all ages.

A while back I made some printable autumn leaf lacing cards, which are similar in basic idea, but better suited for younger kids. These new stitching cards are ideal for kids who are learning embroidery, teens who like to make easy projects while hanging out with friends, and adults who just want to make something cute!

Leaf Stitching Cards

I made mine with running stitch, which is what I always suggest as a first stitch for anyone to learn. But you could also stitch on this with back stitch or holbein stitch for solid lines, and other stitches too if you know how to work it (tips on that at the end of this post!)

Stitching cards are such a fun way to try out a new craft. Before you know it, you'll FALL for embroidery!

Leaf Stitching Cards

Here's what you need:

Cardstock
Embroidery floss (I used fun colors!)
Scissors
Large embroidery needle

LEAF STITCHING CARDS PDF

Leaf Stitching Cards

Print the PDF on cardstock. Don't use regular paper because it will be too flimsy. Cut out the leaf shapes.

Leaf Stitching Cards

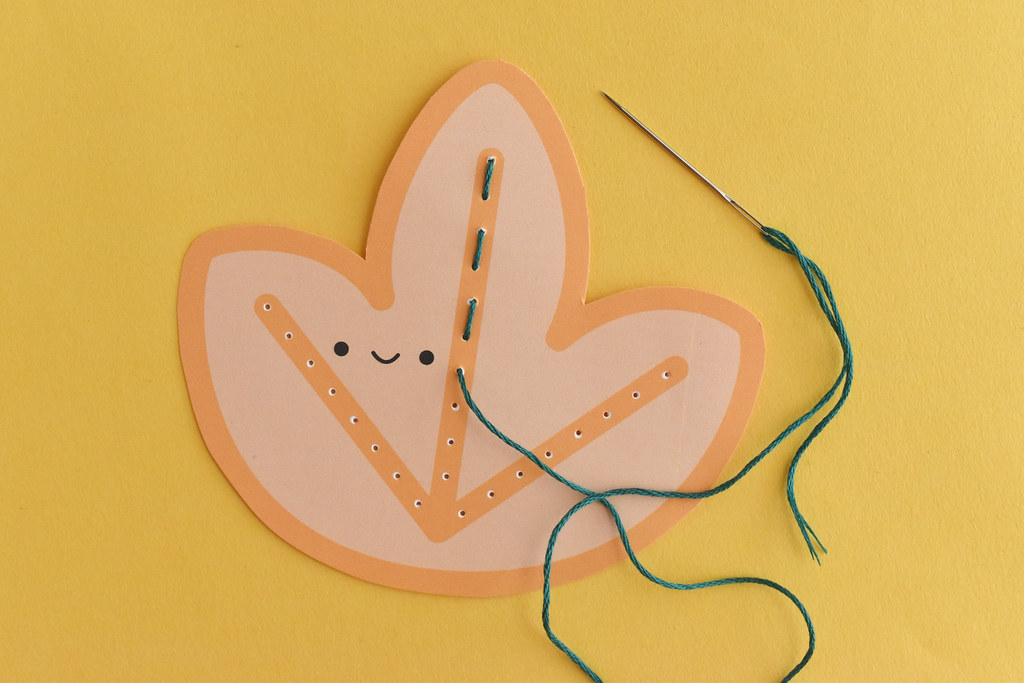
Use the needle to poke a hole on each dot. It can be helpful to set the leaf on a piece of corrugated cardboard when poking the holes.

Leaf Stitching Cards

Thread the needle with a piece of embroidery floss using all six strands. You can also use yarn if your needle is large enough. Tie a knot at the other end.

Leaf Stitching Cards

Start on the center stem (or midrib!), no matter which leaf shape you're using. Come up through the first hole and go back down through the next.

TIP: Don't pull the thread too hard or the knot will pop through the stitching card. If you're having trouble, you can tape the knot on the back.

After you stitch the center stem/midrib, end off the thread with a knot and then start again to stitch each vein from the outside edge to the middle and then out to the opposite edge.

Leaf Stitching Cards

On the back you can see how the thread travels and this is how each leaf is designed. There's also exactly the right number of dots/holes to it comes out even for running stitch or back stitch.

Leaf Stitching Cards

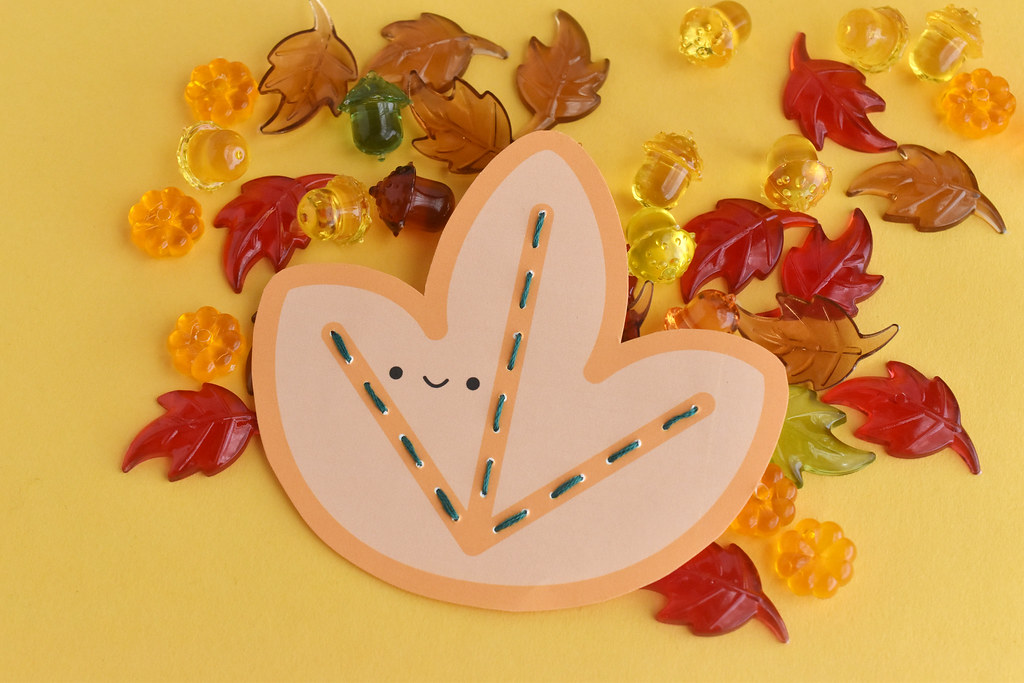
And there's your happy little leaf!

You can punch a hole and add a hanging loop to turn it into an ornament, attach it to the front of a card, use it as a bookmark, or just let it be a stitched leaf.

If you want to use other stitches, you just need to consider how you might need to prepunch the holes. For example, if you want to do chain stitch, you can use the dots as a guide and simply add an extra hole a the end as the tacking stitch. To do stem stitch, you probably want to add an extra hole between each dot.

Leaf Stitching Cards

Try out different stitches, unexpected embroidery floss colors, and just have fun making your leaves!

Want to make these with your classroom, library, church, or scout group? I'm very happy for you to do that! I also have a one-page printable instruction page for this project, available on my Ko-Fi page.

printable // handmade with... tags

Printable Handmade Content Tags


The next time you give a handmade gift, add one of these printable "handmade with..." tags! There are lots of ways and reasons to provide some information about your project, and the type of thing you're making may determine some of that for you. But no matter what those things are, why not have a little fun with it?

These free PDF tags came about from a conversation about providing care instructions for the things you make. For example, if you generously knit a sweater for a friend, they need to know what it's made of and any special laundry guidelines. Not knowing this could result in disaster. Caring for embroidery or cross stitch may not be as vital, but it may be good to share tips for keeping it clean or what to do if the fabric loosens in the hoop.

This conversation (which happened in a Patreon-exclusive episode of The Very Serious Crafts Podcast) led to the idea of making something with love, but also how sometimes some drama gets in there. You know what I'm talking about, right?

Printable Handmade Content Tags

My current project is using metallic thread and that always adds some drama. I'm working with Kreinik braided embroidery thread, which is easier than DMC brand, but it's still trickier than cotton floss. Do I need to tell anyone that the fiber content includes metallic thread? No. But it's funny to say that it includes drama!

And metallic thread is just one example of a time that this might be fun to include! Different types of materials, complex patterns, or some tragic accident (think spills, color bleeding, or actual bleeding!) all may call for a funny tag.

Of course, people will likely appreciate when they receive something that was only made with cotton (or another material) and love. That's really what this should all be about. But if you're making a gift for another crafter, they'll probably also be impressed when there was no drama in the making! Oh, and while these printables are focused more on the content of the project, but you can also use the back of the tag to write down any special instructions for care.

Inside the hoop labeling...

To be perfectly honest, I always forget to label my work, but I'm trying to be better about it. At least when I'm giving something away. Now that I have this printable, I may be more consistent. But I did start using a simple trick to sign my embroidery hoops in some way.

Because I often trim and gather the fabric on the back of a hoop, I've started signing and dating in the inside of the embroidery hoop. It's not as obvious as if I signed the outside of the hoop (something I've tried but feel funny about), but it's still somewhat visible. And it's there for posterity.

Now if I add a printed tag, it could get tucked into the back as well!

Printable Handmade Content Tags


How do you like to label or tag your projects?

project // woven cross stitchable ornament

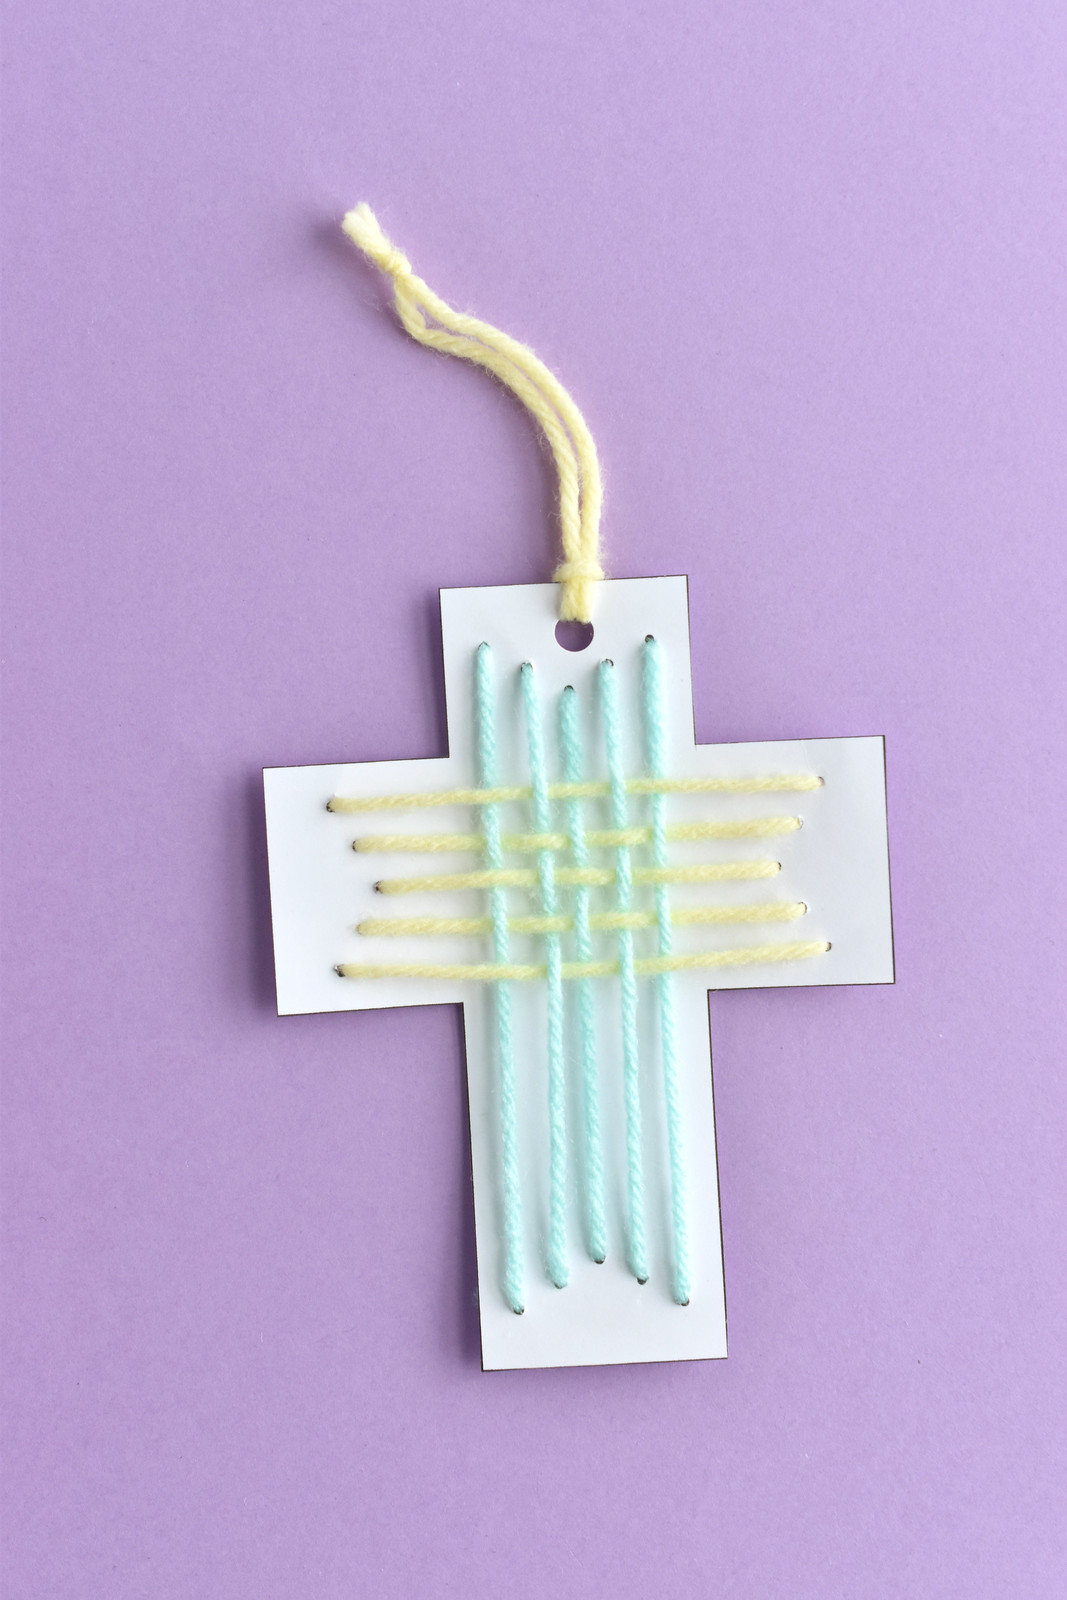
Woven Cross Stitching Card

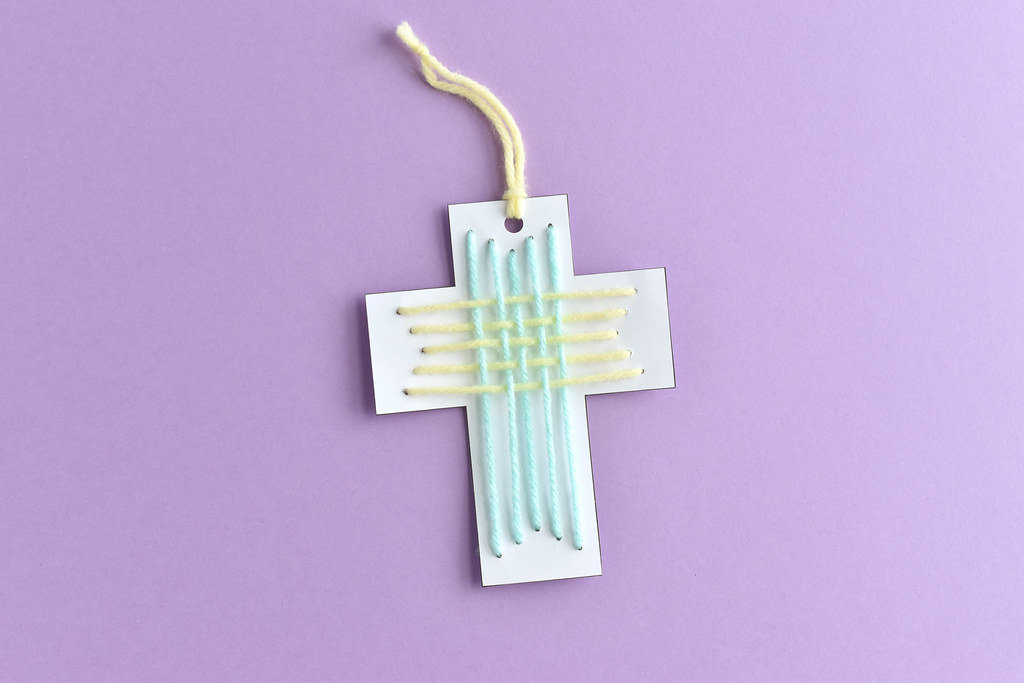
Today I'm sharing a simple little project that you can print and stitch for yourself, with your kids, or even share it with a group of students at your church! With Easter coming soon, this stitchable cross is a great reminder of what Jesus did to extend forgiveness to each one of us. You can hang it up as an ornament or use it as a bookmark!

You will need:
Cardstock
Scissors
Large Tapestry Needle
Yarn or Embroidery Thread
Hole Punch

DOWNLOAD THE STITCHABLE CROSS PDF

Woven Cross Stitching Card

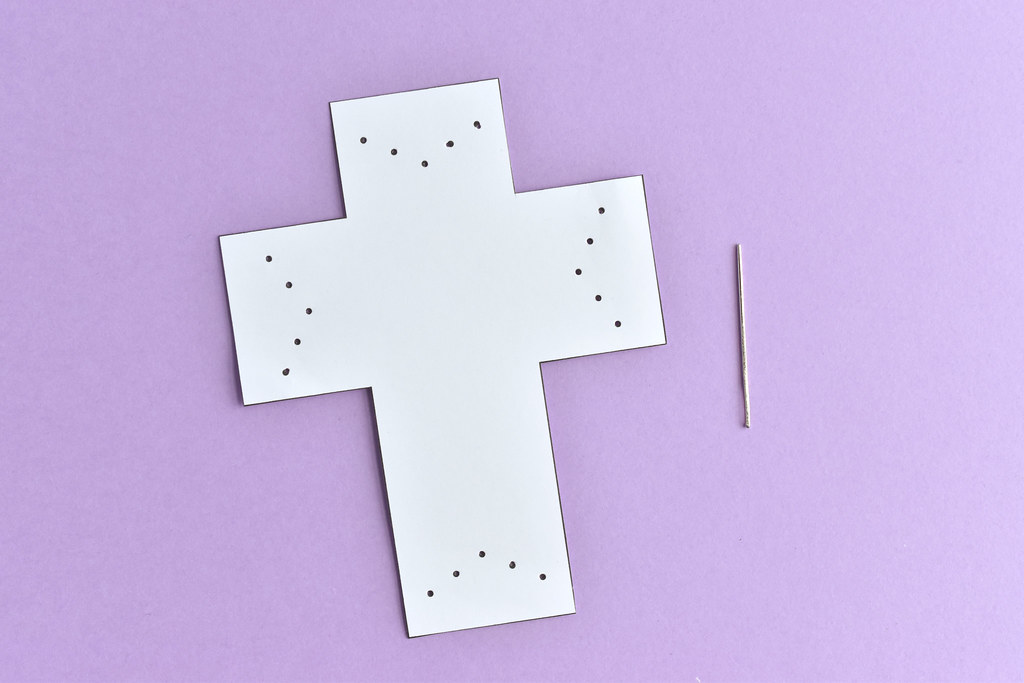
Cut out the cross shape. Use the needle to pre-poke the holes marked by dots.

Woven Cross Stitching Card

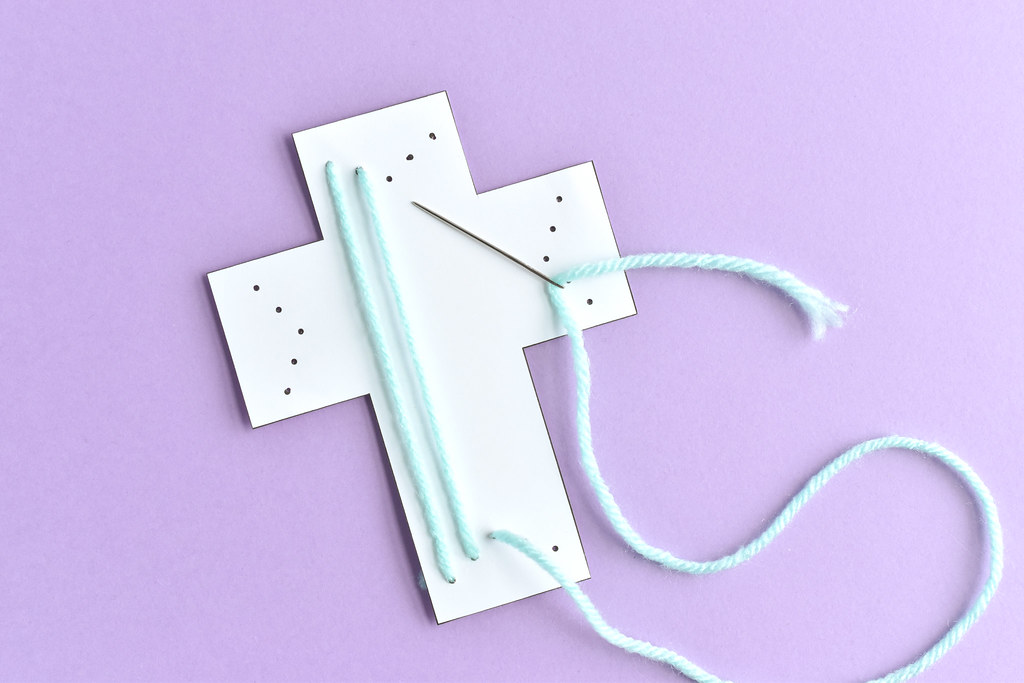
Cut a piece of yarn or embroidery thread that's a little longer than your entire arm. Thread it through your needle and tie a knot at the other end.

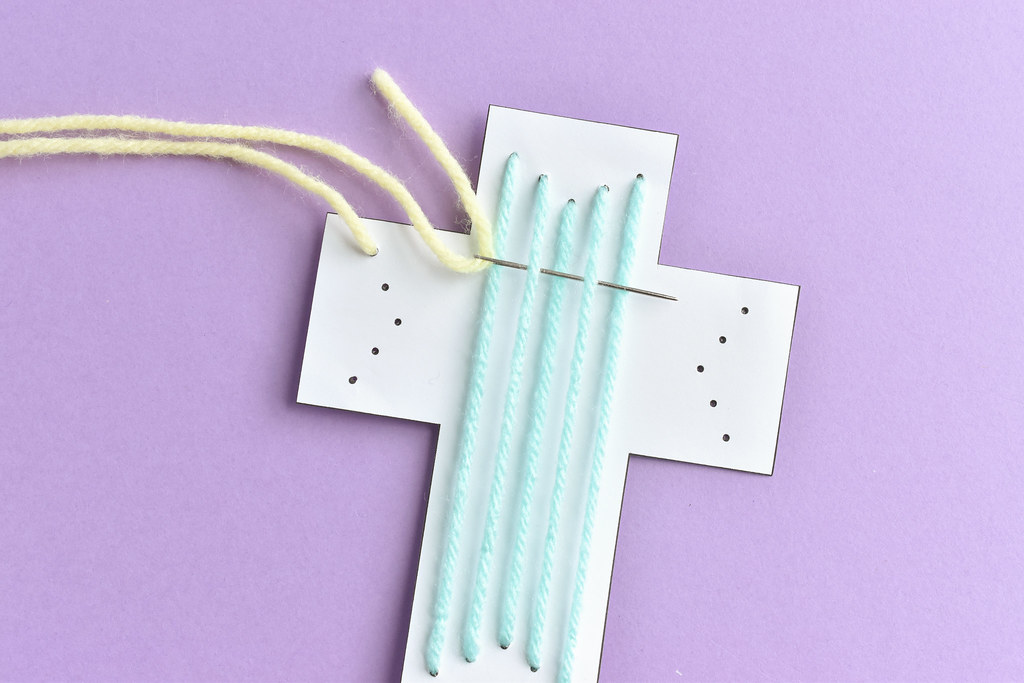
Come up through one of the holes near the edge. Stitch from bottom to top and top to bottom. Be careful not to pull the stitches too tight. End with a knot.

Woven Cross Stitching Card

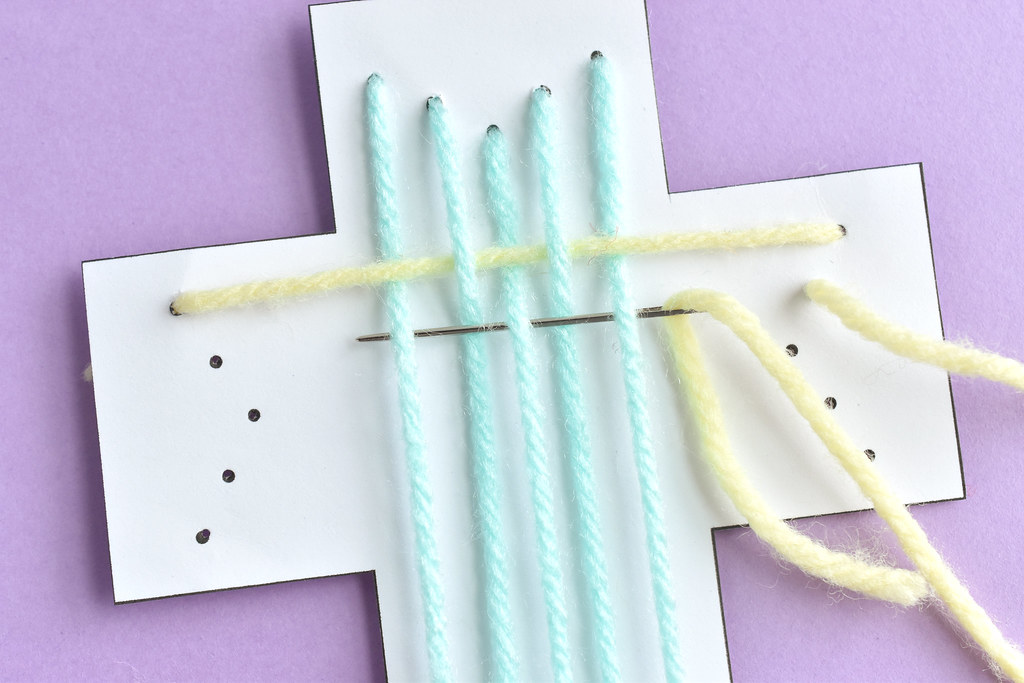
With a fresh piece of yarn, stitch from left to right and right to left. As you stitch, weave the yarn over and under the vertical stitches. Once again, try to keep the tension even on the stitches and then end with a knot.

Woven Cross Stitching Card

Finish by punching a hole at the top and adding a hanging loop or a tassle if you want to use it as a bookmark.

For mine, I used two colors of yarn so the weaving was easy to see, but you can do this all in one color or with variegated thread! I also would suggest printing the templates on the heaviest weight cardstock you have. That will give it a bit more structure so it's easier to stitch without it bending.

These would also be pretty printed on colored cardstock...or even traced onto balsa wood! Ooh, yes...now I want to try that.

The real point here though is a cross that is decorated, but empty. It's a cross that reminds us of God's ultimate act of love, that didn't end with pain and death, but with new life! May this easy little craft bring joy and meaning to your Easter and your every day.

project // removable stickers with clear shelf liner

Removable Sticker Tutorial


Have you ever wanted an easy way to make your own removeable stickers? This project doesn't require any special equipment...just a basic supply and something you want to stickerize. These stickers are fun to make as a gift or as a craft to do with teens!

So, if you haven't noticed, stickers (much like enamel pins) are everywhere and I love it and hate it. I love it because stickers are amazing and there are so many fun designs and when you make them that gives you even more options. Favorite places for stickers are water bottles, laptops, and I don't know what else.

But I hate it because I generally fail at acutally using stickers. I grew up as a sticker saver because once you use it it's done. If you need to take it off of something, the sticker is ruined and sometimes what you put it on is also ruined. This has haunted me into adulthood.

I am very pleased to say, however, that this DIY version might be helping me form a healthy relationship with stickers. Because A), you can easily remove them and B) you can make more if you want!

Removable Sticker Tutorial

If you'd like to give these a go, here's what you need:

Clear, removable shelf liner/laminating paper (like Con-Tact Paper)
Paper with your sticker design printed or drawn on
Scissors
Craft knife (optional)

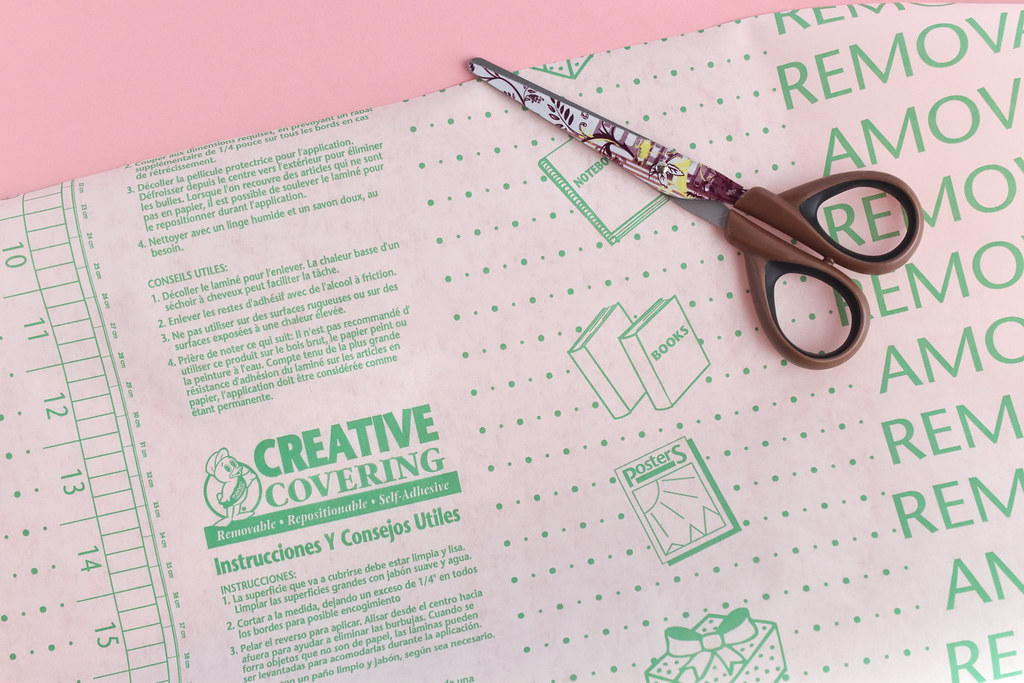
For my stickers, I used Duck Brand Removable Creative Covering, which might be called something else now. I've had this roll for a while!

Removable Sticker Tutorial

Grab whatever you want to make into stickers and cut them out. If what you're using doesn't have a full outline, just cut around the design.

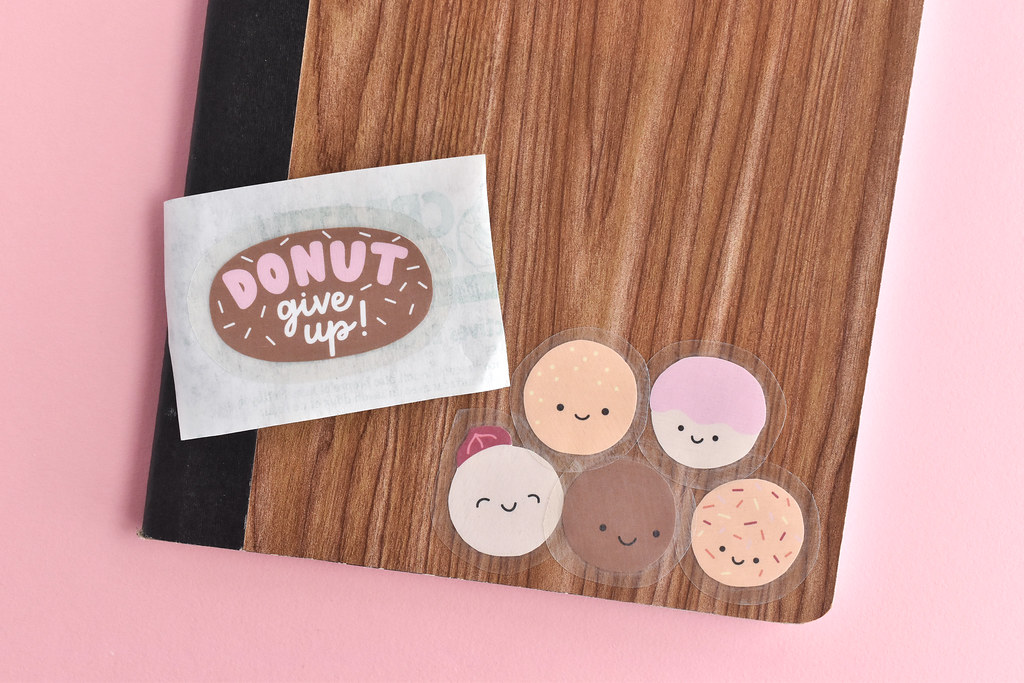
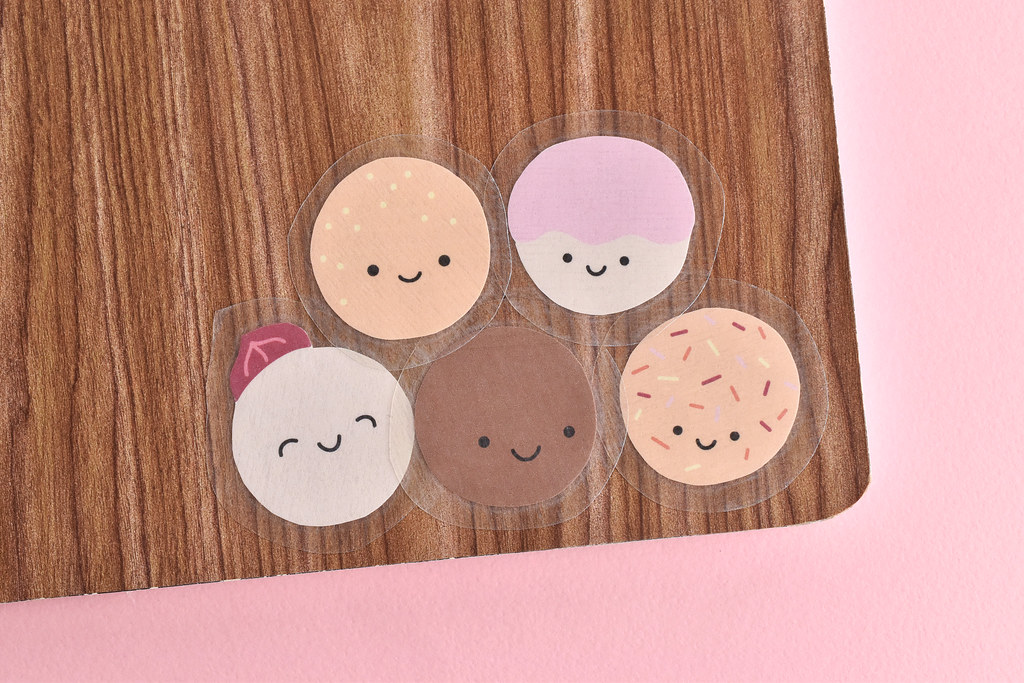
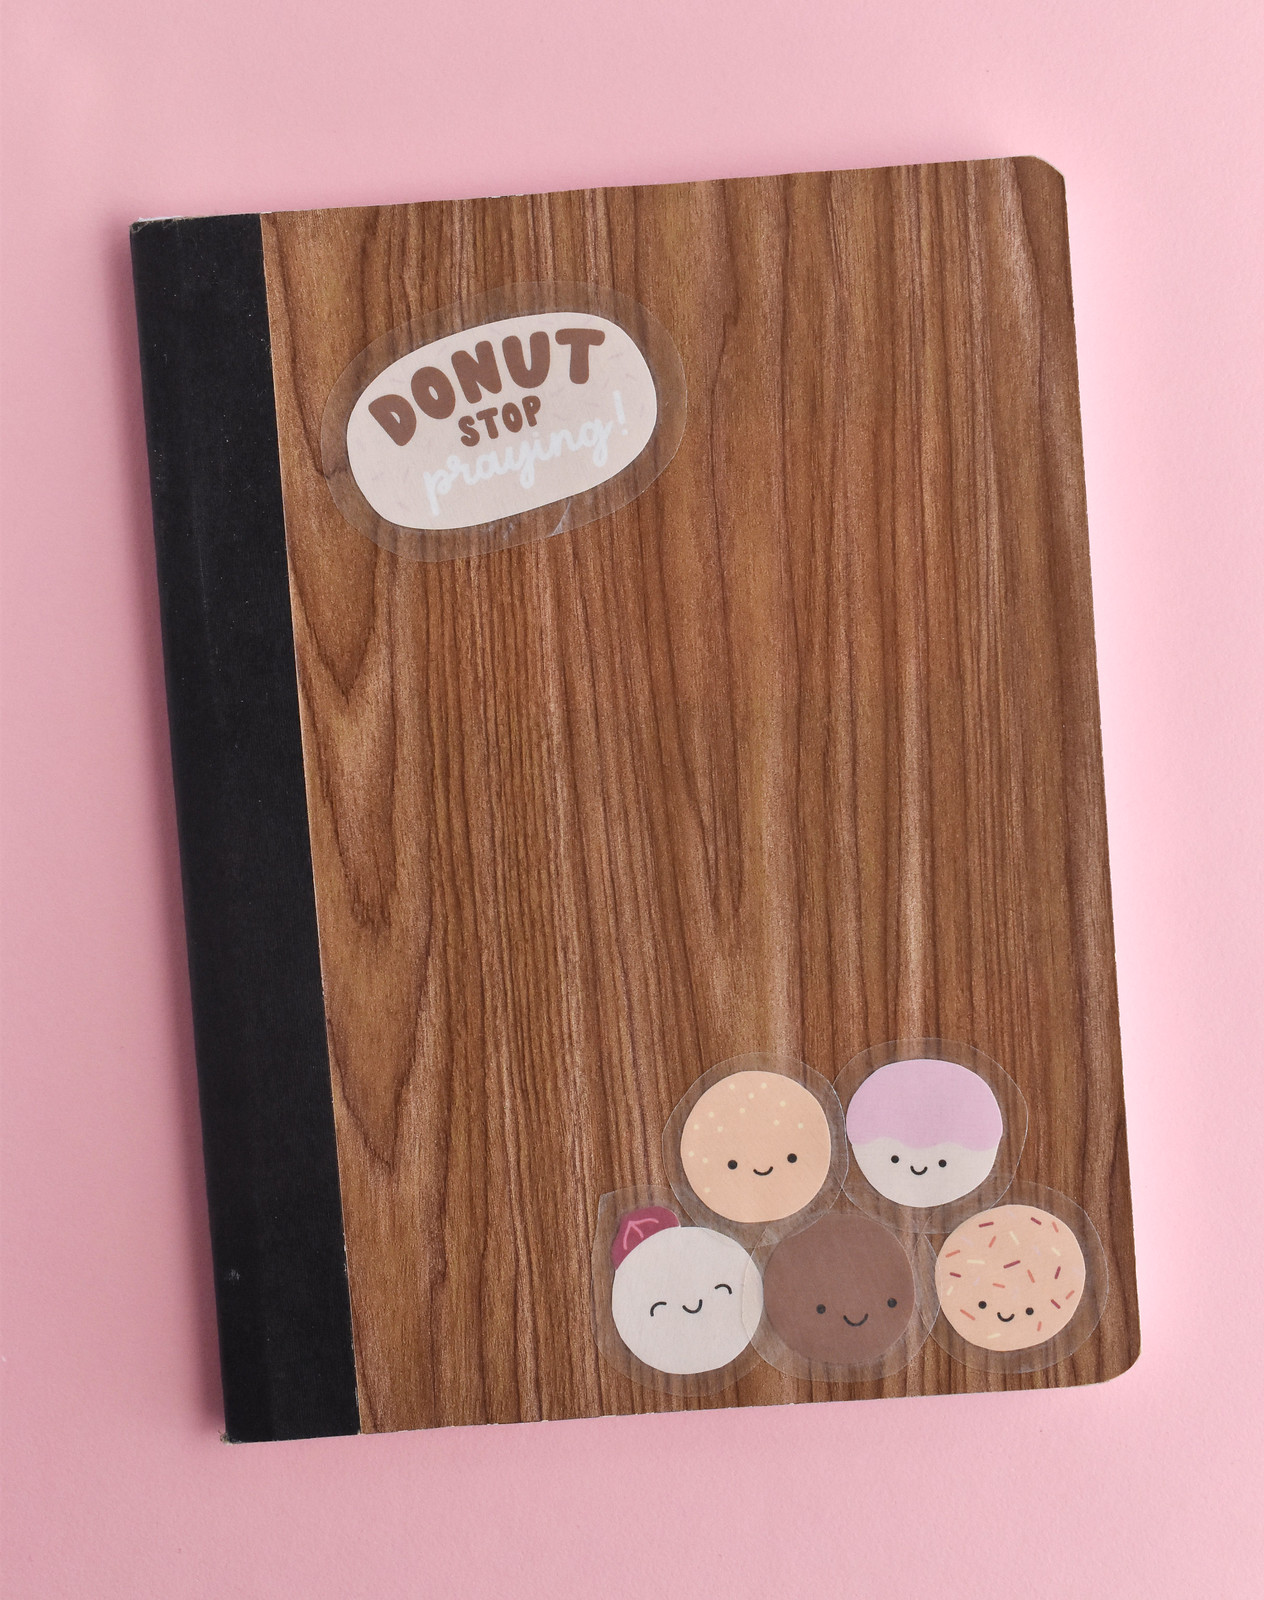
I thought that making some donut hole stickers would be fun and I also made two little reminders to share.


Removable Sticker Tutorial

Cut two pieces of the shelf liner sticker film that are the same size and larger than the overall size of your sticker piece. For this, I left about 1/2 inch extra on all sides so there was plenty of room.

Removable Sticker Tutorial

Peel the paper backing off of one piece of the clear shelf liner. This is one of the trickiest parts! Next, place your cut out sticker shape face down on the sticky side of the shelf liner.

Removable Sticker Tutorial

Stick that down onto the second piece of sticker film that still has the paper backing attached. Be sure to stick it to the non-paper side!

Removable Sticker Tutorial

Cut around the sticker shape, leaving a bit of the clear shelf liner all around. This extra part is what seals your paper piece in and holds the sticker together, so it's really important.

Removable Sticker Tutorial

When you want to use your sticker, getting the backing paper off is, once again, tricky. One way to make it a little easier is to lightly score the back of the paper with a craft knife. Be careful not to cut through the sticker film! If you're giving your stickers as a gift, this is an especially helpful step so your friends don't get frustrated trying to use them.

Removable Sticker Tutorial

To get a little fancier, you can peel the backing off of the cut sticker, then stick it down onto the piece of paper backing from the first piece of sticker film. As long as you stick it onto the non-printed side, you can peel it off and stick it on whatever you want!

Removable Sticker Tutorial

With the donut holes, I layered them up in a pile on the cover of a new notebook (which I also happened to have covered with shelf liner!).

Removable Sticker Tutorial

And at the top I added one of the reminders. Always an important thing to remember!

Removable Sticker Tutorial I probably won't feel the need to remove these stickers from my notebook, but at least I have the option. Next I think I should make some stickers of my guinea pigs...

Speaking of which, you can make stickers out of printed memes, pictures of pets, clip art (Canva, anyone?), and more. So easy and fun!

project // cross stitch heart tag and bookmark (with SVGs!)

Cross Stitch Heart Tag and Bookmark


Show your love with these easy-to-stitch heart tags and bookmarks! The stitchable bases are just card stock that's pre-punched with the cross-stitch heart design. You can print them out and punch the holes by hand or use the SVG cutting files to make them with a cutting machine. So easy!

There are lots of places where you can buy tags or similar items that have a grid punched out so you can stitch whatever you want. But I thought it would be cool to have a version where you don't have all those extra holes. Basically, a way to stitch a specific design and have the grid match that. So I made my own!

I don't pull out my cutting machine very often because I don't do tons of paper crafts that aren't just printables. And vinyl cutting is still a bit of a mystery to me. But finding a way to incorporate stitching? Let's just say I may be doing more of this.

Cross Stitch Heart Tag and Bookmark

There's a lot to love about these, starting with the fact that cutting them out is easy. Even if you don't have a cutting machine, there's a PDF that you can cut and then just use a needle to pre-punch the holes.

But also, cutting them takes about the same amount of time as stitching them. Okay, maybe stitching takes a little longer, but not much. The hearts don't have very many stitches, so they whip up quickly, but they are still very handmade. Who doesn't love a little gift like that?

Cross Stitch Heart Tag and Bookmark

Here's what you need:

Heavy Card Stock
Embroidery Floss
Needle
Embroidery Scissors
Cutting Machine and Mat for Card Stock
-OR-
Scissors and a Large Sharp Needle

DOWNLOAD THE TAG AND BOOKMARK PDF

DOWNLOAD THE BOOKMARK SVG CUTTING FILE

DOWNLOAD THE TAG 1 SVG CUTTING FILE

DOWNLOAD THE TAG 2 SVG CUTTING FILE

Before you start stitching, prepare your tag or bookmark.

For a cutting machine, load up the file and cut the design out of heavy card stock. If any of the dots don't cut properly, it's okay. You can use your needle to poke them through.

If you're using the PDF version, print the file and cut out the tag or bookmark you're using. Use a large needle to carfully poke each dot on the template. It can help to place the template on cardboard or cork as you do this.

Cross Stitch Heart Tag and Bookmark

Now it's time to stitch! To make the heart design nice and solid, thread your needle with all six strands of embroidery floss.

Start stitching the design. Each set of four holes makes a full cross stitch. I like the work the first half of the stitches all the way across a row and then come back the other way to finish them.

Cross Stitch Heart Tag and Bookmark You can't start (or end!) your thread with a knot here because it will just pull through the holes. Instead, secure the starting tail on the back of your work by stitching over it.

You can see here how my card stock stuck to my cutting mat a little and where I had a few dots start to tear the tag. This is all on the back and doesn't on the finished tag.

Cross Stitch Heart Tag and Bookmark

Fill in the whole design with cross stitches. At the beginning and ending of the rows where there's shaping, it can look like you should make a half stitch. But this is all whole cross stitches, meaning you need four holes in a little square. If you're unsure, use the finished photos as a reference.

Cross Stitch Heart Tag and Bookmark

Just as you need to stitch over the thread ends to start your stitching you need to slde your needle through the back your stitches to end the thread. Snip off the extra embroidery floss and you're good to go!

Cross Stitch Heart Tag and Bookmark

Okay, but really quick, let's talk about the back of your work. I'm a big proponent of keeping the back of your work as neat as possible. But I'm also never one to suggest that the back needs to be perfect. These hearts are a good example of both. There's no major jumping from place to place, but nor did I fret about the times where it made sense to skip over.

If this sort of thing bothers you, go ahead and glue a piece of decorative paper on the back. Otherwise, do what your math teacher says and SHOW YOUR WORK!

Cross Stitch Heart Tag and Bookmark

For the tags, go ahead and add a little hanger at the top. You can add a tassle to the bookmark too, if you'd like, but I didn't add the hole on this one so you can keep it plain if you prefer.

Cross Stitch Heart Tag and Bookmark

I really like these as an extra to go along with Valentine's Day (or Galentine's Day!) gifts, but that they also work for any time. The tags double as ornaments or decor, and the bookmark is obviously useful year-round for book lovers!

Cross Stitch Heart Tag and Bookmark

On Instagram I put up a poll and asked if Valentine stitching should be in red or rainbow. It was kind of a false choice because the correct answer is both, but I love that rainbow won out. And in keeping with that, I don't think you should have to choose. Stitch a whole bunch of these in all the colors you want!