about shop patterns projects printables extras sponsorship wild olive twitter flickr pinterest subscribe
Showing posts with label kid craft. Show all posts

project // pumpkin pie slice magnets

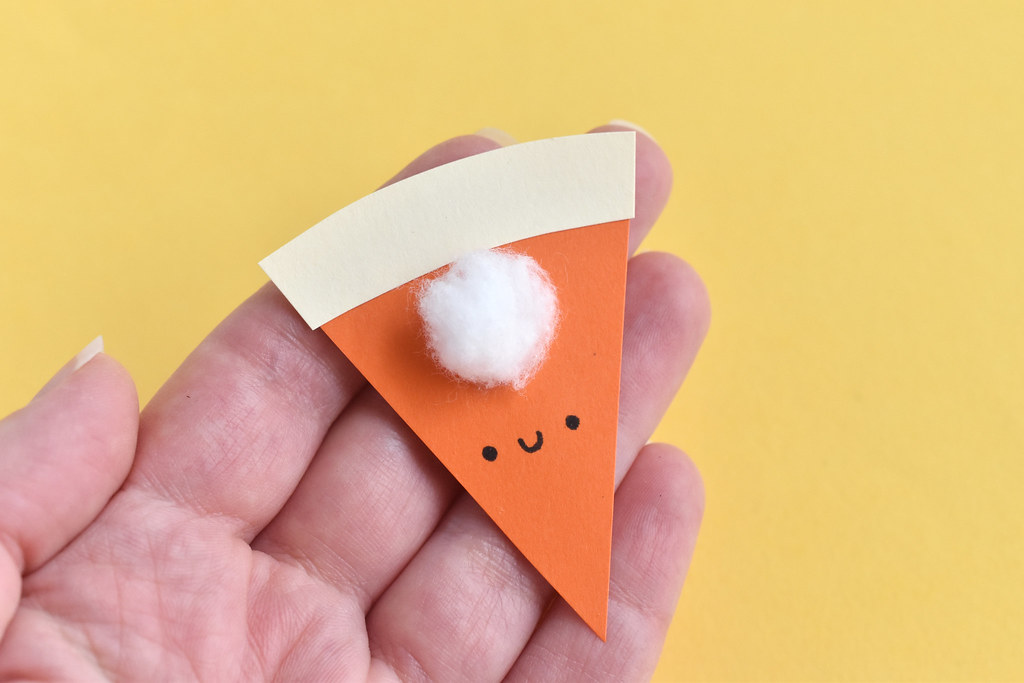
Pumpkin Pie Magnet

It's pumpkin pie season! I love desserts of all kinds, but this is still one of my favorites, and one reason is that I love Thanksgiving. And what could be more Thanksgiving than pumpkin pie? Maybe a slice of pie with a happy little face that's also a magnet?

This simple little project came out of me wanting to make a craft that middle school students could make in a few minutes, but it's really something that all ages can enjoy. It's a fun idea to have out at the "kids table" on Thanksgiving, and it's also something that people of all ages and abilities can make.

It's a little bit of cutting out shapes, a little bit of glueing, and a bit of playing with the soft texture of cotton balls! You end up with a magnet to hold notes on your fridge or stick in your locker.

Pumpkin Pie Magnet

In fact, instead of using this to hold up a Happy Thanksgiving note, you could use this to hold an ongoing list of things that you're grateful for. You know...see a slice of pie, think about something you're thankful for, and then write it down!

Okay, are you ready to get baking...er...crafting?

Here's what you need:

Orange and Tan Card Stock (see notes at the end for other materials to use!)
Scissors
Glue Stick
Cotton Ball
Black Marker
Magnet Strip

DOWNLOAD THE PUMPKIN PIE MAGNET PDF
Pumpkin Pie Magnet

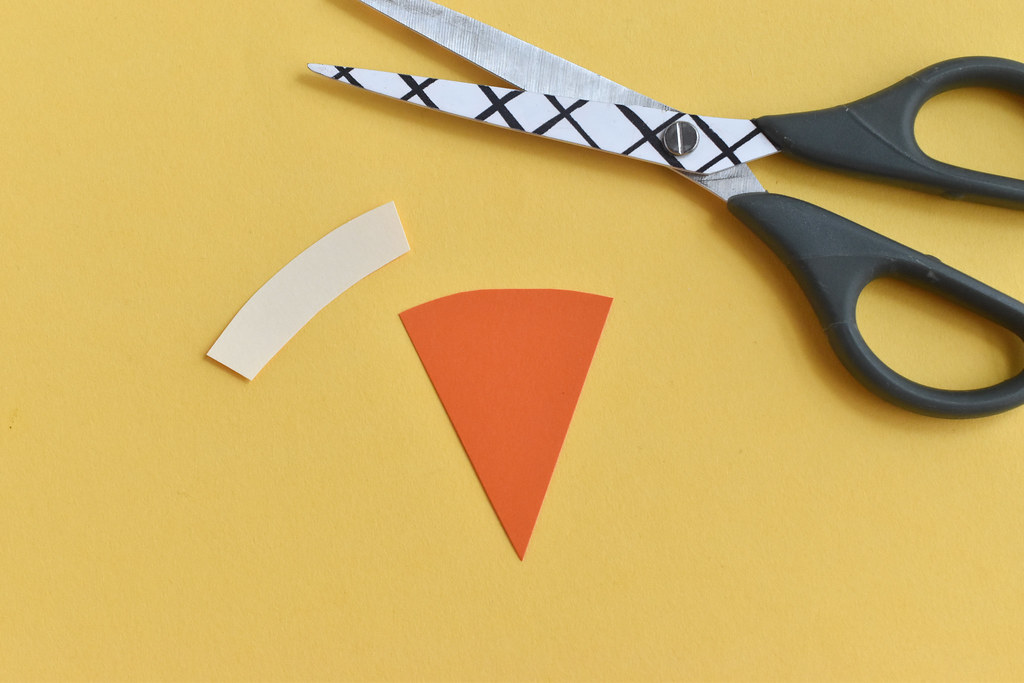
Use the template in the PDF to cut out an orange wedge and a tan crust.

Pumpkin Pie Magnet

Use a glue stick to attach the crust to the pie.
Pumpkin Pie Magnet

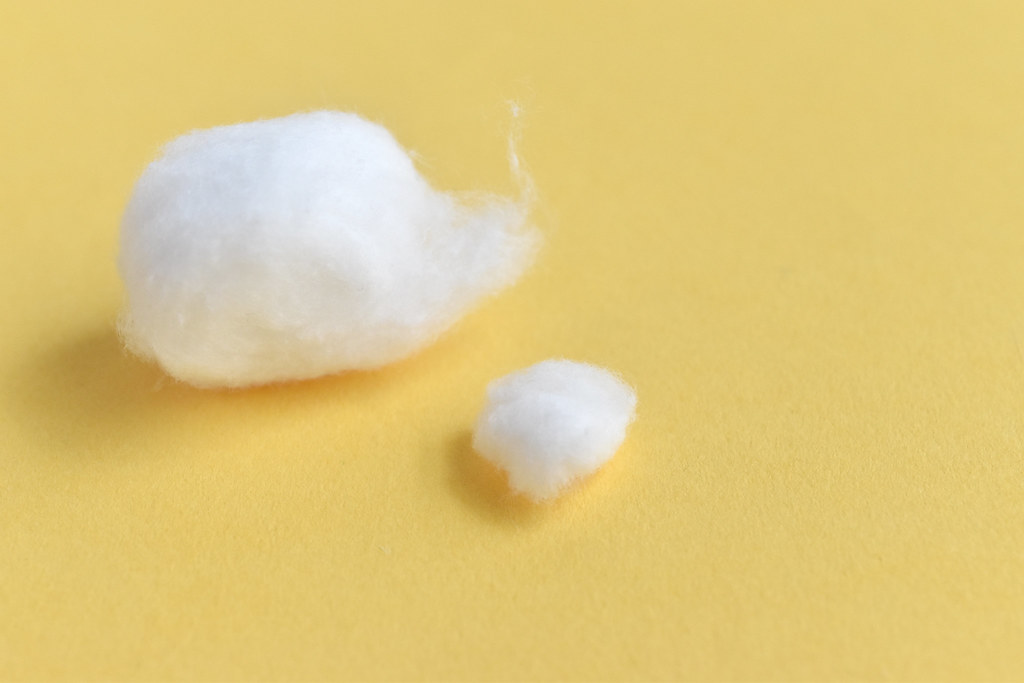
Pull off a small piece of the cotton ball and roll it into a ball.

Pumpkin Pie Magnet
Pumpkin Pie Magnet

Put a dab of glue on the slice of pie and then stick the cotton ball whipped cream down.

TIP: Sometimes kids or others who don't do a lot of crafting try to stick the glue on the cotton ball. That doesn't work out so well, so be sure to show how to put the glue on the paper.
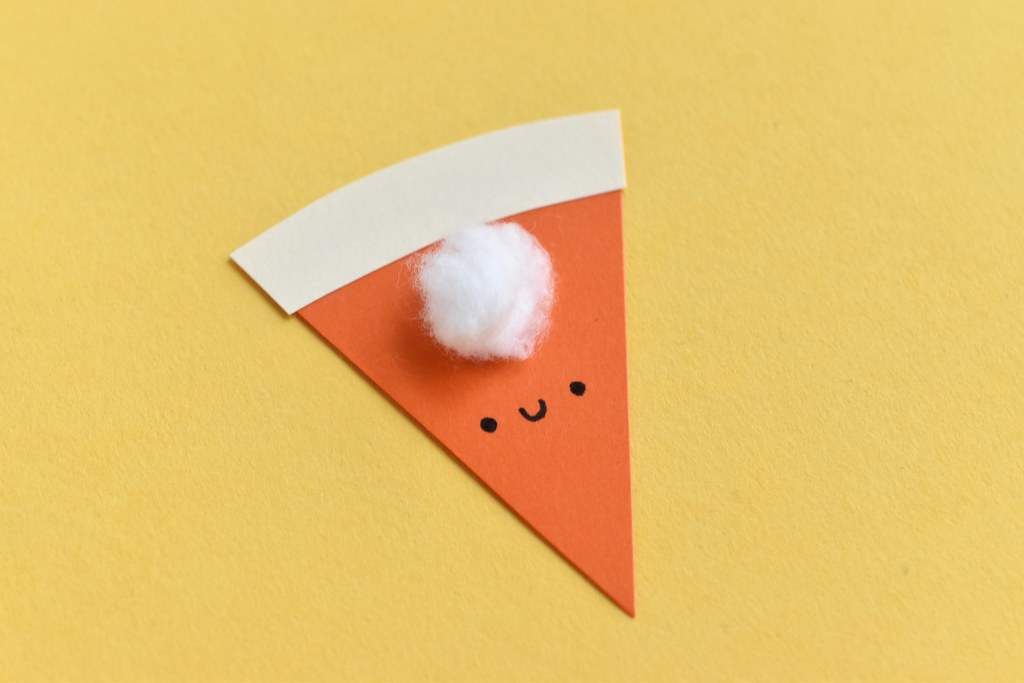
Pumpkin Pie Magnet

Draw a happy little face on the pie. This is, of course, optional, but I think it's super cute this way. I could have added one of my Wild Olive faces on the template, but this way there's unlimited creativity!
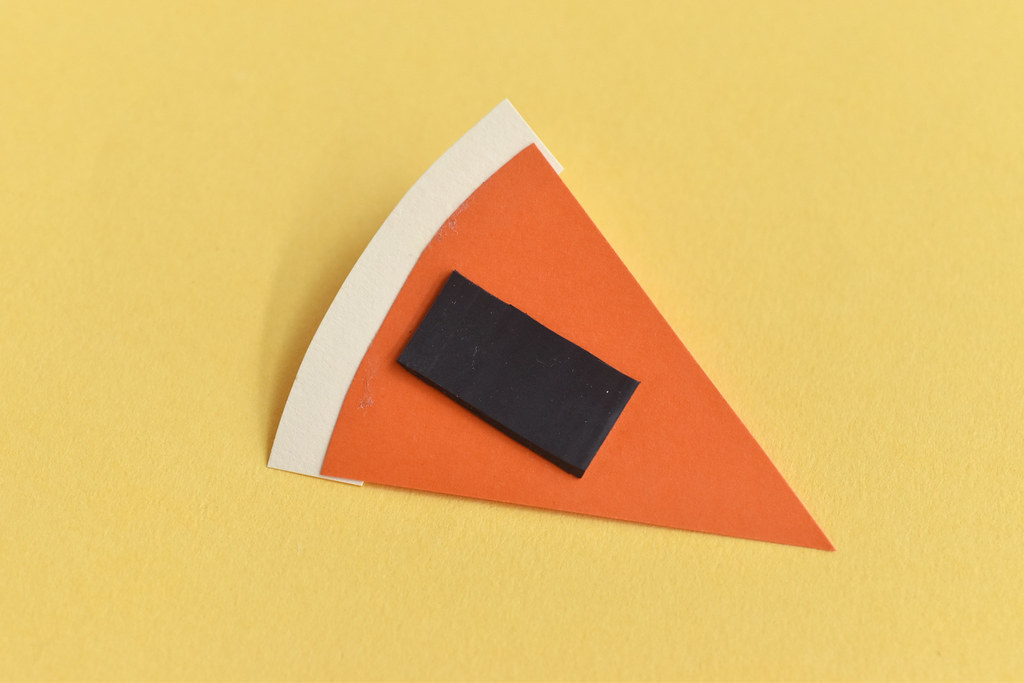
Pumpkin Pie Magnet

Cut a piece of magnet strip and attach it to the back of the pumpkin pie.

Pumpkin Pie Magnet

Now your magnet is all ready for Thanksgiving celebrations!

Because I designed this as something a bunch of students could do, I made it with cardstock. This is the least expensive material, especially when it comes to possible waste and kids starting their project several times. Not that they would do that! Ha!

You can absolutely make this out of craft foam or felt instead of cardstock. Just be sure to use glue that will hold whatever material you're using. And if you're using felt, you may need to either stitch or paint the face. You could also use wiggle eyes on your pie instead of just drawing.

I hope you enjoy making your magnetic pumpkin pie and eating the real deal!

kid craft // simple scarecrow

Simple Scarecrow Craft

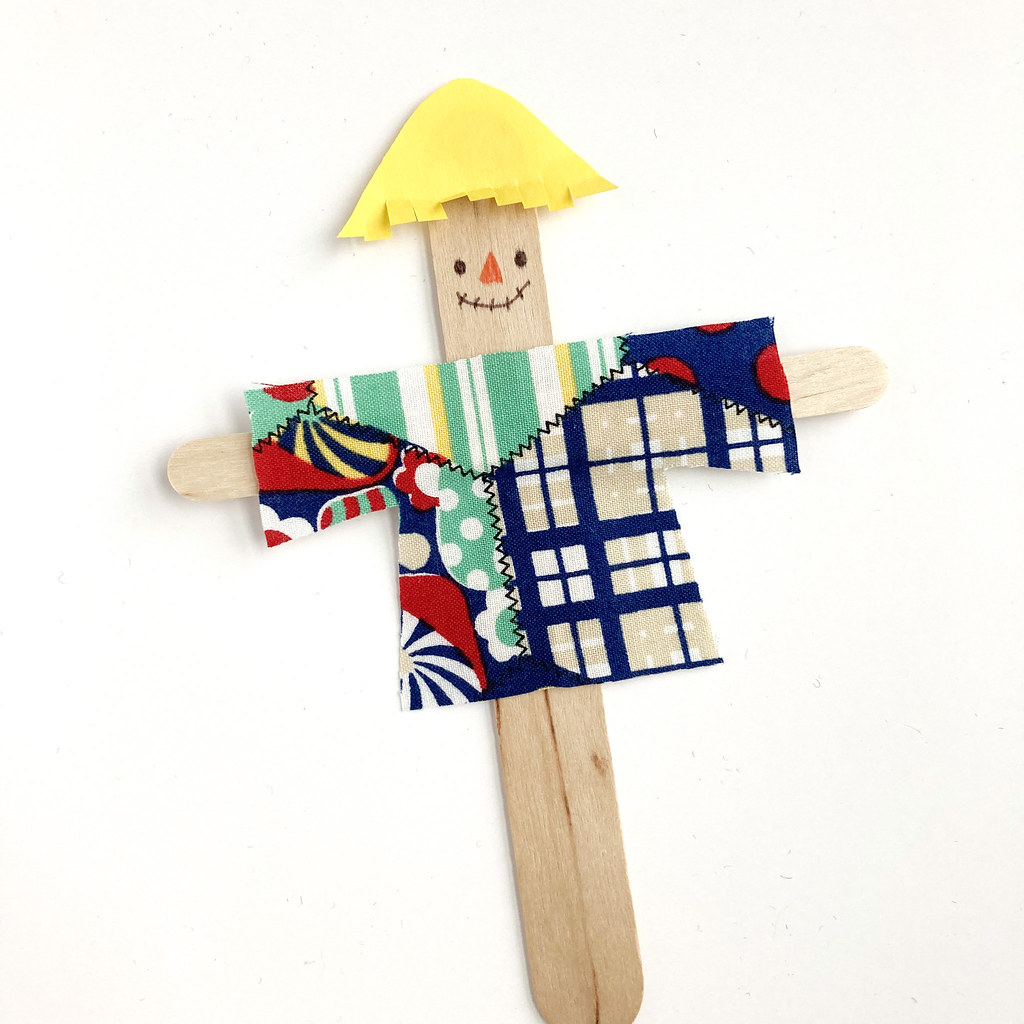
Looking for a simple scarecrow craft that kids (or teens and adults!) can make in a jiffy? This easy project uses minimal materials and is sure to be a success. Plus, if you have crows that like to attack your houseplants, you can stick this fun friend in a flowerpot to be a plant pick!

I made this as a craft for teens and adults with intellectual disabilities and they loved it. I know that my friends in this group aren't big on cutting things out, so I prepped the sticks and cut out the hat and shirt. You could definitely make these steps part of the project if you're doing this with any age group.

Becuase this is so simple (and because I was literally snapping a few pics on the fly before it was time for folks to start making these!), I have minimal photos. But you won't need much! What I do have though is a free template so you can start making your scarecrows right away.

You will need:

Jumbo craft stick
Standard craft stick
Glue (I used hot glue for speed!)
Paper and/or fabric scraps
Glue stick
Fine-tip markers or colored pencils

DOWNLOAD THE SIMPLE SCARECROW TEMPLATE PDF

Simple Scarecrow Craft

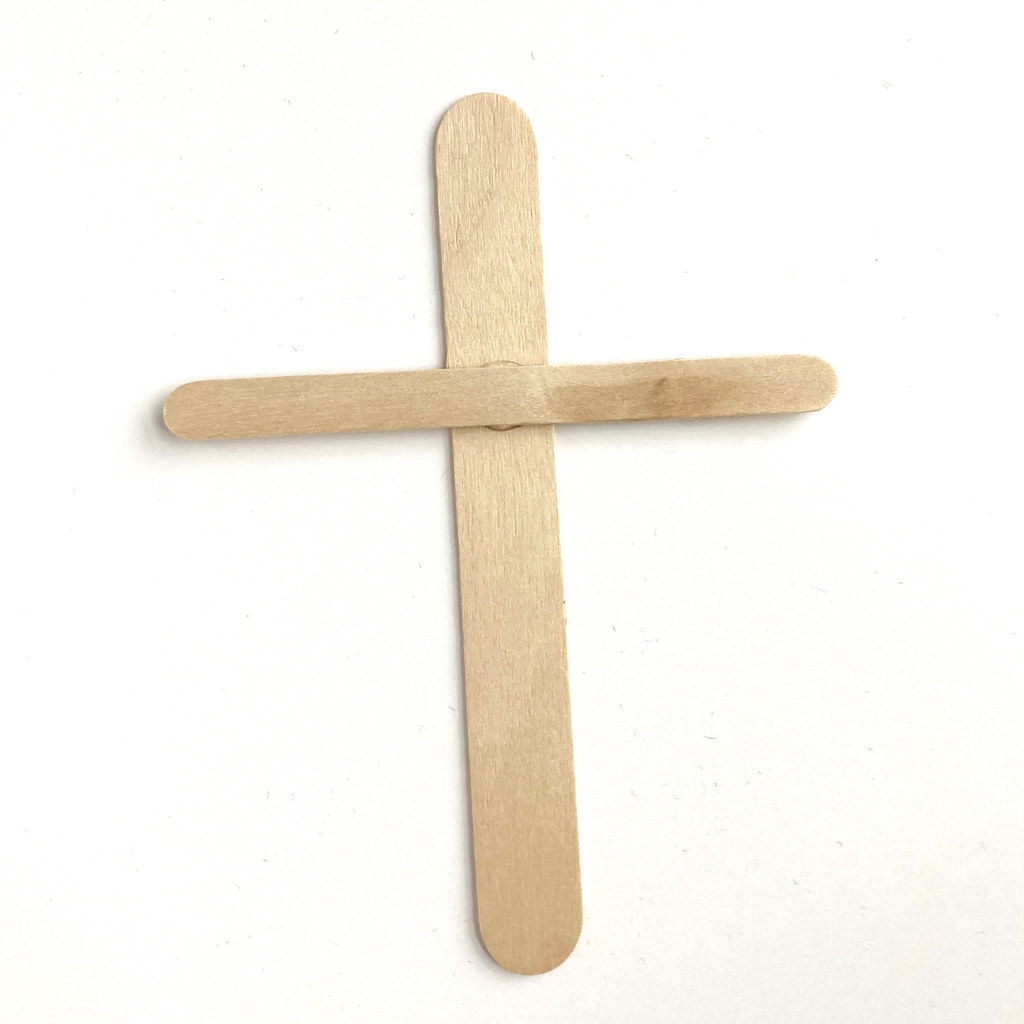
Glue the smaller craft stick onto the larger one so it forms a cross.

You can use craft glue for this, but it will take some time to dry. Having these prepared by hot gluing them in advance really helped make this a faster craft.

Simple Scarecrow Craft

Cut out the hat and shirt pieces. I used paper for the hat and fabric for the shirt. On the hat, we fringed the bottom edge so it was more like a straw hat.

Use glue stick to attach the pieces. We only attached these to the front, but you could make two of each piece and add them to the back as well.

Finally, draw a little scarecrow face on the head. A triangle nose and a "stitched" mouth really sell this look!

And that's it! People of all ages and abilities can make this with success in about 5 minutes, and sometimes that's exactly what you need. I hope this brings you some autumn joy!

kid craft // paper building blocks

Make Simple Paper Blocks

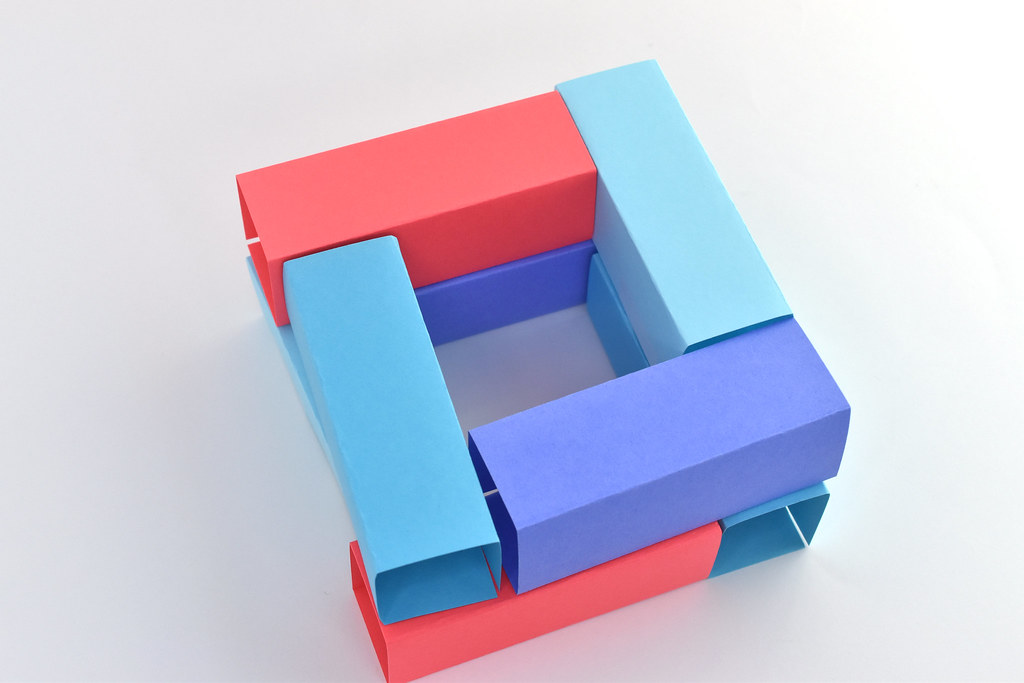
Want to make a simple paper project with your kids today? Want it to be something they can play with as you work on other things? Grab some paper or card stock and tape and you're all set to make these building blocks!

These are as simple as cutting out rectangles (index cards would also work, saving you a step!), folding them, and then adding a bit of tape. I used a few sheets of card stock I had handy and basic tape. But you could use plain white card stock and let your little one decorate the pieces. You could also use washi tape so that you get a little fun decoration that way too.

Make Simple Paper Blocks

You will need:
Card Stock or Paper
Scissors or a Paper Cutter
Tape
Crayons or Markers (optional)
Tip: Paper is a lot easier to fold, but the card stock is sturdier.

Make Simple Paper Blocks

Cut the paper or cardstock into rectangles (I cut these sheets into four equal pieces).

Make Simple Paper Blocks

Fold each piece in half, then unfold it. Next, fold each end in to the middle. If you want to decorate them, it would be easier to do it at this point or even in the step before.

Make Simple Paper Blocks

Tape the pieces into a square tube, then stack them like blocks.

Make Simple Paper Blocks

To make this in a hurry, I made all the pieces the same size. But...you can make them different sizes to craft a whole set of paper blocks. You could also fold them into triangle-shaped tubes.

Make Simple Paper Blocks

The next step is to encourage your child to make some fun and interesting buildings with their DIY blocks! You can challenge them to see how tall they can make a stack or try to match a design that you tell them (or demonstrate!). Think of this as a STEM activity to explore and enjoy. Obviously these can get crunched, but that might just mean they can see what they can do to reinforce the card stock and make it ready to stack again!

kid craft // make a crown

Make a Printable Crown!

It's time for another kid craft, and this time it's for a printable crown! The idea with these projects is that they are easy to make with your little ones and lots of fun to work on or use. I made this to go along with Queen Esther in the Bible, but crowns are always a good idea for when you are playing make-believe or you really just need to own the title of queen, king, princess, or prince.

The supplies for this are so basic, but there's room for really making it fancy too. Sparkle, sparkle, sparkle!

Make a Printable Crown!

You will need:

Paper or Cardstock 
Crayons or Markers 
Sequins or Other Sparkly Things and Glue (optional) 
Scissors 
Stapler

DOWNLOAD THE CROWN PATTERN

Make a Printable Crown!

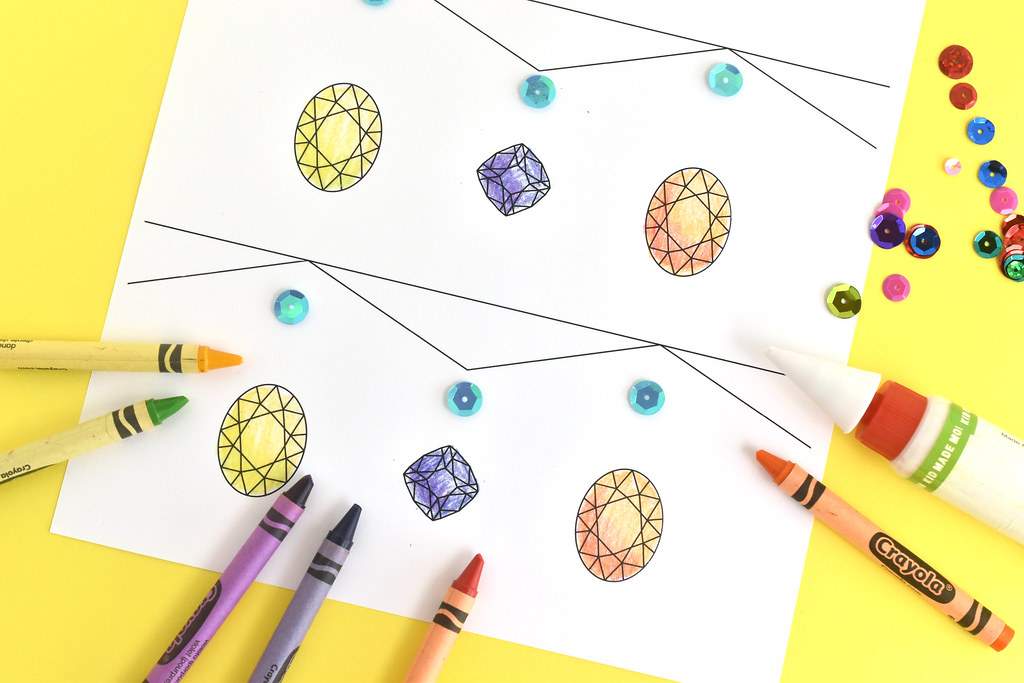
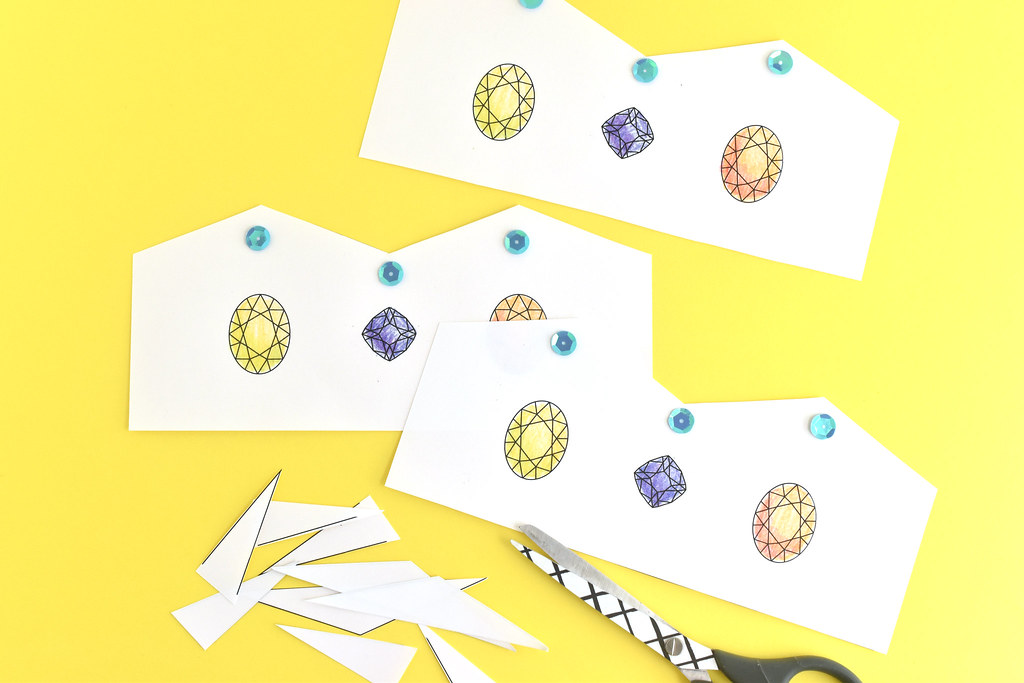
Decorate the crown. 

I made mine simple and just colored the gemstones. I mean, I did blend the colors a little, but it was super easy and even kids can learn this technique...it's just two similar colors. (These happen to be adapted from my gemstone embroidery patterns if you're so inclined to stitch them!) 

Then I added a few sequins, because bling, but also simple. More would be lots of fun, but so would lots of other items!

Make a Printable Crown!

Cut the pieces apart. 

This crown has three strips with a zig-zag edge. First, cut across the straight lines, then cut the zig-zag part to make the points. 

Make a Printable Crown!

Staple the pieces together.

Hold two crown pieces with the backs facing each other. Staple one end together. Add the third piece to one side, again, with the backs facing. Finally, staple the remaining ends. 

You'll end up with a triangular crown that might look a little too small. But that's what makes this design work! Because of how you staple the ends, it creates some tension which is what makes it fit most head sizes. This fits my teddy bear, a kid, and even me as an adult! If it really was still too big, you could add another set of staples at one of the joins.

When I first saw this way to construct a hat like this, I was delighted and happy to pass it along to you. 

Now all that's left is to get dressed up and rule the kingdom!

printable // solar system lacing cards

Solar System Lacing Cards 


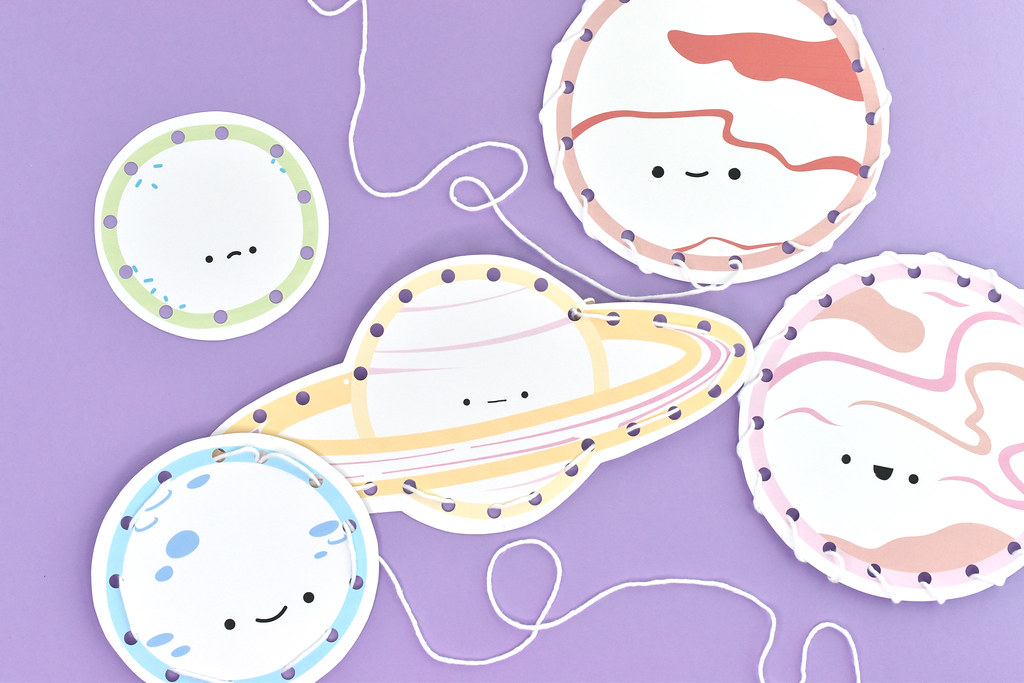
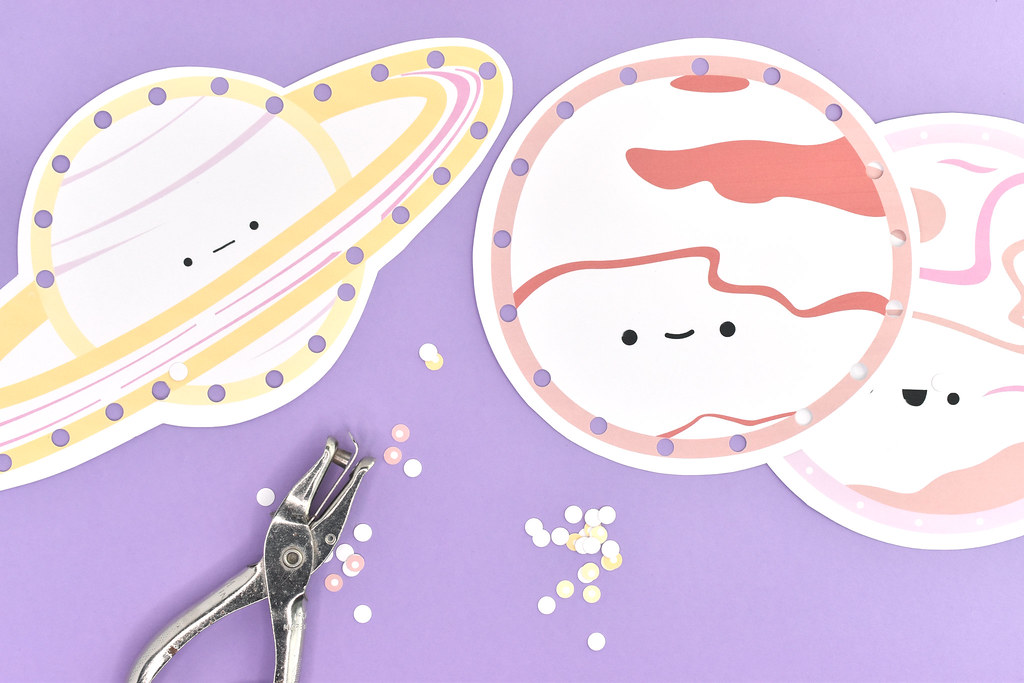
I love stitching and if you do too, you can share that love with kids as they use these printable lacing cards! Someone suggested that planets would be fun, and I agree. So I spruced up my Solar System Set illustrations and now we have kawaii planet lacing cards!

These are a great way for young children to practice the same kinds of stitching motions as they would with some embroidery and hand sewing. They can try out running stitch and whip stitch, which are excellent ways to start.

Solar System Lacing Cards 

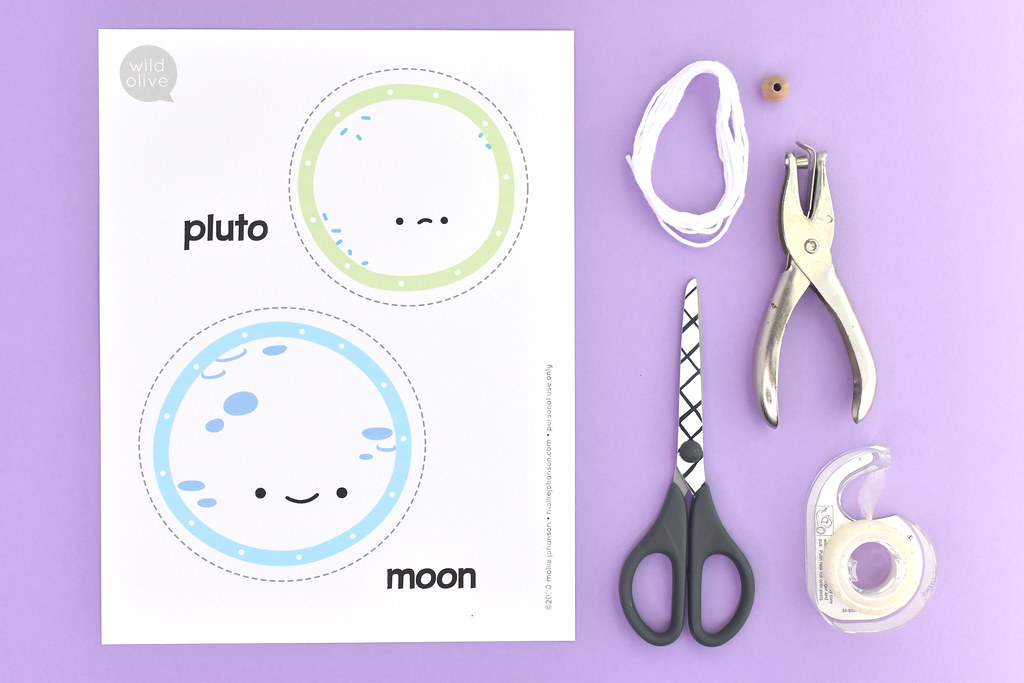
You will need:

Cardstock
Scissors
Hole Punch
Yarn
Tape
Beads (optional, but helpful)


Solar System Lacing Cards 

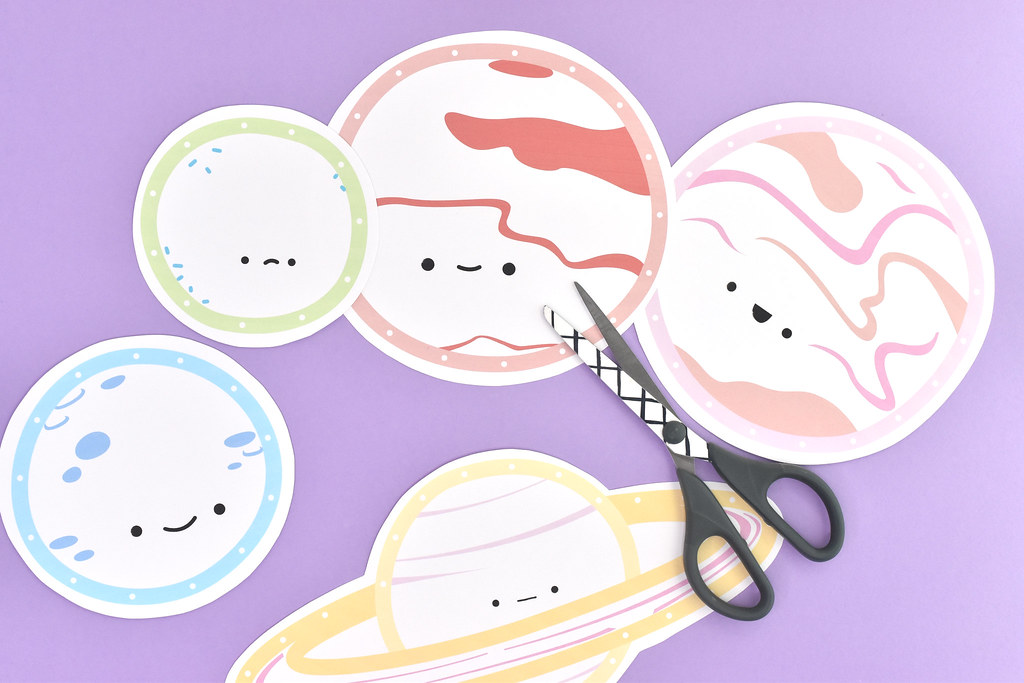
Print the planets on cardstock and cut out the planet shapes. If you want to laminate the cards so they hold up better, now's the time to do that.

Solar System Lacing Cards  

Punch a hole on every little white dot. 

I usually like to use a 1/8-inch hole punch for this, but mine has recently gone missing. So a standard punch will do.

Solar System Lacing Cards 

Cut a piece of yarn that's about two times as long as the circumference of the planet. You may want to make some in different lengths.

Tape one end to make it easier to thread it through the lacing cards.

Solar System Lacing Cards 

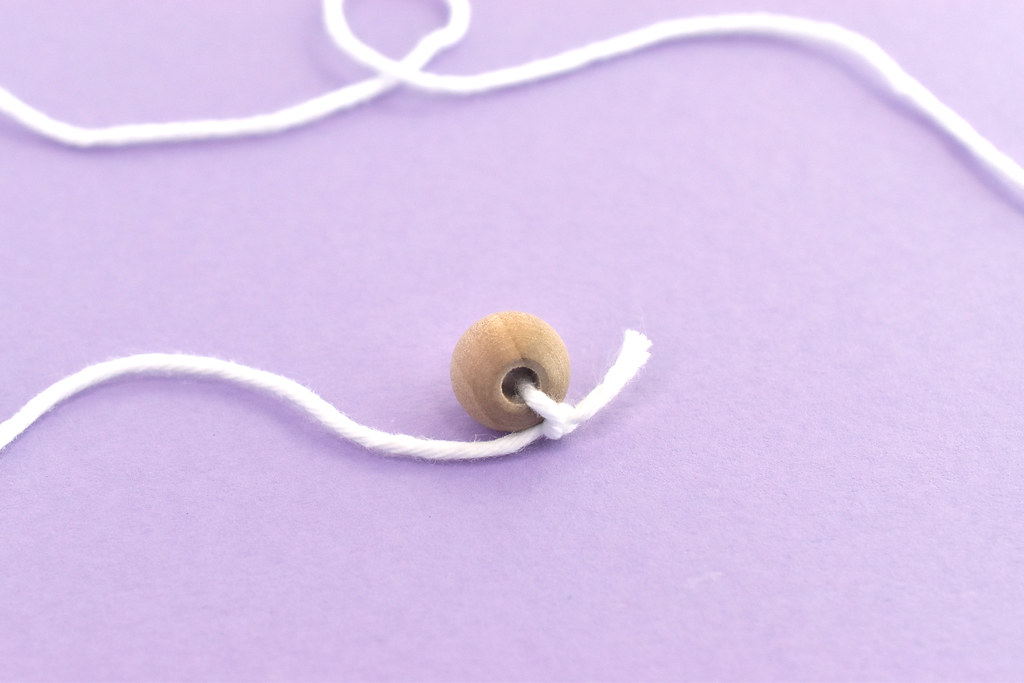
Tie a bead to the other end of the yarn. This will be a stopper so it doesn't pull through.  

Solar System Lacing Cards Solar System Lacing Cards 

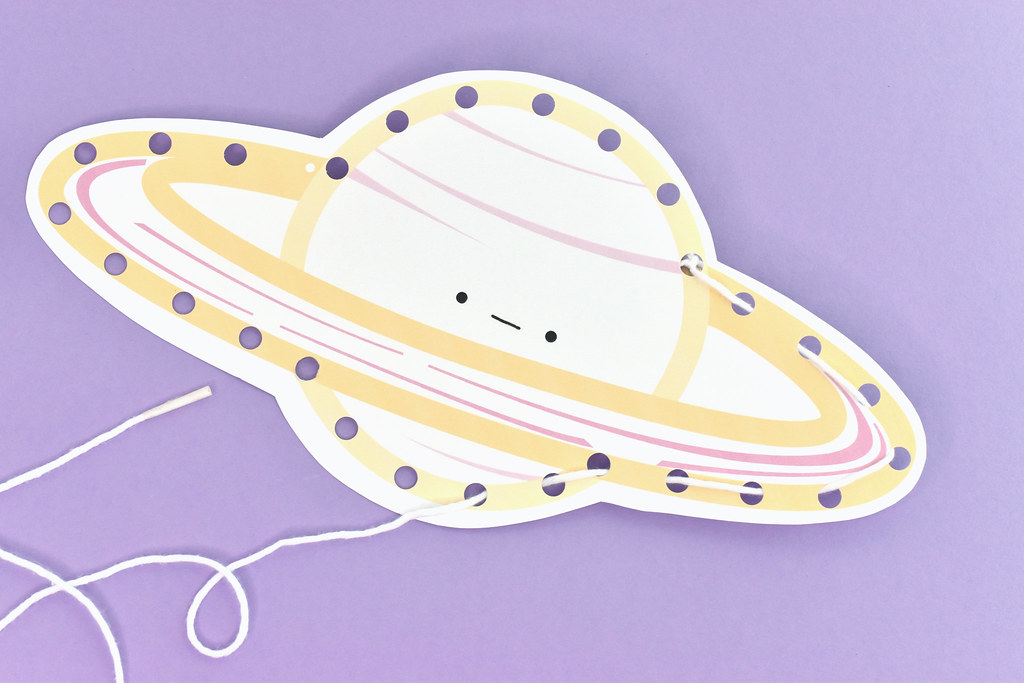
Start lacing the yarn through the holes. For this one, I did running stitch so the yarn goes up and down.

Solar System Lacing Cards 

You can also simply tape one end of the yarn to the back of the card instead of using a bead.

Solar System Lacing Cards 

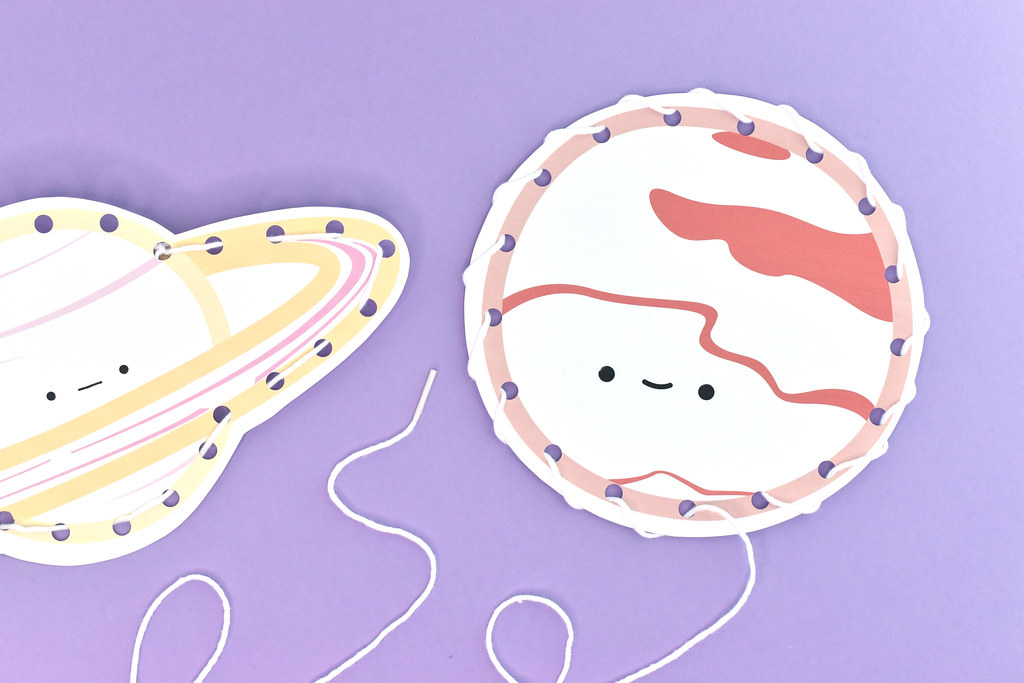
 To practice whip stitch (which is the more common method on lacing cards), lace around the edge of the cards.

Solar System Lacing Cards

Try lacing all the different planets (and the sun and moon), then lay them all out so they are in the correct order from the sun! Also, I'm old school so I let Pluto still hang out with his pals. 

Now, I will warn you. As I work on these, every time, I get the song Interplanet Janet stuck in my head. You remember that song, right? Schoolhouse Rock? Please tell me I'm not the only one! 

kid craft // make a neighborhood

making paper neighborhoods

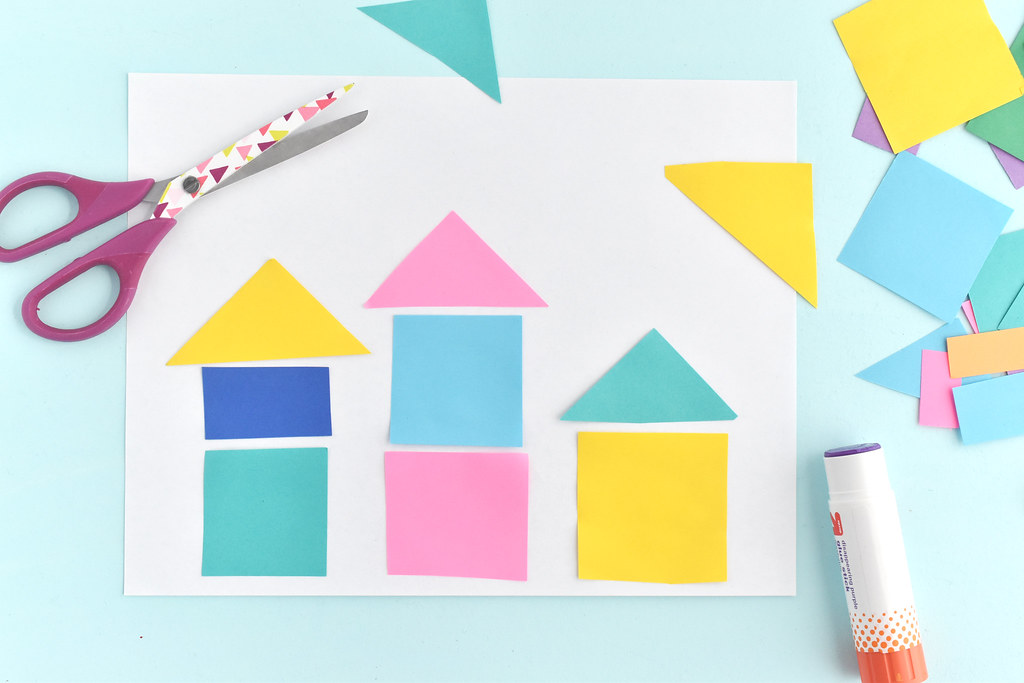
Build a paper neighborhood while you're learning at home! Houses and neighborhoods are still on everyone's mind, and I'm not tired of it yet. So I designed a little paper neighborhood project you can do with your kids!

One of the things I do each week is plan projects for families in the special needs ministry at my church. Normally I do that for when the groups meet in person, but these days I come up with ideas that they can do at home. I try to choose basic materials that most people have and instructions that won't be hard for non-crafters to jump into.

As I make those projects, I thought it might be fun to share a few here now and again. As I said, these are simple and may even exist elsewhere, but maybe you'll enjoy my little take on them.

The fun of this paper neighborhood is that you can use scraps of colorful paper to design houses and other buildings. You could even cut and paste pieces to make little shops like my Kawaii Crossing designs!

making paper neighborhoods

You will need:
paper
scissors
glue stick
crayons or markers

making paper neighborhoods

Cut out squares, rectangles, and triangles for the buildings. Glue them down to a piece of paper.

making paper neighborhoods

Cut smaller squares and rectangles for the windows and doors, then glue them down.

making paper neighborhoods

Draw details on the houses and add some other scenery if you want!

The only thing that's missing on my houses is a few smiling "Wild Olive" faces. What was I thinking? If you do love making houses with faces, be sure to check out my felt softie house pattern!