about shop patterns projects printables extras sponsorship wild olive twitter flickr pinterest subscribe

project // gingerbread hand warmers

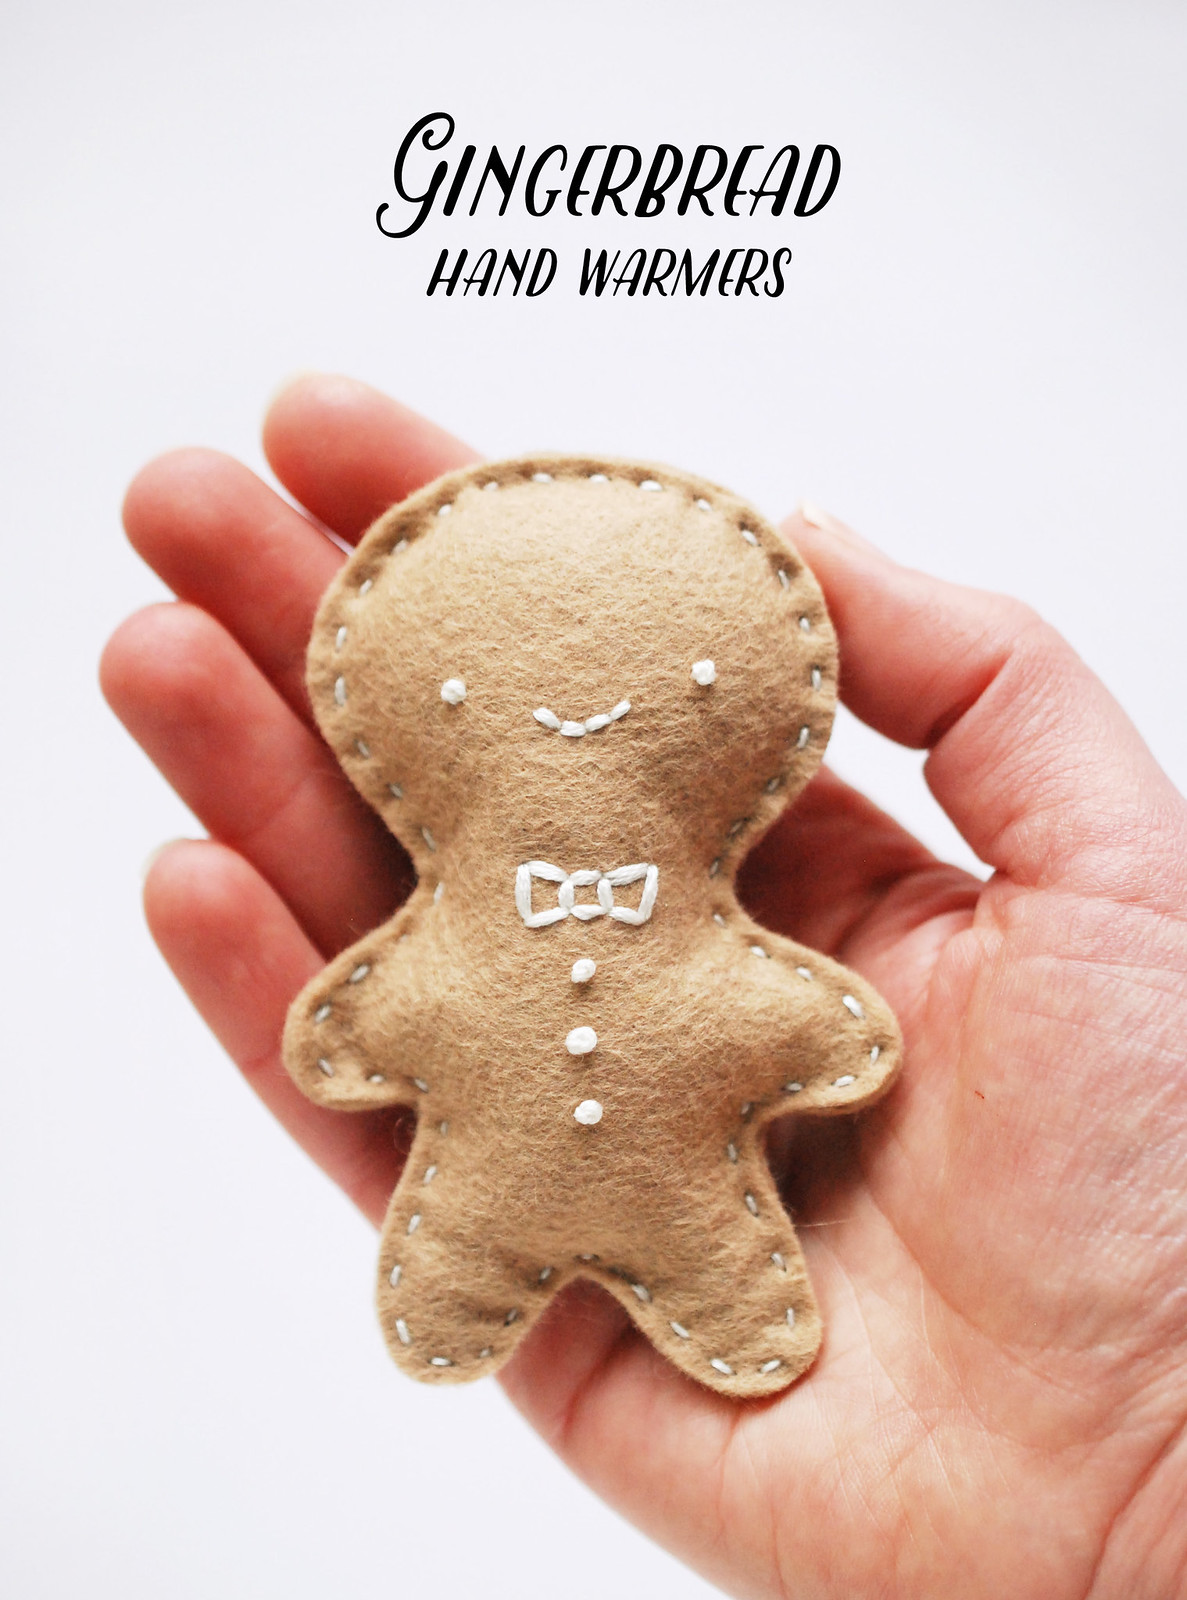
Gingerbread Handwarmers


The weather outside is frightful. But only recently. Just a few days ago we had super warm weather around here, and we were all saying that it just didn't feel like December. It does now.

Which is good timing for this post on making your own hand warmers!

I've wanted to make gingerbread hand warmers for years. Like, since just after I made these other hand warmers. And now here I finally am with a pattern and tutorial.

One thing that is really important here. The easiest way to heat something like this is in the microwave. But you have to be really, really careful. Use wool or wool blend felt (NOT acrylic), and keep an eye on them as they heat. Promise?

Here's what you need:

Gingerbread color felt
White embroidery floss
Rice
Basic stitching supplies

GINGERBREAD HAND WARMERS PDF TEMPLATE
Gingerbread Handwarmers

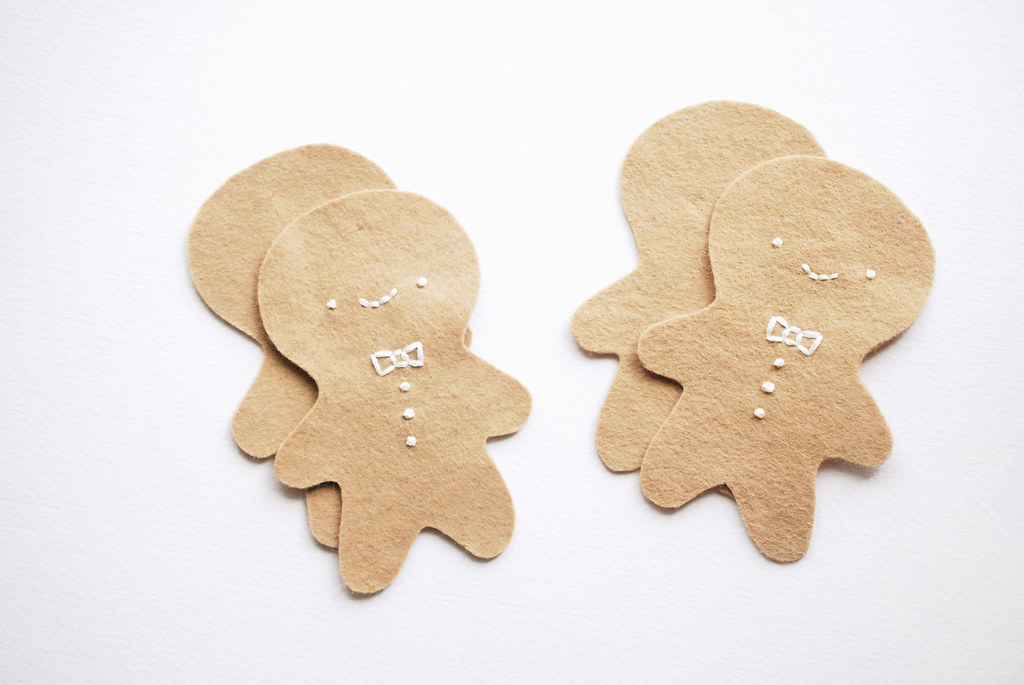
To make a set of hand warmers, cut out four gingerbread men. Embroider details on two of them.
Gingerbread Handwarmers

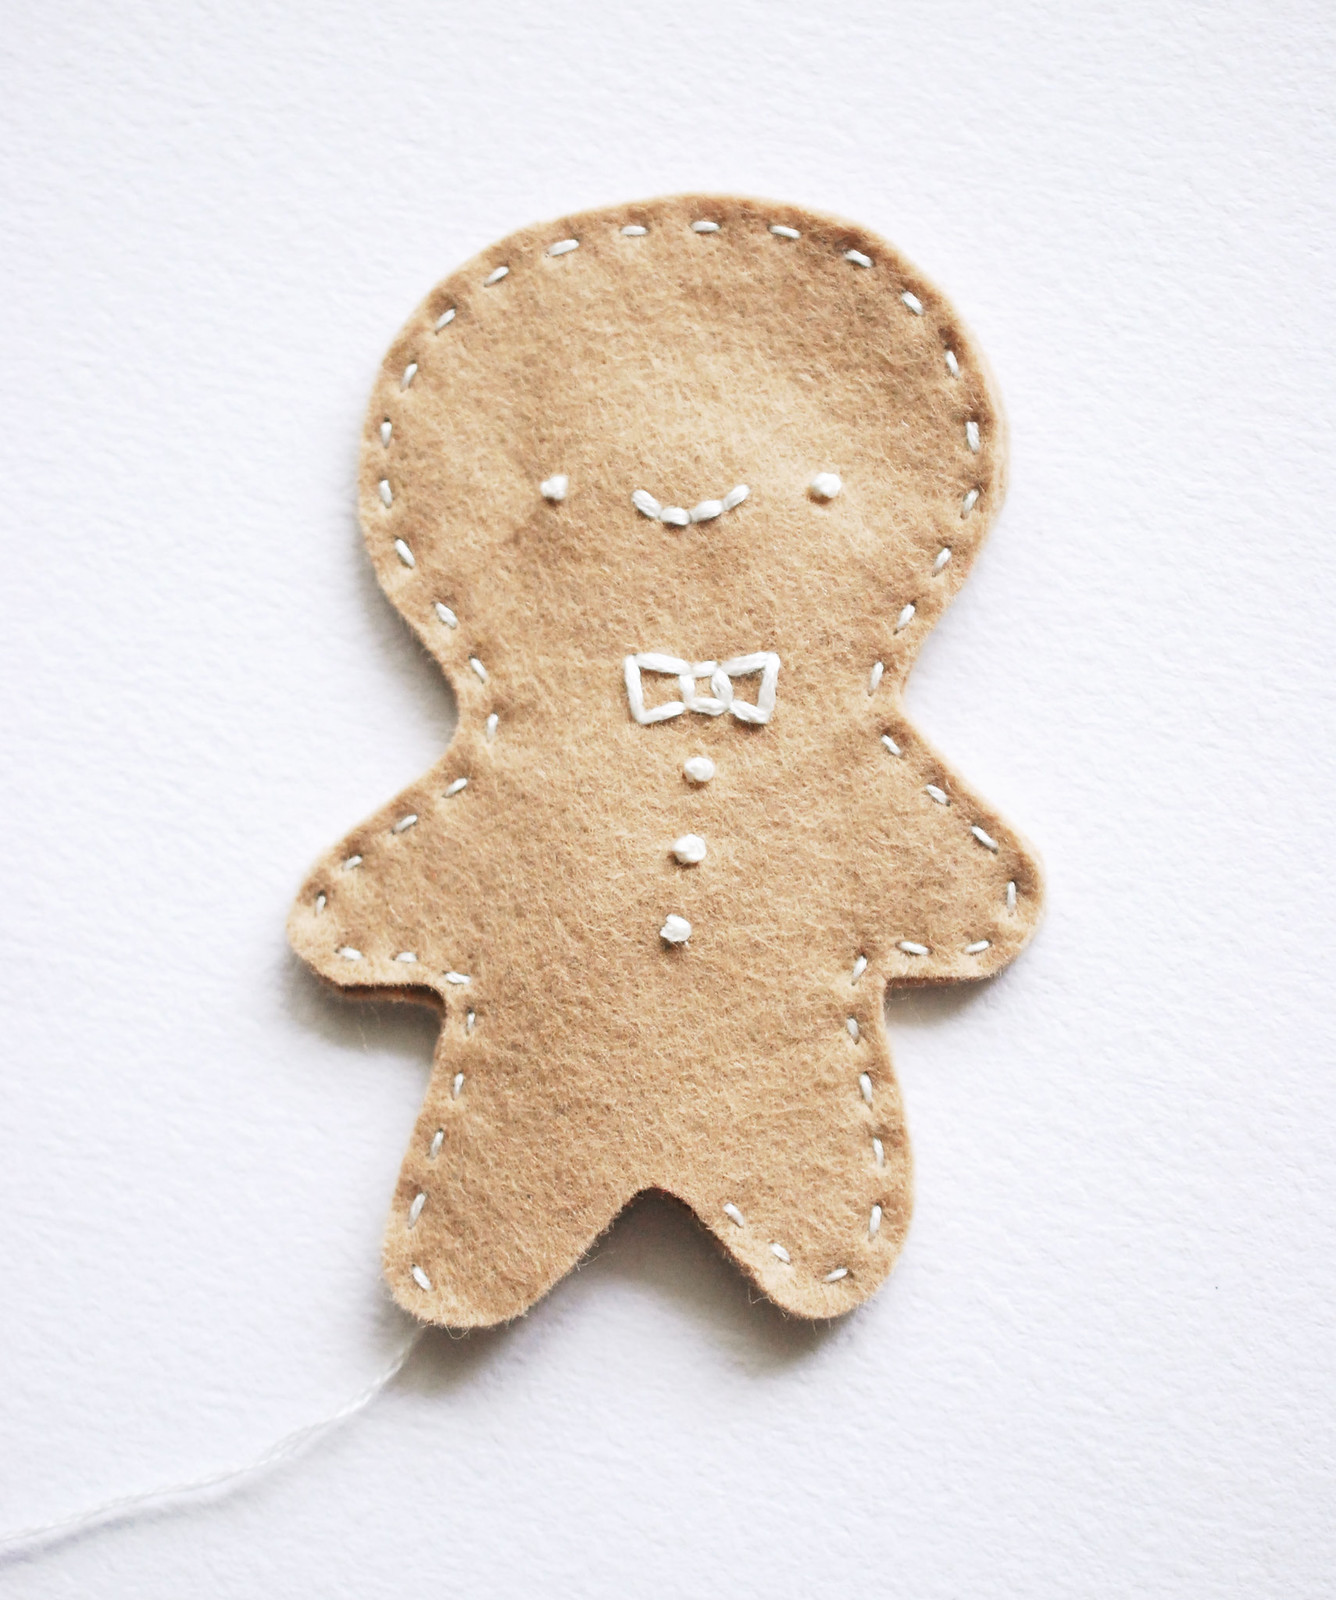
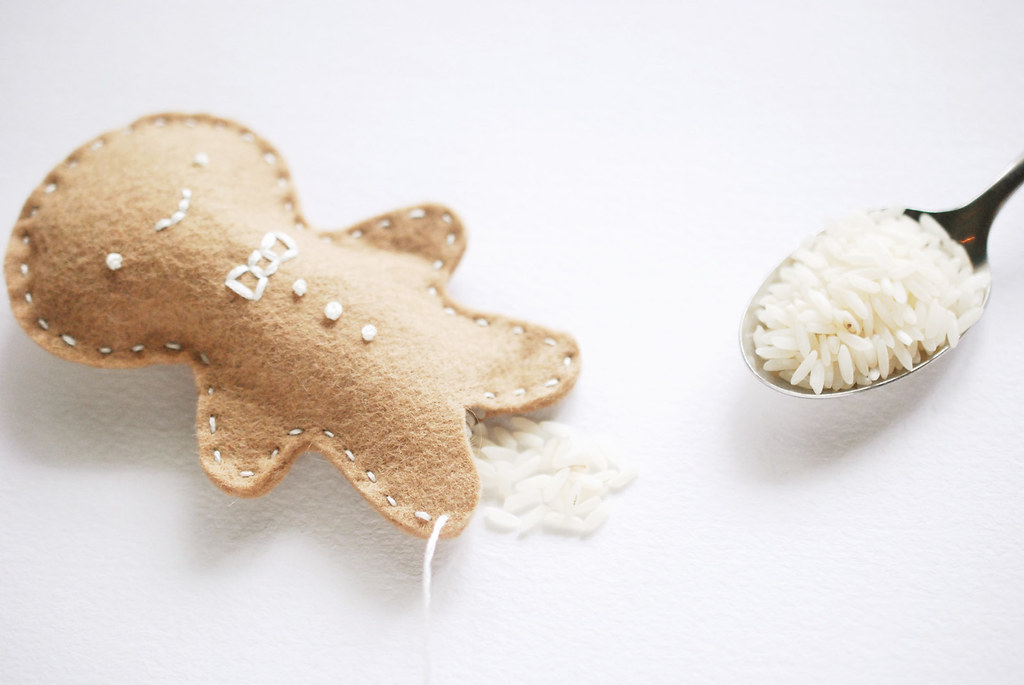
Stitch around the outside with running stitch, leaving an opening for filling. Leave the thread attached so you can sew them closed with the same piece.
Gingerbread Handwarmers

Fill the gingerbread men with rice, then stitch the openings closed. Hide the knot between the layers of felt.
Gingerbread Handwarmers

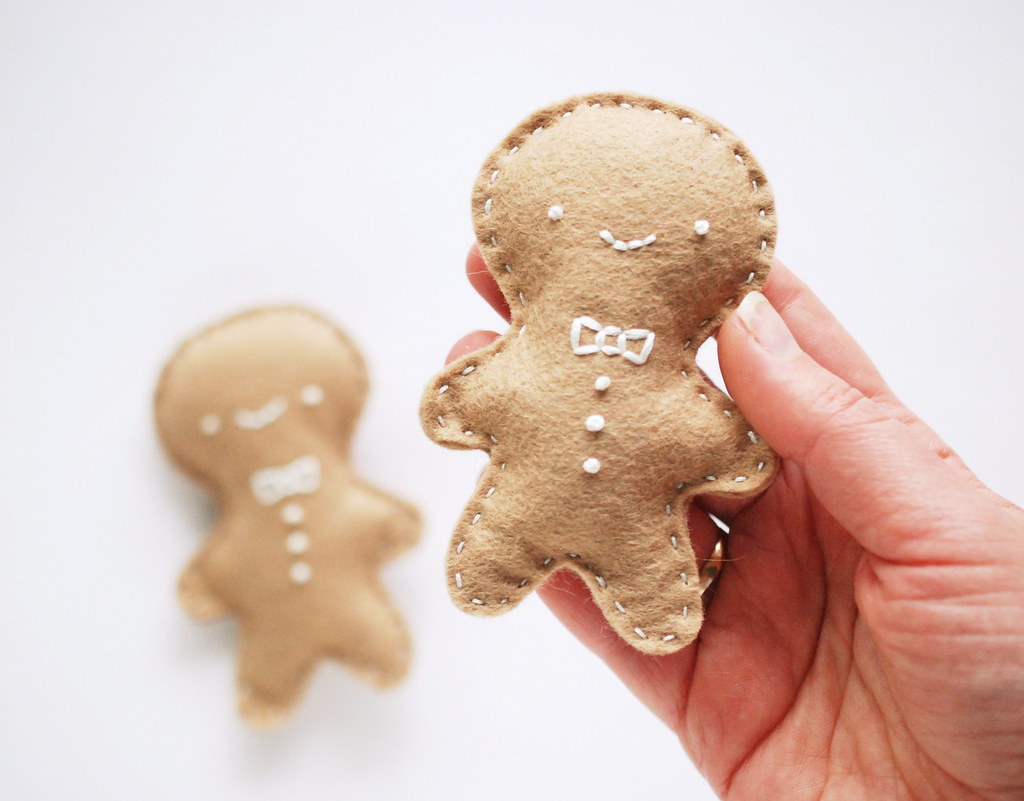
Squee! Aren't they adorable? But even though they are finished, they aren't quite ready. Because what's better than a gingerbread cookie? A warm gingerbread cookie!

Pop these little guys in the microwave to warm them up.

Heat for 10-15 seconds, then check them and add time as needed. I found that 30 seconds was perfect, but all microwaves are different. If you're giving these as a gift, be sure to let the recipient know how to heat them.
Gingerbread Handwarmers

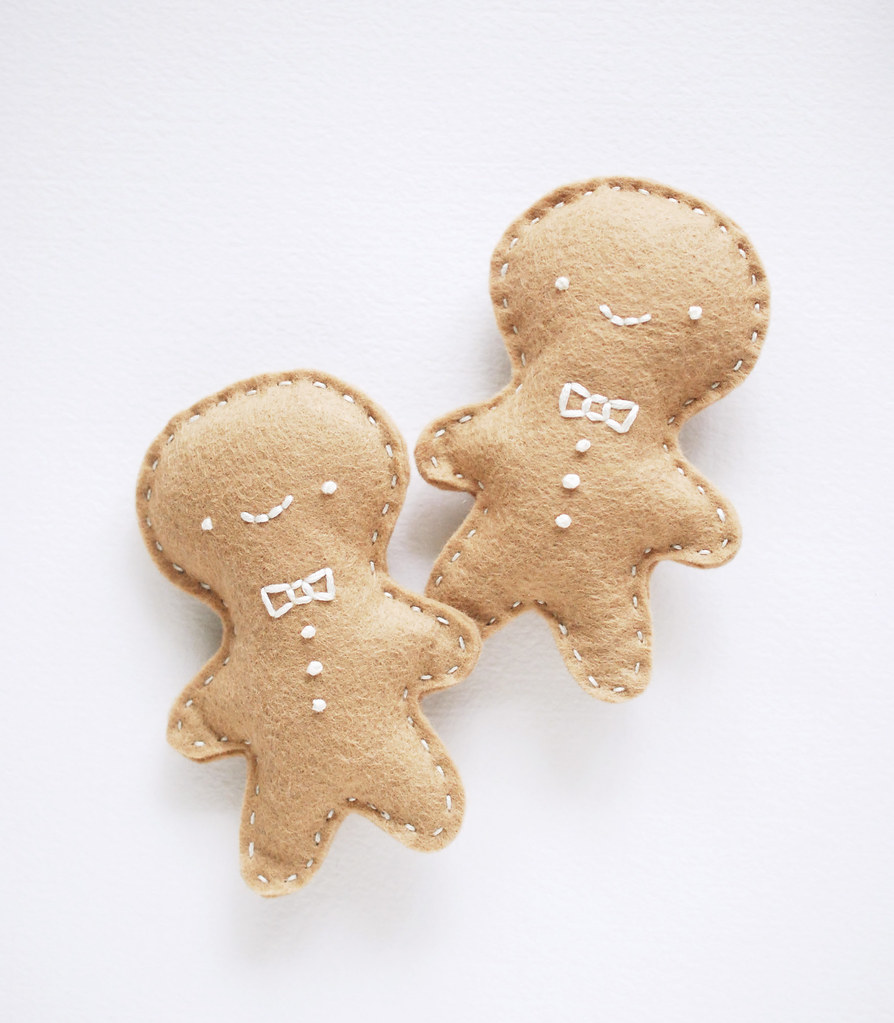
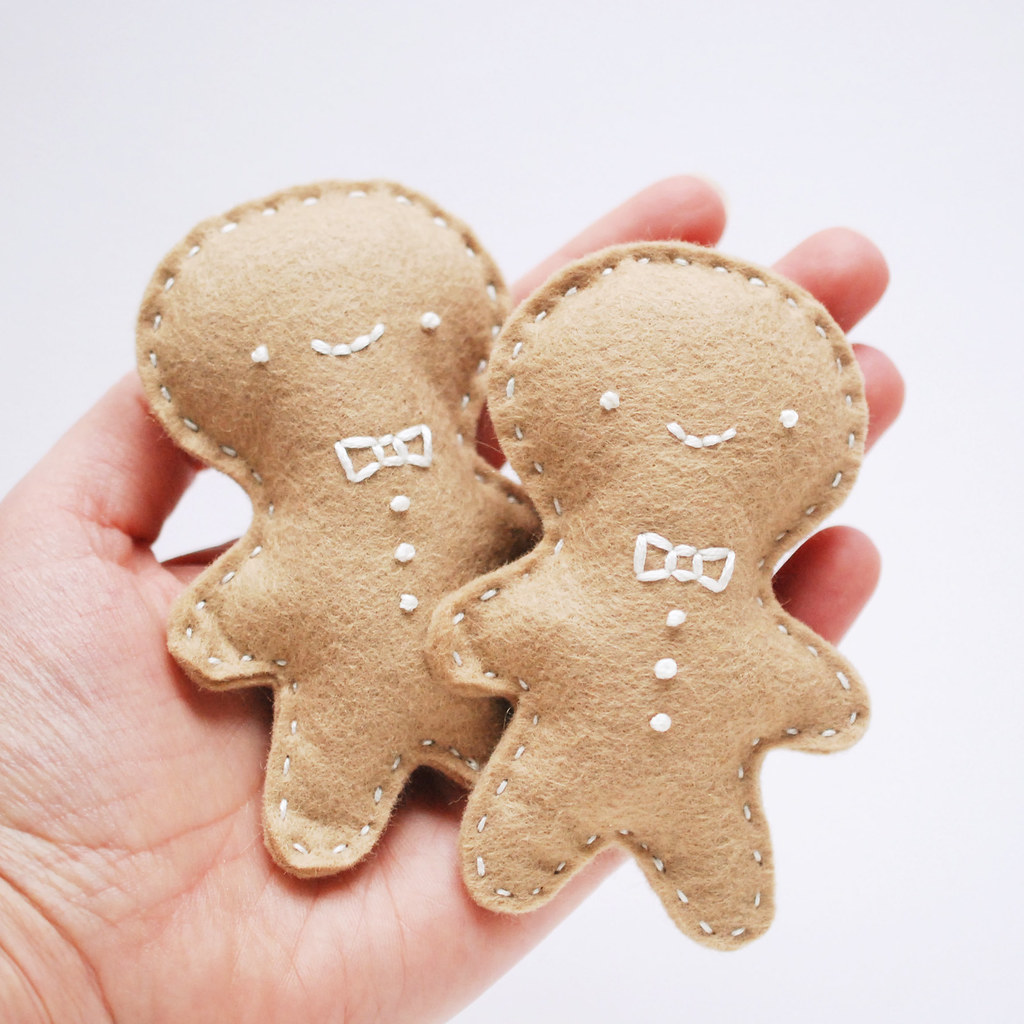
I've found that they hold warmth for at least 20 minutes, which isn't too bad. It's perfect for a short walk outside, while riding in the car and waiting for it to fully warm up inside, or if your house is just a little on the cool side, like mine is!

They also make wonderful little bean bags. You could use them as a pincushion, but that seems cruel. Or maybe as a paper weight?

However you use them or gift them, I hope they make your season sweeter!

easy project // last-minute gift llama or alpaca ornament

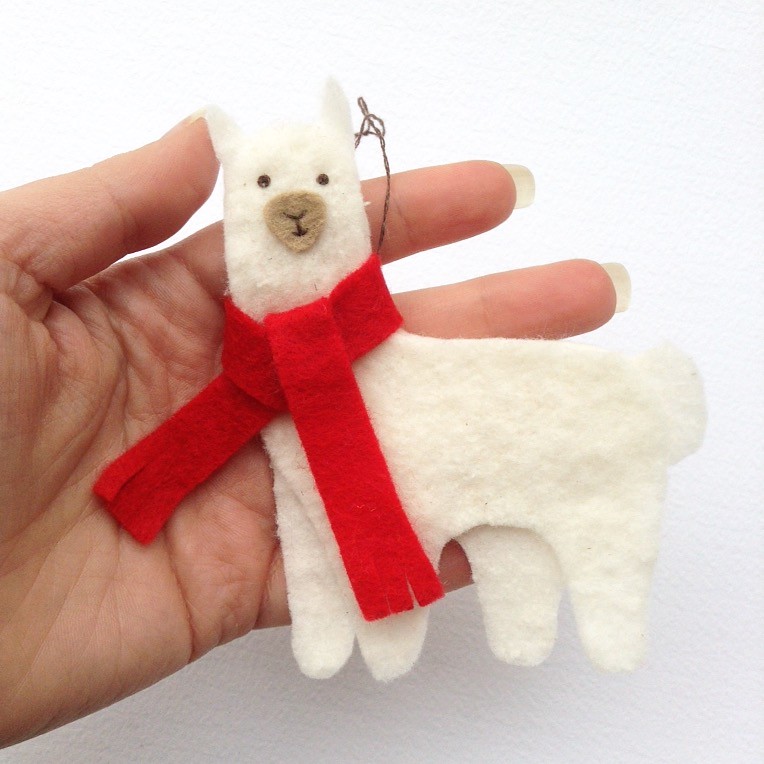
Llama Ornament

It's not every day that someone gives you a llama. But someone did give my family a llama, and while it won't be living at out house, it's going to be very much loved by everyone in our house.

We have a thing for llamas.

It's actually really difficult to show true appreciation for such a gift, but I set to work right away to make a small token of thanks for the people who gave our llama a family. And I came up with this little llama ornament.

I shared it on Instagram, and it was a hit, so I thought I might share it here as a last-minute gift idea. You don't get lots of pictures because I literally made this just to give someone, but I'm hoping you won't mind. So here's how you give this gift.

First, buy a llama or an alpaca from Heifer International, or you can buy a share of these animals for a lower cost gift.

Next, make a super fast ornament. (Instructions below)

Finally, give the ornament with a note telling about the donation. It's a nice way to do something to help others, and it will give your recipient something to remember the gift too. Win-win!

Here's how to make the ornament:

1. Cut the two body pieces from cotton batting. Cut the snout from tan felt. Cut a felt scarf that is about 1/2" x 8-1/2" and fringe the ends.

2. Freehand stitch the face (those few stitches hold the snout in place), then glue the two body pieces together with Fabri-tac.

3. Tie the scarf on and secure it with glue. The thread hanger goes through the back of the scarf and through the llama on the side closer to the body (for balance).

So many of us have a lot of "stuff", so why not give small with a thing, and give big with help and love for others?!

printable // kawaii christmas coloring pages

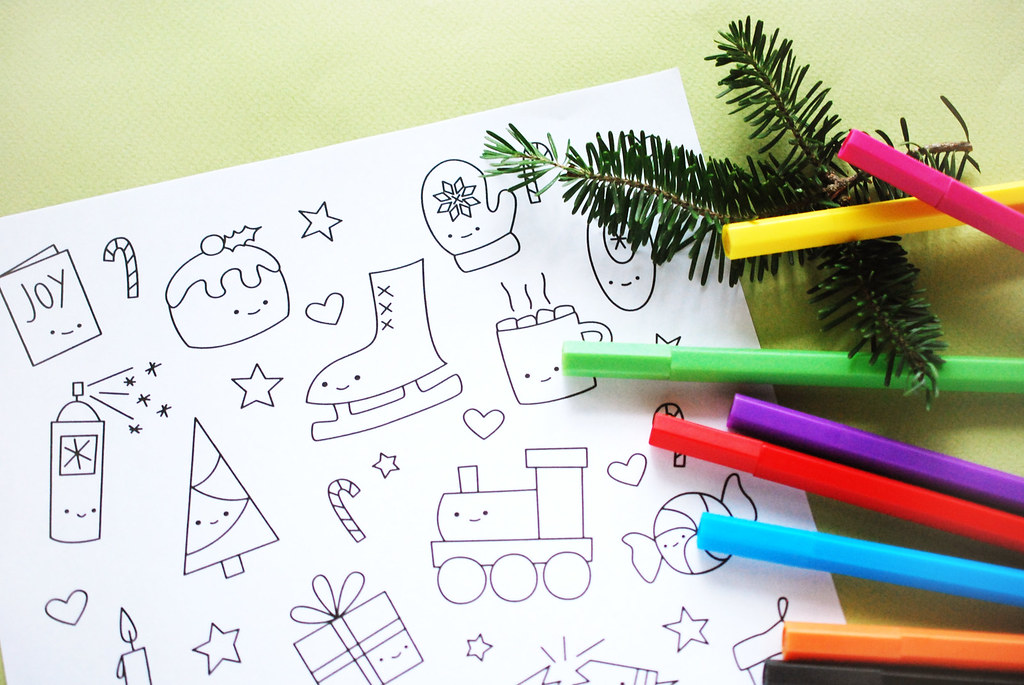
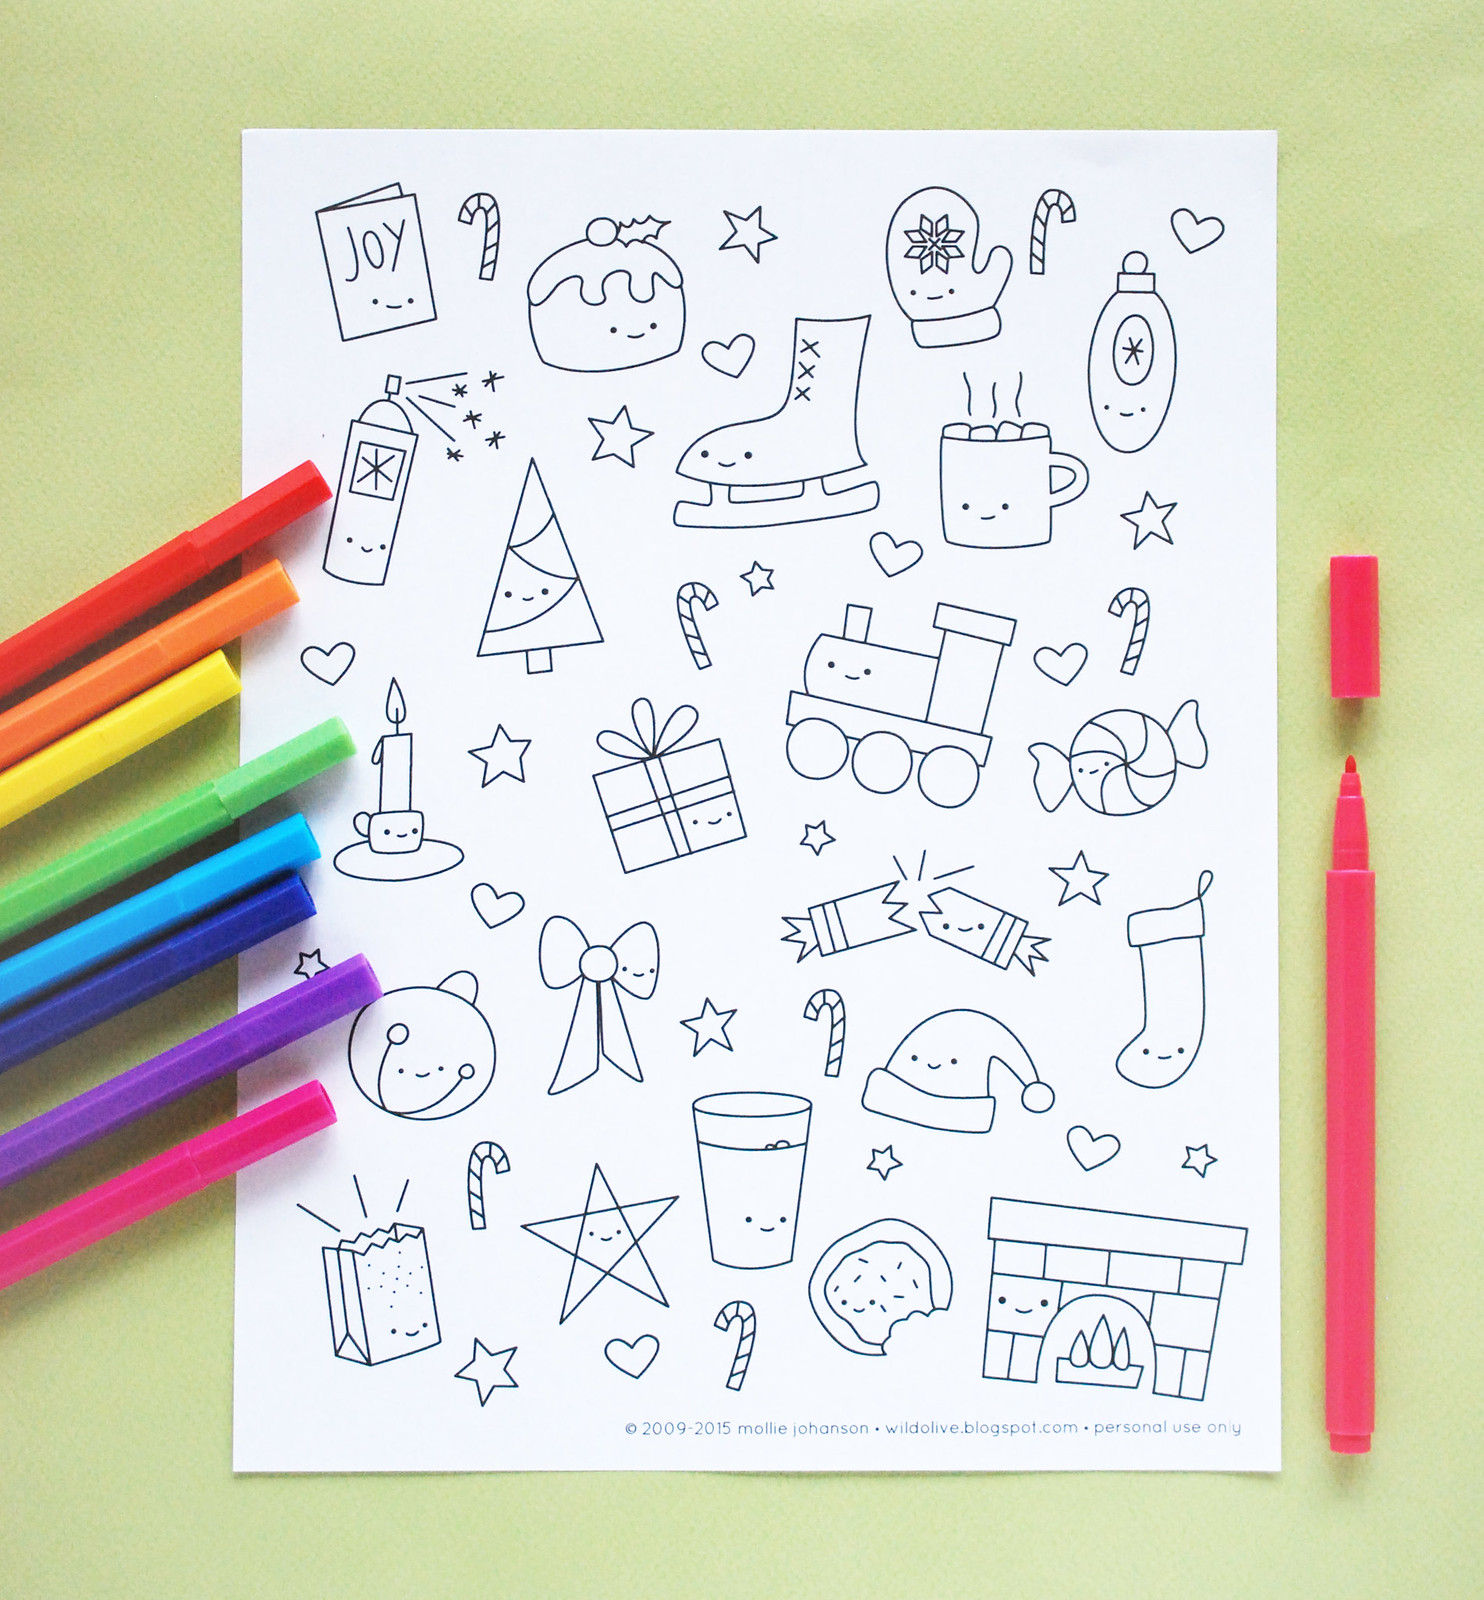
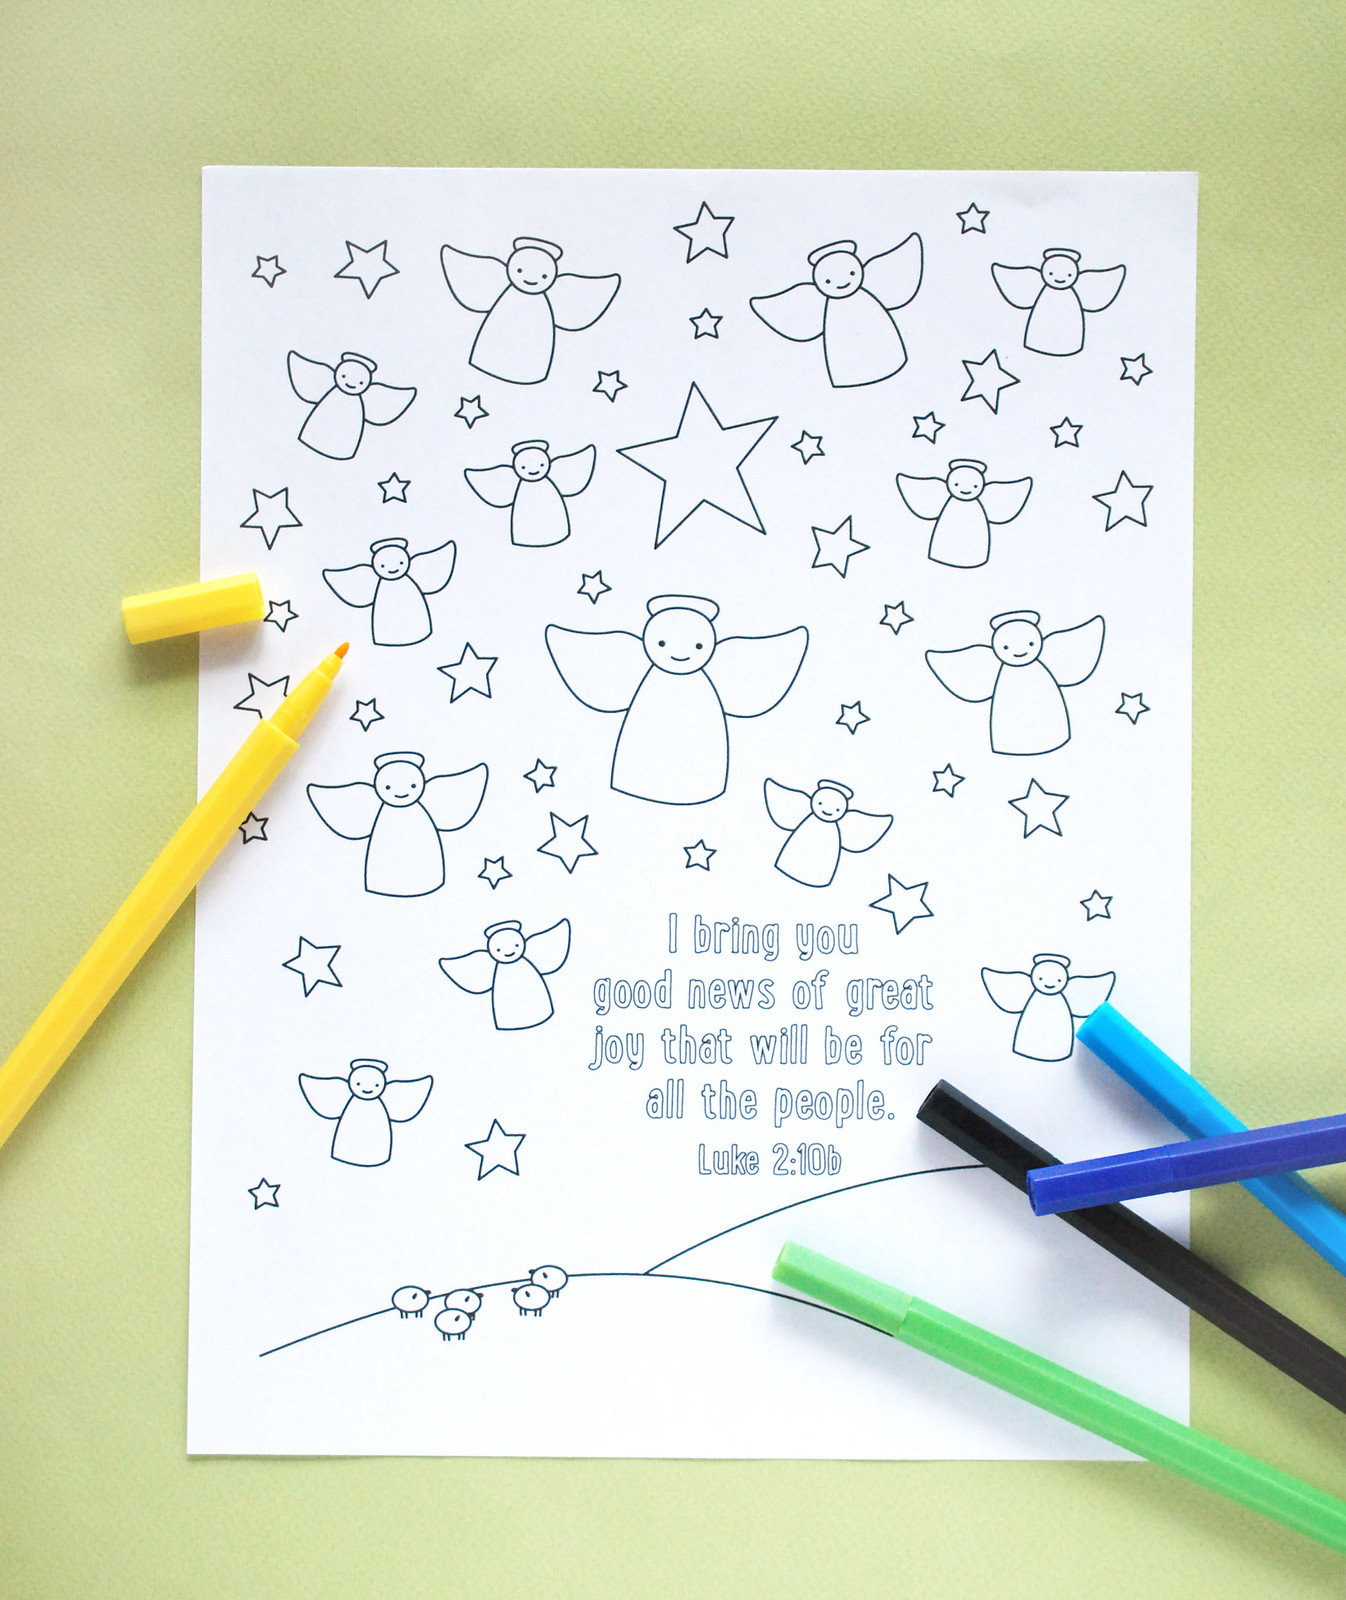
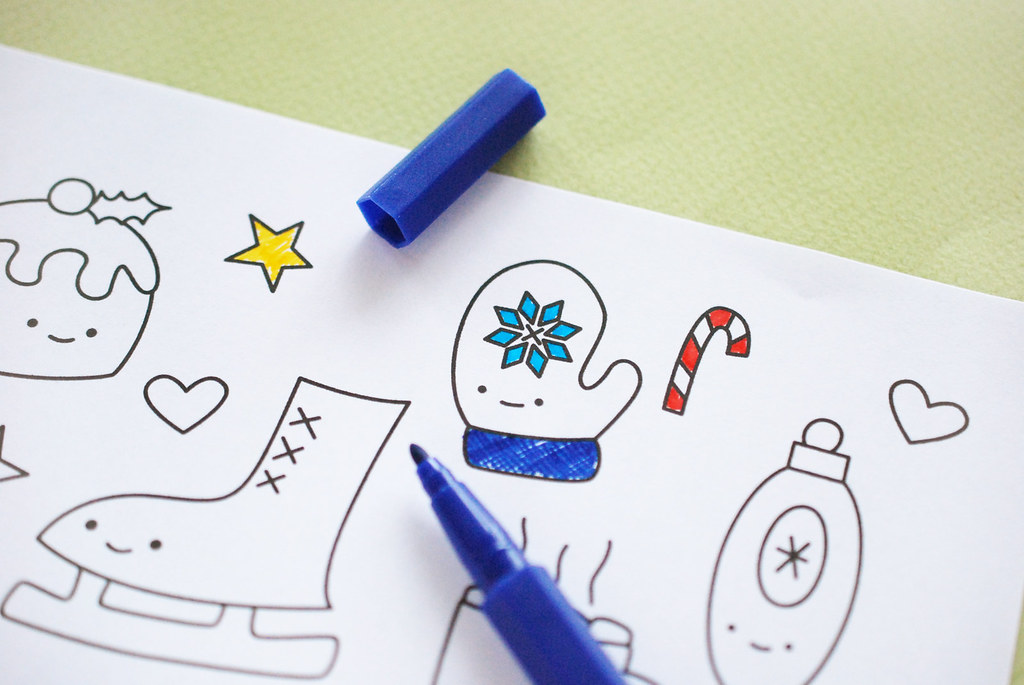
Advent Tinies Color Pages

After all the love you gave the Hexagon Tinies coloring page this summer, I knew that I was going to need to make another. Maybe there will even be more coming...

For Christmas I used my Advent Tinies patterns to make two pages for you to color and enjoy. There may not be a lot of extra time these days, but it's nice to work in some peaceful coloring time. Or at least encourage your kids to have some quiet time while you tackle your task list!

Advent Tinies Color Pages

Advent Tinies Color Pages


One of the pages has a bunch of Christmas icons to color, and the other is a whole flock of angels sharing good news. I like fine tip markers or colored pencils for these, but they aren't so tiny that crayons wouldn't work.


Advent Tinies Color Pages

I hope they bring some fun and joy to your holiday (and school break) season!

And just a quick heads up...because this is so closely based on a pattern in my shop, the download will only be a free download for a limited time. After that, you'll need to purchase the pattern set to get the coloring pages.

embroidered wooden ornaments with a wonky gemstone pattern

Embroidered Wooden Ornaments


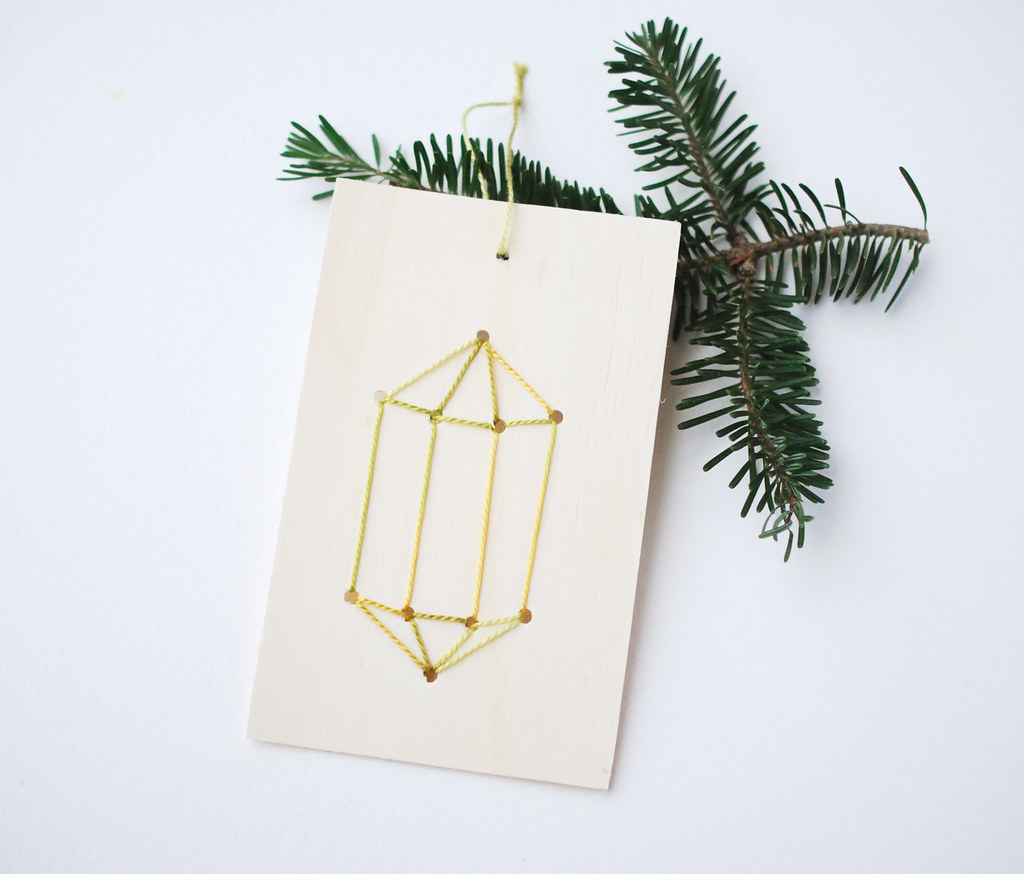
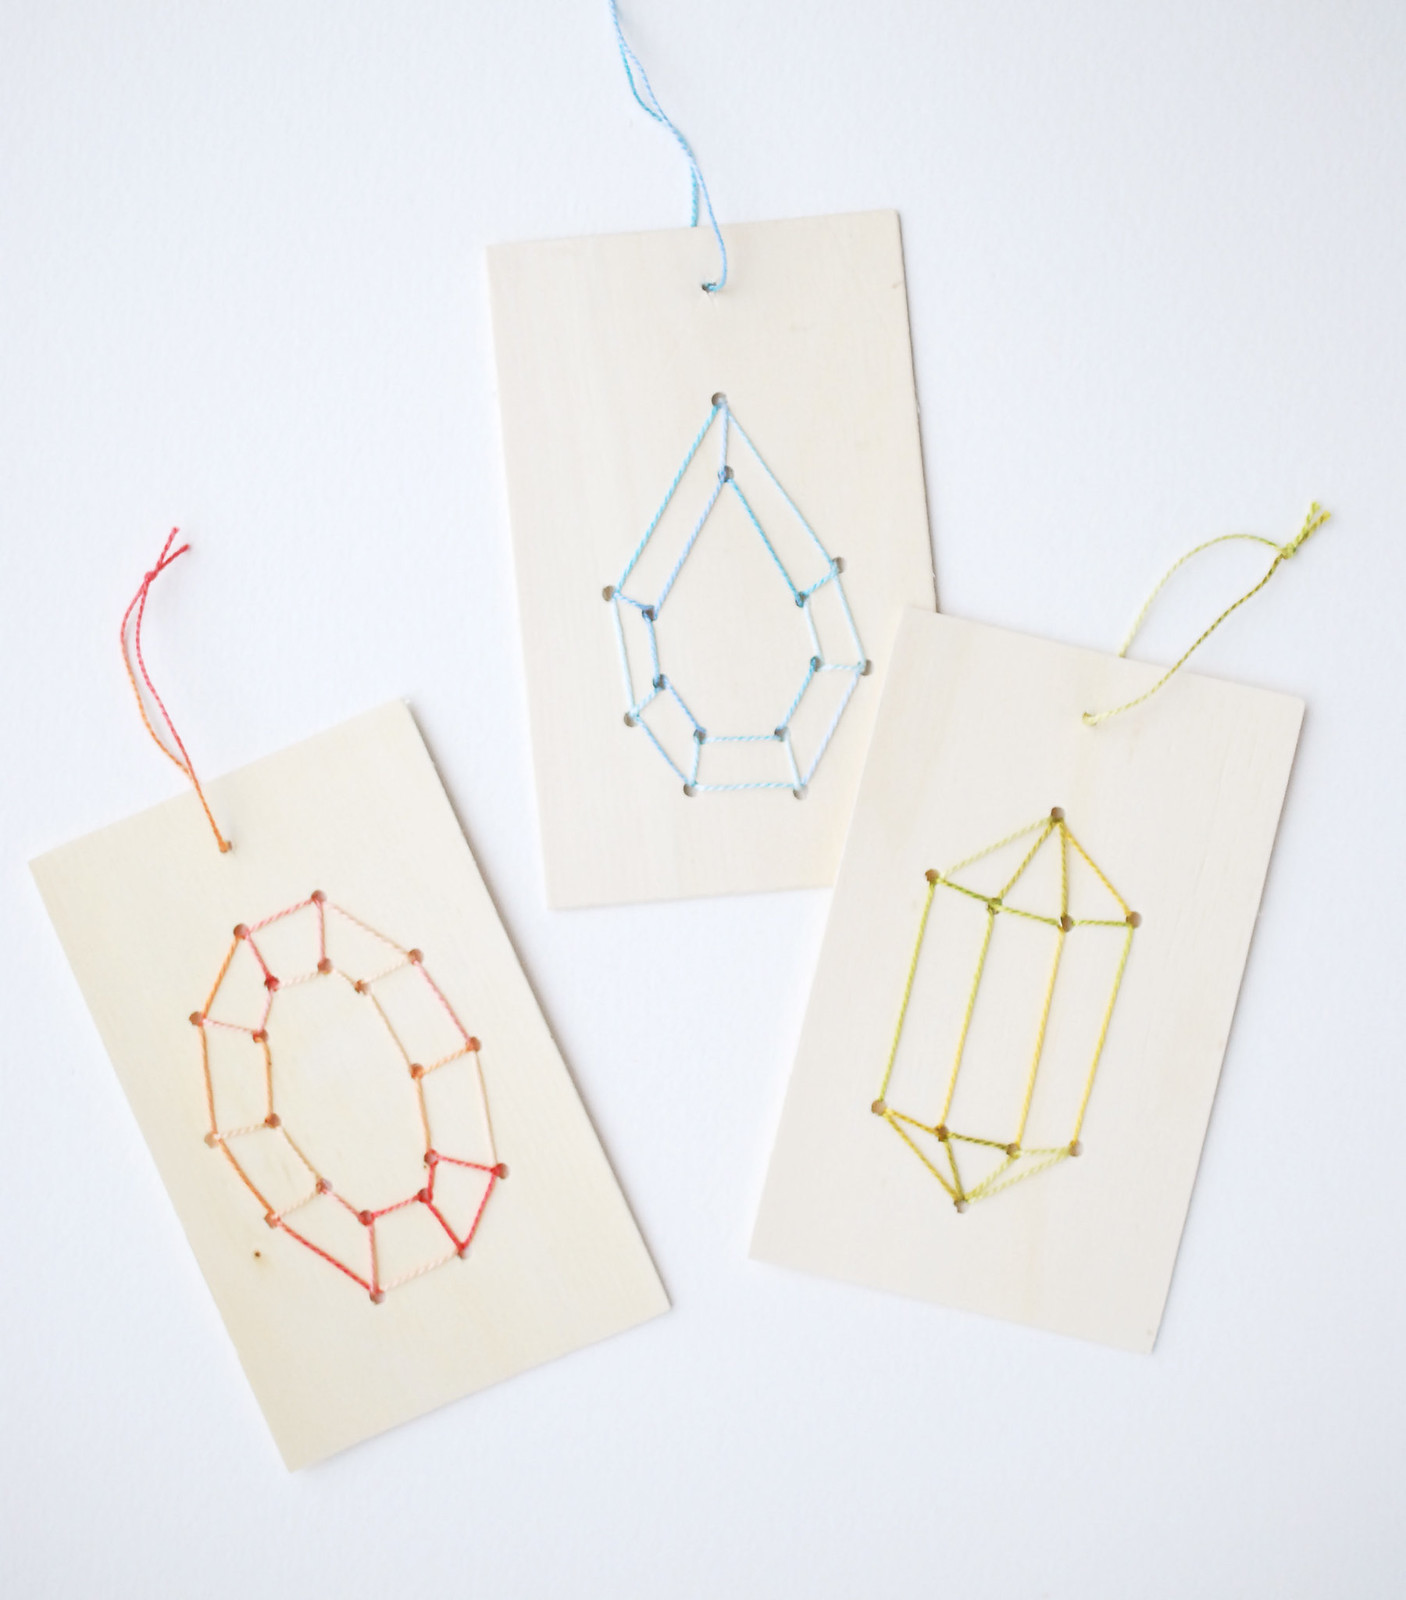
For the past couple weeks, I've been cutting, stitching, and stringing, preparing ornaments for the tree. I'll share photos of the whole tree soon, but I thought you'd like these, and I couldn't wait to show them off. They are little balsa (or something close to it) wood pieces, embroidered with some slightly wonky gemstones I drew up.

Embroidered Wooden Ornaments


They really are easy (my only complaint was that the wood itself could have done with a bit more sanding). You can find the technique for stitching on wood in my post over at About.com. I used the punching method to make the holes so that a bit more light will shine through on the Christmas tree.

And as I mentioned, the patterns I created were very easy to stitch, without too many holes needed. You can download them below.


At just under three inches wide, these are a little large for ornaments, but I love that about them. They really grab your attention on the tree. But they'd also be so pretty hanging on a gift...or even as mini wall art! Of course, there's no reason that you need to stitch the gemstones on wood. See where your creativity leads you!

project // embroidered double hexagon ornament

Double Hexagon Ornament


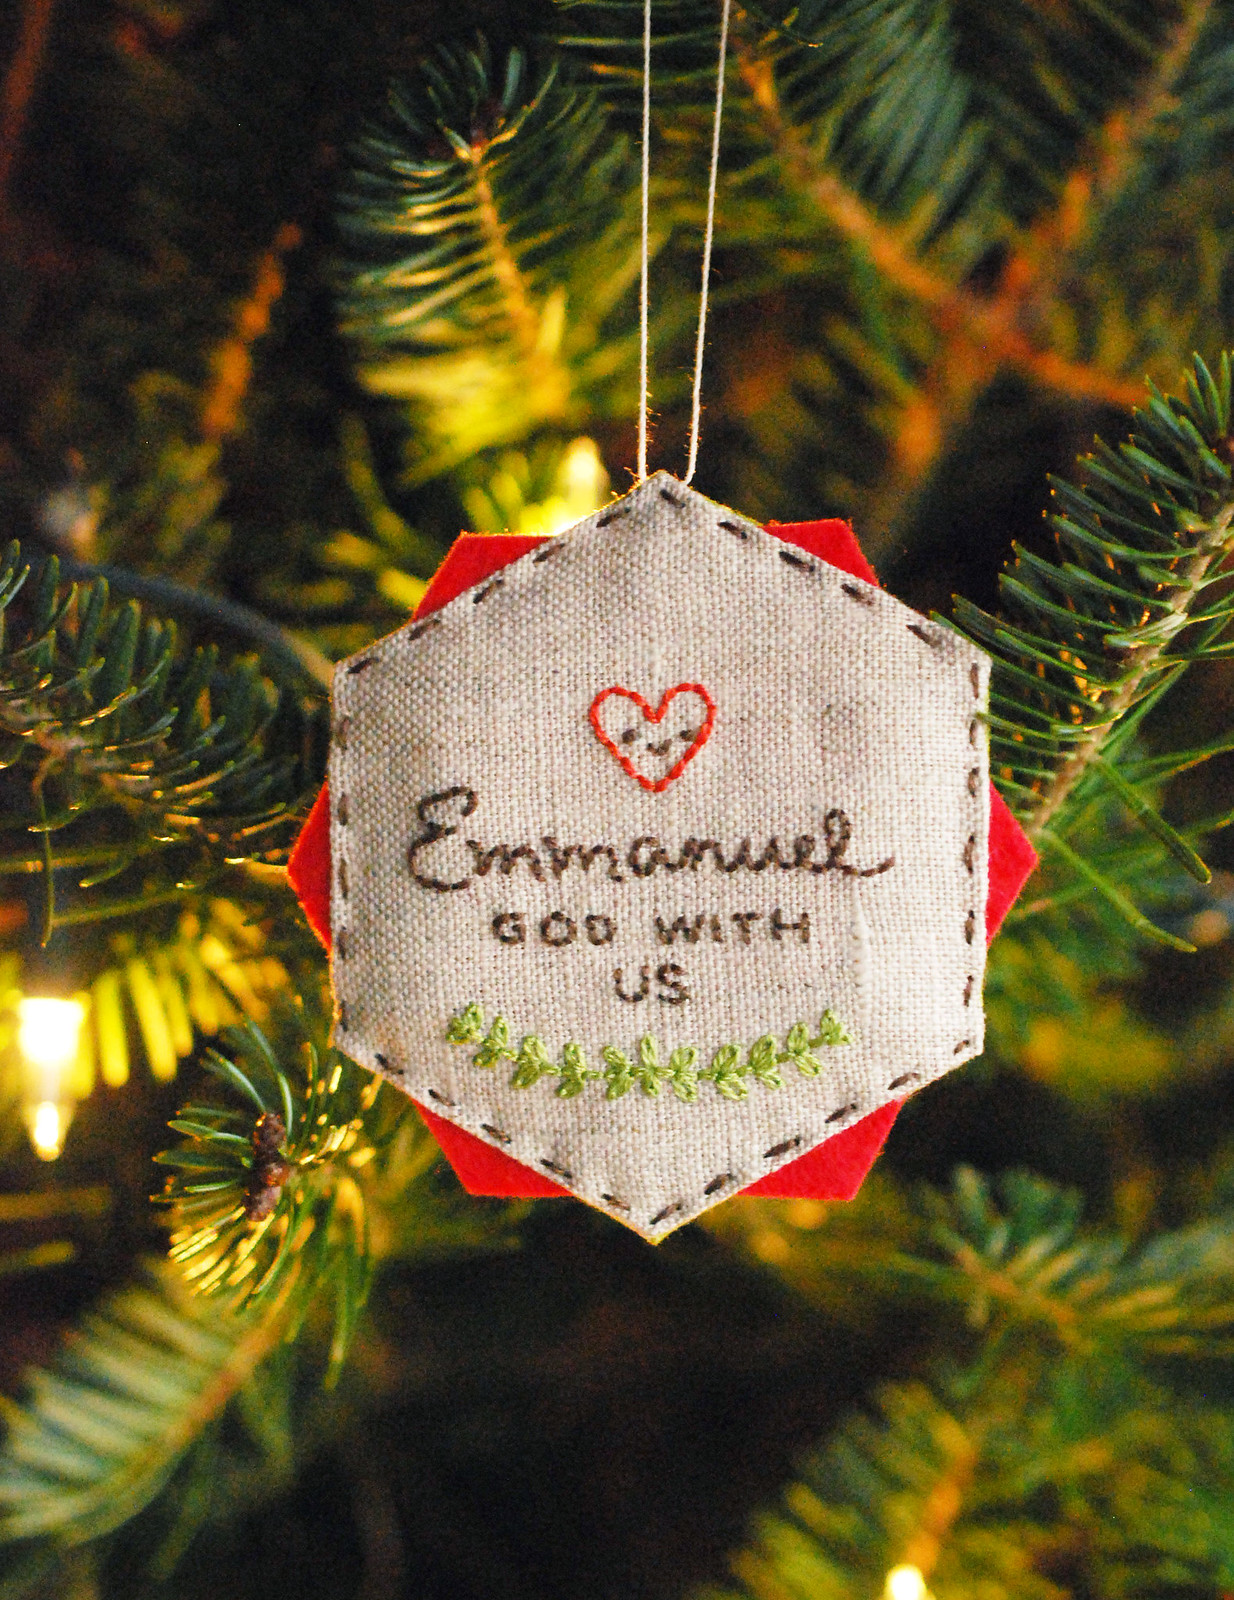
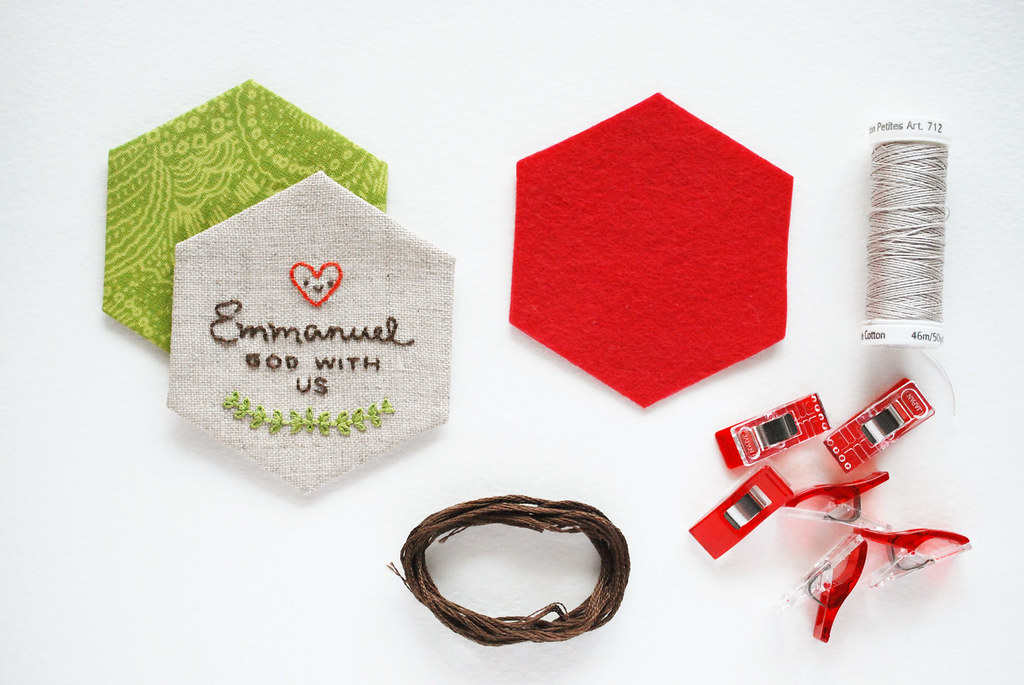
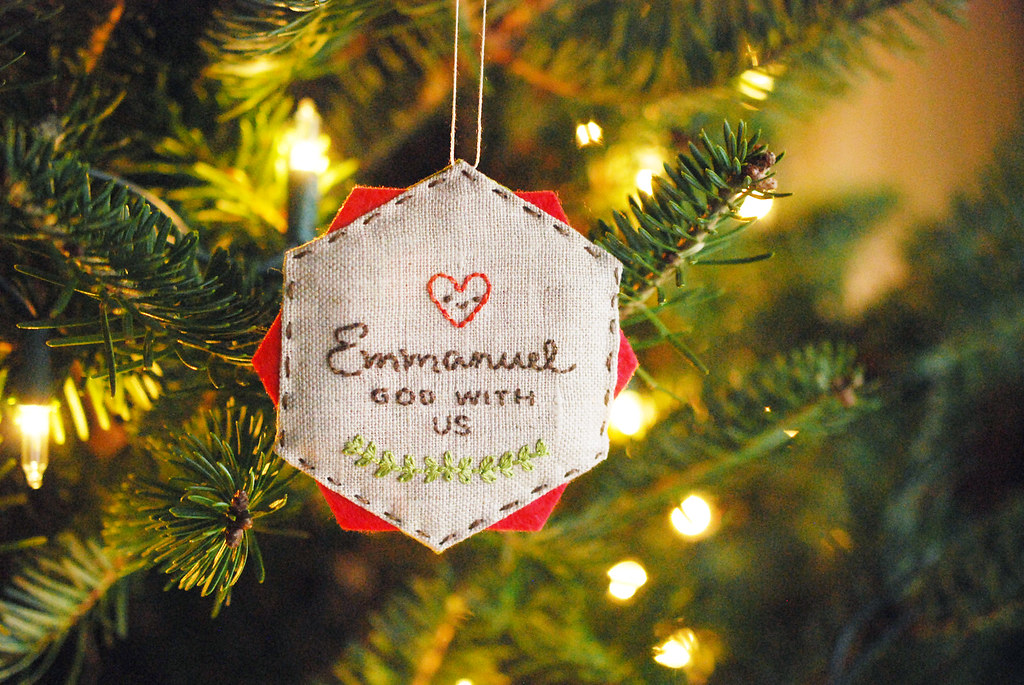
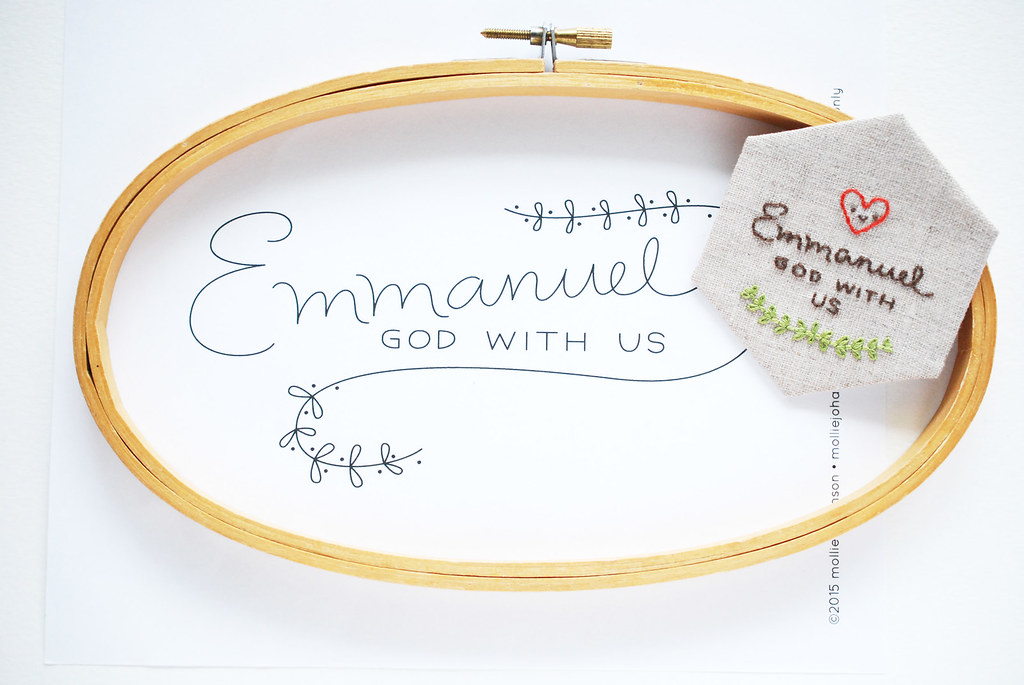
When I designed the small size of the Emmanuel embroidery pattern, I did so wanting to make it into a hexagon. I didn't know what I'd make with that hexagon, but an ornament seemed right. And what's great is that you can make this ornament with any embroidered hexagons.

My ornament is made with 1.5-inch hexies. The basted hexagons and felt piece in the center are the same size, so if you want to change the size of your ornament, just make sure all the pieces are the same size.

Ready? Let's make an ornament!

Double Hexagon Ornament

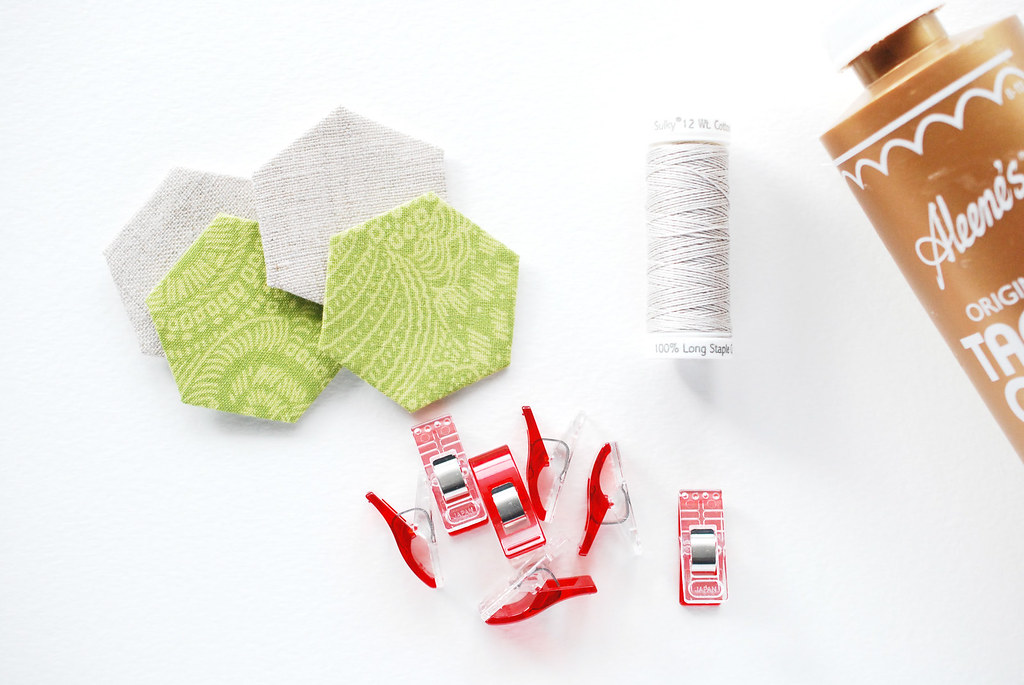
Here's what you need:

Two basted hexagons
One felt hexagon
Embroidery floss
Thread or string for a hanger
WonderClips or pins
Scissors and needle

Double Hexagon Ornament

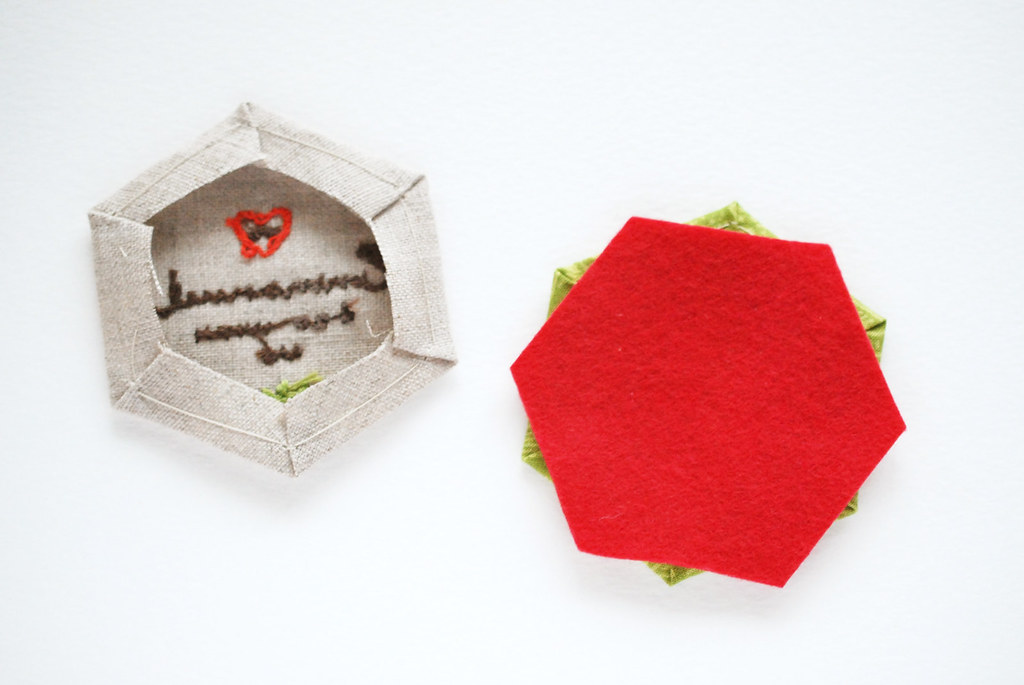
Remove the papers from the hexagons, then place the felt hexagon between the hexagons. Turn the felt hexagon so that the points are centered on the straight sides of the basted hexagons.

Double Hexagon Ornament

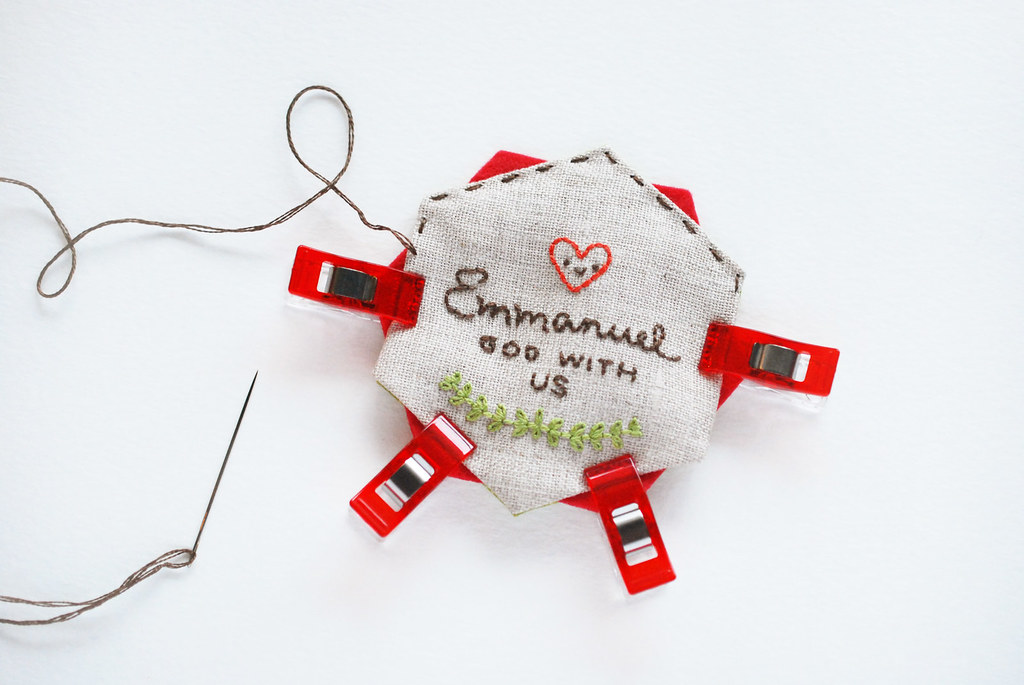
Clip or pin the three layers together and stitch around the edge of the fabric hexagons.

Double Hexagon Ornament

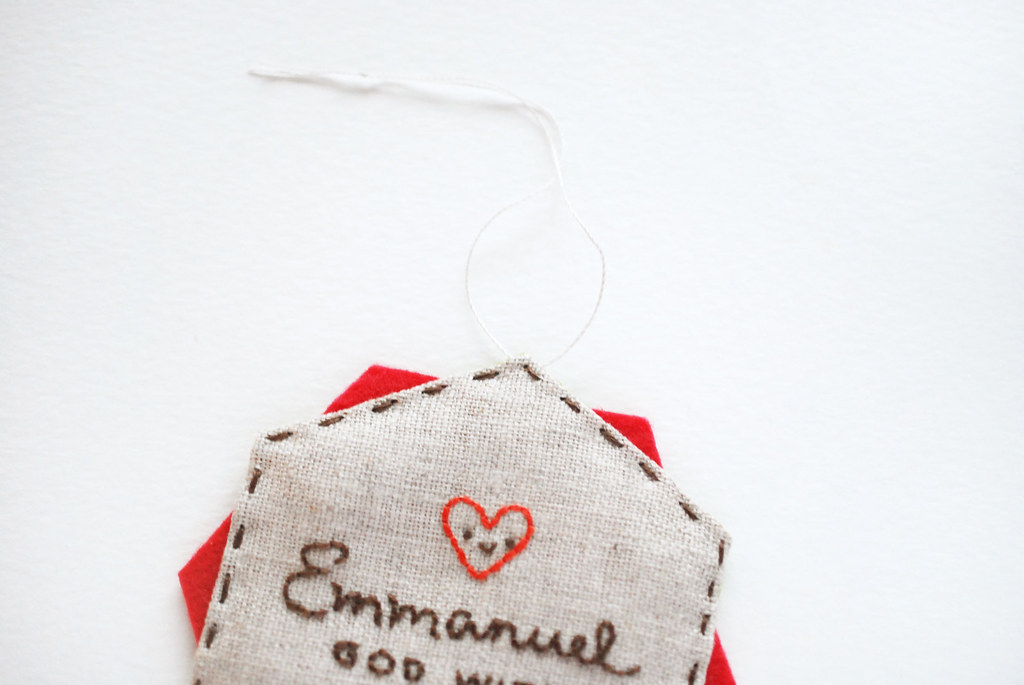
Cut a 6-inch piece of thread or string and stitch it through the top point of the ornament. Tie the ends together.

Double Hexagon Ornament

I love when a project can be made many different ways, and this is definitely something you can customize. Change the size, use any small embroidery pattern, or skip the embroidery and fussy cut your favorite fabrics. It also seems like the kind of ornament that I should make every year with a new design.

What will you stitch on your ornament?

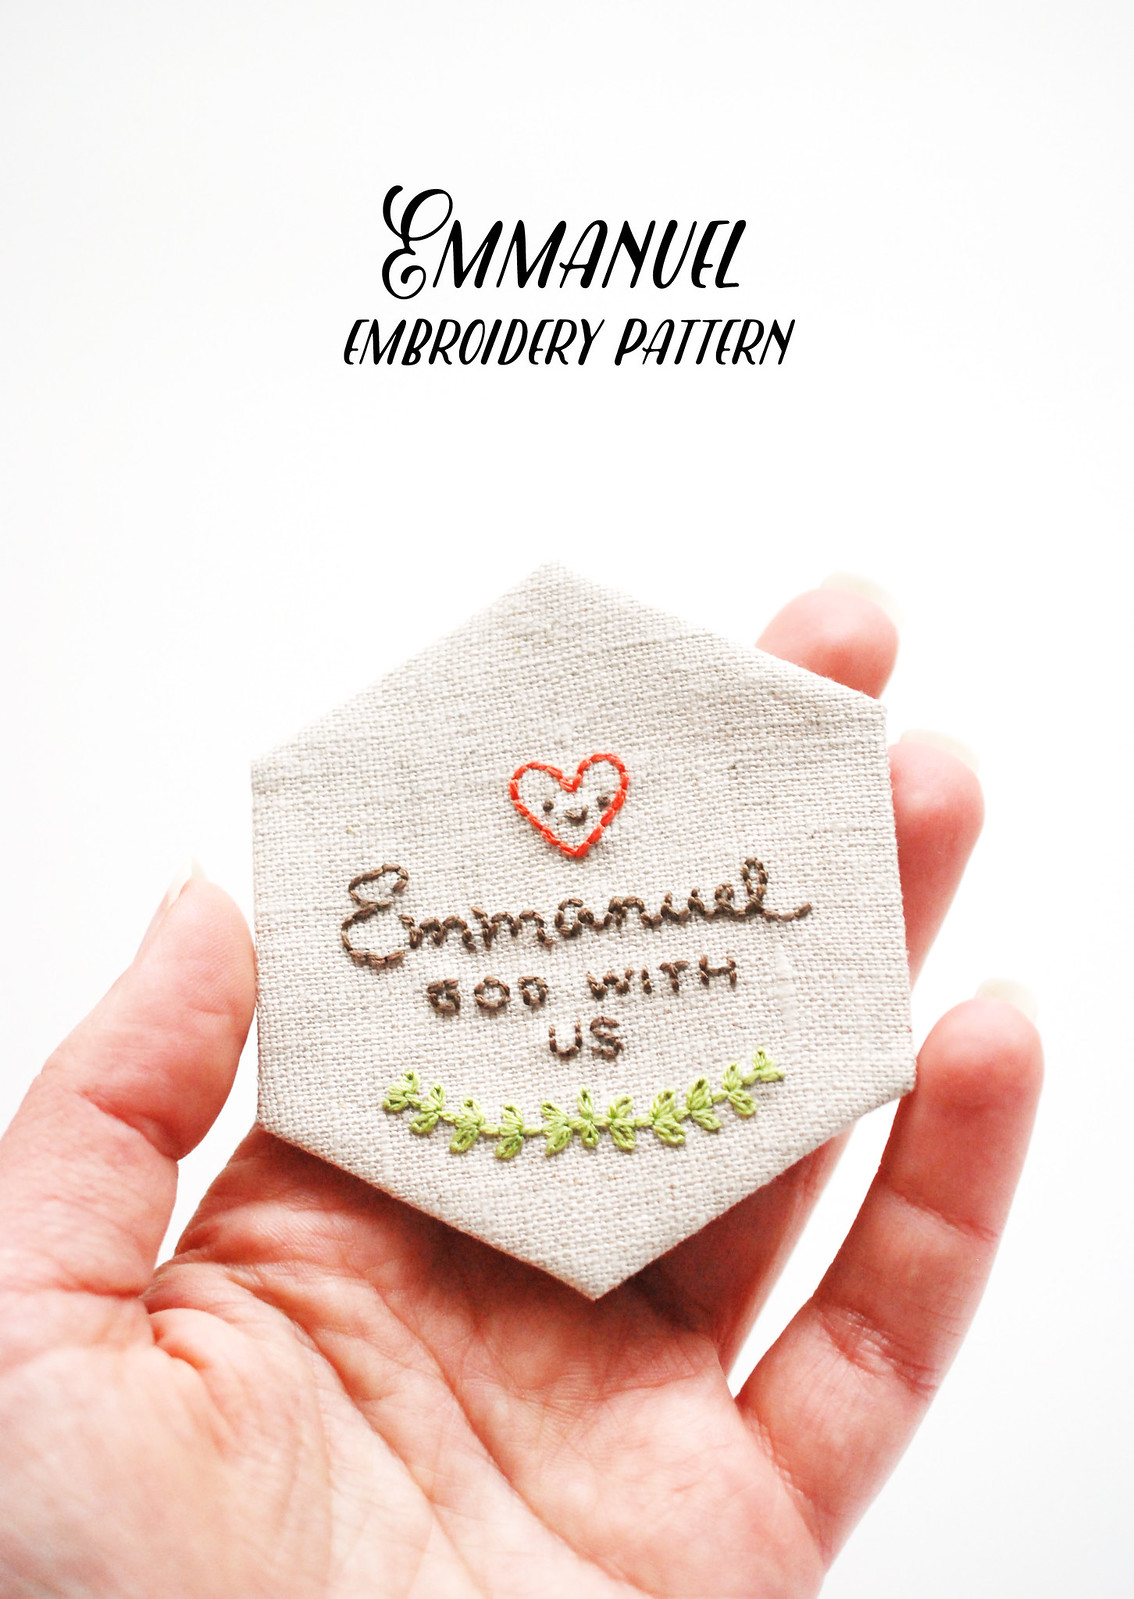
pattern // emmanuel god with us

Emmanuel - God With Us


This year I realized something. It surprised me, and yet, it also made sense. Are you ready for it?

I could do without Christmas.

Don't get me wrong. I like Christmas. I like making decorations and giving gifts, Nativity scenes and all the music (really!). But if there was no more Christmas celebrations, I think I'd survive.

What I need to celebrate and observe more than Christmas, however, is Advent. Not a little countdown calendar with a piece of chocolate each day, but the season that anticipates the coming of Jesus. Traditionally the weeks leading to Christmas are for preparation of our coming Savior, both remembering Him as an infant, and His promised return.

This year it has helped my heart and my head to think about Jesus' presence. It keeps coming at me as I read books and blogs, and listen to messages and songs. O Come, O Come Emmanuel always stands out. Emmanuel, one of the names of Jesus, means "God with us." Not only God who was with us, or who will be with us. God with us. Now.

It's hard for me to express just how powerful that is to me. I roll it over and over in my head, like kneading bread. And it works its way in. This is how I'm preparing for Christmas and for Him. So I stitched it up into a little hexagon...

Emmanuel - God With Us

...and also made a larger pattern. Maybe you need a reminder that Jesus promised to be with you now and always. Choose one of the designs and stitch that reminder. Keep it around long after Christmas because this isn't something for once a year.


Friends, may you know and experience Jesus' presence this Advent season, and may you find comfort in the God who loves you so much that He sent His only Son. For you.

printable // diamond paper-cut ornaments

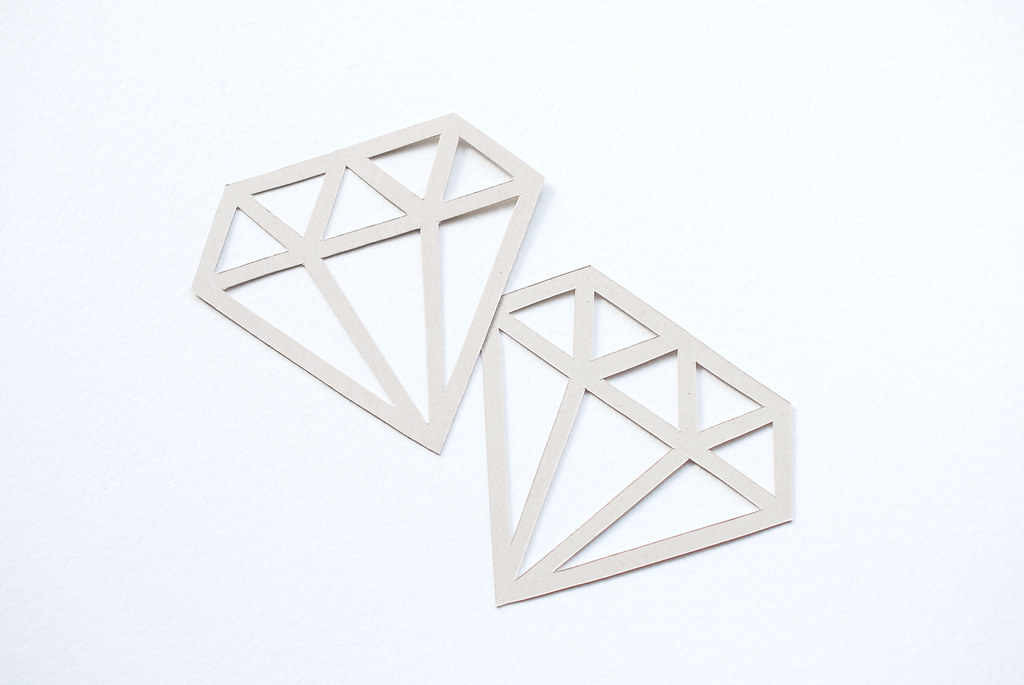
Diamond Paper Ornaments


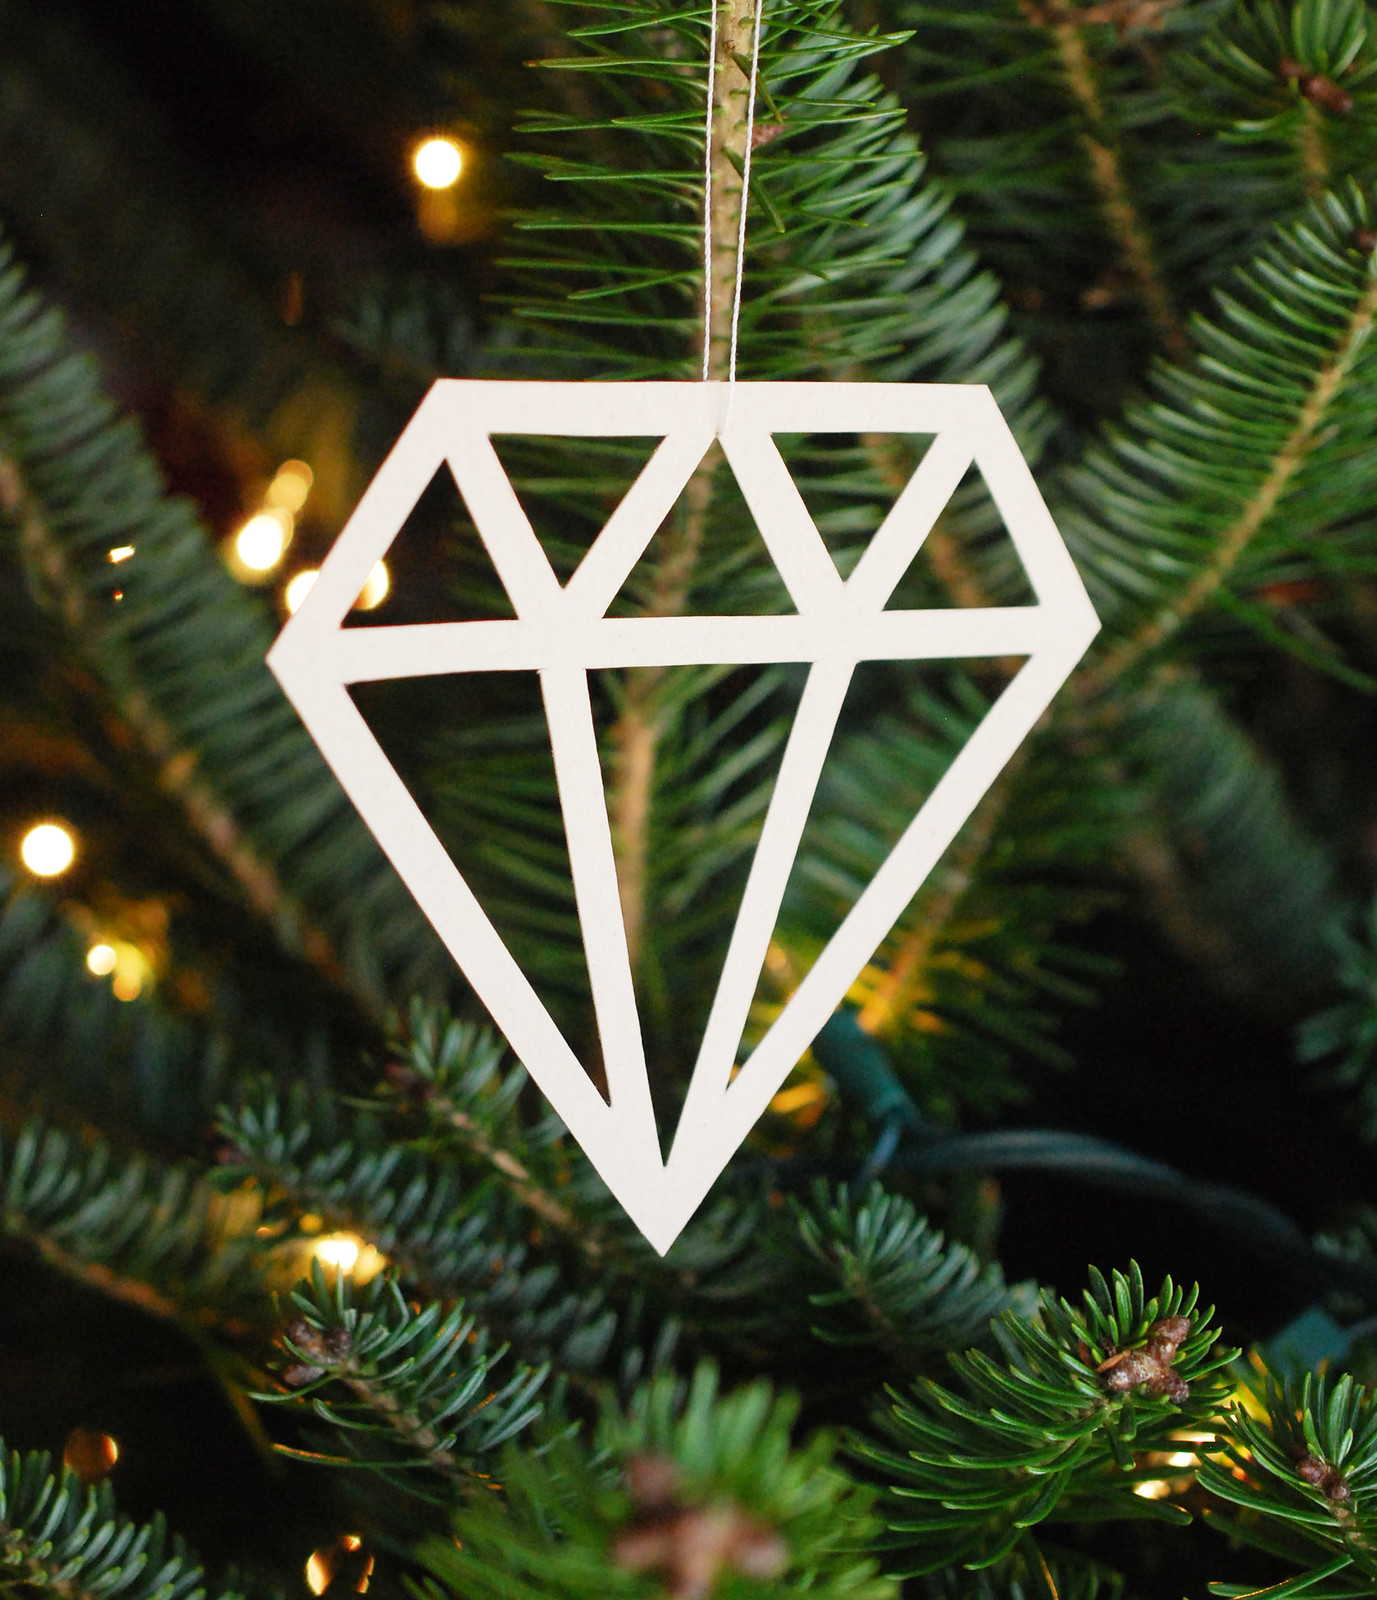
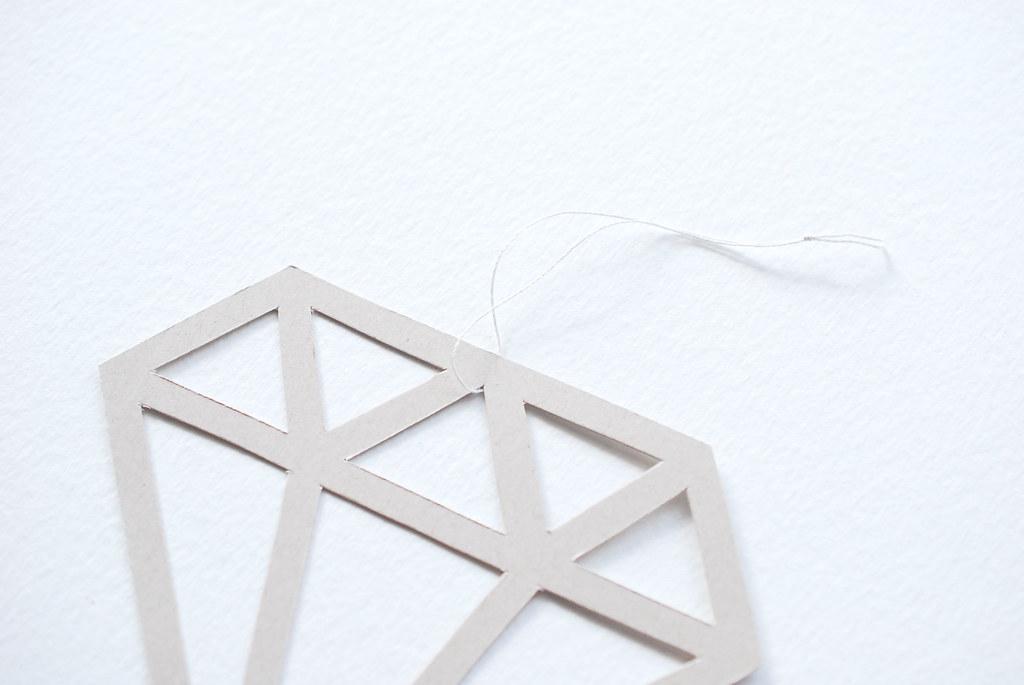
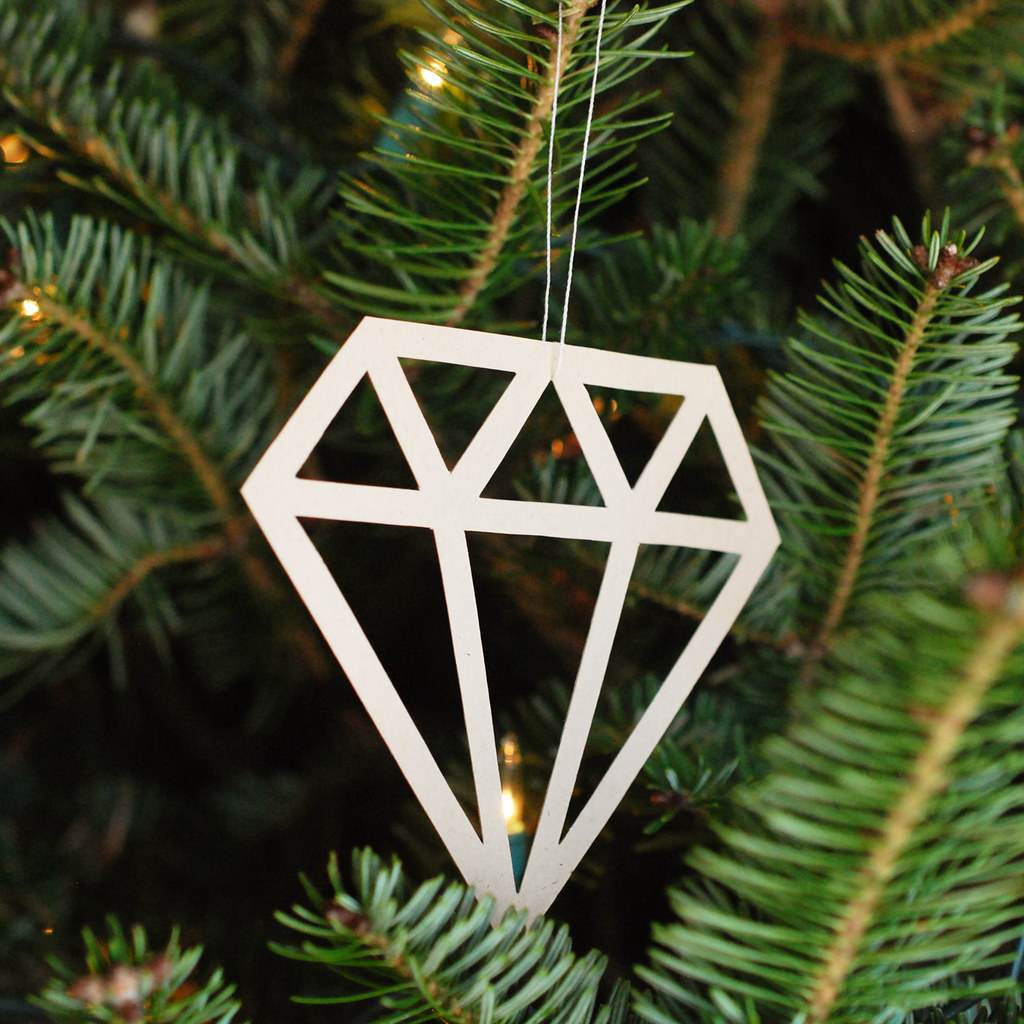
Having spent a year looking for projects to make with simple shapes, it seemed only right to have a Christmas tree that is also shape-focused. Specifically, I'm aiming for geometric. My latest addition to the tree are some paper-cut diamonds.

Since I needed a template for myself, I thought you might like to make some diamonds too. Like the hexagon ornament I shared the other day, these also make a gift topper too!

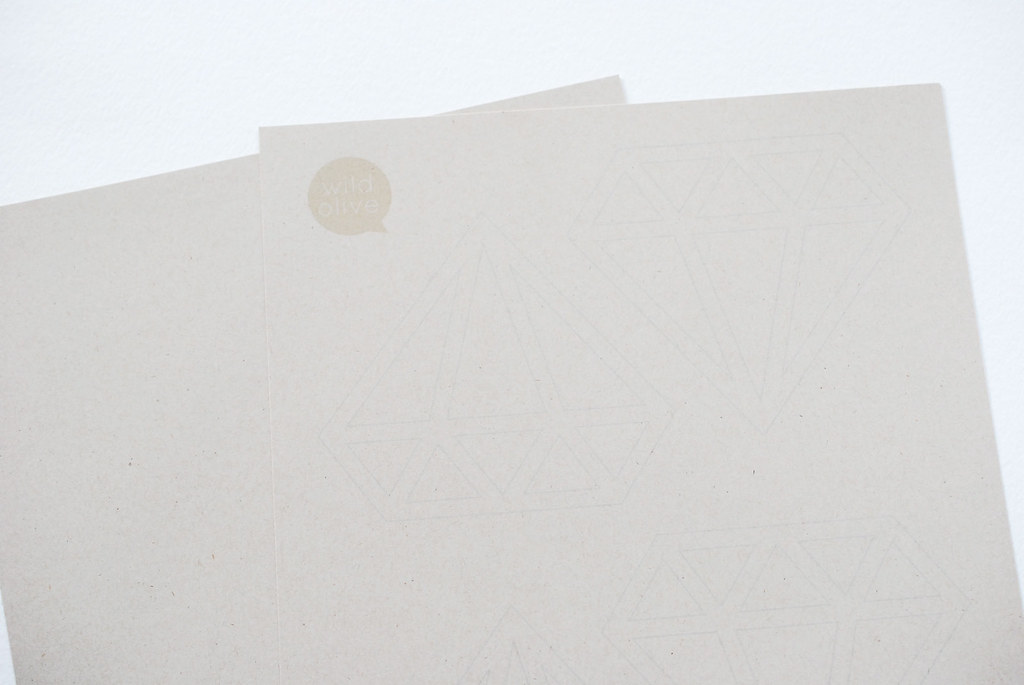
To make these, you just need some card stock, a craft knife and cutting mat, and string. And the template below.


Diamond Paper Ornaments

Quick note: My apologies for how hard it is to see the print in my photos. The lines for cutting are light gray, but easy to see on the real prints. This is what I get for choosing natural card stock!)

Print the template onto the card stock. Grab a second sheet that is blank. The second sheet is optional, but it is handy to be able to cut two sets of diamonds at once.

Diamond Paper Ornaments

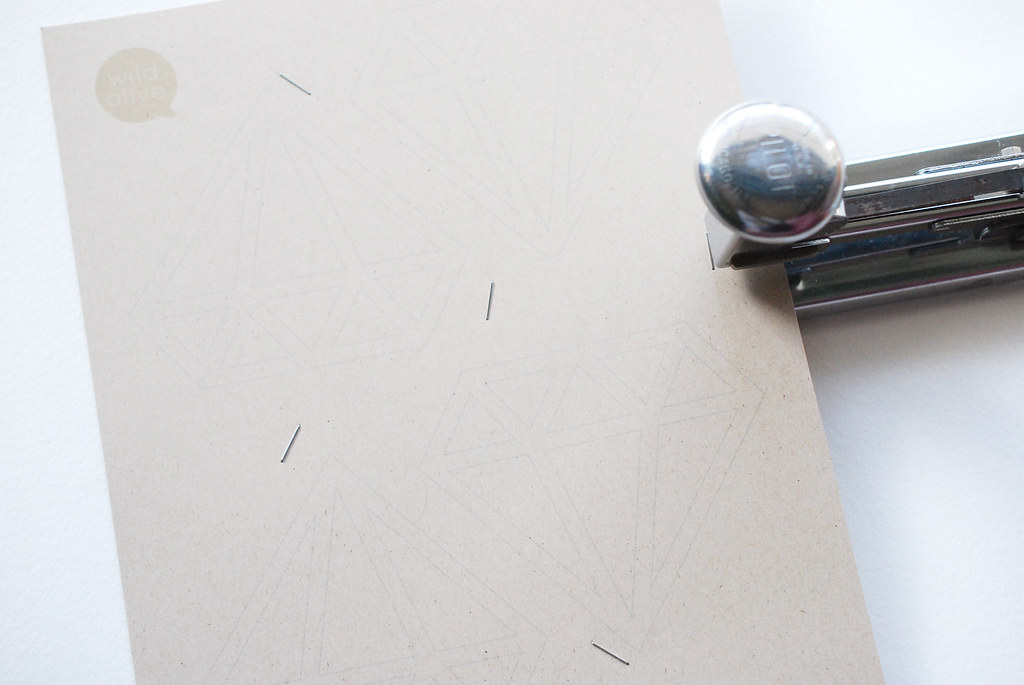
Staple the two sheets together. This will keep them from shifting as you cut.

Diamond Paper Ornaments

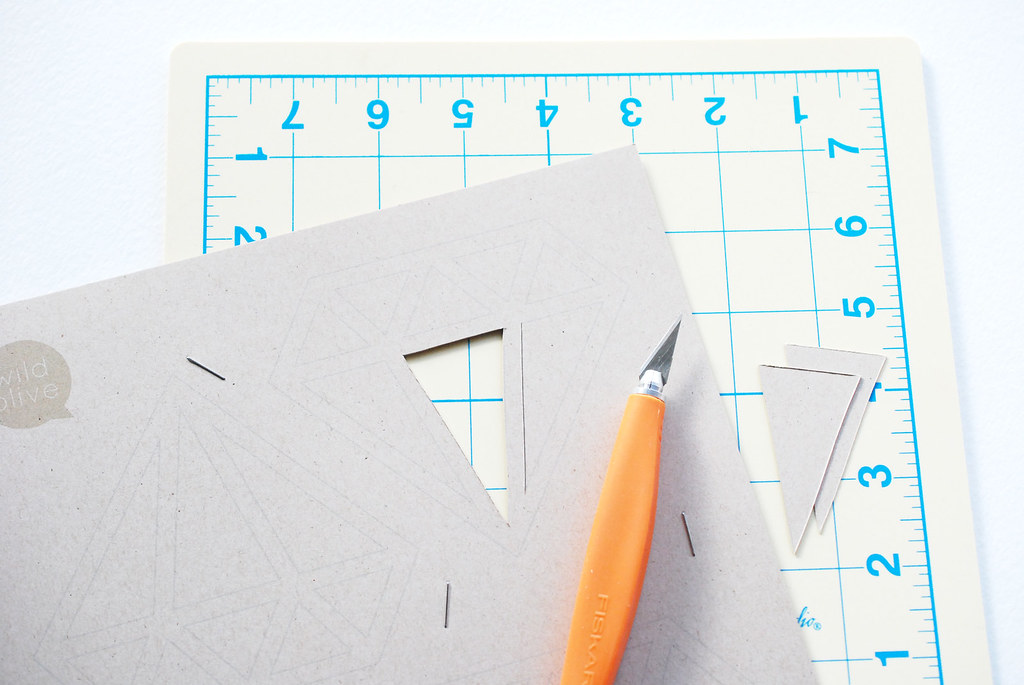
Using the craft knife on a cutting mat, cut out the inside pieces of the diamonds. To go through two layers of card stock, you may need to cut more than once, but it's still faster than doing each page separately.

If you're confident, the cutting can be done freehand, just following the printed lines. Or, grab a ruler for super straightness.

Diamond Paper Ornaments

Cut around the outside of the diamonds last.

Diamond Paper Ornaments

Tie a string on for a hanger, and your've got an ornament!

Diamond Paper Ornaments

So far I have 16 of these made, and truth be told, I wish I had a Cricut or Silhouette cutter to help me out. My fingers are aching a bit, and I want to have a few more still. But all things considered, I'm so happy to be able to make these simple statement ornaments with relatively little effort.

Happy Christmas crafting!

UPDATE: I kept the lines fairly light so that they aren't too noticeable if your cutting isn't exact. However, if you're having trouble seeing the printed lines and want a darker version, you can download it here.

project // easy 3d hexagon ornament

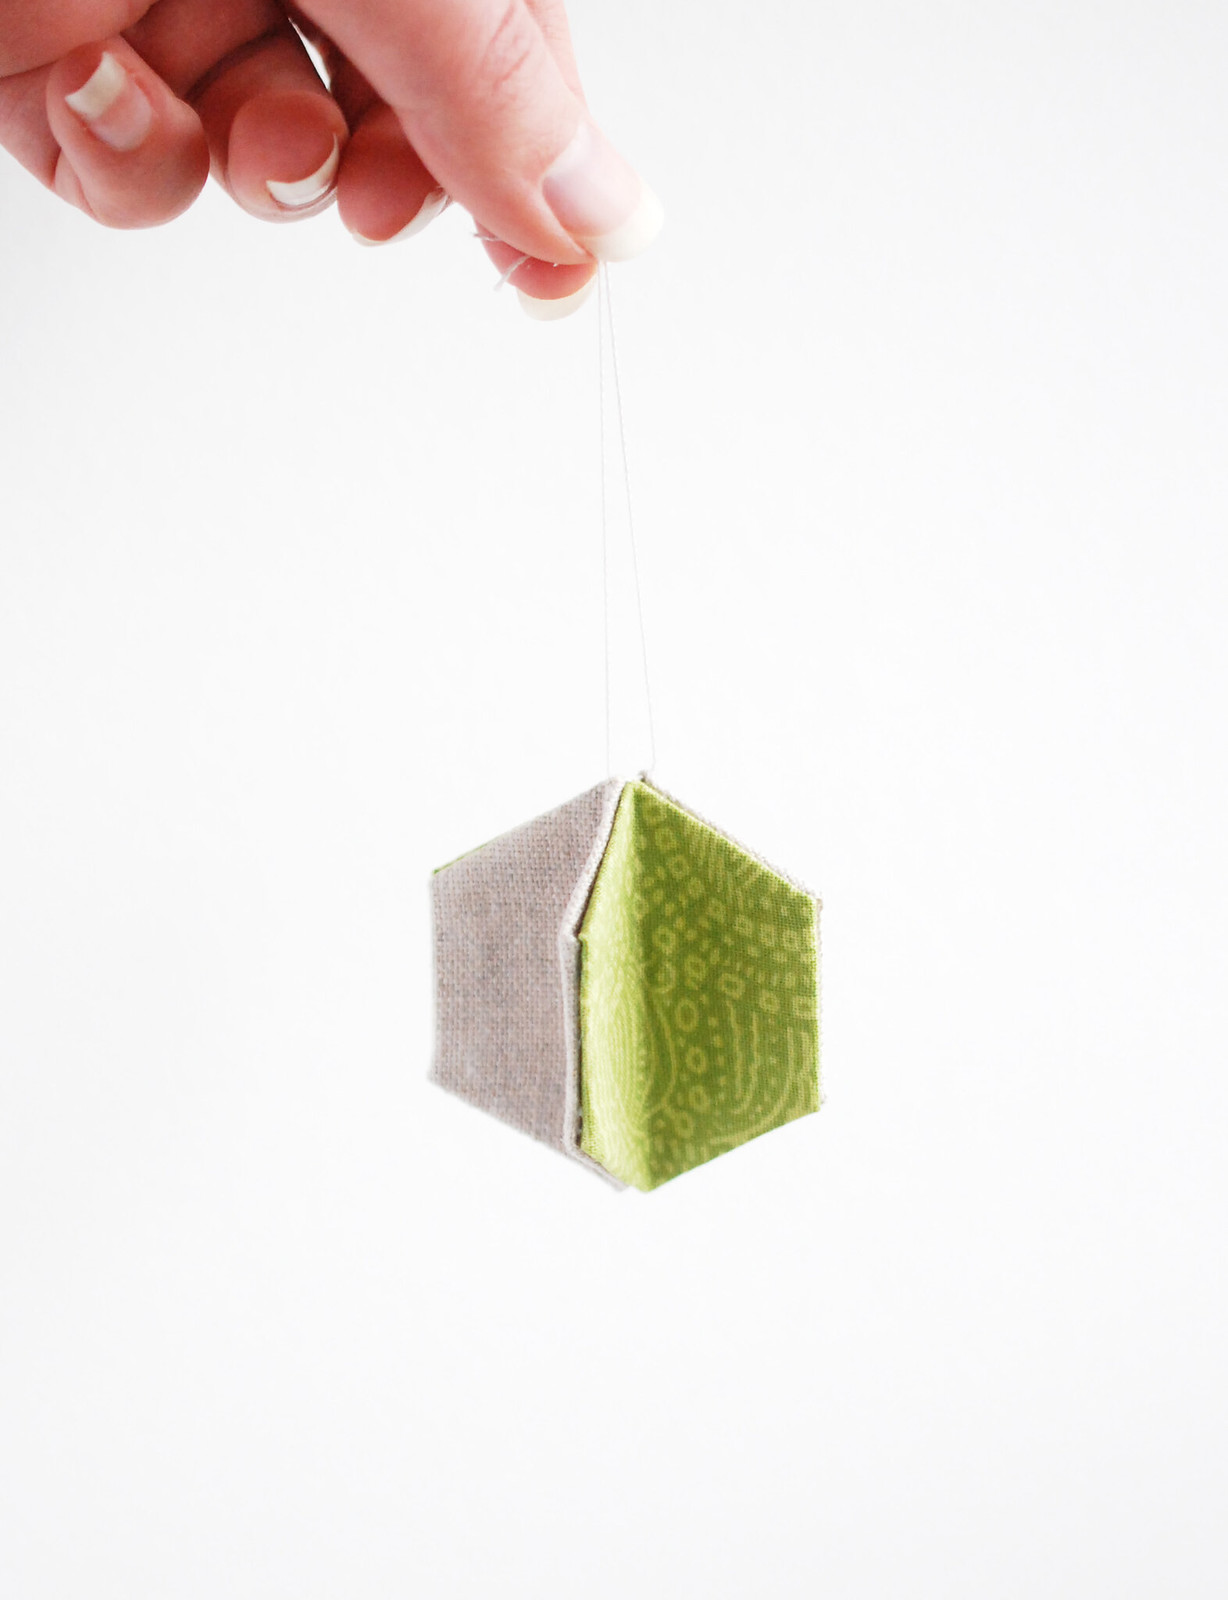
Easy Hexagon Christmas Ornament


This Christmas I'm making lots (and lots!) of geometric ornaments. At least, that's the plan. At this moment, I have about a dozen done, and a whole tree's worth still left to make. There's a chance that I'm certifiable, and yet, it's one of my favorite December traditions.

At the same time that I started planning all the making I'll be doing, my friend Becca started planning what she's calling A Very Hexie Christmas.

hexie christmas

How could I resist this? You can find her first post over at Hugs are Fun, and be watching for more hexagon projects too. I've seen a bit of what's coming, and it's wonderful!

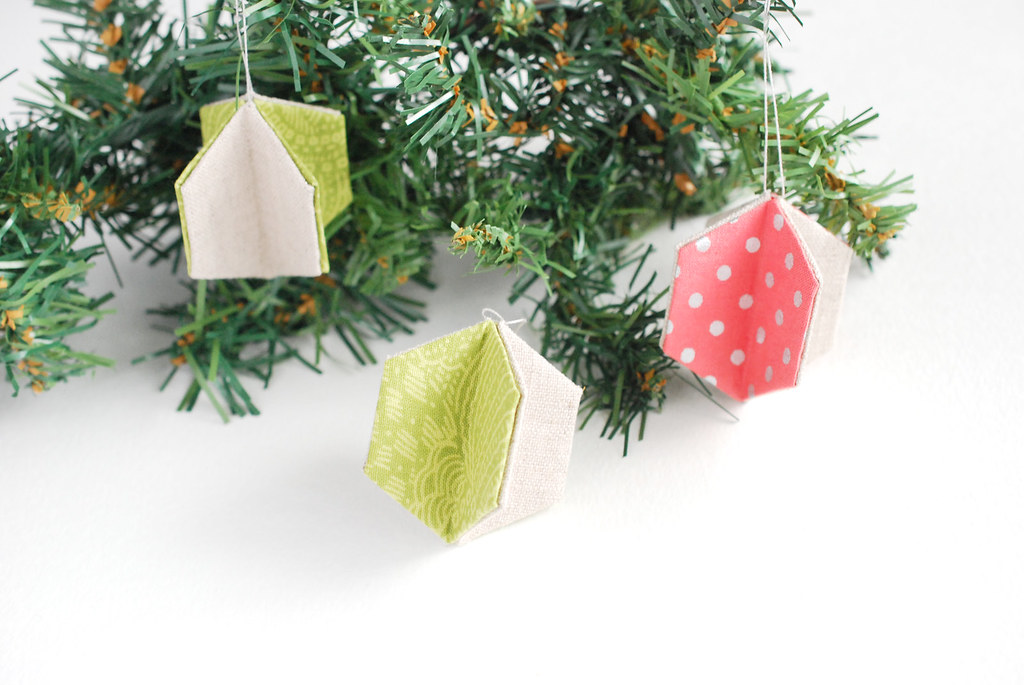
So as I worked out the designs for my own Christmas tree, I HAD to work in some hexagons. For Becca's series and for me, because Hexagons! This simple ornament is based on paper circle ornaments. It uses a few basted hexagons and then is glued together, so they're quick and easy.

Easy Hexagon Christmas Ornament Supplies

Here's what you need:

Four basted 1-inch hexagons
String for hanging
Craft glue
WonderClips or clothespins (optional, but helpful)
Scissors
Needle

Note: I recommend 1-inch hexies, but you can change the size to suit your tastes. If you need templates, here are some happy hexies I made. (Just be sure to have the printed size facing away from the fabric so it doesn't show through!)

Easy Hexagon Christmas Ornament Assembly

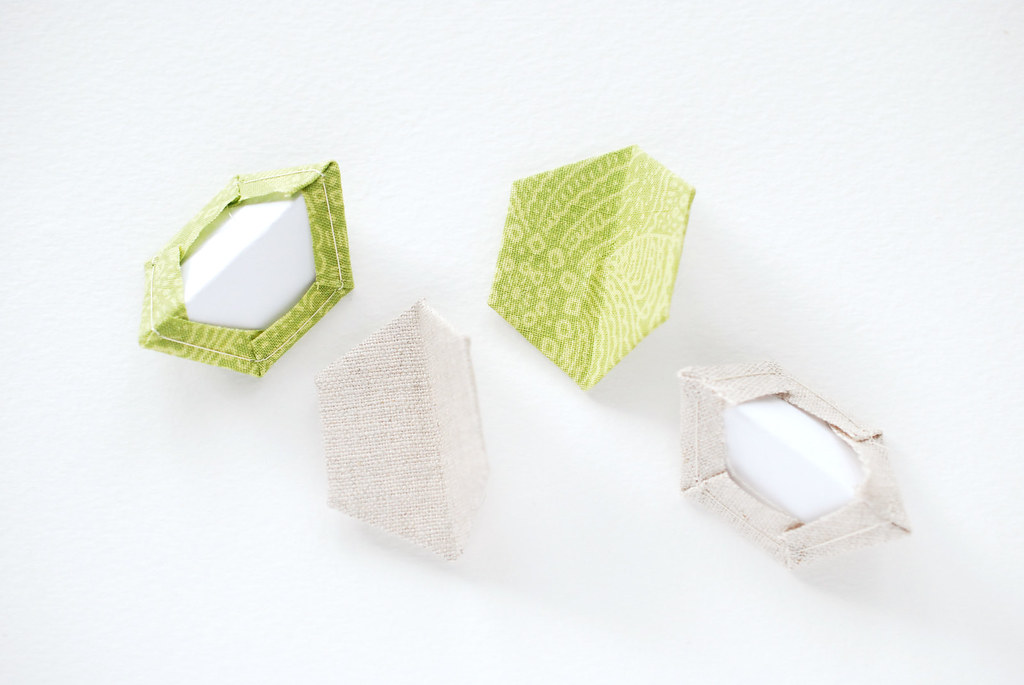
Fold the hexagons in half, on point, right sides together. Leave the papers inside the hexagons.

Easy Hexagon Christmas Ornament Assembly

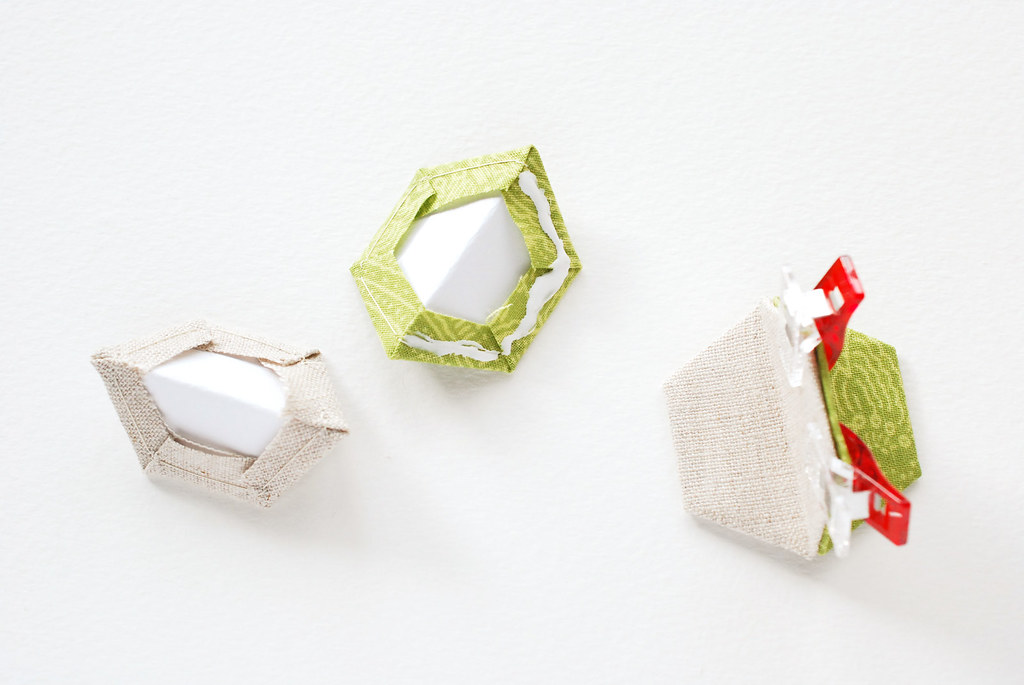
Run a line of glue along one half of a hexagon and attach a second hexagon to it. Repeat with the other two hexagons.

Hold the pieces together with clips. This part is optional (I made one without the clips), but I found it very helpful to keep the pieces tight as the glue dries. You could probably use hot glue instead and also skip the clips.

Easy Hexagon Christmas Ornament Assembly

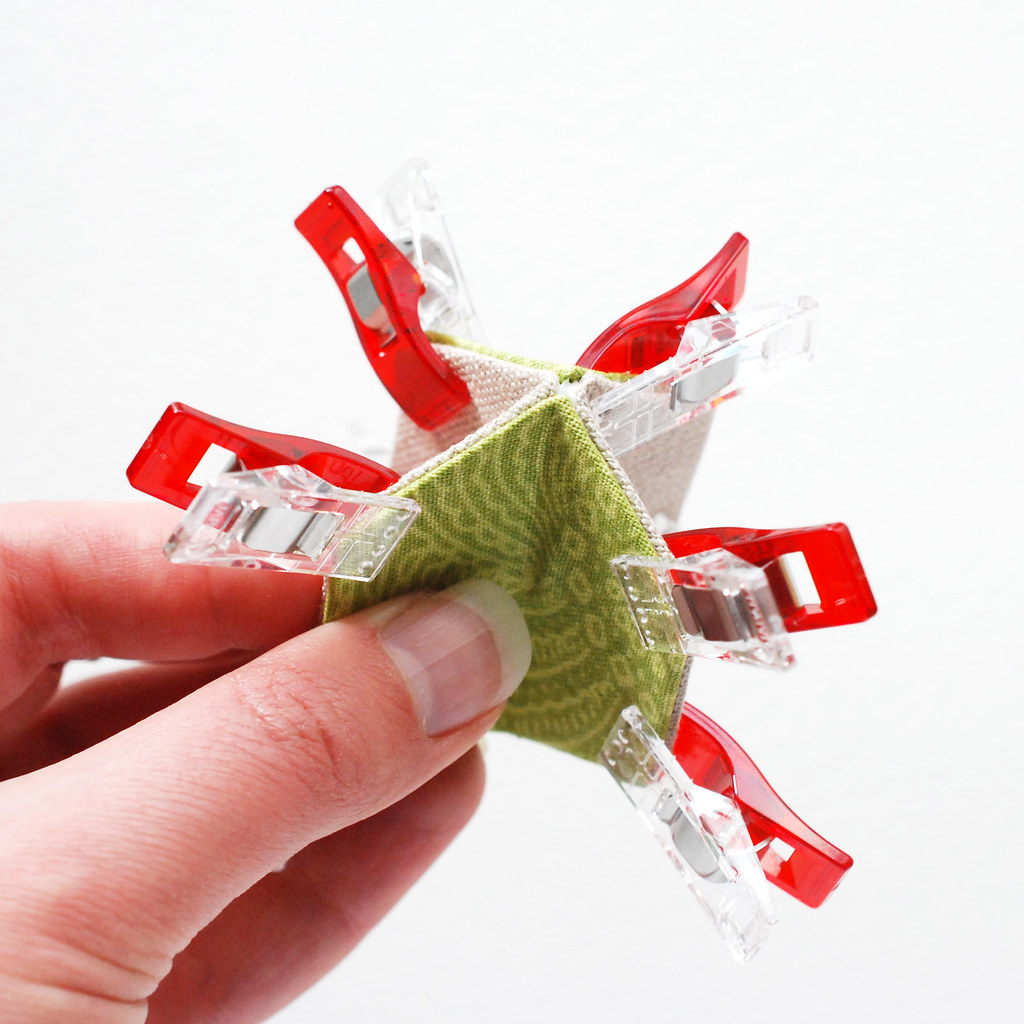
Join the two halves together in the same way.

With all these clips, I kinda thought I had designed a whole new snowflakey sort of ornament! Or Sputnik!

Easy Hexagon Christmas Ornament Assembly

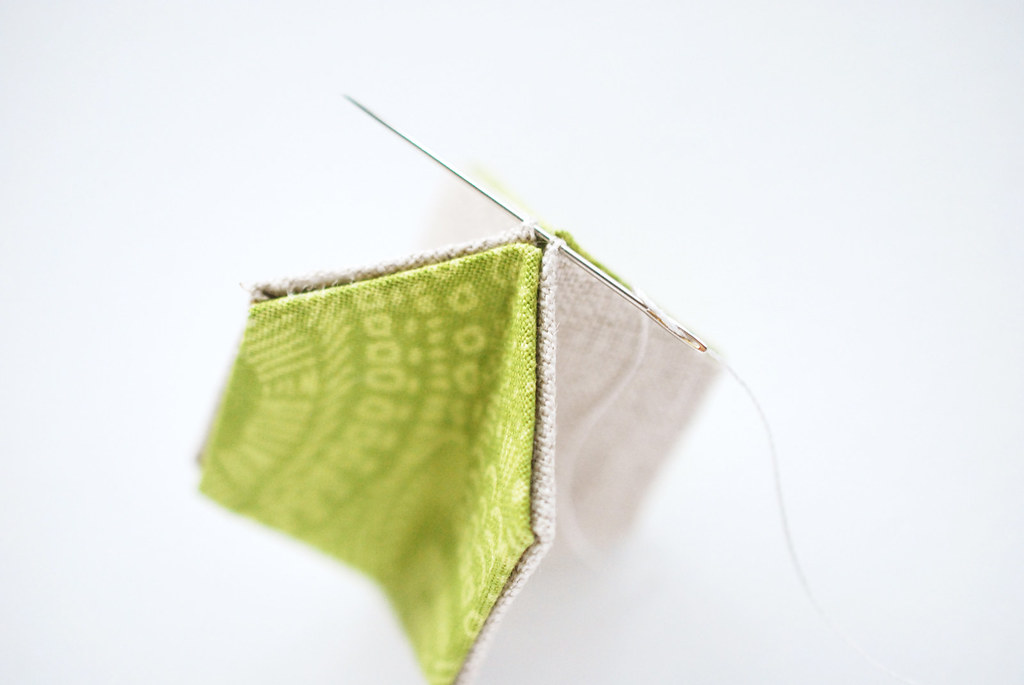
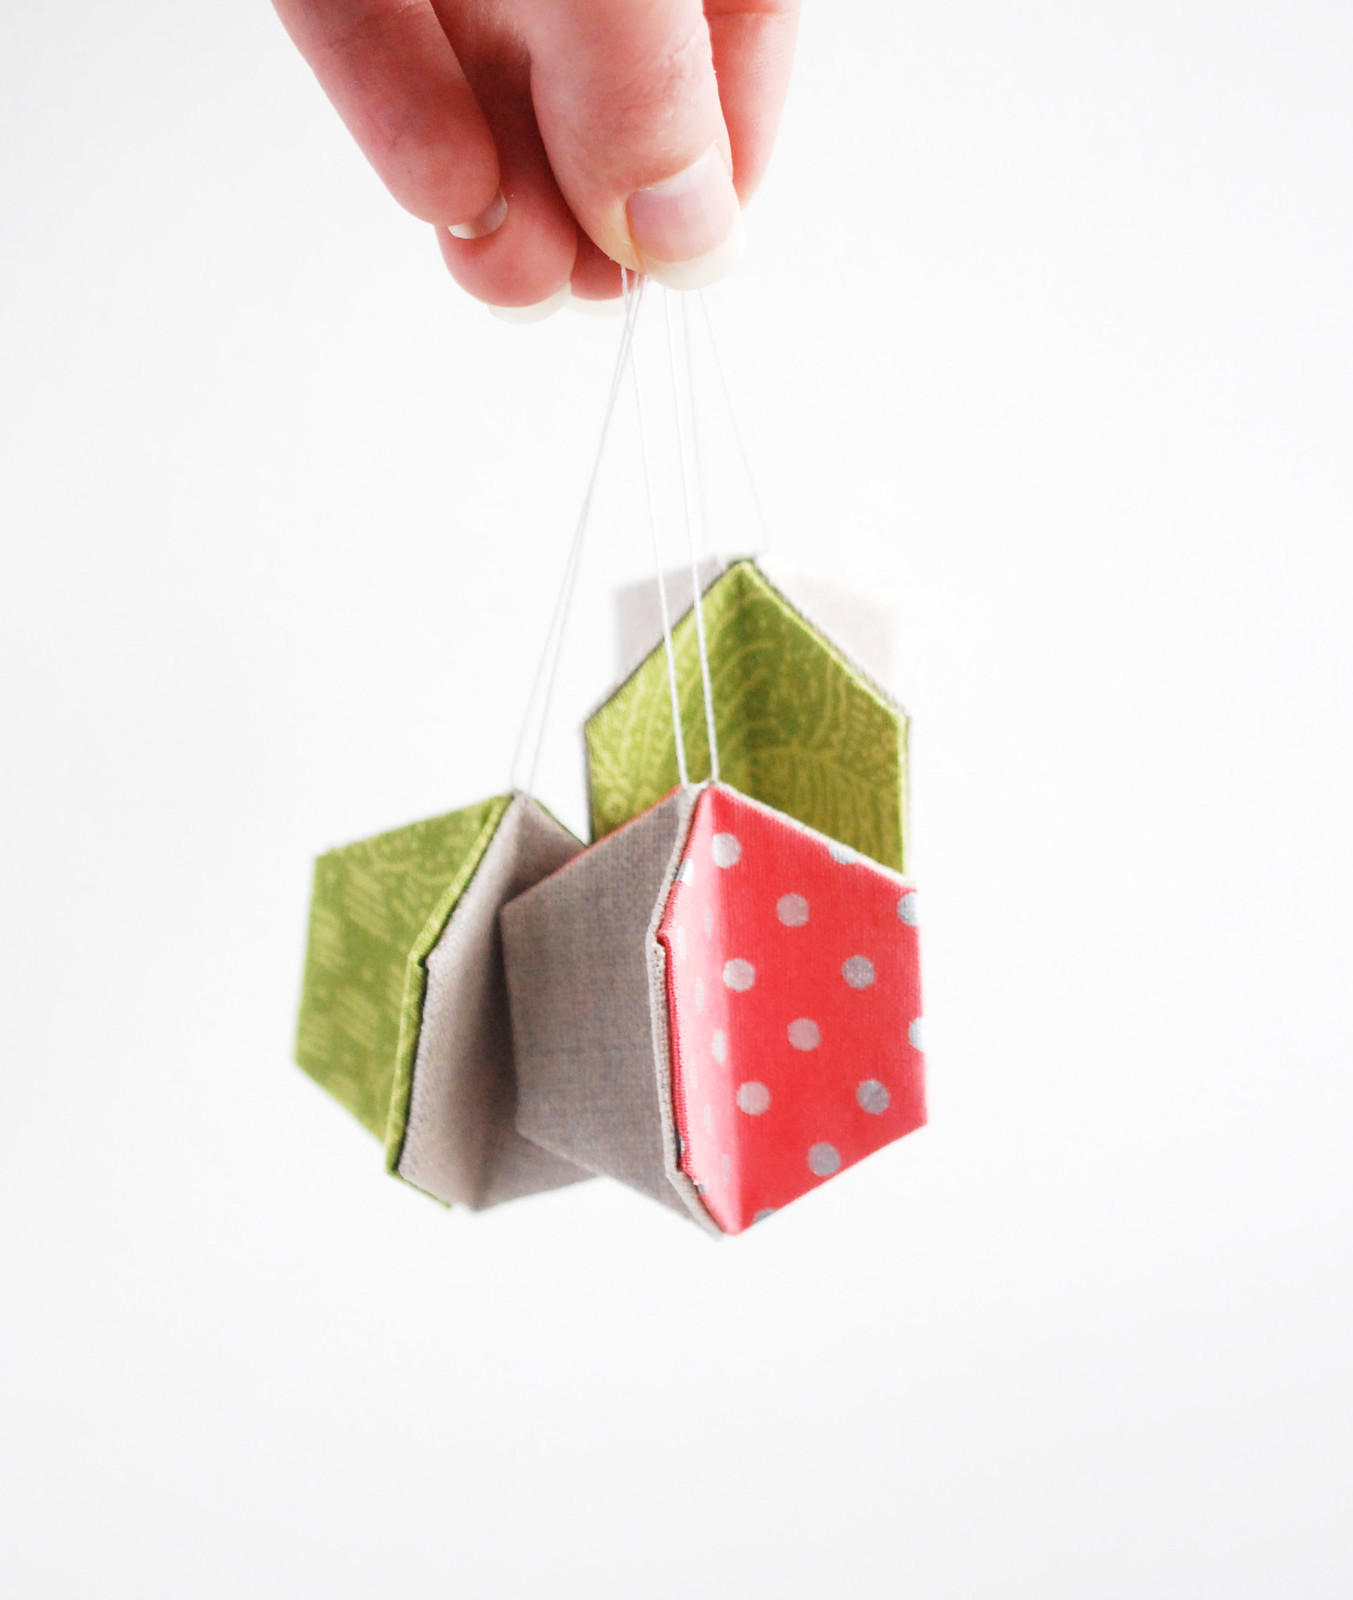
When the glue has dried, cut a six-inch piece of string or thread and thread the needle. Slide the needle through two opposite points on the ornament and tie the ends to form a loop for hanging.

Easy Hexagon Christmas Ornament

Hey! It's an ornament! Hey! It's three ornaments!

The basting part of this is taking the longest for me because I'm making all new hexies so they all match (I'm aiming for at least 20 of these!). But if you work from a stash of pre-basted hexagons, you'll be putting ornaments together in no time!

Use one, two, or four different fabrics. You could add more embellishments like sequins, buttons, or other trims too. I think they'd also make great gift toppers!

Now go make some ornaments! And when you do, tag them with #averyhexiechristmas on Instagram!

calendar // print and post all the shapes for december

Posable Pet Pals

November was a great month (my favorite month!), and I can't believe it's over. Before we move on I'm happy to share a few posts I wrote for other sites.

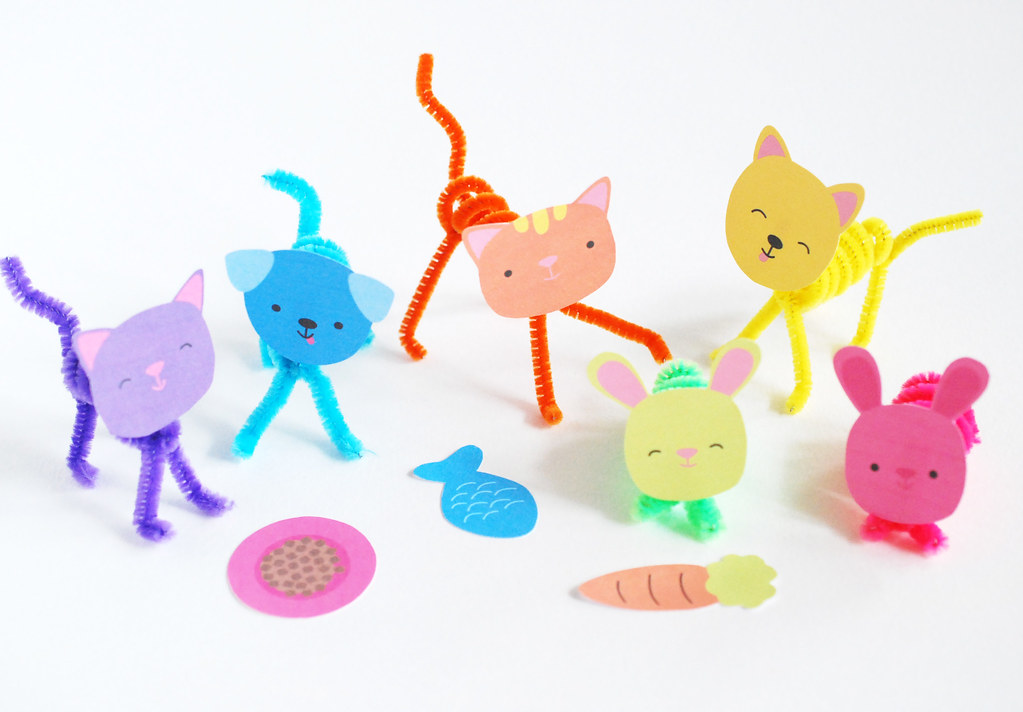
First up, Posable Pet Pals on Handmade Charlotte. They're made with pipe cleaners and printable pieces!

Stitching Bold Flowers

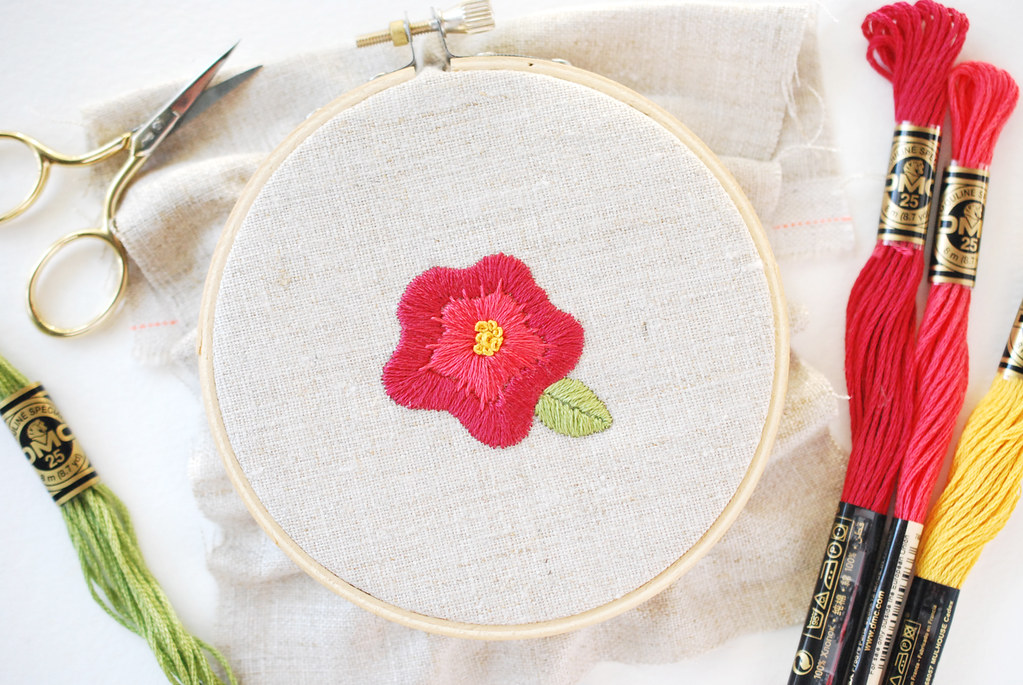
Over on About.com I shared how to stitch these bold, modern flowers. Add them to your embroidery for a fresh look!

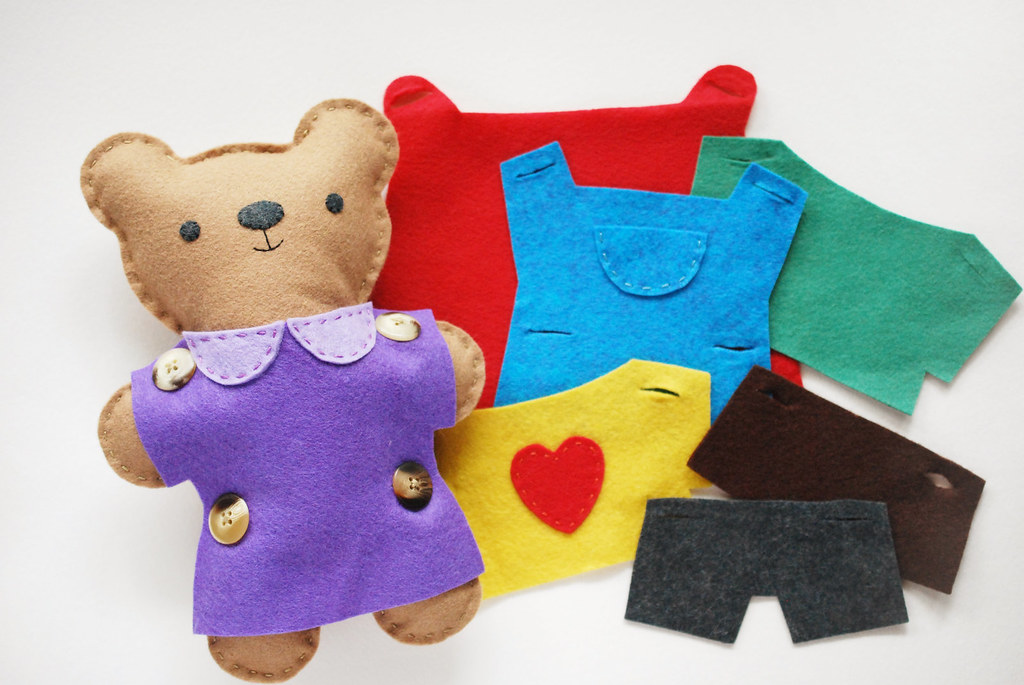
Dress-Up Bear

My felt Dress-Up Bear for Hello Bee is based on a doll I had as a child. It's really easy to make and would make a perfect Christmas gift!


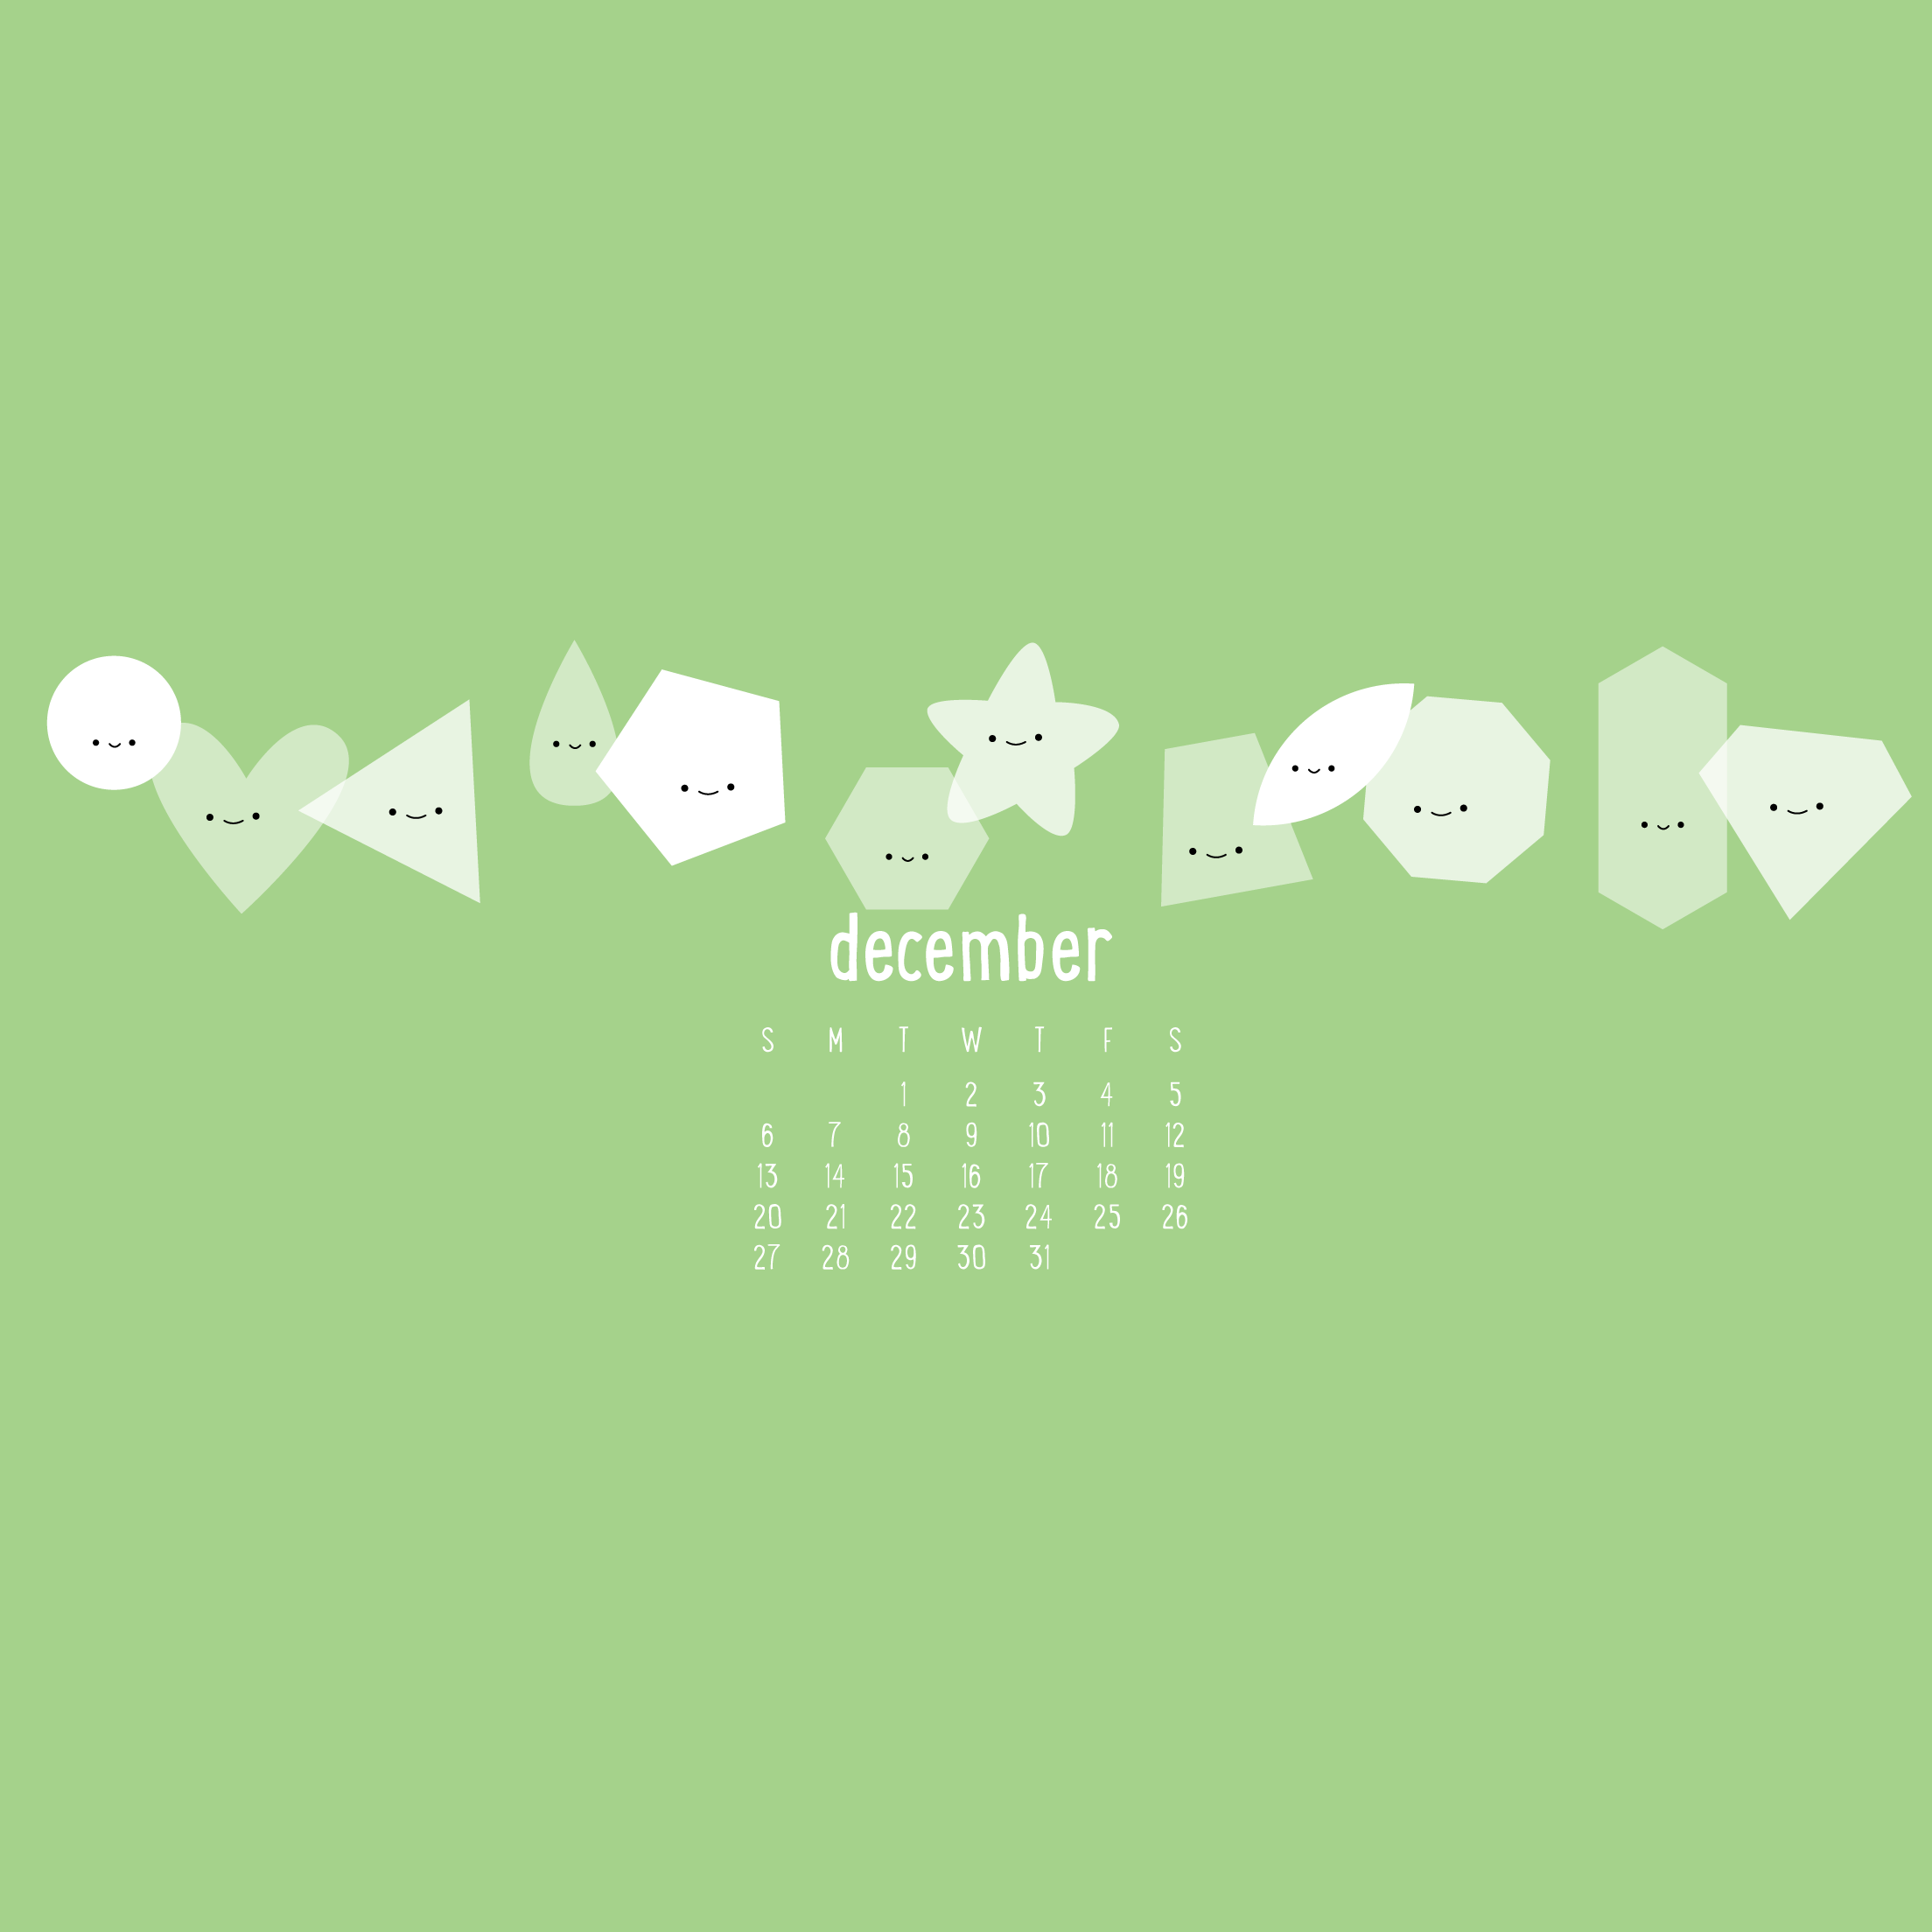
Now, are you ready for December? This month's calendar has all the shapes from this year, plus a gemstone. For our family Christmas tree, we're making geometric ornaments, and I thought it would be nice to incorporate a bunch of the shapes in what I'm making. So, why not put them all together on the wallpaper?

Grab the size you need!


For iPhone 6+, choose the iPad version. To use the iPhone and iPad versions, click the link for the wallpaper you want. When it opens, touch and hold the image until it pops up with the option to save. After you've saved the image, go to your settings, choose wallpaper, then find the image you've just saved.

To PRINT a calendar page (with a place for notes), download the December 2015 calendar page PDF. The dates are lighter print so you can write over them if you want, or let your little ones trace over the numbers for practice!

Okay, so the truth is that I'm not exactly ready for December and the end of the year. But I'm rarely truly ready, and it's never stopped me from surviving time passing before, right? Let's aim for making this the most wonderful time of the year.