about shop patterns projects printables extras sponsorship wild olive twitter flickr pinterest subscribe
Showing posts with label craft a song of christmas. Show all posts

pattern // home for the holidays

Home For The Holidays Hand Embroidery Pattern

Home for the holidays. In most years those words give warm fuzzy feelings or perhaps bittersweet memories and longing for what can't be. This year will have more of the latter as we stay home for the holidays. And it felt right to capture that in an embroidery pattern

We can call this "stitching our feelings."

Before I get to the pattern download, let me tell you a little about how my family celebrates the holiday season from Thanksgiving through New Year's Day. Growing up, we always had large family gatherings, often with driving a few hours, though sometimes these would be closer or at our house. Sometimes it would be 10 people and other times it would be 40. And And while it wasn't all only good times, it is mostly positive memories.

When my grandparents and other older family members couldn't travel easily, the gatherings got smaller. Some folks moved further away. Family and friends passed away. Now for several years we've mostly been just our immediate family home for the holidays. This year my brother moved and got married and we're not sure when we'll next get to see him again. He won't be home for any of the remaining holidays in 2020.

It's hard and it's weird.

And I don't want this to be all sad, but I do want to say that even in hard and weird and sad times, it's okay. We can all find ways to make memories and celebrate.

Whether it's because folks are far away or as a way to keep family members safe or to show that you love your neighbors by preventing the spread of COVID-19, staying home for the holidays can be okay.

Home For The Holidays Progress

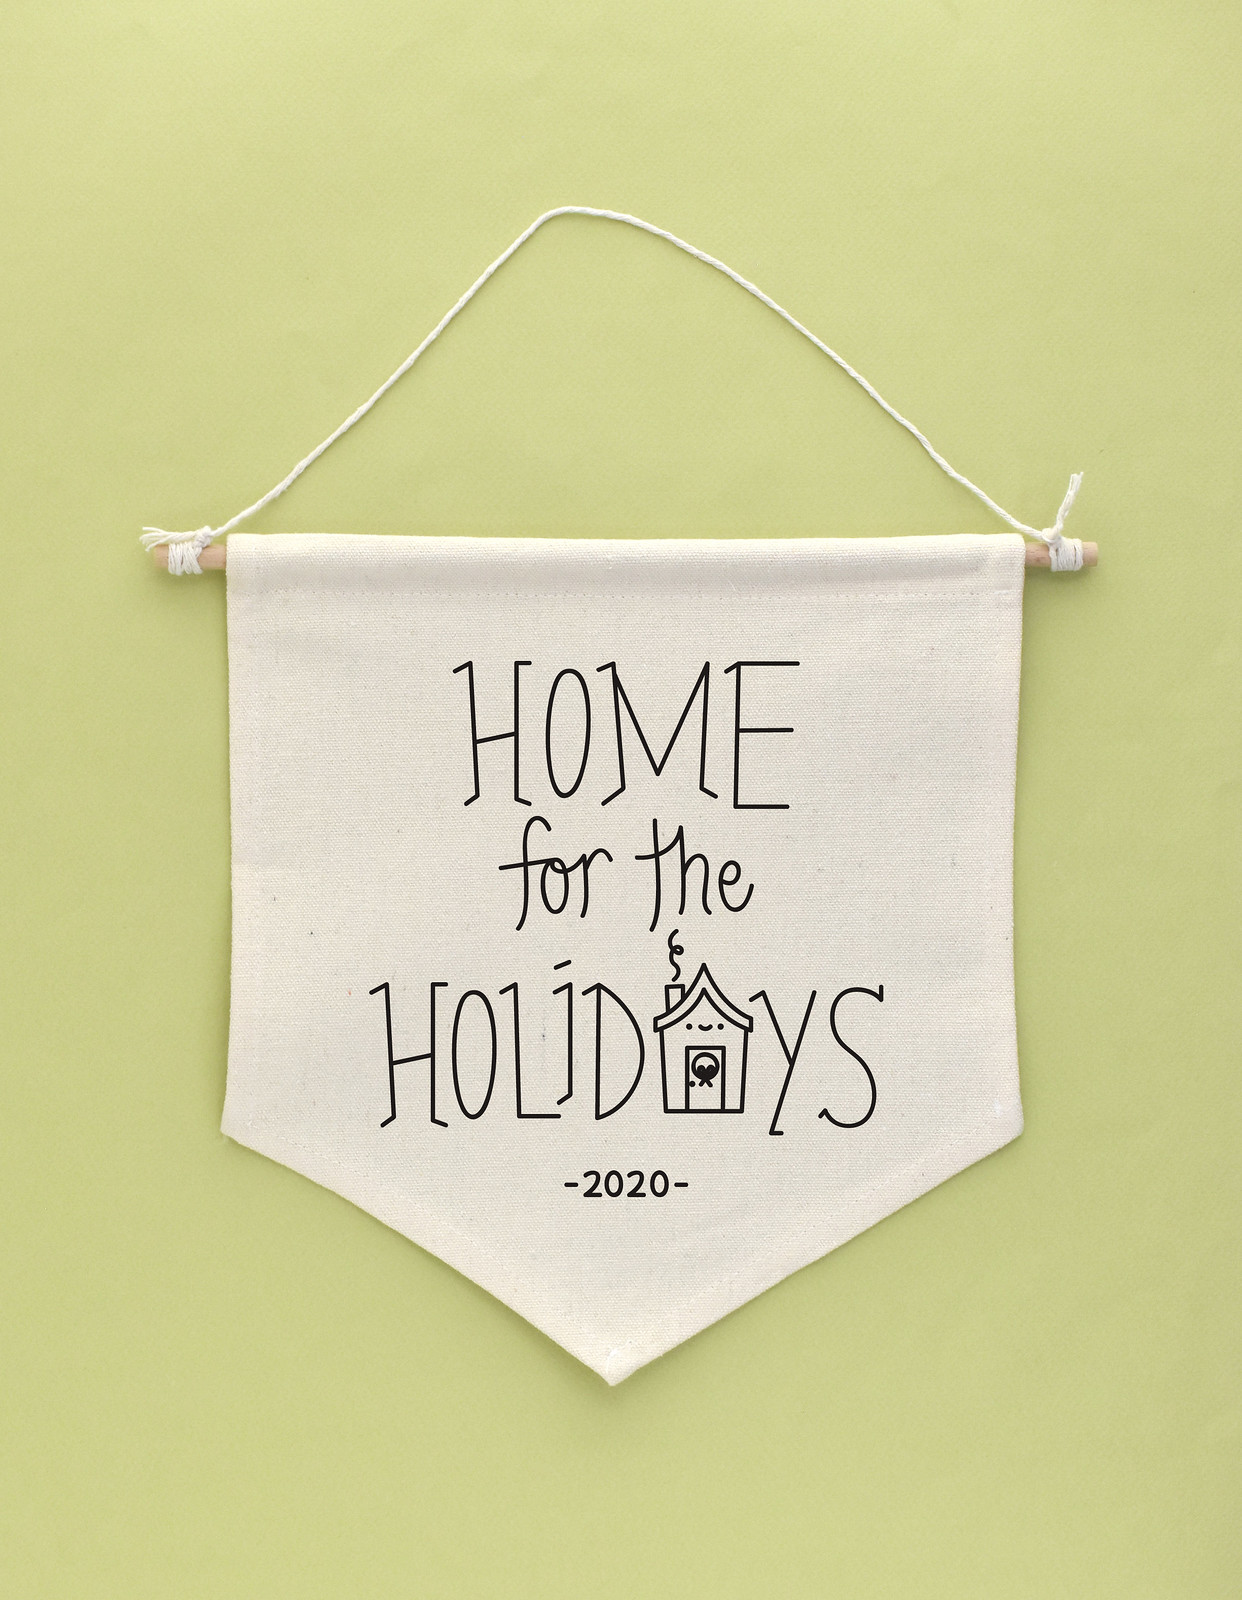
When I first made this pattern my mom immediately asked if I would be stitching it (she knows I don't always stitch up a sample!). And I told her no! But then I changed my mind and got started. It's not quite finished yet, but it won't take much longer. It's not in my typical color choices, but my mom likes it and that's all that matters. Also, I opted to not stitch the 2020 at the bottom of this, per my mom's request.

This design fits very nicely in a 6-inch embroidery hoop. You could frame it and send it to those you wish you could be with for the holidays! I think mine is going to be a trivet with some fun quilting around it. We'll see...

Okay, how about that pattern now?!


What are your plans as you stay home for the holidays? Will you be Zoom baking cookies with others, opening gifts on Face Time, or mailing fun surprises? Share your ideas in the comments!

project: winter wonderland felt ornament

Winter Wonderland Ornament


Christmas is now over, and yet here I am sharing another ornament project with you. What? There really is a plan to all of this. You see, while some folks like to get their Christmas decorations taken down right away, I prefer keeping some things up for a while. Especially the lights and maybe some garland. January can feel so dark, so those items are very welcome to me.

January is also a month where the song Winter Wonderland makes the most sense to me. It's rare to have lots of snow in December, but you meet up with plenty of snowmen in January! So, I thought that saving this wintery snowflake until after Christmas would be just fine. Besides...who says you can only have ornaments hanging on a tree?

Winter Wonderland Ornament


Here's what you need:

Wool Blend Felt (I used BenzieBazaar felt - see note below)
Embroidery Floss (I used DMC 598, 151, B5200 and 310)
Needle
Scissors
Pinking or Scallop Shears (optional)
Winter Wonderland Pattern PDF

A Note on Wool Blend Felt: This December, all of my felt projects are using felt provided by BenzieBazaar. I am seriously smitten with this felt! It's almost, almost as lovely as 100% wool, but at a fraction of the cost. By purchasing the Glitter and Glass collection, plus a small piece of Purple and Seaside, you'll have all that you need to make all of the small felt projects this month (six ornaments and three gift toppers!).

Winter Wonderland Ornament

Cut out the snowflake shape, plus the two backing pieces, using pinking shears on the smaller piece if you want. When cutting the snowflake, don't worry about getting it too precise.

Winter Wonderland Ornament

Embroider the details onto the snowflake using two strands of embroidery floss.

Winter Wonderland Ornament

Stitch the snowflake onto the smaller backing piece with tiny stitches along the edge. They should be nearly invisible!

Winter Wonderland Ornament

Stitch the front onto the larger backing. Use thread that matches the back so that the stitches don't stand out. For this one, I used colonial knots to hold this together. Although they are usually more decorative, they work in a functional manner too!

Winter Wonderland Ornament

Take a stitch through the back layer only, and then tie the thread ends together to form a hanger.

Winter Wonderland Ornament

Hang your snowflake on some garland, a ceiling fan, curtain ties...or even a tree that's still welcome in winter!

joy to the world, the tree has come

Joy to the World Tree

Every year, my sister and I plan a fresh new tree design. It involves lots of simple handmade ornaments and garlands and a topper, lovingly cut, assembled, stitched, strung, and more each year. It's at the top of my list of traditions I love.

This year, with Craft a Song of Christmas on the blog, I wanted to choose a song as the theme, so we picked Joy to the World because both Anna and I love it so. (There was a brief moment that we were considering Last Christmas, but we moved on...) We decided on the using the first verse of the song as our inspiration, and so I present to you, our Joy to the World Christmas Tree!

Joy to the World Tree

Joy to the world,

Joy to the World Tree

the Lord is come

Joy to the World Tree

Let earth receive

Joy to the World Tree

her King

Joy to the World Tree

Let every heart prepare Him room

Joy to the World Tree

And heaven and nature sing

Joy to the World Tree

And heaven and nature sing
And heaven and heaven and nature sing

Here's a quick breakdown...

Joy to the world: 18 gauge wire bent into the word joy based on this tutorial
the Lord is come: a felt tree topper based on my ornament design
Let earth receive: paper globes using this tutorial
her King: glitter scrapbooking paper cut and hot glued into crowns
Let every heart prepare Him room: freehand cut felt hearts
And heaven and nature sing: punched card stock clouds washi taped onto baker's twine
And heaven and nature sing: recycled card board birds (from a previous tree)

Joy to the World Tree

Now, have a very merry Christmas! I'll be back later this week, but I'm taking a few days to enjoy time with my family!

project: i heard the bells ornament

I Heard the Bells Ornament


Bells and Christmas kinda go together, don't they? The song I Heard the Bells refers more to church bells or chimes playing carols, but there's also Santa's jingle bells, bell ringers collecting donations, sleigh bells, silver bells and on and on. So get some little bells out, and let's make something with them, okay?

I've made this first item as an ornament of sorts, but at our house, I hung it on the doorknob of our front door. It adds just a bit of jingle as people come and go, which is nice when you have holiday guests arriving!

I Heard the Bells Ornament

Here's what you need:

Small Embroidery Hoop (I used 3-inch)
Yarn
Jingle Bells

I Heard the Bells Ornament

Cut off a piece of yarn that is 3 to 4 yards long (it's better to have too much than too little) and tie one end to the embroidery hoop, leaving a tail of an inch or two. Add a bit of tape to the other end to make it easier to string the bells on.

I Heard the Bells Ornament

Start wrapping the embroidery hoop with the yarn, and then add a bell. Wrap it in such a way that the bell goes in the center of the hoop.

I Heard the Bells Ornament

Continue wrapping and adding bells along the way. Mine felt a bit tight with 8 bells, but this will vary depending on the size of your hoop and bells.

I Heard the Bells Ornament

When you get to the end, wrap the yarn a few times around the metal bracket and secure with a knot. Use the extra yarn to tie a loop for hanging. If you're planning to hang this on a doorknob, be sure the loop is large enough.

This ornament jingles when it jangles!

I Heard the Bells Headband

The other thing I made this year with bells isn't really a tutorial for you, but I wanted to show it off as a fun idea. I started with a basic headband, wrapped it with ribbon, then added bells at the top to form a crown.

My jingle bell crown

It's a wee bit heavy, but I love, love, love it!

pattern: hark! (the herald angels sing)

Hark!


Hark! Hark! Hark! Hockey Stick!

Hark the Herald Angels Sing always makes me think of A Charlie Brown Christmas, where Sally is practicing to be "Harold Angel". After all of her "Hark!"s, during the performance of the Christmas pageant, she ends up saying "Hockey Stick!" Classic. In fact, I nearly added a hockey stick to this pattern, but decided to keep it classy classic instead.


Hark!

Thanks to Toni for stitching this pattern! She captured exactly the look I was envisioning, without me telling her. (Look closely to see how she switched between stitches to get the different line thicknesses) So lovely...Thanks, Toni!

printable: the friendly beasts gift tags

The Friendly Beasts Tags


Confession: at this moment, I kinda feel like this Craft a Song of Christmas series has been one big opportunity for me to talk about my favorite Christmas songs, and I'm kinda okay with that. Even with all of the songs I've already shared, there are still more favorites...after all, there's quite a canon of songs!

Today's song is more of a children's song, and I think it's absolutely the sweetest! The Friendly Beasts is about the animals in the stable and how they each helped or contributed on the first Christmas. Give a listen:


Sweet, right? Well, I made a little illustrated tag for each animal, perfect for labeling your gifts or adding a small note to a package. (I even used one for a mailing label!)

The Friendly Beasts Tags


Maybe you're on top of things and already have your gifts wrapped, and don't really need these this year. Pin them for next time! Or, if you're like me, the wrapping hasn't even started and the gift making is still in progress. Now you're set to tag as you go!

project: sweet little jesus boy felt ornament

Sweet Little Jesus Boy Ornament


Now there's less than a week until the big day, but I say there's still time to Craft a Song of Christmas! So we continue with a song that describes this ornament quite well: Sweet Little Jesus Boy. (If you're not familiar with this one, you can hear a sample of my favorite version on eMusic.)

The design for this is based on artwork that I created for a Christmas eBook (still in the works). It's sweet, simple, and swift to stitch! I even used this to make something a little larger for our tree this year, which I'll share soon!

Sweet Little Jesus Boy Supplies

Here's what you need:

Wool Blend Felt (I used BenzieBazaar felt - see note below)
Embroidery Floss (I used DMC 598, 3821, 3864, B5200 and 310)
Needle
Scissors
Pinking or Scallop Shears (optional)
Sweet Little Jesus Boy Pattern PDF

A Note on Wool Blend Felt: This December, all of my felt projects are using felt provided by BenzieBazaar. I am seriously smitten with this felt! It's almost, almost as lovely as 100% wool, but at a fraction of the cost. By purchasing the Glitter and Glass collection, plus a small piece of Purple and Seaside, you'll have all that you need to make all of the small felt projects this month (at least six ornaments and two gift toppers!).

Sweet Little Jesus Boy Ornament

Cut out the pieces from felt, as shown.

Sweet Little Jesus Boy Ornament

Embroider the details onto the face and body, then lay them out so you know how it should look.

Sweet Little Jesus Boy Ornament

Stitch the layers down to the top backing piece, working your way up to the top.

Sweet Little Jesus Boy Ornament

When all of the applique is finished, stitch the front backing to the back using a running stitch.

Sweet Little Jesus Boy Ornament

Flip the ornament over and stitch through only the back layer with a length of embroidery floss. Tie the ends together and trim to form a hanger.

Sweet Little Jesus Boy Ornament

Hang this sweet little Jesus boy on your tree and remember that He's what this season is all about. Wait. Scratch that. He's what EVERYTHING is supposed to be all about!