


I don't want to alarm you, but you're about to make the cutest felt bunny rabbit pin you've ever seen. Yes, that might feel like a strong statement, but I literally "awwwwwwwed" outloud as the pattern was coming together and when I showed the finshed project to my mom she gasped and covered her face. I'm just sayin'.
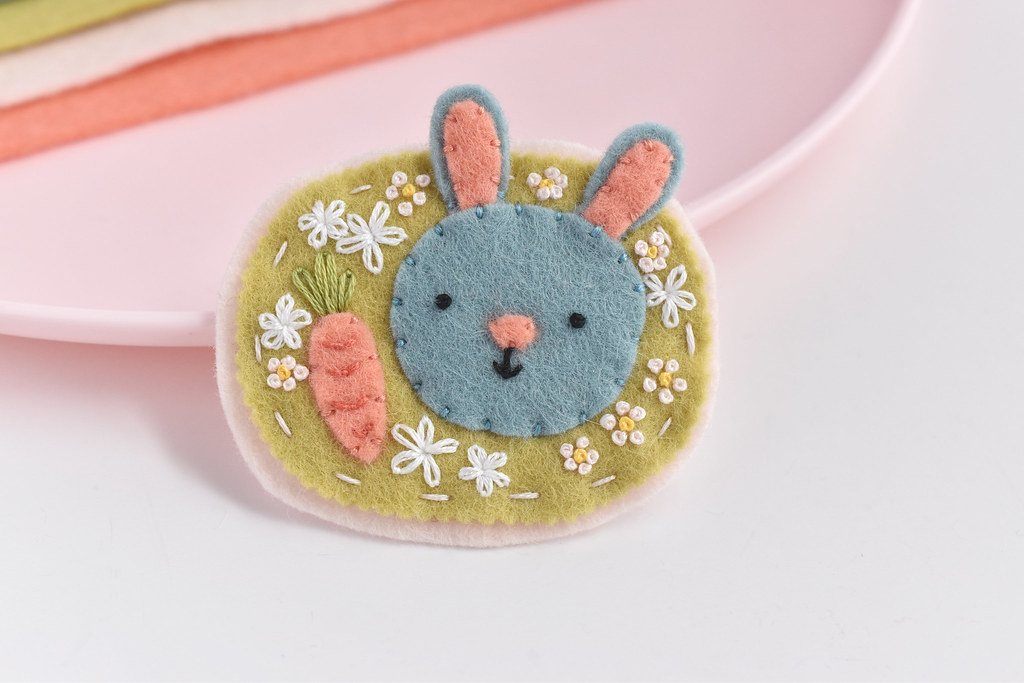
So now that you're prepared, allow me to introduce the Bob the Bunny Brooch.
Bob is one of the residents of the Kawaii Crossing town I've been adding to, and it just felt right that he should come to life in felt in this way.
I knew that this would become a reality as I was working on some little felt eggs that I designed for Cloud Craft. The colors were perfect for Bob and honestly this pin is kind of like a companion craft to the floral eggs. One could even combine these two projects into one!

Stitching small felt projects is always very relaxing and satisfying, so I couldn't wait to make my new brooch. And I'm already looking forward to making more that are similar.
Also, before I get too far into this, I also have the Bob the Bunny embroidery pattern ready and available at the end of this post. If you're stitching along with all the Kawaii Crossing residents, you'll need that! But it's also great if you like Bob, but aren't quite up for wearing him on your jacket or bag.
Okay, now let's make this little felt pin!

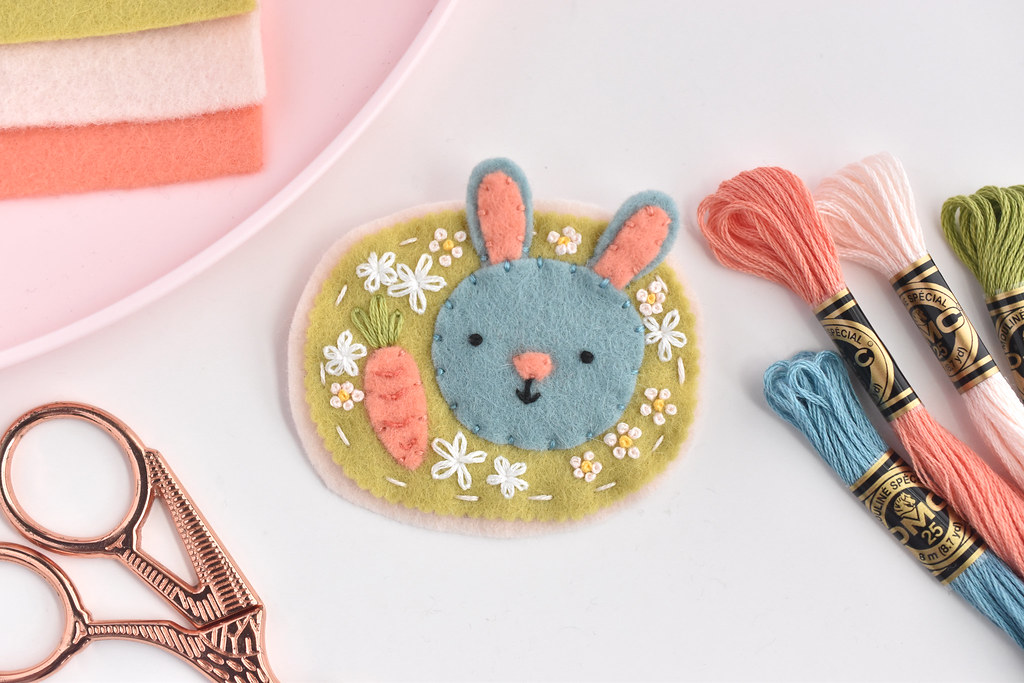
You will need:
Felt (I used 100% wool provided by Cloud Craft)
Embroidery Floss
Pin Back
Freezer Paper and Pencil (optional)
Scissors (I used Benzie design scallop shears and standard scissors)
Iron (optional)
Needle
Bob the Bunny Brooch Pattern PDF

When cutting out small felt pieces, I like to use freezer paper to get the most accurate pieces as possible. You can see the whole process in video here.
Trace the pattern pieces onto the non-shiny side of the freezer paper. I usually group the pieces by felt color. You can also trace some of the little details on the pieces, but you don't have to.
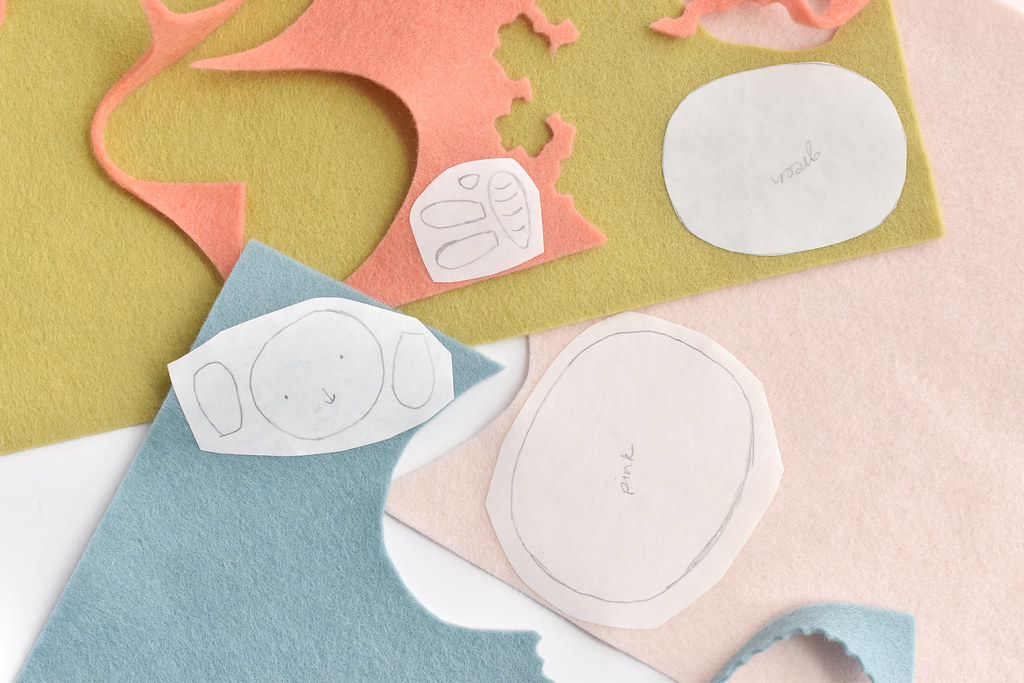
Iron the freezer paper onto the felt. It only takes a few seconds for it to adhere.
For the smaller oval shape, I cut right on the line before ironing it to the felt and I made sure to leave a bit of room around the edge. You'll see why in the next step.

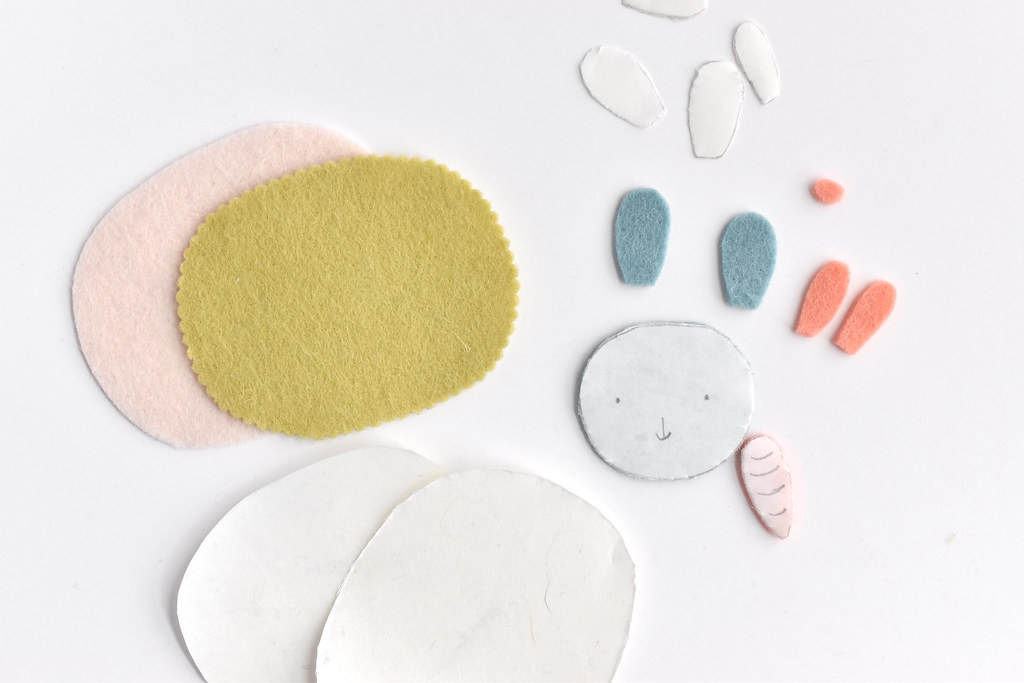
Use a scallop shears to cut out the smaller oval. Cut around the pattern template so the scissors aren't cutting the paper. Using these scissors is optional, but the decorative edge makes it super cute.
For the rest of the pieces, cut them out with regular scissors and then peel off the freezer paper.
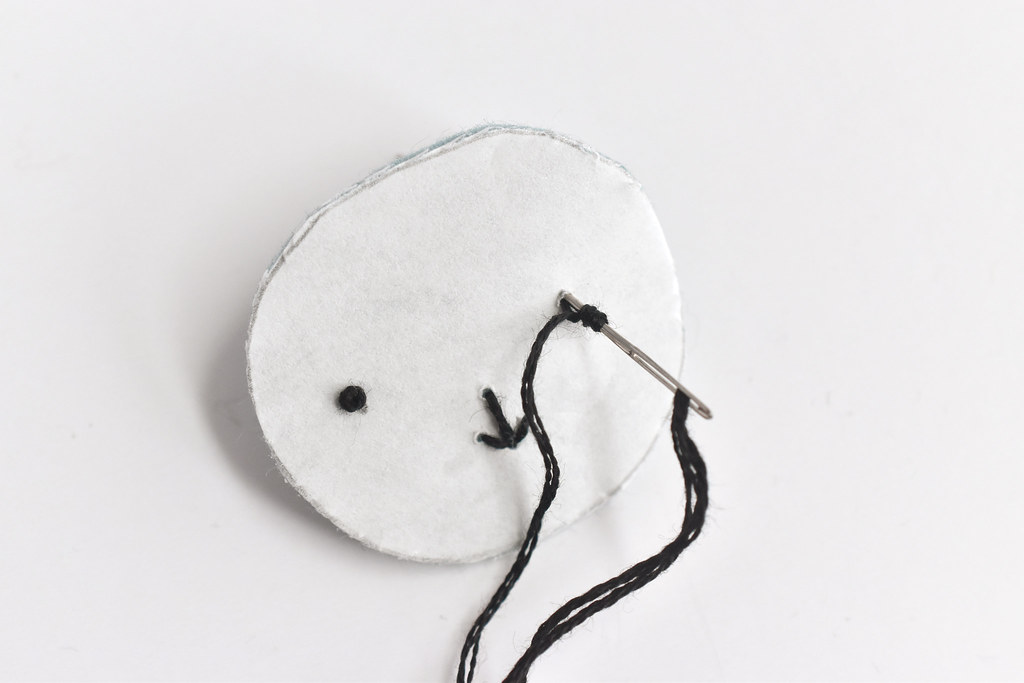
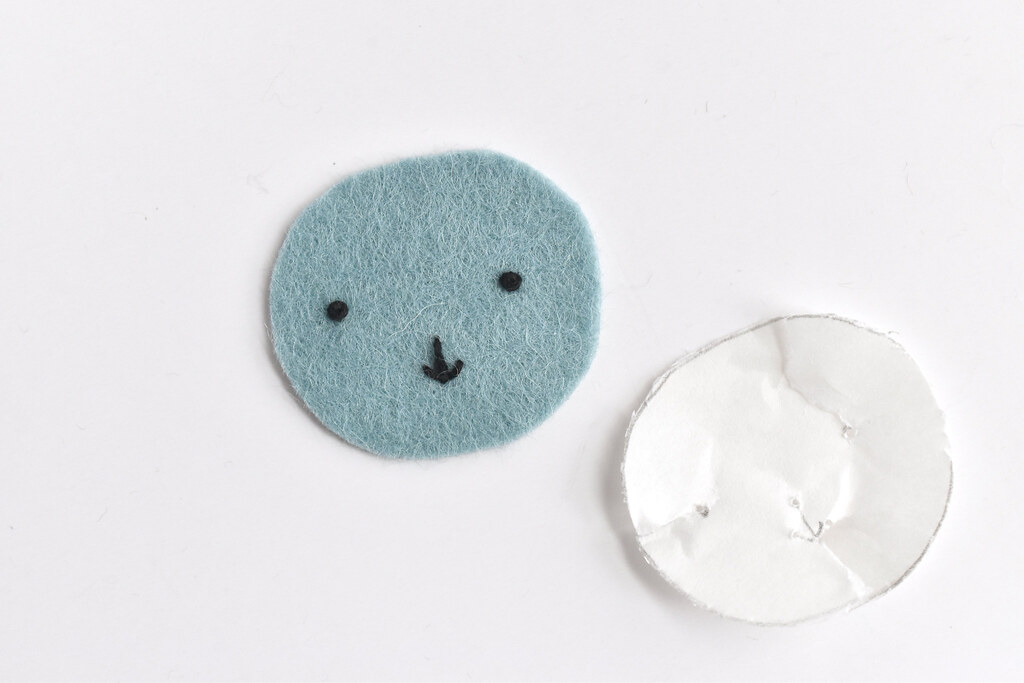
Embroider the face on Bob the Bunny and the lines on the carrot. Use three strands of embroidery floss.
You can often stitch right through the freezer paper and then carefully tear it away. But you don't have to do it this way. Use your favorite pattern marking technique or just stitch freehand!

Stitch the inside of the ears to the outside of the ears with applique stitch and thread that matches the inside of the ear.

Arrange Bob the Bunny and the carrot on the smaller oval piece. Layer Bob's ears behind the head and so they overlap the edge of the background a bit. Stitch around the pieces with applique stitch. Don't forget to attach the nose!
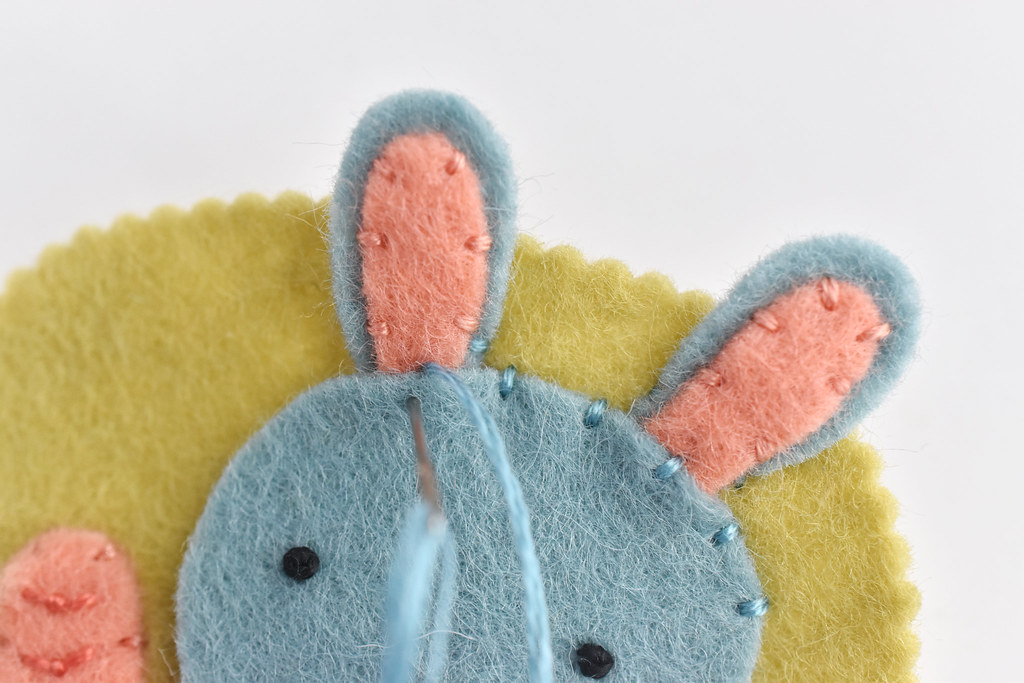
For the top of the head and the ears, make one small stitch on each side of the ears, but keep the rest loose so the ears can wiggle. Stitch through the head and the ear as shown so that the layers are secure.

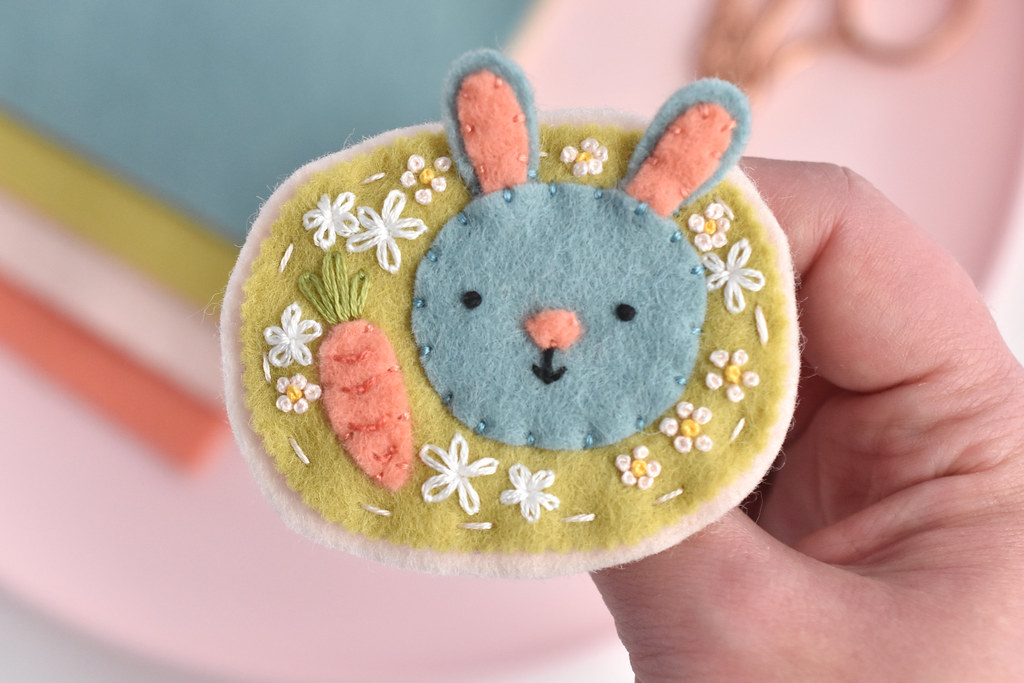
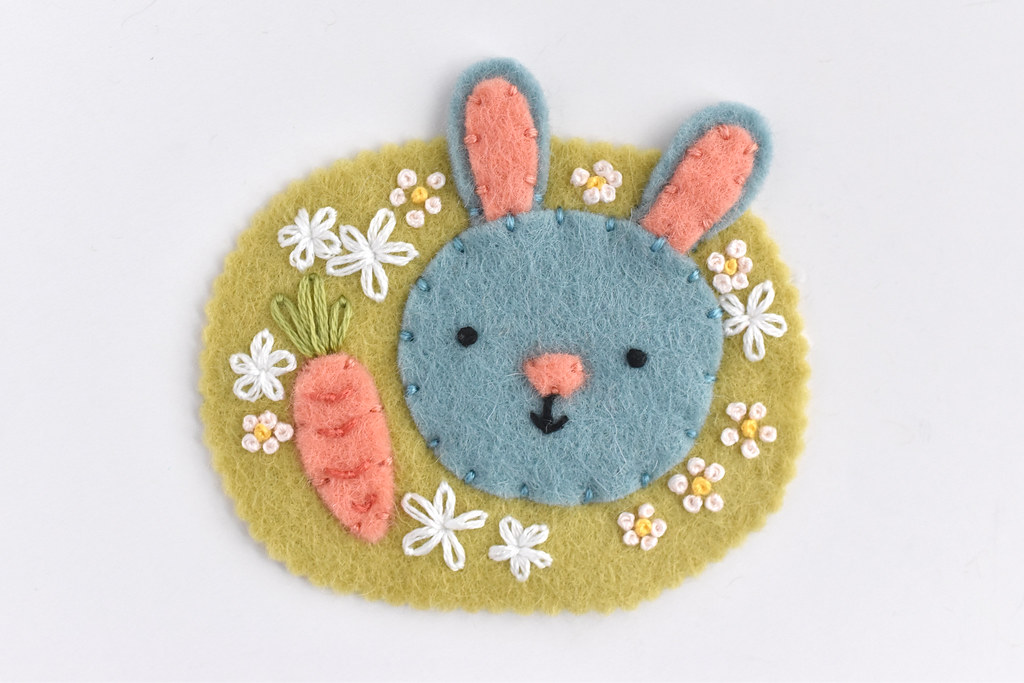
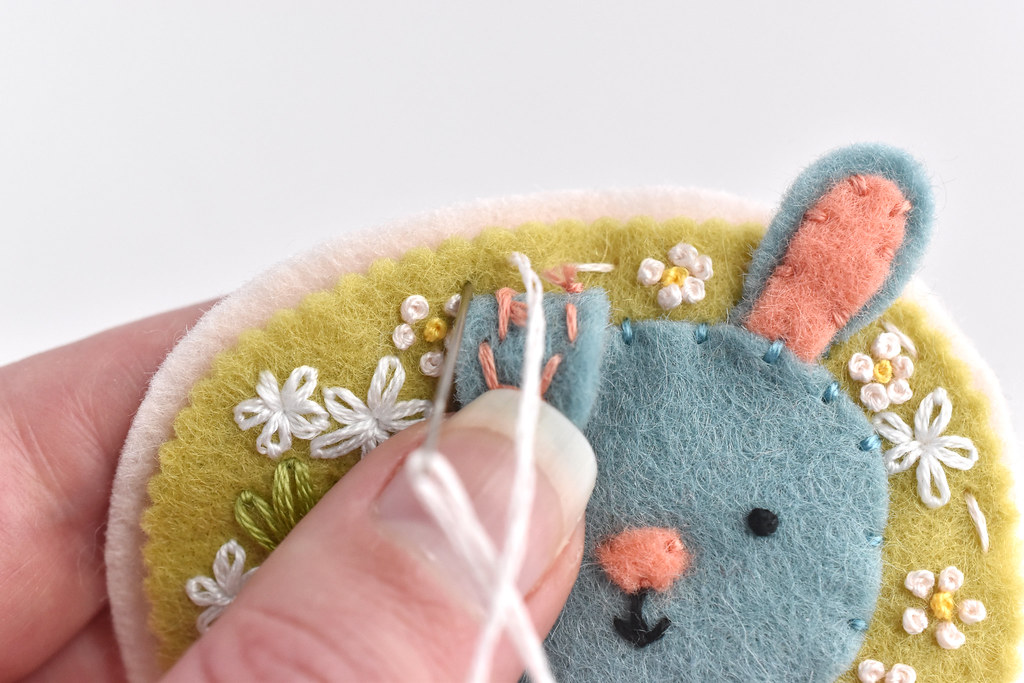
Now it's time to embroider the background flowers. Once again, use three strands of embroidery floss. You can mark the pattern in some way, or you can just use the pattern as a guide and freehand stitch the flowers as I did.
The larger flowers are lazy daisies.

The tiny flowers are groupings of french knots.
It's almost finished!
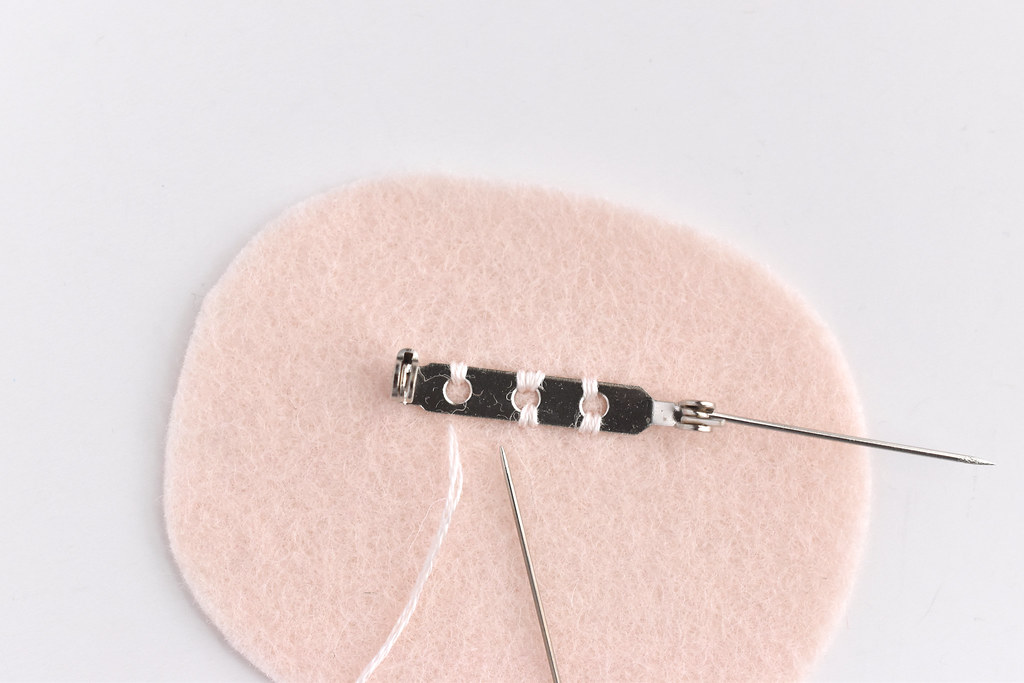
Hand sew the pin back onto the back of the larger oval shape.
Stitch the front oval to the back oval with running stitch. Be sure to hold the ears out of the way as you stitch the layers behind them!

Your Bob the Bunny Brooch is all ready for you to wear!
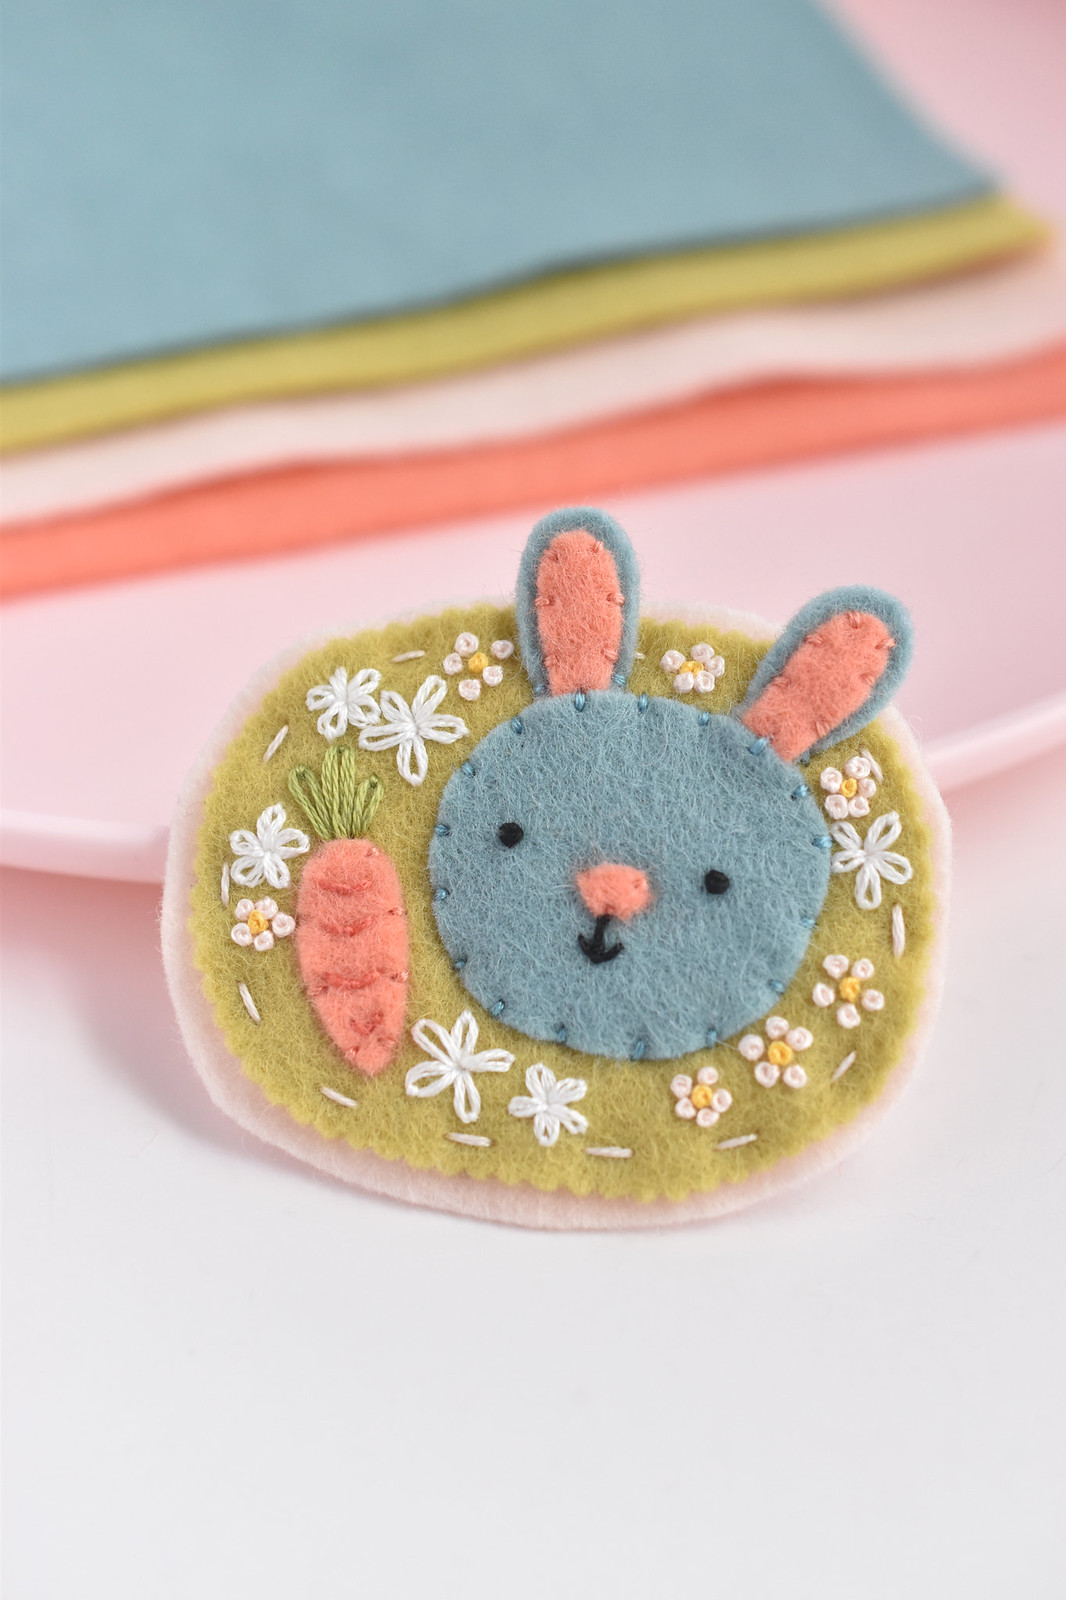
Does this brooch work well for Easter time? Yes. Is it also good for spring in general? Also yes. And could you wear this simply because you think bunnies are a delight? STILL YES.
I need more things like this in my life. Always.

One of the things that I love about little projects like this is that you can make them in a few hours. They're great for crafternoons with friends or to stitch up in an evening while you watch a movie.
If you like Bob, but don't want to make a brooch, maybe you'd like to embroider him?
 The Bob the Bunny embroidery pattern is part of my Kawaii Crossing resident stitching project, and he's the fourth friend to show up. All of the residents fit into a ribbon border which you can get through my Ko-Fi page, but you can also just stitch the patterns on their own. Find them all here.
 But don't forget to get the Bob the Bunny pattern first:
Happy, or should I say...hoppy stitching friends!
0 comments:
Post a Comment
I often reply to comments in the comments...check back if you have a question!