
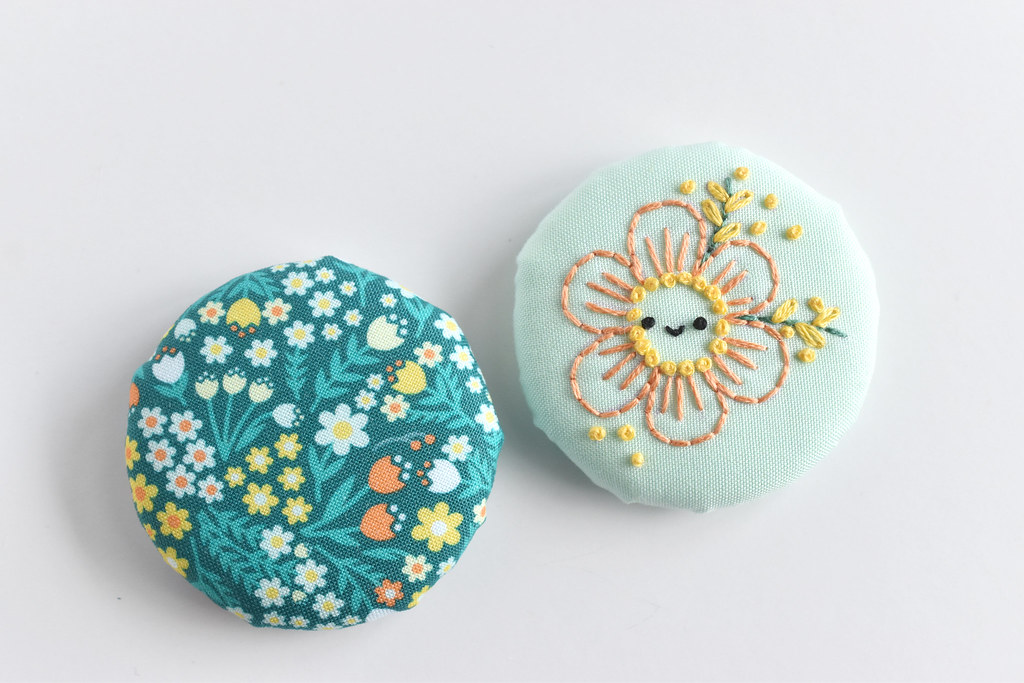
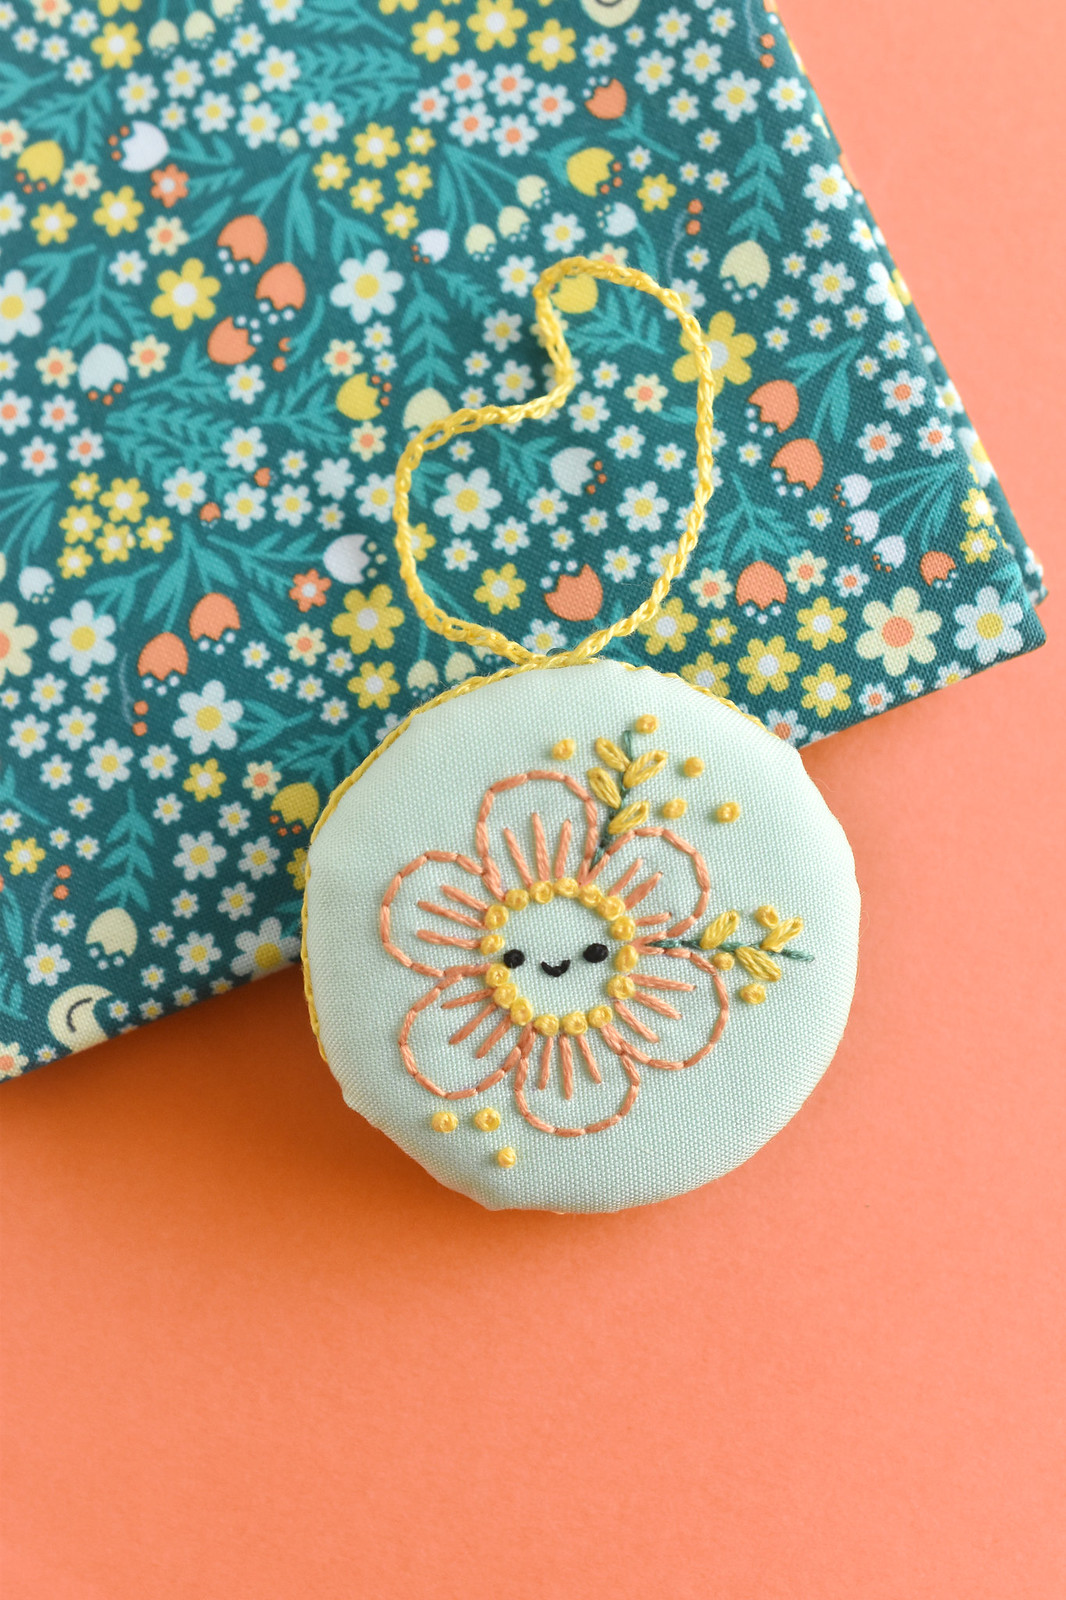
Have you seen those adorable macaron zip pouches? This is inspired by those, but without the zip pouch part. It's an embroidered macaron ornament with a sweet flower for Mother's Day!
Now, I want to acknowledge that I have been on an ornament-making kick this year. And I know that some folks are probably wondering why. Or maybe what in the world are you supposed to do with all these when it's not even Christmas. All I can say is that I love making them because they are small and fun little things to make and give as gifts. That's the why.
As for what to do with them, I just like finding places to hang them or display them. You can put them on a little branch in a vase. Display them on your wall alongside other small art pieces. Maybe even hang them from your rearview mirror! Ultimately, they are just fun. But also, you can use any or all of the ornaments patterns I share to get a headstart on holiday gifts. Just sayin'.
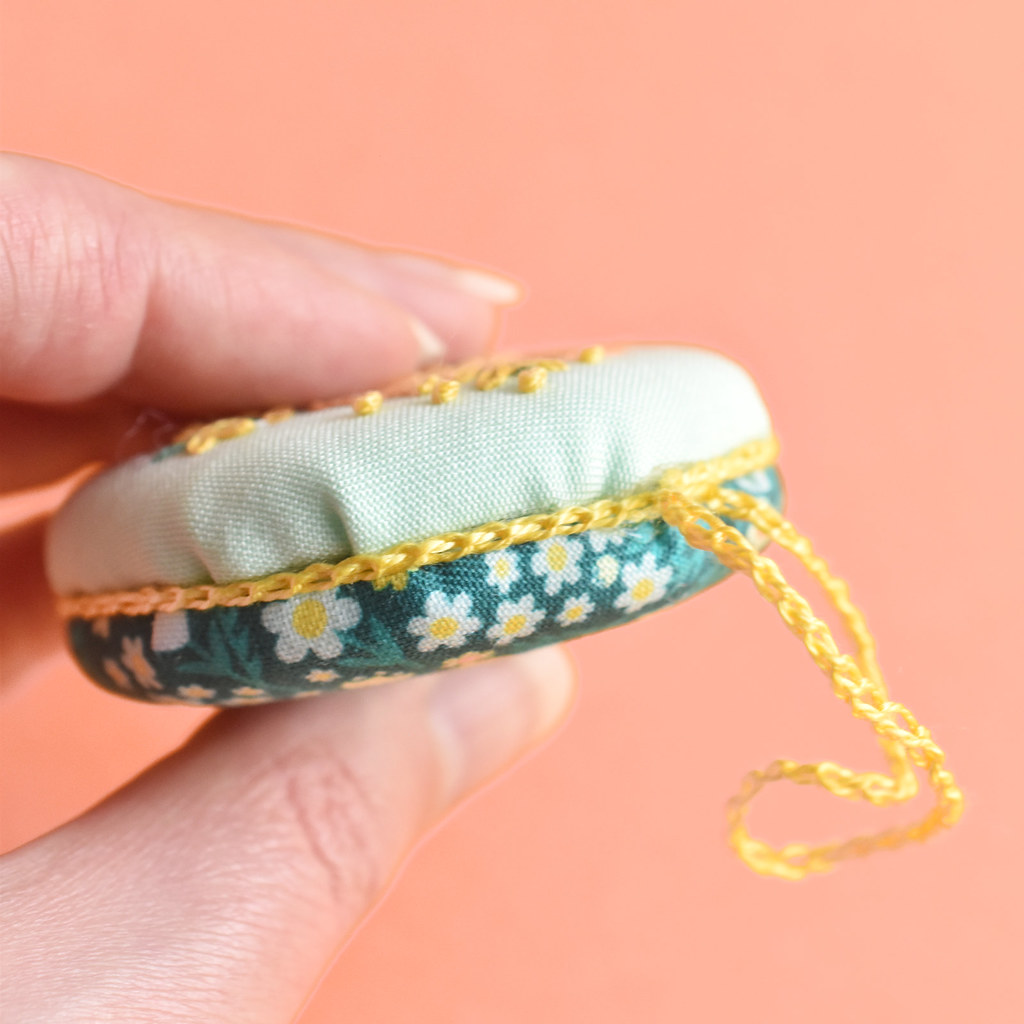
If you're also wondering what makes this a "macaron" ornament when it looks like a circle with a flower on it, take a look at it from the side. The front and back are domed like a French macaron. The middle of the ornament has trim that's kind of like the edges or filling of the tasty treat.
To make this, you'll need the little macaron forms that Zakka Workshop makes. Mine came from Missouri Star Quilt Co., where you can purchase a pack of four discs without the zippers designed for making a macaron pouch. But I do want to point out that you could use my flower embroidery pattern on one of the zip pouches.
But if you're looking for simple, let's make an ornament!
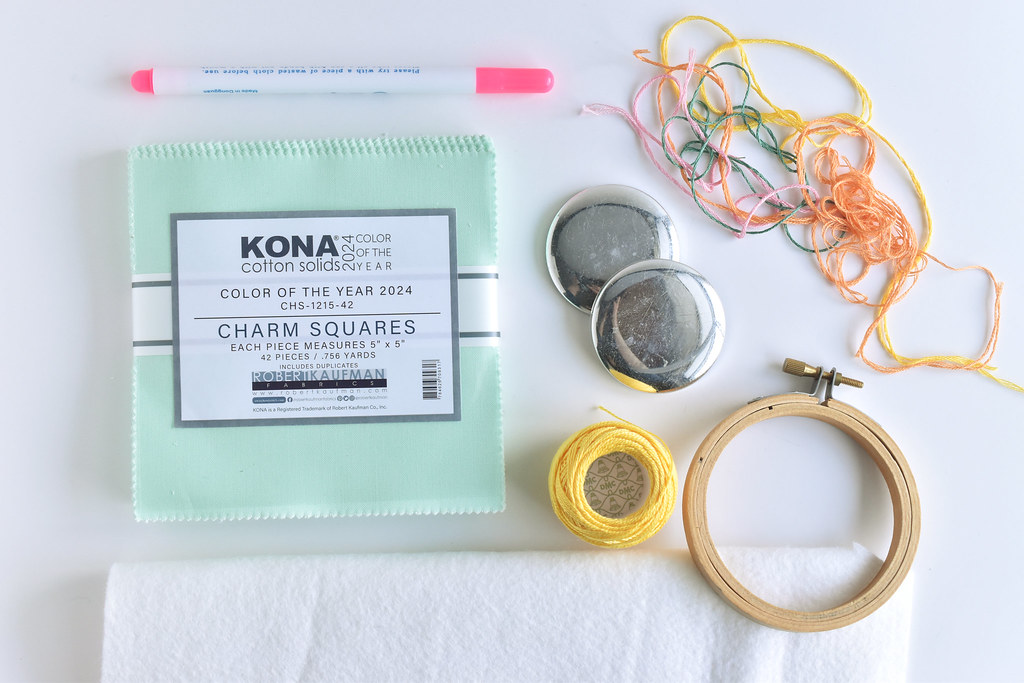
One last thing before I list all the materials. I mentioned Missouri Star Quilt Co., and the fabric and macaron discs for this were provided for me by them. And when you you use this affiliate link it supports me without any cost to you. Here's what you need:
Quilting fabric (I used Kona's color of the year, plus MSQ's Quilt Town)
Embroidery floss
Felt
2" Macaron discs
Perle cotton and tiny crochet hook -OR- Small trim
Embroidery marking pen
3-inch Embroidery hoop
Needle
Scissors
Quick-drying glue
DOWNLOAD THE FLOWER EMBROIDERY PATTERN
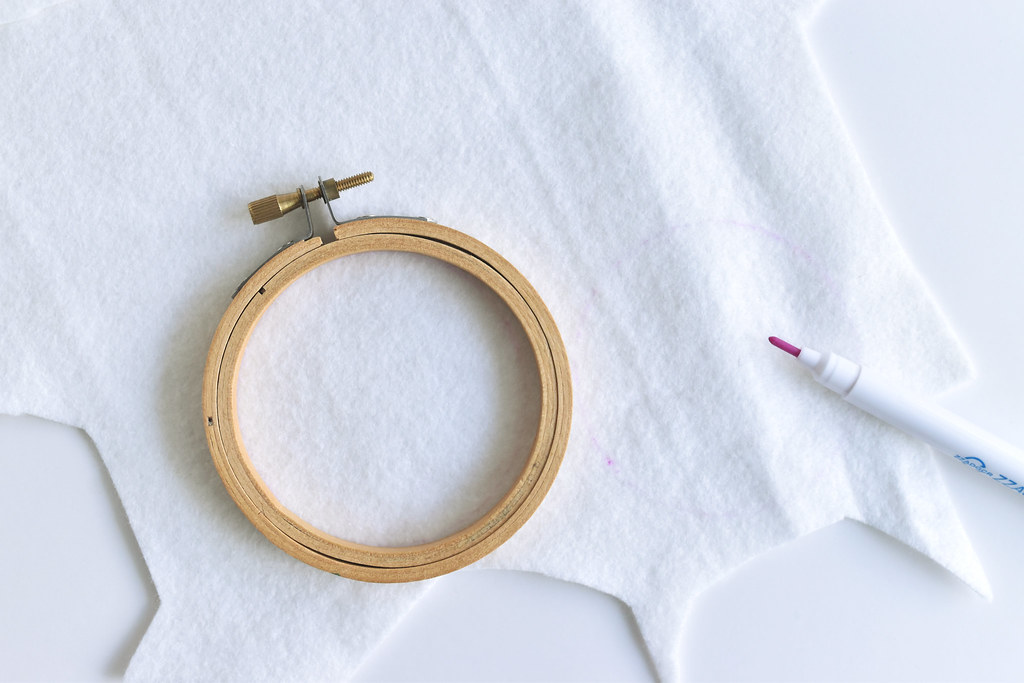
Trace the inside of the embroidery hoop onto felt two times and cut out the circles.
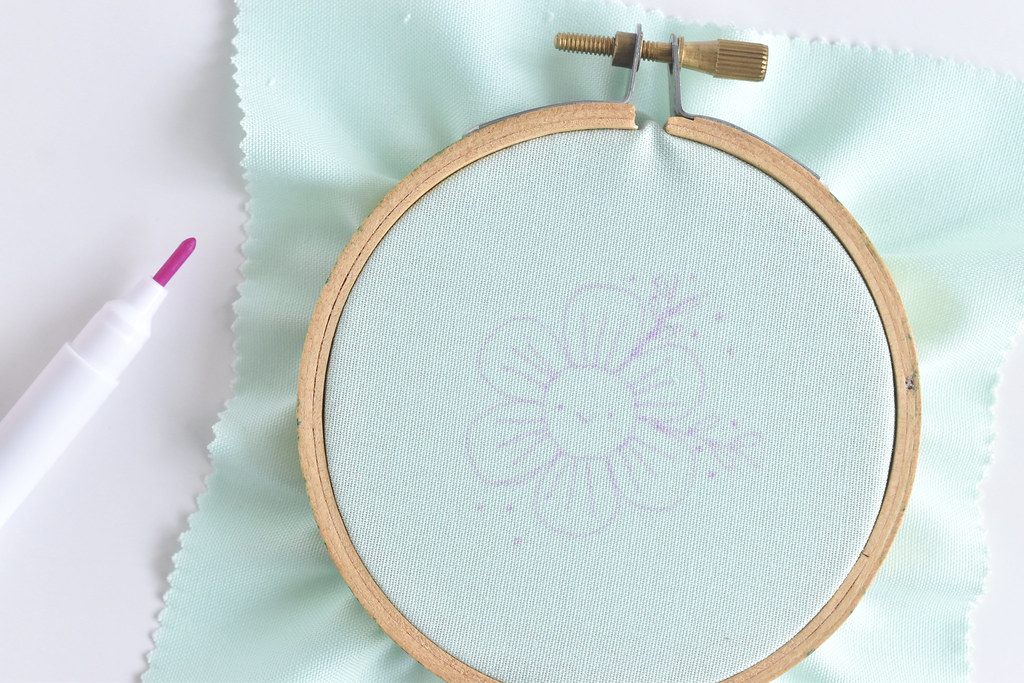
Trace the embroidery pattern onto your fabric for the front of the ornament.
I've recently been loving having pre-cut packs of solid colored fabric to use for embroidery. It's super handy! And while this time I got a pack of all one color (I'll be using the rest for another project), the multicolor packs are great for giving you lots of color options without needing to buy a ton of fabric.
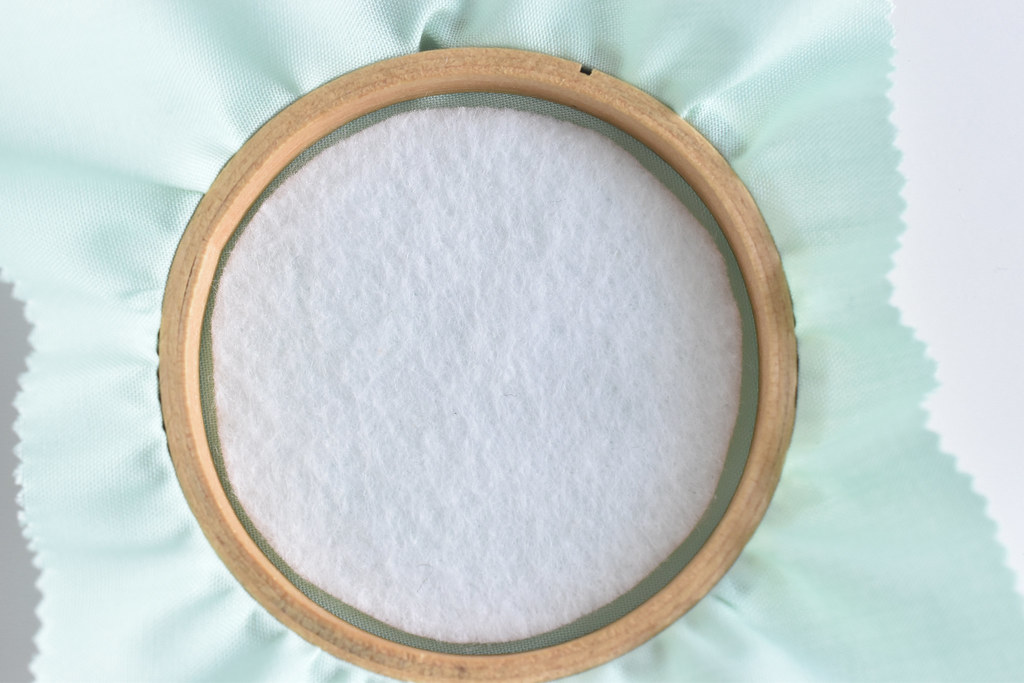
Place one of the felt circles behind the embroidery hoop. You'll embroider through the fabric and the felt. This makes the embroidery look nicer when it's wrapped around the disc.

Embroider the pattern. I used three strands for everything. For stitches, it's mostly back stitch with some French knots for the eyes, tiny flowers and the center ring. Plus some lazy daisies, a few straight stitches on the petals, and a scallop stitch mouth.
Remove the pattern markings. Because I used a pen than vanishes over time, I just let it do its thing. If you need to soak it, remember that the felt will take longer to dry!
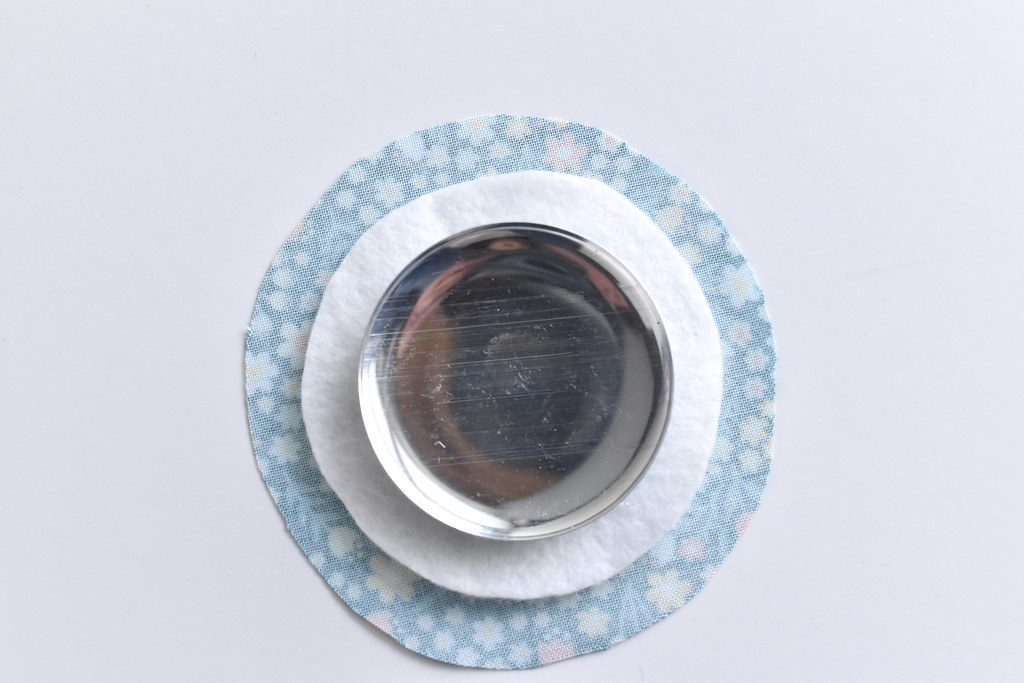
For the back of the ornament, place the second felt circle on the wrong side of your fabric and cut out a circle that's about 1/4" larger than the felt. Err on the side of cutting it larger than smaller. Place the disc domed side down on the felt.
Follow this same process to cut out the embroidered circle for the front.
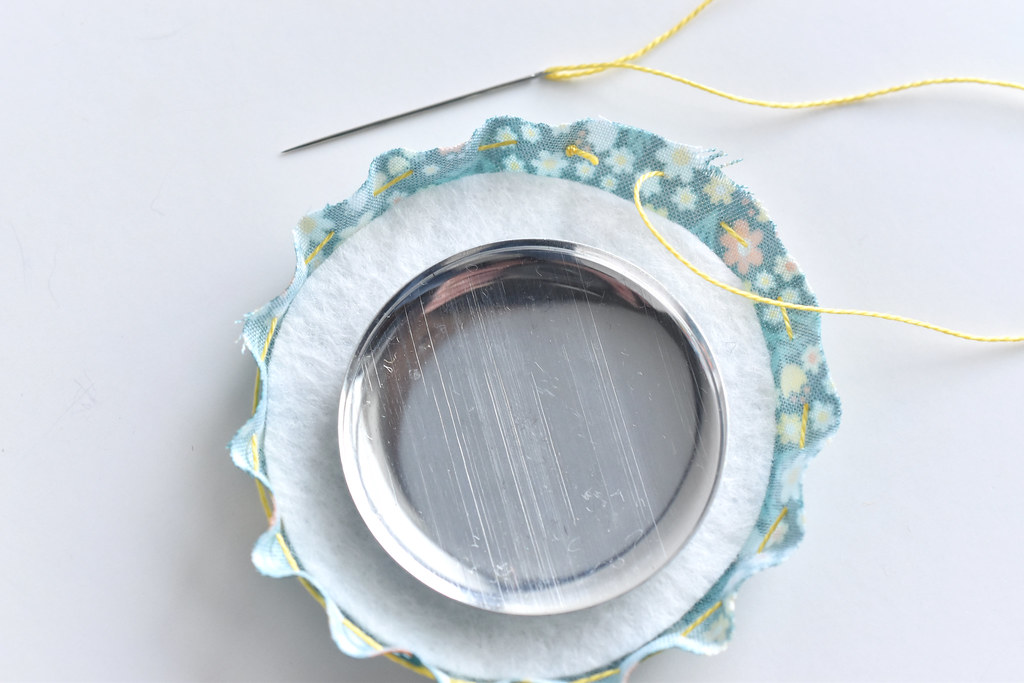
Use embroidery floss or perle cotton to sew around the edge of the fabric with running stitch. It's best to keep the stitches under 1/4" long. Mine were probably 3/16".
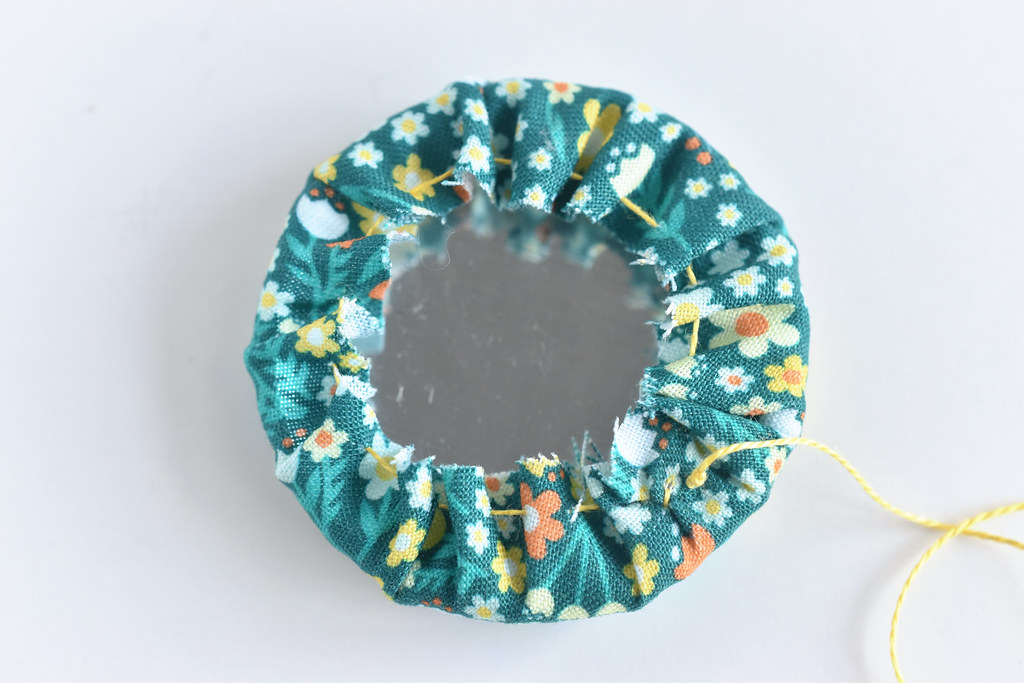
Pull the thread to gather the fabric tight onto the back and secure it with a knot.
Repeat the process for the second half of the ornament.
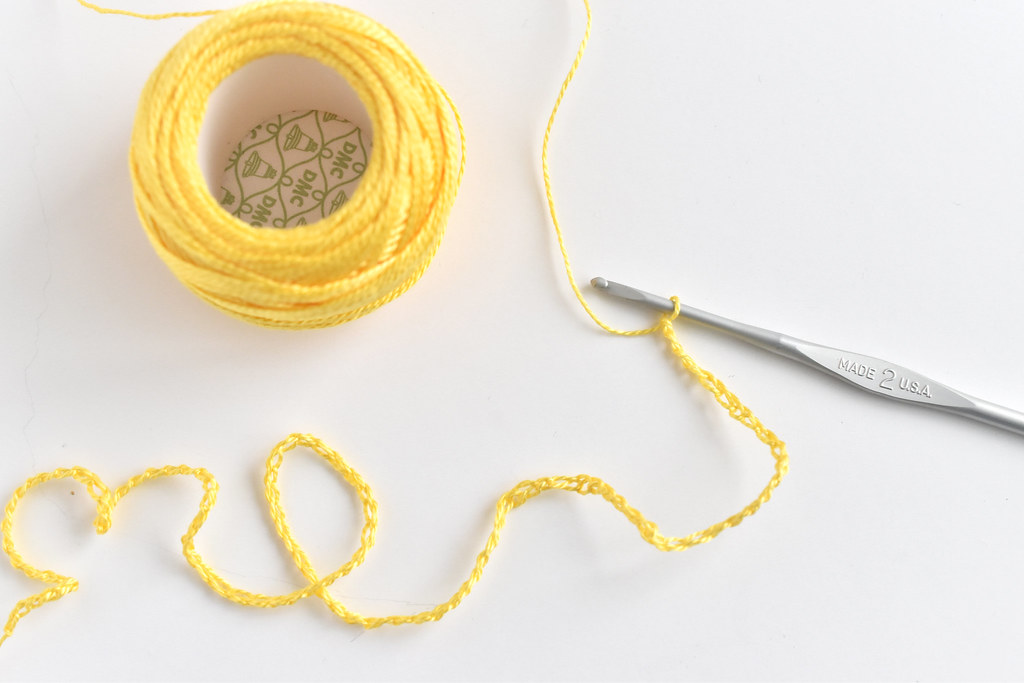
If you're using small trim, you can skip this step, but I made the trim with a crochet hook.
To do this, make a crocheted chain of perle cotton that's about 12 inches long or a little longer. I used a 2mm hook.
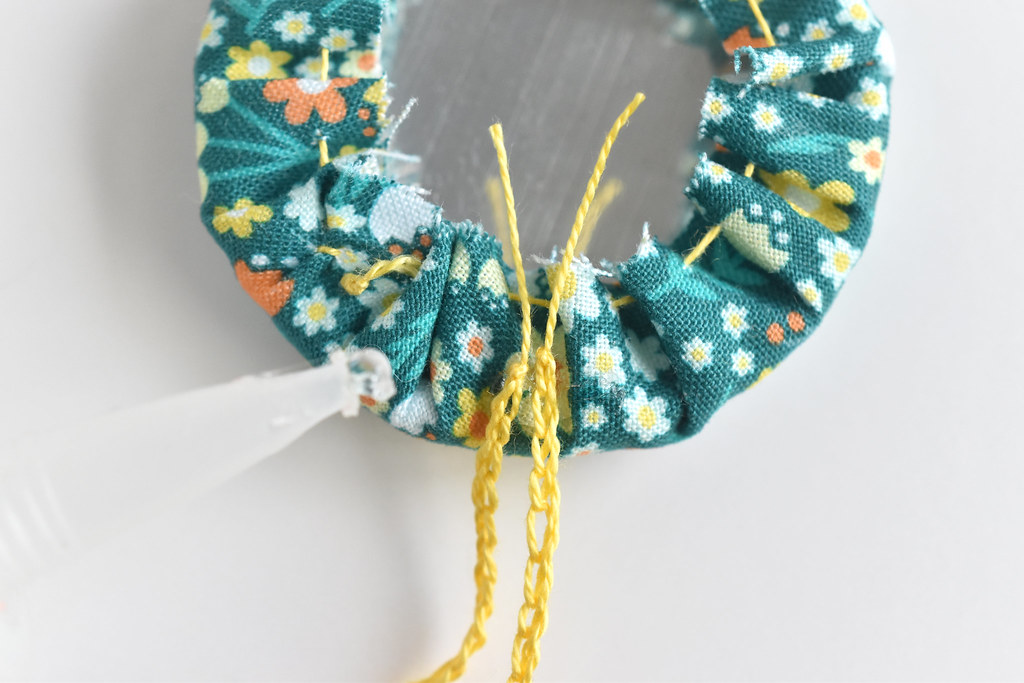
Fold the trim in half and glue the two ends of the trim so they will be inside the macaron with the rest of the trim coming out from the bottom.
Add more glue around the inside and place the second half of the macaron on top. Press the halves together and let them dry.
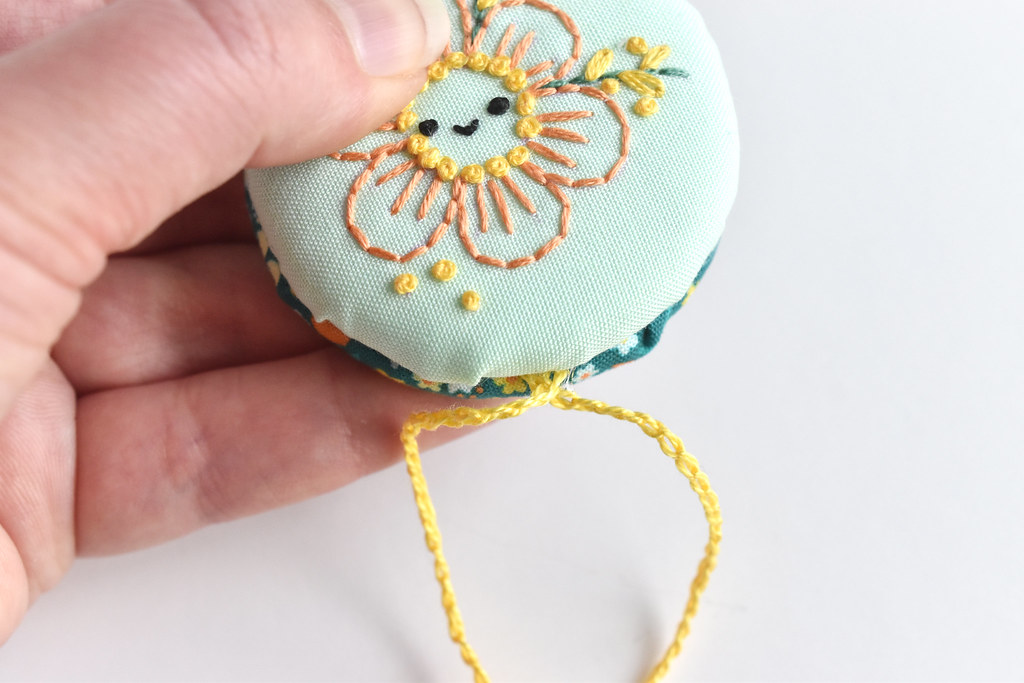
For the best coverage, have the two sides of the trim cross to the opposite side. This covers the little gap that you see otherwise.
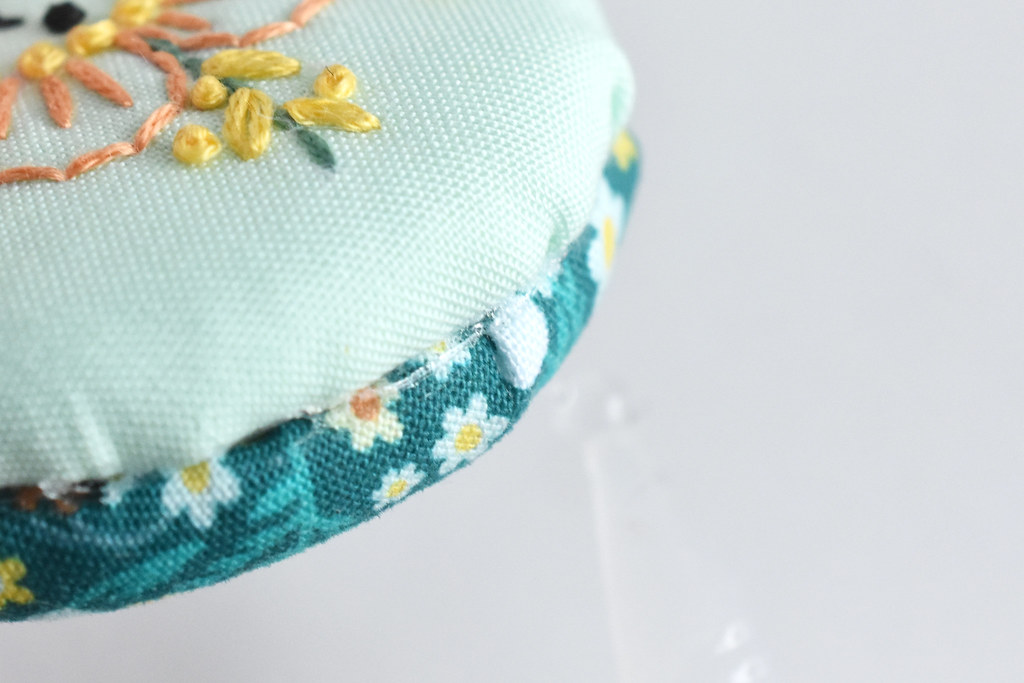
Run a tiny line of glue around the seam of the macaron.
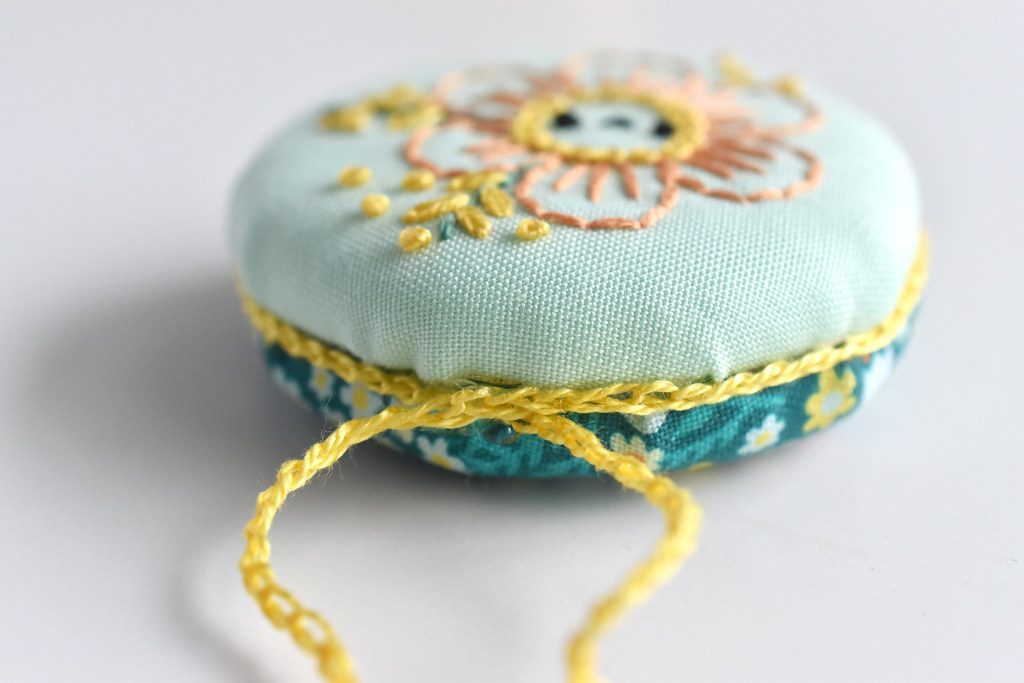
Bring the trim up to the top of the macaron, pressing it into the glue. Add an extra dot of glue at the top, and once again cross the trim. This forms the hanger and covers all the edges.
Let the glue dry thoroughly before hanging the ornament or wrapping as a gift.
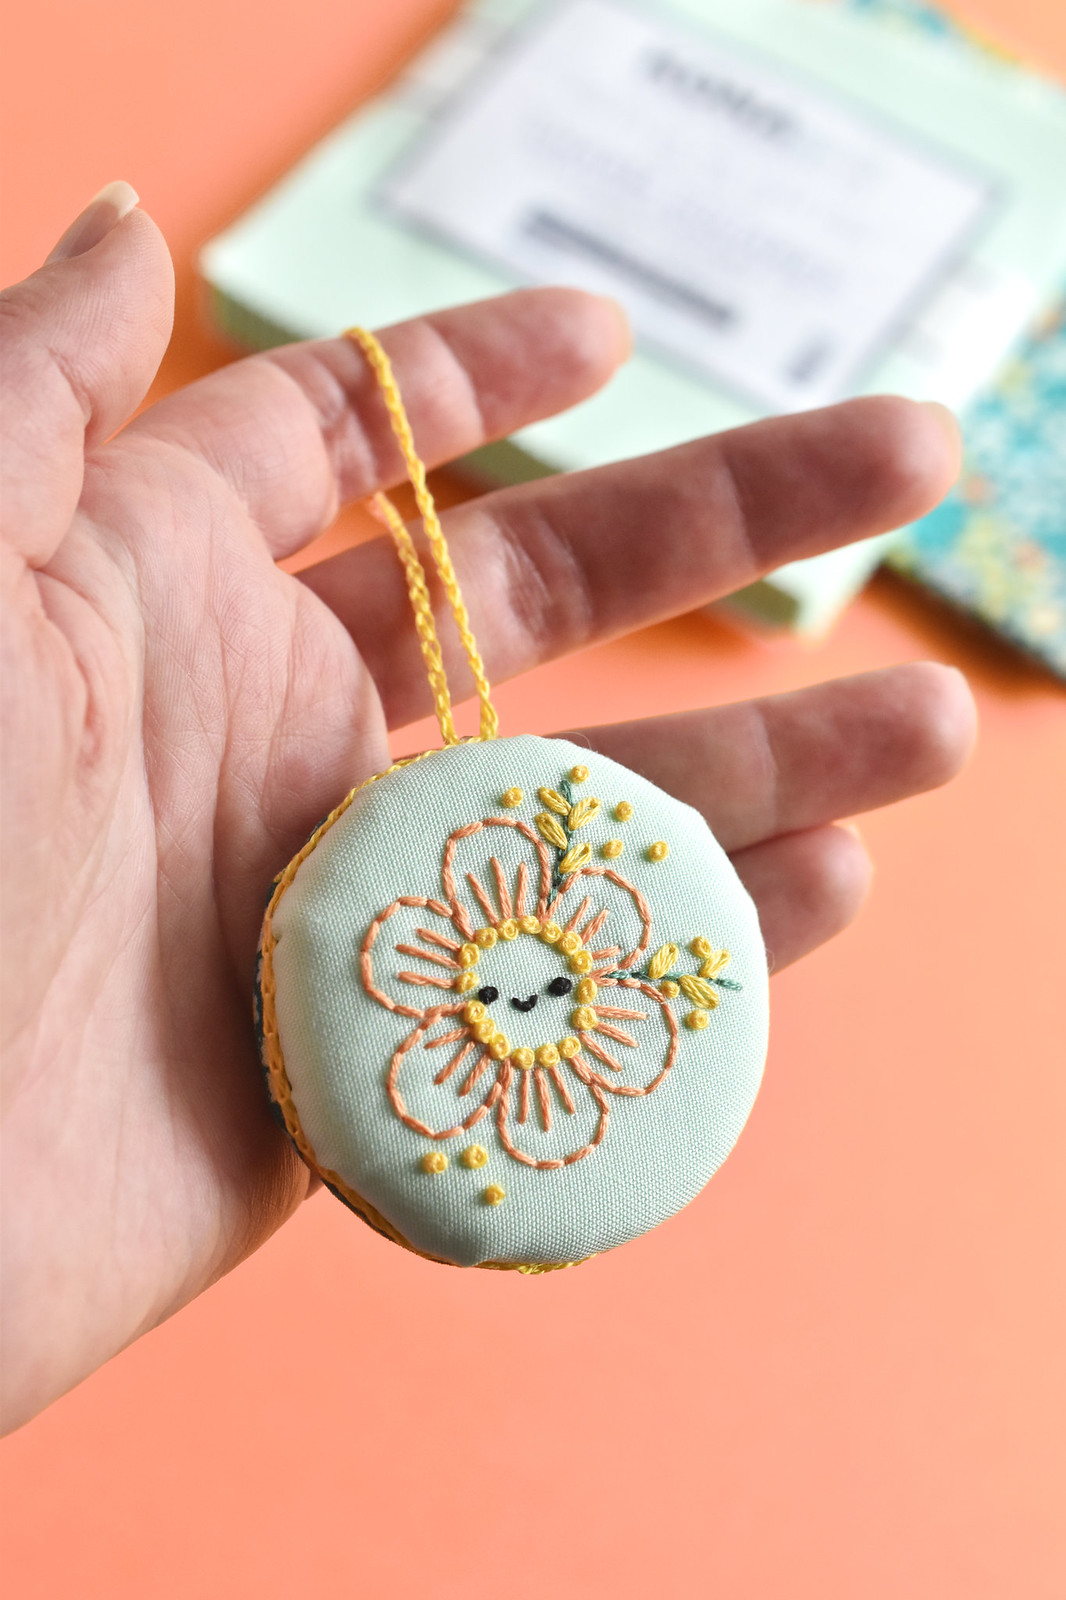
I just think this is adorable and a fun little decoration to make and share. It would even make a sweet gift topper! Perhaps on a box of real macarons?
To customize it more, you can also skip the print on the back and use another piece of solid fabric. Embroider "MOM" or a name to make something truly unique.
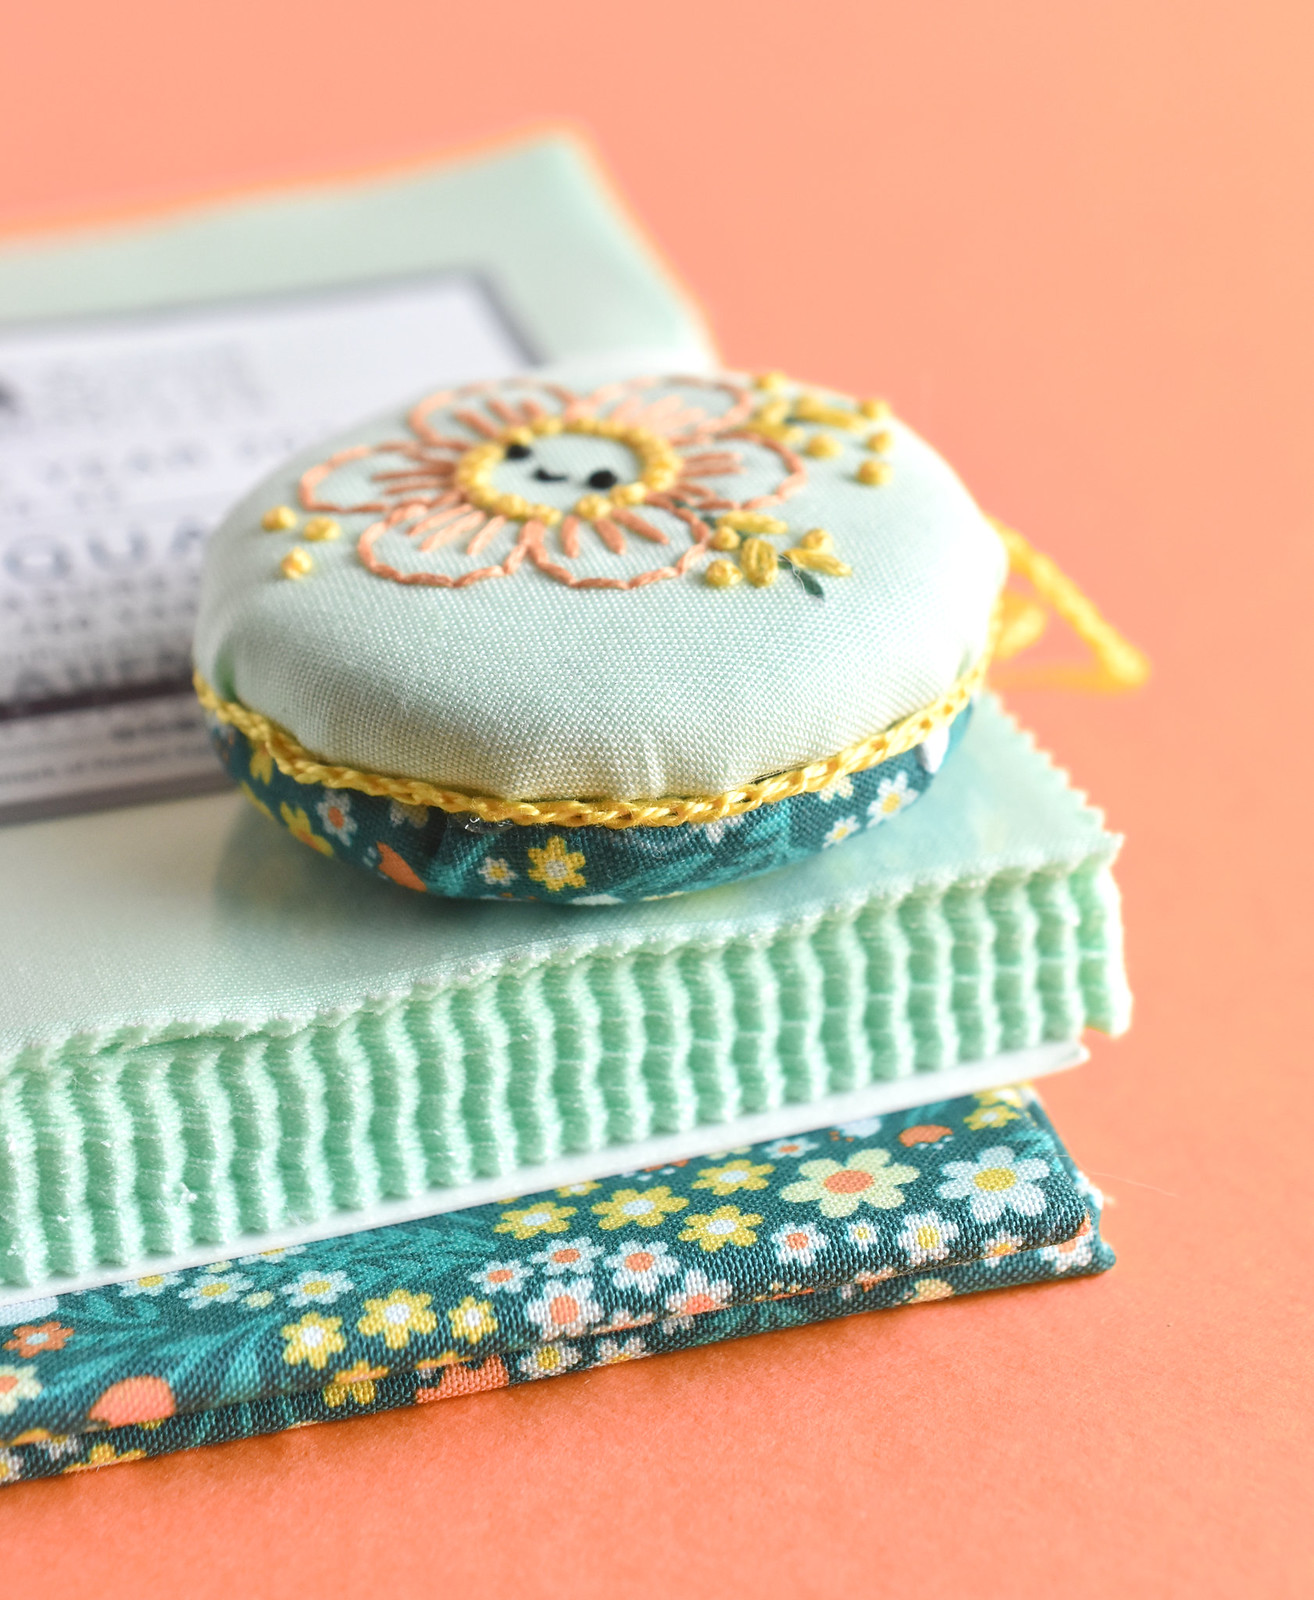
On the edible kind of macarons, they have what is known as "ruffled feet". The trim on my ornament is kind of like a ruffled foot, but the edge of a stack of pre-cut charm squares has an even better texture! (It can be a bit messy though...IYKYK!)
Love it !! Thank you so much
ReplyDelete