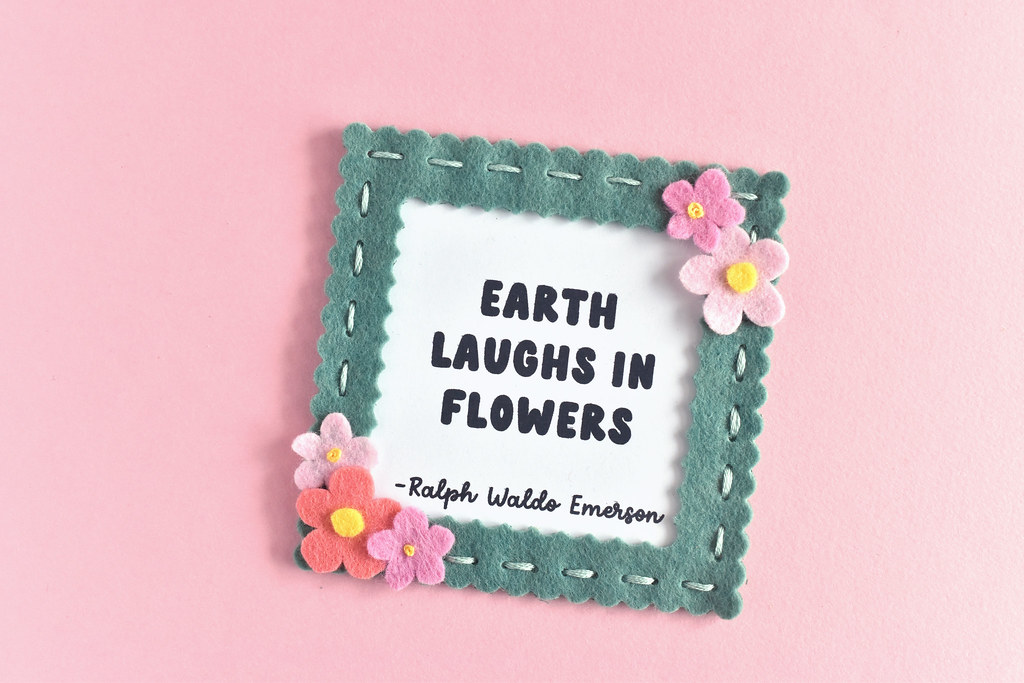
Want to make a sweet little frame for your mom this Mother's Day? This one is made from felt and has magnets so she can stick it on the refrigerator! I'm showing it here with a little poetry line, but you can add a photo or anything you'd like. It's especially good for a gift to give grandma with smiling grandkid faces inside. And they can help make the frame too!
I've had more felt crafts than usual around here lately, many of which use deep-etch dies from Benzie and a manual die cutting machine. But I've just really been having fun using them, and when I can find a new way to combine my favorite things, I go for it! This time around I'm using the Squares and Scallops set (affiliate link). And the flowers use a technique that I recently saw on Instagram, and just HAD to try out.
Are you ready to give this a try? Let's go!
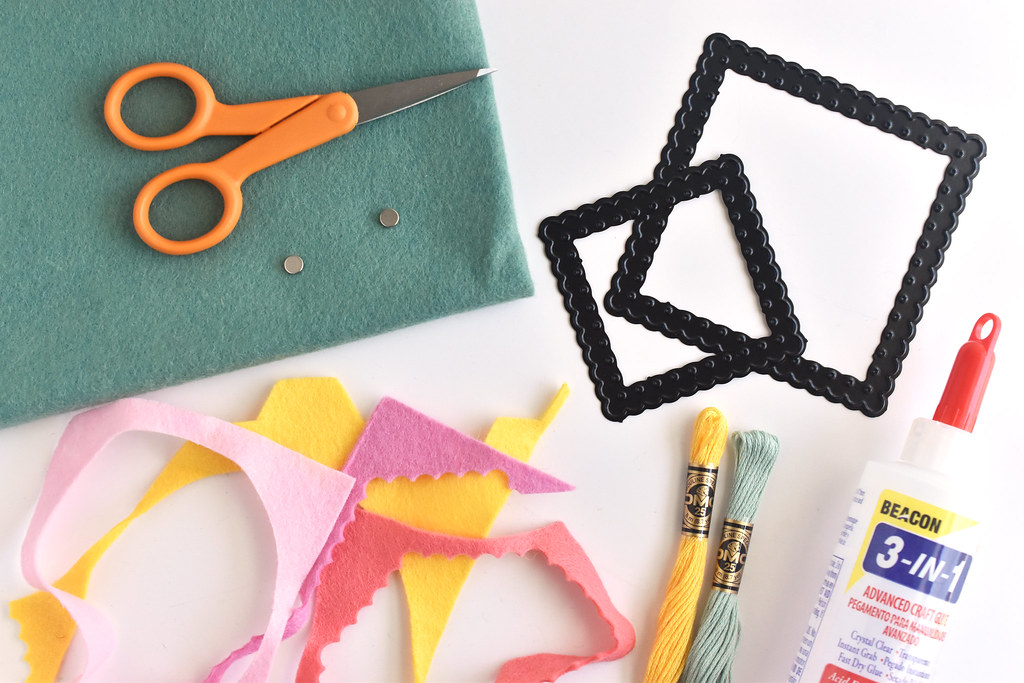
You will need:
Felt for the frame (two squares a little larger than 4 inches)
Felt scraps for the flowers
Embroidery floss
Two small magnets (see note below)
Glue (Beacon 3-in-1 holds the magnets and the felt!)
Scissors
Needle
Coins
Vanishing ink pen
Squares and Scallops deep-etch die (affiliate link) and manual die cutting machine
About the Magnets: I used super strong neodymium magnets because they will hold through felt, while still remaining barely noticeable. HOWEVER, these are not child safe even a little. You may want to use different magnets and attach them to the back of the frame instead. Use your judgement!
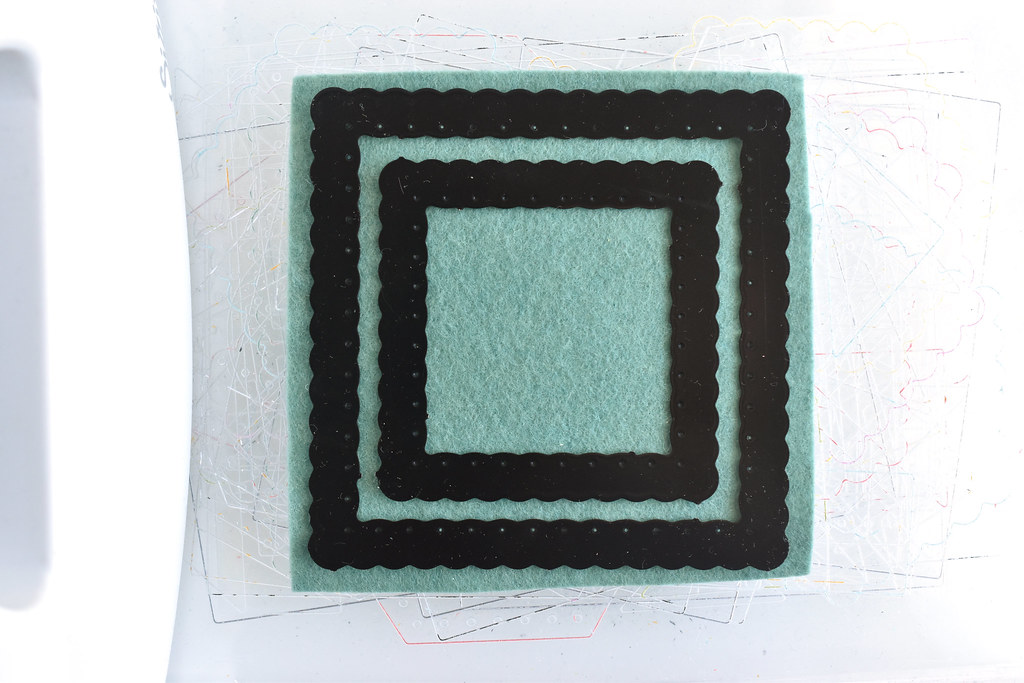
Use the two largest scallop squares to cut out the front of the frame. Center the smaller of the dies in the middle to make the opening.
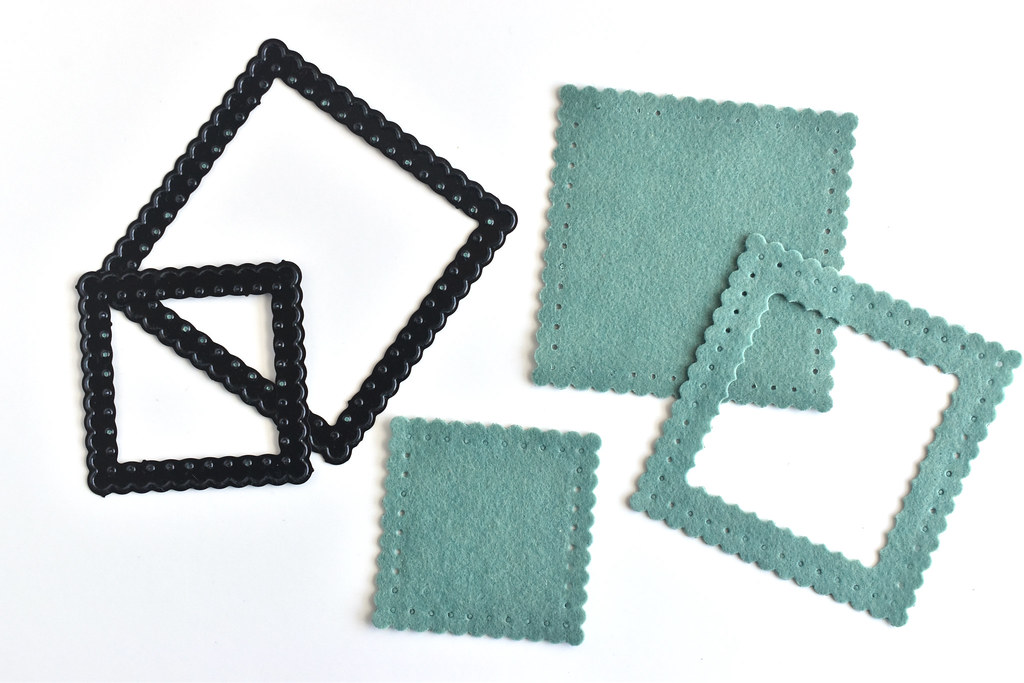
Use the largest scallop square to cut the back of the frame.
You'll end up with a large solid square and a large open square. You'll also have a smaller scallop square, which you can save for making another project (I'll definitely have more projects using these dies!).
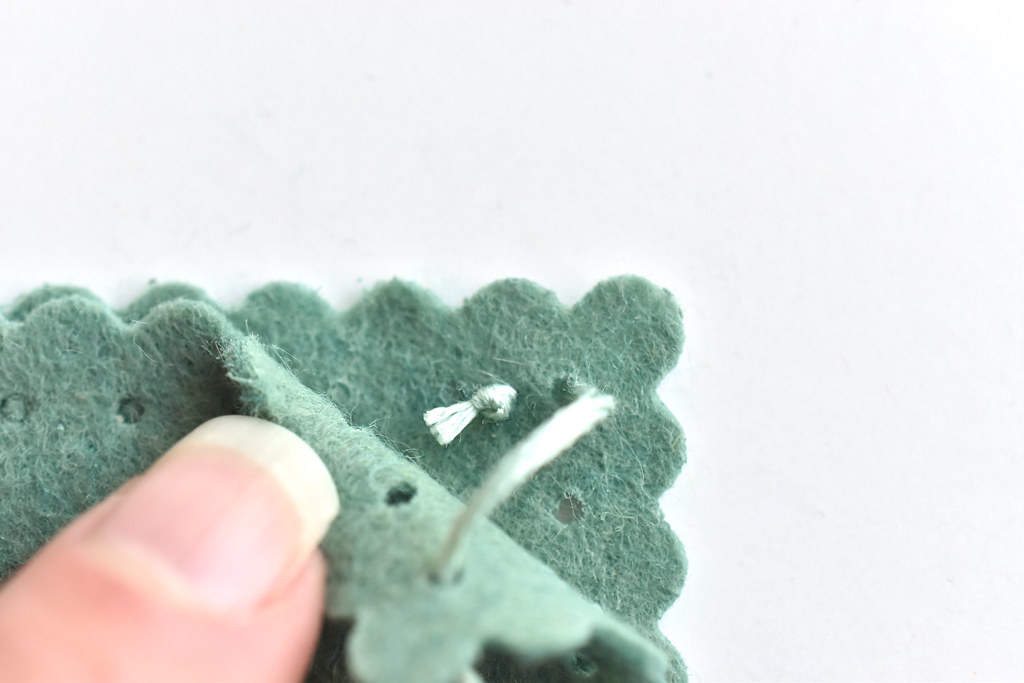
Thread a needle with six strands of embroidery floss and start it with a knot at the top corner as shown. You want to go through the felt on the back layer, and then up through both frame layers in the corner hole.
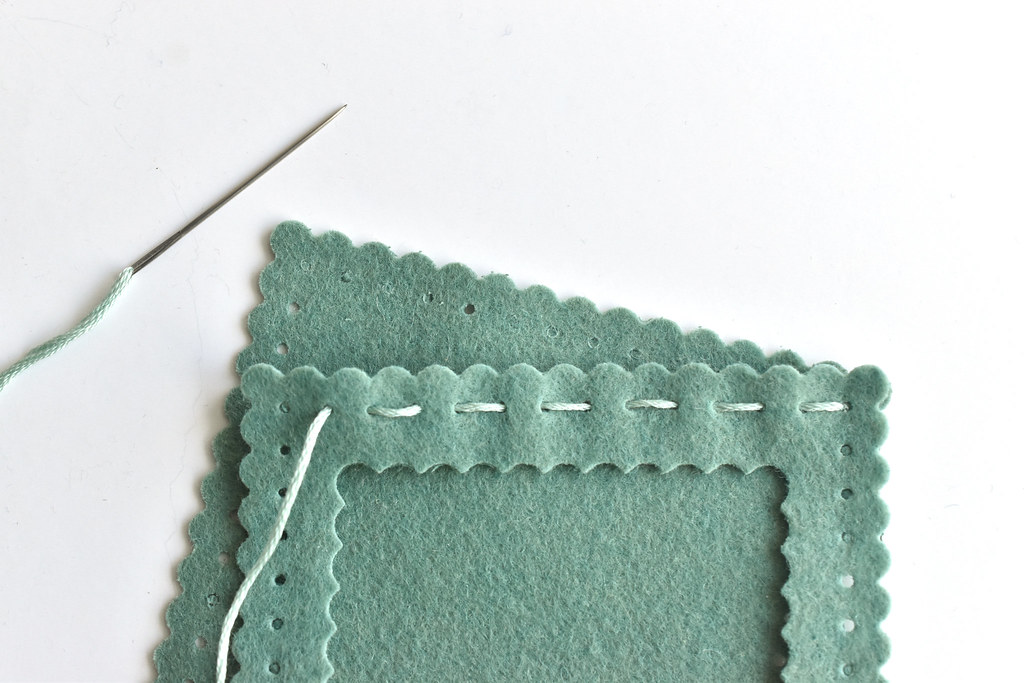
Stitch with running stitch across the top through ONLY the front layer. This will make all the edges look the same, while keeping the top open. Go through the front and back on the corner hole.
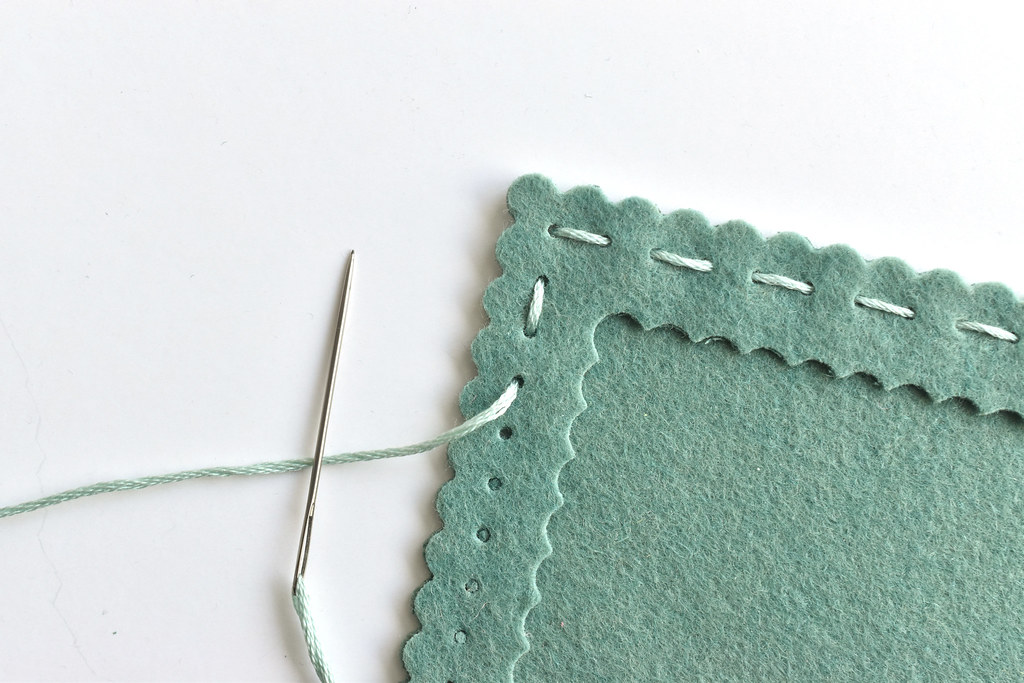
Continue stitching around the sides, but now you should stitch through the front and back at the same time.
When you reach the end, secure the thread with a knot hidden between the layers or on the back. You'll need to go through the felt and not just a hole, otherwise the stitching may come undone.
To make the flowers, I used a method that I saw from DusiCrafts on Instagram. You should definitely go watch her video!
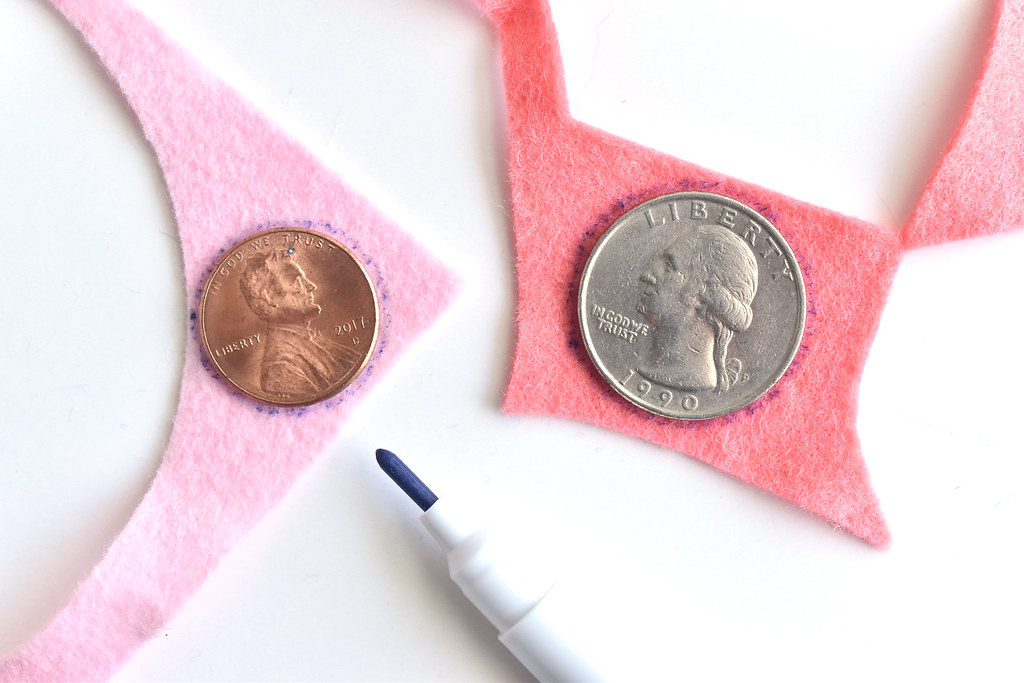
Instead of using templates, start by tracing a quarter and a penny onto your felt scraps. I made two large flowers and three small flowers.
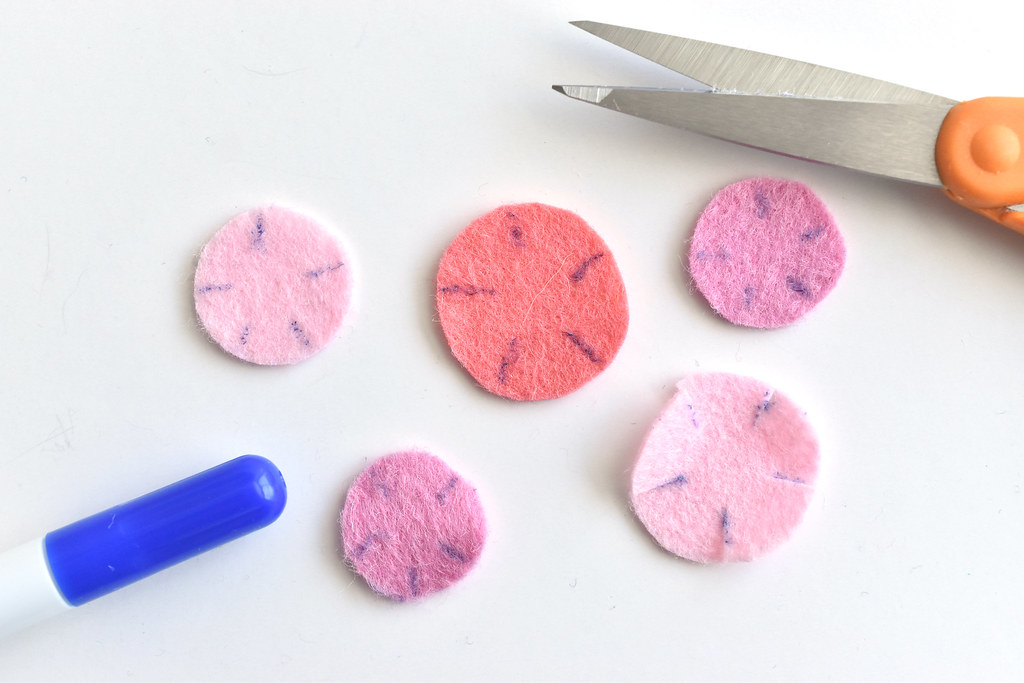
Cut out the circles and then mark five straight lines from the edges. You could do four or six if you'd rather! Snip the lines with your scissors.
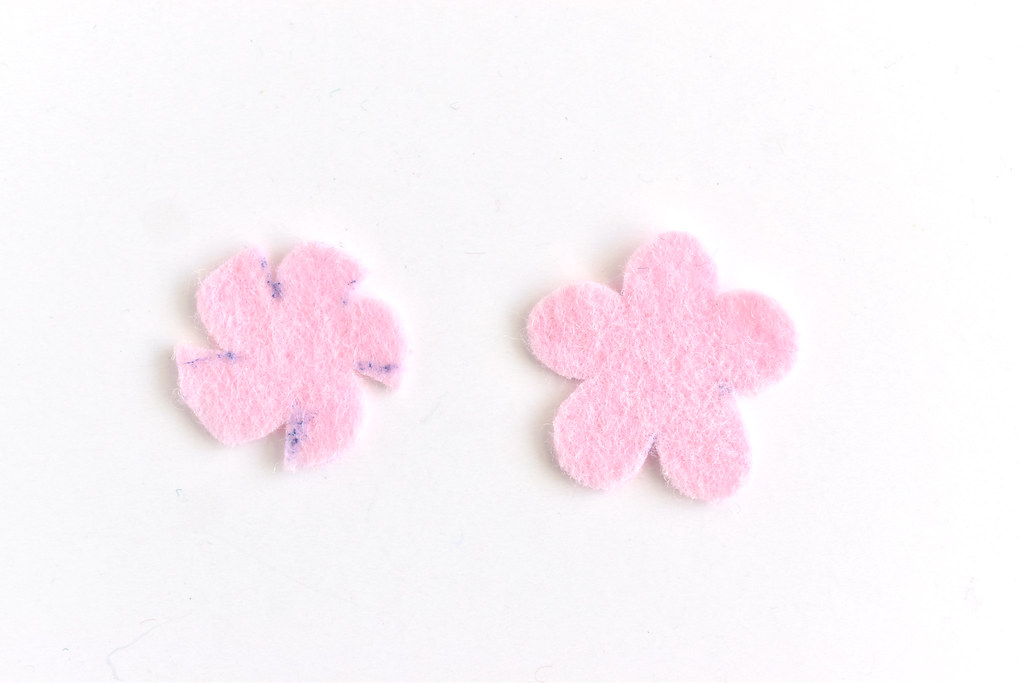
Where you snipped, you now have little tabs. Round those with your scissors, starting on one side, and then the other. Remove any remaining pattern markings.
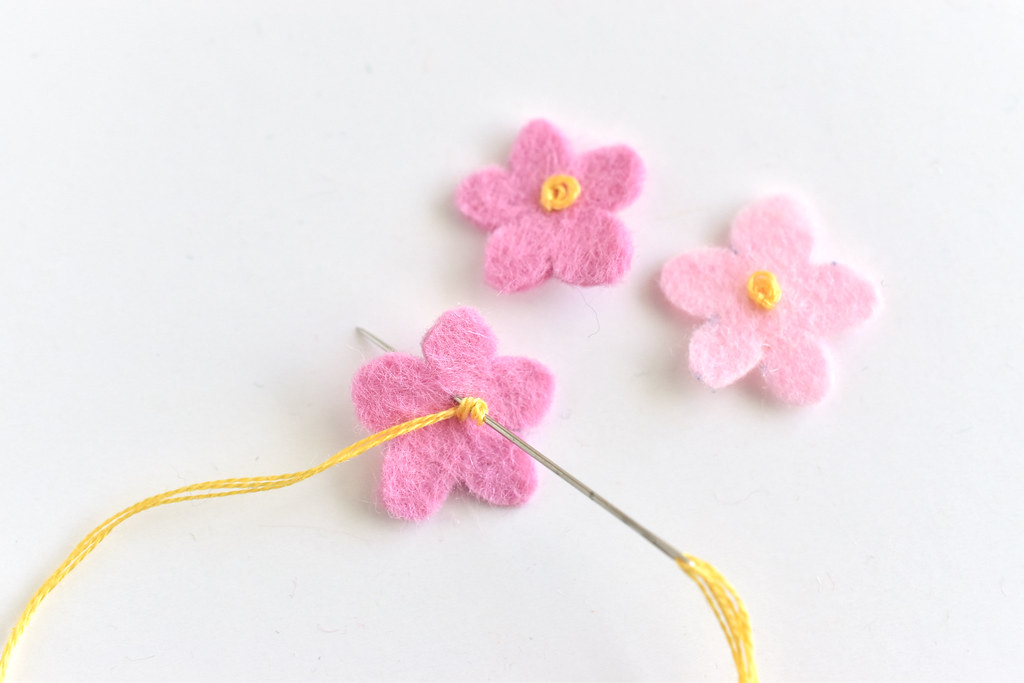
Embroider loose french knots in the middle of the small flowers. You can do several stitches in the middle of the larger flowers, or cut out tiny circles of felt like I did.
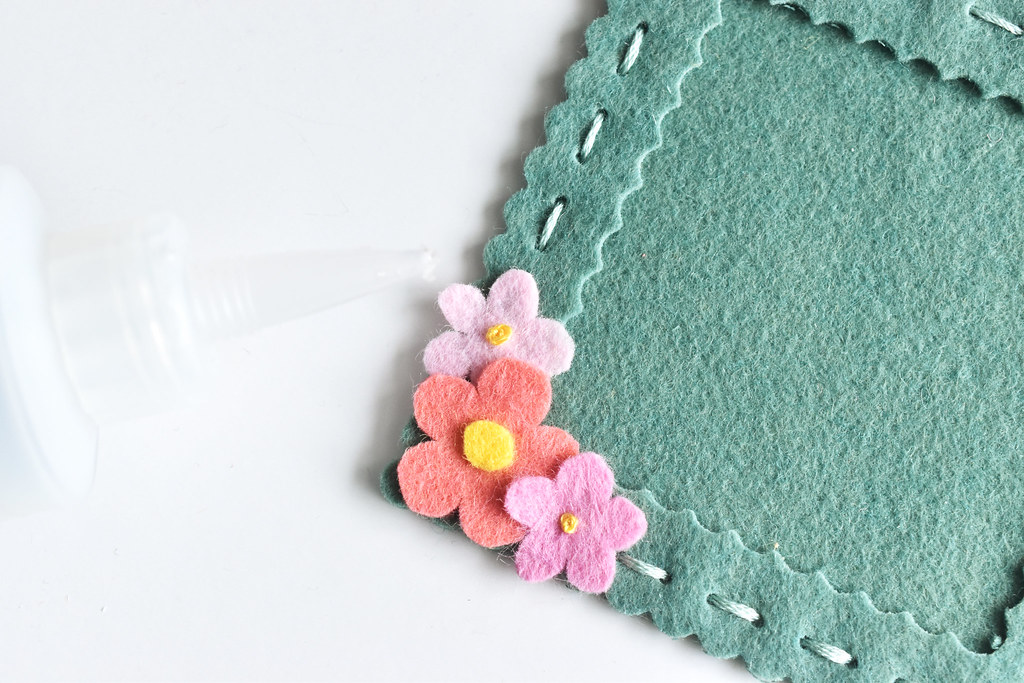
Glue the flowers to the edge of the frame.
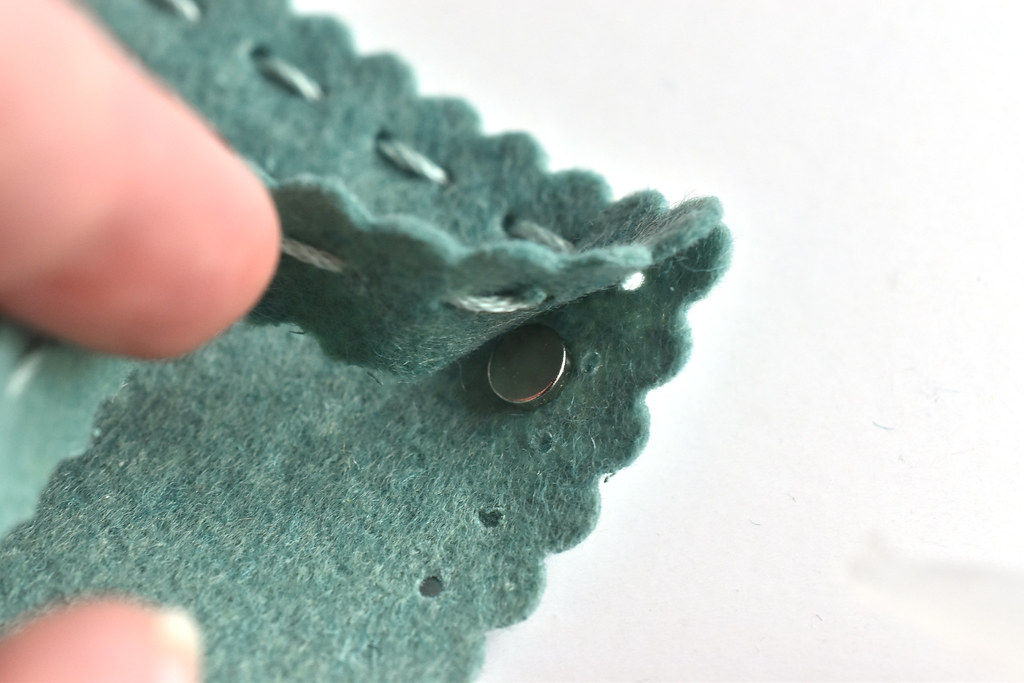
If you're using neodymium magnets you can glue them inside near the top edge of the frame. Otherwise, glue your magnets to the back of the frame.
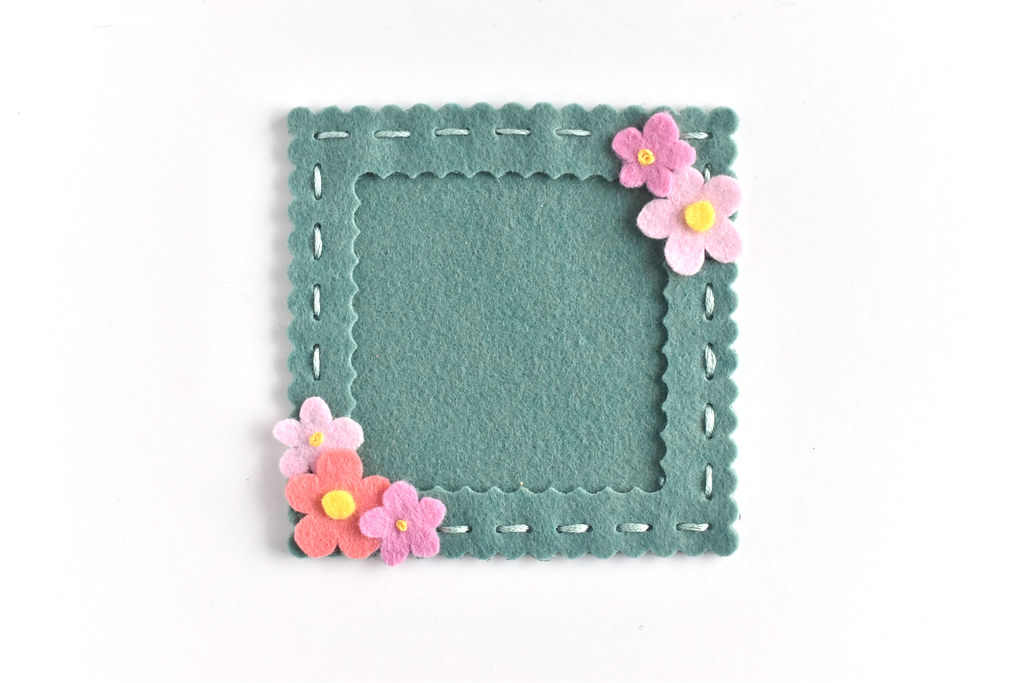
It's all ready to have a photo or a special message added to the frame!
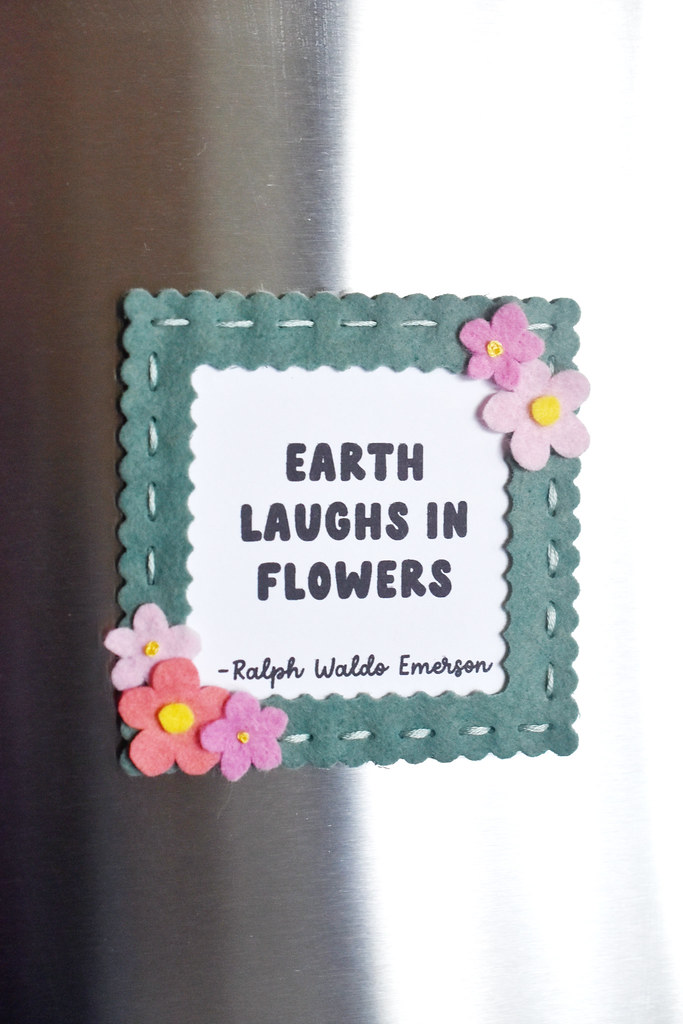 I decided to place a line of poetry in my frame for now. This is actually a printable I shared on my Ko-Fi page. It's designed to go with an embroidery and cross stitch pattern that my Ko-Fi Klatsch members received, but the little set of printables are available to anyone who supports me there (one time or as a subscriber!)
When you're adding a photo or anything else to your frame, you'll just need to cut it down to 3 inches square.
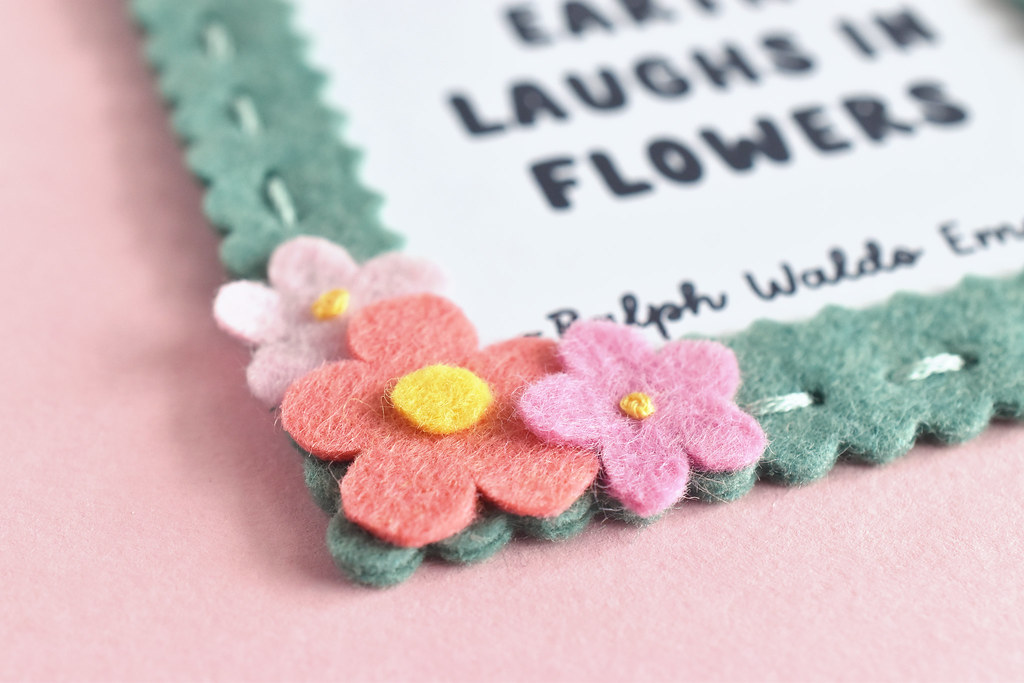
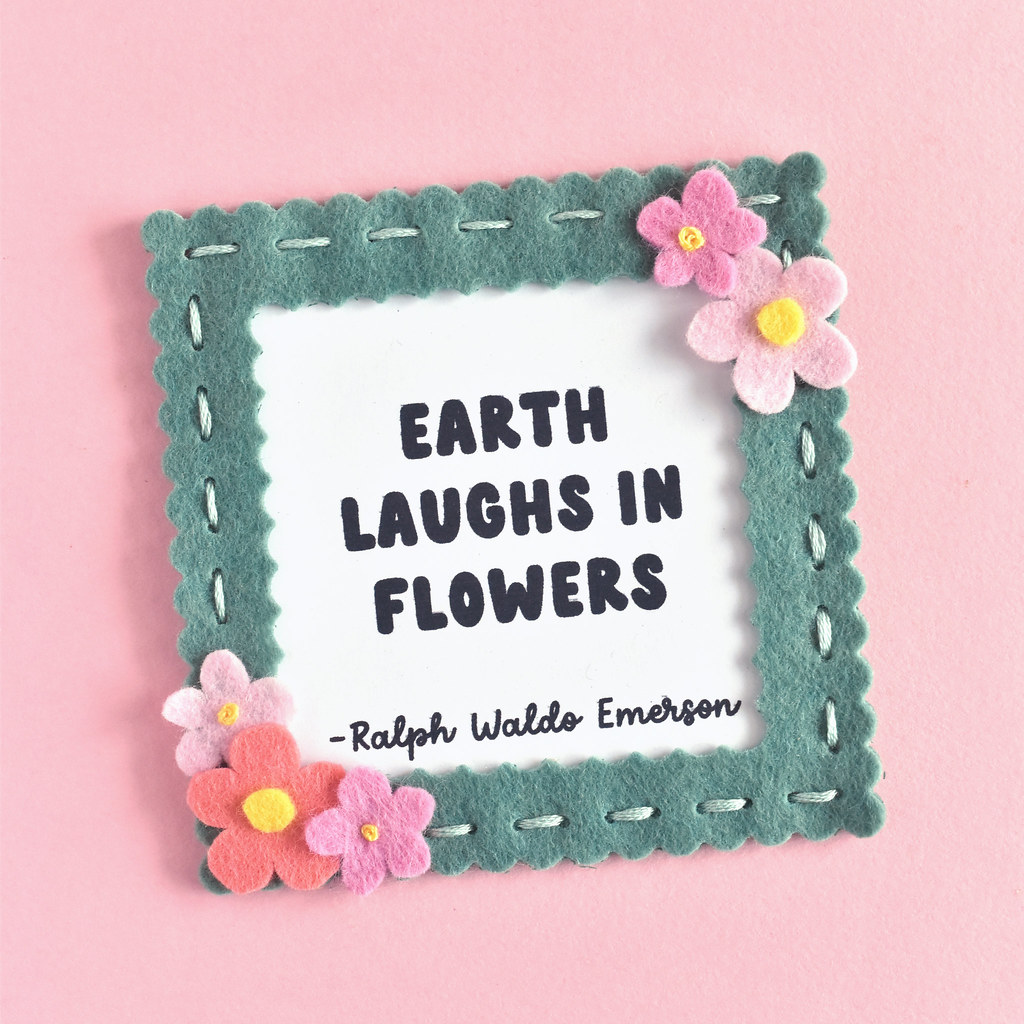
I just love the little flower details and that it's so easy to add something cute and special in the center. I also love the idea of a photo frame as a Mother's Day gift, and have made a magnetic frame in the past too. That one used English paper piecing. But even if you aren't a mom or aren't gifting this to someone, it's still a fun frame to make a use!
Don't want to make this magnetic? Add a little hanging so it's easy to display this on a wall!
0 comments:
Post a Comment
I often reply to comments in the comments...check back if you have a question!