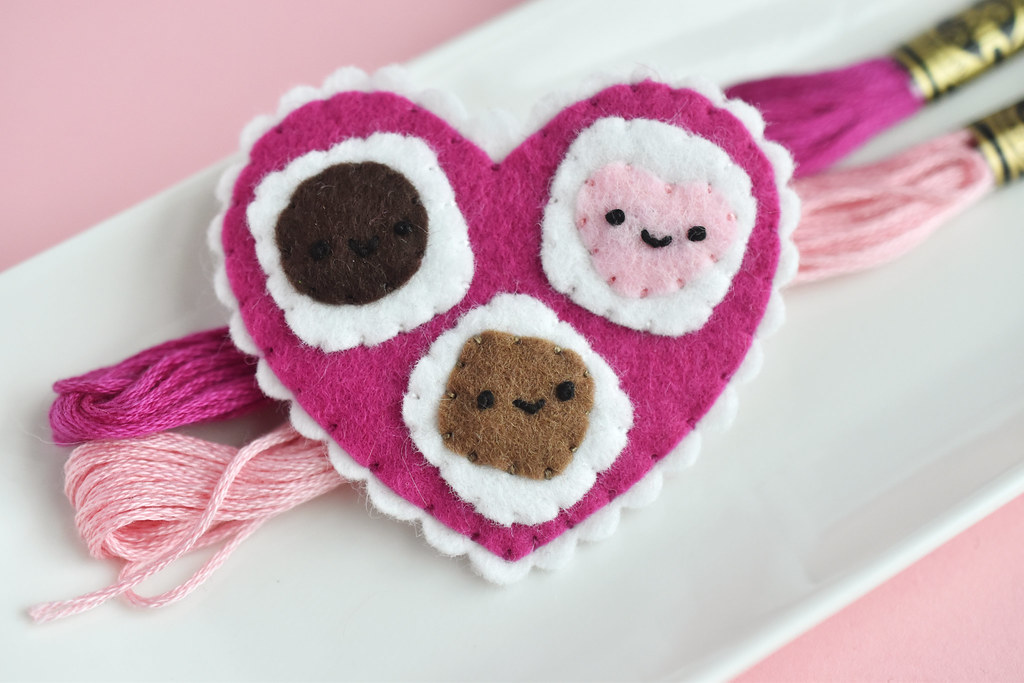
Do love chocolate? Then why not stitch up a sweet box of chocolates that you can wear for Valentine's Day or beyond! This simple felt pin is an easy project to make and hard not to resist. If only it actually smelled like chocolate! (Maybe I should work on that...)
Truth be told, I don't always love big boxes of chocolates because so many of them have fillings that I don't like. Thankfully I have a big family and everyone typically shares and finds things to enjoy. But I think that these heart-shaped boxes of sweet goodness are always super cute and so I had to design my own version.
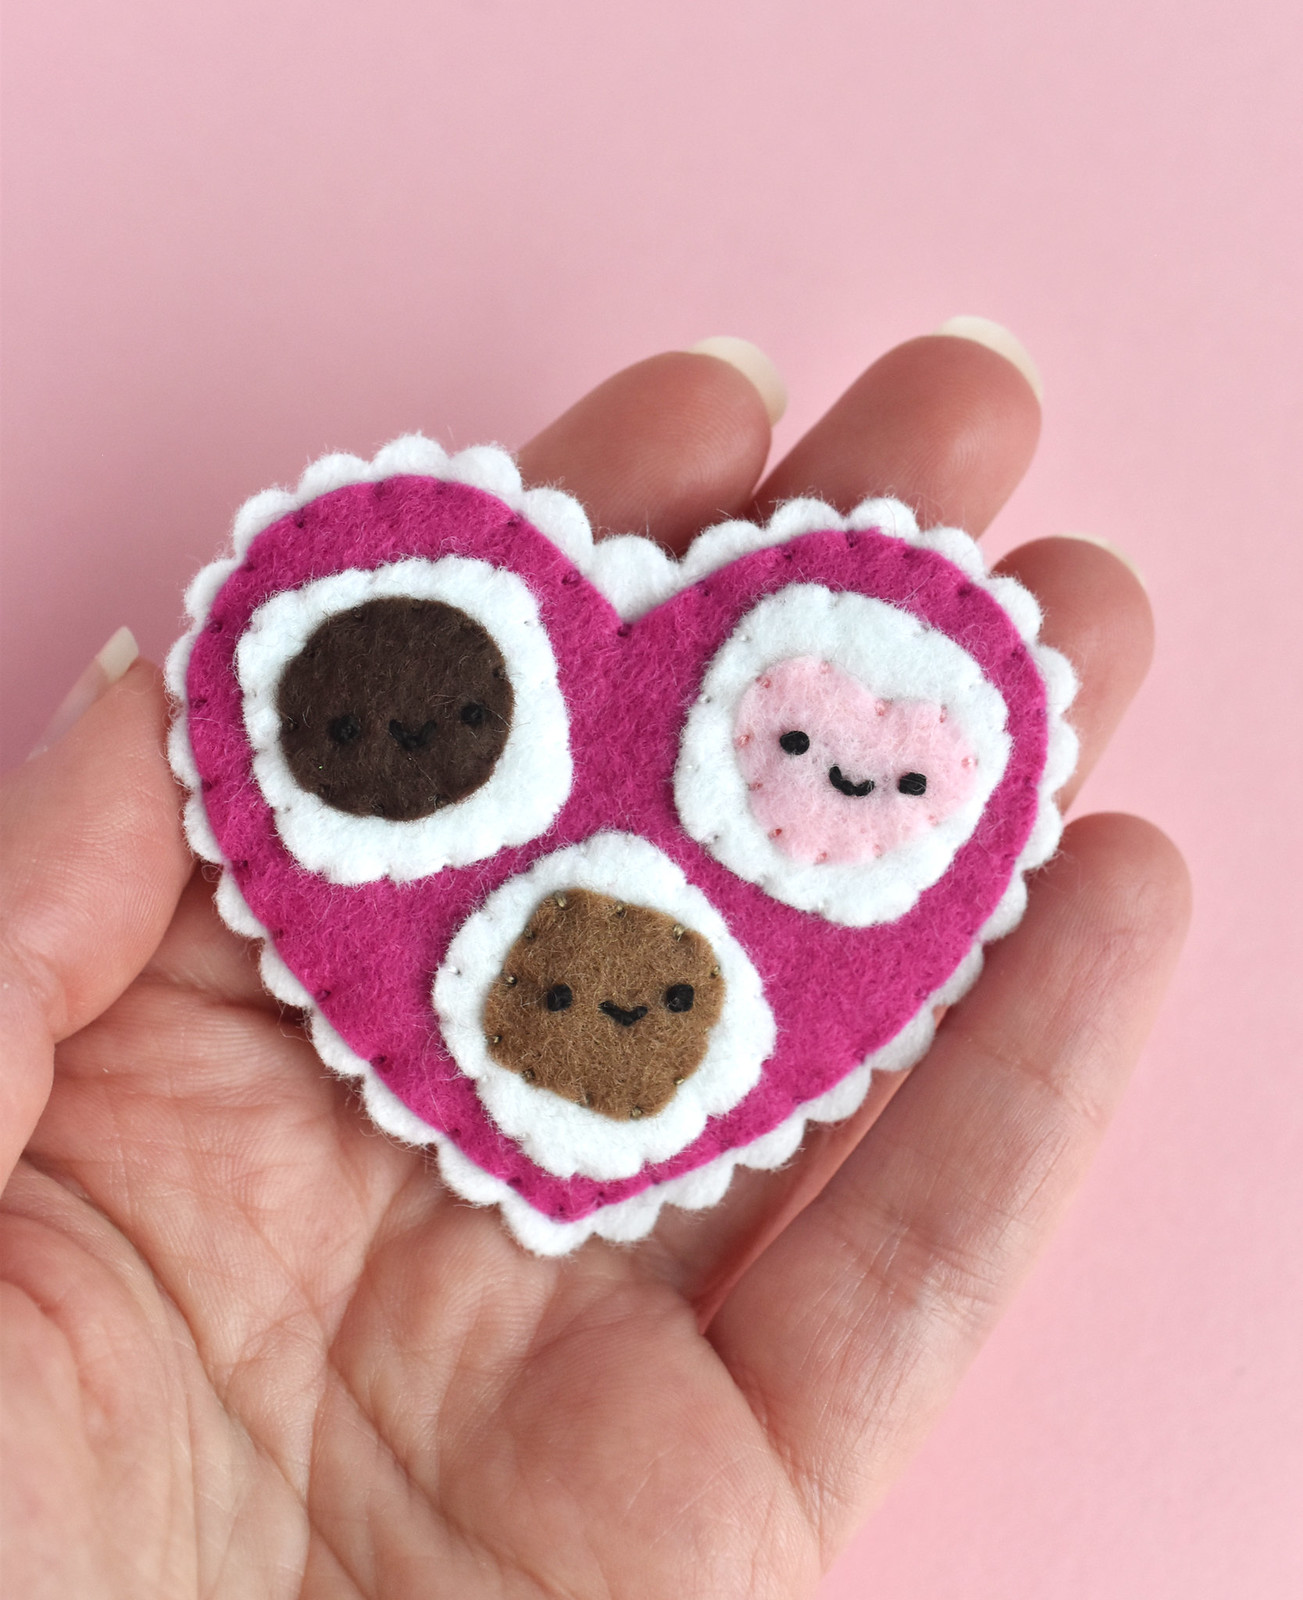
This isn't the first time that I've made something related to Valentine's chocolates. A few years ago I created an embroidered EPP mini quilt that made a chocolate box, plus I've had a few other things deep in the archives.
Most recently I designed a set of Hearts Day felt ornaments that have a bunch of Valentine's Day motifs, and this box of chocolates was originally going to be one of them. But then I swapped it out for something else and decided to make it a little pin to share here! That said, you could definitely use this to make an ornament to match that set, or you could use patterns in that set to make a pin.
All of the felt for this project and for the ornaments is available from Benzie Design. Several of the colors I used in this are in the felt palette for the ornaments, with the addition of two chocolatey shades of brown.
You will need:
Wool blend felt in white, fuchsia, pink, brown, and latte
Embroidery floss in colors to match, plus black
Scissors
5mm scallop shears (optional, but so cute!)
Freezer paper
Iron
Pencil
Pin back
DOWNLOAD THE CHOCOLATE BOX PIN TEMPLATE PDF

Cut out one large fuchsia heart, one scalloped large white heart (see below!), three white rounded squares, and three chocolates from the pink and browns. You can also make these chocolates other flavors or make the rounded squares brown like some chocolate boxes...this would be perfect if you want some white chocolate in your box!
When I cut out my felt pieces, I like to use freezer paper for more accurate shapes. You can find my top tips for that here.
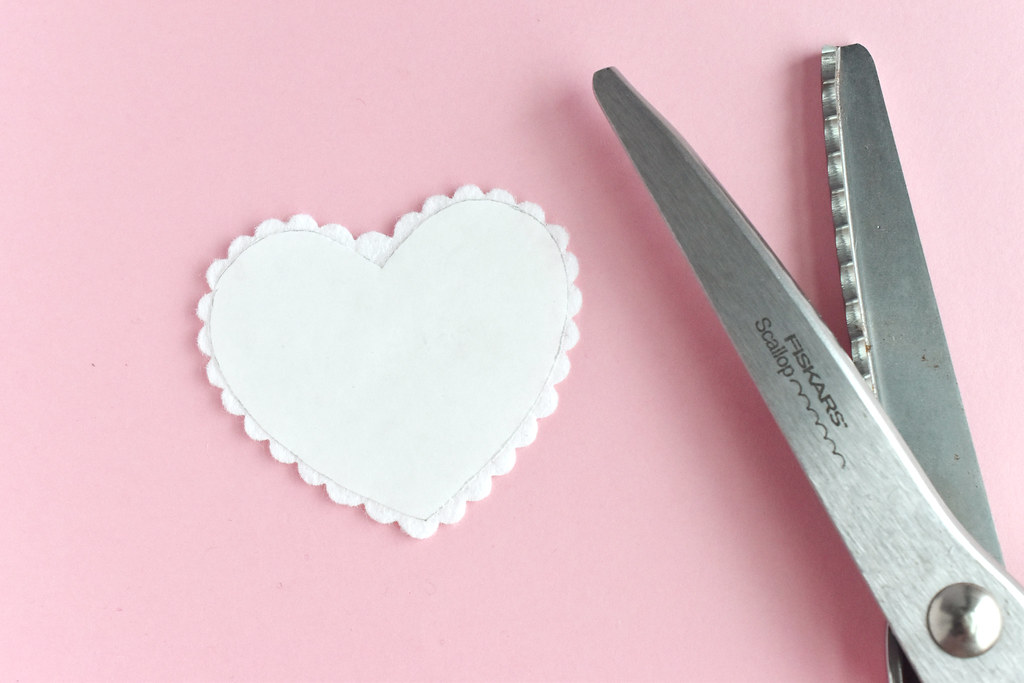
Freezer paper templates are reusable, so after cutting out the large fuchsia heart, you can iron it onto the white felt. Use a scallop shears to cut out around the heart. (Mine are no-longer-produced Fiskars, but Benzie also sells these and they are great!)
Just cut around the outside of the template to make the scallops extend around the edge. Take extra care at the indent and point to try and keep the scallops matching up as smooth as possible.
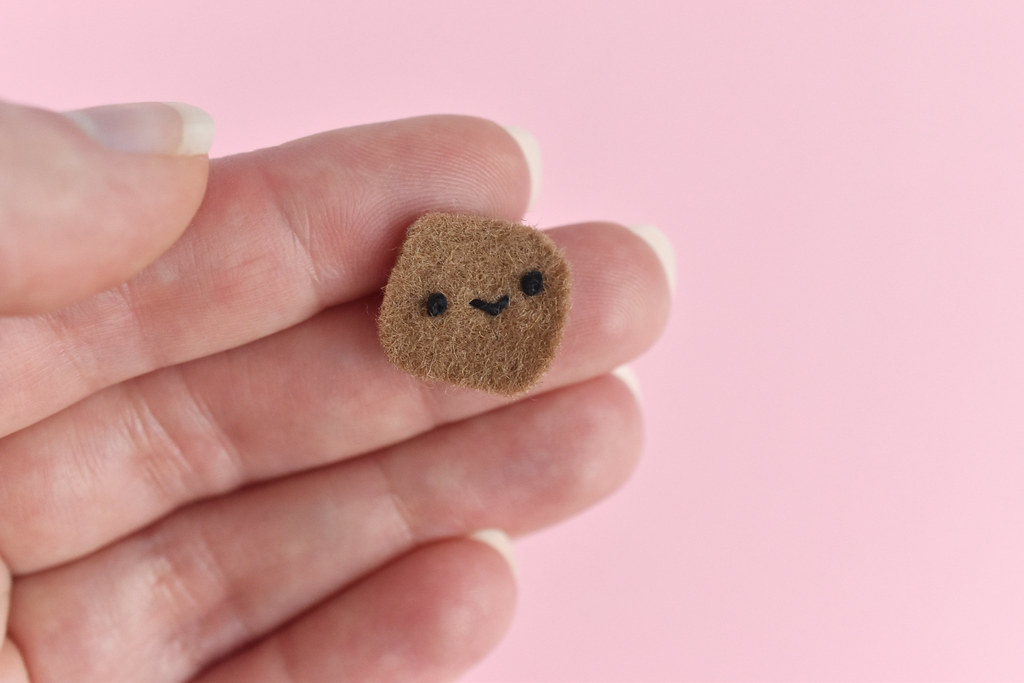
Embroider the faces on the little pieces of chocolate. I stitch these with three strands of black embroidery floss and I make two French knots and a scallop stitch.
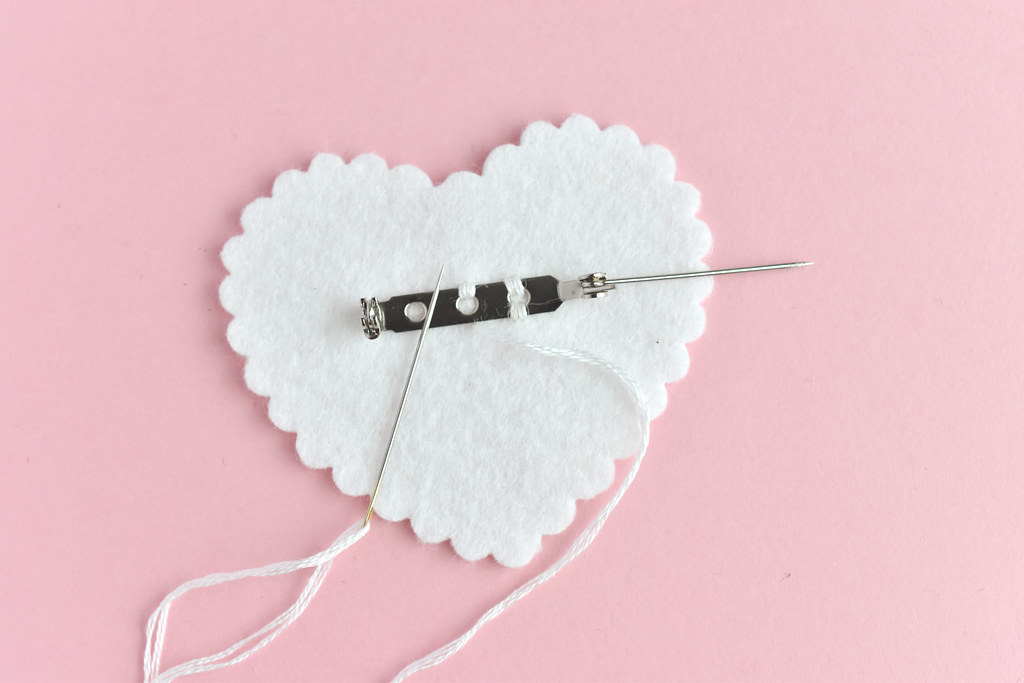
Sew the pin back onto the middle of the white scalloped heart. You can just stitch around each side and through each of the holes two times.

Next, stitch down all of the pieces onto the fuchsia heart. To do this, use two strands of embroidery floss that match the color of the felt for the top piece you're stitching. Applique the felt with a tiny whip stitch.
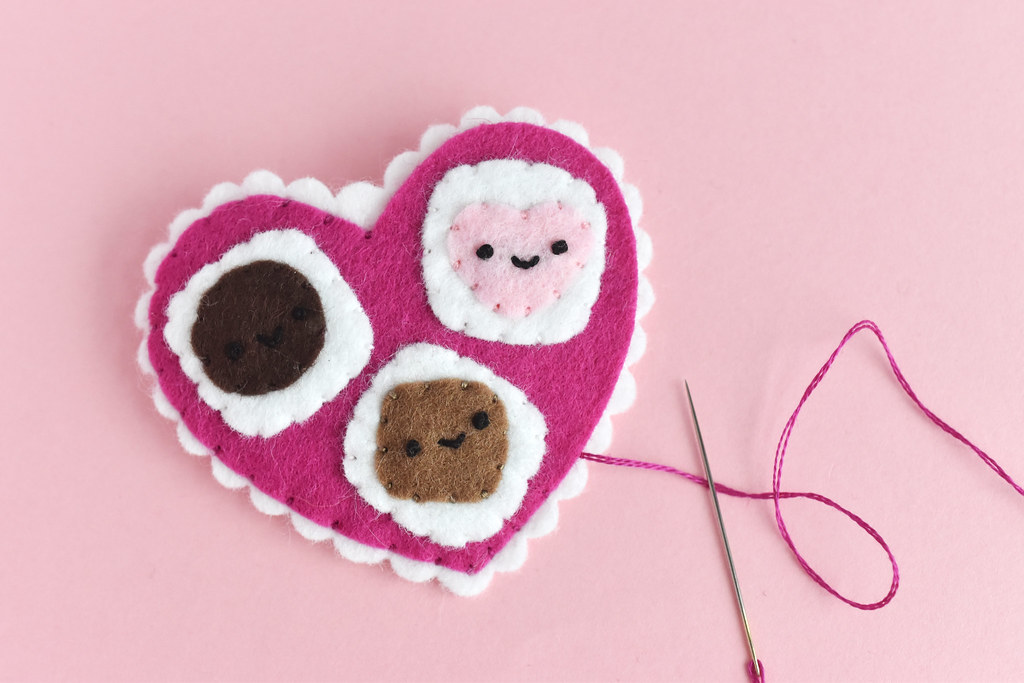
Stitch the appliqued heart onto the heart with the pin back. Do this the same way you stitched all the other pieces!
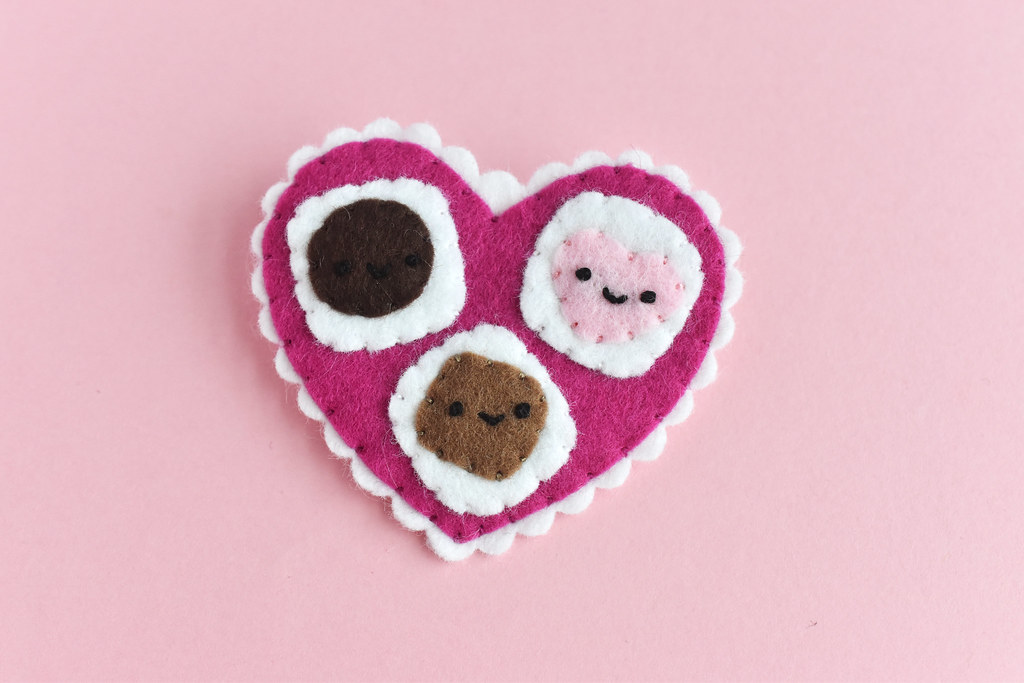
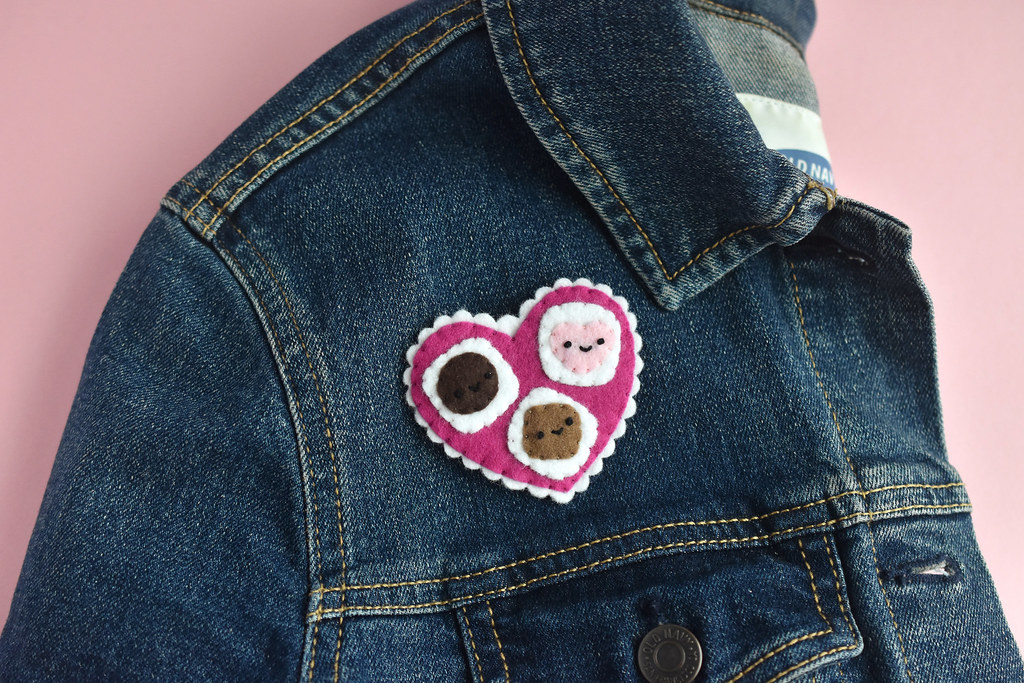
Now your pin is all finished and ready to wear! It's perfect on a coat or jacket, but would also be adorable on a backpack or project bag.

I just love that this has not one, but THREE little happy chocolates with faces! I did consider adding some extra embroidery decoration to the chocolates, which you could do. It would also be cute to make this with fused fabric applique instead of felt. But I'm always team felt!
Now the biggest question you have to ask yourself is what flavor chocolates will you add to your kawaii chocolate box pin?
Adorable! I love the scalloped edges for this. This pin came together beautifully! -Dani ✨
ReplyDelete