


It's nearly Halloween, and I hope you've purchased plenty of candy. You know...some to hand out, but plenty for you to just enjoy. I always regret not buying enough for myself, so I'm officially giving you permission to do this.
After you have the candy, all you need is something super cute to hold it all, and that's where I come in. Diane Gilleland wrote an incredible book on English paper piecing (it's the textbook on EPP...you need it), and she has organized a little blog hop with ideas for things to make for Halloween...all using EPP!
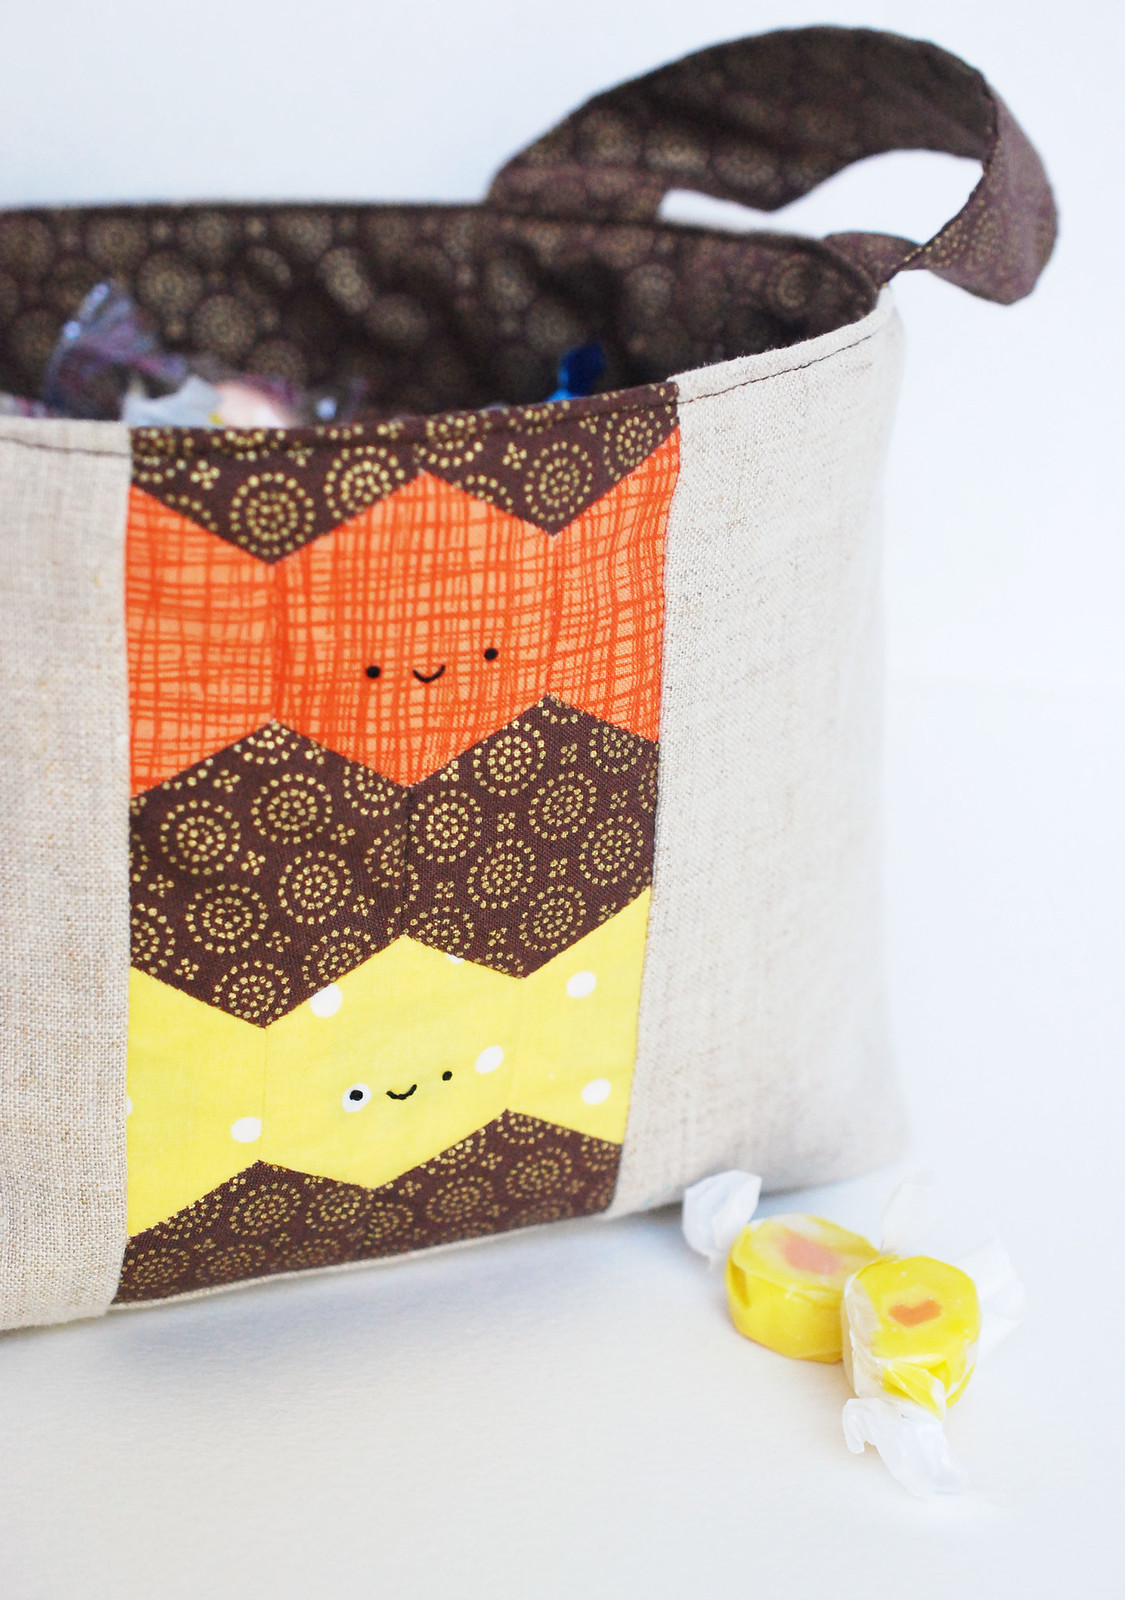
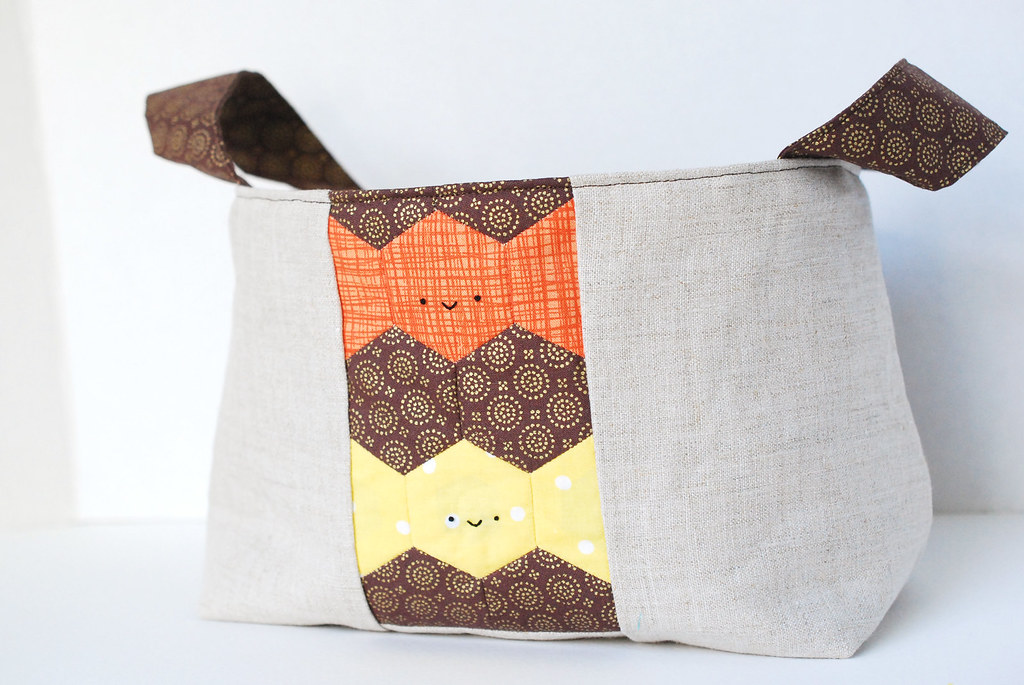
This candy basket has two panels of hexagon candies, and is put together using the 1-Hour Basket tutorial. It's just $5.00 and highly customizable. You'll be glad to have it in your pattern library.
To save time, you could make just one EPP panel and do the second side solid (you will need 1/3 yard of linen instead of 1/4). But I promise that the hand sewing portion of this goes faster than you think. Plus, you'll get a chance to watch a couple of your favorite Halloween movies while you work!
Now, let's get started!
Here's what you need:
Quilting cotton for candy pieces (enough to make 4 hexagons and 8 half hexagons)
Quilting cotton for accent hexagons, lining, and handles (1/2 yard)
Linen (1/4 yard)
Fusible fleece batting
Basic sewing notions
Hexagon and Half Hexagon Templates
Note: You can use standard 1-inch hexagon templates for this, and just cut a few in half.
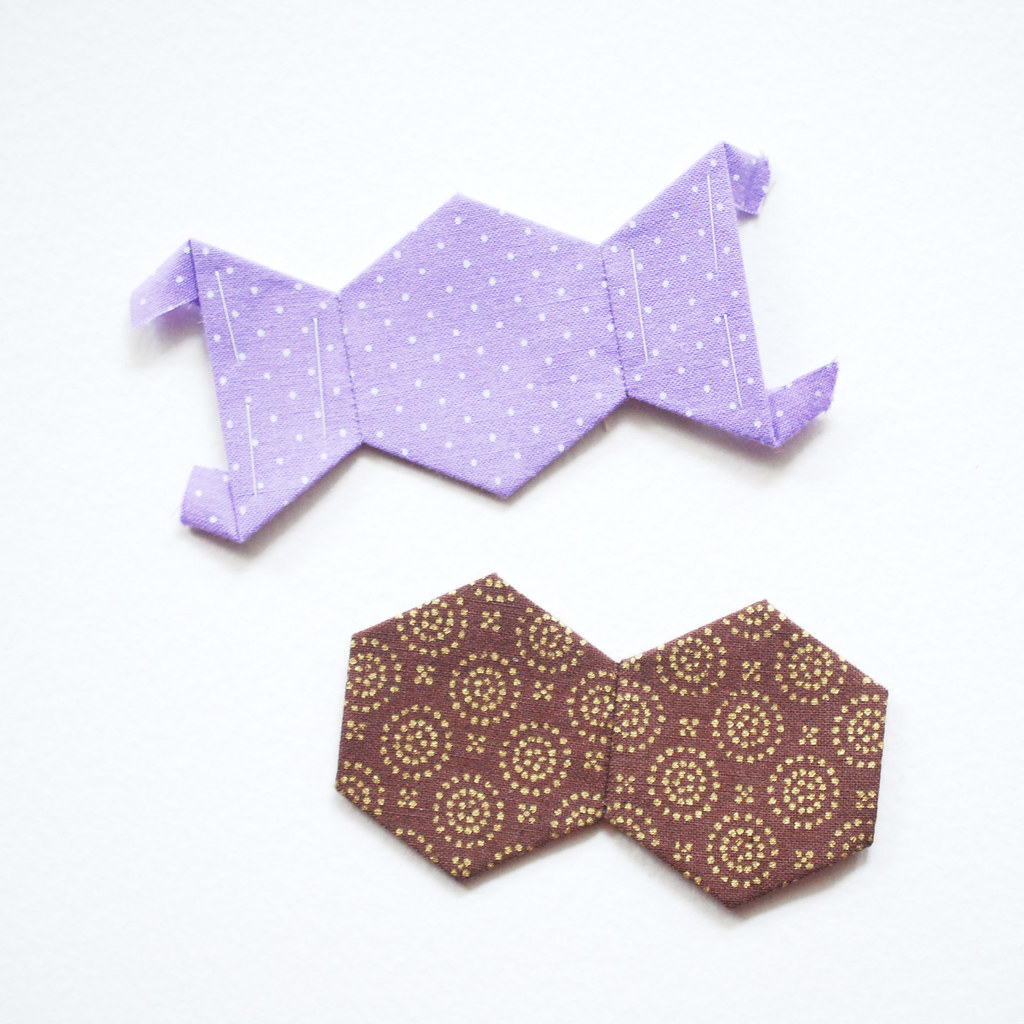
First, baste the hexagons and half hexagons. You will need 12 whole hexagons from the accent/lining fabric. For each piece of candy, baste one whole hexagon and two half hexagons. You can make each candy piece in a different color, or make them all the same. But you'll need four in total.
Normally I baste 1-inch hexagons by tacking the fabric on the back, which is what you see pictured. I've found that half hexagons come out nicer if I stitch through the paper (because of the acute angles). After I made my basket, I realized it would have been helpful if I had stitched through the paper on all of these pieces. You'll see why soon.
Join the candy pieces to look like little pieces of candy, and stitch the accent hexagons into groupings of two.
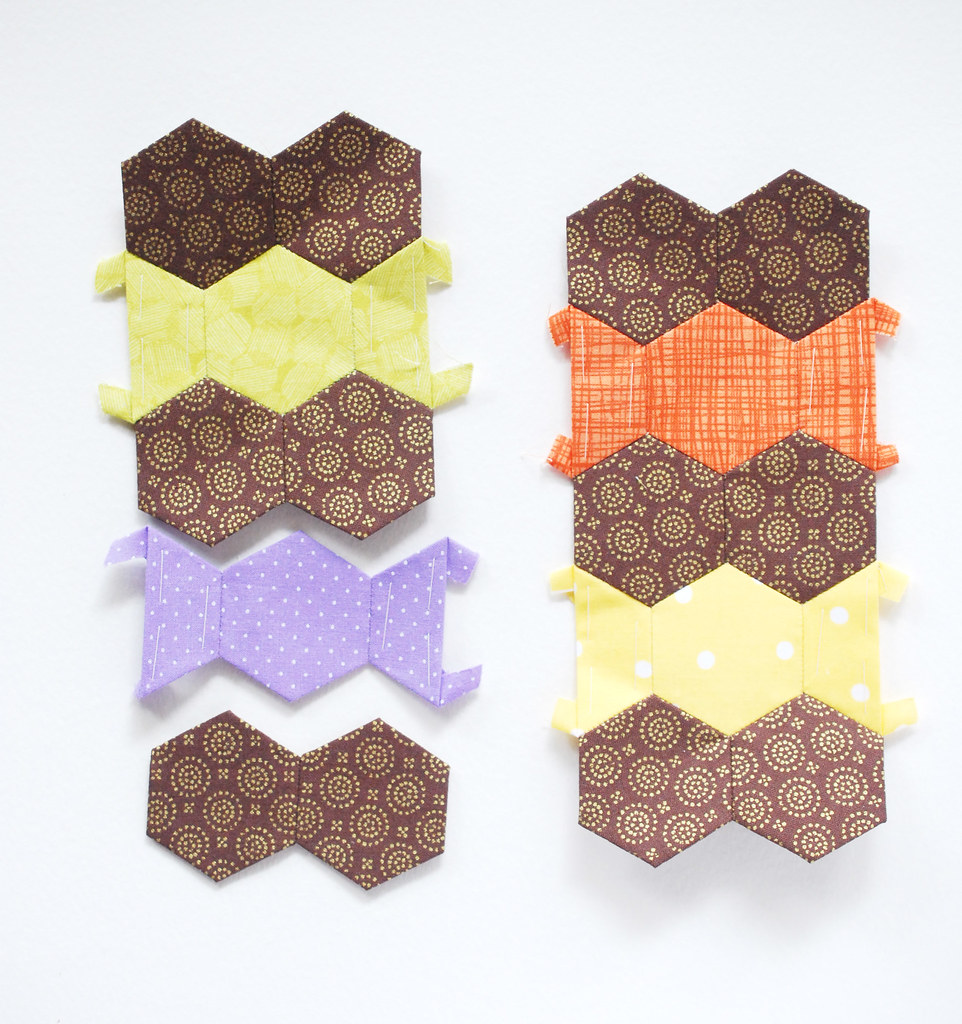
Join the candies and the accent hexies into two rows. Each row should be a stack with accent hexies, a candy, accent hexies, a candy, and finally one last set of accent candies.
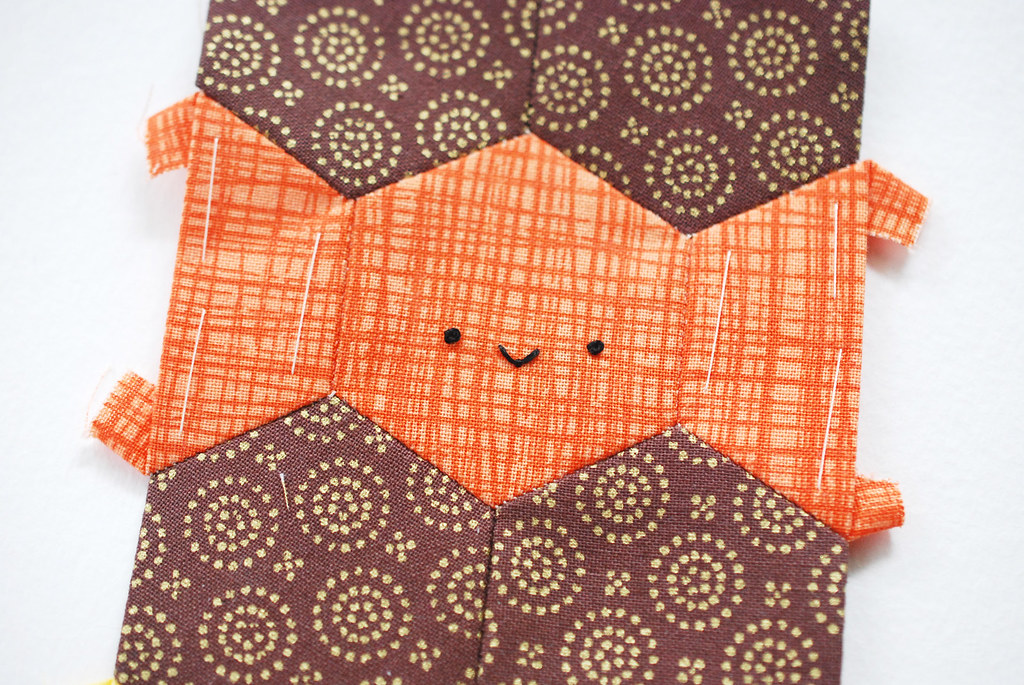
Remove the templates from the center of the candies, then embroider the faces. The faces are french knots and a scallop stitch. Of course, you can skip the faces, but you wouldn't want to do that, would you?
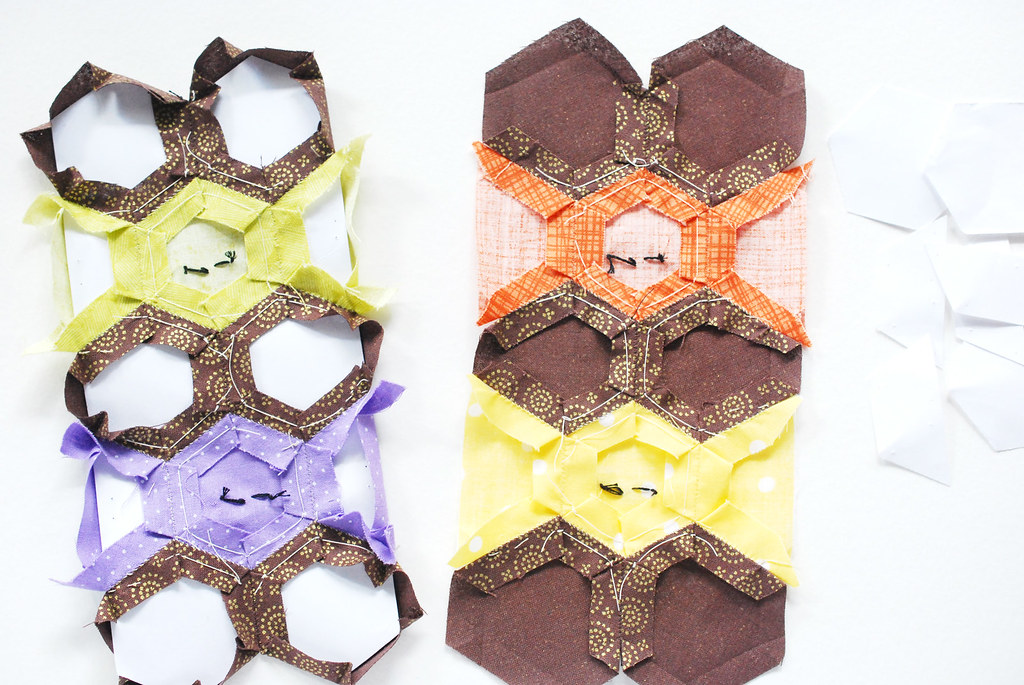
Now, remove the paper templates from all of the pieces. If you stitched through the paper, you'll need to remove the basting stitches. If you only took tack stitches, you'll still probably need to remove the basting stitches...at least around the edges. (It's easier to remove basting that goes through the paper!)
Open up the seam allowance all around the EPP panel and give it a gentle pressing with an iron. Don't remove the creases entirely, because they'll be your friend coming up.
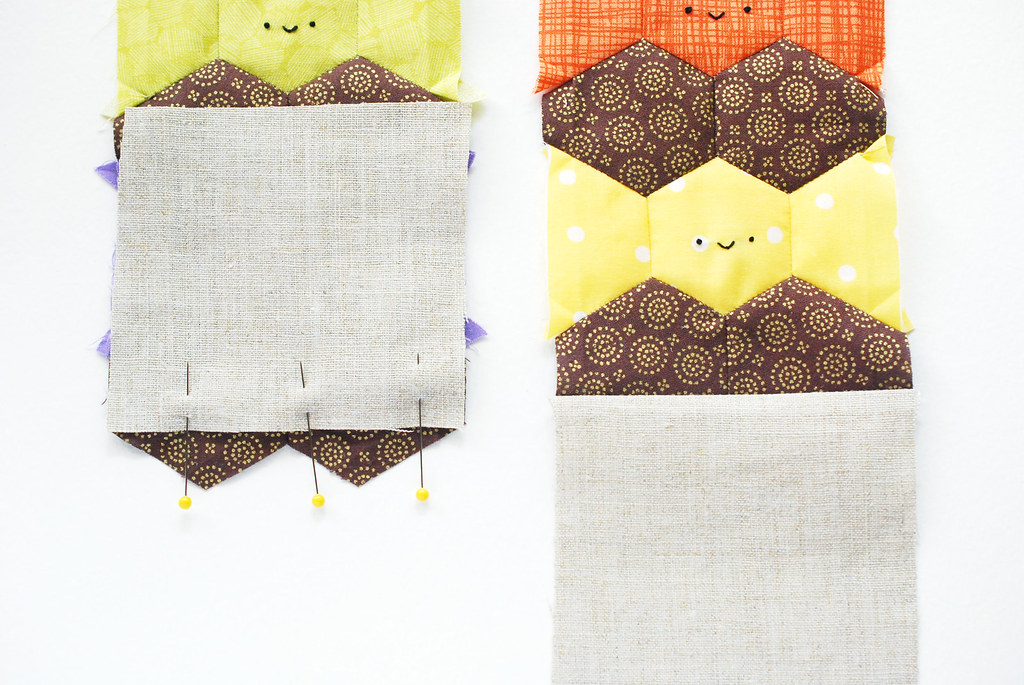
Cut two pieces of linen: 4 x 4-1/4 inches.
Pin a linen piece to the right side of the bottom of each EPP panel. I like to leave the points of the hexagons on until after it's all sewn, but imagine if you had cut off the bottom so it has a straight edge. That's where you line up the bottom of the linen.
Sew along the edge with a 1/4 inch seam and press the allowance toward the linen. Repeat for each panel.
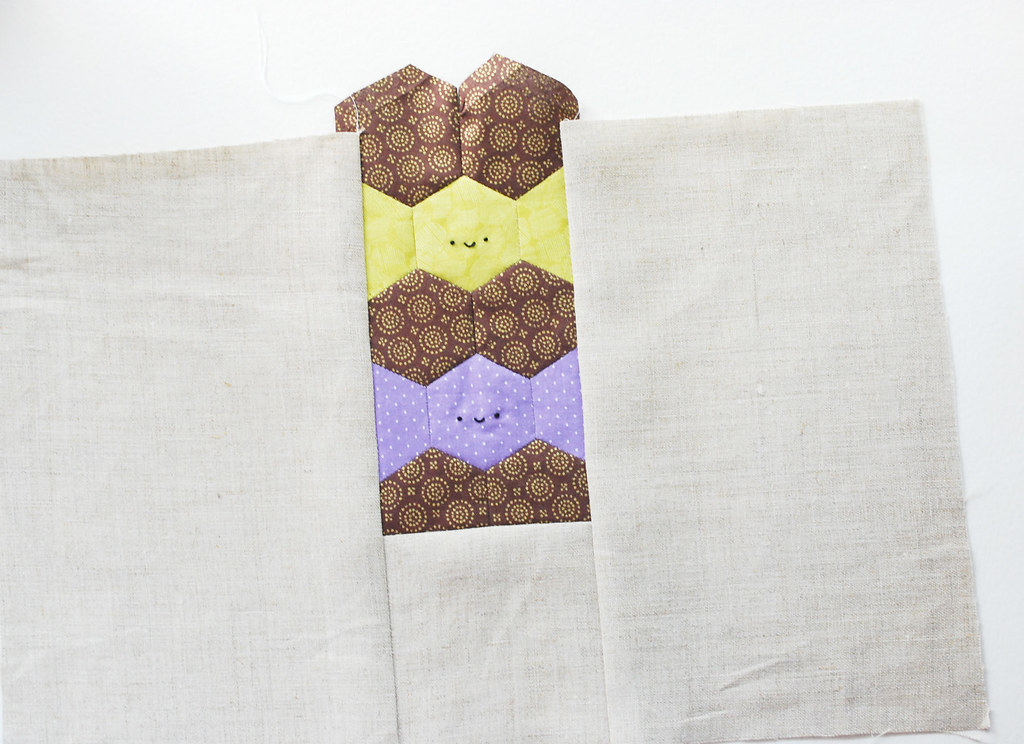
Cut four pieces of linen: 10-1/2 x 6-7/8 inches.
Pin and sew a piece of linen along each side of the EPP panel, aligning the pieces with the bottom linen piece. Repeat for each side.
When you sew the edges, use the crease of the hexagons as your guide for seam allowance. If your seam allowance is too small and your seam falls outside of the crease, the seams of the joined hexagons won't go all the way to the new seam. If this is super confusing, let me know.
Trim the top hexagons to be even with the linen.
Now you're ready continue the tutorial for the 1-hour basket. Basically, you've just created the two exterior pieces.
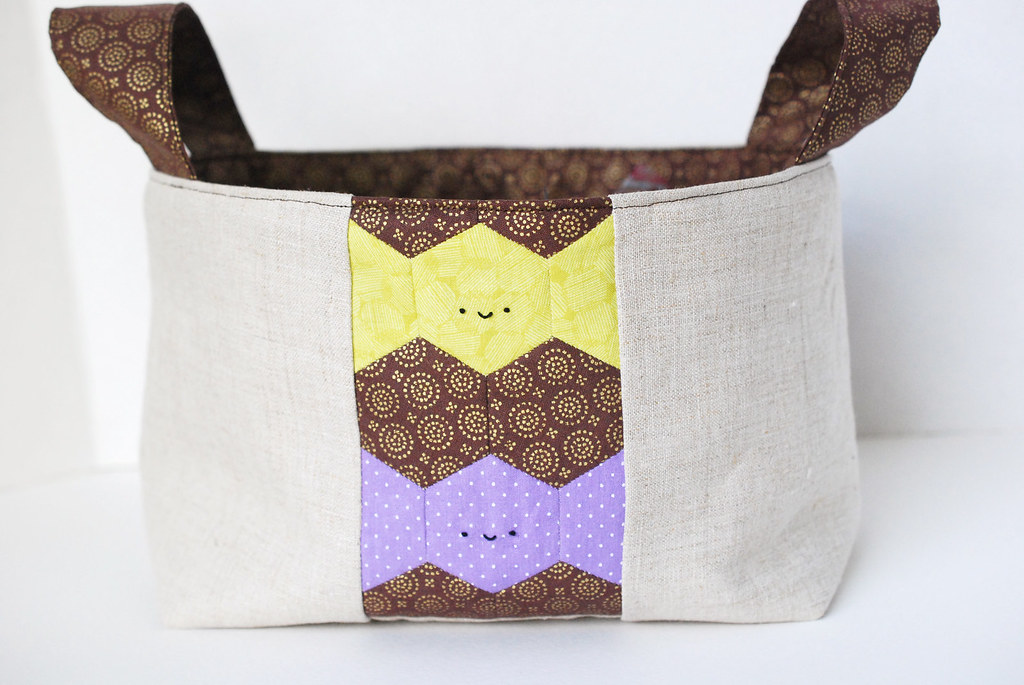
When you're finished, it should look something like this!
What I love about the 1-hour basket is that it's pretty adaptable when it comes to size. Piecing this together I had some moments where the linen shifted or my seams were off just a bit. But as long as the exterior, interior, and batting all match up (trim as needed!), it works. I need forgiving sewing projects in my life!
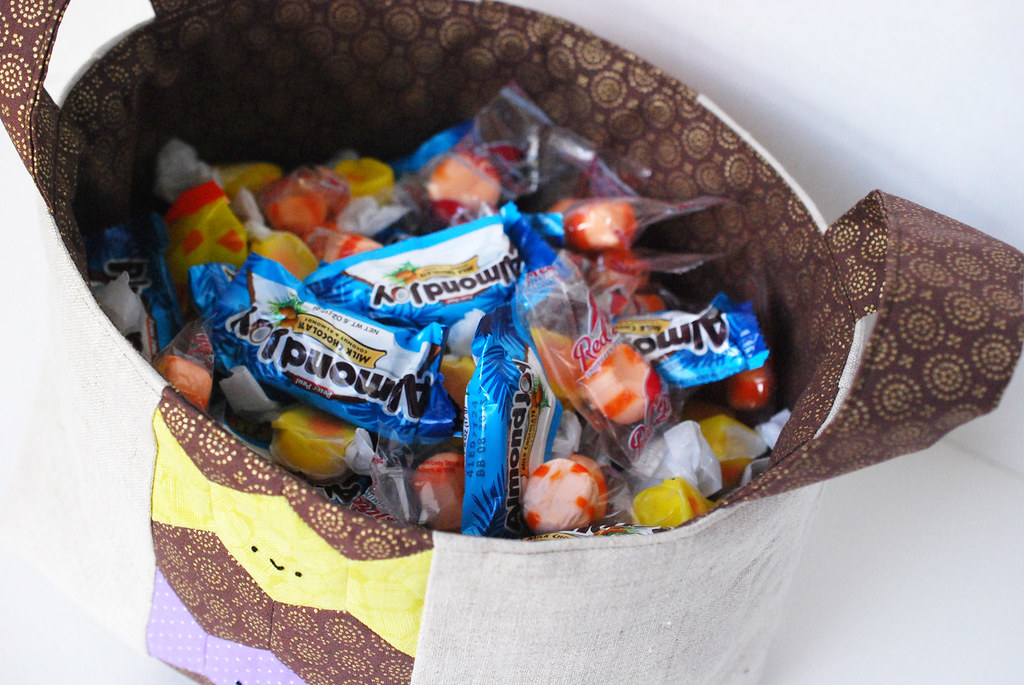
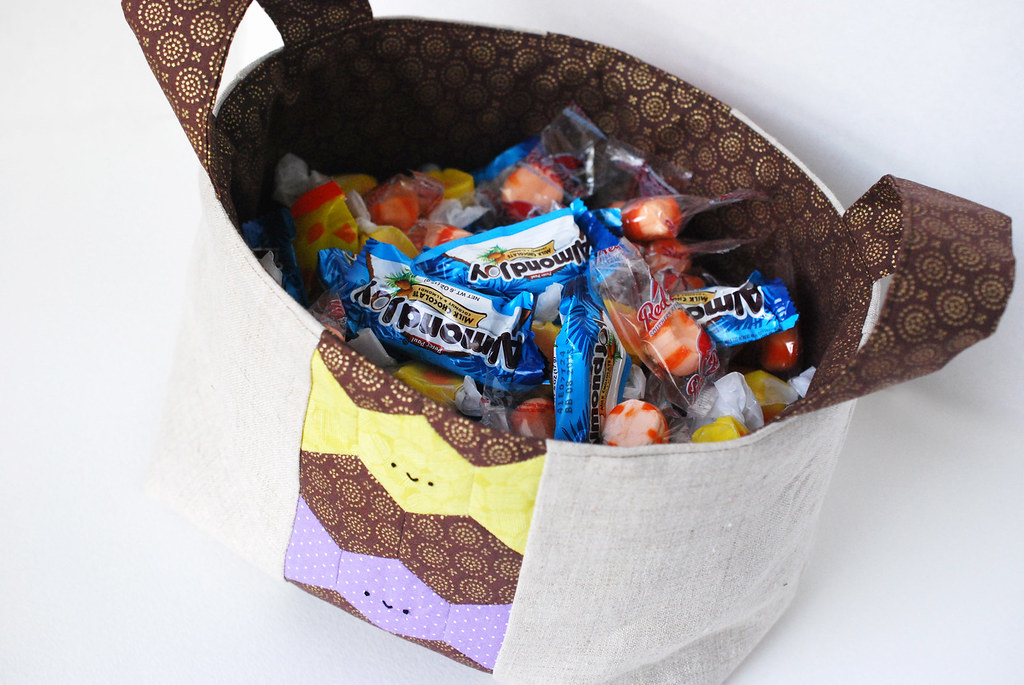
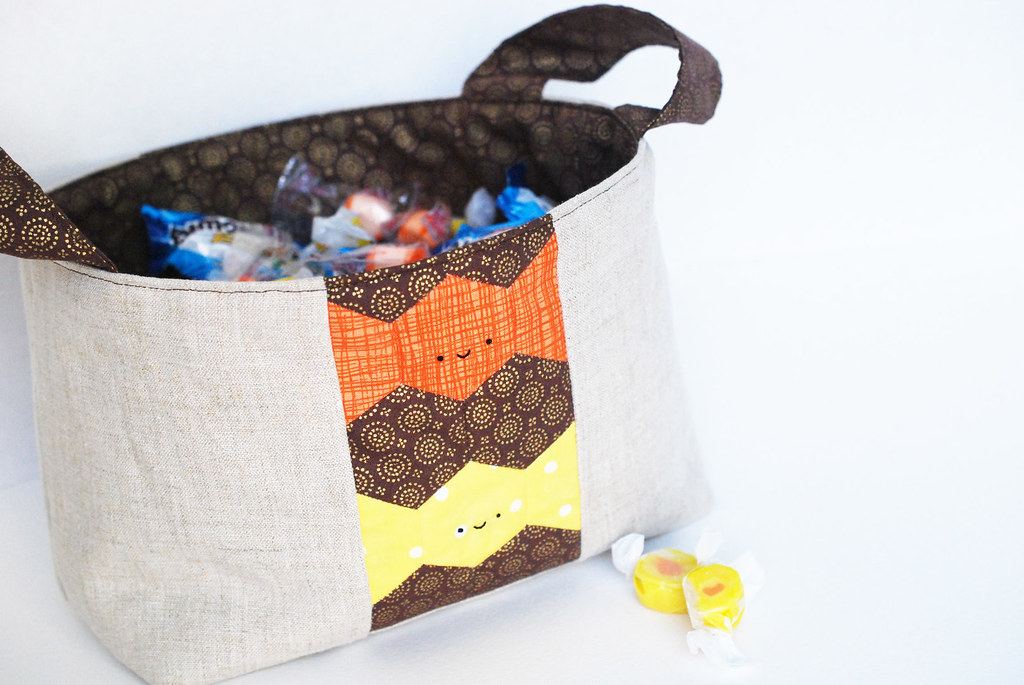
All that's left now is to fill your basket with your favorite candy! Er, I mean, the candy you'll pass out on Halloween! Okay, so I guess that could be the same thing. You know, just in case you forget to turn on the front light and no one knocks on your door.
And while the design for this was inspired by those black and orange wrapped peanut butter candies, please promise me that you won't hand those out. Nobody likes those.
For more fun Halloween EPP tricks and treats, check out the other stops in Diane's blog hop! I'm only the third stop, and there will be more added as the week continues. Happy Halloween stitching!
Oh my goodness, I LOVE THIS!
ReplyDeleteI'm seriously pondering the feasibility of whipping up five of these by Halloween...hmmm.
Majorly cute, thanks for sharing!
Thanks! Making five would be a challenge, but not out of the question! Maybe only do candies on one side...then go for it!
DeleteThe one-hour basket is such a quick make and the addition of these fun hexies makes it the perfect basket for holding the treats. Thank you Mollie. xxx
ReplyDeleteI'm holding out and not buying any candy yet, because if I buy it now, there will be none left by Halloween!!! Good choice on the Almond Joys ;-)
ReplyDeleteSuper wonderful!
ReplyDeleteGreat idea! I downloaded that pattern a while back but haven't made one yet, I like the way yours came out, will have to try one. And I like the Almond Joys too!
ReplyDeleteLove it!
ReplyDeleteLove those little faces you stitched :)
ReplyDelete