

As I've been sewing up more simple soft friends, and as I drew up a triceratops for this month's calendar, I just knew that a dinosaur plush was going to have to be a thing. Made from fleece, this little guy comes straight from my illustration, and he's already well loved around our house. In fact, he currently sits on my 26-year-old sister's bed!
I'm quite partial to his orange color, but I can picture him in other colors. And if you flip the pattern, you could make a second dino so they could be friends who are looking at each other!
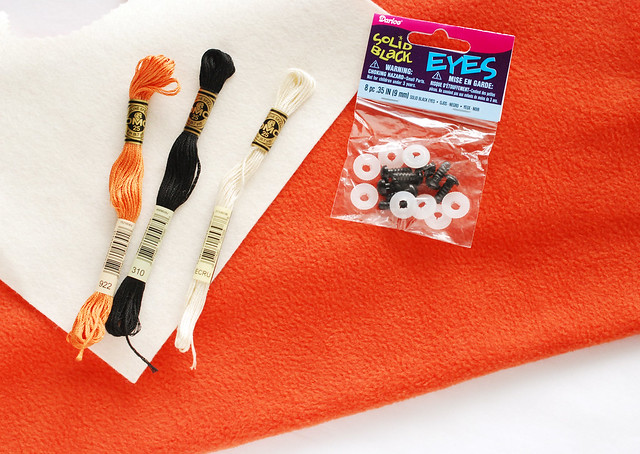
Here's what you need:
1/4 yard fleece
white or cream felt
embroidery floss
9mm "safety" eyes
stuffing
scissors
pins
sewing machine
needle and thread
Dino Plush PDF Pattern
Reminder: If you're giving this to a very young child, don't use plastic eyes. Instead, embroider them with satin stitch.
Here's what you do:
From the fleece, cut out two body pieces and two head pieces. If you cut them with the fabric doubled, they'll come out right. For the best results, make sure that your fleece follows the stretch marked on the pattern pieces.
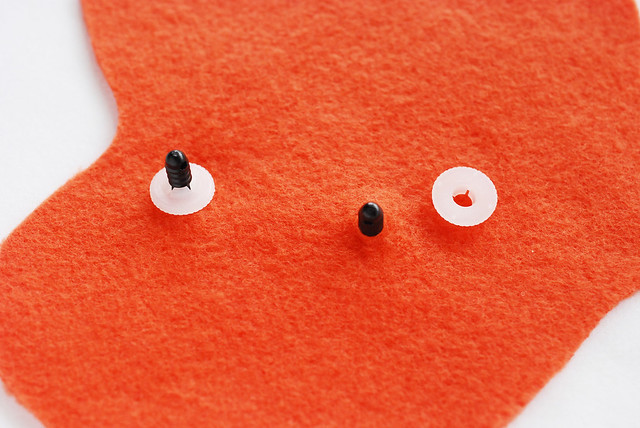
Follow the template for placement of the eyes. Because fleece stretches, I cut a very small slit in the fabric, and that's usually enough to slide the post of the eye through. Then you just push that backing on.
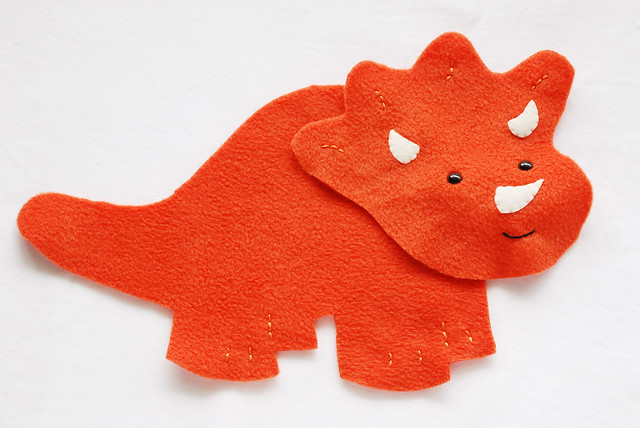
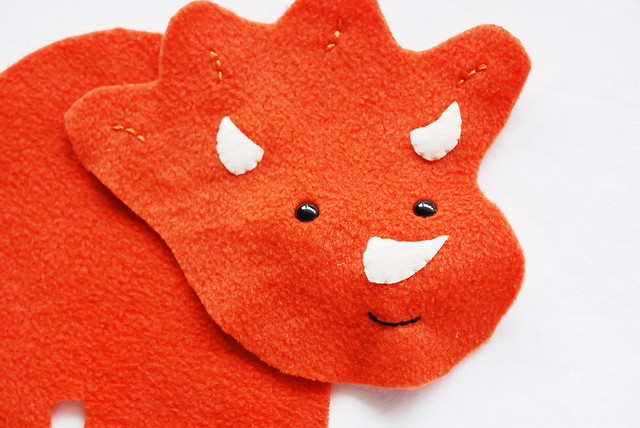
Cut the three horn pieces from felt and applique them onto the head. Add the rest of the detailing with embroidery floss.
You can make a tracing paper template and stitch through the paper and fabric, then tear away the paper. OR, you may find it just as easy to freehand stitch the details, using the template as a guide. The extra lines are pretty simple, and precision isn't too important.
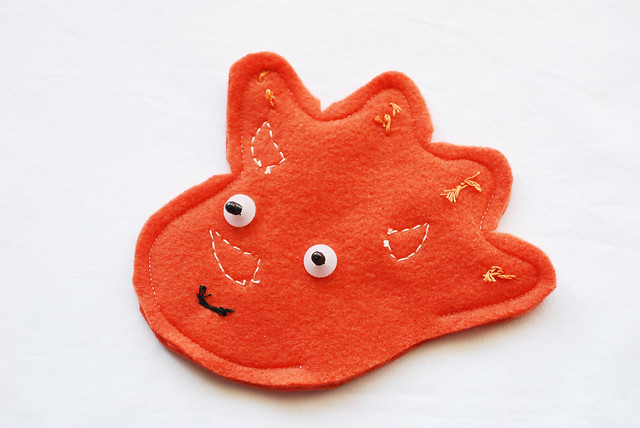
Place the pieces for the head and body right sides together. Pin them around the edges...a lot! Extra pins really make sewing these pieces so much easier. Then, sew around the edges and leave an opening for turning.
Clip the curves as shown so things don't pull and tug when turned.
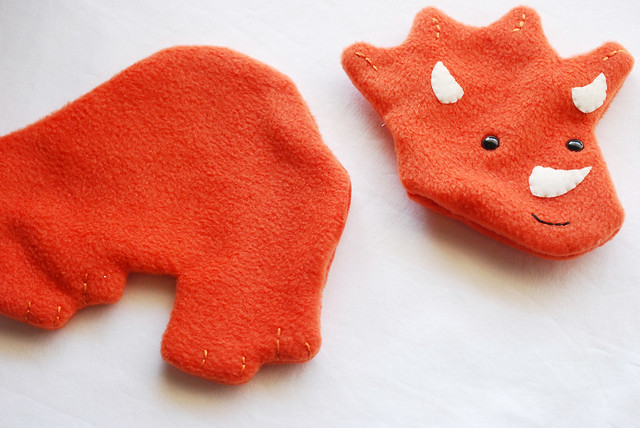
Turn the head and body right side out and use a chop stick or the eraser end of a pencil to poke out the small areas. The tail will need the most help!
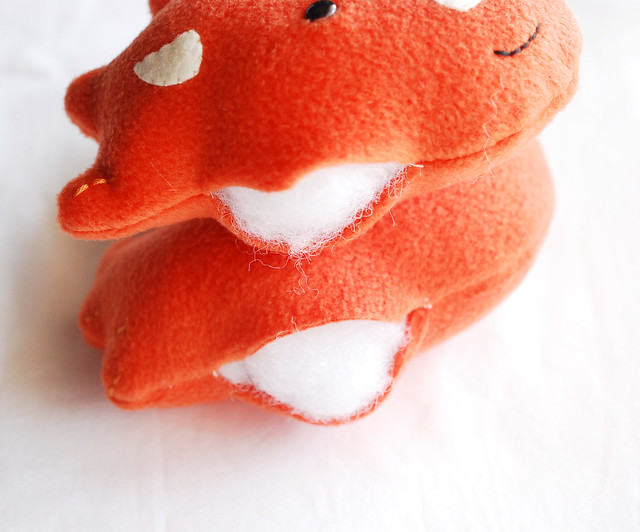
Stuff both of the pieces so they are nice and full, but not overly firm. How's that for a definitive instruction?
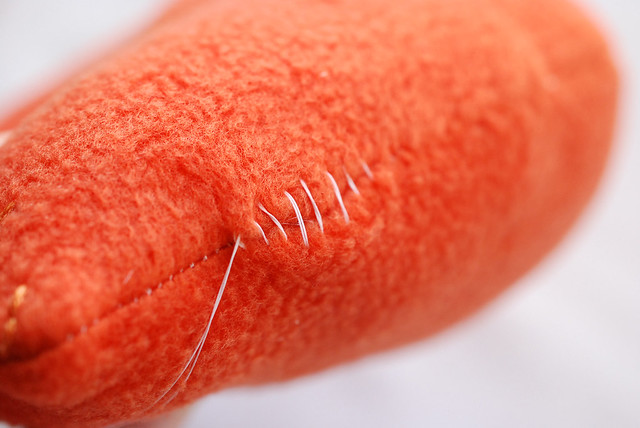
Sew the openings closed with needle and thread. I prefer ladder stitch.

Now it's time to attach the head to the body. Hold the head in place to get an idea of where you want it. You'll find that small adjustments to the position and angle make a big difference in its personality!
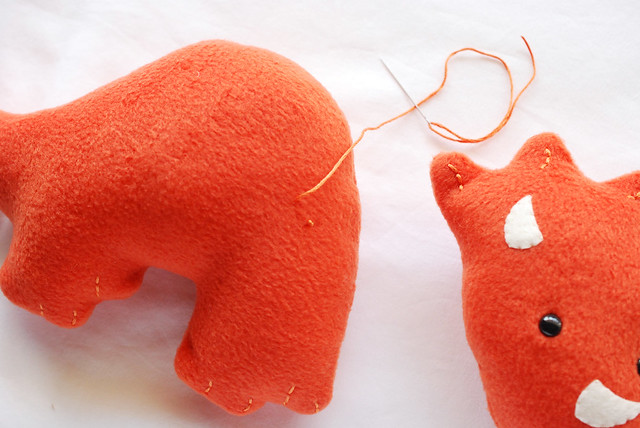
Using matching embroidery floss, thread the needle and tie a knot in the other end. Take a stitch through the body where the head will go.

Put the head back in place and start stitching them together. Essentially, you're going to ladder stitch them to hold them, creating a little circle of stitches.
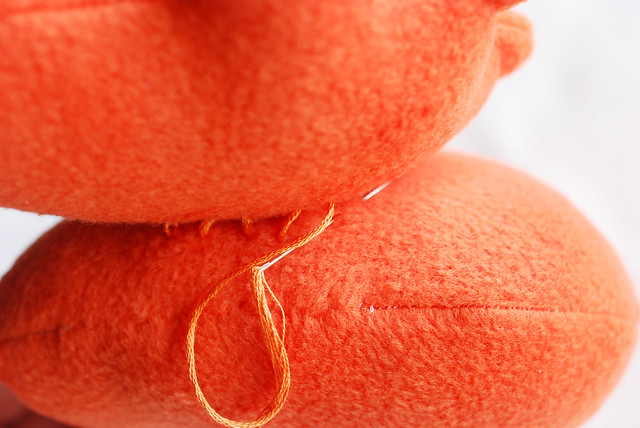
Add as many stitches as it takes for it to feel secure. I probably took about 15 or so stitches. As you pull them tight, they'll pretty much be all but invisible, so don't be afraid to take an extra stitch or two so you know that his head won't go anywhere. Tie a knot as close to the center as you can reach it so that it's hidden.

Now you've got a dinosaur to hug and love!
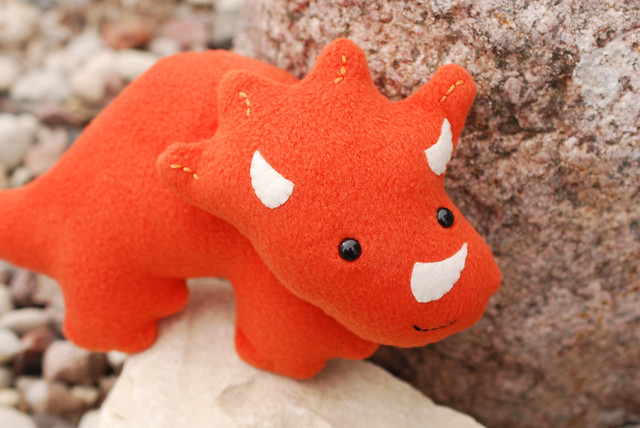
Just be sure to give him some time to play in the stone age, er, I mean...the rock bed in your yard!
A-dorable! Great instructions. Not surprised your sister snagged it :)
ReplyDeleteOh my goodness, so cute! I need to do something like this for my son. His room is in serious lack of decorative items. Might go for a different color and a different animal though, but this tutorial and the pictures make it easy to see exactly what needs to be done. Thanks!
ReplyDeletePinned it. I hope it's alright with you. :)
ReplyDeleteDefinitely! Thanks!
DeleteI have to make one of these for my son at some point! I have too many projects going right now, but I LOVE this!!! :)
ReplyDeleteADORABLE!!! I just love how a shy little smile can make such a difference on a little stuffy!!! Love your style :)
ReplyDeleteWhat a sweet dinosaur! Thank you so much for the tutorial :0)
ReplyDeleteMollie, this is beyond adorable! What a great tutorial, you did a fantastic job!
ReplyDeleteoh boy that is cute!
ReplyDeleteSo cute! I love it!!!
ReplyDeleteI saw almost the same project but for a bunny! The dinosaur looks so cute, I think that even a kid can do it (with his mother around of course) :)
ReplyDeleteThanks for sharing! Have a nice day!
Marylebone end of tenancy cleaning
its so funny dinosaur...i like that creation!
ReplyDeleteWhat a cutie! Pinning for my dinosaur lovers!
ReplyDeleteHe is so cute. Thanks for sharing such a lovely pattern.
ReplyDeleteClaire xx | somewhere... beyond the sea
oh my gosh adorable!!! so much detail in a sweet little package :)
ReplyDeletehttp://floatingthrufields.blogspot.com/
So Cute!!
ReplyDeleteMy 5yr old grandson is learning to sew and your instructions are just perfect for him. I love it!
ReplyDeleteI made a couple of these -just finished them today. They will go into tote bags I make for charity to be given to children in a domestic violence shelter. Thanks for the pattern.
ReplyDeletePeggy Gibbs
Peggy_verdongibbs@att.net
World of Charity Stitching