It's the beginning of January so you might be thinking of learning something new this year. Embroidery, perhaps? I'm always a fan of helping people learn how to embroider or try out new stitches. So I made a fun little printable punch card to motivate and track your progress!
My sister showed me some adorable punch cards that people were making and I immediately thought of embroidery stitches for this. Rather than listing specific stitches on the card, I used little hoops as the punch spots. This way you can use the card if you're just starting out with the basics, but it's also great if you already know 25 stitches and want to learn 10 more. Because there are so many stitches you can learn and try in embroidery!
I ususally use the same four or five, so this might get me working more special stitches into my work.

For optimal punch card experience, I recommend printing this on card stock. To make the best use of a sheet, I put two of these on a sheet. Now you can learn 20 stitches OR share one with a friend so you can stitch together!
Wondering which stitches you should learn or practice? If you're just starting out, these are the ten of the most common embroidery stitches you'll find in patterns:
• Straight Stitch
• Running Stitch
• Back Stitch
• Split Stitch
• Stem Stitch
• Chain Stitch
• Lazy Daisy
• Fly Stitch/Scallop Stitch
• French Knot
• Satin Stitch
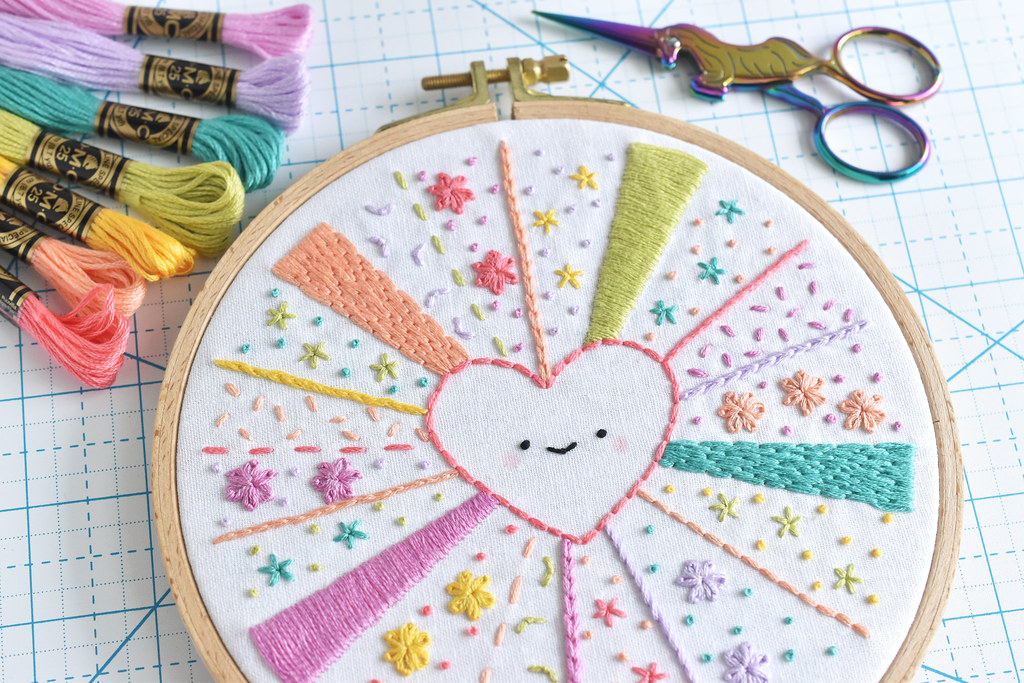 There are lots of ways for you to learn these stitches, and I have some embroidery basics posts here on my blog. But if you'd like to learn with videos, all of these stitches and a few others are included in my Super Cute Intro to Embroidery eBook and video course. I recently updated the course to now be a PDF, available in my Etsy shop.
You can practice all ten of the stitches in that list (plus a few more) while making the adorable sampler shown above!

If you want to learn more advanced stitches, these are ten more stitches to start practicing:
• Blanket Stitch
• Pistil Stitch
• Feather Stitch
• Herringbone Stitch
• Fishbone Stitch
• Woven Wheel Stitch
• Couching Stitch
• Long-Short Stitch
• Bullion Knot
• Turkey Work Stitch
As I said, there are still many more stitches that I could list, but these are a good bunch to work on. Find the stitches you want to learn and then don't stop! You can just keep printing out punch cards until you feel like an absolute expert.