


NOTE: This post contains affiliate links.
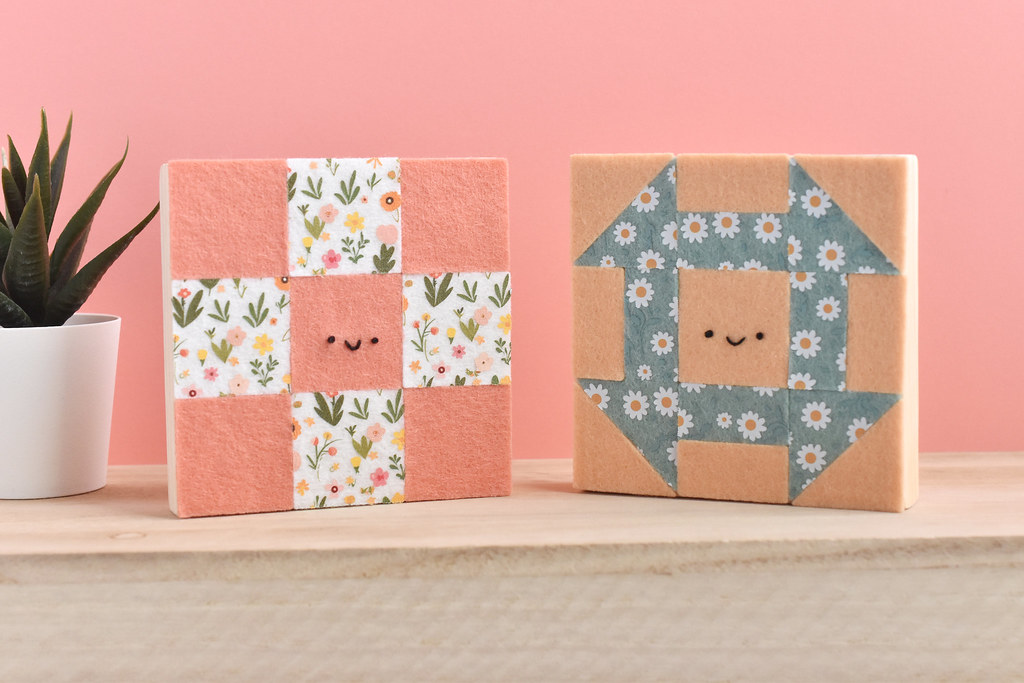
Whether you love making quilts or just enjoy being surrounded by them, this felt quilt block is a fun way to decorate your craft space. And it's super easy to make!
Unlike traditional quiltmaking, this little piece doensn't require any sewing. The pieces are cut from wool felt (yes, that's printed wool felt!) and the cutting was done using deep-etch dies on a manual die cutter. The felt and the dies are from Benzie Design.

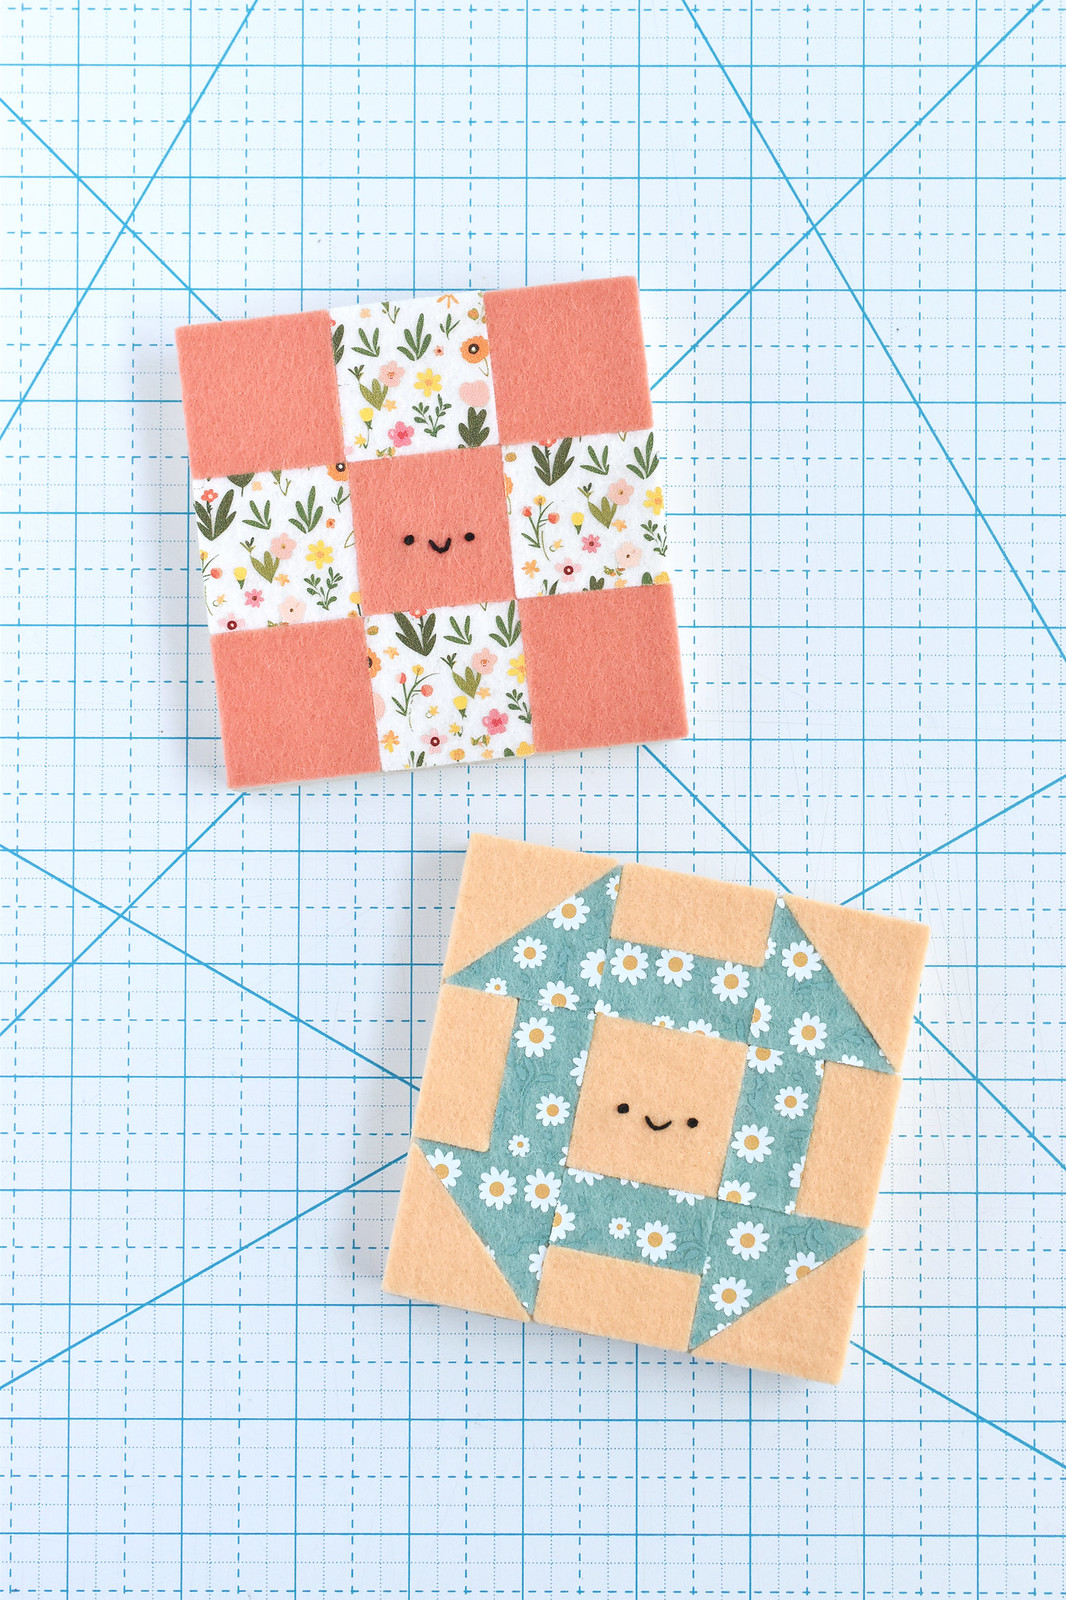
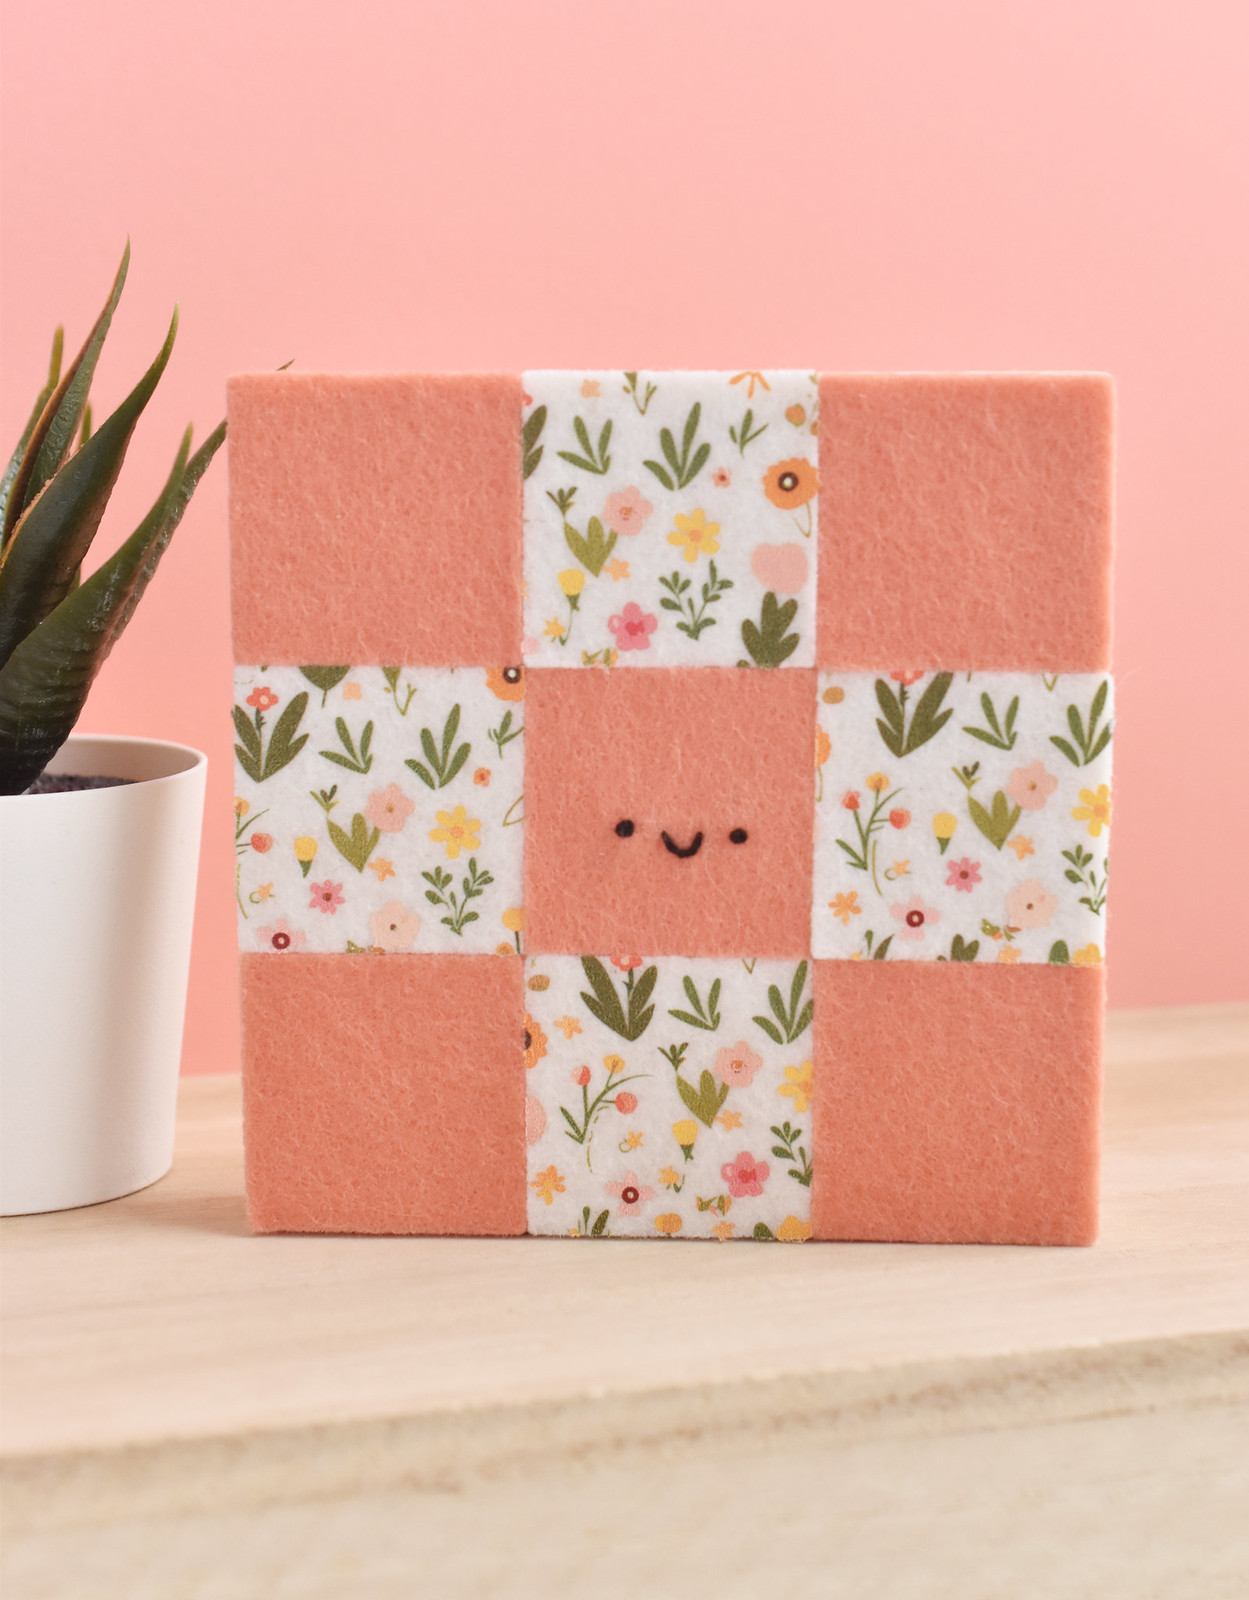
For mine, I used the Sylvia's Cozy Quilt Block die set I designed for Benzie, because it has a center square that I could use to add a cute little face. This is, of course, optional, but if you know me, you know I'll always add a face.
Using the dies is also optional, but it's so fast and easy. Plus the pieces will always be accuarate. That's especially helpful with things like this because all the pieces will fit together perfectly. You can watch a video I made showing how the die cutting works.
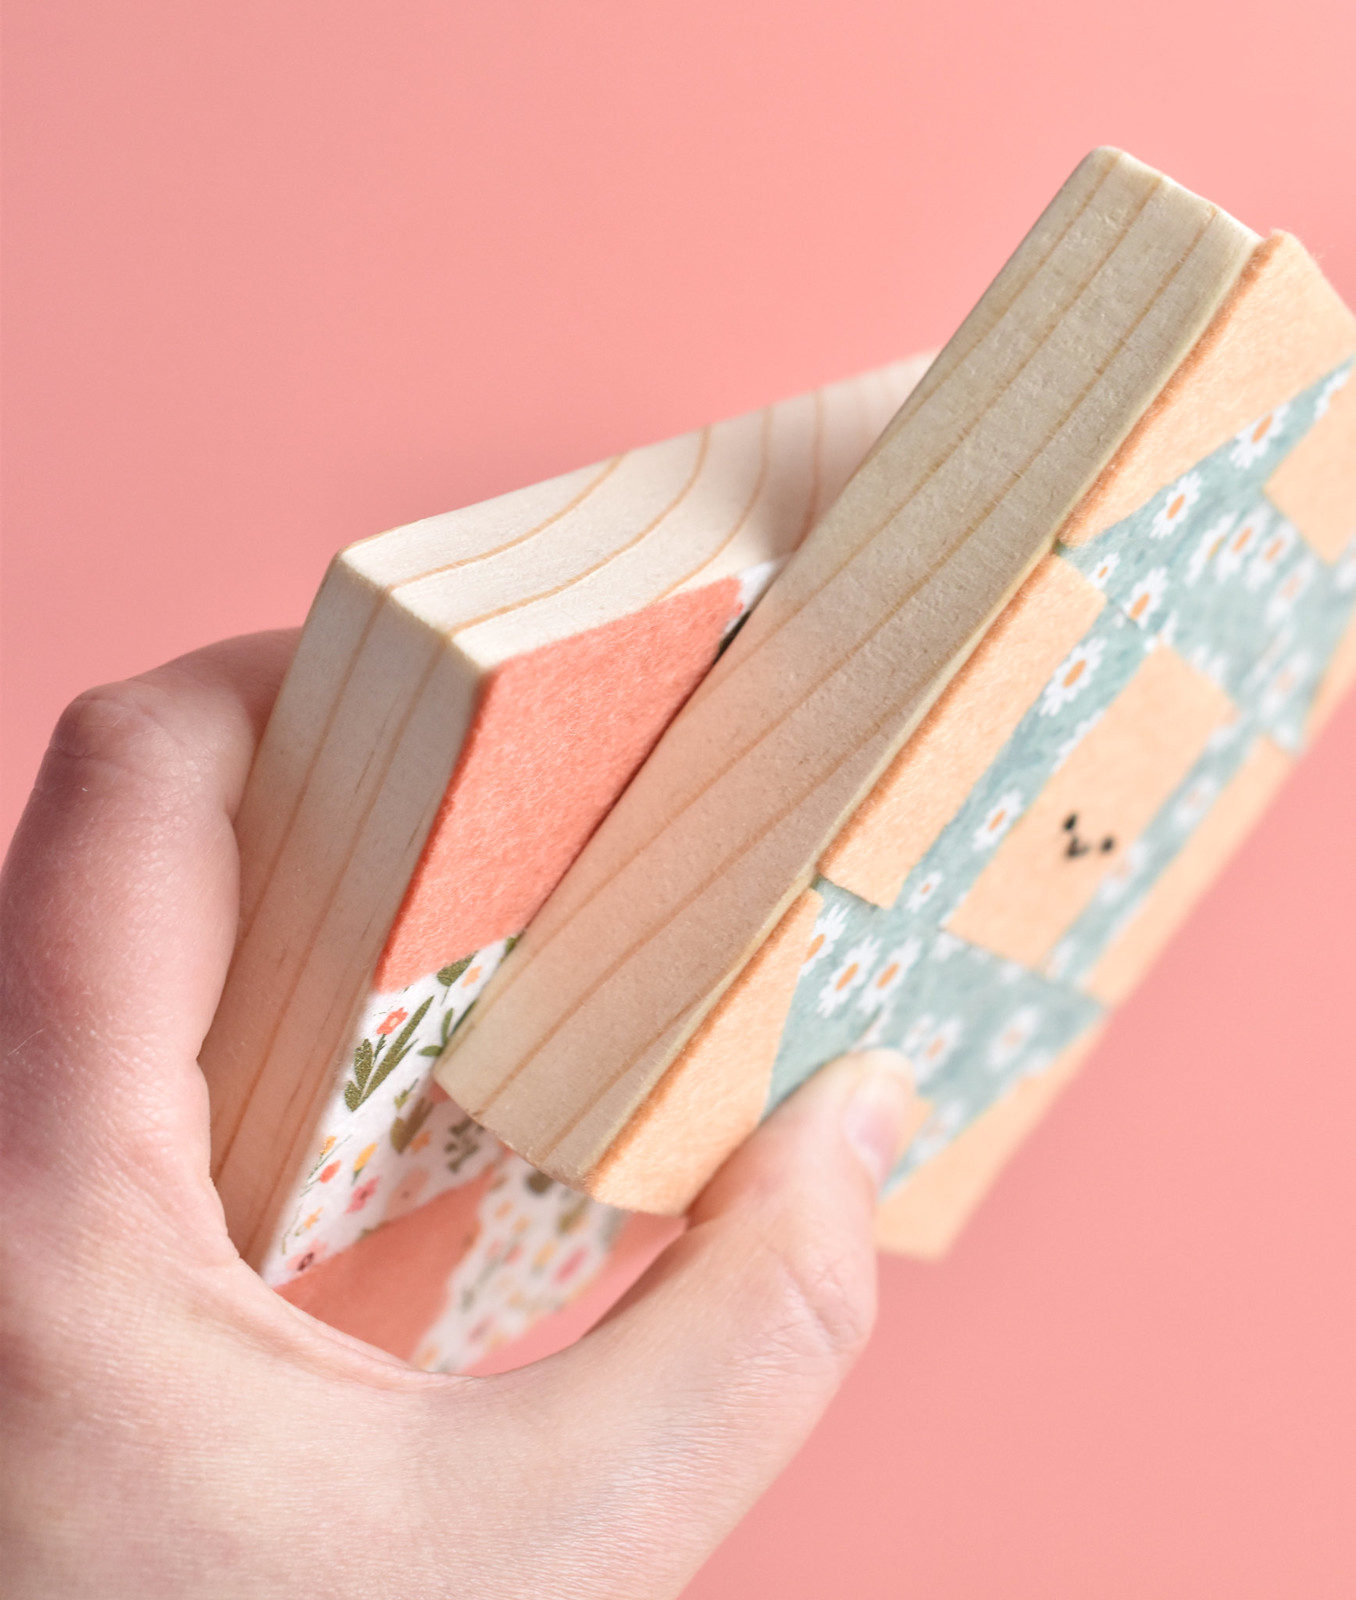
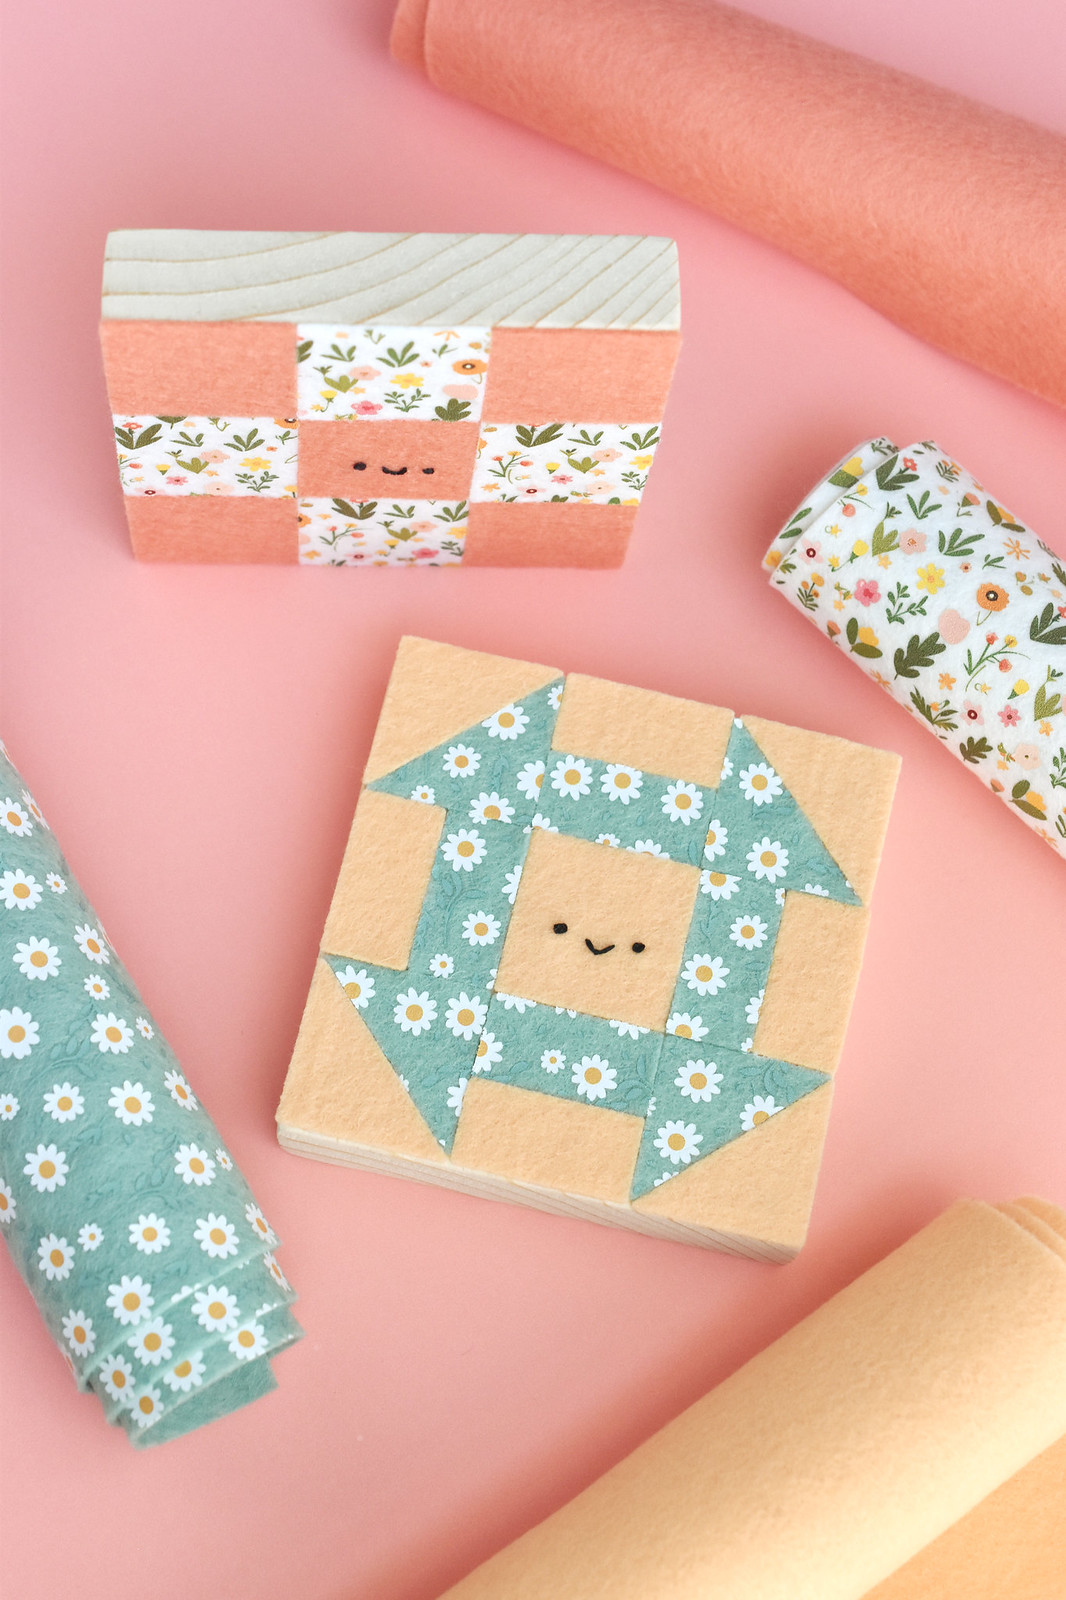
Because these quilt blocks are attached to, well, blocks, they are thick enough to stand on their own. I've made similar pieces to this before, painting on the wood or gluing embroidery to a wood block. These mini art pieces make me smile because you can place tham just about anywhere.
I'm lucky enough to have a dad who has extra boards around, so he cut these for me, and then sanded the corners. If you don't know someone who might be able to help you with this, check your local hardware/lumber store and see if they have any cut offs. They can usually cut them for you too, for a small fee.
Now, shall we make some felt quilt blocks?
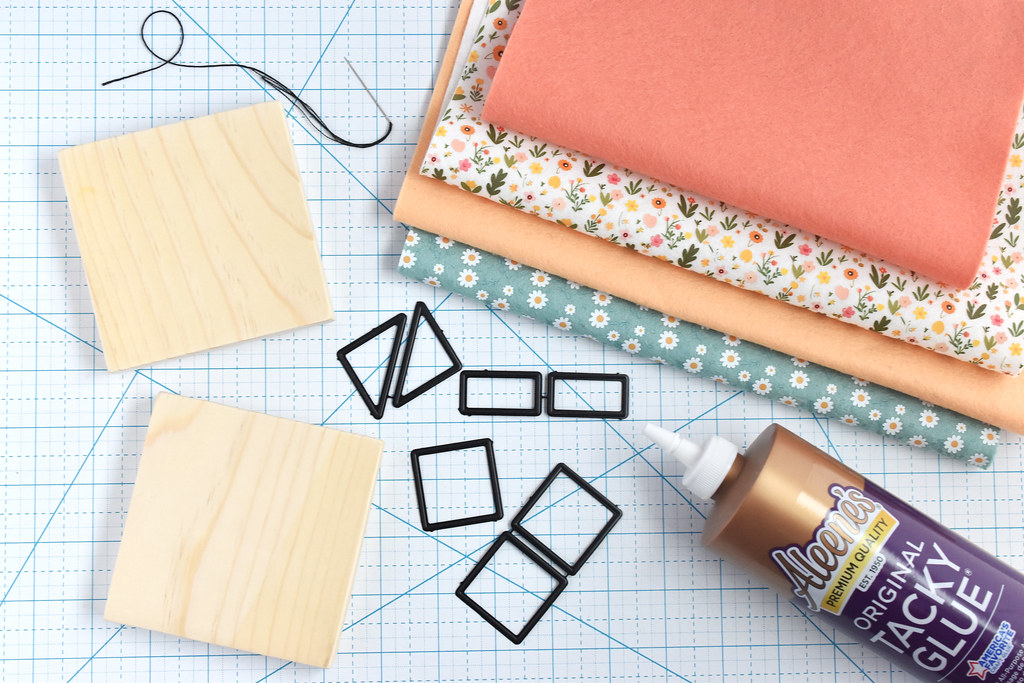
Here's what you need:
4x4-inch Wood Blocks/Slabs - mine were cut from a piece of 1x6 wood trim
Wool Felt (I used Bellwether and Printed Felt)
Sylvia's Cozy Quilt Block die set
Black Embroidery Floss and Needle
Craft Glue

Choose a quilt block design or two and cut out the pieces from your felt. You can create any quilt block you like!
For both of mine, I used just two colors/patterns. For the 9-patch, I used salmon and floral finesse printed felt in white. For the churn dash, I used dreamsicle and and daisy field printed felt in swan.

To make your quilt block super cute, embroider a face on the center square. The face is just two french knots and a scallop stitch.

Starting on the lower third of the wood block, spread a thin layer of glue over the wood. Apply the first piece of the quilt block in the corner.
As you add the remaining pieces in the lower third, make sure they are centered horizontally, and ensure that the felt doesn't overlap the bottom edge of the block at all.
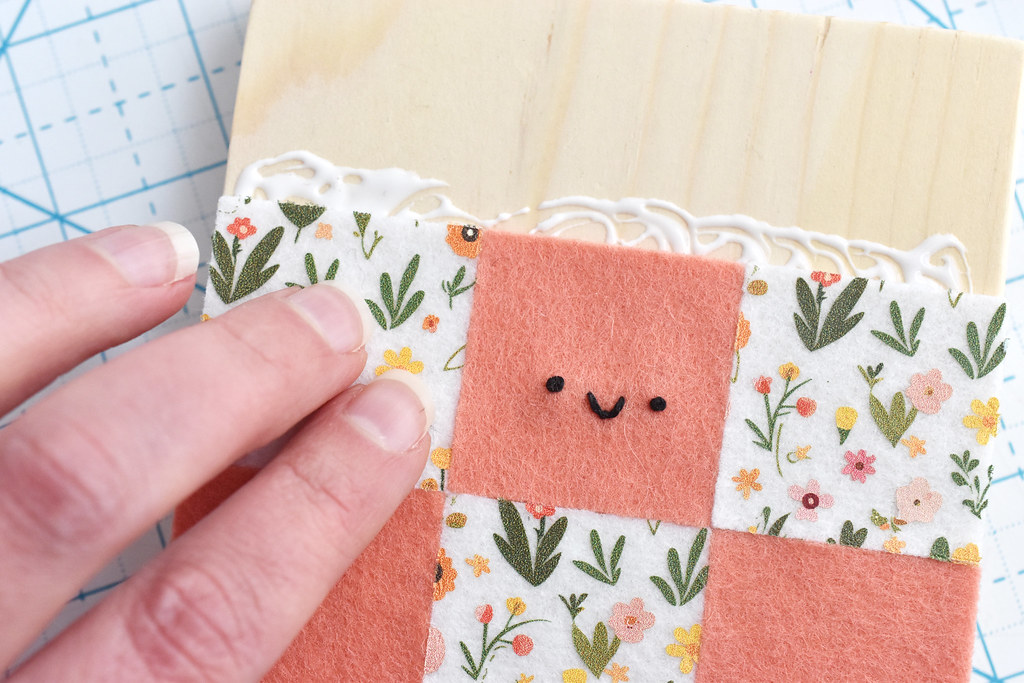
Add more glue and then place the second row of pieces. Repeat with the last row. As you work, you can adjust the placement of the felt pieces while the glue is still dry. You want everything to fit together nice and snug.
Give the glue time to dry, then enjoy your wood and felt quilt blocks!

The printed felt really makes these super cute, but if you don't have any or just want to use solids, that's adorable too. I've also used Wonder Under to fuse quilting cotton to felt, and then cut those pieces with a die cutter. It worked great and you could then have any prints you like for your little quilt block!
Part of me now wants to make more and more of these little blocks. You could practially make an entire mini quilt. And maybe that would even be fun for kids to play with!

 Happy quilting!
I think my first attempt at this failed...Anyway, I am just discovering your great work, Mollie! I was going to use your plan for a pocket tee from a recent edition of Love Embroidery, but I failed to print the template. I printed the instructions. Now I can not find the template anywhere! Can you direct me to it?
ReplyDeleteBy any chance was it kind of a modern floral design? Send me an email (molliejohanson at gmail) and I can help you out!
DeleteJust discovered your website a few days ago. I would love to try making the Wood and Felt Quilt Blocks, but need to know how much felt to buy, etc.
ReplyDeleteThe amount you need would vary by quilt block and the number of colors you want to use. It would always be less than 4x4 inches per block. It's very scrap friendly, but if you buy a few sheets of felt in different colors, you'll be able to make a bunch of these!
DeleteUm, these are ADORABLE. Just had to pop in and say that, because ohmygoodness ilovethem.
ReplyDelete