about shop patterns projects printables extras sponsorship wild olive twitter flickr pinterest subscribe
Showing posts with label ornamentation. Show all posts

pattern and project // embroidered felt ornaments for 2020

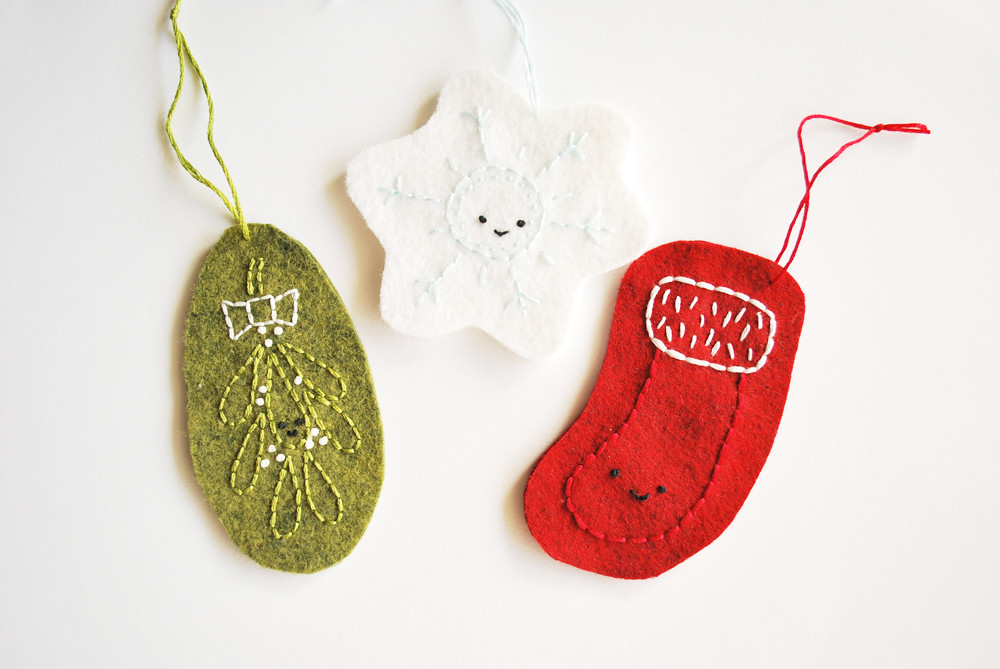
Embroidered Felt Ornaments 
Today's post is a combination of old and new. These embroidered felt ornaments are an old project that I made for a guest post back in 2011, but they never made their way to this blog. I remembered them at the same time that someone suggested that I should make some patterns that are an ode to this wild year of 2020. As I drew new designs, they seemed perfect for making using this felt ornament style that I still love, all these years later.

First, let me say that these Christmas 2020 designs are not here to make light of what is a weighty year. But they are a light-hearted way to remember some of the objects that have marked 2020: a mask, hand-sanitizer, and toilet paper. Oh, the toilet paper! Sometimes making something silly is a good way to reflect on hard things.
 
2020 Christmas Ornament Patterns 
So here's how this works. You can download the traditional and 2020 Christmas ornament patterns. Stitch them following my "vintage" tutorial, or use them however you choose! Of course, you can also use other patterns to make this type of ornament. They really are fun to make, and I happen to know folks who have these and still hang them on their tree each year! 
Embroidered Felt Ornaments 
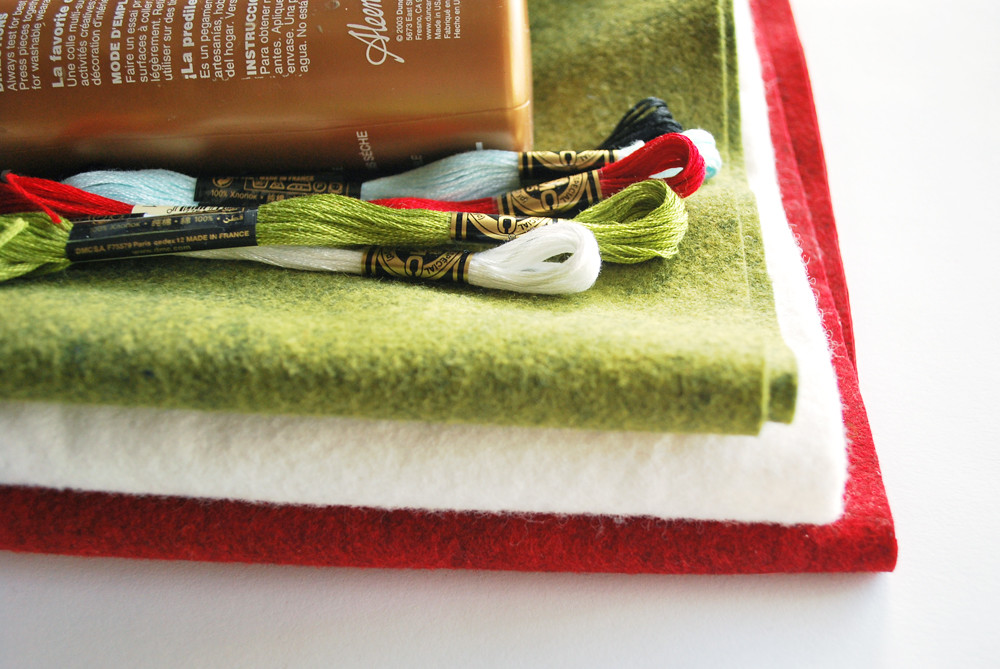
Here's what you need:

Felt (I always use wool or wool-blend)
Embroidery floss
Tracing paper
Craft glue
Pencil
Scissors
Needle


Embroidered Felt Ornaments 
Trace the pattern on tracing paper. Embroider the design through the paper and one layer of felt. Cut around the ornament shape and then cut another piece of plain felt that matches.

Carefully tear away the tracing paper.
 
Embroidered Felt Ornaments 
Spread glue on the back of the embroidered piece, then place the plain piece on the back. When it dries, the ornament will be slightly stiff.  
Embroidered Felt Ornaments 
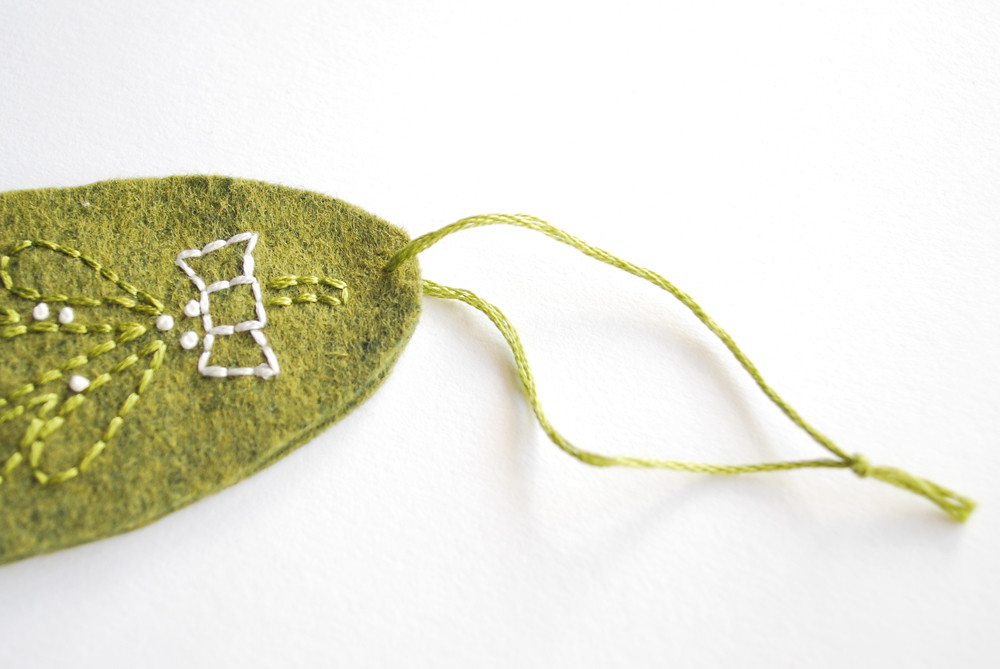
Cut a piece of embroidery floss and thread it through the top of the ornament. Tie the ends together to hang the ornament.
ornamented 
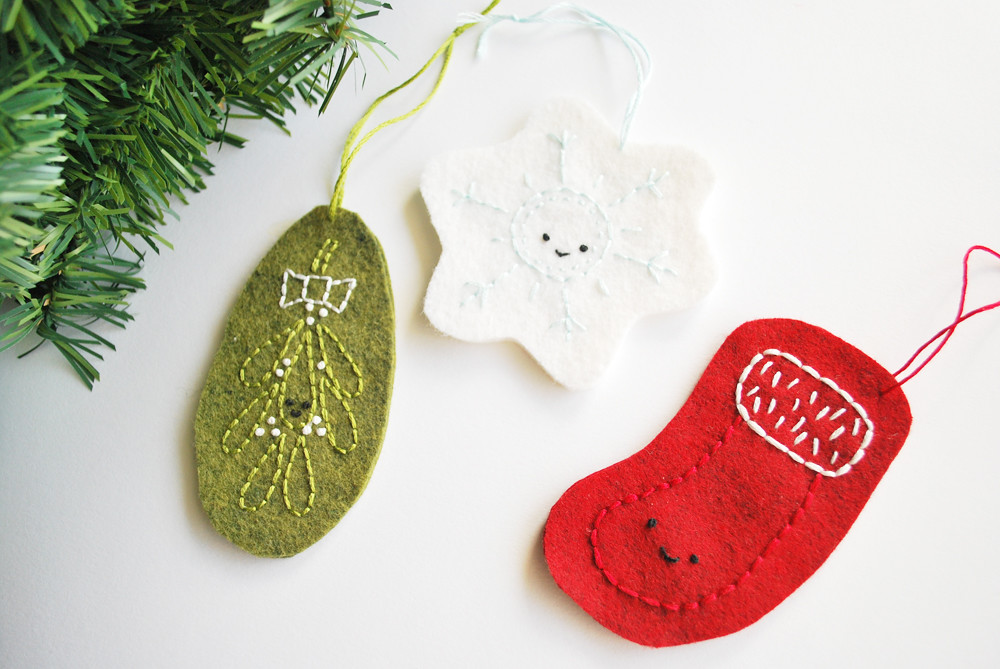
Make one or a whole bunch! They're so easy and fun. I especially like how using felt makes a good background for white embroidery floss, which is great for the snowflake face mask or the toilet paper bow on the wreath.

If you like Christmas 2020 patterns, you should also check out my Ko-Fi page! Folks who buy me a coffee get access to a free printable version that's in full-color and ready to use as gift tags!

ornamentation: printable trees


Well, this is the end of Christmas Ornamentation. I've enjoyed making these ornaments so very much, but as it comes to a close, I find myself short on time. And if I'm out of time, you probably are too! This last ornament is a printable, which is designed to be embellished a bit.


In the PDF, the trees have the white you see above, but not the red. Why? So you can add some real stitches on there if you want! Of course, they look just fine left plain as well, making them a quick ornament to make.

Here's what you do:

1. Print the PDF on card stock.

2. Cut loosely around the double tree shapes.

3. Poke holes where you will stitch.

4. Stitch the decorations (french knot ornaments, running stitch garland).

5. Fold the shapes in half to make them double-sided.

6. Poke an ornament hanger through the top.

If you're not adding the embroidery, just skip steps 3 and 4. Obviously, I skipped all of the steps, which is why I don't have a photo of it all finished! Somehow, time has been disappearing as I try to finish the last of the Christmas gift making. I'm so very close now!

Anyway, I hope you've enjoyed making some Christmas ornaments with me! I've found that making gifts and tasty treats and decorations all throughout December really helps me enjoy the process of of Christmas...and not just the product. Ornaments leading to "the big day" has been such a joy!

Love and blessings to you!

ornamentation: wood and fabric yoyos


yoyo ornament

I was looking for an easy ornament to make for some of my brothers and sisters. I want to give each of them an ornament with their initial on it, but didn't want to spend a ton of time. (As it is, I have more regular gifts to finish! Stitch faster, Mollie!) This was the answer...at least for a few of them!

Hidden on the backside of this painted disc is a fabric yoyo. It's double-sided, can incorporate the recipients favorite colors or style, and is quick to make!

Here's what you need:
Cotton fabric (about 4" square)
Thread
Wooden nickel/disc
Glue
Embroidery floss (or something else for a hanger)
Acrylic paint

yoyo ornament

Start by making a fabric yoyo that will match the size of your wooden disc. Standard wooden nickels are 1.5" across, so you'll start with a circle that is 3.5". If you've never made a fabric yoyo, I recommend this tutorial from Heather Bailey.

yoyo ornament

Make a knotted loop hanger from embroidery floss, or something similar. Glue it to the wooden disc, then add glue all over to attach the yoyo. I used hot glue, which dries really fast. If you're in a hurry, this is good. But craft glue will be easier to work with.

yoyo ornament

Press everything together, and make sure it's good and stuck.

yoyo ornament

On the wooden disc, paint an initial, or a little heart, star, etc. If you're worried about messing up the painting, you could do this step first, but make sure you allow plenty of time for the paint to dry first!

yoyo ornament
yoyo ornament

That's all there is to it! These are great for adding to a gift, or just for something special to hang on your family's tree. You could make new one's each year and eventually end up with a whole tree full of 'em!

ornamentation: happy mittens


Did you see my printable Christmas tags? Well, I thought it would be fun to take one of those designs and make an ornament from it! As Christmas comes closer, the projects get simpler, so how about some happy little mittens that take only a few minutes to make?

mitten ornament!

You're gonna need:
Felt
Other fabric (I used corduroy)
Embroidery floss
Craft glue
Mitten pattern PDF

mitten ornament!

Cut out two mitten shapes, and two hearts.

mitten ornament!

Stitch some happy faces onto the mittens. Follow the pattern, or just go for it freehand, as I did.

mitten ornament!

Glue the hearts onto the mittens.

mitten ornament!

Stitch and knot a length of embroidery floss connecting the two mittens.

mitten ornament!

Fold the connecting string in half, but not quite even, and then tie a knot to make a loop. Or, you can leave them without the knot. Either way works, and either way, you're all finished!

mitten ornament!

Two little mitten friends are ready for your tree! These would also be fun to keep around after Christmas and into January. Maybe they could hang out around a doorknob?

ornamentation: put the lights on the tree


Put the lights on the tree...put the ribbon on the wreath...call your grandma on the phone...

Ah, Songs for Christmas! It's always a joy to listen to music and make and decorate. Stitch up some sweet little lights and add them to your tree while you listen.

Lights1

Here's what you need:
Felt
Embroidery floss
Floral wire
Lights pattern PDF

Lights2

Cut out six pieces for the bulbs (I did 2 each of 3 colors) and three pieces for the holders.

Lights3

Stitch faces onto three of the bulb pieces.

Lights4

Hold (or pin) the bulb with a face with a plain bulb, then fold a holder piece over the top. Stitch all around the bulb, making sure you catch the holder really well with a few stitches. Repeat for the remaining bulbs.

Lights5

Twist some floral wire together, string the lights on, then form loops at each end of the wire.

Lights6

You're ready to put the lights on the tree!

ornamentation: a glittery tree


glitter10

Back in August, Pugly Pixel released a set of glitter textures, and I instantly knew that we needed to use lots and lots of glitter on our Christmas tree this year. You see, every year (for the last 5 years or so), my sister and I make simple, all-new decorations for the fresh tree in our living room. We choose a new theme or look every time, and glitter was it this year!

Nothing fancy with any of these...but here's a look at what we made.

glitter1
glitter2
glitter3
glitter4
glitter5
glitter6
glitter7
glitter8
glitter9

Yes, those are glitter dinosaurs. Our mom is quite patient with us, as this really is her tree. But they are my favorite part, I think!

glitter11
glitter12

While we were making these, there was glitter EVERYWHERE, as you can imagine. Even the cat sparkled! Now it has mostly dissipated, and is only on the tree (mostly!).

glitter13
glitter14

Huge thanks to my sister, who always ends up with the hardest part of the decorations! Who knew that it would take so much effort to cover plastic dinos in super fine glitter?!?

You can pretty much get an idea for how these were made, just from looking at them, but if you have any questions, I'll answer in the comments!

ornamentation: for little fingers


As a part of my Christmas Ornamentation series, a couple of my friends and sponsors are sharing some ornament fun on their blogs too. Be sure to check out these projects to make with kids!


Great ideas, ladies!