


Have you ever stitched a biscornu? It's a type of pin cushion with an unusual shape. Last year I made a cross stitch pattern for a mushroom-themed biscornu (cross stitch is probably the most common way to make these), but I wanted to try using English paper piecing.
For full disclosure, it was actually that I found these adorable heart buttons and I knew they'd be perfect on a biscornu. But yes, I did also want to use EPP to see if it would work the way I anticipated. And I think I can safely say that it did work! In fact, this turned out exactly as I expected and now I want to make more. Perhaps with some embroidery next time.
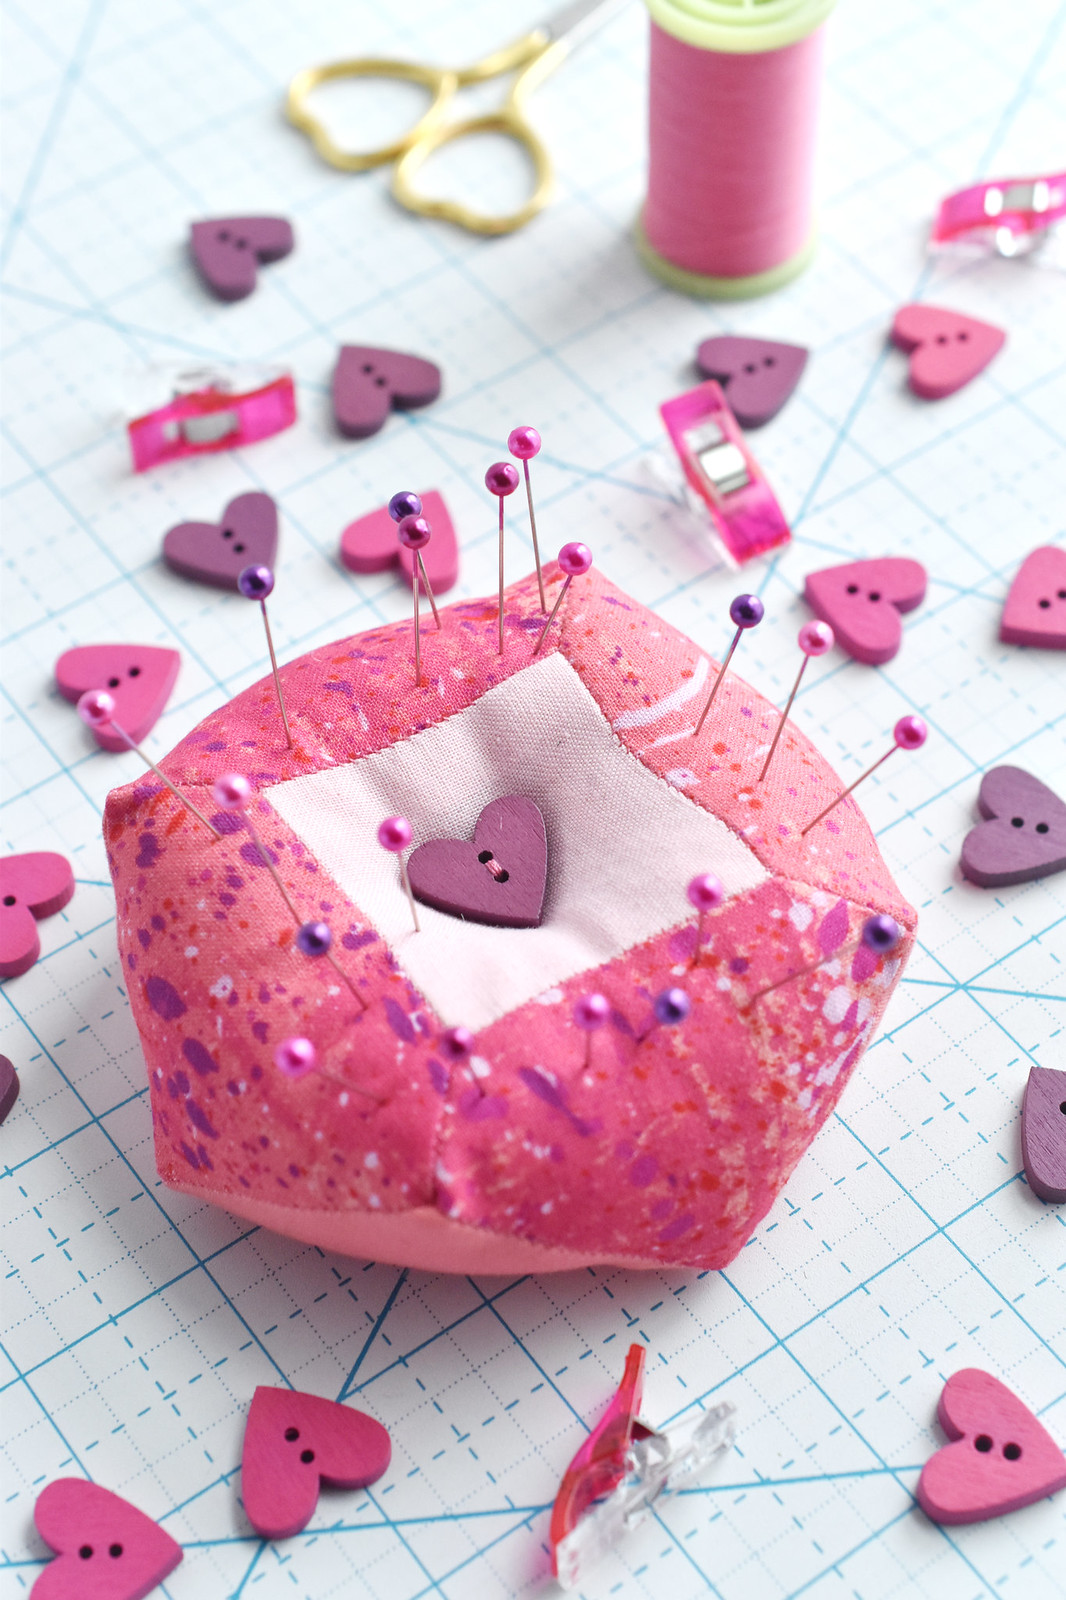
But for now, a simple biscornu that's just in time for Valentine's Day.

The design for the the piecing is based on a bow tie quilt block, but I used one fabric for the center square and another fabric for all the rest. It's slighly different on the bottom. I wanted a way to show off the heart buttons while making this easy to sew by hand. If you've ever sewn a biscornu, you know that it can be a little mind bending. The EPP shapes made it simple to follow.
I'm not going to go through the basics of English paper piecing here, but if you need help, I have a few YouTube videos.
You will need:
Fabric
Cardstock
Scissors
Glue stick
Needle and Thread
Stuffing
Sewing Clips or a Pin
Two Buttons (those with 2 holes are easier to use)
DOWNLOAD THE BOW TIE EPP TEMPLATE PDF

Print the templates on cardstock, cut them out, and then baste the fabric on the pieces. I recommend thread basting for this, but you don't need to stitch through the templates.
Assemble the top and bottom into the bow-tie block design.


With the right sides facing, stagger the top and bottom pieces as shown. Each side of the square has two sections, so you can align the ends of the staggered sections.
Sew the overlapping section with tiny stitches. Because this is a pincushion, there will be some stress on the seams.

When you reach the end of the first section, it will look like this.


Fold the entending end down to meet the edge of the section that is "around the corner." Pinch it together and continue sewing.
Repeat this process around the edges. It will feel weird at times, but as long as you sew the next section of the top to the next section of the bottom, it will work. This is why the EPP sections help you keep the stitching even and guide the process.

When there is just one section left to sew, it should look like this. You can see the shape of the biscornu now. At this point, I recommend knotting the thread, but leaving it connected.

Remove all of the templates and turn the biscornu right side out. Gently poke the corners into shape.
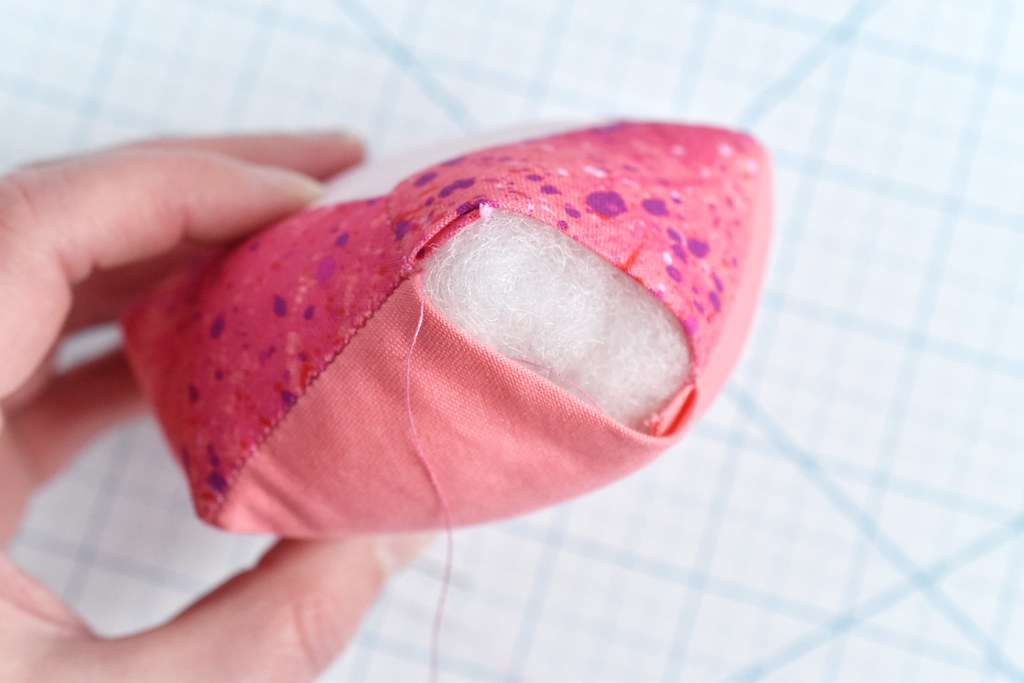
Fill the cushion with stuffing, working it into the corners. You want it full and firm-ish.

Clip or pin the open edges together. Use your thread that's still connected (or start a new one) and sew the opening closed. To make this as invisible as possible, I used ladder stitch. Again...tiny stitches!
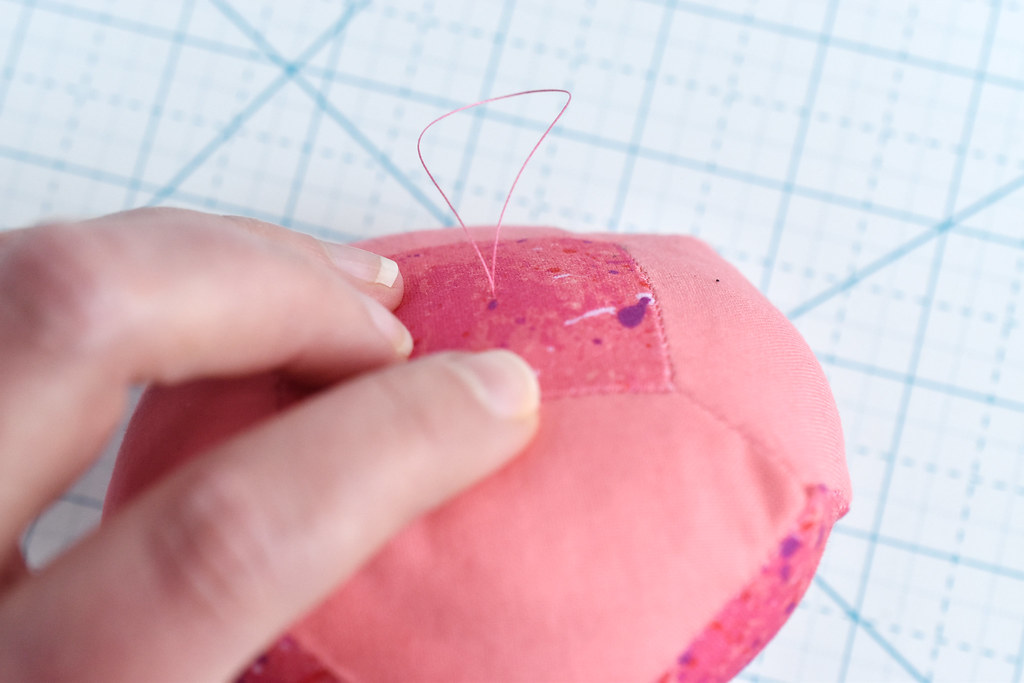
You can leave it just as it is, but to add a button, thread your needle with a doubled piece of thread. A longer needle is helpful here. The ends should be through the eye of the needle with the folded loop at the other end.
Come up through the center of the biscornu, leaving the thread loop exposed.
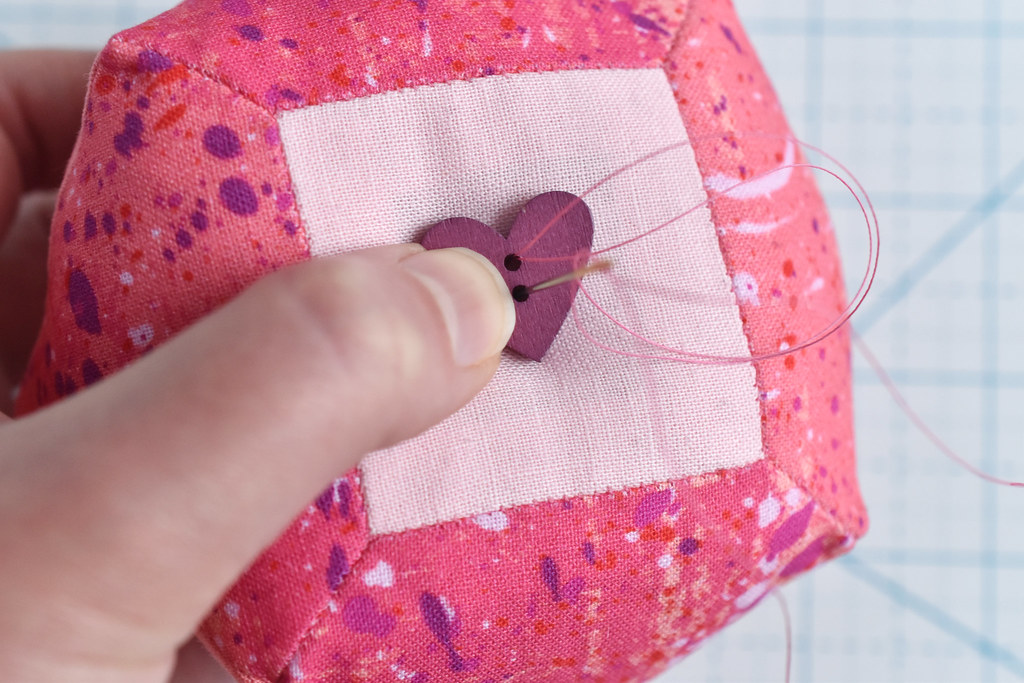
Thread a button onto the thread and then go back down through the button and the biscornu.
Bring the needle through the loop of thread and pull it tight to secure it.

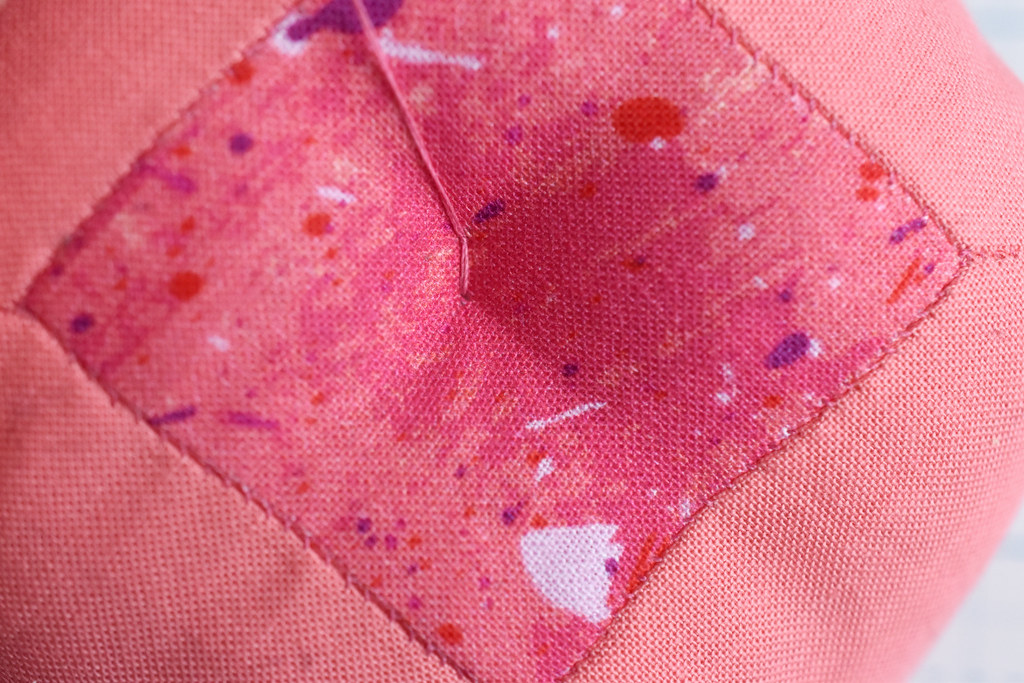
Add a second button, and go back through the biscornu, pulling the thread enough to draw the center in slightly. It gives your pin cushion a little dimple in the middle.
Go back and forth from the top and bottom a few times, working through the button holes (this is the trickiest part!).

End off the thread with a secure knot. I tied mine around the button stitching, plus added a knot and popped it through the fabric, all hidden under the bottom button.

Obviously I had to find all my pink and purple pins so I could coordinate the whole thing! I love the way the sides come up and show off the fabric from the bottom. It really just makes me smile!

What do you think? Should I try some more biscornu EPP patterns...maybe with embroidery too? By the way, if this looks entirely intimidating to you, I promise it's actually pretty simple and quick to stitch up. Give it a try!
nice!
ReplyDelete