
It's officially back-to-school time. And that makes me want to craft school-type things. Like a book band that can hold a stuffed full notebook together or also double as a bookmark. But what's even better is that you can use this same idea to make a reusable gift bow! We'll get to that in a moment.
This month I shared a wallpaper that has a quilt star on it, and I wanted to use that design to make something fun and not too complicated. So that's what inspired this. Even though it's based on a traditional quilt block, the plan was not "make a quilt." In fact, there's not really any sewing involved. Just a few embroidery stitches.
And the way this works is that it has elastic to stretch around your book, whether that's a notebook, binder, text book, or even a favorite novel. What's even better is that you don't even need a pattern. You just cut some squares and then cut some of the squares into triangles. Easy!
I like things with faces, so I embroidered a face on mine, which also matches the wallpaper I shared. But I realized that you could use the center of the quilt block to show off a favorite design on fabric, which led to the gift bow version.
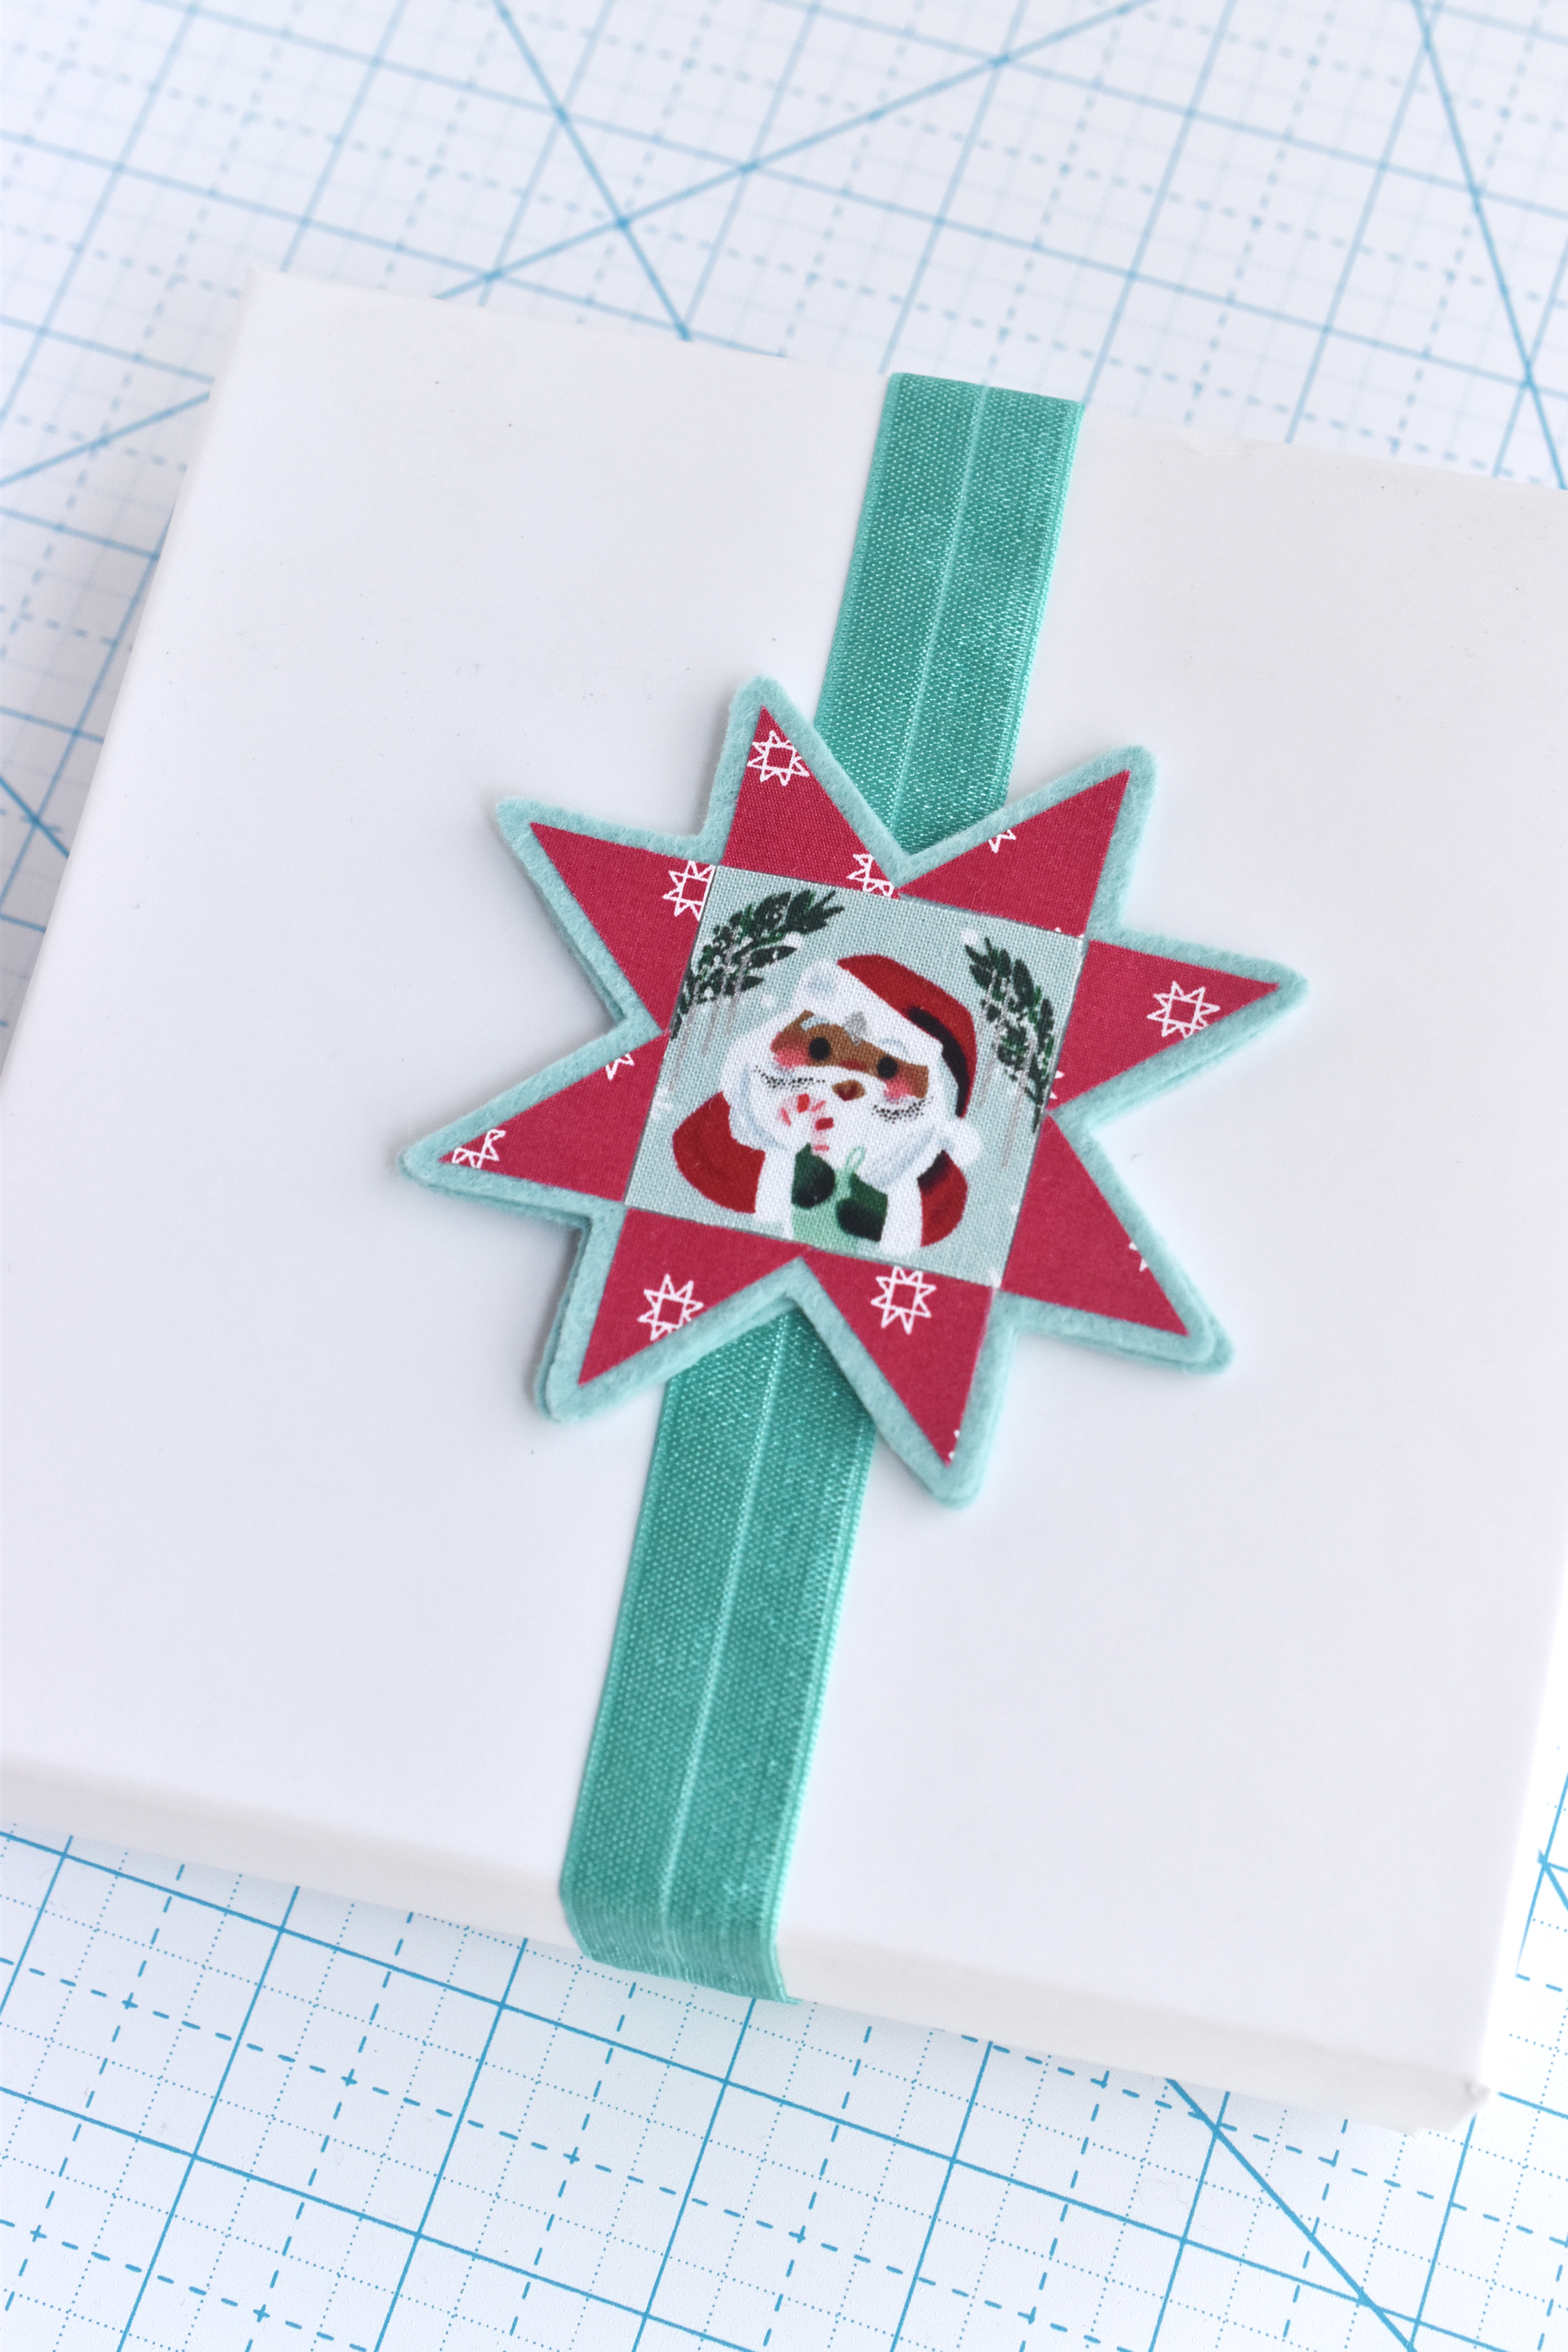
I found this adorable Santa fabric (it's from the line called 'Twas the Night by Jill Howarth for Riley Blake) and I thought it would be so cute in the middle of the star! I don't always like to fussy cut fabric, but celebrating a cute print like this was worth wasting a bit. The quilt star has a bow-like look to it, and I realized that you could use the elastic to go around a box as easy as you could a book.
Instead of disposable ribbon (or even other fancy ribbons), this makes a cute addition to a gift and the recipient to pass it along on another gift or keep it to use as a book band later. Who doesn't love double-use projects?
With all of that project background in mind, let's make a quilt star book band!

You will need:
Small Pieces of Fabric
Wonder Under (or other paper-backed fusible web)
Wool-Blend Felt
Fold-Over Elastic
Embroidery Floss
Scissors
Iron and Ironing Board
Ruler and Rotary Cutter
Needle
Optional: Fabric Glue
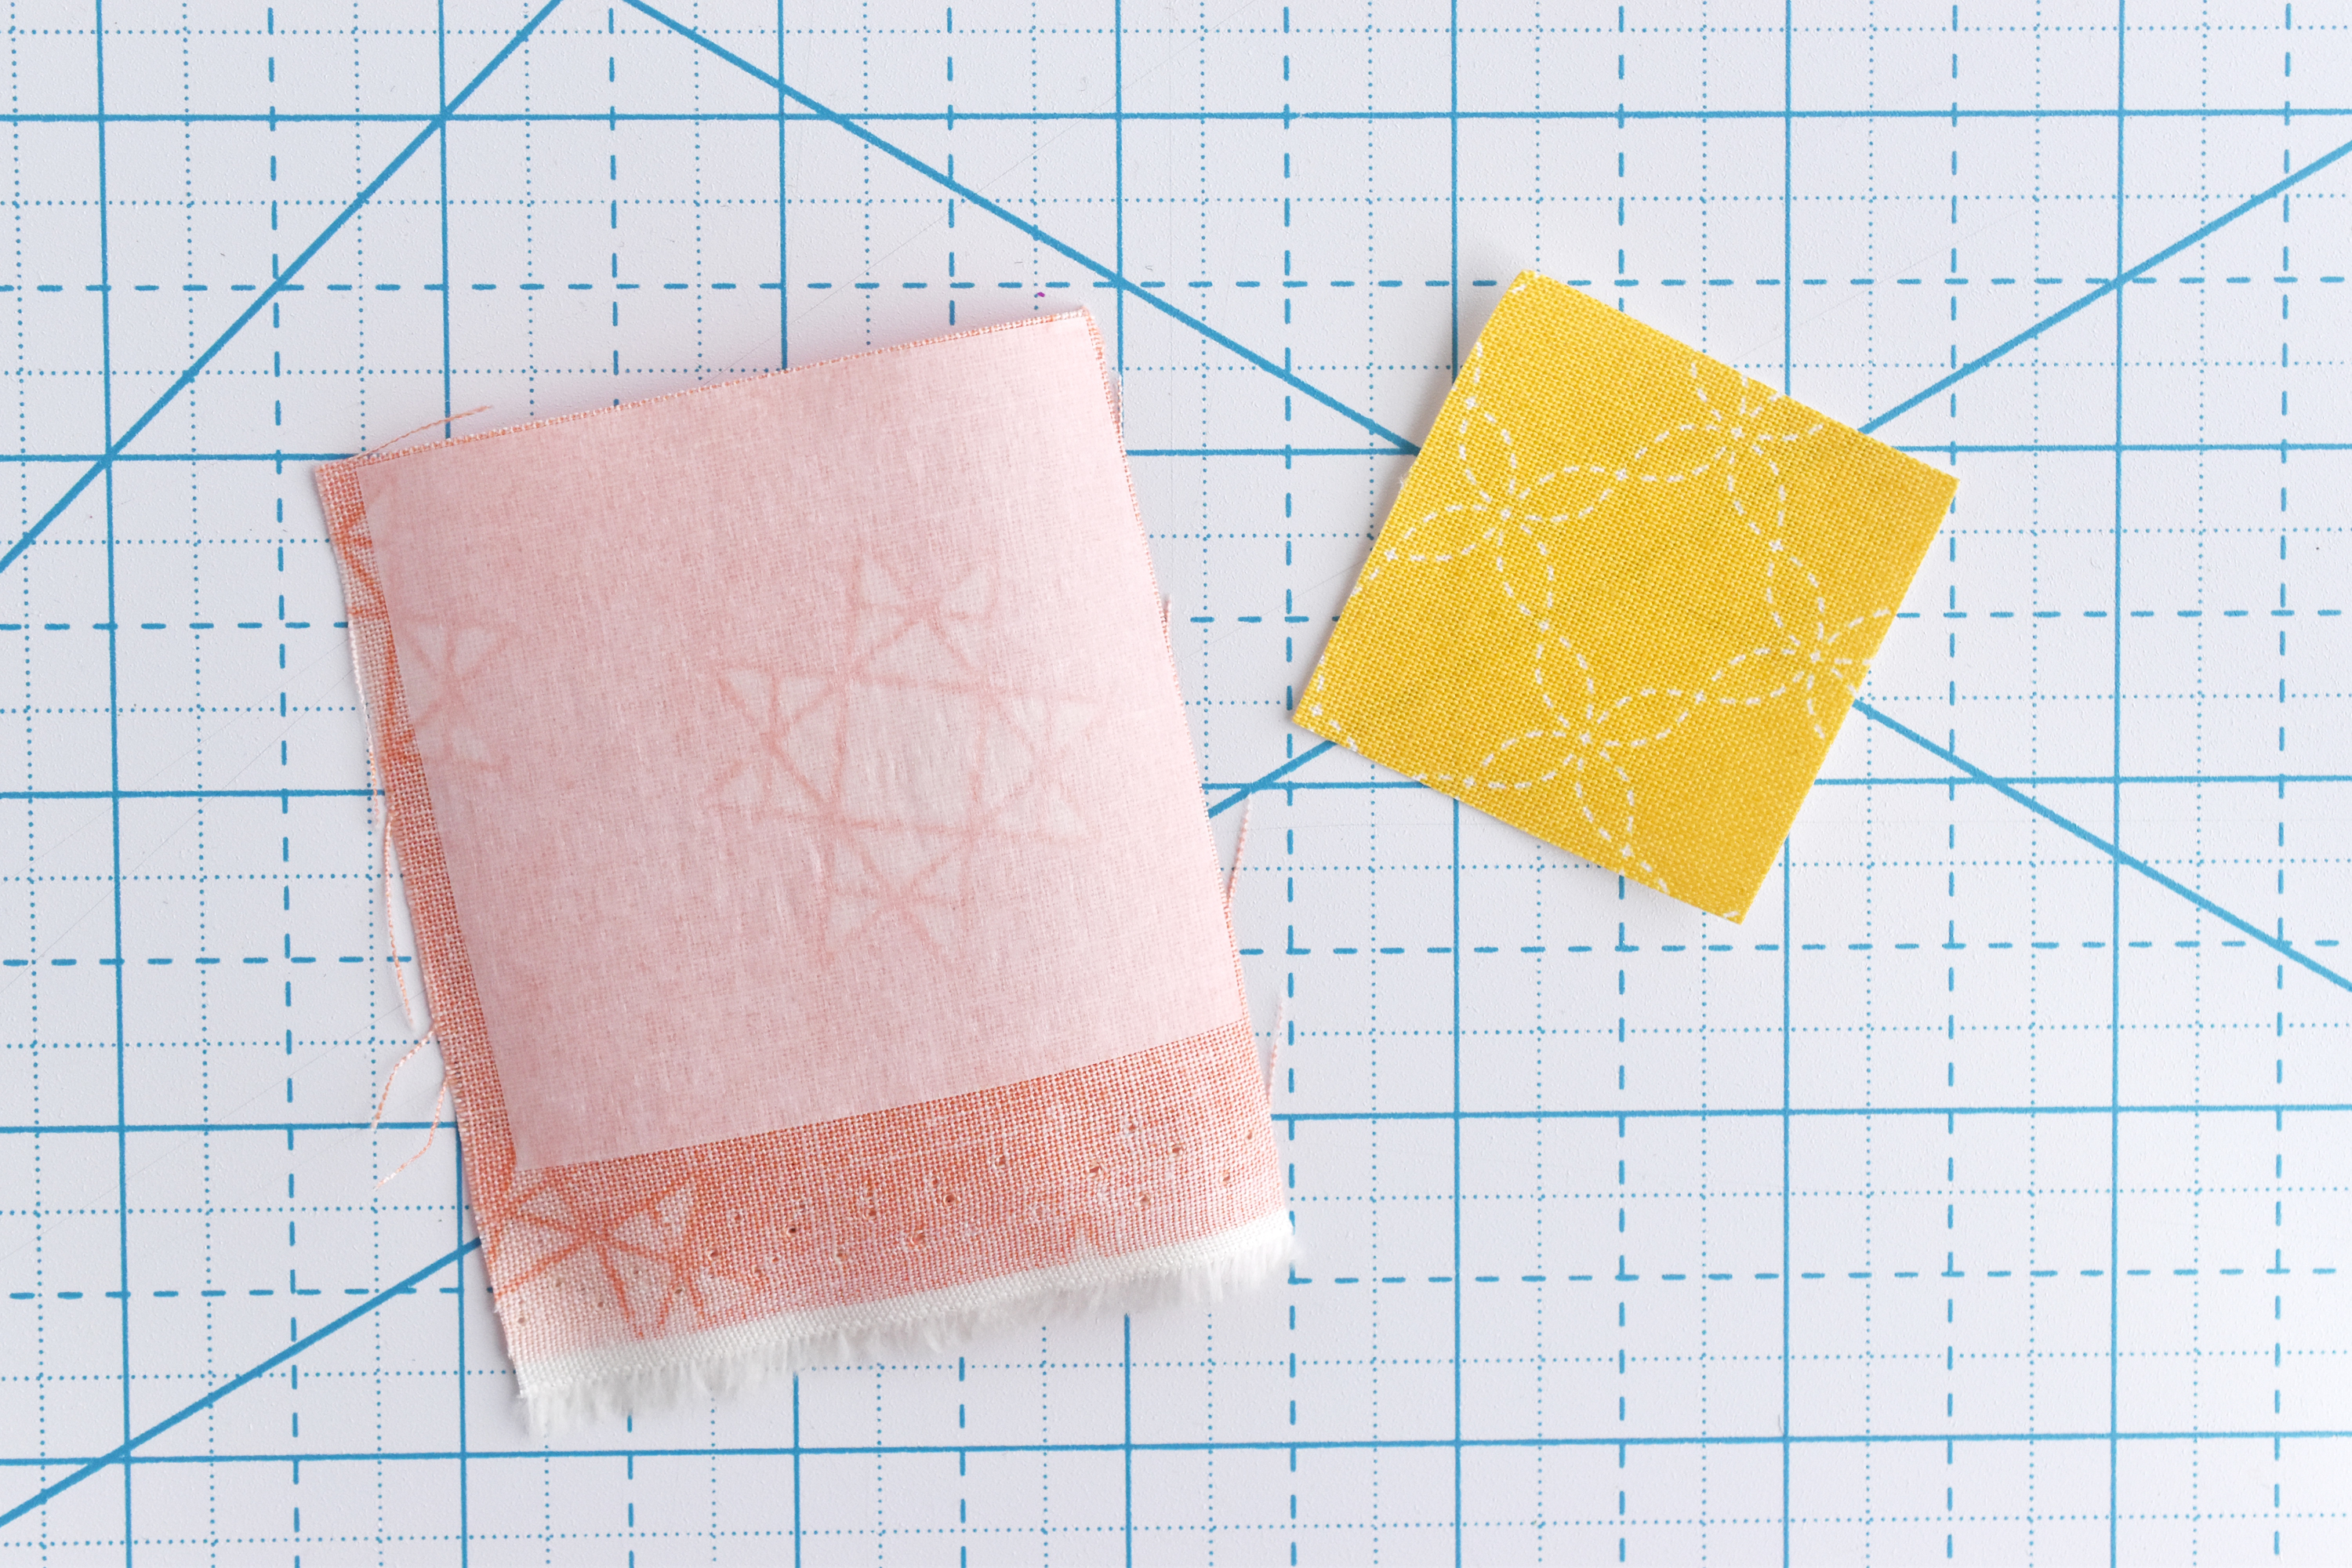
Cut two small pieces of Wonder Under and two small pieces of fabric (one for the center and one for the points). Iron the fusible web to the back of the fabric. Cut the pieces down to 1-1/2 inch squares.
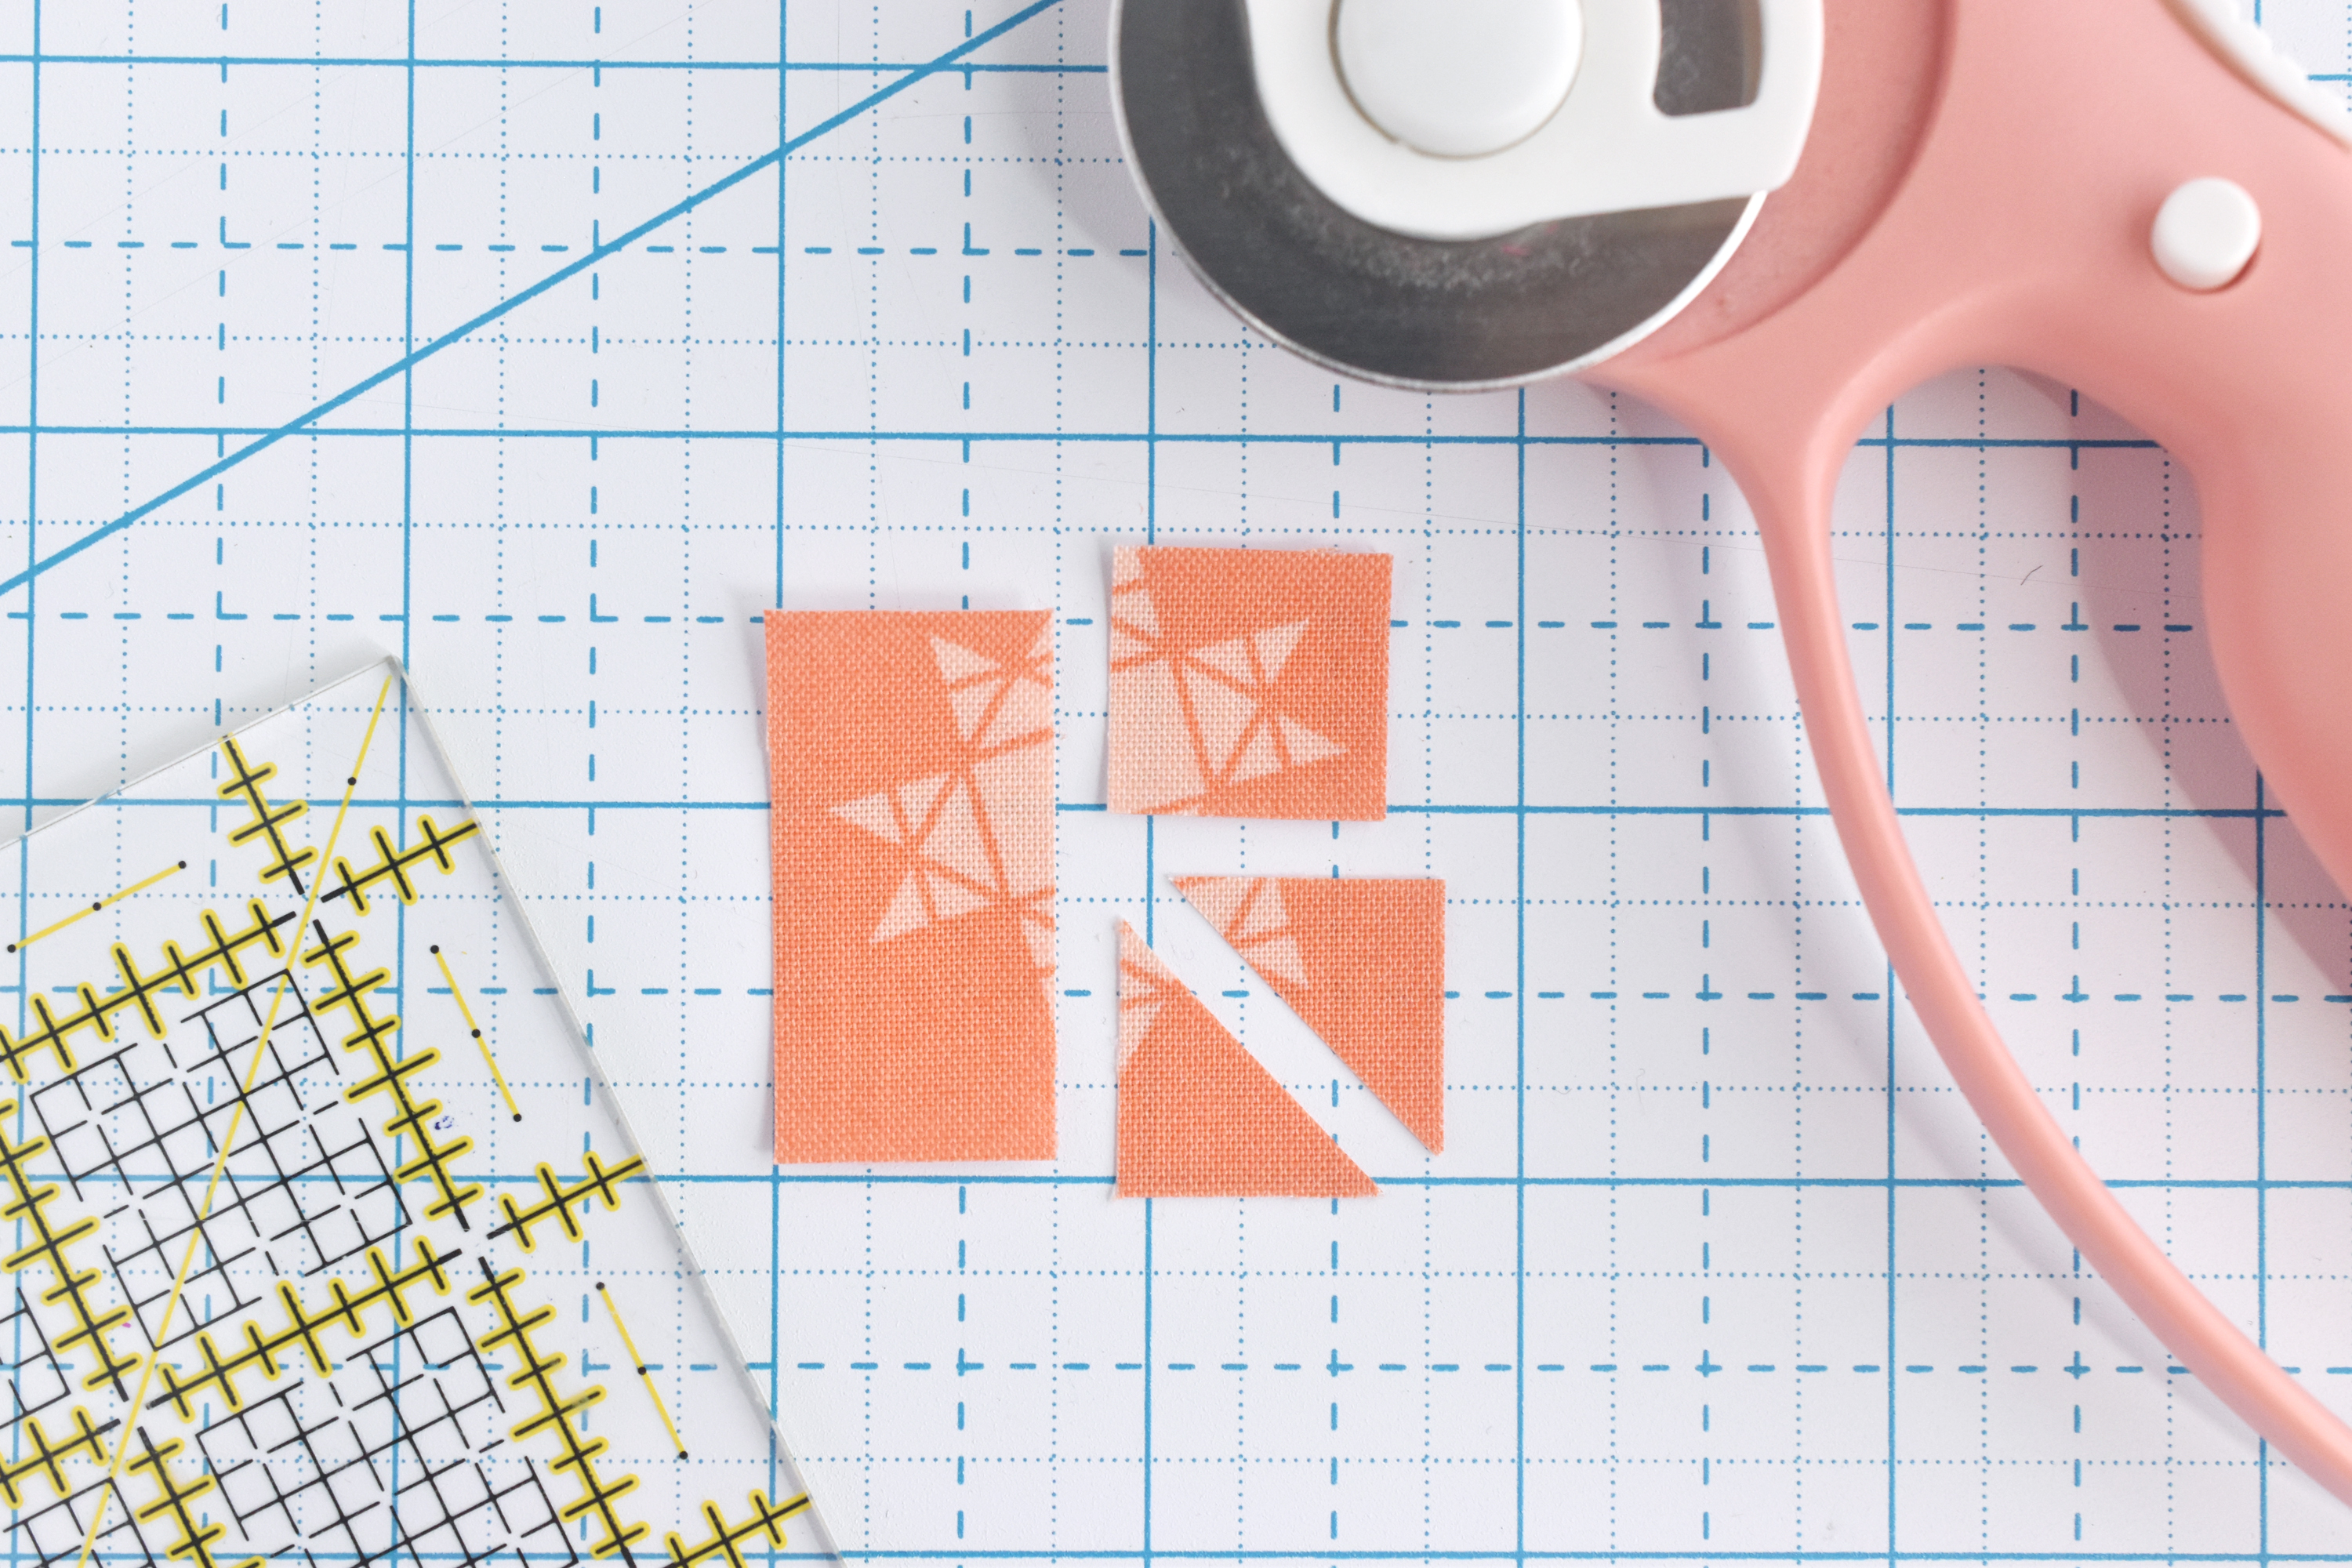
Cut the fabric that will be the points in half and then in half again so you have four small squares. Cut each of those in half from corner to corner. You will now have eight triangles.
Note: If you don't have a rotary cutter, you can still mark the squares and triangles with a ruler and then cut them with scissors.
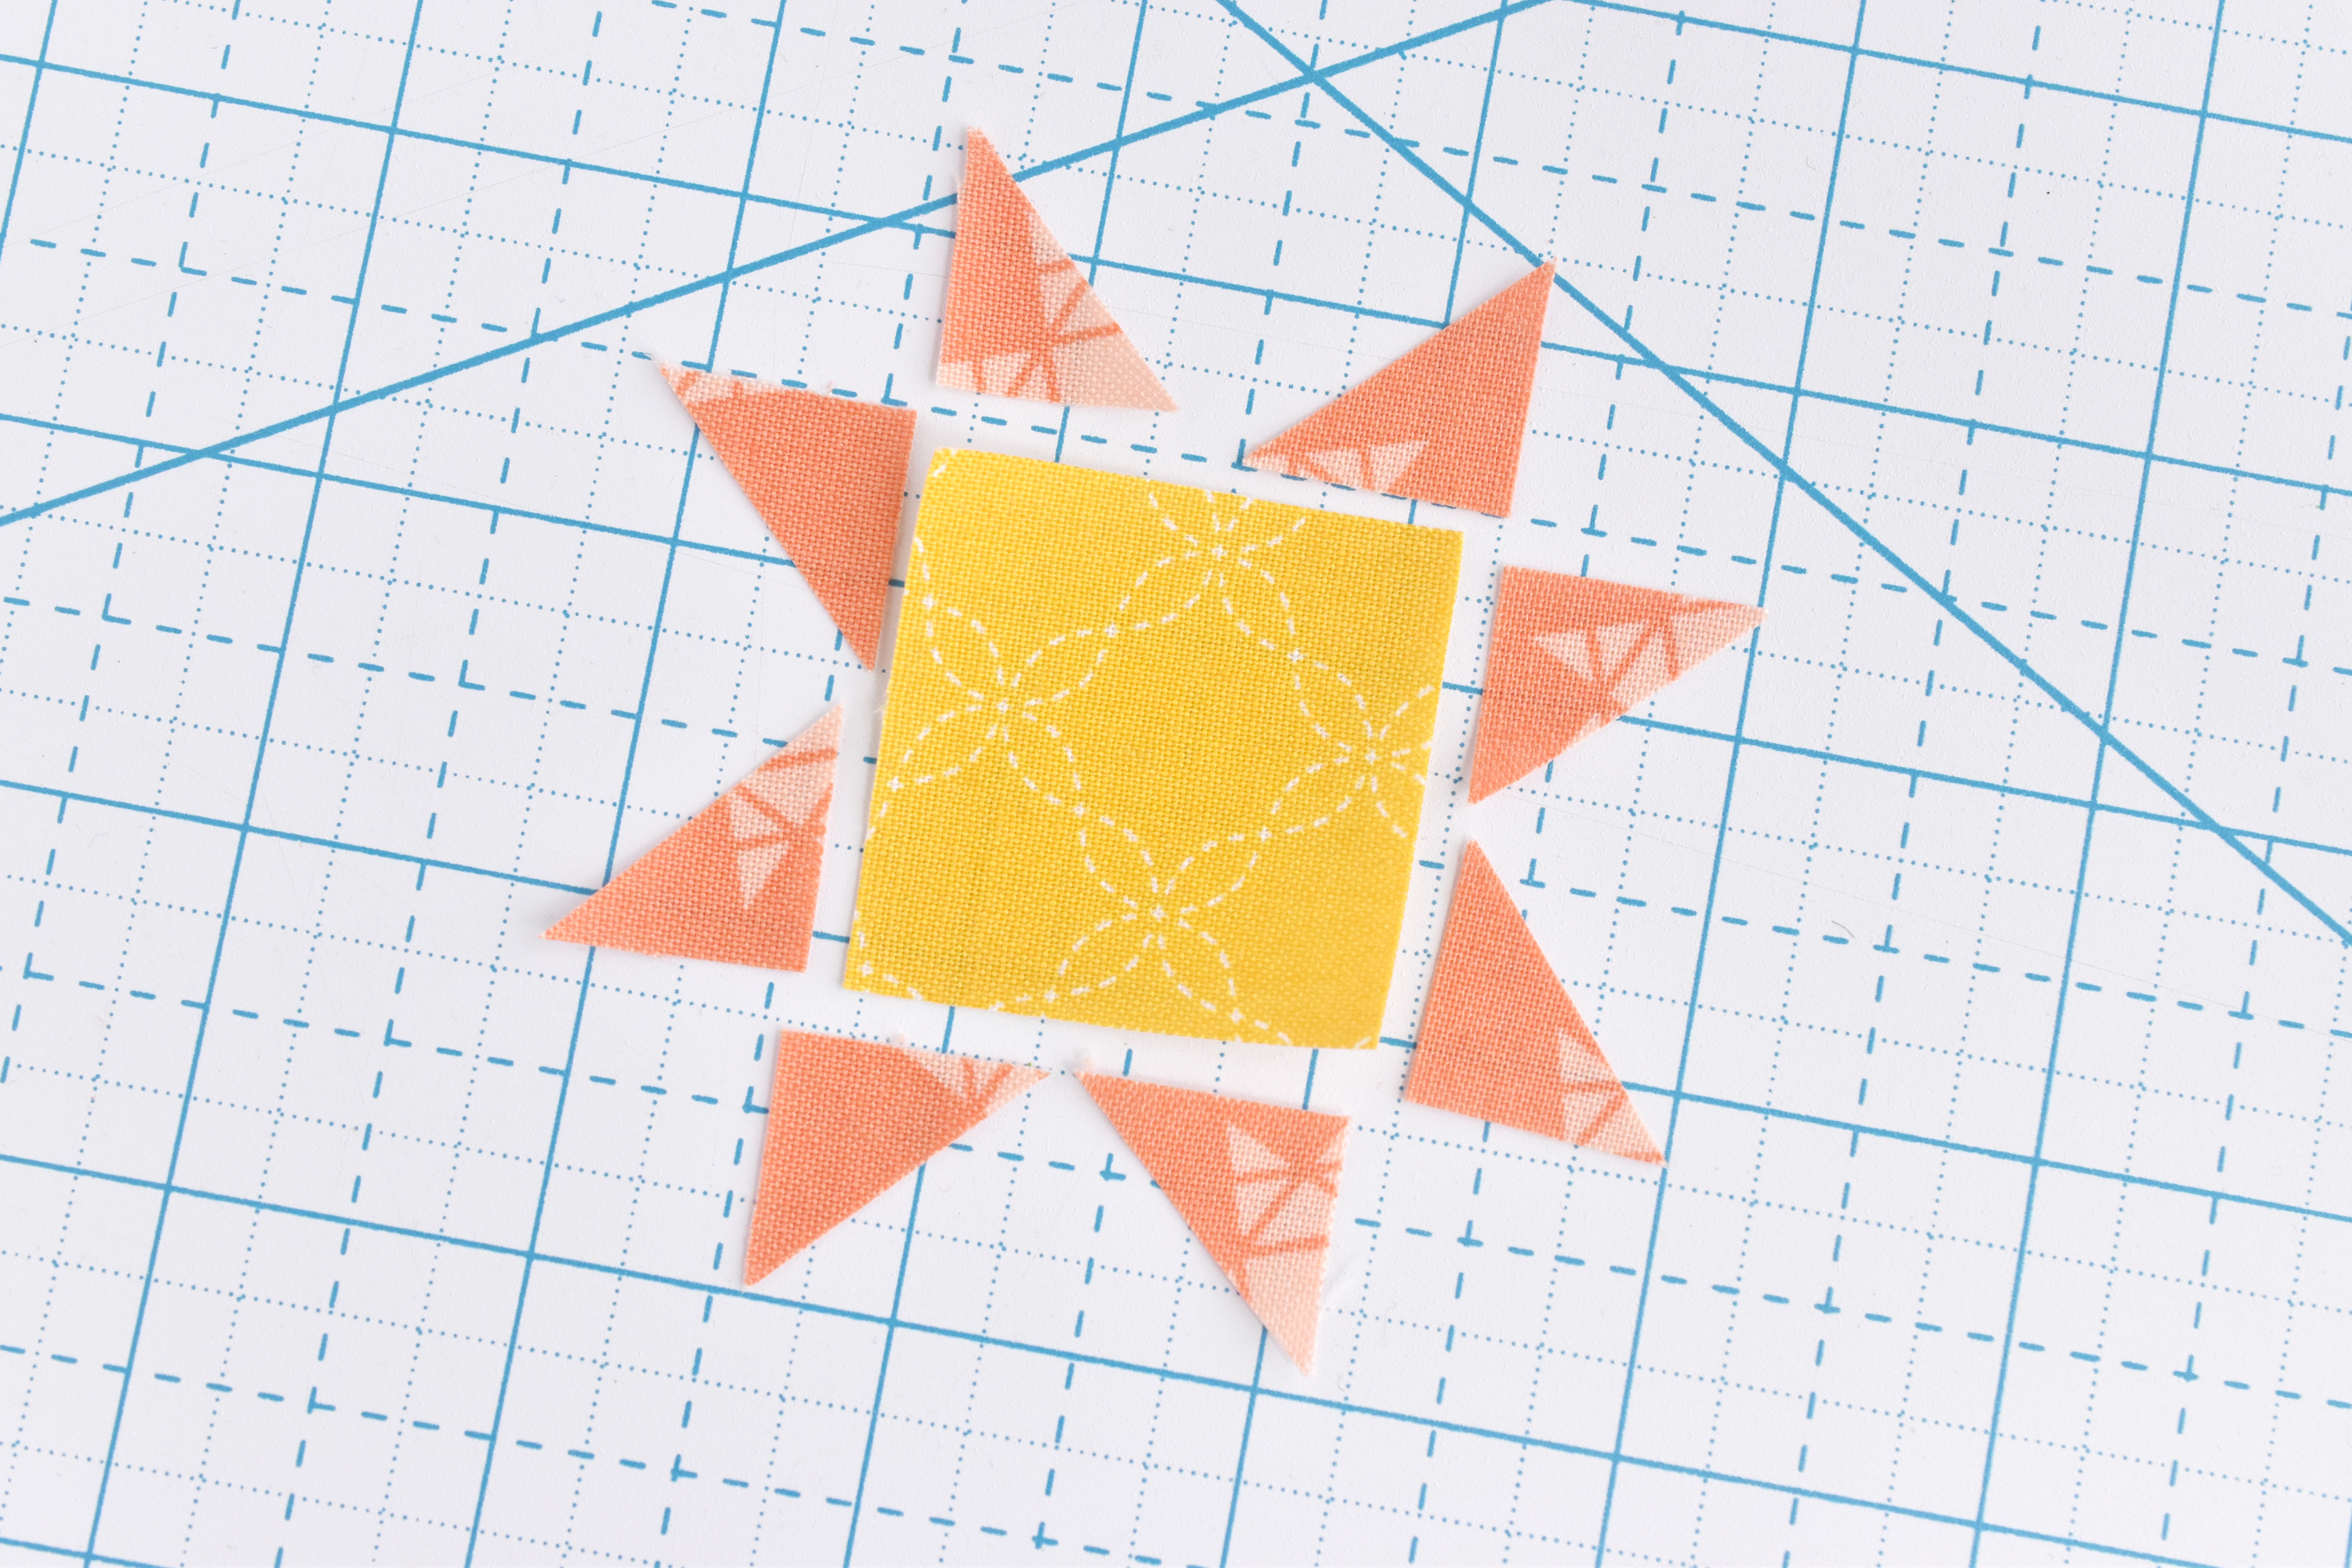
Arrange the trianges around the edges of the center square as shown.

Peel the paper backing off the fabric pieces. This can be the trickiest part. On the triangles, it's best to peel from the right-angle corner. It just comes off easier.
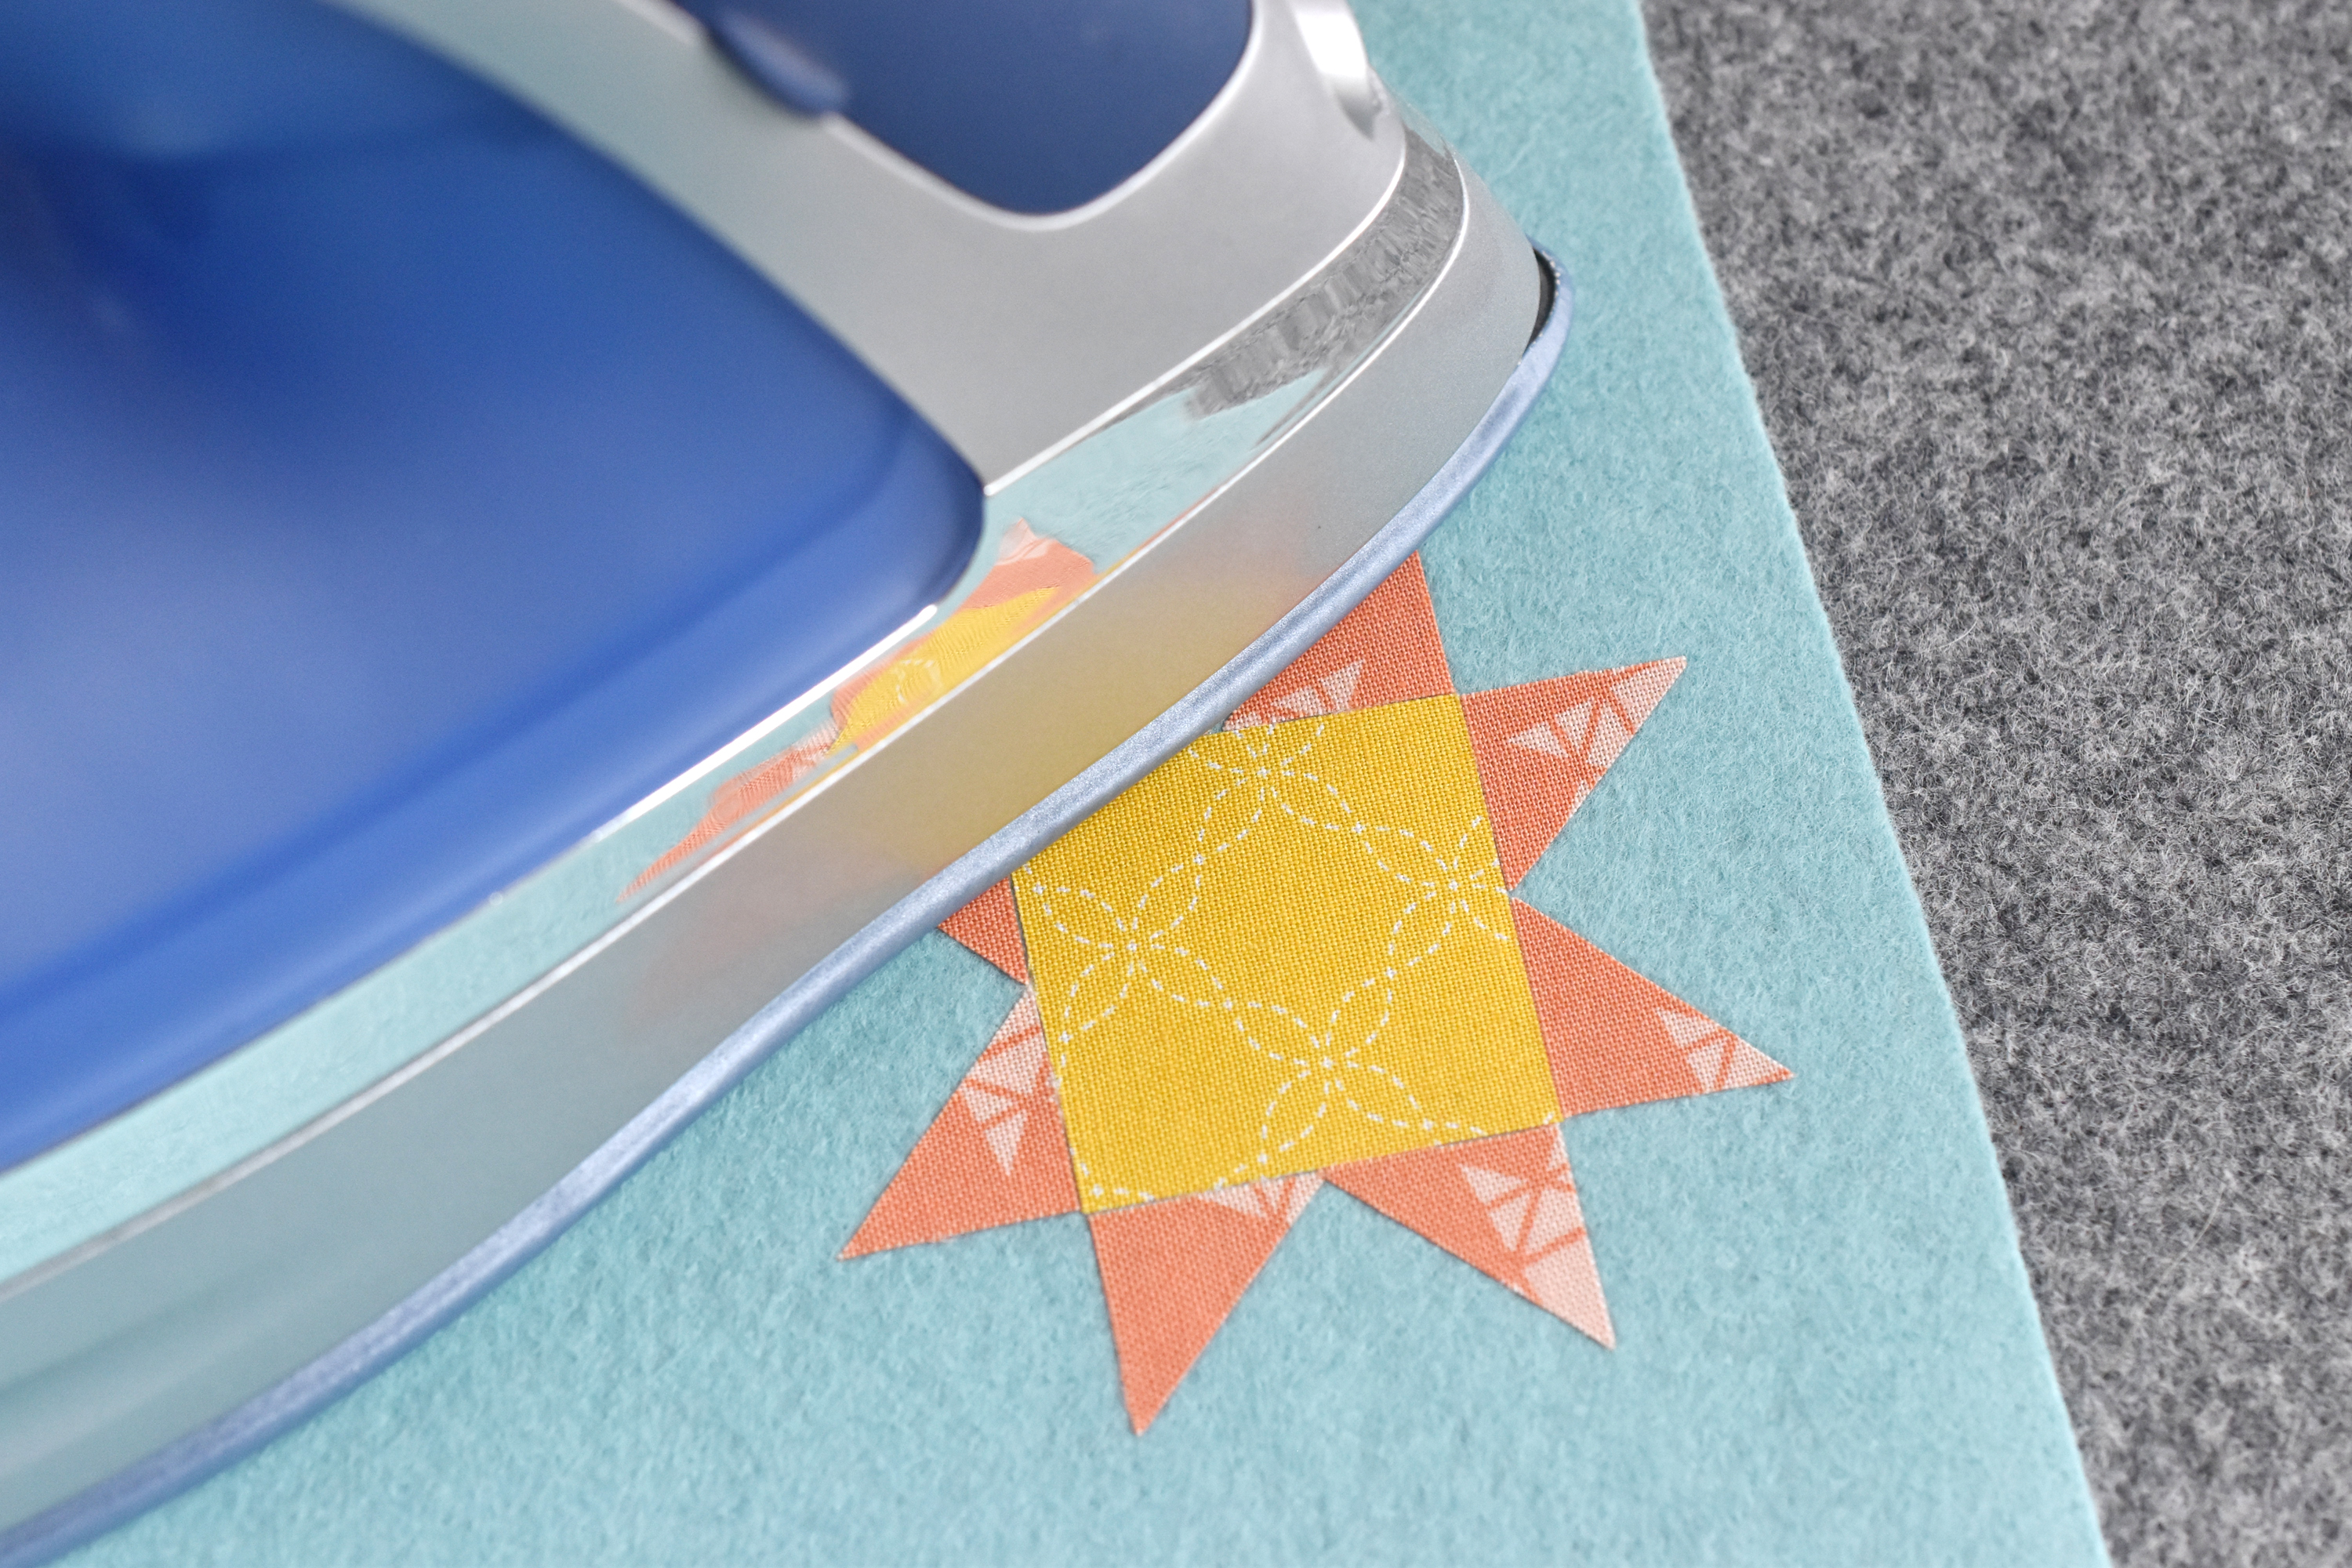
Place all the pieces down on the felt, making sure that the edges line up well. Carefully iron the pieces so they don't shift.
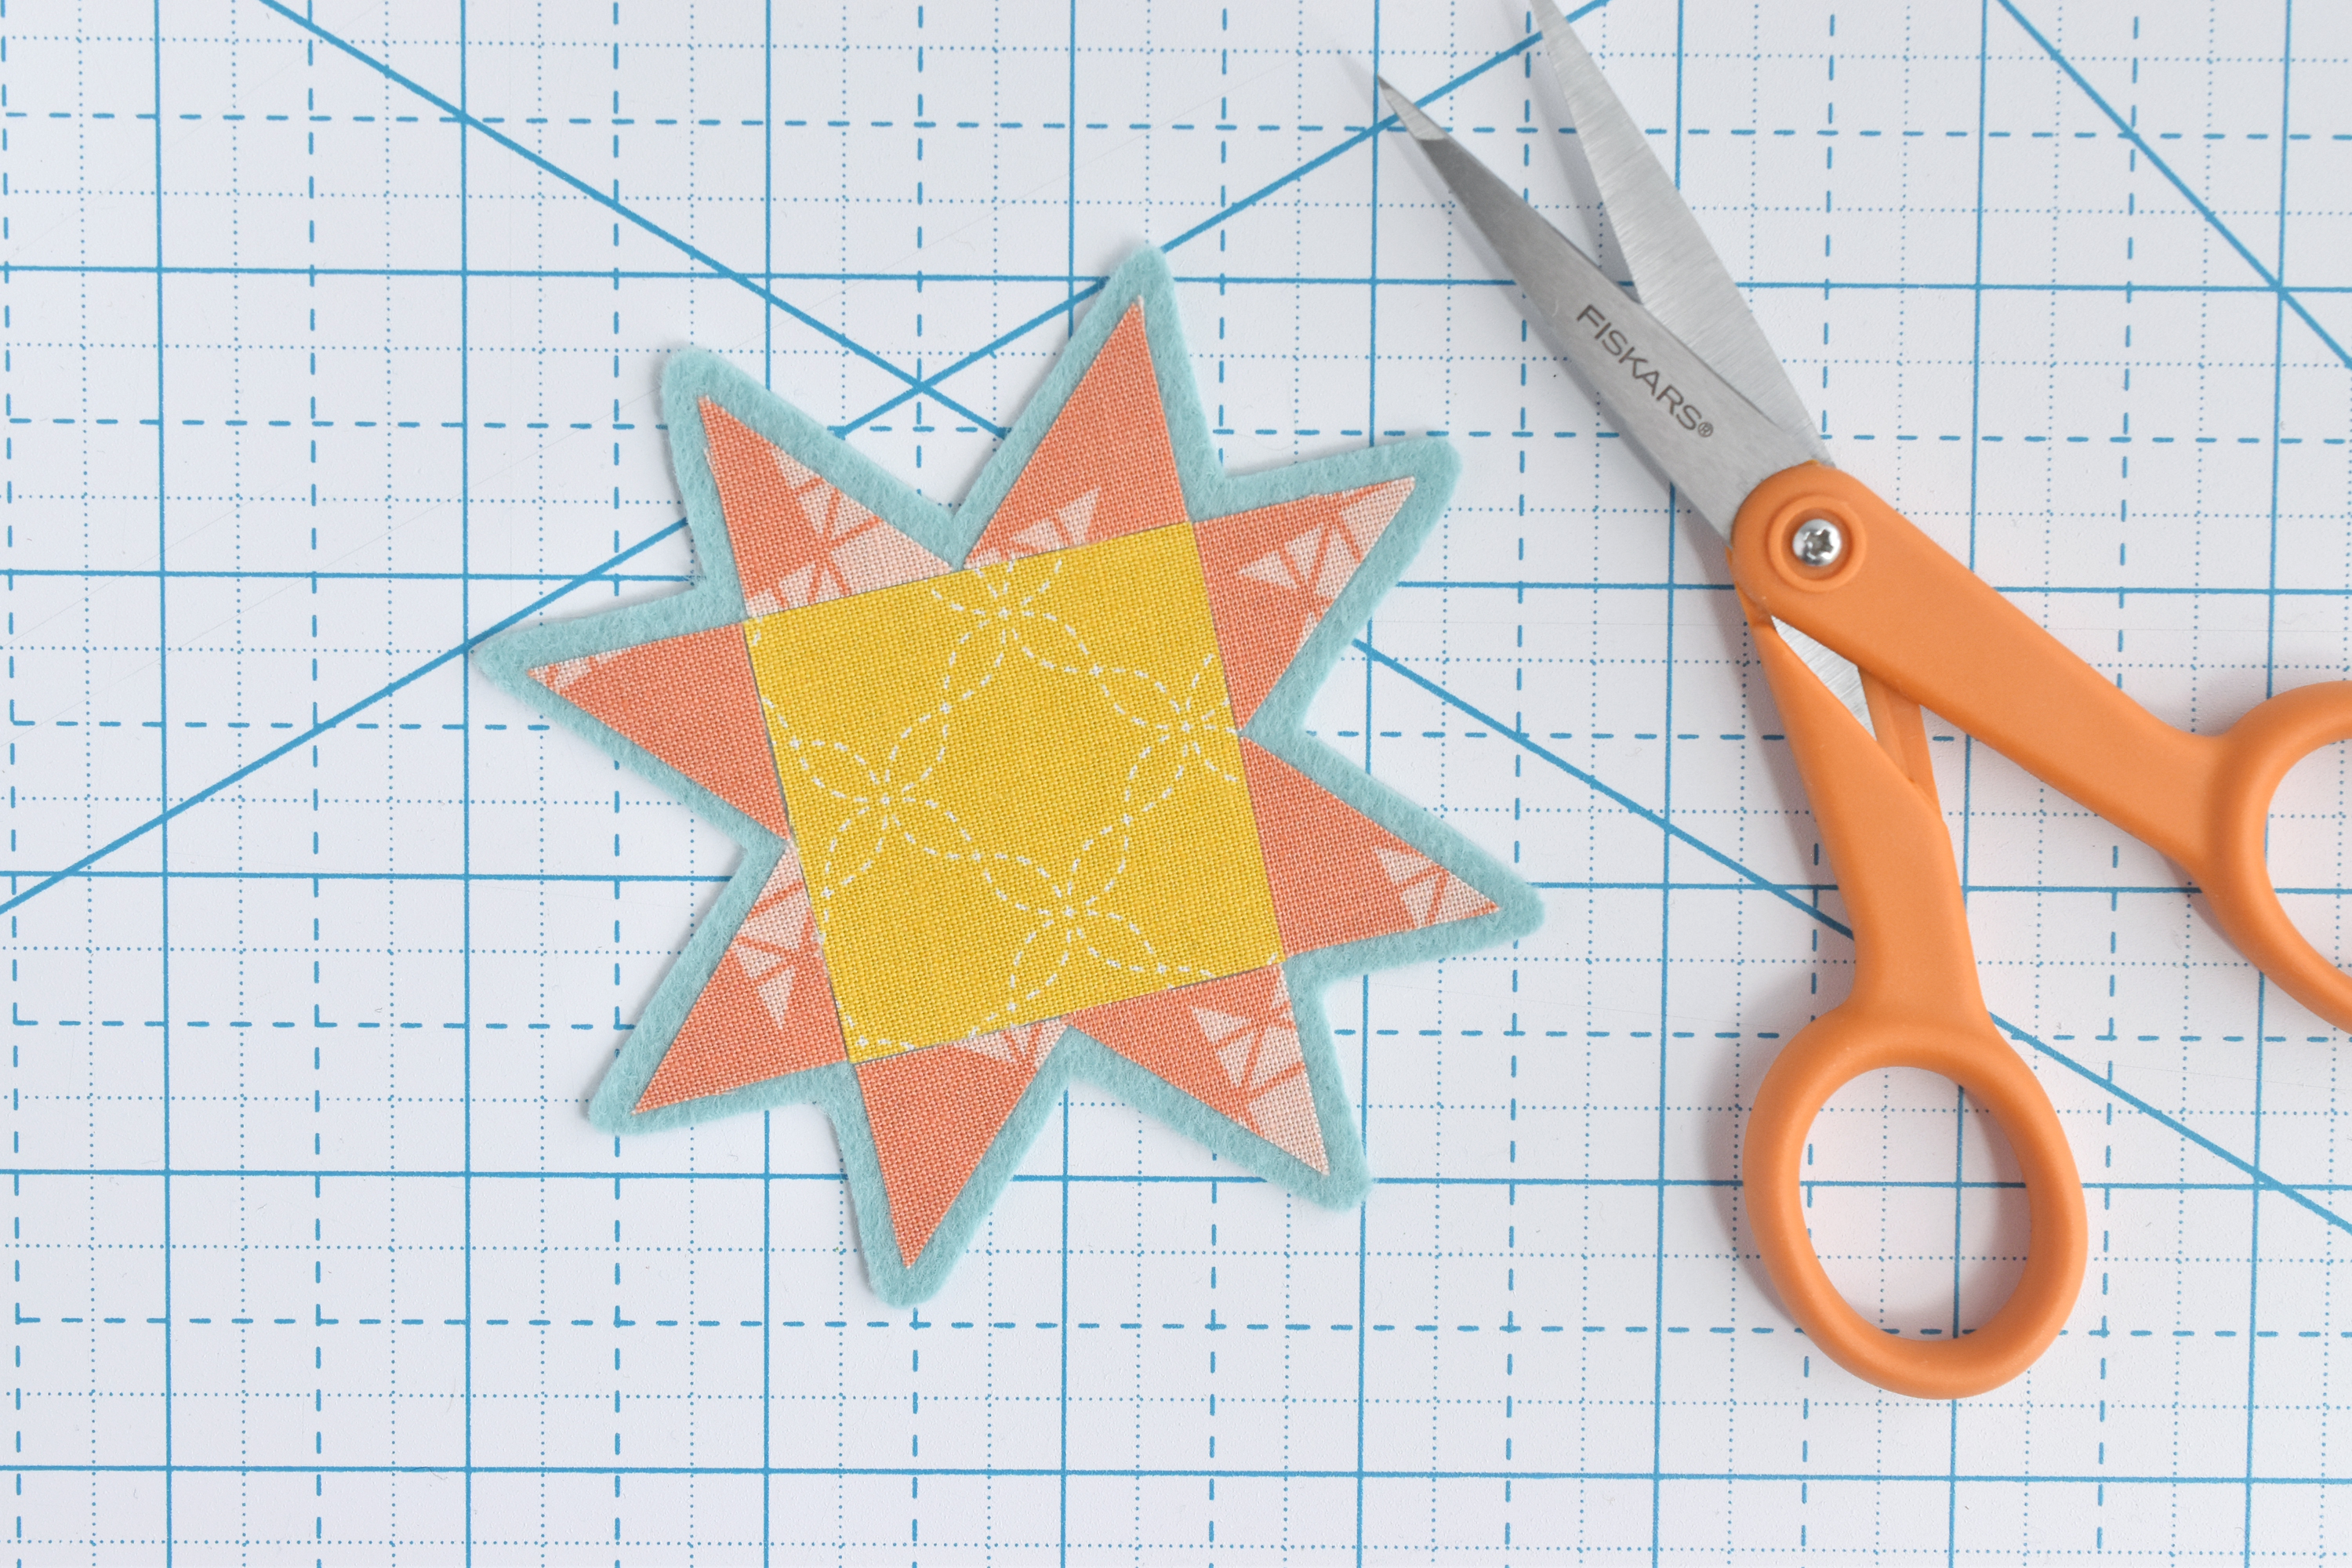
Cut around the quilt star, leaving a little bit of felt showing.

Place the cut star on top of the felt and cut a second star shape to match.

Embroider a face on the quilt star if you want. I used six strands of floss and just freehand stitched it like you see me do in this video.
Cut two slits in the plain felt star like this:
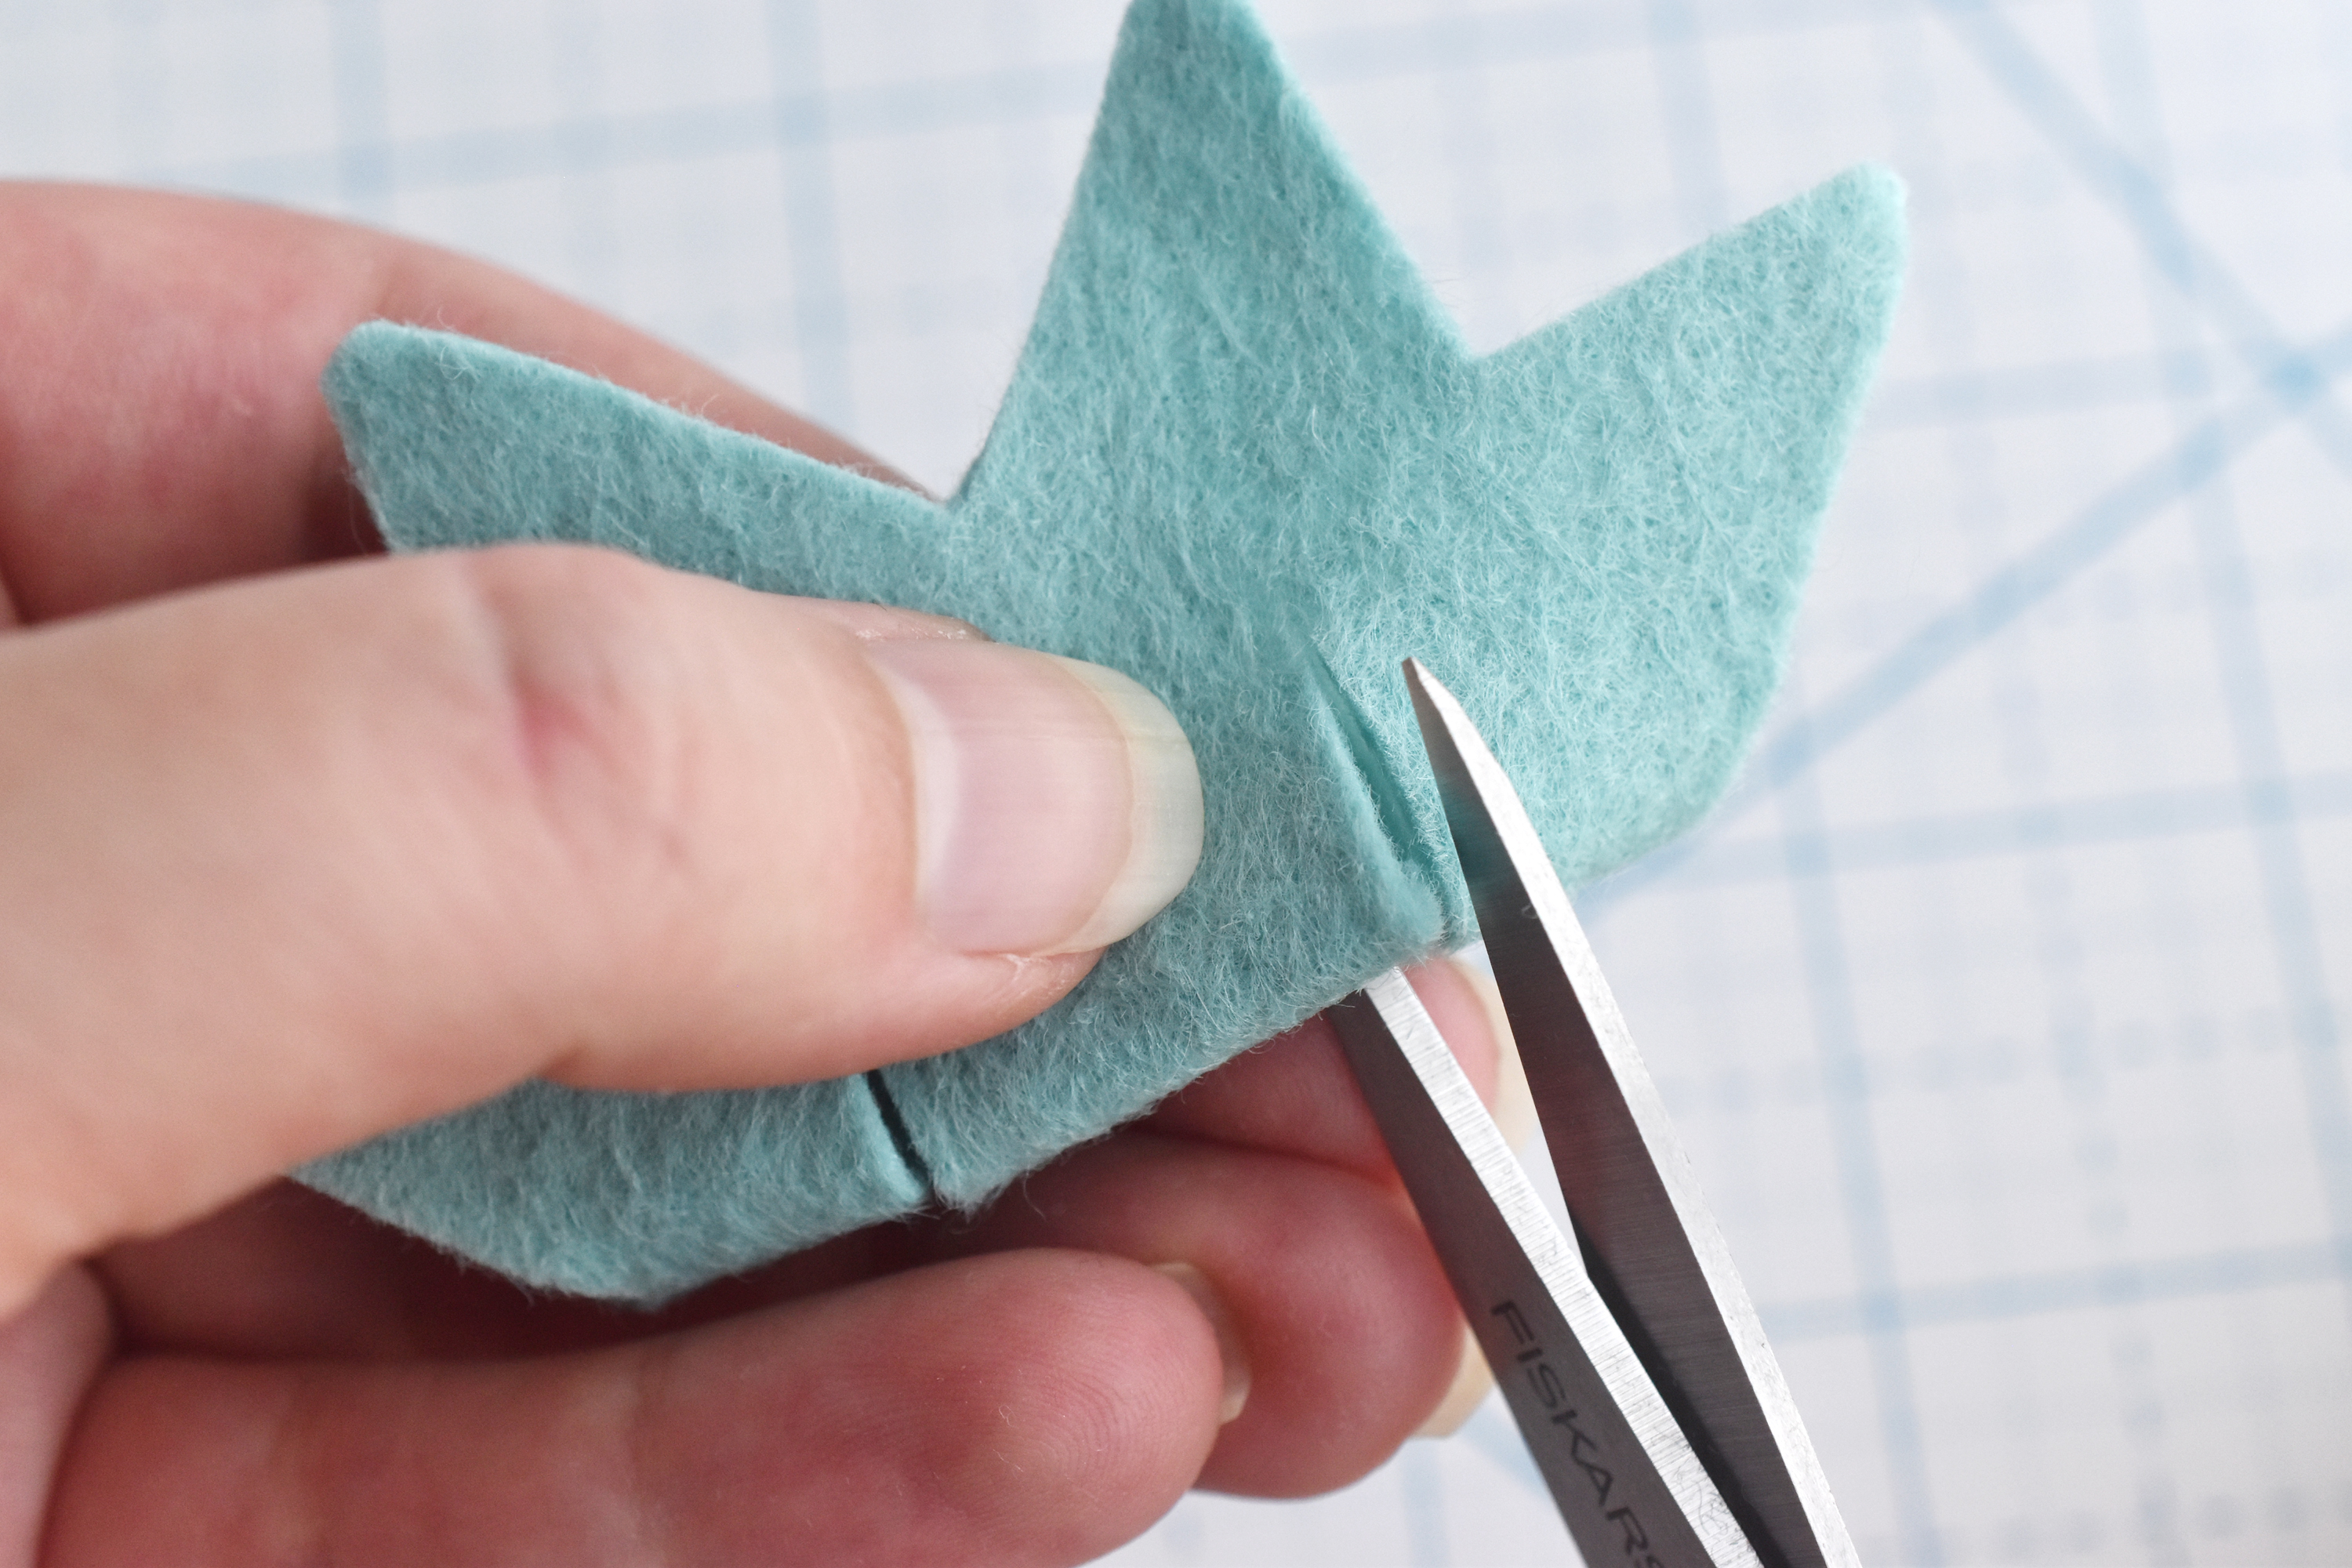
Fold the star in half so the fold is vertical. Cut on the fold with each cut about half-as wide as your elastic.
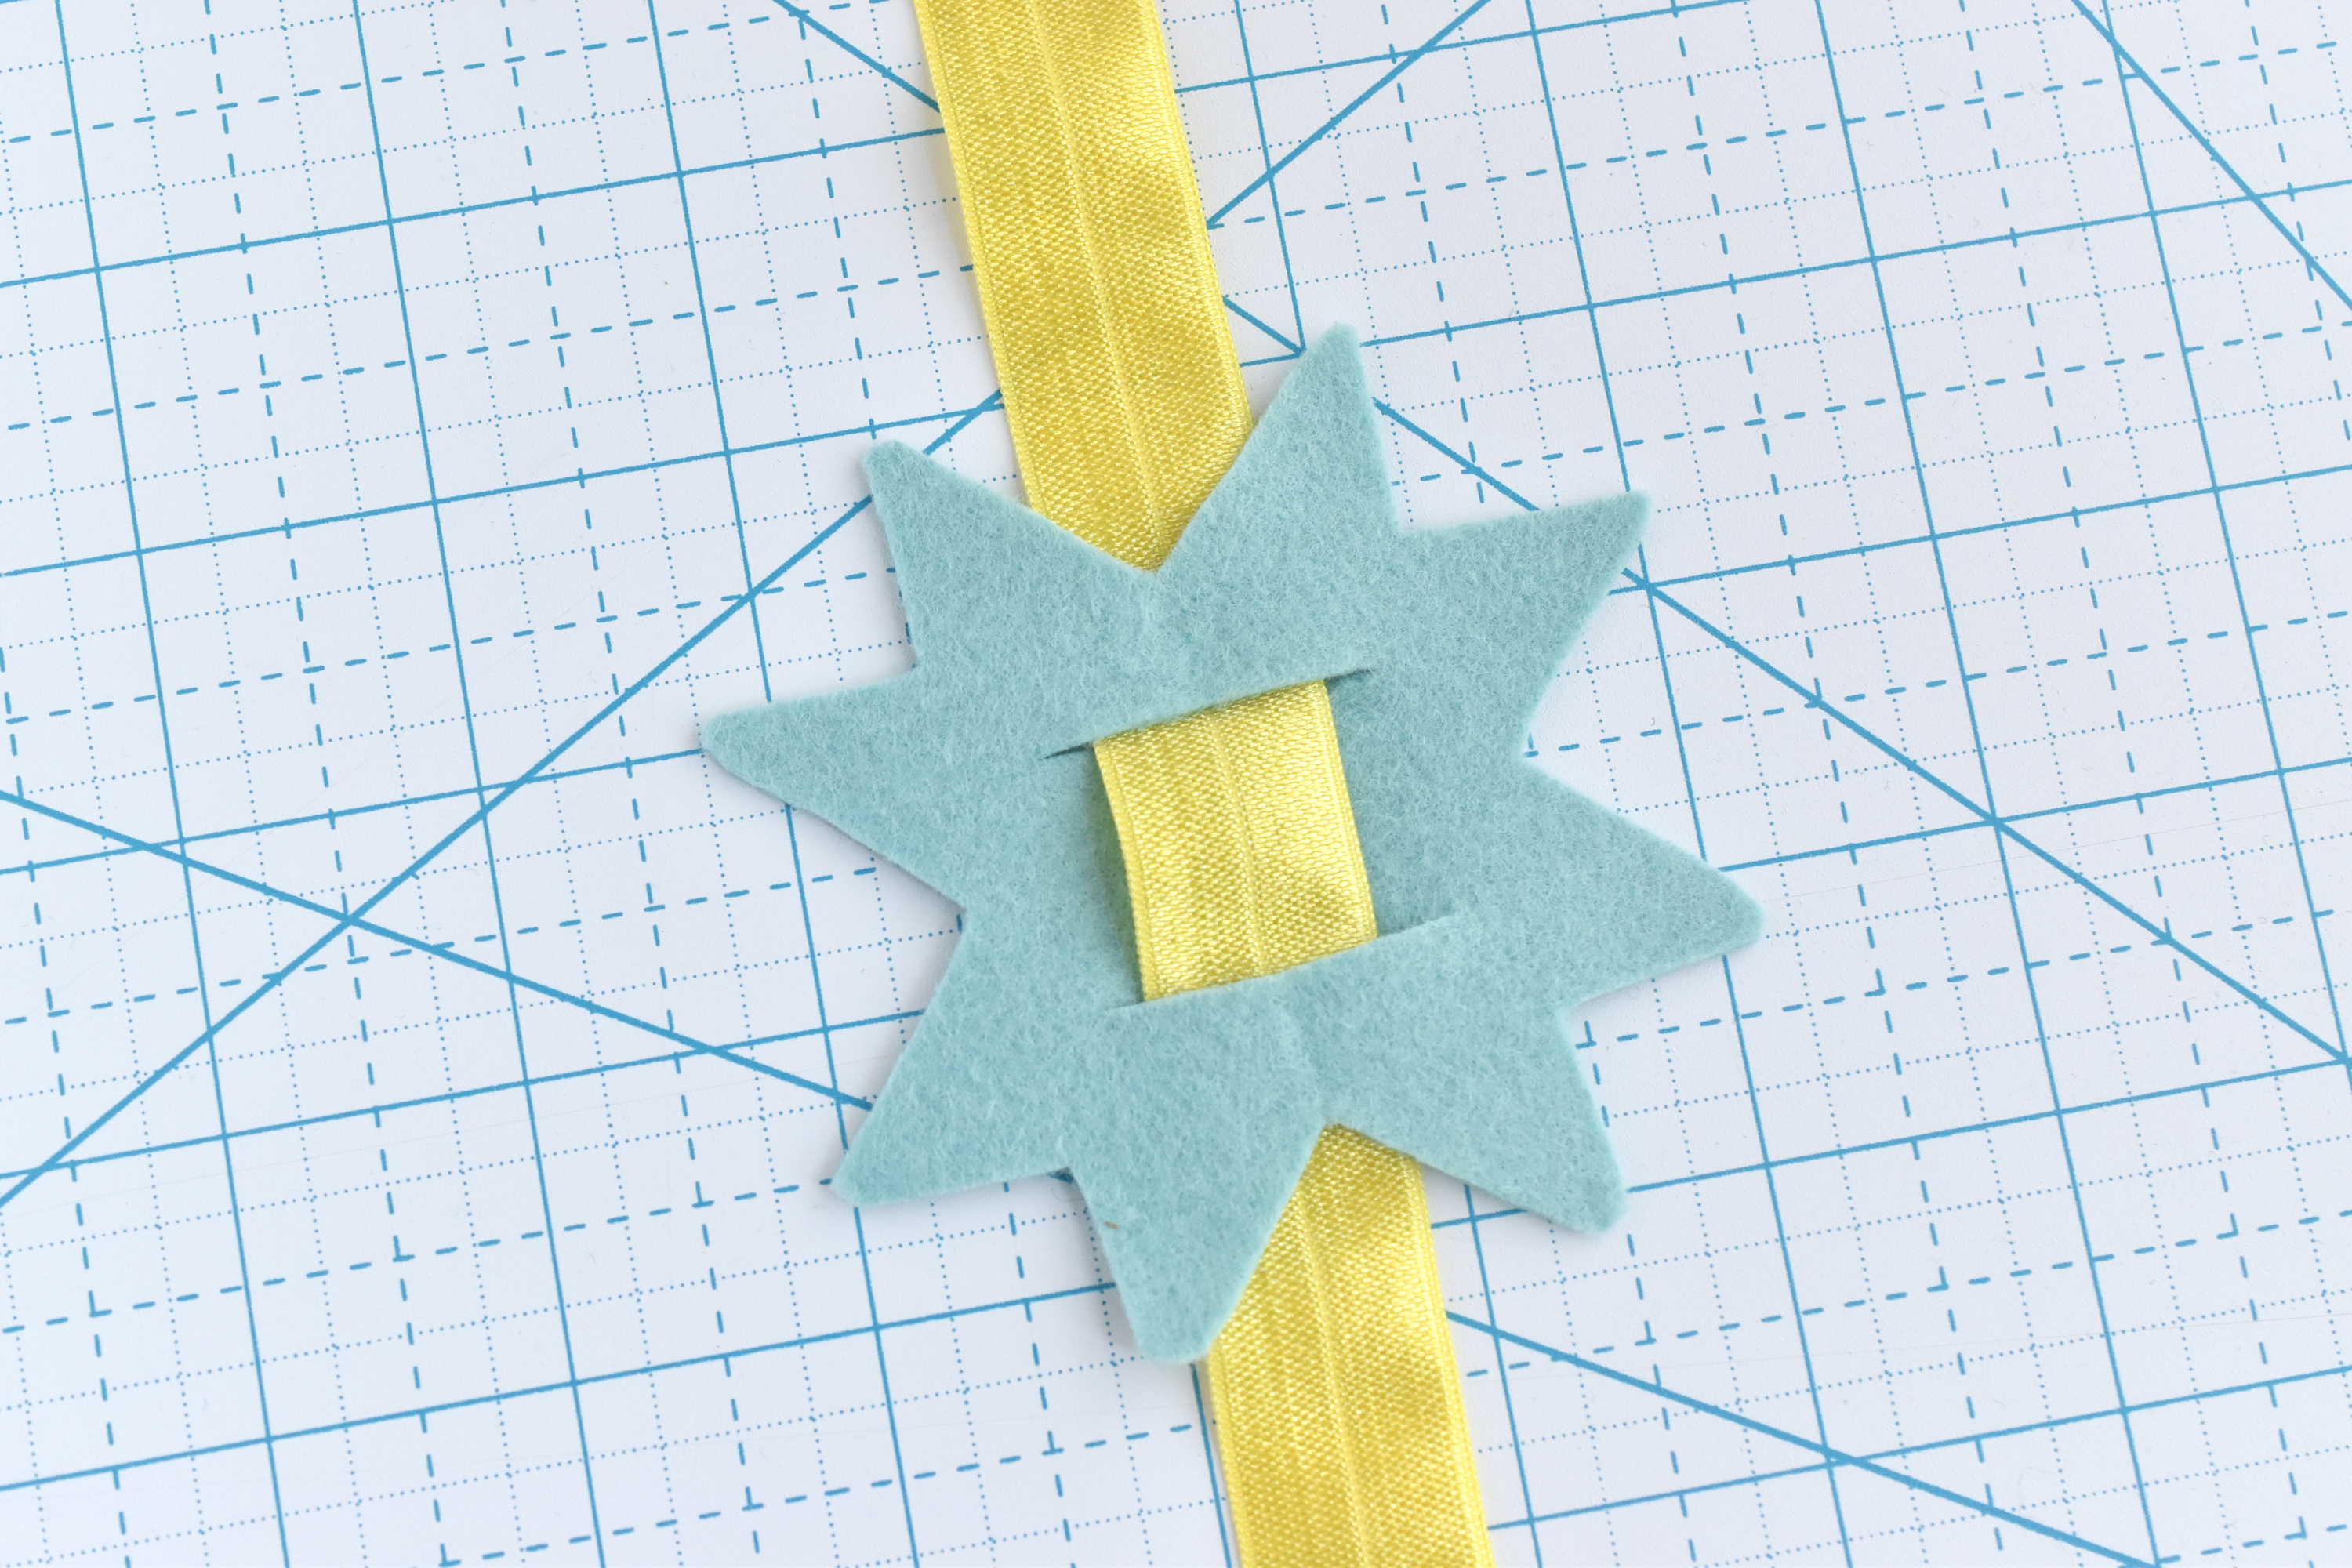
Cut a piece of fold-over elastic. Slide it through the slits in the plain star.
I cut my elastic to 18 inches. It's long enough to tie the ends with a knot and go around a composition book.
If you're making this to fit a larger binder or a gift box, you should add several inches. For smaller books or boxes, use less elastic. Remember that you want this to stretch to hold around a book or box, but it shouldn't pull tight.
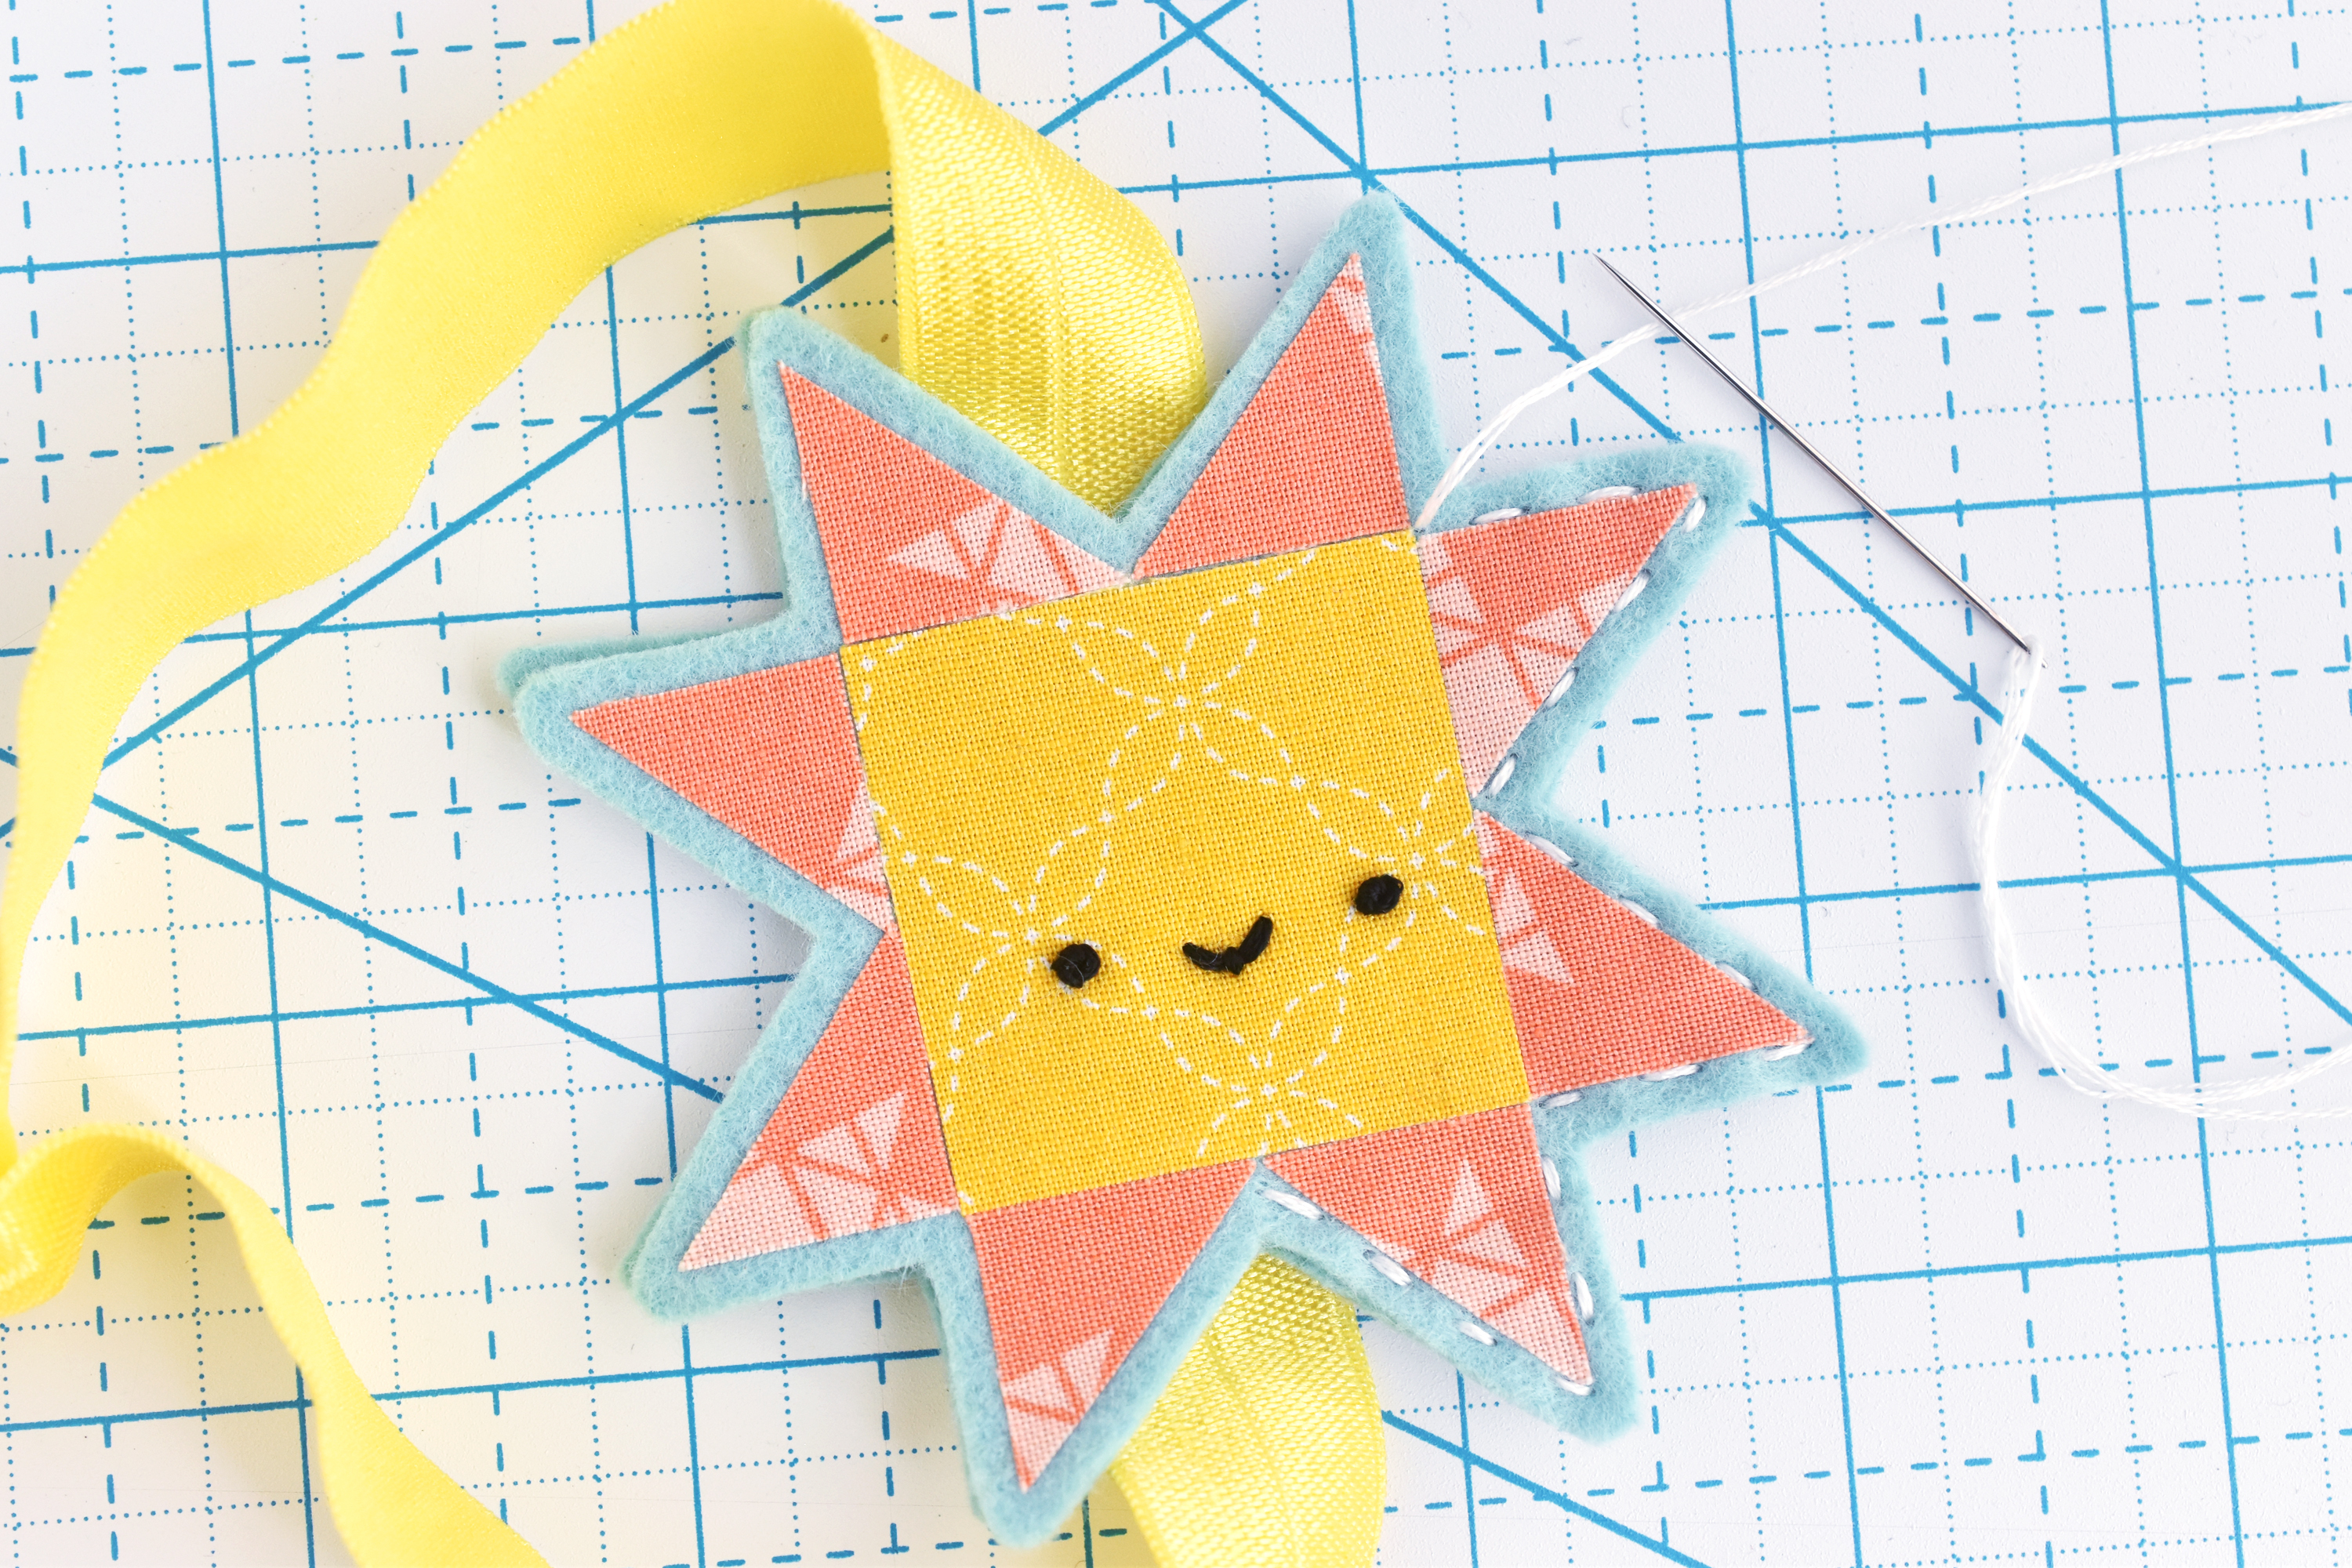
Place the quilt star on top of the star with the elastic. Stitch around the edge with three strands and running stitch. Make the stitches right next to the fused fabric.

Make sure that the elastic isn't twisted and then tie the ends together with an overhand knot.

Slide the book band around a notebook and you're all set to study, write, draw, and more!

For the gift bow version I made, I used glue instead of stitching and a knot. First, I glued the two layers of felt together. This is a lot faster than stitching, but it does need time to dry.
To make the elastic band flat, which is nicer for the underside of a box, I started by trimming the elastic end with a scallop shear (pinking shears or plain scissors are good too). Then I overlapped the ends and used fabric glue here as well. Once again, make sure that the length of elastic is correct and then give this enough time to dry before adding to a gift box.

Even on a simple white box, this bow band makes it festive. And there's no waste!
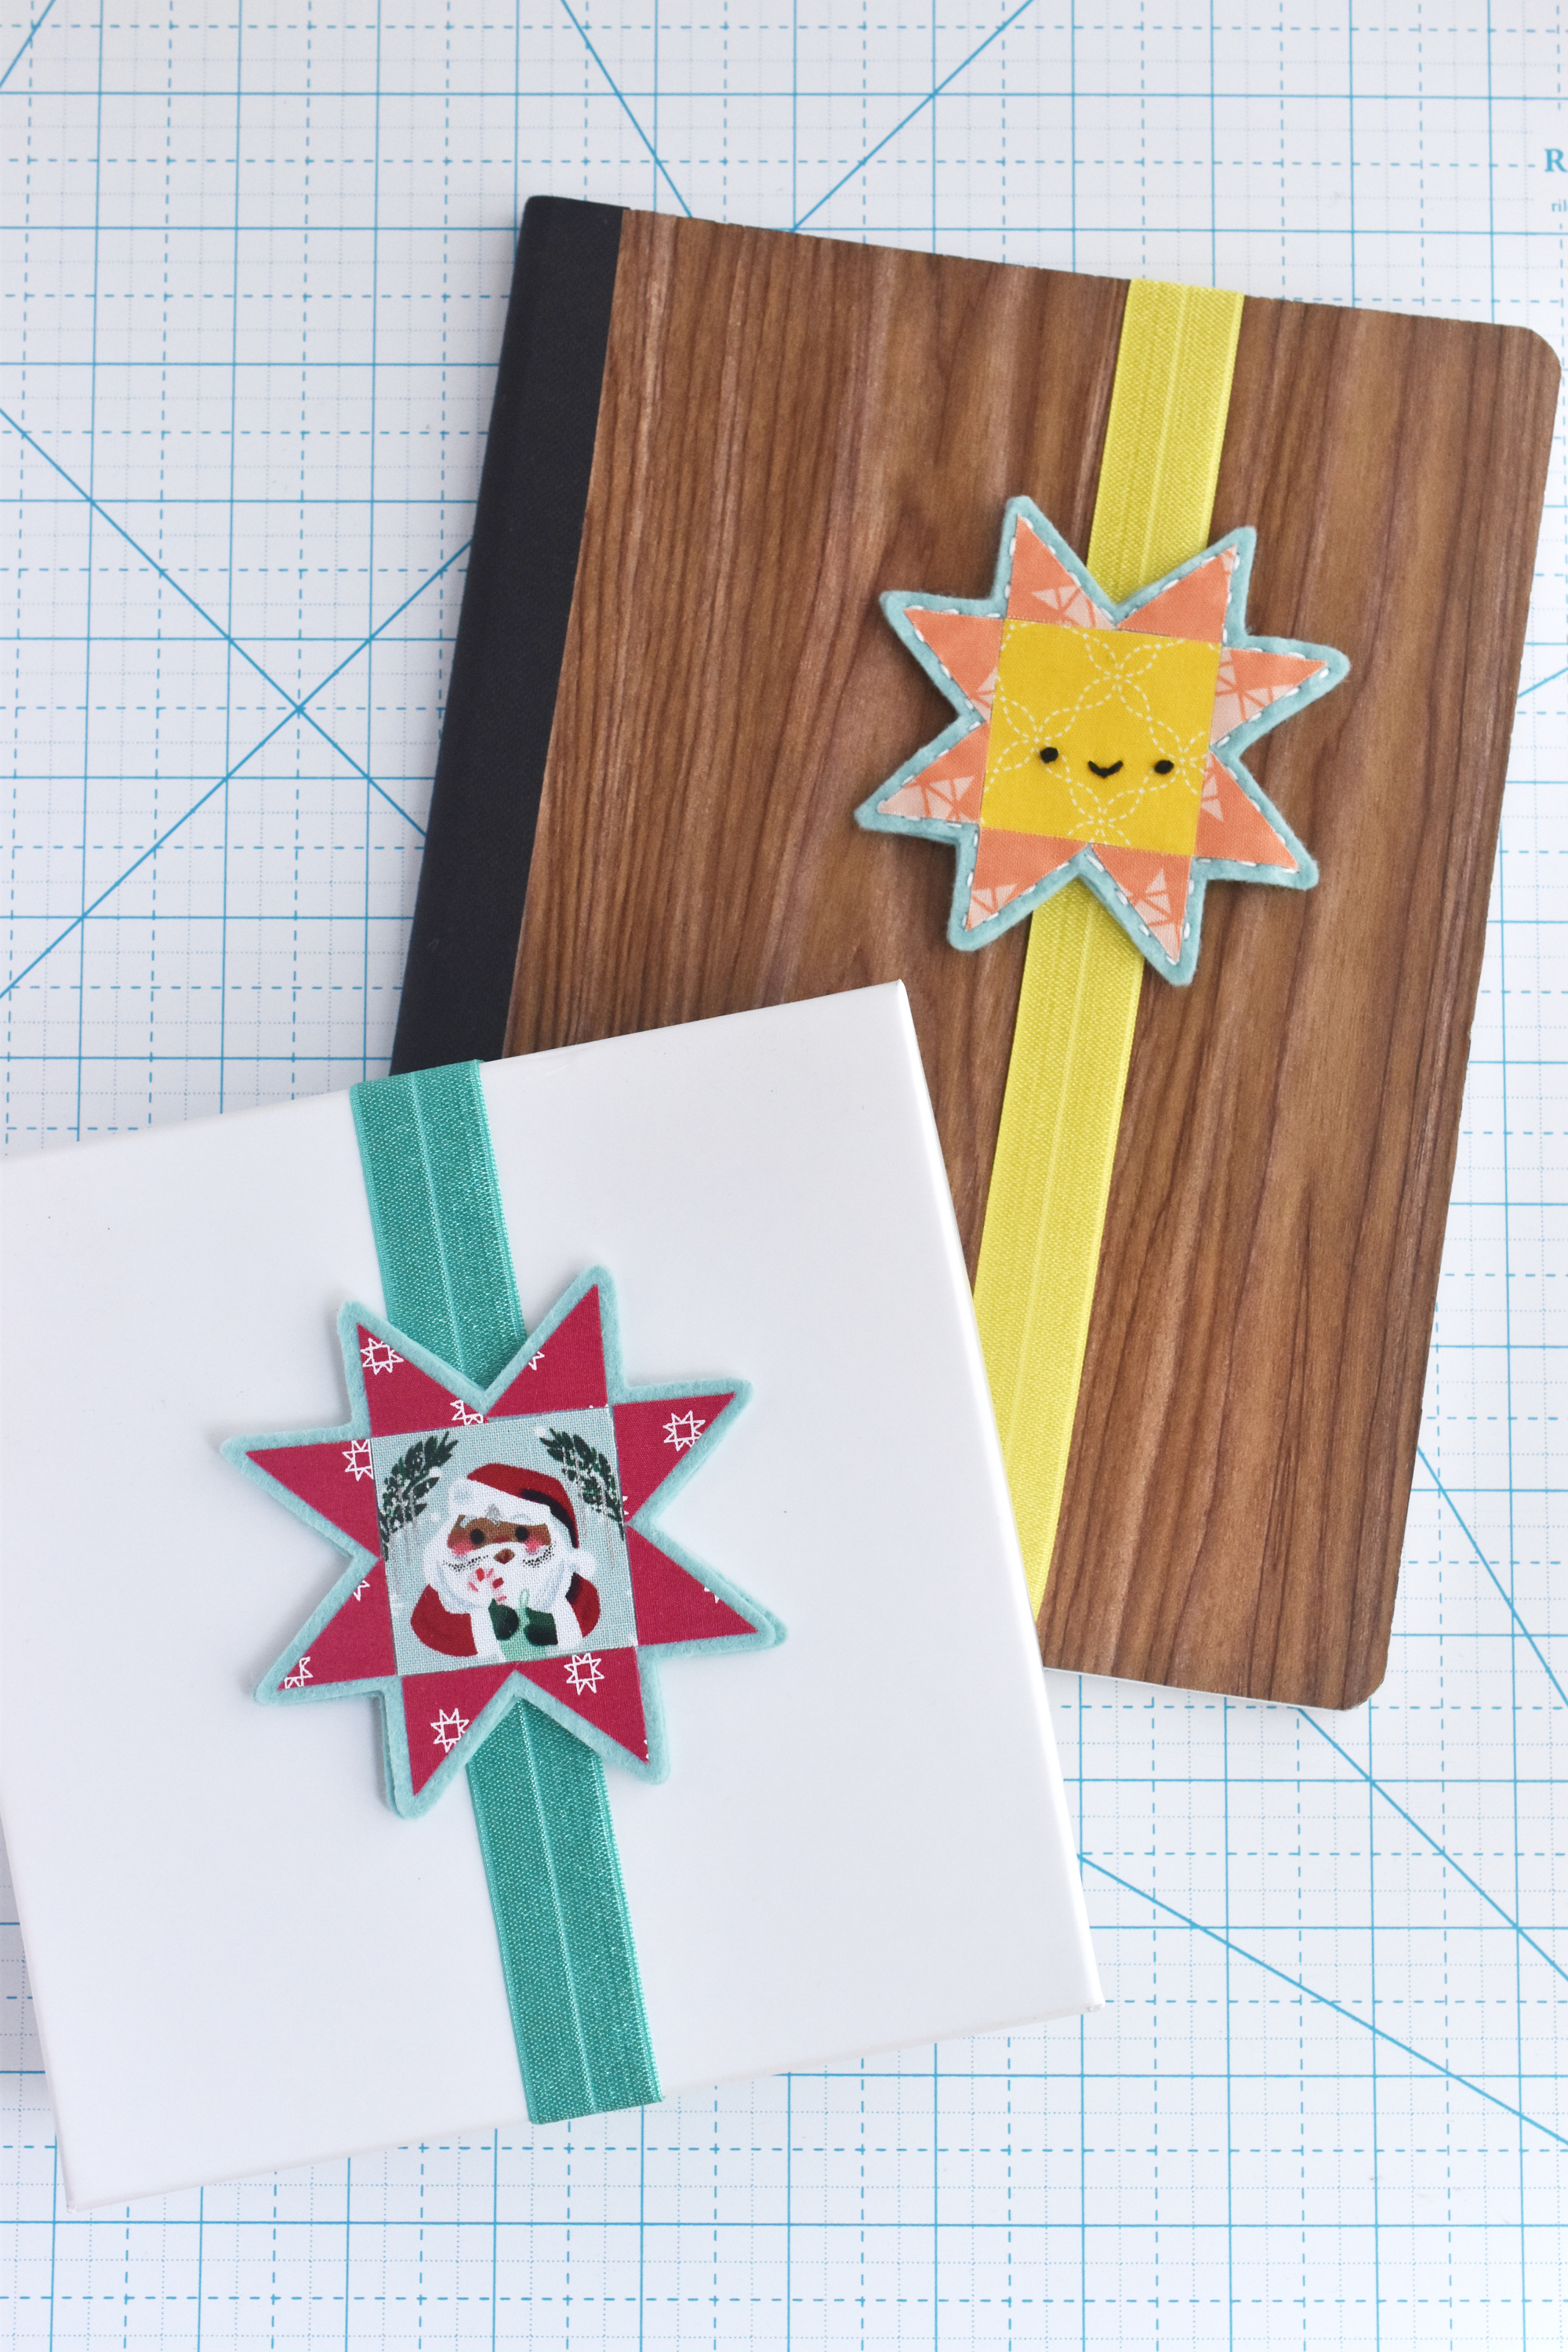
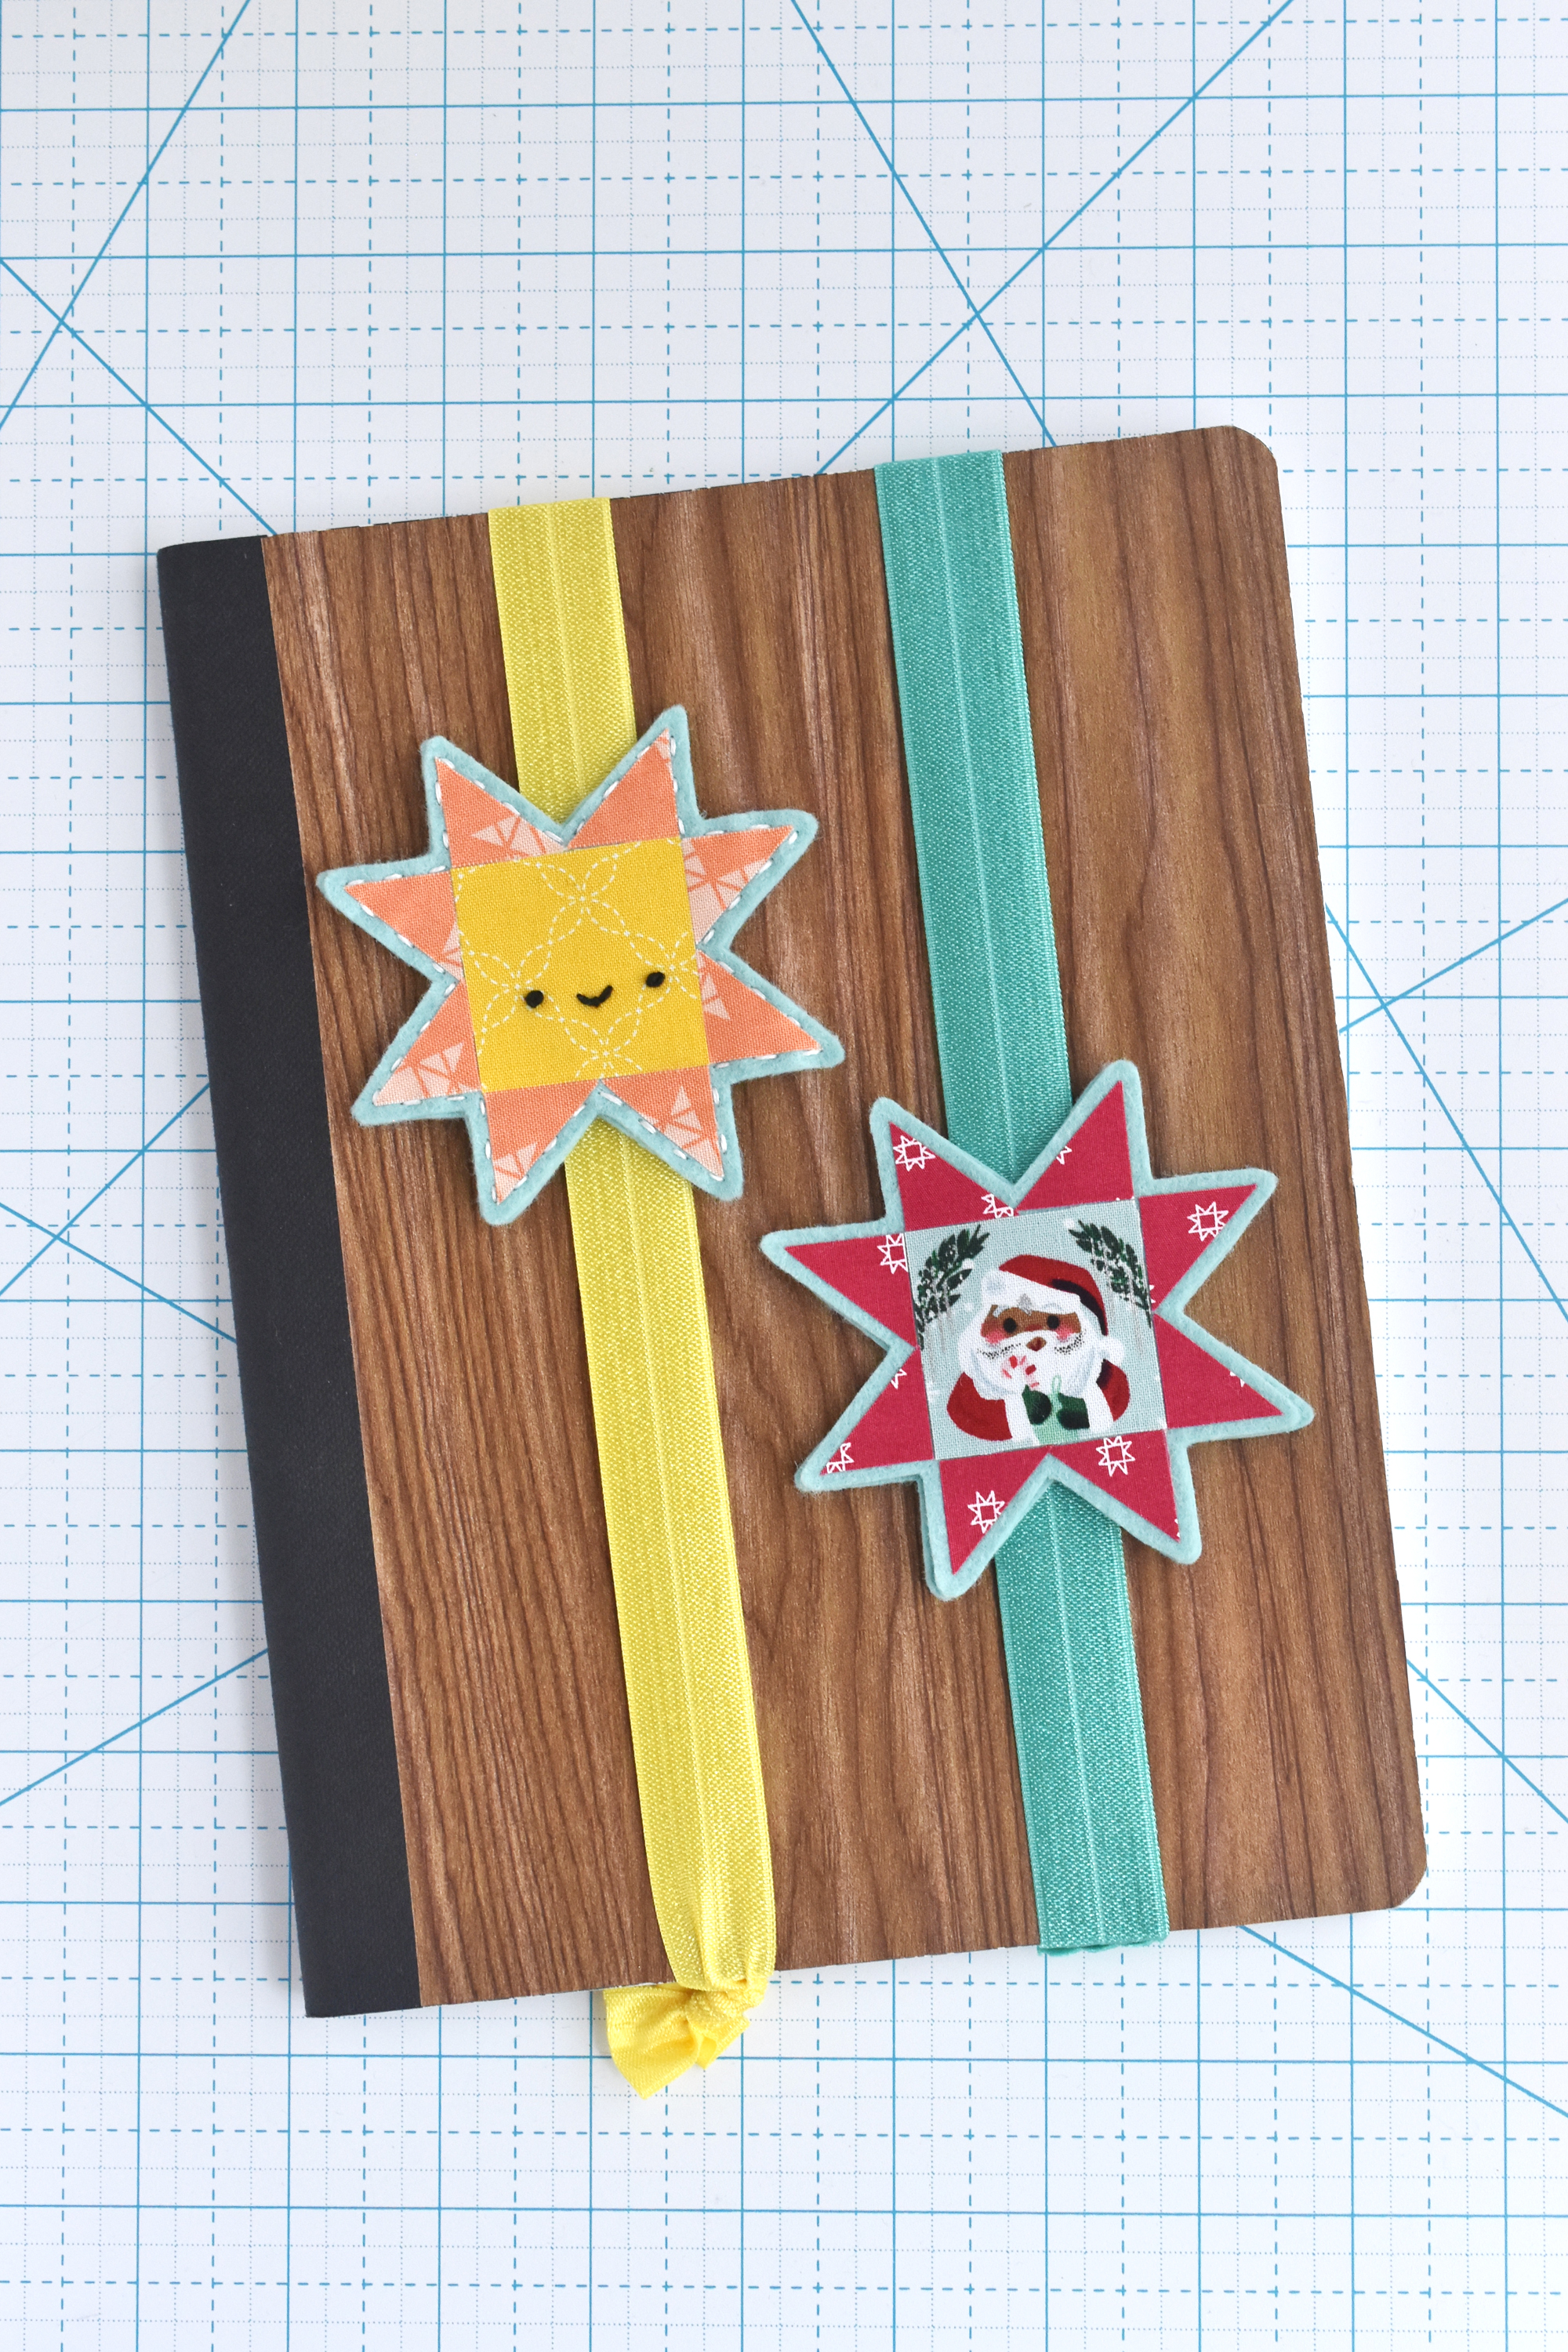
No matter which version you make, these are fun and fast. The quilt inspiration make me smile and I love that you can use them in different sorts of ways!
Happy crafting!
0 comments:
Post a Comment
I often reply to comments in the comments...check back if you have a question!