


What could be happier than a little kawaii cloud sitting on a rainbow? How about a 3D felt cloud?
When I saw these wool felt pom poms in the shape of clouds, I had to get one and come up with a fun way to use it. And while this is a simple project, it has quickly become one of my favorites. Choosing a limited rainbow palette for the stripes was really enjoyable, and I personally find chain stitch to be so relaxing. But it's the puffy little cloud that really gets me.
I think it's unexpected to have this cloud held on to the front of a hoop. And it was just $3.00! Well worth it to make this into something special.

Fabric
7-inch Embroidery Hoop
Vanishing Ink Pen
Ruler
Embroidery Floss in a Rainbow of 5 Colors, plus black (I used DMC 3855, 3824, 3326, 209, 3805, and 310)
Embroidery Needle
Scissors
Wool Felt Cloud Pom Pom (Found at Benzie Design)
Rainbow Stripes Pattern PDF

Place the fabric in your hoop and use your ruler to mark five parallel lines 3/8 (1cm) apart. The pattern page has these lines if it's easier for you to trace them.
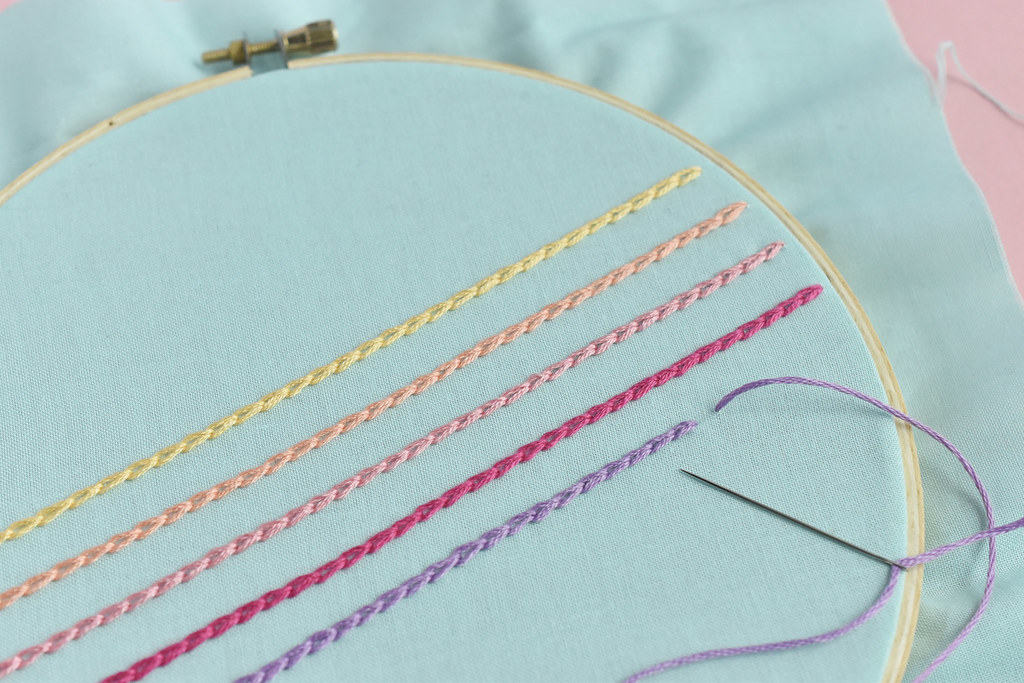
Embroider the five lines with six strands and chain stitch. You don't really need to stitch the entire lines because the cloud will cover the center section, but it's easier to stitch the full line. That gives you a bit of room to move the cloud around if you want.
TIP: If you have trouble threading all six strands, I recently shared a tip for using tape to help!

Use the vanishing ink pen to draw a little face on the cloud.

Thread six strands of black embroidery floss through your needle and tie a knot at the other end. Bring the needle through the cloud coming up through one of the marked eyes. Make a french knot, going back down through the cloud.
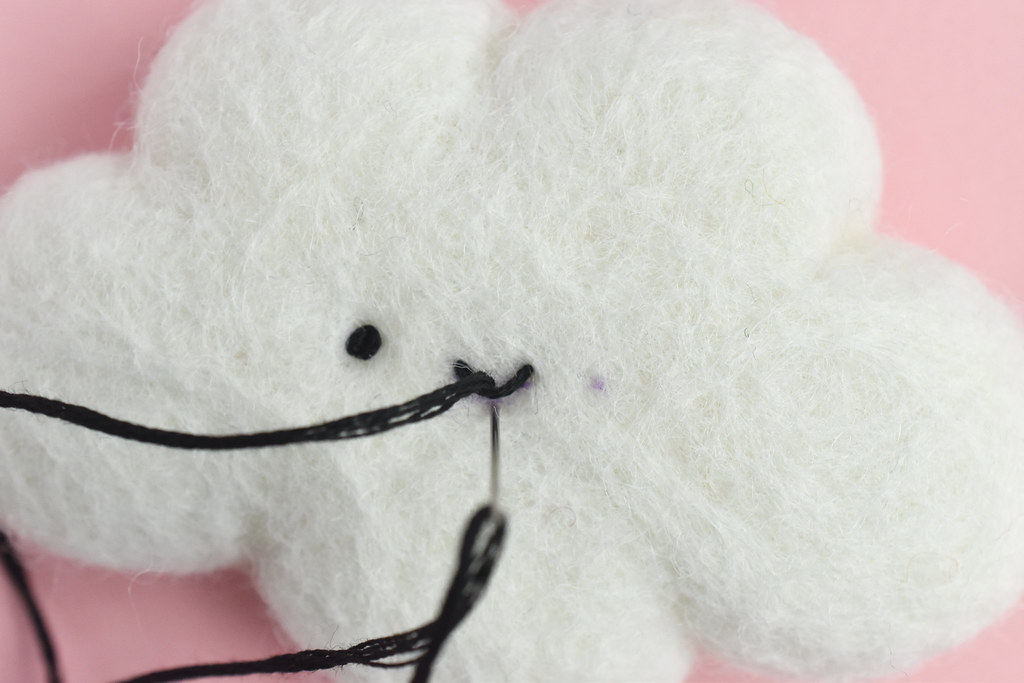
Stitch the mouth with a scallop stitch, then stitch another french knot eye. This face is just like all the other faces I use in my embroidery. The only difference is that we're stitching through this three dimensional felt cloud.

Secure the end of the thread with a knot on the back of the cloud. By the way, as I was stitching my face, I pulled the stitches just tight enough to sort of indent the felt. It makes the cloud puff around the face. You don't have to make yours this way, but I think it's cute!
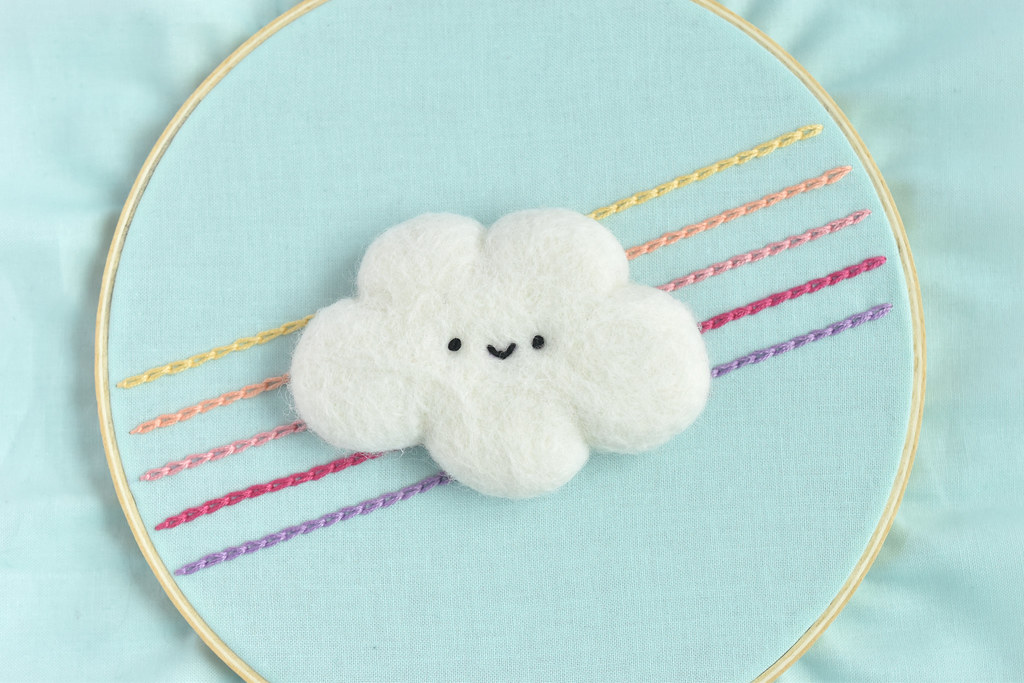
Place the cloud on the hoop. I centered mine, but you can find a spot that looks right to you.

Thread a needle and tie a knot at the other end (I used a color similar to my fabric, but it won't show, so anything will do!). Working on the back of the hoop, go through the fabric and dip the needle into the back of the cloud. It helps to use your finger or thumb to press the fabric and cloud to bring the needle back up.

Take a few large stitches around the back of the cloud. You don't need very many, but cloud should feel secure when you give it a little wiggle.

The stitches shouldn't be visible from the front or side. Secure the end of the thread with a knot.

Gather the fabric on the back of the hoop, finishing as you'd like. And your happy cloud rainbow hoop art is finished!
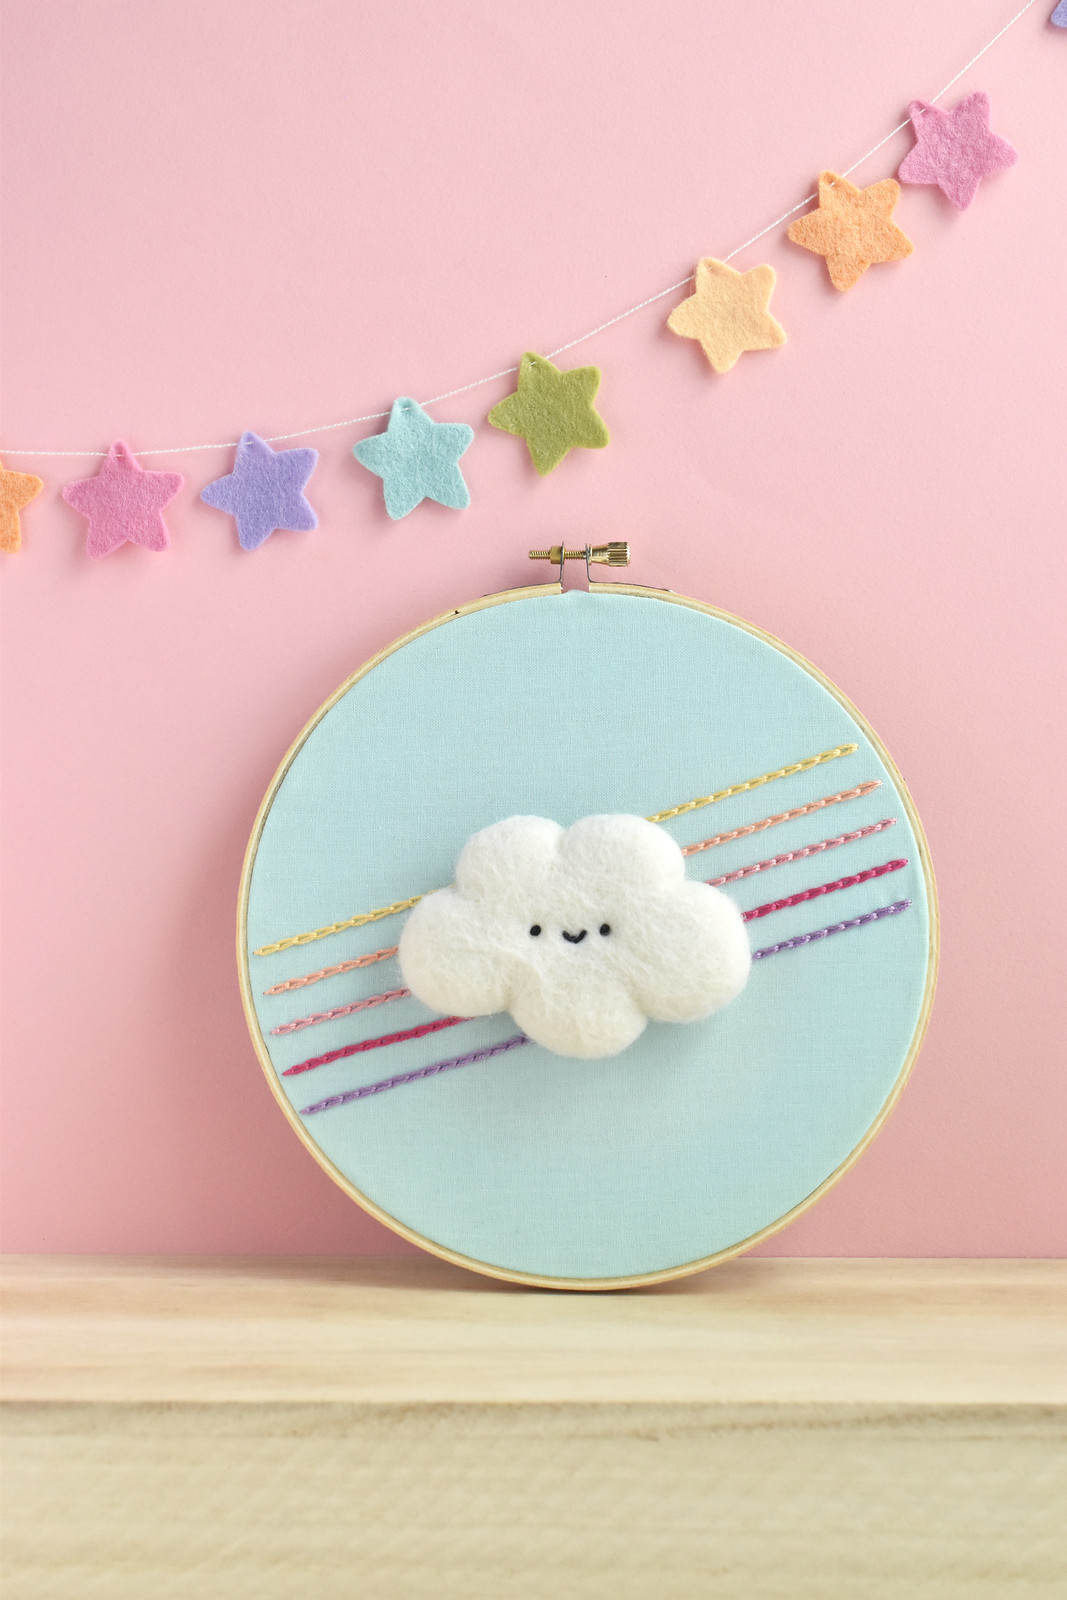
I love clouds and rainbows, but this one is especially delightful to me. I love the simplicity of the rainbow stitching, and I especially love the cloud. It's so different from typical embroidery! Maybe I need to try some more felt pom poms for other hoop art projects!
Hi Mollie! I love this project! I have rainbow and cloud designs in my classroom. I was wondering also about the stars garland in the background. Is this a previous project you did or is it on sale in your store? I would love to recreate it! Thanks! Mychal
ReplyDelete