


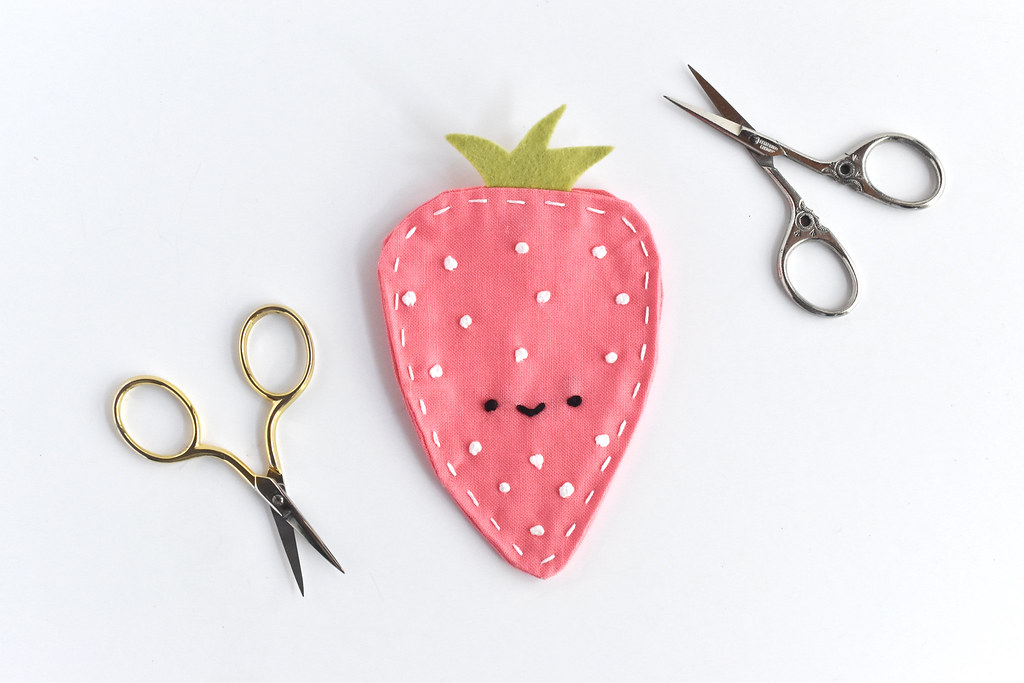
Do your embroidery scissors need a bit of extra protection? Sew this strawberry scissor case and your embroidery snips will look cute as they stay safe. Of course, a case like this also protects your projects from your scissors. No points poking at any stitches!
I've made other scissor cases before, but I thought that making one shaped like a happy strawberry would be fun. I was right! Mine came out...let's say...organic. And that's just fine, because sewing small things with curves doesn't need to be something to fret over.

The scissors that I made this for are tiny. Just 2.75" tall, and if you search for tiny embroidery scissors, you'll find these and others that would easily fit in this strawberry. My pair came with a little sheath, which I lost, so this will come in handy. If you have larger scissors, you can definitely enlarge the pattern.
Here's what you need:
Pink or red fabric
Scrap of green felt
Black and white embroidery floss
Sew on Snap
Basic sewing tools
DOWNLOAD THE STRAWBERRY SCISSOR CASE PATTERN PDF

Cut out the template pieces and check to be sure that your embroidery scissors will fit in the strawberry. Allow at least .5 inches around the edges. Mine has a little more room than that.

Cut out four strawberry pieces from pink or red fabric and one stem piece from green felt.
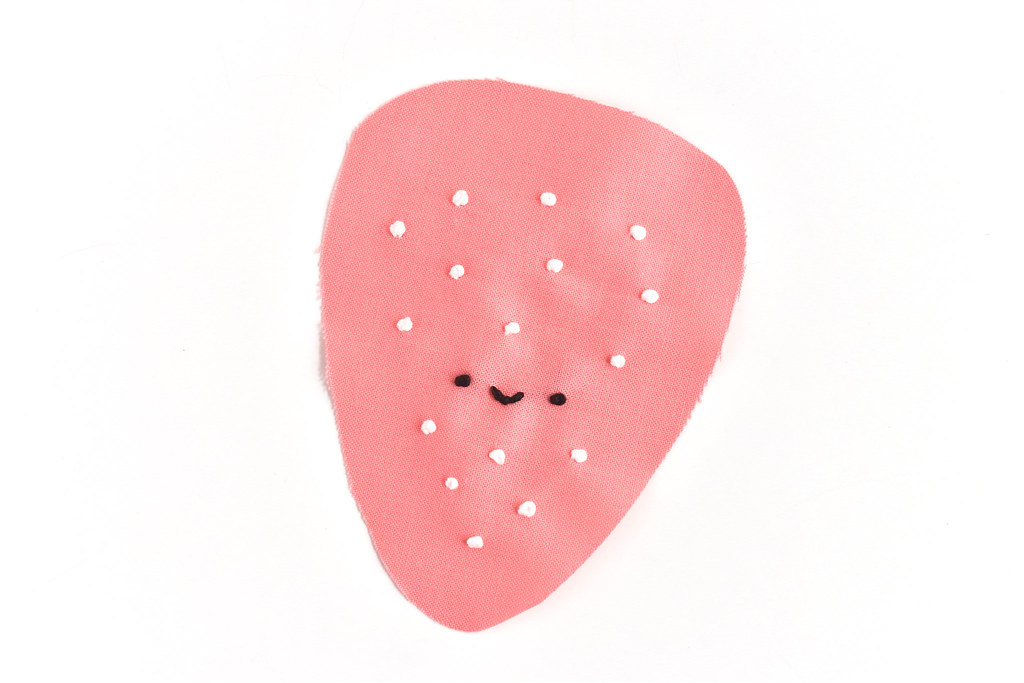
Embroider the seeds and face on one strawberry piece. I used six strands of thread for this, working the seeds and eyes with french knots and a scallop stitch for the mouth. If these elude you, here's a video that may be helpful!

Place the embroidered piece with one of the other strawberry pieces, right sides together. Sandwich the stem between them so the flat edge aligns with the top of the strawberry. Pin the layers together. Pin the other two strawberry pieces together as well.

Sew around the two strawberry pieces, leaving an opening for turning. Clip the curves so there's less bulk.

Turn the strawberrys right side out, open the seams, and press them with an iron. Sew the openings closed with ladder stitch.
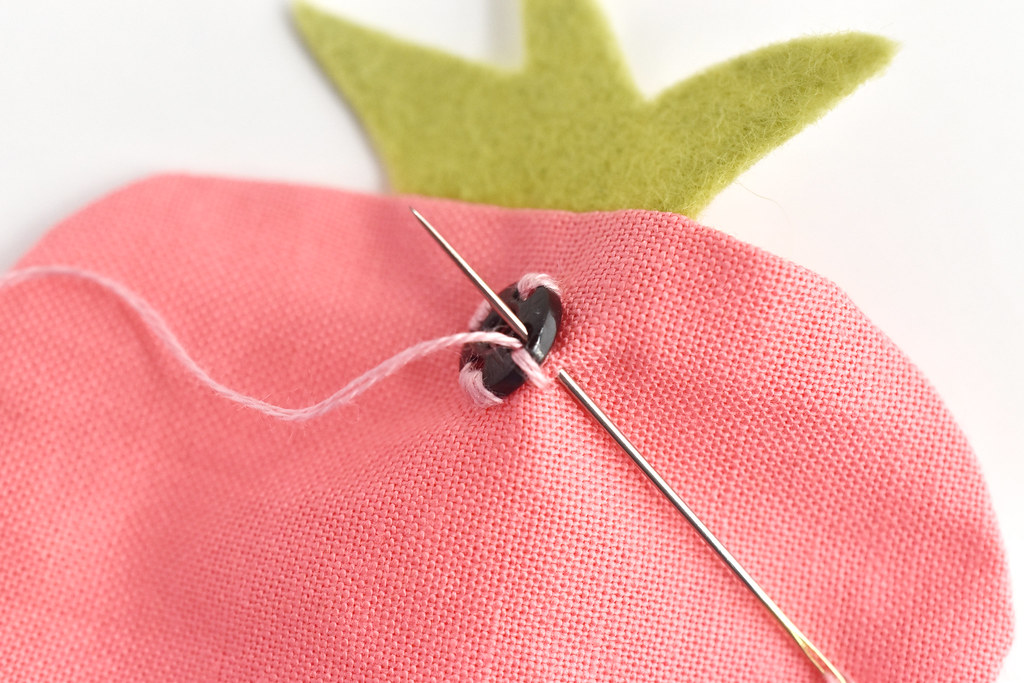
Hand sew one side of a snap to the top of each strawberry piece, making sure that they line up with each other. Sew only through the one layer of fabric so the stitches don't show.

Hold the two strawberry pieces together. I found it helpful to go ahead and snap them together.
Use three strands of white embroidery floss and stitch a line of running stitch across the top of the front piece only. This is just for decoration.

Continue stitching down the side and around the bottom, but this time stitch through all the layers.

When you reach the point where you started stitching across the top, change to now only stitch across the top of the back layer. This way the front and back look the same.

Slip your scissors inside and the snap the case closed to keep those snips safe in their strawberry home!
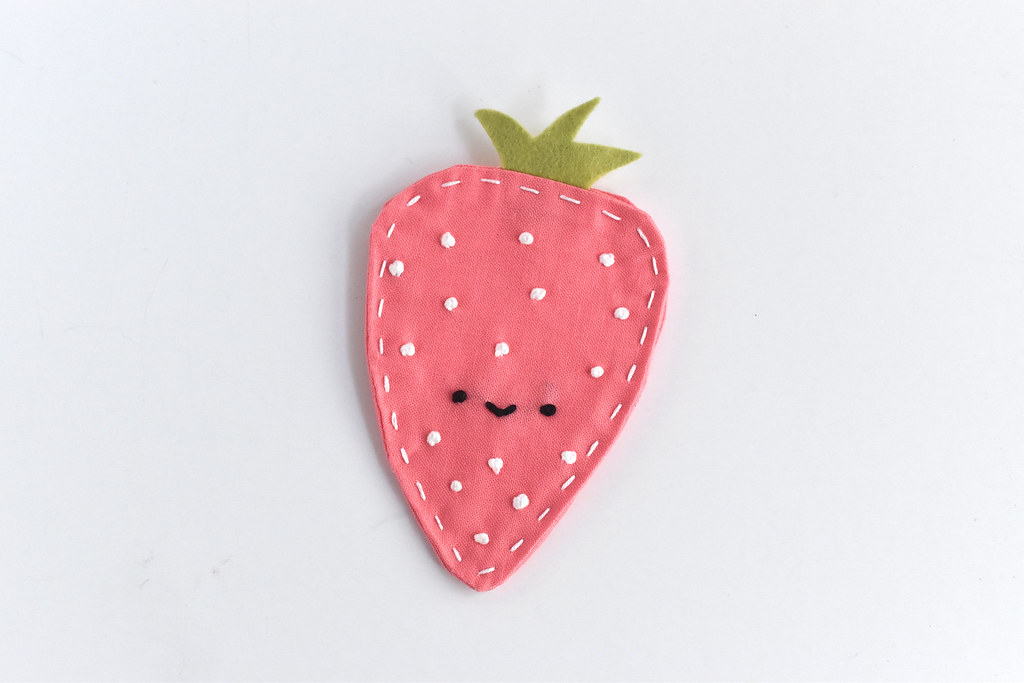
It's the happiest kawaii strawberry scissor case you've ever seen! Okay, so it may be the only kawaii strawberry scissor case you've ever seen, but let's not quibble over details.

I realized that I happen to also have a pair of vintage embroidery scissors that are the same size as the gold pair, so they may just have to share this case. Unless of course I think of another design to make for the others!
Thes are especially good for me to have because I ALWAYS ALWAYS drop my scissors. Maybe this way they'll have a chance of keeping their points pointy.
This is so cute! I’ll be making this soon.
ReplyDeleteI love your little scissors case!!! How about a pineapple for the other pair of scissors?
ReplyDeleteThat would be adorable!
DeleteGreat stuff. I appreciate it.
ReplyDelete