


This could be a DIY on how to make thread wax, and it kind of is. But it's also kinda like join me on this adventure of trying to make a thing I've never made before. Which is often how I go about doing things, I'm just letting you in on it with this one.
First, let's talk about thread wax. If you've never used this, you might be utterly confused right now. Don't worry!
First, here's what thread wax ISN'T. It's not the same as Thread Magic or the now no-longer-produced Thread Heaven. Those are silicone-based and they are designed more to prevent tangling. They're fantastic at what they do and helpful for hand embroidery. Thread wax, on the other hand, is more for strengthening and protecting the thread. I use it when doing bookbinding projects, but it's also frequently used for beading. The coating isn't so great for making beautiful embroidery.
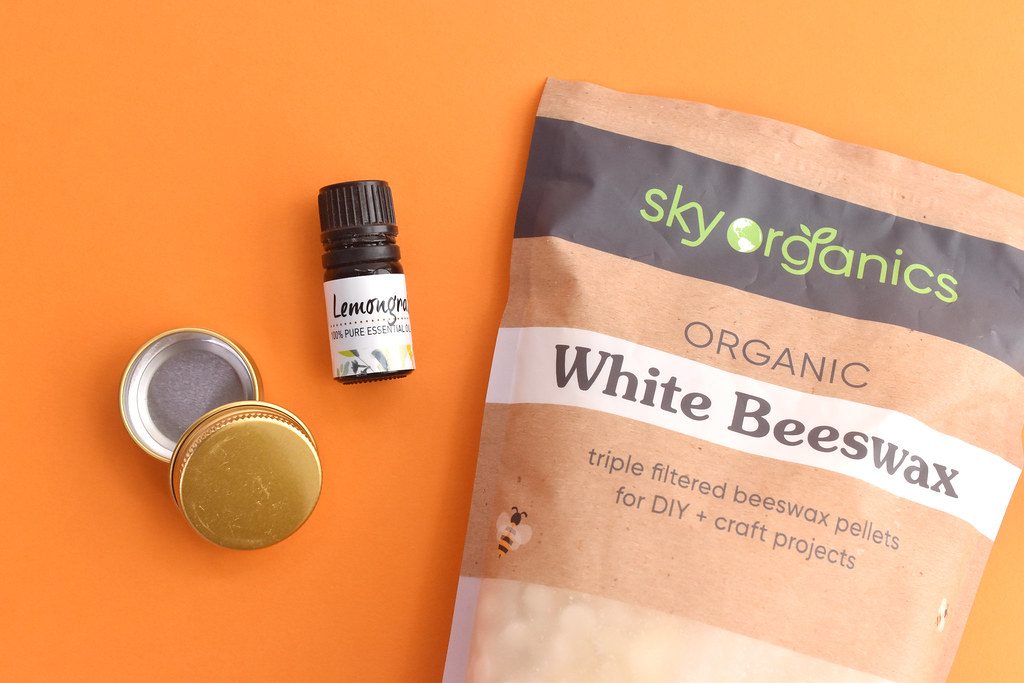
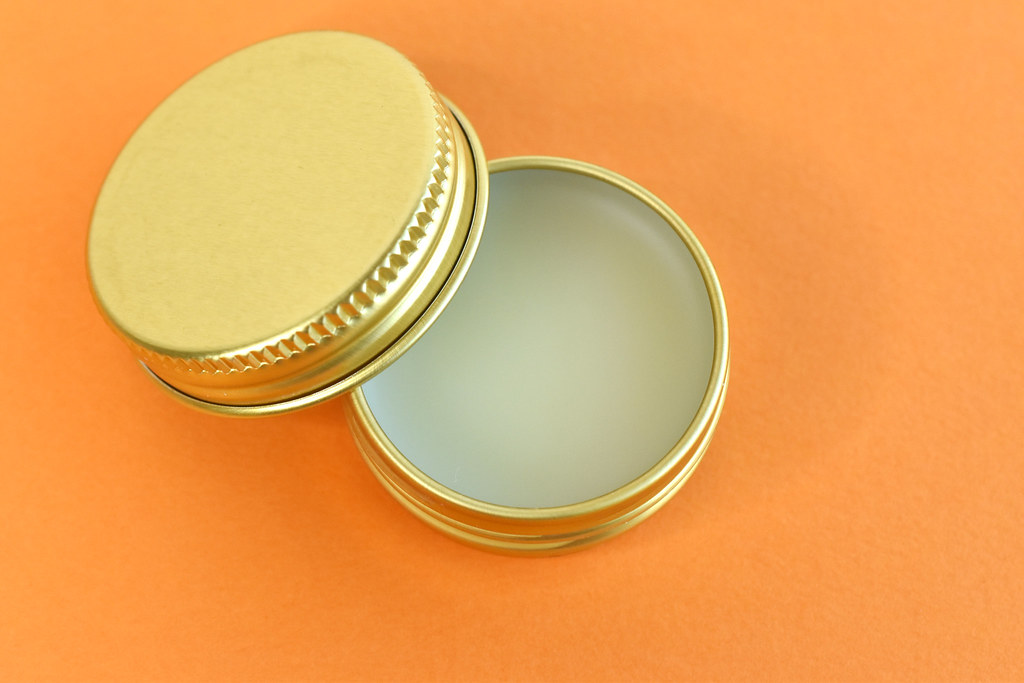
 You can easily buy any of these products, but I had a bunch of extra beeswax pellets (and tiny tins!) left from making lip balm, which this really looks like, so I thought why not try making my own?
I looked for a tutorial, but didn't find anything truly difinitive. I saw tips from a variety of similar projects, so I went with those and just started my project! If you'd like to give it a go, follow along with me!
Here's what you need:
White Beeswax Pellets (avoid the yellow ones if possible)
A Tiny Tin or Another Heat-safe Container
Parchment Paper
Toothpick
Scented Essential Oil (optional)
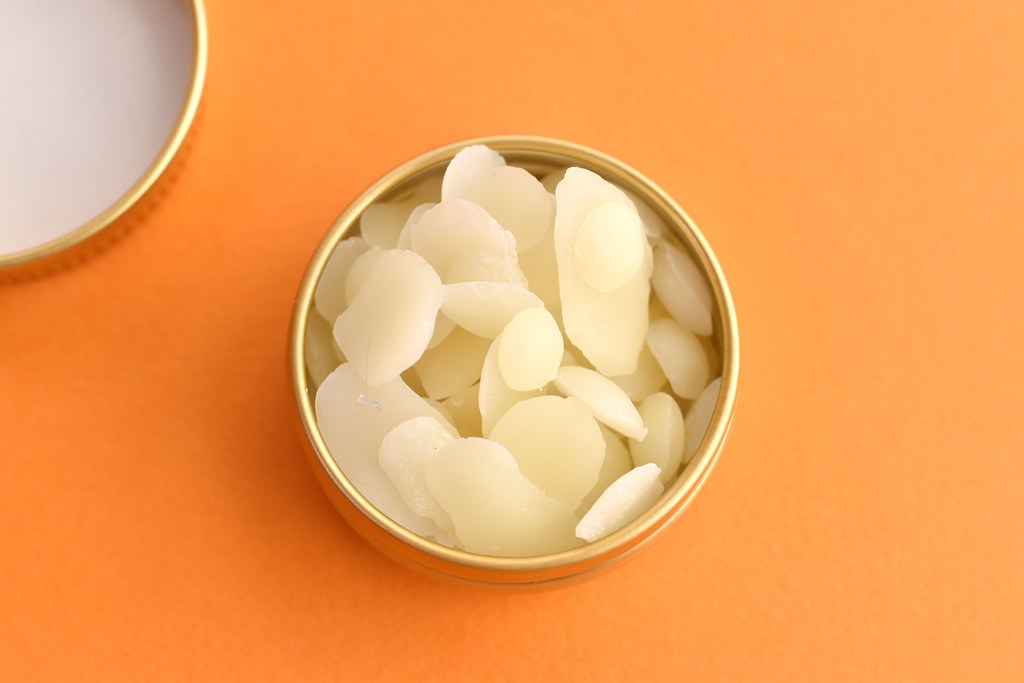
Fill your little container with pellets.
Because I used a metal tin, I could just do everything right in this container. If you want to fill a plastic container with the wax, you'll need to melt it in something else and then pour it. You can also use a silicone mold to make shaped thread wax.
Now, follow me to the kitchen...
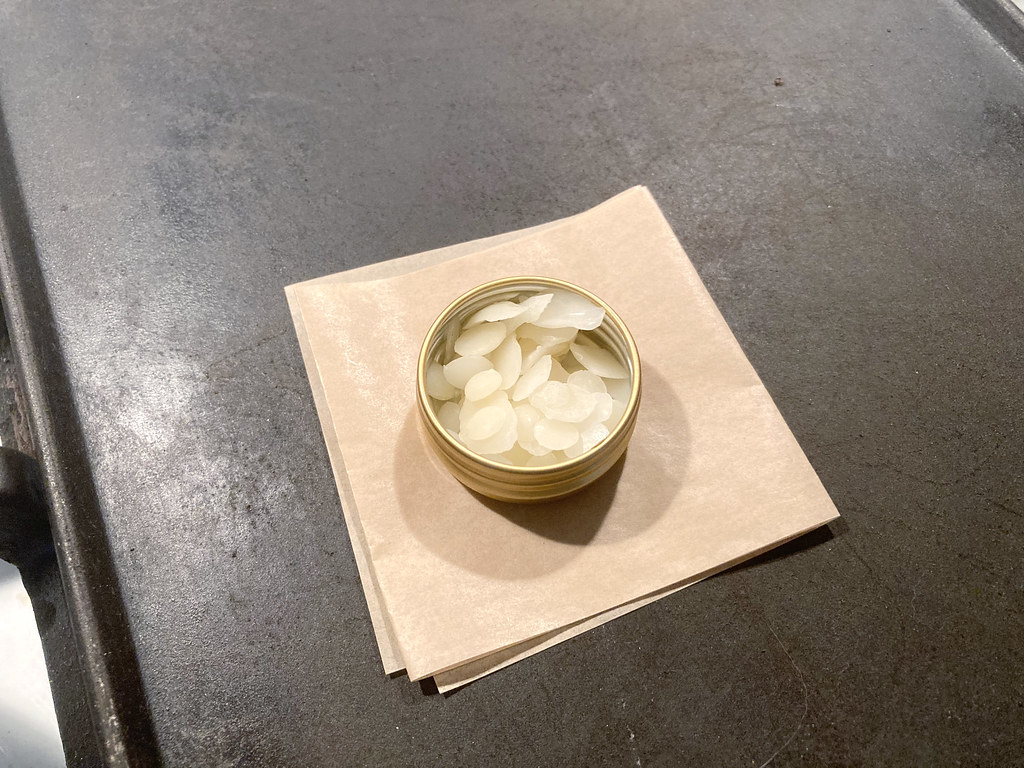
My stove has a griddle built in, but you can do this on a pan too.
Cut and fold a piece of baking parchment paper so it's a few layers thick. Based on what I saw, this just helps protect the cooking surface.
Turn the burner on to medium-high.
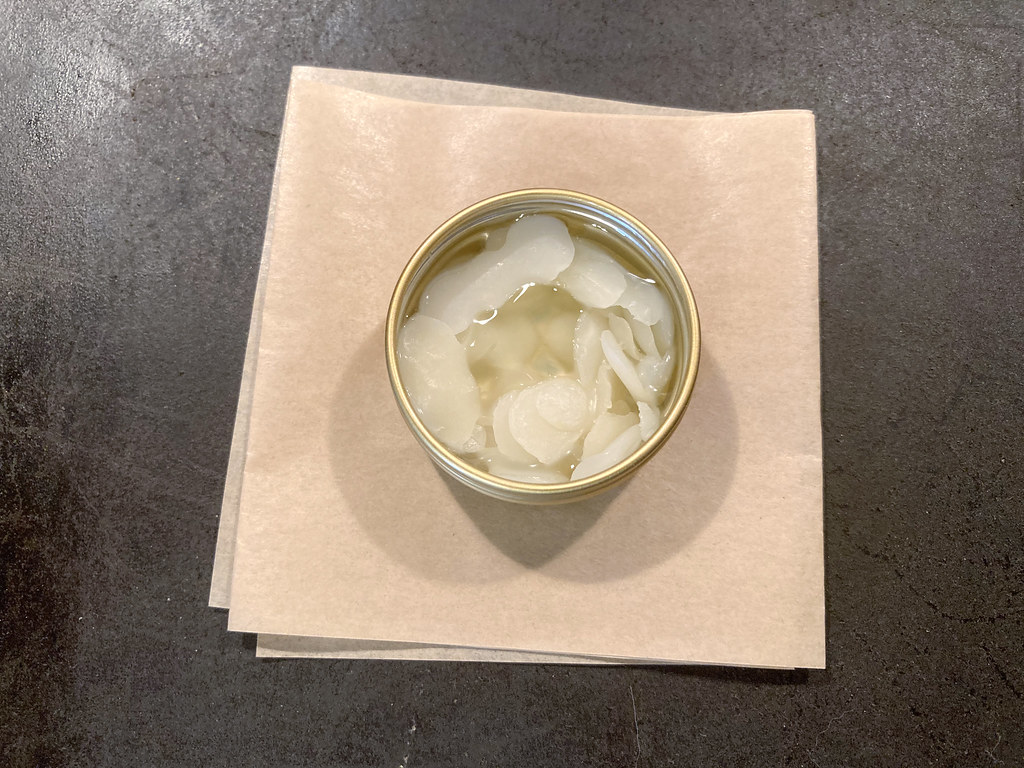
As the griddle or pan surface heats, the wax will start to melt. As it does, you may find that the level goes down quite a bit, so you can add more wax pellets to fill the container.
Carefully stir the wax with the toothpick so that it all melts down.
And really, do be careful. First, the container will be hot. But also, you don't want the wax to spill over and get in the threads for screwing on the lid. Ask me how I know.
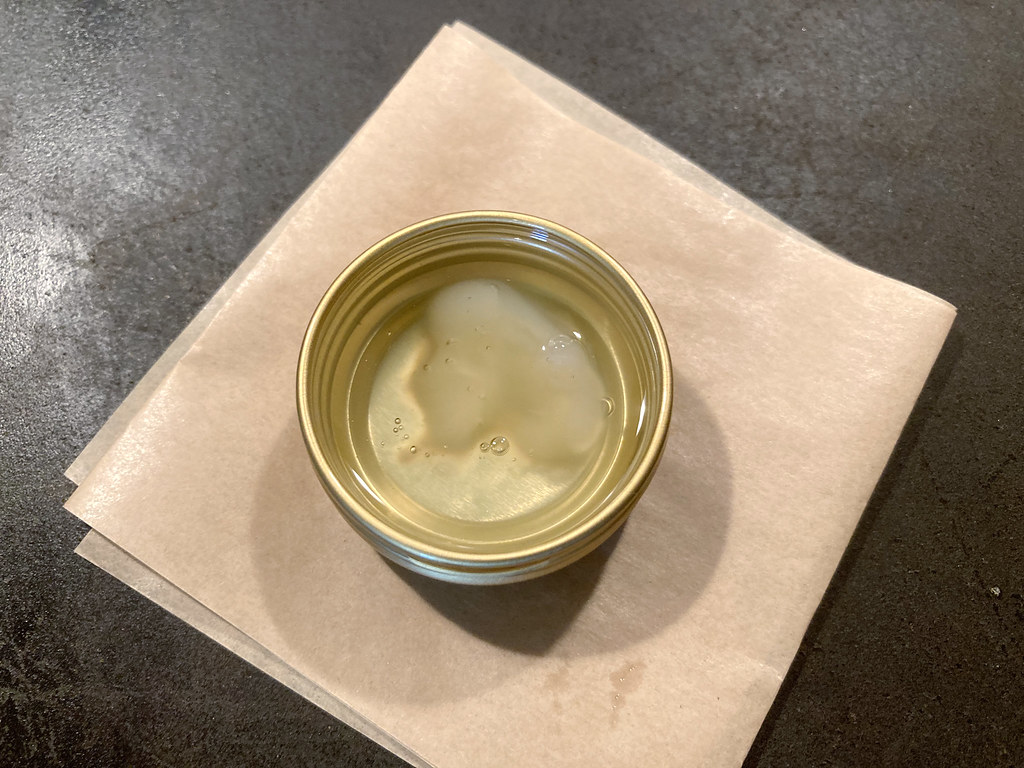
When the wax is entirely melted, turn off the heat and let it slowly cool. You can leave it right where it is, which will take a little longer, but you don't have to worry about burning your finger or making a mess.
You can leave the wax unscented, but I thought it would be fun to make it smell nice. Now, here's the thing. Oils aren't really good for your stitching. So I may be COMPLETELY misguided here, but I went for the teensiest bit of lemongrass essential oil for mine.
What I read is that it's best to let the wax cool down a little before adding any essential oils to it, so I waited until it was just starting to get a little shell on the top of the wax. I gave it a stir, then added like two drops of oil.

Instantly the wax got thicker! You can see that this is where I started to really make a mess of the container.
Within moments I had a thick gloppy thread wax. But this is not what I wanted. It's probably not what you want either! Thankfully, there's an easy solution.
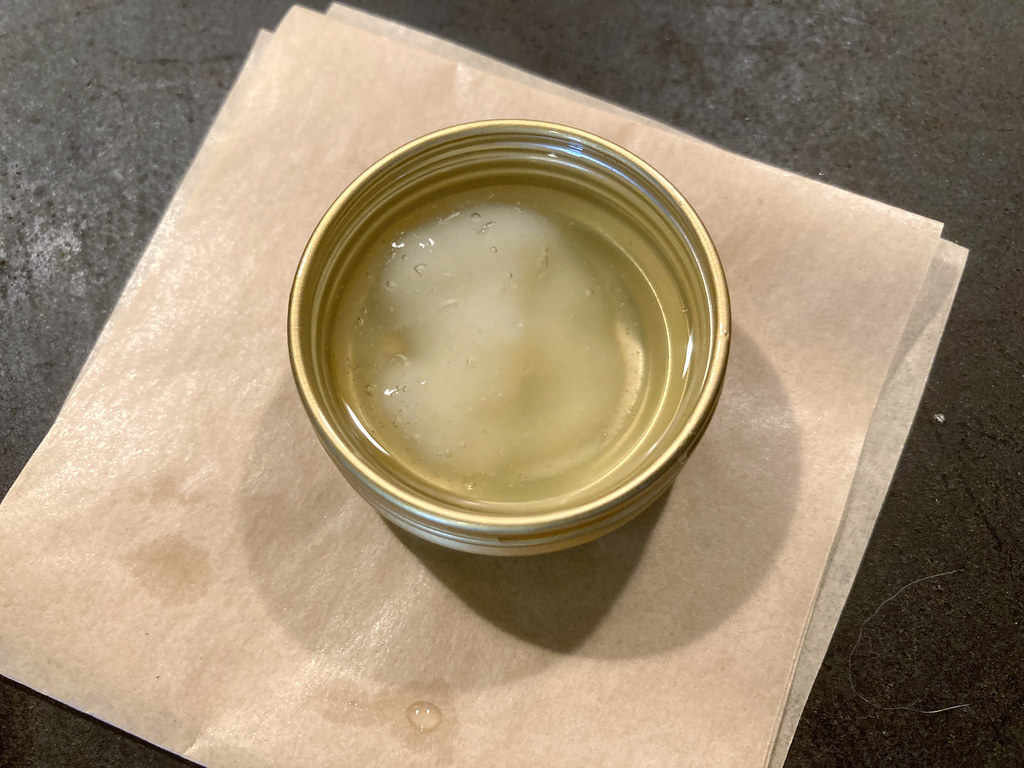
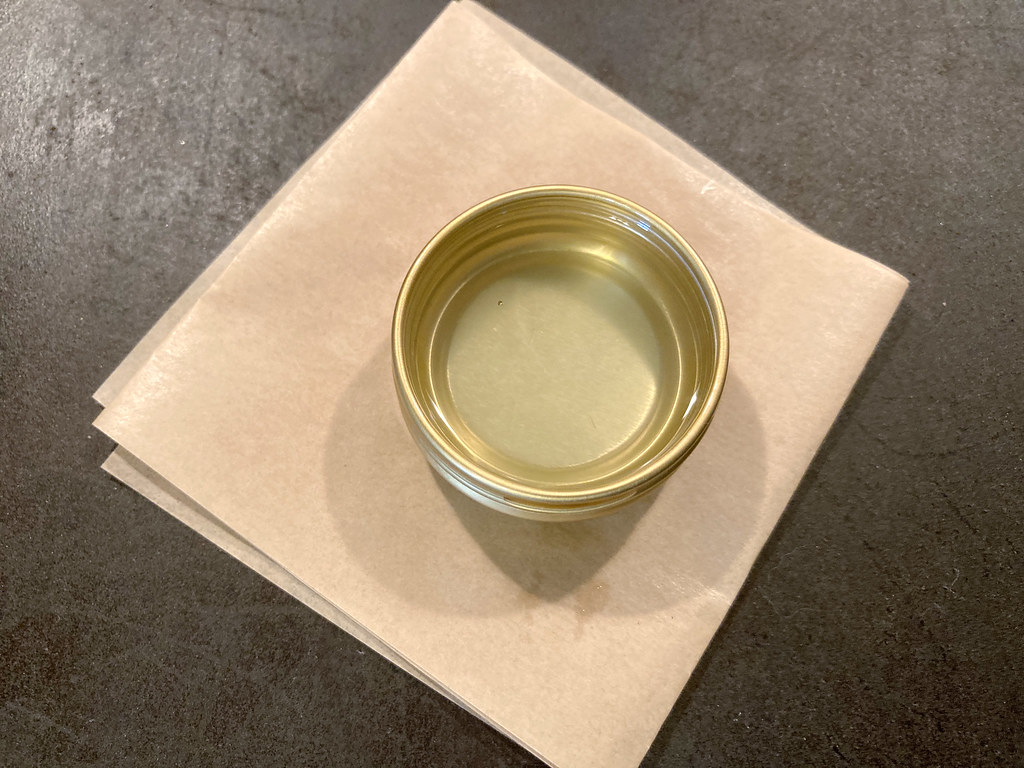
Turn on the burner again and heat the wax just until it's all smooth on the top.
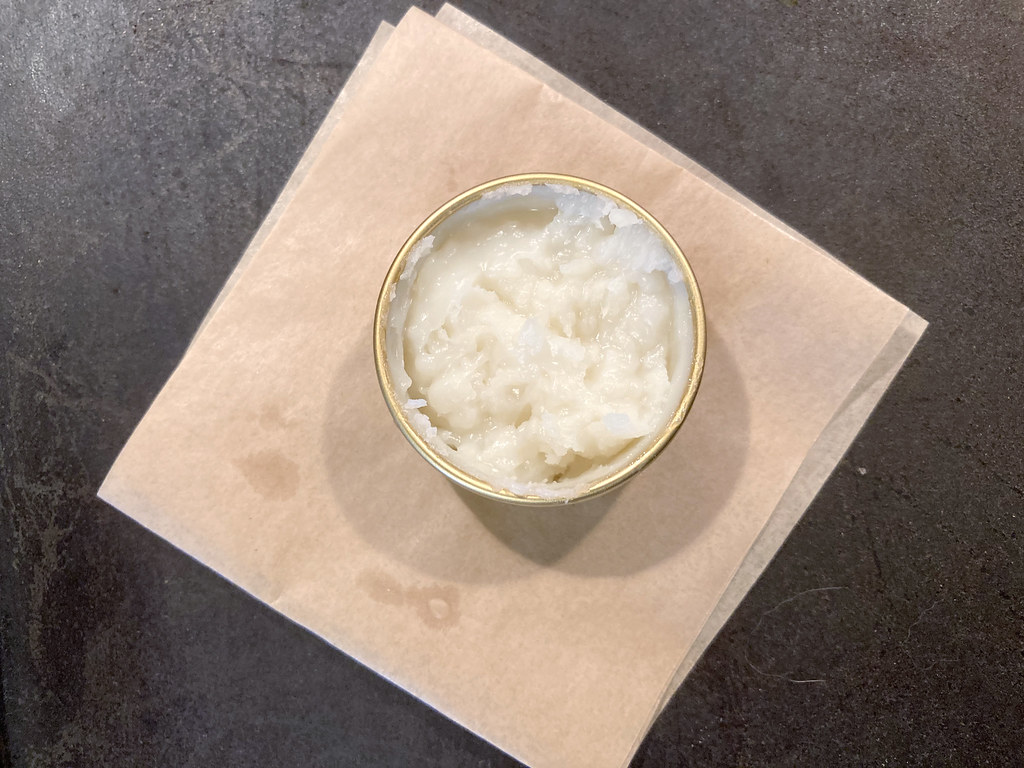
Let your thread wax cool again until it's soild. And now it's ready to use!
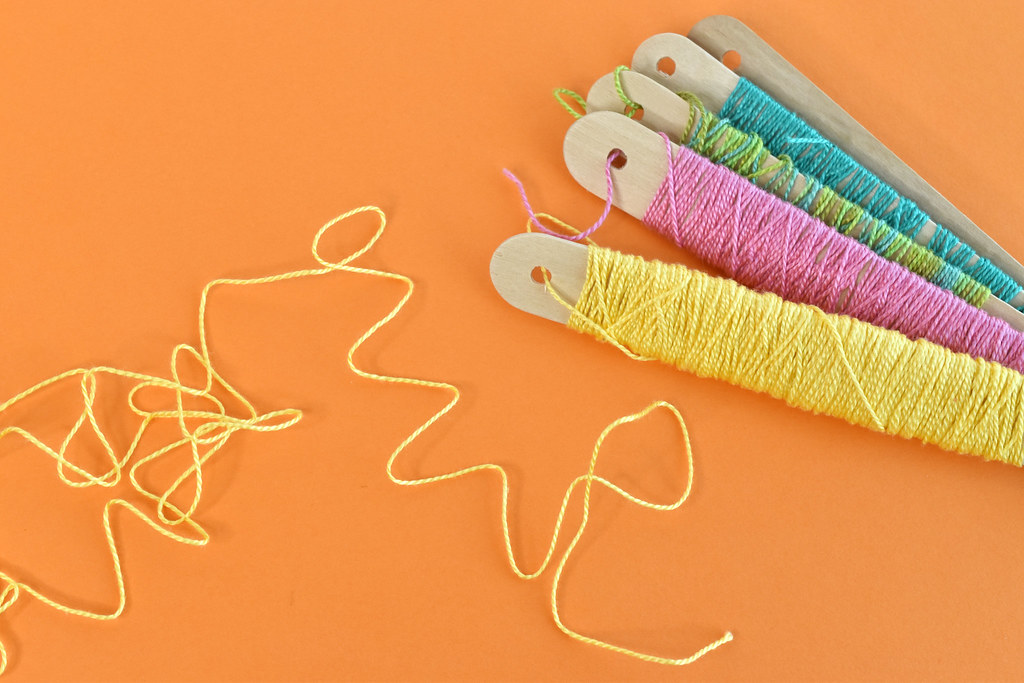
When I do any kind of bookbinding or functional sewing with perle cotton, I like to coat it. So let's use that to test it!

Hold the thread on the wax with your thumb and then draw the thread through the wax. I sometimes coat it a few times if I want to make it really strong.
Full disclosure: I haven't stitched a stitch with this yet! But it feels right. It feels like it has a nice coating. I'm happy.
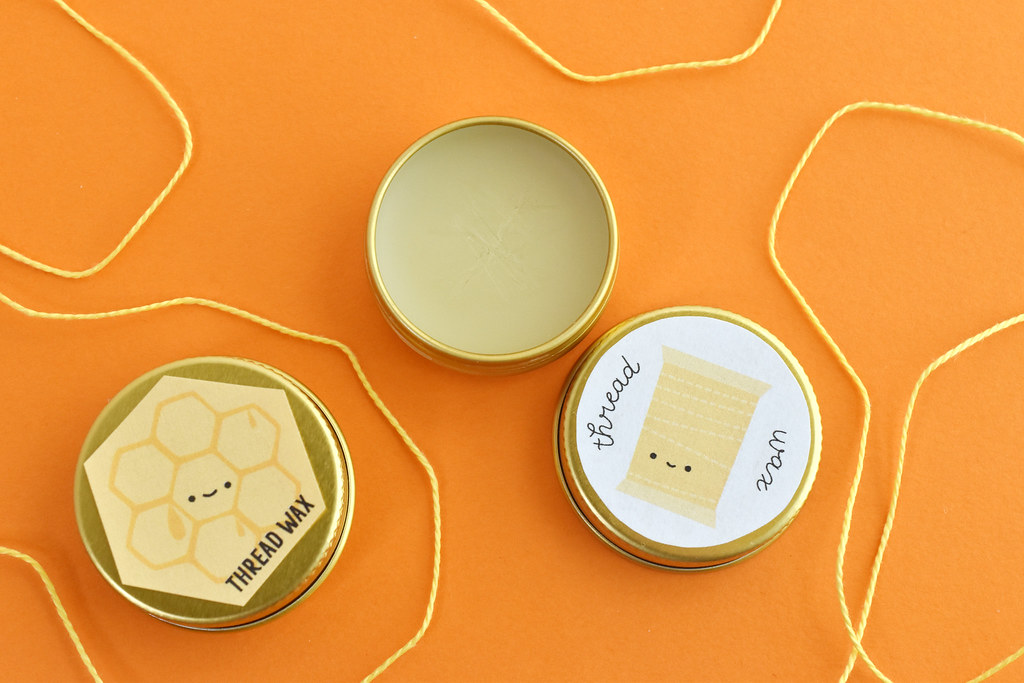
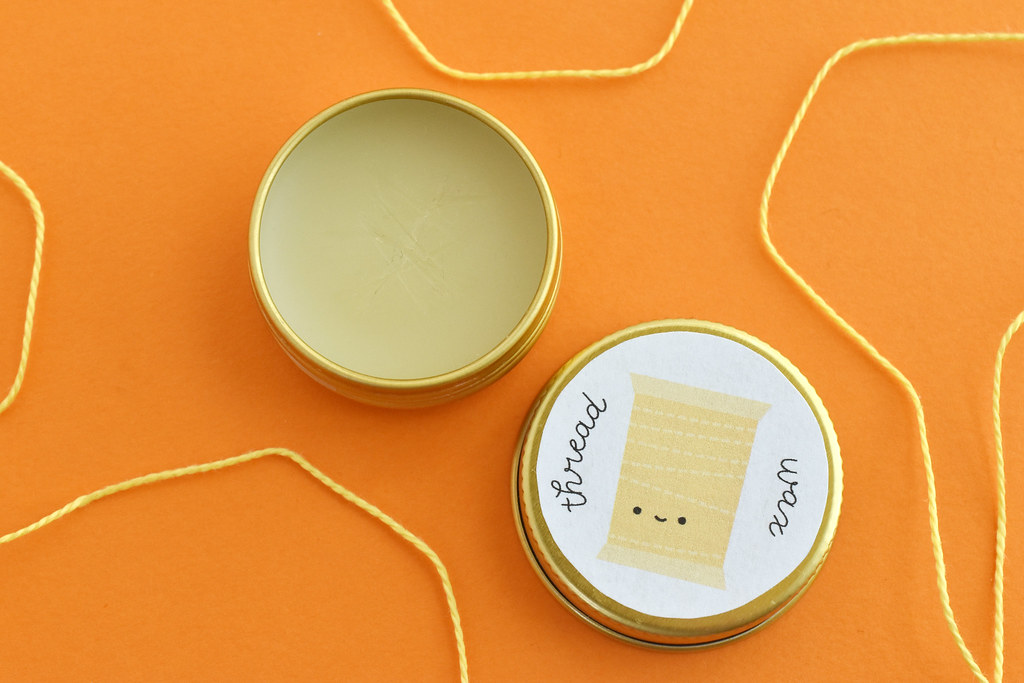
To finish off my container and make it "official", I made some little labels. It's also good so I don't confuse it with the lip balm I made in these same tins!

I'm sharing the printable for these little labels with all my Ko-Fi supporters, so if you'd like to make some thread wax, you can grab the PDF over there. They'd even make fun gifts for your stitchy friends!
Thanks for showing how to do this! And, thanks for clarifying that isn't the same as Thread Magic :) I have been itching to try making a coptic stich book, and would like to use what I have on hand. I don't have beeswax pellets, but I think I have everything else (to follow your tutorial, and to make my book). Thanks for the cute label design, too!
ReplyDelete