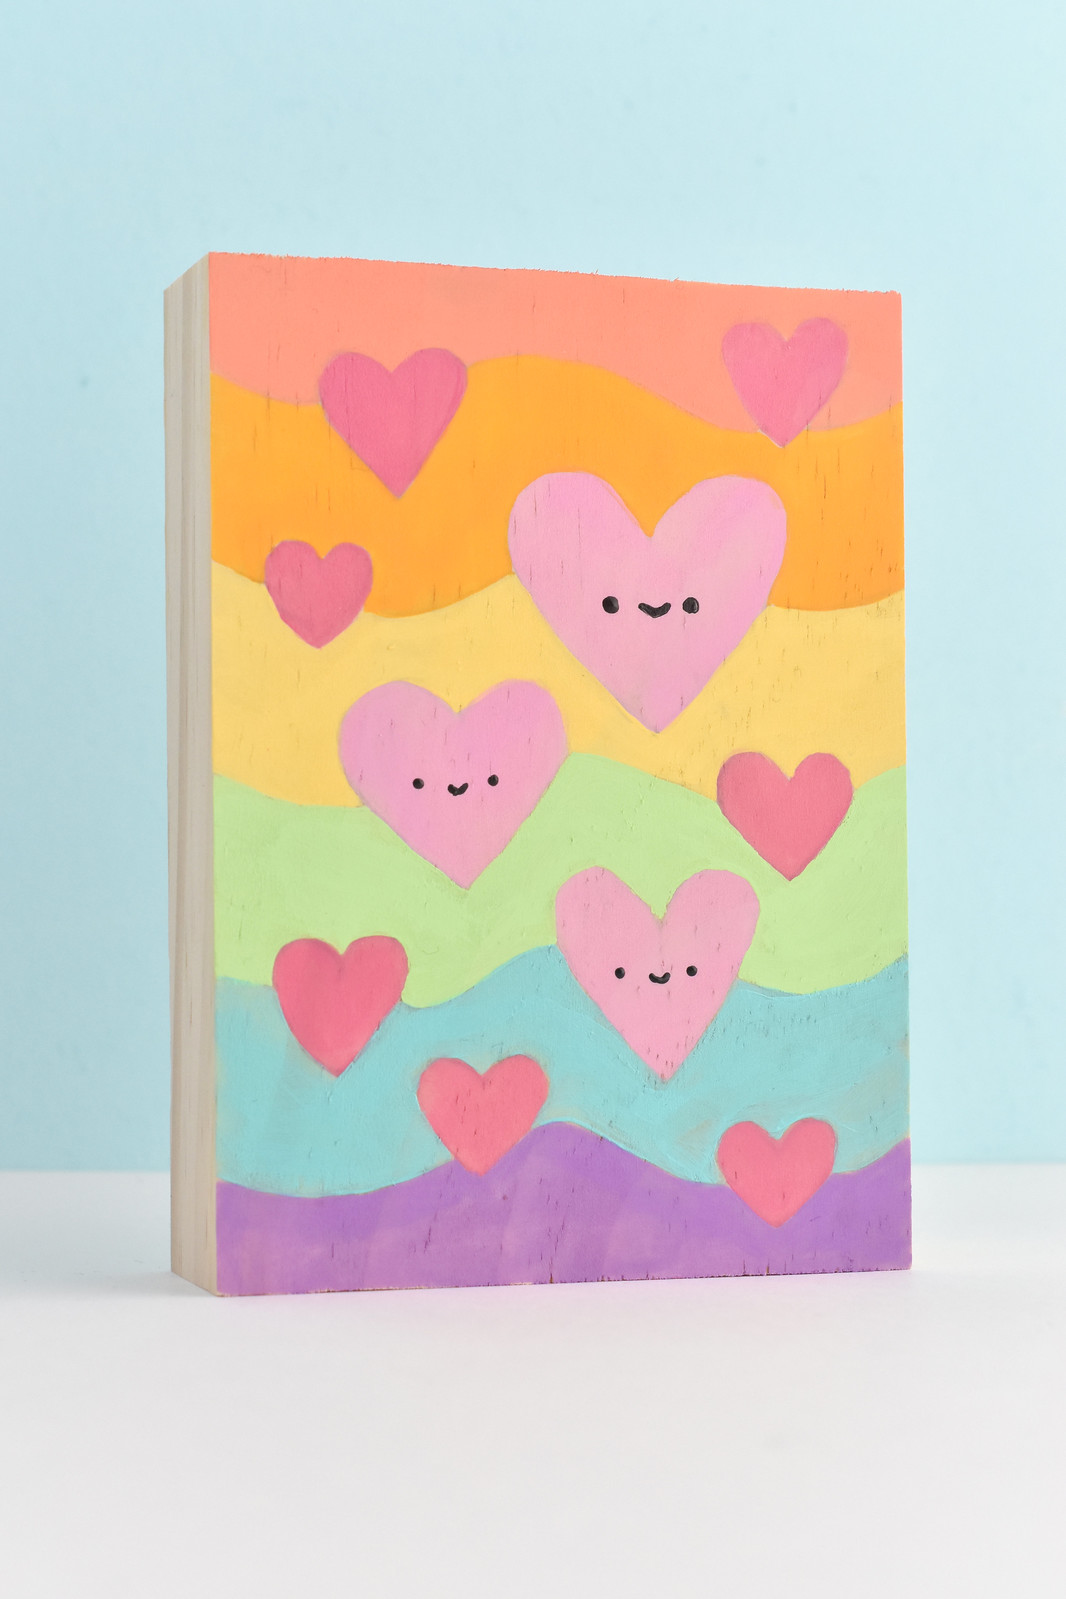
Who's ready to paint something super cute for Valentine's Day? These mini art pieces are fun and easy to make for both kids and grown-ups. And you only need the ability to color (or paint) inside the lines and a few basic supplies!
A bunch of years ago I made some little paintings kind of like this, but it's been a while since I painted for fun. (Okay, so I did actually sell a couple of them, but I still think those folks were just being kind...) Basically, I snatched up some scraps of wood from household DIYs my dad did, and I added my kawaii-style art to them.

I found that I LOVE painting on wood. I like that the texture shows through, I like that it's sturdy, and I like that you don't have to frame it because it can stand up on its own. I also don't use any fancy paints for this. Basic craft acrylics work just fine!

I found that I LOVE painting on wood. I like that the texture shows through, I like that it's sturdy, and I like that you don't have to frame it because it can stand up on its own. I also don't use any fancy paints for this. Basic craft acrylics work just fine!
Wood pieces really do make these special and I think it's worth finding some pieces to work on. These were cut from the ends of trim boards and Swedish pine 2x4s. Home Depot sells them, and if you wanted to make a bunch of paintings you could buy a board and just cut it into small pieces. Or, talk to someone you know who builds things or does some DIY and see if they have scraps you could use!
If you don't want to use wood, you can also work on little stretched canvases, cardboard, or just cardstock.
And to make this extra simple, I created some painting templates for you to use!

Here's what you need:
Wood Blocks (you could also use small canvases or cardboard)
Acrylic Paint
Soft Pencil (I used a 6B)
Paintbrush

Here's what you need:
Wood Blocks (you could also use small canvases or cardboard)
Acrylic Paint
Soft Pencil (I used a 6B)
Paintbrush
Toothpick or Skewer
DOWNLOAD THE VALENTINE TEMPLATE PDF

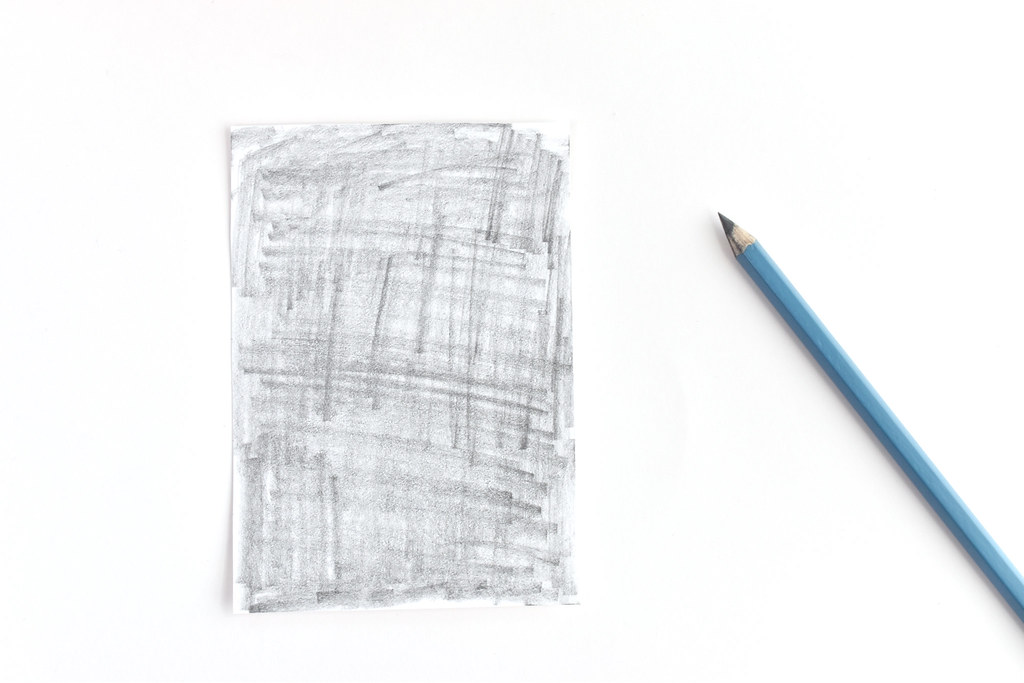
Cut out one of the painting templates and rub a soft pencil all over the back.

Place the template on the wood block. If the design is larger than the block, that's okay! Just center the part of the design you want on your painting.
DOWNLOAD THE VALENTINE TEMPLATE PDF

Cut out one of the painting templates and rub a soft pencil all over the back.
This is going to make the template into a transfer so you can just fill in the lines. The darker the pencil rubbings, the better the pattern will come out.

Place the template on the wood block. If the design is larger than the block, that's okay! Just center the part of the design you want on your painting.
Use the end of your paintbrush as a stylus and trace over all the lines on the template.

Lift the template to make sure that the lines are showing up or if you need to press harder. It's best to have the lines be just dark enough for you to see them (if they're really dark, they may show through the paint).

Start painting in the designs. I often just open my bottles of paint like this and dip the brush into the cap. There's less clean up and waste than if I squirt some onto a plate or palette.

Fill in more paint around the shapes, trying to keep the lines and color smooth. Be sure to let each color of paint dry before you add paint near it. The good news is that craft acrylic dries pretty fast.

Paint the faces with a skewer or a toothpick. I find that it's a good way to get those little details!

Lift the template to make sure that the lines are showing up or if you need to press harder. It's best to have the lines be just dark enough for you to see them (if they're really dark, they may show through the paint).

Start painting in the designs. I often just open my bottles of paint like this and dip the brush into the cap. There's less clean up and waste than if I squirt some onto a plate or palette.

Fill in more paint around the shapes, trying to keep the lines and color smooth. Be sure to let each color of paint dry before you add paint near it. The good news is that craft acrylic dries pretty fast.

Paint the faces with a skewer or a toothpick. I find that it's a good way to get those little details!
You can also use a paint marker to do the faces or to add outlines if you want. I left mine without any outlines, but I think it would be cute! One of the patterns in the PDF has some lettering that would also work really well with a paint marker, but a brush will still do the trick.

Your painting is all finished! To make sure it stays nice, you can add a layer of sealer over the top. But otherwise, it's ready to display.


Your painting is all finished! To make sure it stays nice, you can add a layer of sealer over the top. But otherwise, it's ready to display.

When I made the templates for these, I definitely had Valentine's Day on my mind, but I also wanted something that could work any time. So this happy little painting will be sitting on my shelf year-round!
Also while I was working on these, I thought it would be fun to make a set of printables to match, so I did that and have them available for folks who support me on Ko-Fi. If you'd like them, head on over to check out that post. (If you've sent me a coffee through there recently, you should still have access to this...and there's another bonus pattern coming there soon!)
Happy painting!
I recently came across your website via Flamingo Toes. What a wonderful idea to teach Scripture to friends and family. I will be making a set for our grandchildren. They are saved and I am sure this will spur them on in reading their Bible. Need to make sure I have a good sharp pair of scissors.
ReplyDelete