


 <
<It's Christmas crafting time around here. There's no denying that. And I could be stressed about it, but instead I'm trying to craft smarter. Which is one reason I was very happy to review Brother's ScanNCut DX SDX85 cutting machine. Any chance to creatively make fun things in less time, right?
So here's a little background for you before I get into the review and share what I made. First, I've used another cutting machine a little, but I don't have a lot of experience with all the things you can make, especially because I'm not big into doing vinyl cutting projects. At least, I haven't done that a lot so far. What I couldn't do with the other machine I've used is cut fabric or felt.
The ScanNCut DX SDX85 cuts both fabric and felt, as well as papers, vinyl, and even balsa wood, and it senses what you're cutting. Those are exactly the kind of features that I'm looking for. Beyond that, this scans items to create cutting files, even without a computer attached. I was intrigued by the possibilities!
So with all that said, before I get to what I found while trying this out, I want to be clear that Brother sent me a complimentary ScanNCut to review, but I'm doing my best to give you an honest opinion.
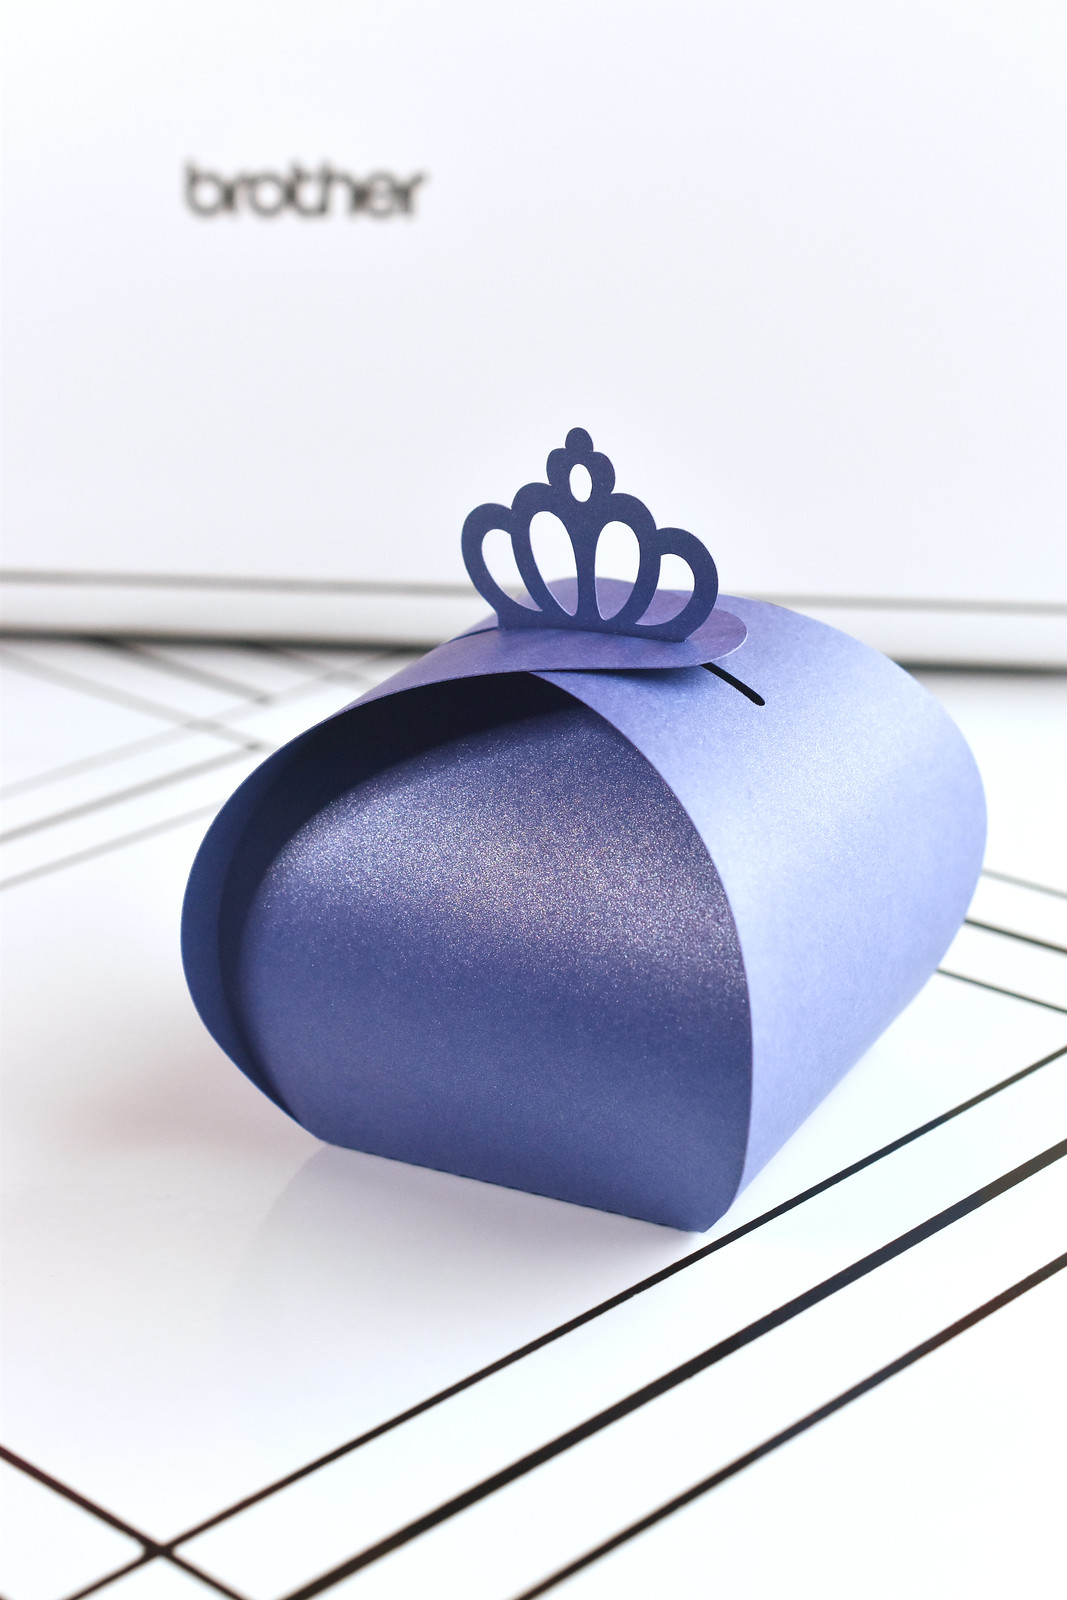
Straight out of the package, I was a little overwhelmed to be honest. But I followed the quick start guide and made the sample project: a cute little gift box. I think this is the kind of paper cutting project that we often think of with machines like this. And that's okay! It even got me thinking about what some Wild Olive gift boxes might look like. Anyway, it was very easy. The touch screen let's you find the built-in designs and make something in a jiffy.
With this success under my belt, I stopped reading the directions. Yes, I'm that person. But I kinda wanted to see how intuitive it is. Also, the full manual is online, so I didn't go looking for that. Anyway, I poked around in the menu and was able to figure out how to scan and gave this a try:

This is a page of my embroidery floss bobbins, which I adapted a bit to eliminate extra items on the page. I printed this on my regular printer on decent card stock. Next, I placed the page on the cutting mat and loaded it into the Brother ScanNCut. I chose to have it scan for cutting and it did so quickly, then it pulled up the sample outline on the screen. One button later and it was cutting the bobbins.

And here's how they came out! It's not a perfect cut, but that's pretty close if you ask me. I'm thrilled and I see all kinds of things I can use this for. As a hint, YOU could use this for a ton of my printables too. Just print, scan in the ScanNCut, and select the area to cut.
By the way, if you'd like to print, scan, and cut some of these, here's the updated file:
For this one I set up my own file on my computer and then sent it wirelessly to the Brother ScanNCut.
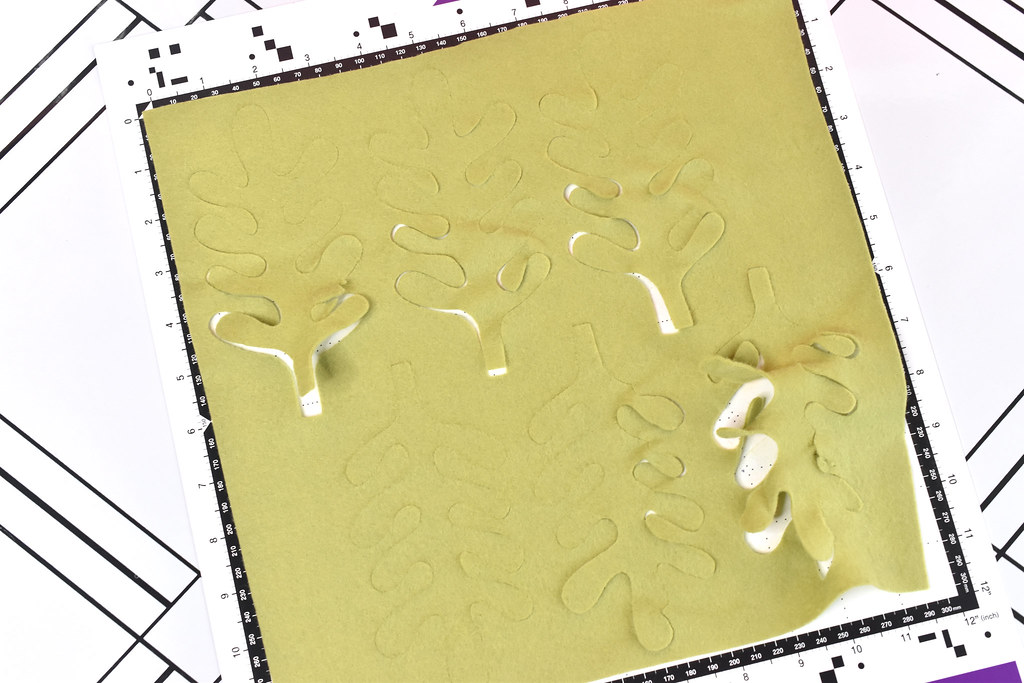
Even as it was cutting, I could tell it wasn't going right. Sigh. It didn't stick on the mat properly, and I suspect part of that was the wool-blend felt I used.

But I pulled the pieces off and trimmed what didn't cut all the way through (which was only a few small spots). You can see how a few of the leaves had bits cut out of them, but I wasn't gonna sweat it for my plan.


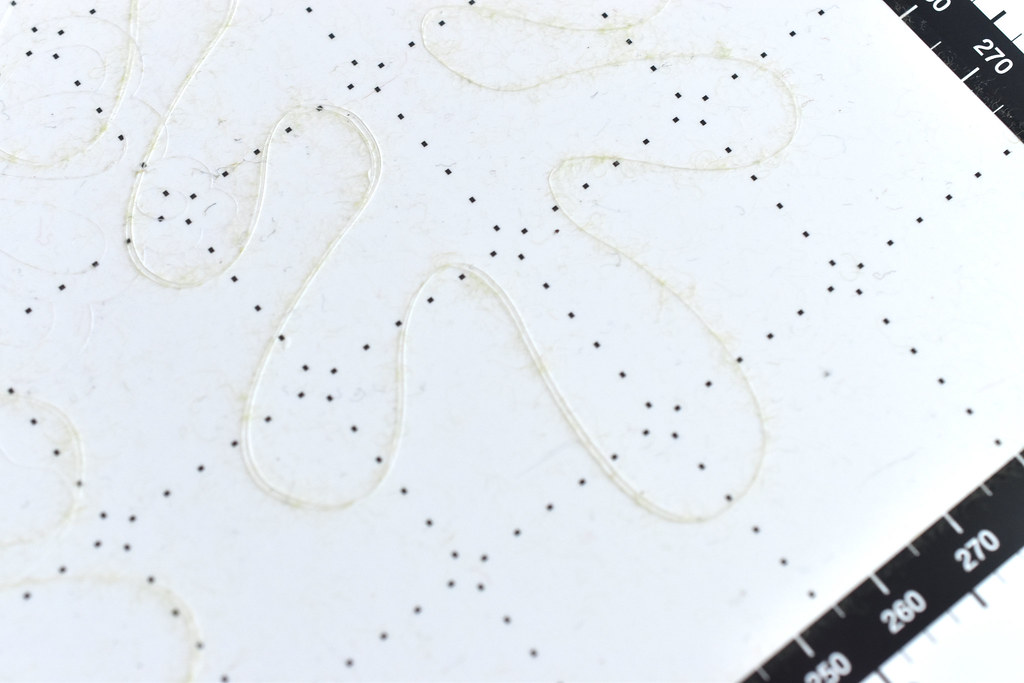
I decided to try again and with three changes: First, I pulled out my brayer (a tip I read for cutting felt to really help it stick down). I also trimmed my felt piece a little smaller (because I noticed the edges were in the way of the roller wheels). Finally, I used a damp cloth to wipe off the fibers from the felt to help the next round adhere to the cutting mat.
All three of these helped and I had better success. It's still not cutting this felt perfectly, but gave me lots of great cuts. I'll continue to try other things that may help, but the point is I'll continue using this with felt, even when it's not perfect 100% of the time.
So now, let me show you what I made with my custom cuts!


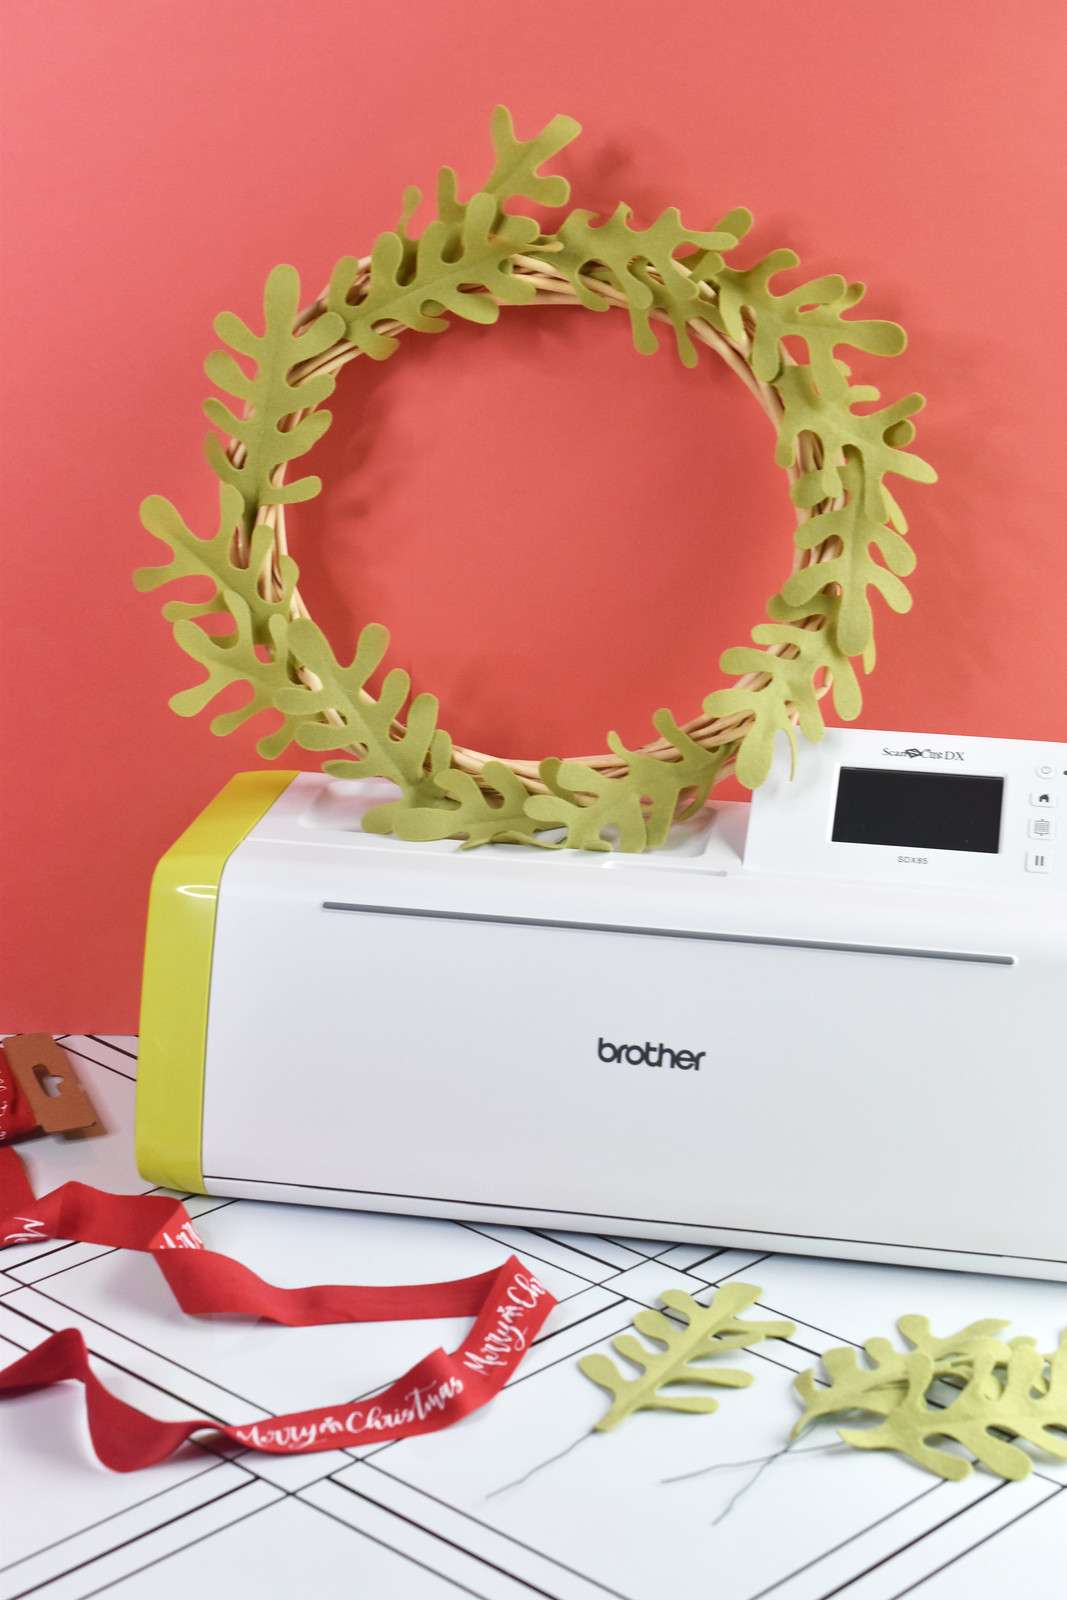
I wanted to make felt picks to add to some twisted willow wreaths that came from Dollar Tree. My custom design was inspired by boxwood branches, but it's sort of just a fun little shape. For each felt "branch" I ironed the pieces in half to give it a little crease. Next I cut a piece of floral wire and hot glued it to the back.

Then I wired the branches to the willow wreath. By the way, I found that I could use the scrap pieces from between the true cut pieces to make some extra bits that are smaller, but work for adding fullness to the wreath.

To hang the wreath, I looped cotton ribbon around the wreath and tied a knot.

All ready for hanging! And okay, so this won't actually hang outside because I live near Chicago and it just wouldn't like the elements out here.

But it's cute, right? I actually made two of these and they hang in a double window in the kitchen, per my mom's request!
If you'd like to make your own wreath like this, either from felt or cardstock, you can grab the PDF or SVG cutting file here:

So what's my verdict?
The Brother ScanNCut DX SDX85 is easy to use and I found it intuitive to navigate (mind you, I do a fair amount of graphics type of work). Cutting from the built-in designs was a breeze, as was adding designs from other sources. Scanning printed elements and letting it figure out the cutting also worked well and I'm soooo excited to do more with this. Cutting felt, which I reeeeally want to use more, isn't 100%. At least based on what I've tried so far. I'm willing to put in more work to figure this out though.
If you're considering buying a cutting machine, this one is impressive and worth a good look.
Many thanks to Brother for sending this to me for review!
Thanks for writing up the review. I appreciate it!
ReplyDeleteThe floss bobbin is SO cute!! I tried to click on it to download it and the page shows up incorrectly.
ReplyDeleteThank you for reviewing the Brother machine! I have always wondered about it especially since I have a Silhouette. I cannot wait to see what else you create!!!
Thank you for letting me know! I fixed the links now.
DeleteHi! Thanks for the downloads. However, all of them give 404 errors.
ReplyDeleteThanks for the heads up! Should be working now.
DeleteThanks so much!
DeleteThanks for the review Mollie - looks great! Would love to see how it would go with your Happy Papel Picado Printout that you did for Cinco de Mayo many years ago - could be a game changer!
ReplyDeleteoooooh...yes!
DeleteMy machine doesn't feed the mat in evenly, thus the machine telling me that the mat hasn't been recognised. iam using the right mat and a new mat.
ReplyDelete