


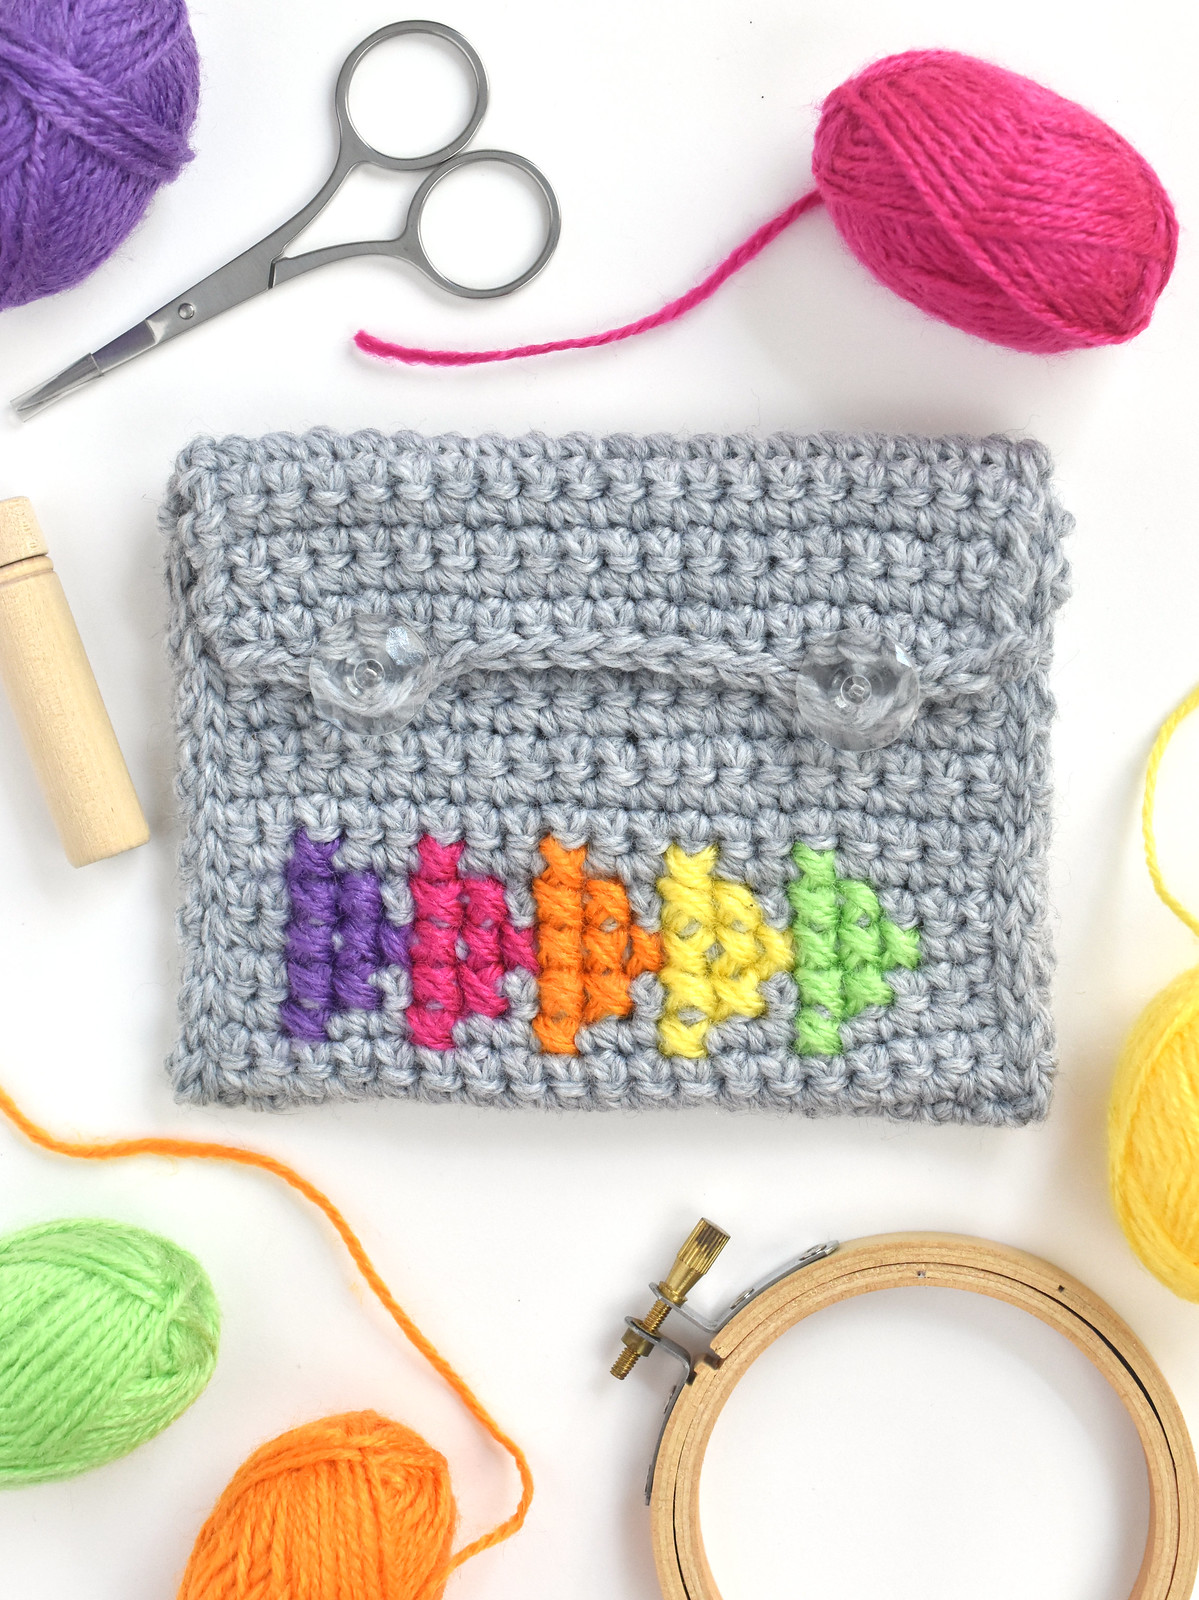
Have you ever cross stitched or embroidered on knit or crochet items? It's such a fun way to combine two crafts, and that means more possibilities! Recently I wrote a tutorial for The Spruce Crafts on how to cross stitch on single crochet. And I didn't want to let my little swatch go to waste, so I made it into a simple pouch.
Of course, not wanting the making of a simple pouch to go to waste, I made it into a tutorial for you. You're welcome. Seriously though, this is pretty easy to figure out on your own if you crochet. But even if you're new to crochet this is simple and a fun way to get started while staying true to your stitching self.
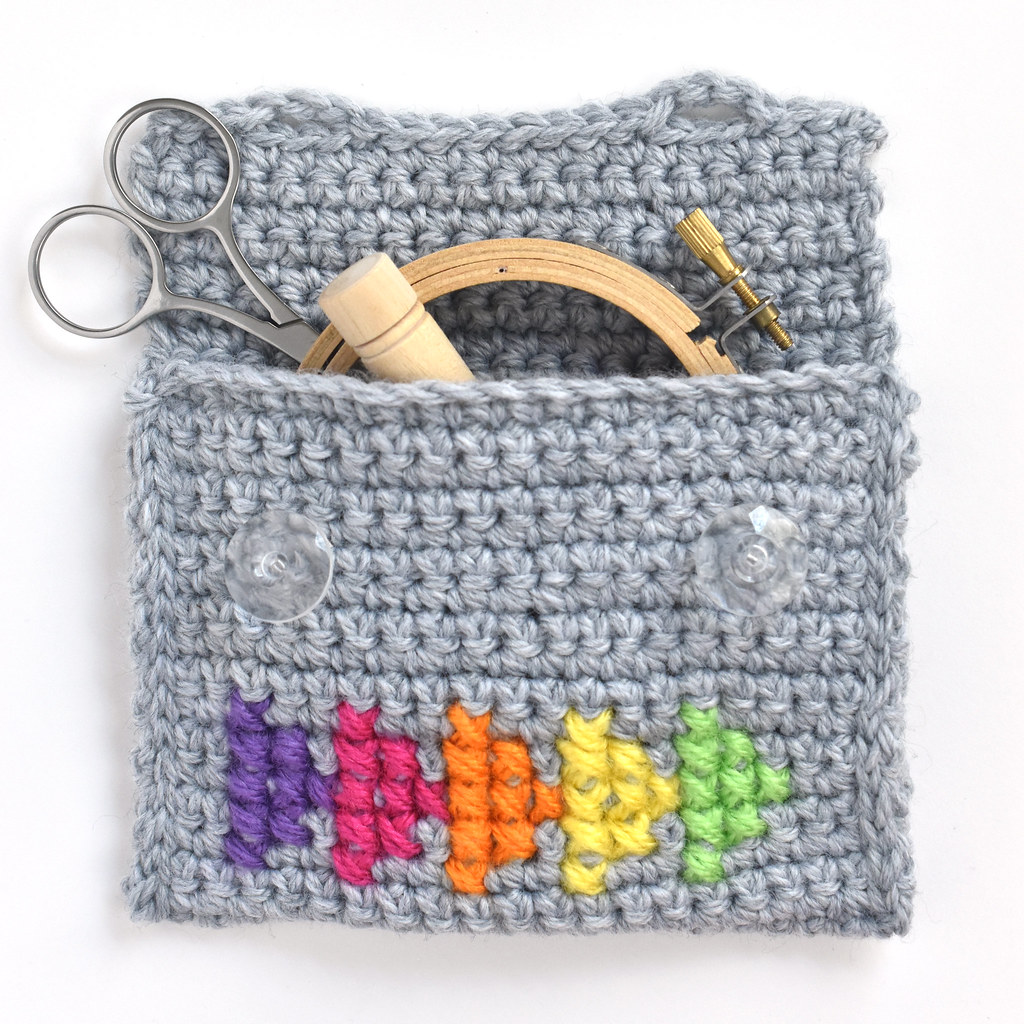
You can make your pouch pretty much any size you want. Mine is just large enough to hold a few craft tools. (Disclaimer: You should only place scissors in your crocheted pouch if you line it with fabric or cap the point of the scissors.) I also think it would be perfect for holding feminine hygiene products!
To make the pouch, you will need:
Yarn in a base color
Yarn in a few more colors
Crochet hook - use the size recommended for the yarn you're using
Tapestry needle
Buttons
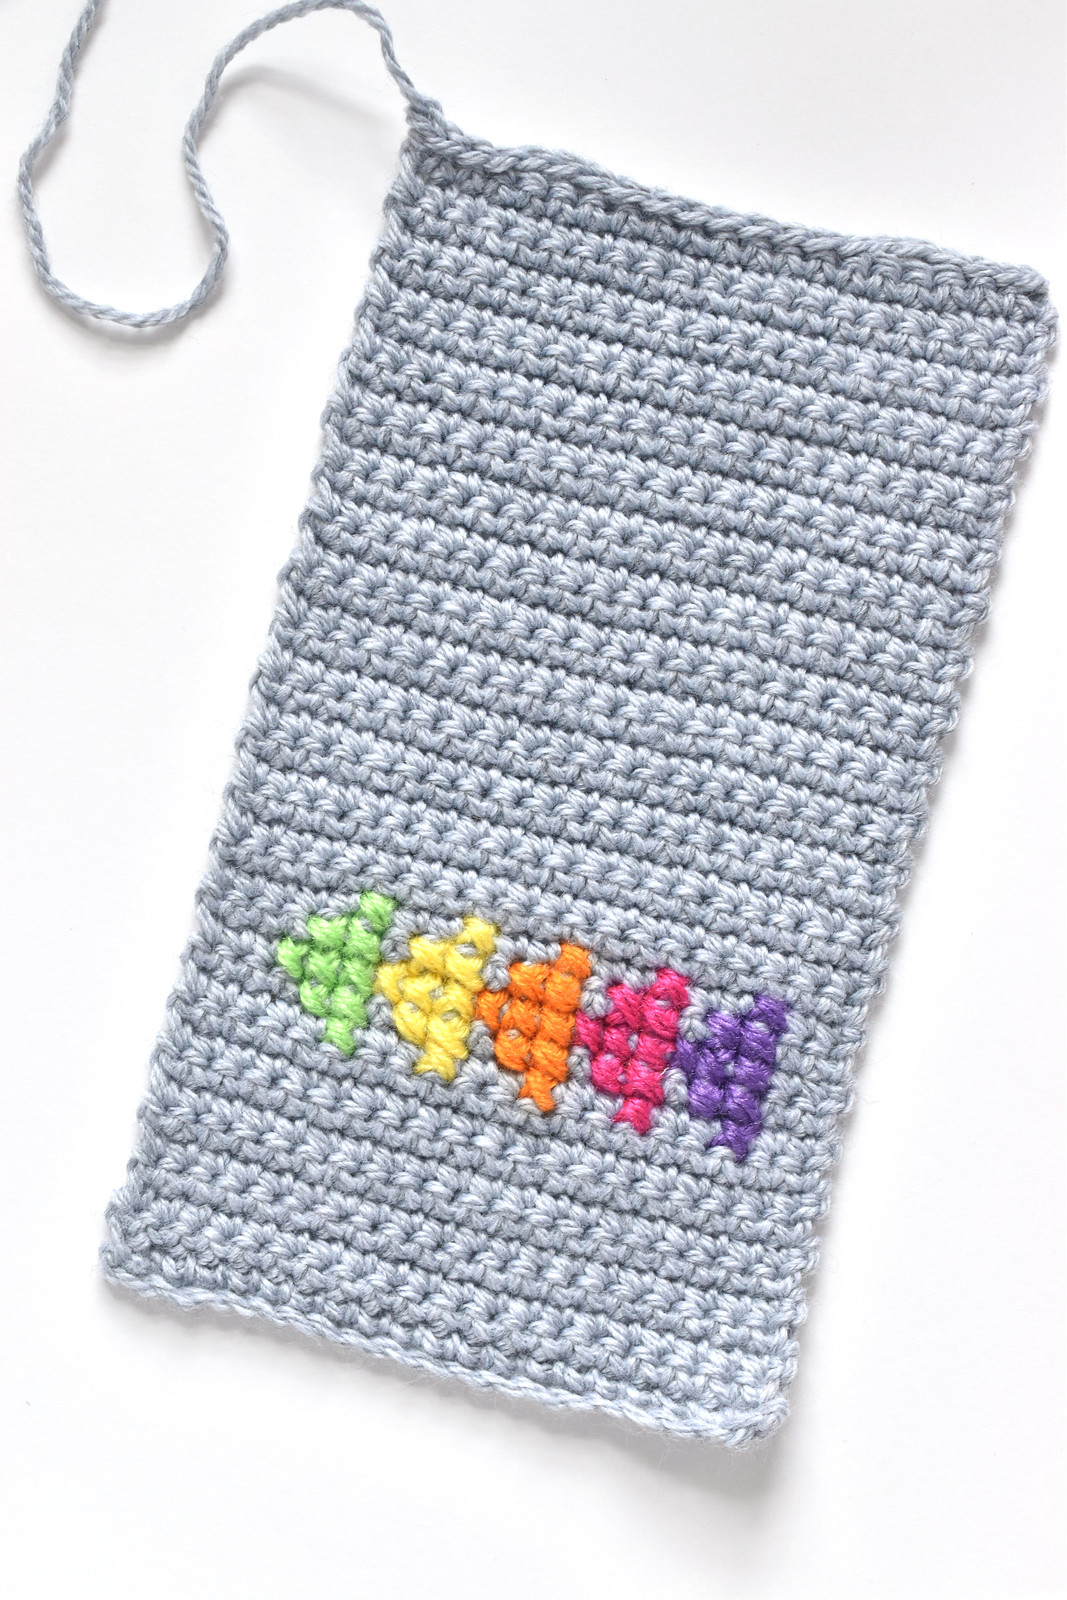
First, make a single crochet rectangle that's the size you want for your pouch. I made mine 20 stitches wide and I worked until it measured about 10 inches. Don't end off the yarn just yet.
I kept an active loop while I did the cross stitch because when I was adding the embellishment, I hadn't finalized the size and details of the pouch. But you can wait to add the cross stitch until after the next step.
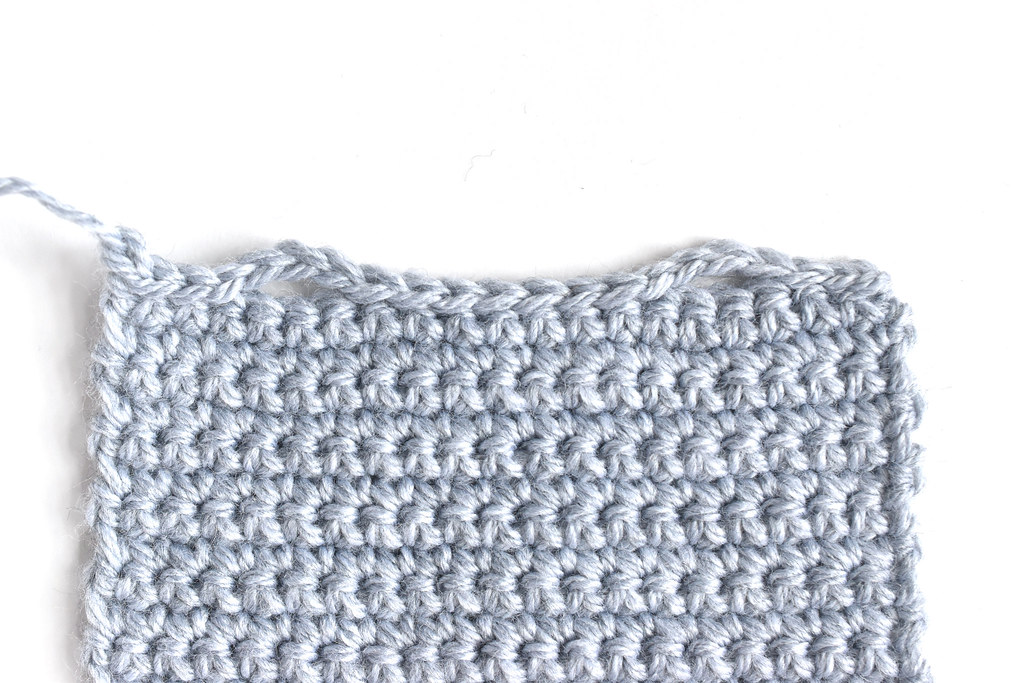
After you finish the single crochet, it's time to make the buttonhole loops. Decide how far in your want the buttons (or just a single button in the middle) and count the stitches in from the edge. Count how many stitches wide your buttons are.
Slip stitch until you reach the location of the first buttonhole. Chain stitch as many stitches as needed for the button to fit through. Continue slip stitching until you reach the next buttonhole, and repeat.
End off the yarn and weave in the end.
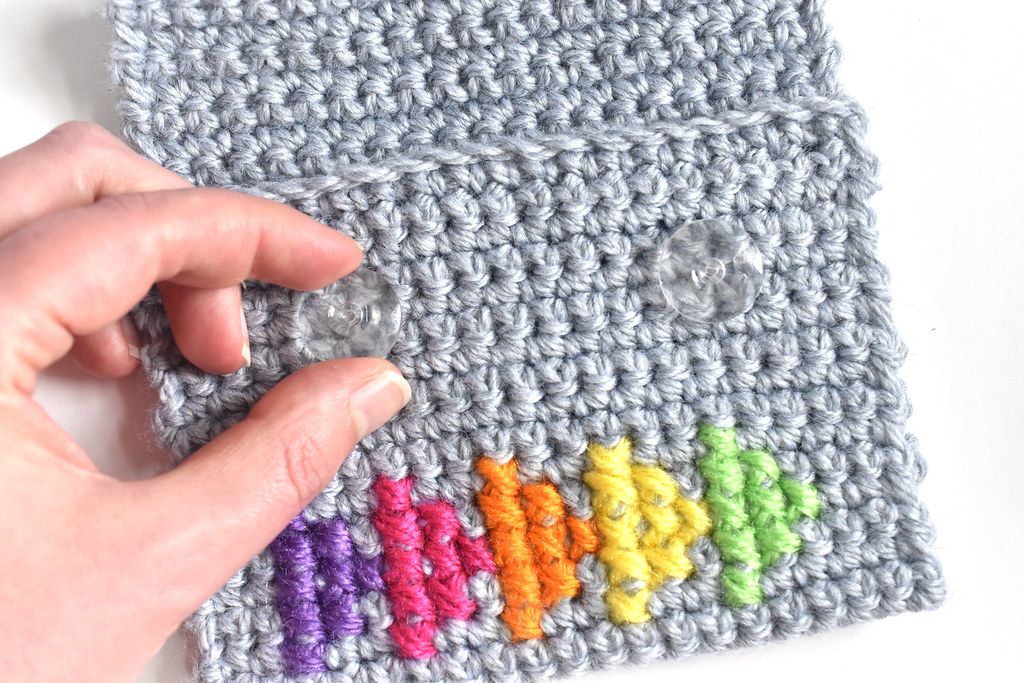
Fold up the bottom edge to figure out the placement for the cross stitching and the buttons. Stitch a design following my tutorial, then sew on the buttons.
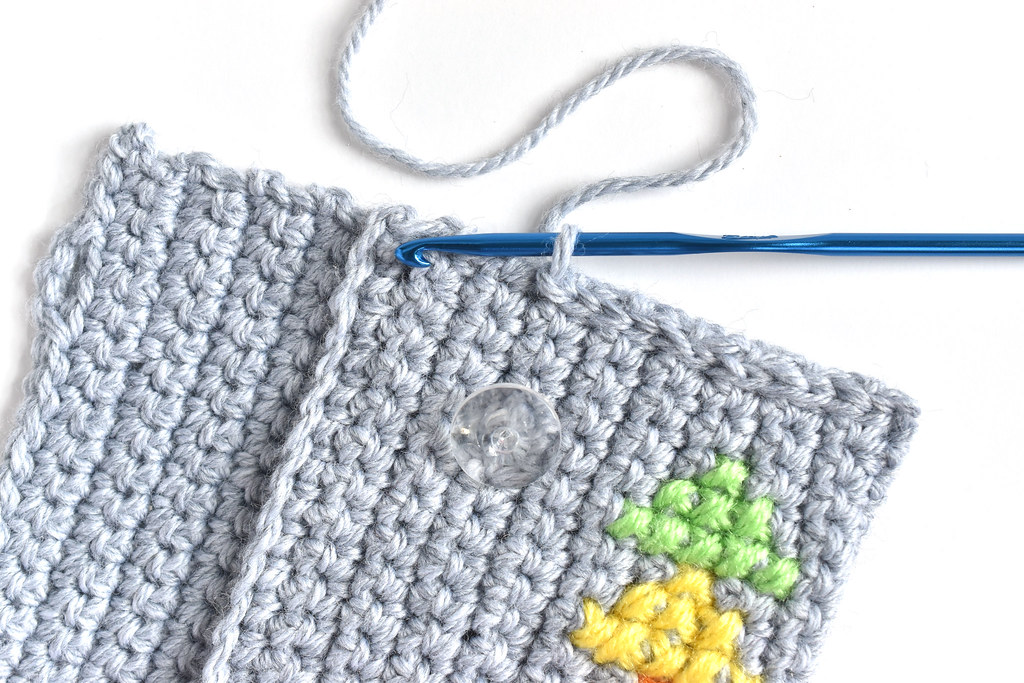
Attach yarn to each side and slip stitch to close up the sides of the pouch. End off the yarn and weave in the ends.
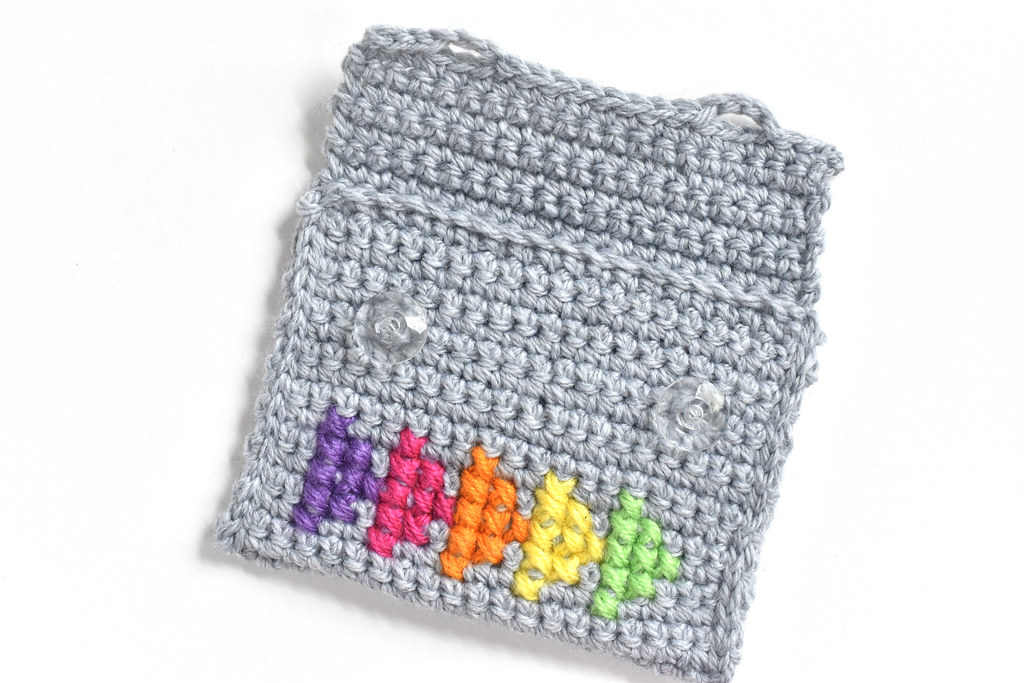
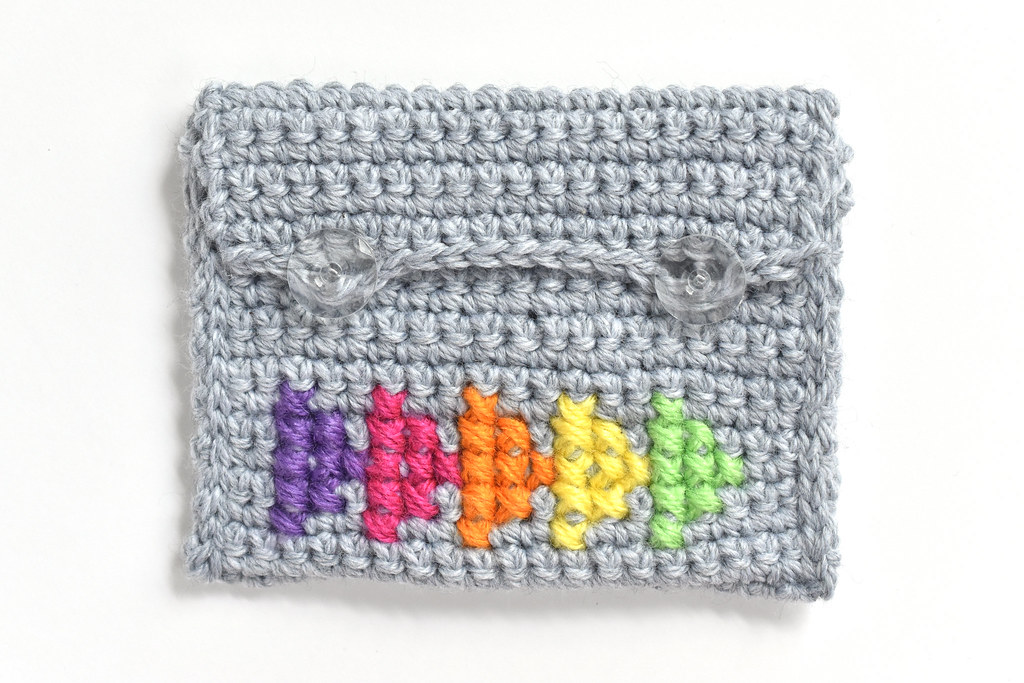
And it's a finished pouch! If you want to use your pouch to hold tiny items (like stitch markers or even pointy things that could catch on the yarn), you can sew a fabric liner and stitch it into place. Mine is staying just like this!

So now, a few notes about this project:
• First, I don't have any basic crochet tutorials here on my blog, but I have a bunch at The Spruce Crafts. If you need to learn any of the stitches I mentioned in this post, visit The Spruce's crochet section.
• I used yarn that I had on hand, including Lion Brand BonBons (because they're so cute!). But I'm excited to do more cross stitch on crochet with tapestry yarn, which comes in so many colors and is a beautiful quality. Benzie sent me a bunch to play with!
• And with that tapestry yarn in mind, I've been thinking of making a few Wild Olive-esque patterns that would be small and suitable for cross stitch on crochet. Would that be something you'd be interested in? Tell me in the comments!
This is so pretty Mollie and I love the idea of being able to add colour to crochet this way! The design of your pouch is so cute and simple too and would hold all kinds of things, thanks so much for sharing 😊
ReplyDeletewould LOVE to see more cross stitch on crochet! it looks wonderful. thank you for sharing!
ReplyDeleteLovely pouch! Easy instructions even for a beginner. Thanks for that appropriate caution of “lining & protection of sharp tip tools”.
ReplyDelete