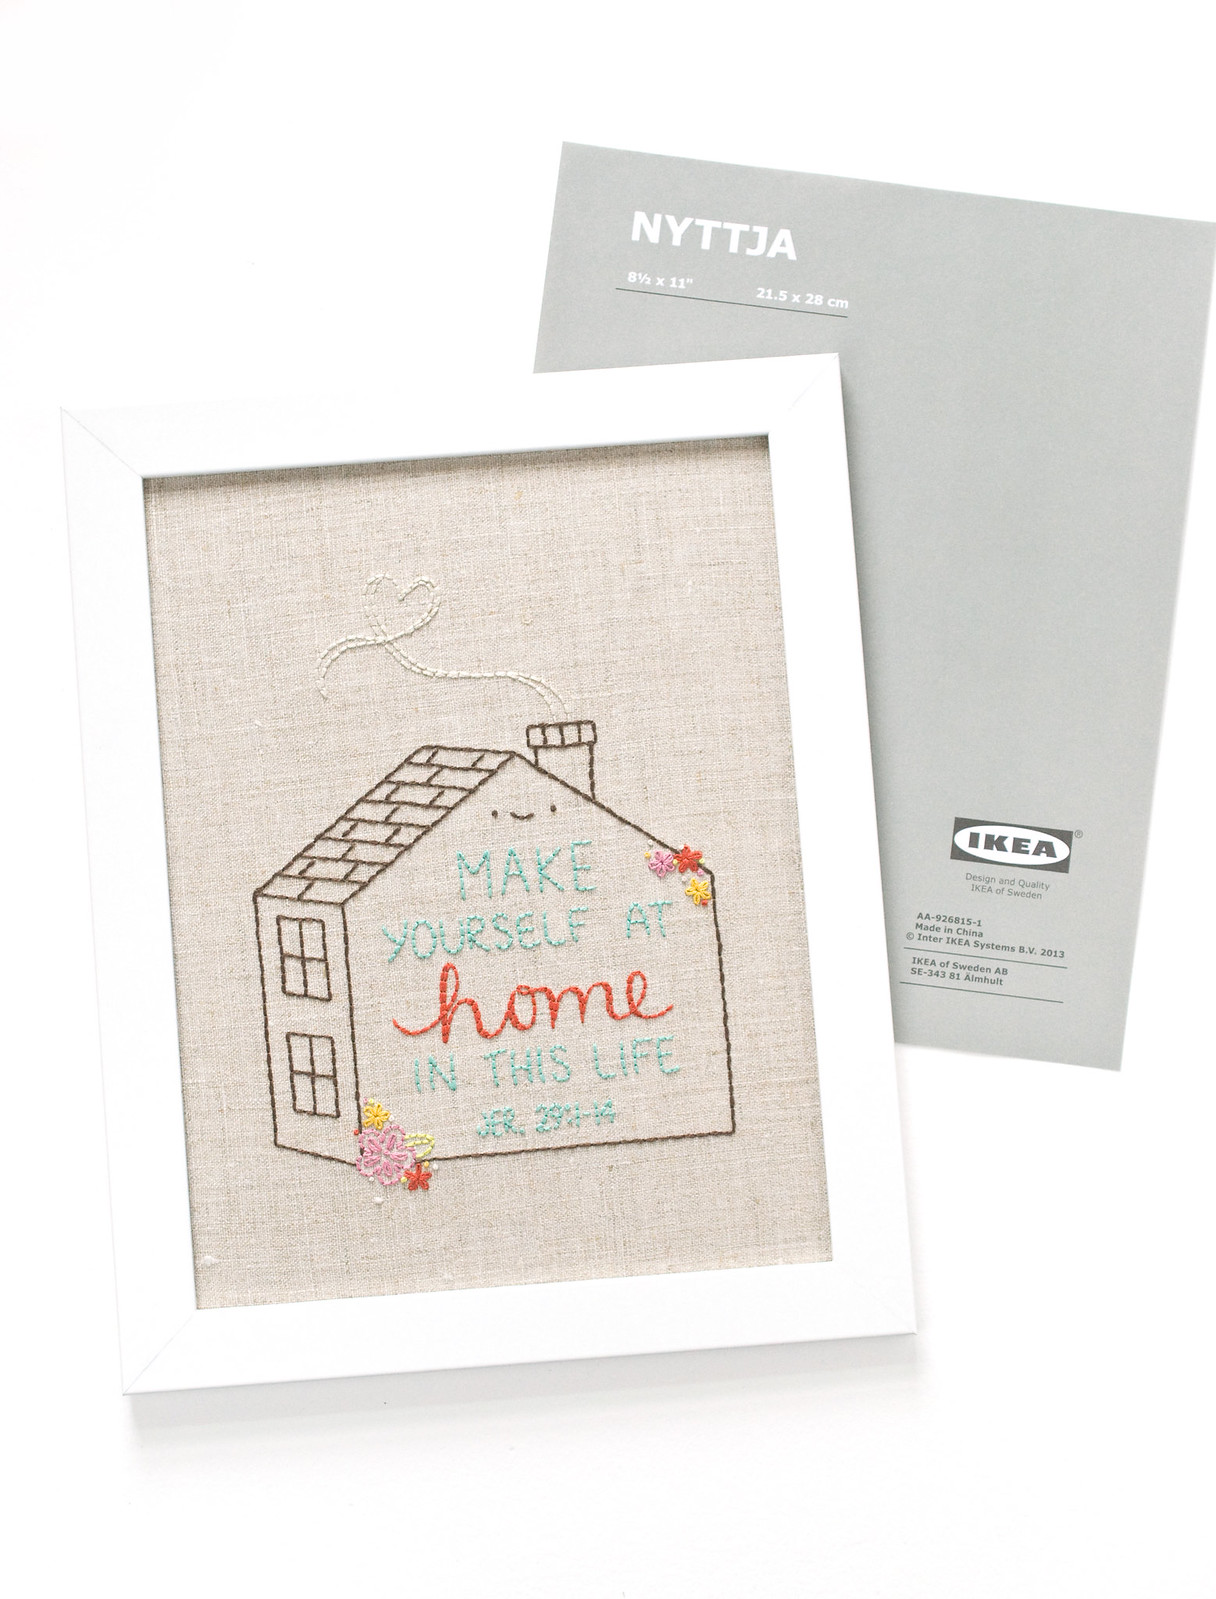
A few years ago I showed how you can easily frame embroidery in an IKEA picture frame. Today I'm going to show you almost the exact same thing, but using a different technique for getting the embroidery stretched and held taut. In fact, this lacing method is more traditional, but I'm often slow to conform.
That might be a little sad and silly, because in this case, after just one go at it I'm extremely pleased and most likely hooked. I'll explain why later.
I decided to try this method out on a whim, hoping that it would hold my stitching nicely. Plus I like to learn different ways of doing the same thing. When I started trying it out, I didn't immediately take any photos, and then when I was nearly halfway through, I realized I should share this process.
Bear in mind that this is my first time doing this. If you want more information or other tutorials for comparison, you'll find them with a quick online search.
So let's dive in and we'll walk through the steps that aren't in the photos. I'm using an inexpensive IKEA frame. This one is 8.5 x 11 inches. But this will work with most frames.
Step 1
Remove the back of the frame as well as the clear plastic. Lay the clear plastic on the back of your embroidery (it should be in a state that's ready to frame...no big wrinkles!).
It's best to have at least an inch of extra fabric that will wrap around to the back of the plastic, so plan accordingly when you're starting your embroidery and cutting your fabric. The extra fabric doesn't have to be trimmed to perfection, but semi-even is helpful.
If your frame has glass instead of plastic (because you have a nicer frame than I do!), you should probably cut a piece of strong cardboard or mat board to replace it. You can try using the glass, but do be careful!
Step 2
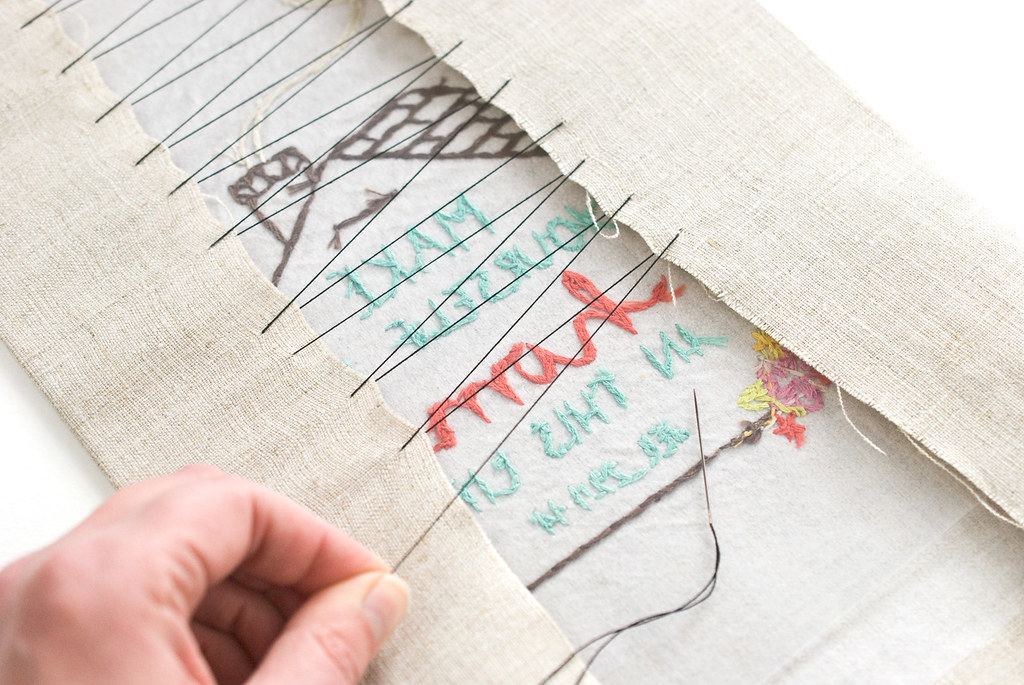
Thread a needle with a long piece of perle cotton. Mine was about a yard and a half long and I used size 12, but size 8 or even size 5 should work (maybe even better). Tie a large knot in the other end.
Starting on one of the long sides, wrap the fabric around the plastic and bring the needle up through the fabric. Be sure to come through at least 1/2in from the edge at around the center. This will hold the embroidery evenly and prevent the lacing stitches from pulling the fabric apart.
Cross over to the opposite side and bring the needle through the fabric from bottom to top. Work this way from side to side, pulling the fabric tight as you go.
Once you've worked from the center to one end, start at the center again and work toward the other end. Secure the end of each lacing thread with a large knot, keeping the lacing taut.
I found that it was best to have each lacing stitch be about 1/2in to 3/4in apart. Any wider than that and it starts to pull funny. Also, take a peek at the front every so often to make sure things are staying straight.
Step 3
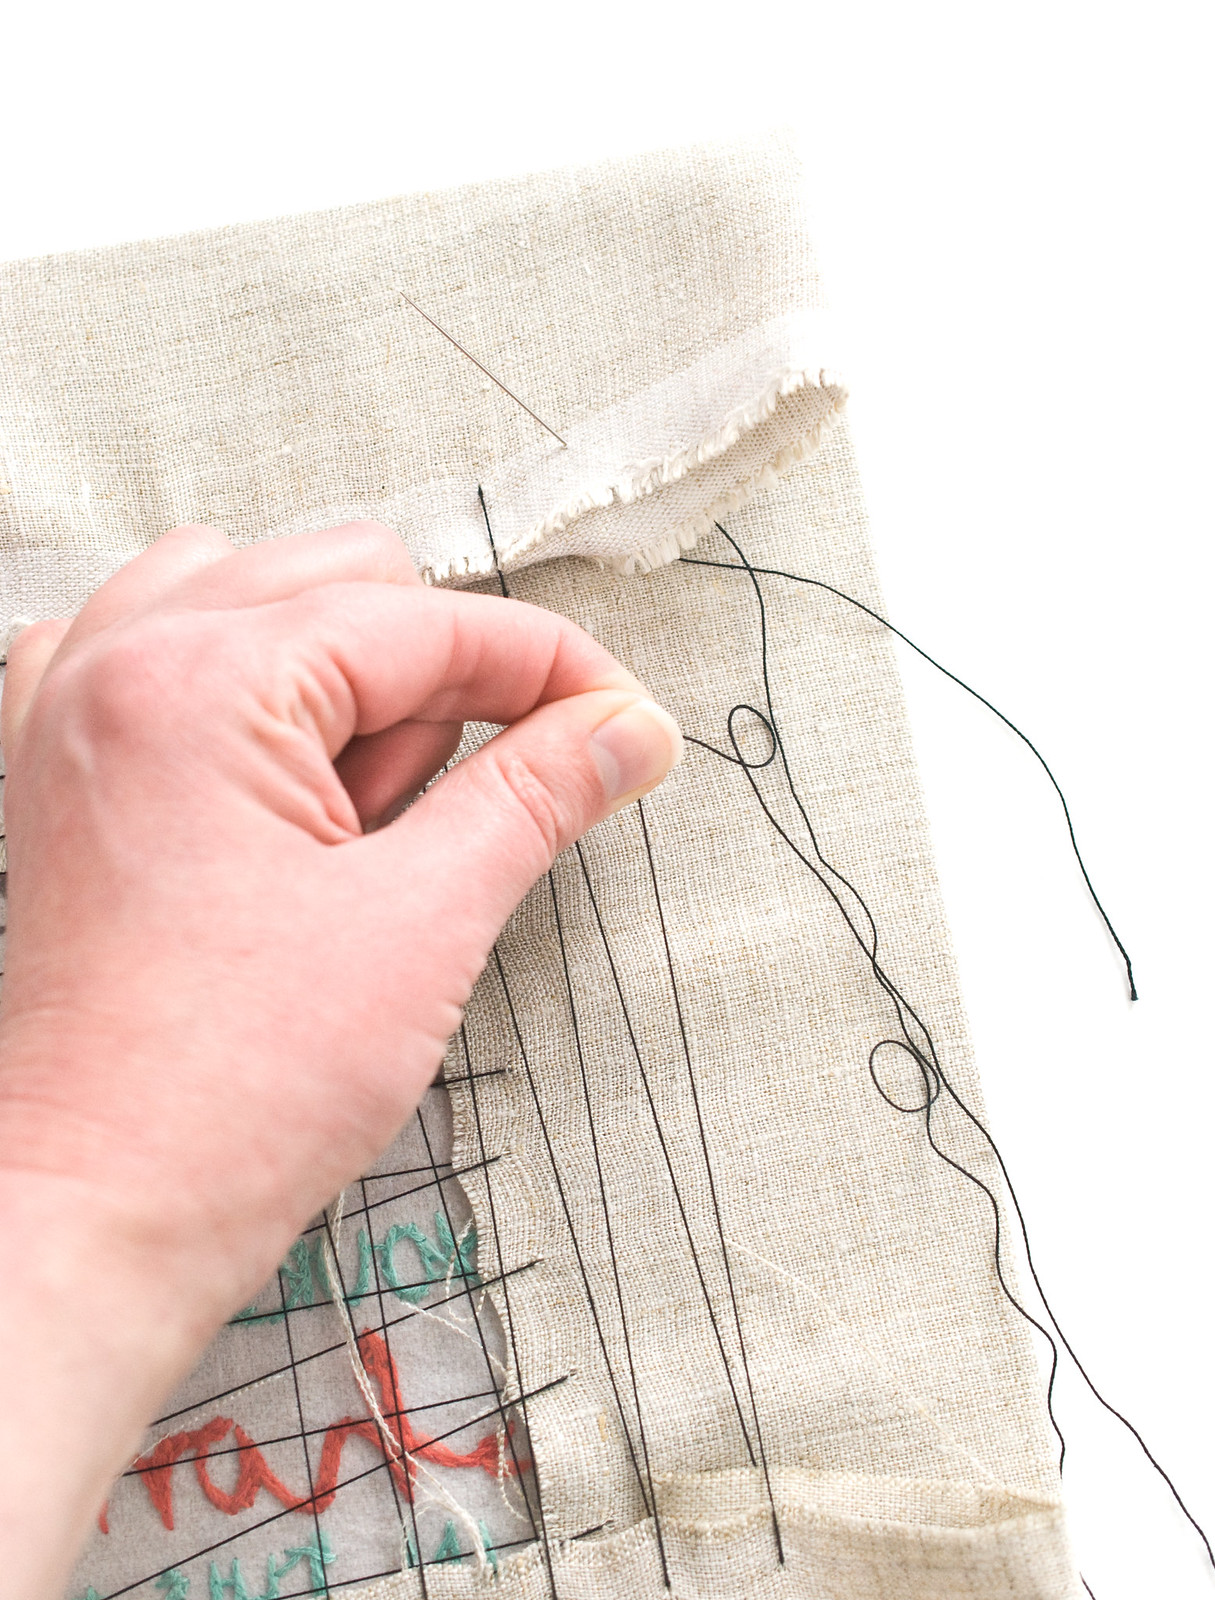
Fold the two ends in and repeat the same lacing process. Start at the center and work toward the edges.
Stitch through both layers where those extra folds are, and try to keep them as tidy as possible.
Also, when you're working with plastic or cardboard that has some flex to it, it's easy to end up pulling the lacing a little tighter than you need to. This will cause the board to curve and pull toward the back. If it's only a little, it will work out and just stretch your embroidery to a good tightness. If there's a huge flex, you should redo the lacing.
Step 4
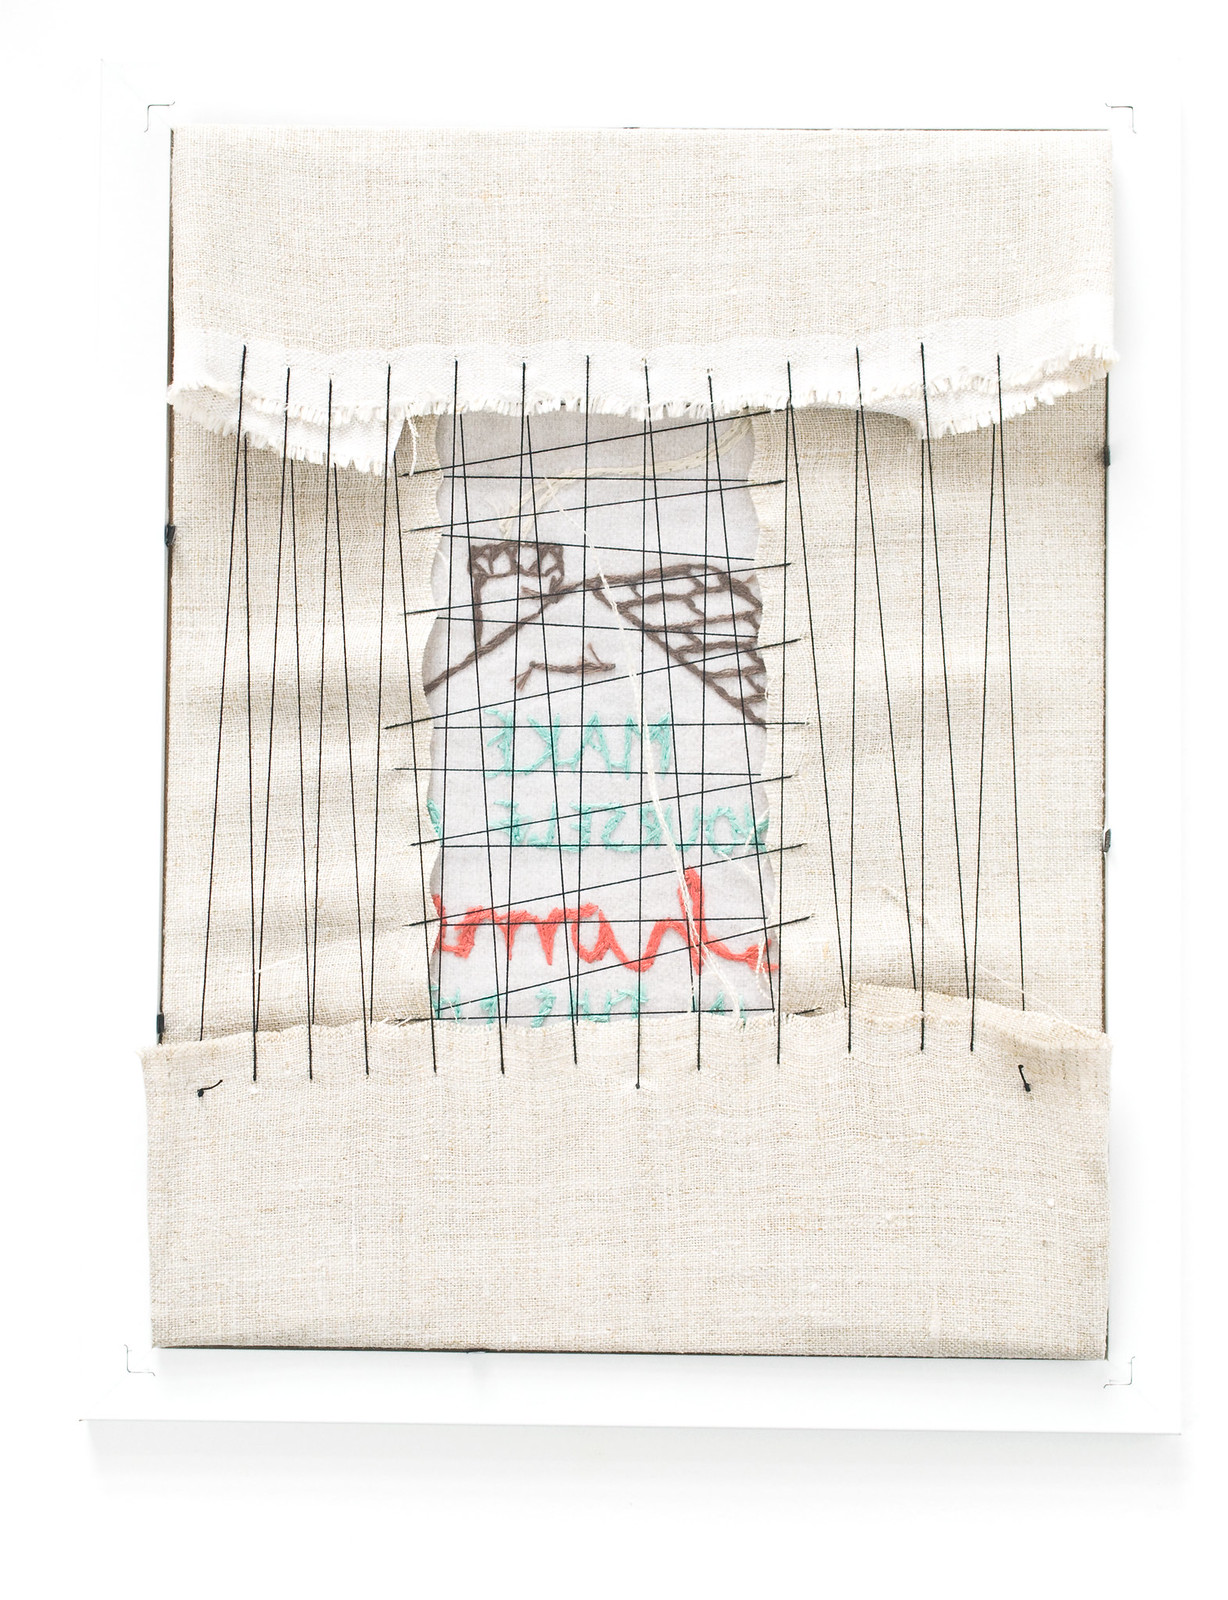
Place the laced embroidery in the back of the frame. There won't be any glass covering the embroidery, but that's okay.
Most frames don't have enough thickness to accommodate the glass or plastic, the embroidery, and the backing. Or if they do, the embroidery ends up pressed up tight against the glass, which doesn't look great and isn't good for your embroidery. If you want your embroidery to be covered with glass, check with a professional framer.
In this case, we're framing it, not preserving it.
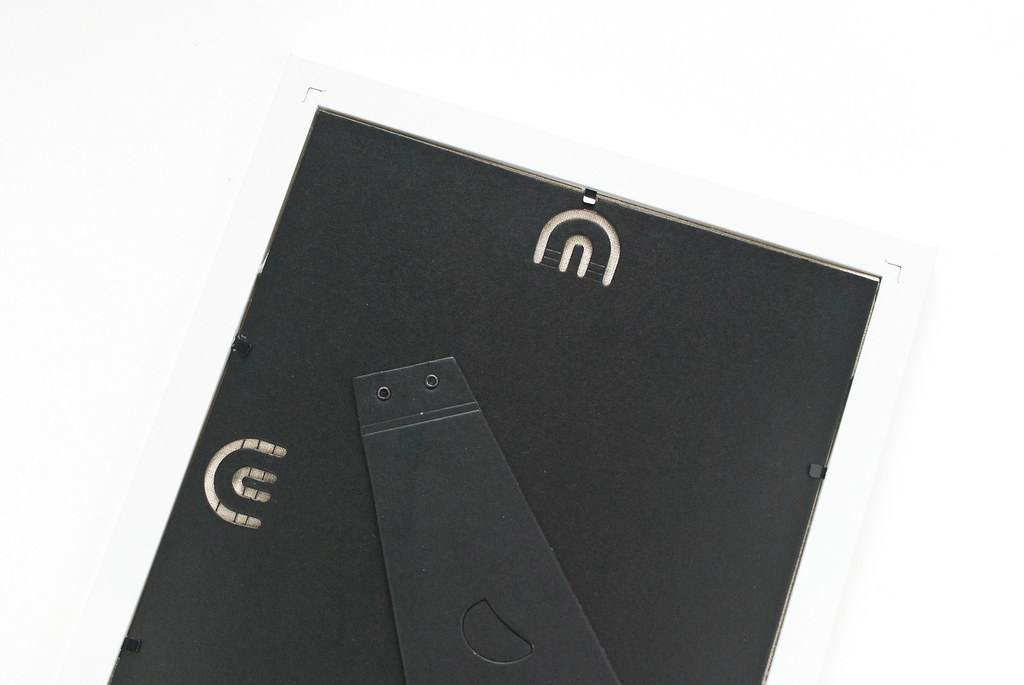
Step 5
Set the frame backing in place (make sure it's going in the right direction!) and tuck in any fabric bits that might be showing. Secure it with the little tabs, and admire your freshly framed embroidery!
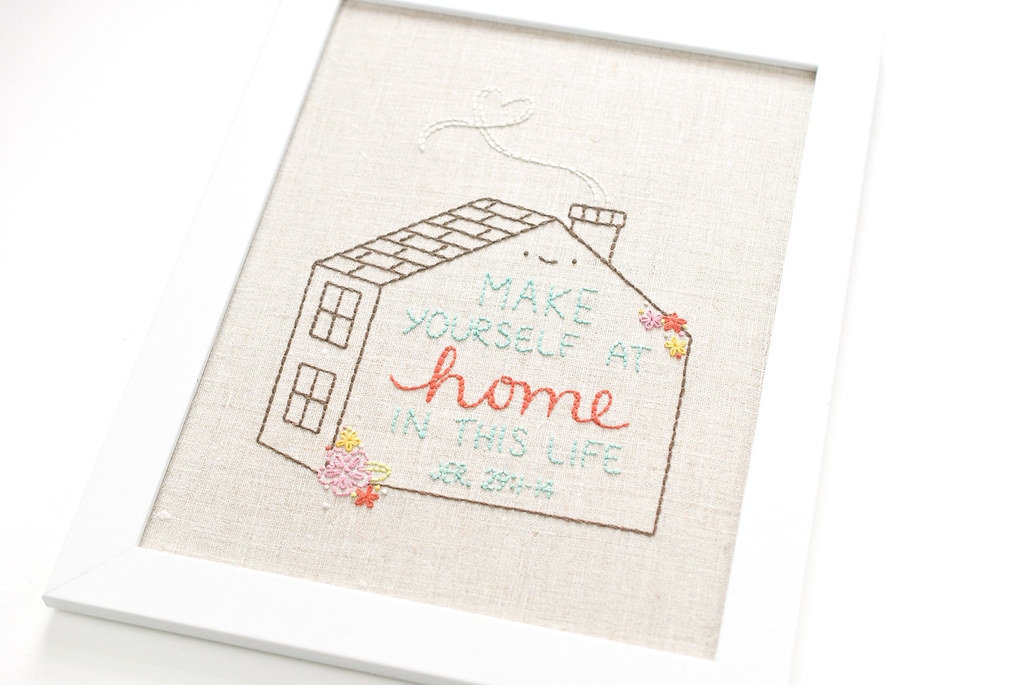
Doesn't it look so nice in a frame like this? I love framing my stitching in an embroidery hoop, but it's good to have options, especially for square or rectangular embroideries.
My original post showing how to frame embroidery in an IKEA frame used tape to hold the fabric. It was fast and easy, and once it's all in the frame, it doesn't go anywhere. But it doesn't pull the embroidery as taut as this does. And really, lacing doesn't take all that long.
I love that frames like this come in different colors/styles and are inexpensive, often no different than the price of a cheap hoop. But they give the embroidery a finished look that is often nicer than a hoop finish. Plus, the back is totally covered so you save time on that part!
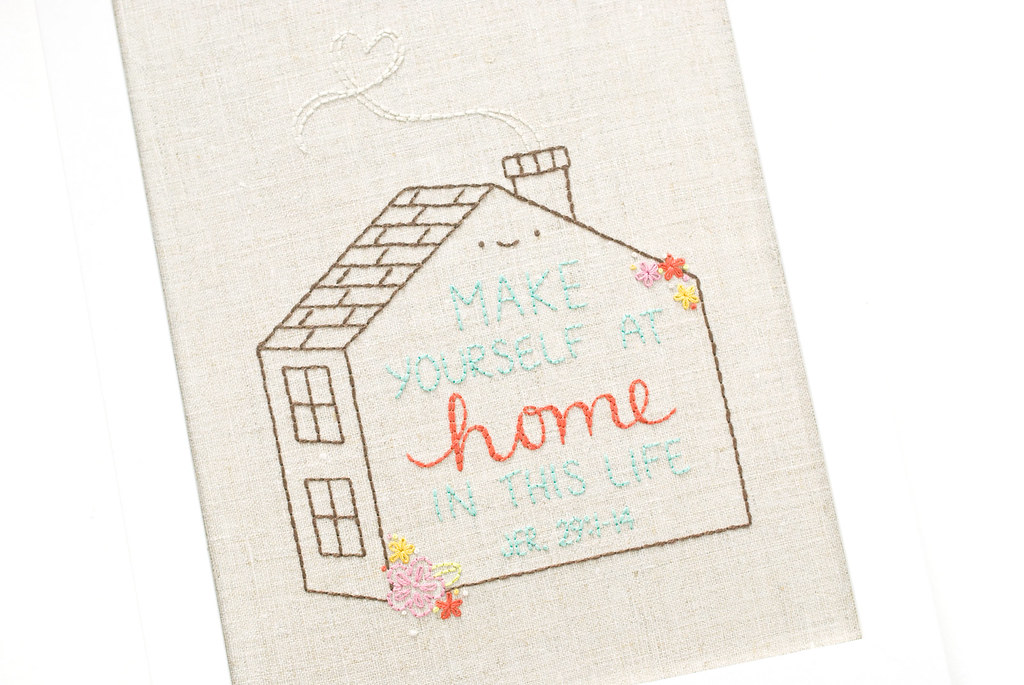
Now, about this embroidery you see! You get an early peek at a pattern that I designed for Jerusalem Greer. Her new book, At Home in This Life, is coming out this spring and my pattern is a free gift for anyone who pre-orders! Check out her site for more info on that and then watch for another pattern I'm collaborating on with Jerusalem.
Mollie,
ReplyDeleteI use a thin fishing line to lace my pieces. Very strong and inexpensive; plus there is a lot left over for the next time.
Maureen
Thank you for the idea! would surely try :)
ReplyDeleteLove
AhoySeptember
Adventure trip in India