about shop patterns projects printables extras sponsorship wild olive twitter flickr pinterest subscribe

printable // helping hearts coloring picture + tees that benefit refugees

Helping Hearts Tee

Around Valentine's Day, love is in the air. And that means hearts. Lots of them!

But I think love should be in the air all the time. As a follower of Jesus, I believe that everyone is loved by Jesus and that He wants me (and all His followers) to love everyone, always.

I'm calling this heart full of hearts design Helping Hearts. Why? Because when lots of hearts work together in love, they can show even more love. In this case, the Helping Hearts tee you see (and other styles, as well as prints) helps refugees.

100% of the profits from the Helping Hearts items benefit Preemptive Love Coalition. You get cute Wild Olive gear that spreads a message of love AND a tangible way to show love!

Plus, through February 14, 2017, receive FREE SHIPPING on orders over $45 ($80 international). Use coupon code VDAYda383b. That's valid on all items in my Threadless Artist Shop, not just this new design.

Helping Hearts Coloring Picture


As I was working on the new tee design, I got to thinking that it might be something fun to color too. It's not a highly detailed design, but I like the idea of coloring love in many colors. Color and pray or think about how you can help others in love. Use it as an opportunity to talk with your kids about the importance of loving everyone, always, and what that means in everyday life. If you were so inclined, you could even go crazy and embroider this.

By the way, this is labeled as "for personal use only" but that just means I don't want you to sell this artwork. Please feel free to make as many copies for any purpose that is loving.


Be a helping heart. Love.

pattern // be my everything

Be My Everything


Sometimes you hear some words that you hold onto. Sometimes you need to hold onto them as a reminder. Sometimes they are the comfort you need. Sometimes they are exactly what you want to express. And as I've said before, I tend to want to make these words into embroidery patterns.

"Be my everything" are the words that have been playing in my head lately. They sound like something you say to your sweetheart and so it seemed logical to add some hearts to this design. It's perfect to stitch for a Valentine's Day gift for your special someone.

As a single gal, I'm stitching this for myself.

I know what you're thinking. "She wants to be her own everything?" While I suppose there are some who would try to make this be a thing, that's not what this is about for me. I'm stitching this for myself as a reminder of something for which I strive, and often fail.

You see, the words "be my everything" are part of a song that was in a church service recently. The song "Everything" by Tim Hughes is simple and it captures my desire for living this life with God. With Jesus. I encourage you to look it up and read through all of the lyrics, but here's a small sample:

God in my hoping
There in my dreaming
God in my watching
God in my waiting

Be my everything

Of course, even though I want Him to be my everything, I let myself get in the way, making things about me and what I want. It's not always bad or wrong, but it does often distract me from Jesus as my everything. So I'm going to be stitching these words so I see them throughout my day. And so I can stitch my prayers for this right onto fabric and thread.

Whether you want a reminder for your own heart or a message for the one who holds your heart, I hope you enjoy stitching up these words!

a bit of color to inspire

Sprockets Quilt Diamonds

I don't have much to post right now, though I'm working on it. In the meantime, I'm just gonna leave these colorful things here for a bit of inspiration.

Color Inspiration
Color Inspiration
Color Inspiration
Color Inspiration
Color Inspiration
Color Inspiration
Color Inspiration
Color Inspiration

Related: I love rainbows of color. They are a constant reminder of a promise.

super cute all-in-one felt kits

Star Wars Felt Kit

Do you love making things out of felt? Of course you do! Felt is so much fun to work with and use for making adorable things. Today I'm happy to show you two felt kits with some of the cutest patterns around. They're also quite different, as one is a Star Wars kit and the other is for folk woodland animals!

I don't buy kits too often, because I have a lot of felt around here already. Buying a pattern is usually all I need. These two kits, however, have some features and special items that make them stand out from many of the kits you see, and they're worth buying the bundle.

For full disclosure, these kits were sent to me from their publishers/creators, but even though they were provided for review, I was a fan before they came my way. Starting with the 
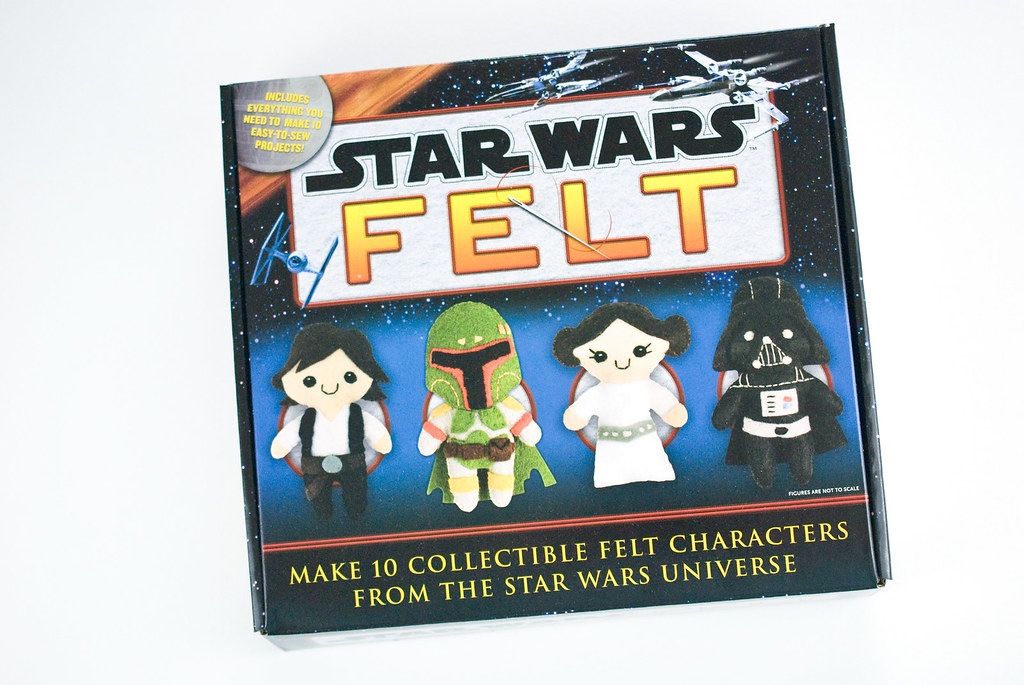
Star Wars Felt kit...

Star Wars Felt Kit

Even though her name doesn't appear on the outside of the box, this kit was designed by Aimee Ray, of Doodle Stitching fame. When she showed it in her Instagram feed, I was instantly smitten with the patterns. After all, I do love Star Wars crafting! Then I saw it at my local Barnes & Noble and very nearly bought it. When the publisher offered to send me a kit, I may have squealed a little.

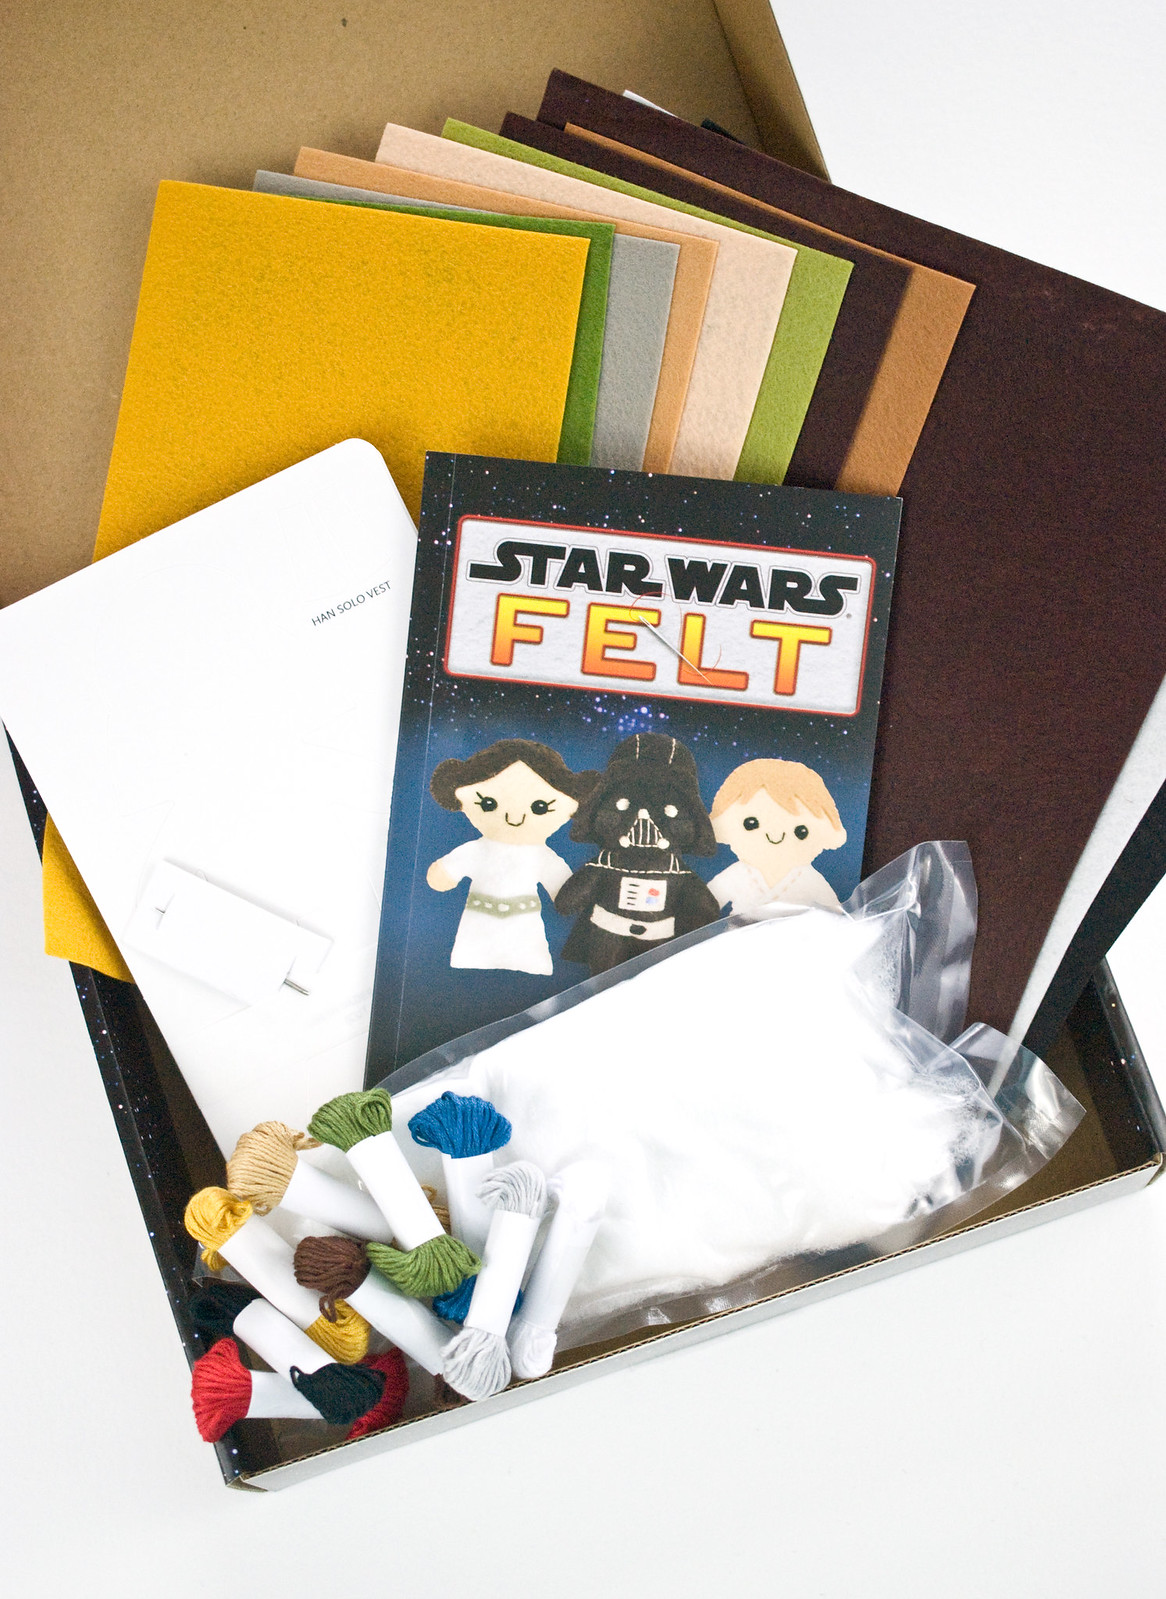
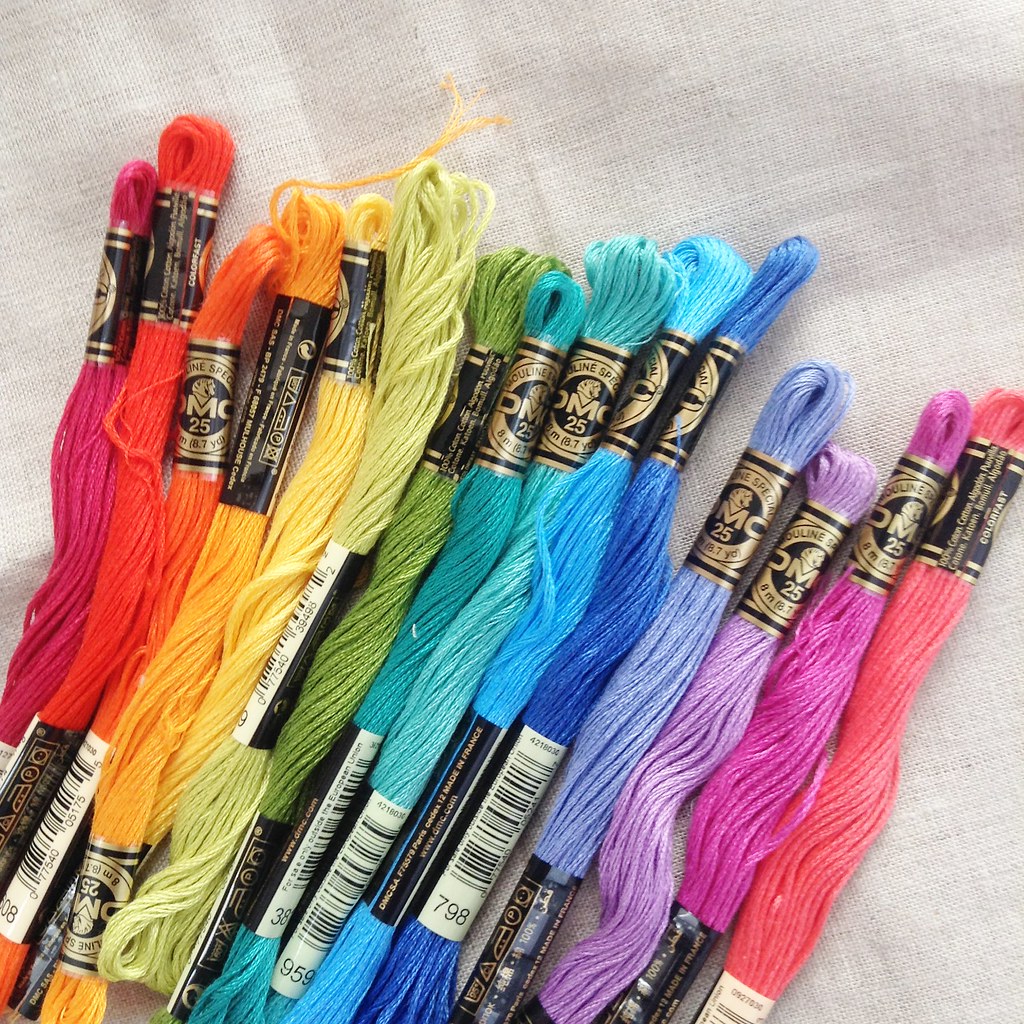
Inside the kit, you get a booklet with all of the project instructions, pattern stencil cards, felt, stuffing, embroidery floss, and a needle. All you need extra are scissors, a marking pencil, tracing or tissue paper and a finer needle if you want. While the felt isn't high-end, it is a nice quality.

Star Wars Felt Kit

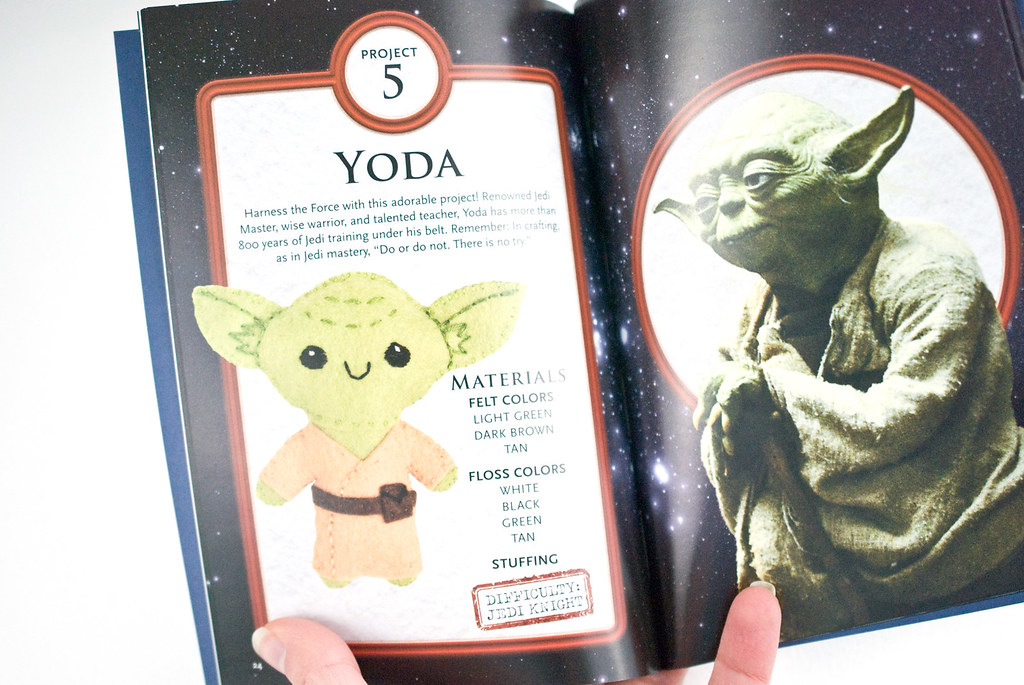
The booklet shows a photo of each Star Wars character you can make, and along with the description and materials list, it also gives a difficulty rating. I love that the rating is given in Star Wars terms, and this Jedi Knight level Yoda makes it a mid-level project.

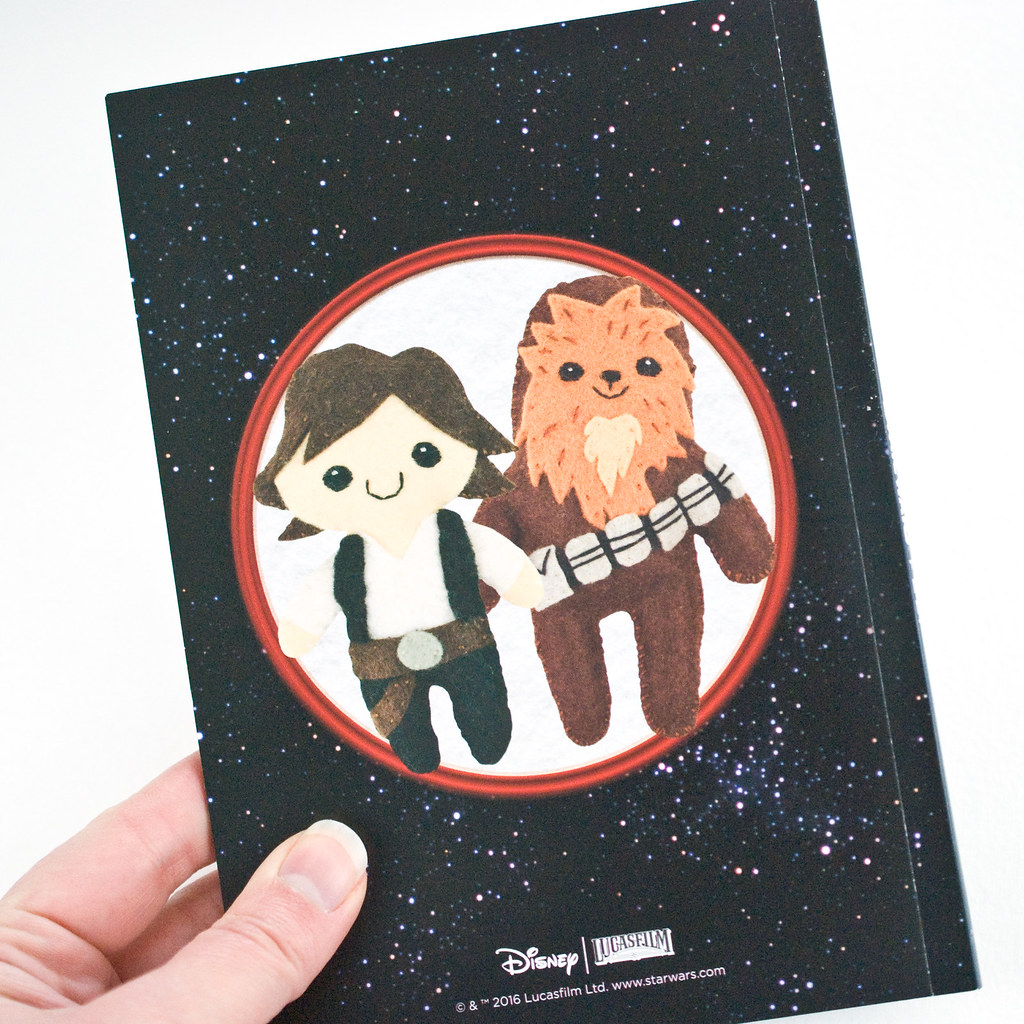
With this kit you can make Han Solo, Wicket the Ewok, Luke Skywalker, Princess Leia Organa, Yoda, Chewbacca, Darth Vader, C-3PO, R2-D2, and Boba Fett.

Star Wars Felt Kit

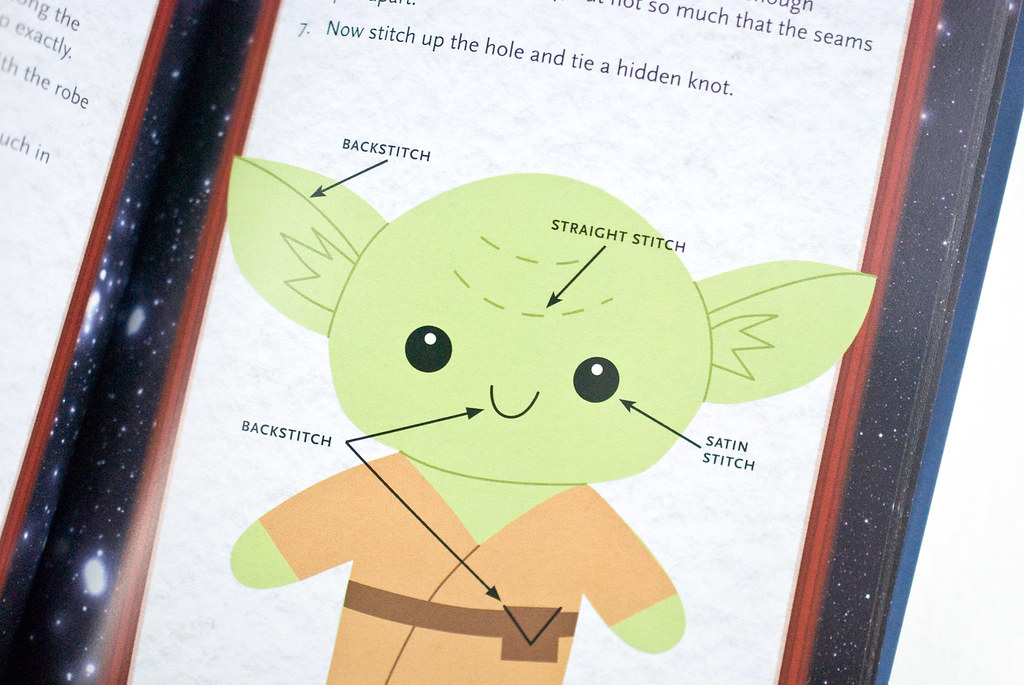
The written instructions are easy to follow, as is the diagram that shows you how to embroider the designs. This also serves as the embroidery pattern, which you transfer to the felt with tracing paper. You can definitely see Aimee's super cute style shining through!

Star Wars Felt Kit

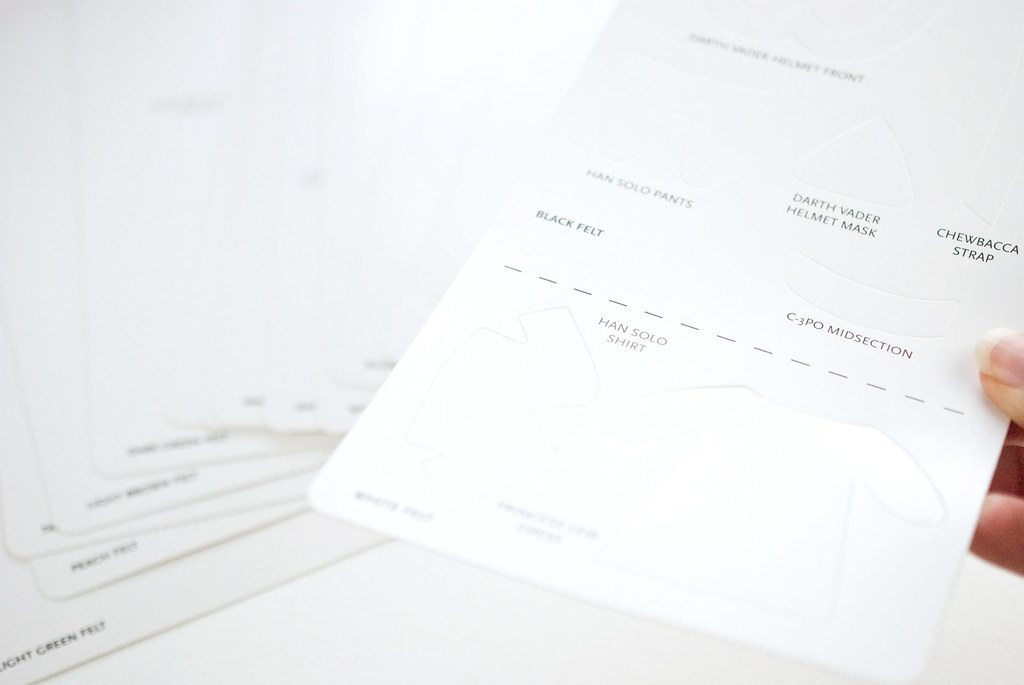
Instead of trying to trace or cut out pattern pieces, they come as stencil-like cards. I love this because it makes it easier for kids to work with. I think you'd get the best size if you punch out the pieces and use those as your templates, and I think that's what's intended. But if you trace within the openings on the cards you would never lose all those pieces!

I haven't made any of the figures yet, but I'm gonna see which tracing method I like best.

Star Wars Felt Kit

Bottom line: This kit is worth the price for the patterns and instructions alone. Yes, it's a small booklet, but if it were published in a larger format and still only had these 10 designs in it, I wouldn't flinch at the asking price (especially Amazon's great price!)

If you or someone you know loves Star Wars, this is a felt kit you need!

Heidi Boyd Felt Kit

Another kit I received is for making Heidi Boyd's Woodland Animal Ornaments. This is actually a supply kit that you can purchase to accompany the Woodland Animal Ornaments PDF pattern.

Heidi Boyd Felt Kit

I kept seeing these super sweet animals in Heidi's Instagram feed (do you get the sense that I spend too much time on Instagram?), and sending all the hearts her way. Who wouldn't? Woodland creatures with folk-style embellishment are too cute!

And then she asked if I'd like a set to make for myself. Thank you, Heidi!

Heidi Boyd Felt Kit

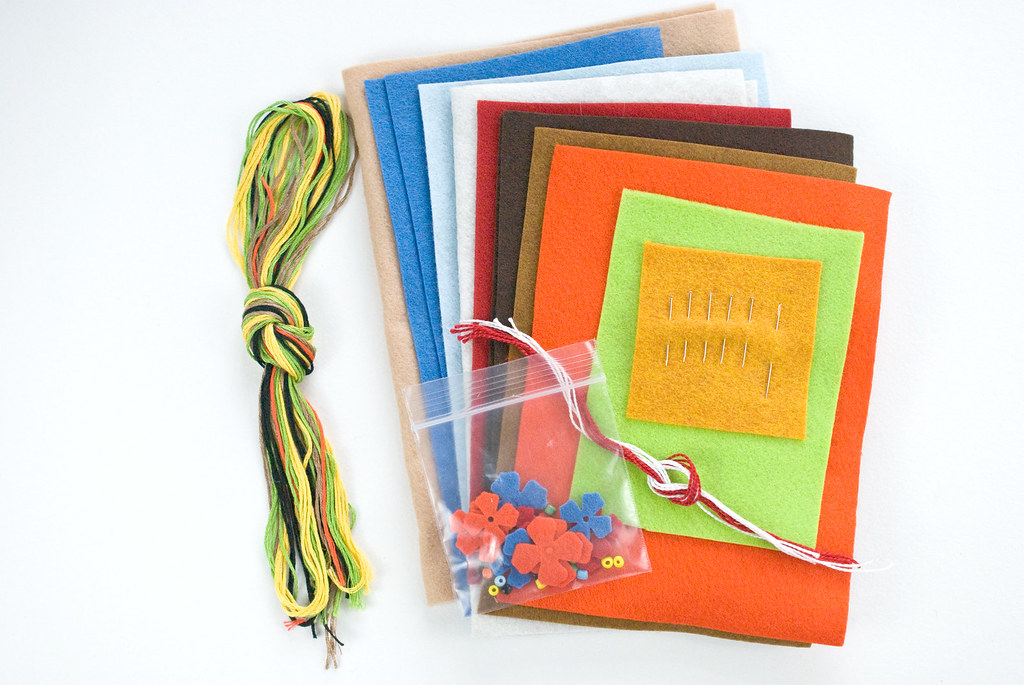
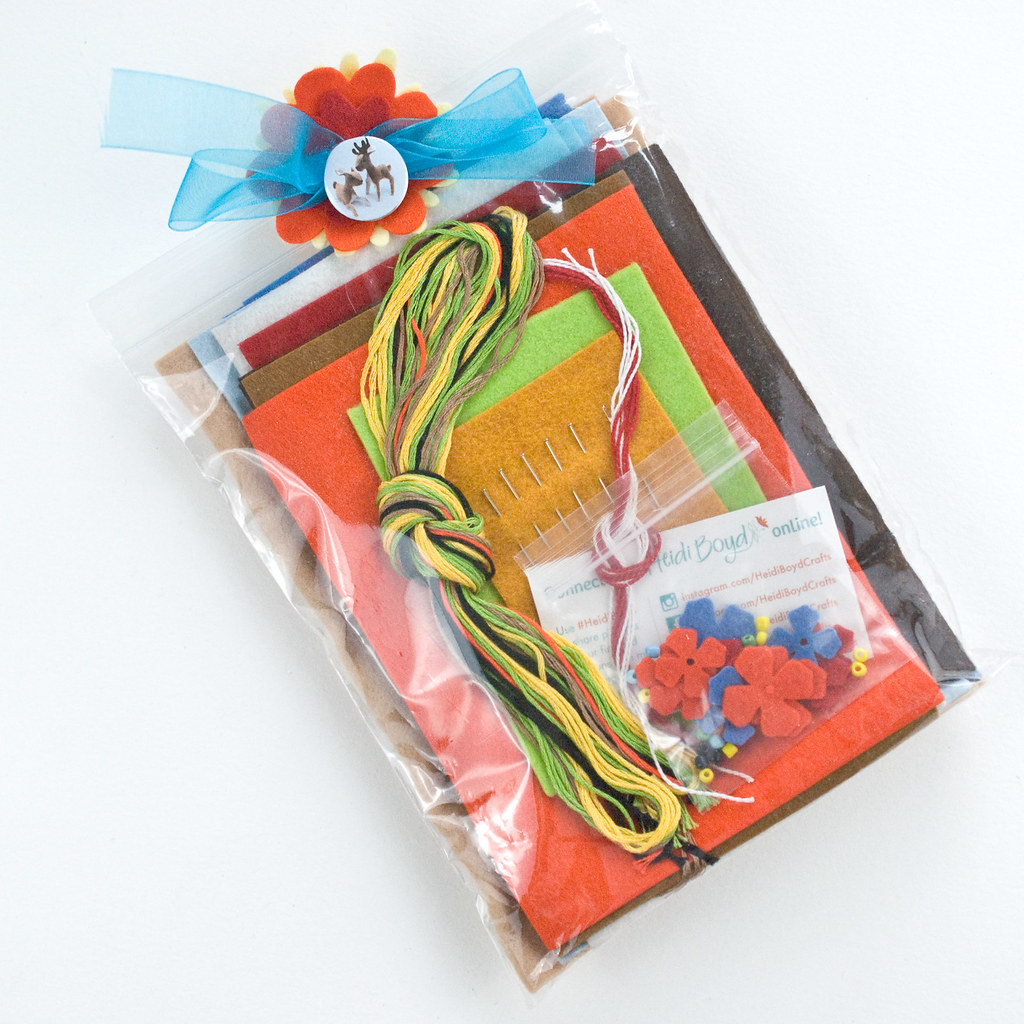
The supply kit includes wool-blend felt, embroidery floss, stuffing, glass beads, die-cut felt flowers, pins, and a needle. As with the other kit, you would also need scissors and a marking pen of some kind.

These are basic supplies, but it's this little bag that makes the kit special:

Heidi Boyd Felt Kit

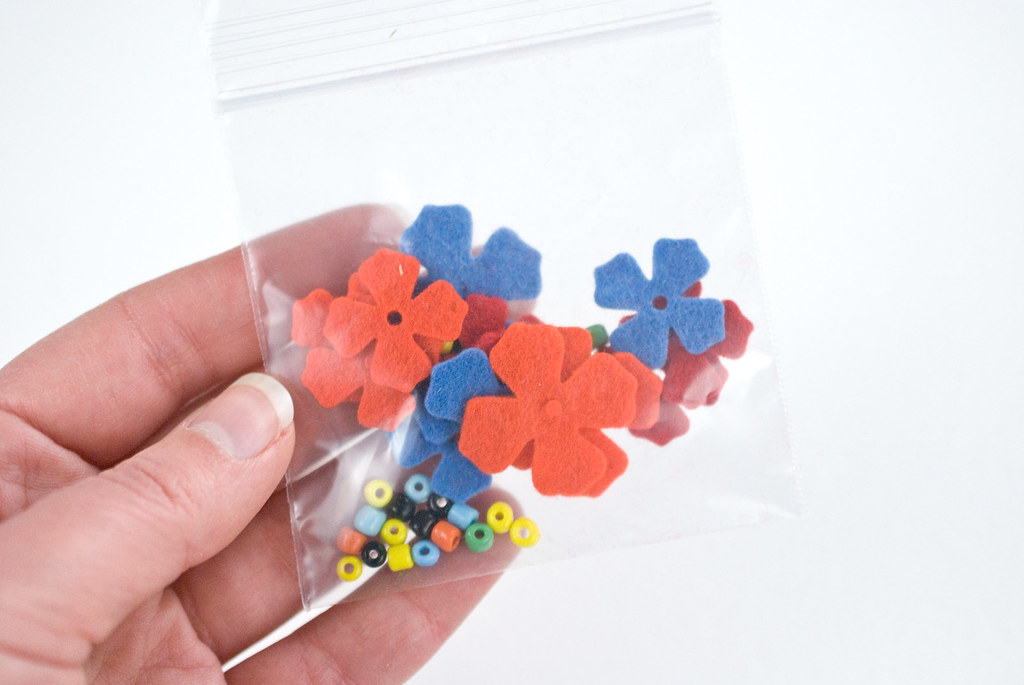
It may sound silly, but when I looked at the kit, I was struck by the brilliance of the tiny supplies.

Part of the charm of the floral folk design is in these flowers, which would not be simple to cut out. Yes, they are sort of in the pattern. But the instructions recommend die-cut flowers (and suggests how to get them) or substitutes.

And do you really want to buy a bag of approximately 1,739,284 beads just to make a few ornaments? That might be an exaggeration, but you get the idea.

The simplicity of buying this kit along with the pattern has huge appeal. I'd also point out that this is everything you need for seven ornaments (perfect for any time of the year). And you're buying them from an independent maker. Bonus points for that.

So tell me...do you like to work from kits whenever possible?

project // felt valentine mitten garland

Valentine Heart Mitten Garland


In winter, I'm typically thinking about snow, penguins, snowmen, ice skates, and mittens. Rarely do I think about pink and hearts in January. But since it's time to take down the advent garland that's hanging over my bed, I thought that I may as well replace it with something pretty. Something handmade. Enter the felt heart mitten garland!

Originally, I planned to make this garland with bright colors (maybe a rainbow, because I always love a rainbow). But then I found some really cute DIY kits in the Dollar Spot at Target, and they were metallic pink. So I found my matching pink felt (I had to choose from five pinks that I have from Benzie!), and went all in for Valentine's Day.

Sort of.

I love pink any time. I also love hearts any time. So is this a Valentine's Day garland? If you want it to be. Otherwise, it's just a heart mitten garland that you can hang throughout the winter and in your favorite colors. Okay?

It's really easy and you can make it in an hour or two.

You will need:

Felt in at least two colors
Black embroidery floss
String
Mini clothespins
Scissors
Fabric glue

Heart Mitten Garland Pattern PDF

Valentine Heart Mitten Garland

Use the template to cut out the mittens. Cut as many as you want on your garland. Mine is only as wide as a twin-size bed, so I made four pairs of mittens.

Fold over the top edge of each mitten and glue it down with fabric glue. It helps to press and crease the fold with an iron before you glue it, but it's not absolutely necessary. As you fold these, make sure you are making pairs of mittens, with some of the pieces flipped.

Valentine Heart Mitten Garland

For each mitten, cut felt a felt heart from contrasting felt. Embroider the faces with french knots and a scallop stitch.

Valentine Heart Mitten Garland

Glue the hearts onto the mittens.

Valentine Heart Mitten Garland

Make all of the mittens and let everything dry. It doesn't take too long, but it especially helps on the folded over part of the mittens so they don't start to pull up.

Valentine Heart Mitten Garland

Use the mini clothespins to attach the mittens onto the string. Put them as pairs or mix 'em up!

Valentine Heart Mitten Garland

Now I have a new string of mittens to hang along with my metallic paper flags and faux leather chevrons. Yay!

What color will your mittens be?

calendar // guinea pigs playing in the snow


With each new month, I make a new set of calendar wallpapers for computers, phones, and tablets. With each new year, I choose a theme or general design for those wallpapers. This year, my sweet guinea pigs agreed to grace the Wild Olive calendars. Yes, I'm turning into a crazy guinea pig lady, but I'm totally okay with it.

Currently there's not much snow around here, so Captain Cuddles and Lieutenant Nibbles are gonna have to be content dreaming of playing outside and building a snowpiggy. That works out well, because they love to sleep and dream. Nibbles' ears twitch ever so slightly when she dreams!

In their dream they found some leaves for the snowpiggy's ears, twigs for it's little paws and nails, buttons for eyes, and a bit of carrot for the nose. Of course, they ate the carrot shortly after the snowpiggy was finished.

For this year, I decided to simplify the number of calendars I'm making each month. So, choose from the sizes below. Each one should be able to fit or fill the area on your particular screen.