


I've mentioned before that I'm a little thrifty. If I have just one pattern to print, I get a little irritated, because I don't want to use a whole piece of paper for one pattern. I'd much rather place several patterns on a page and use less paper. It's just smart.
When I'm creating patterns, I make them in Adobe Illustrator, so usually that's how I make groups of patterns. But that's not something everyone can do, so today I'll show you an easy and free way to place and print multiple patterns.
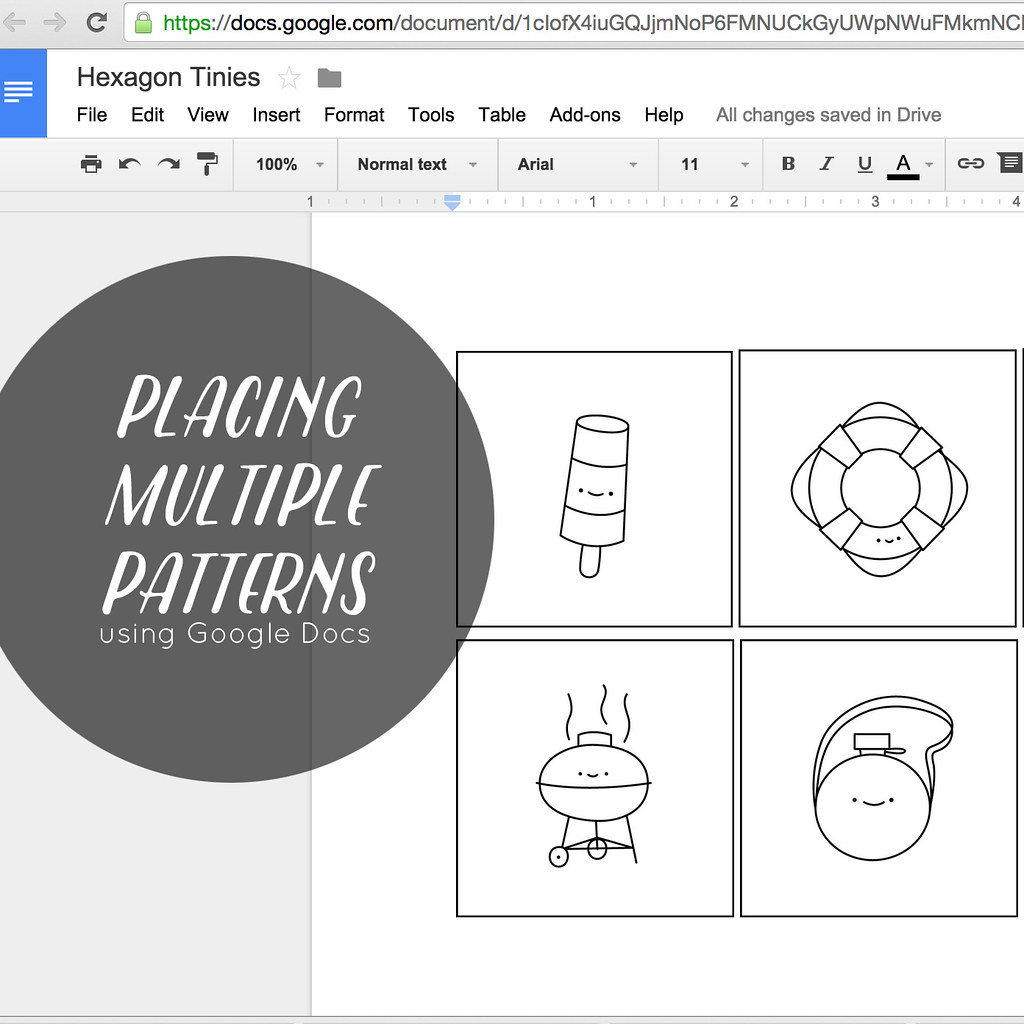
Like so many things, there are a bunch of ways to do this. I'm showing how to do this in Google Docs (part of Google Drive), because it's totally free with a Google account (which is also free!). This same process will work in Microsoft Word. By the way, I've chosen to use Docs instead of Google Drawings because it has rulers, which you really need.
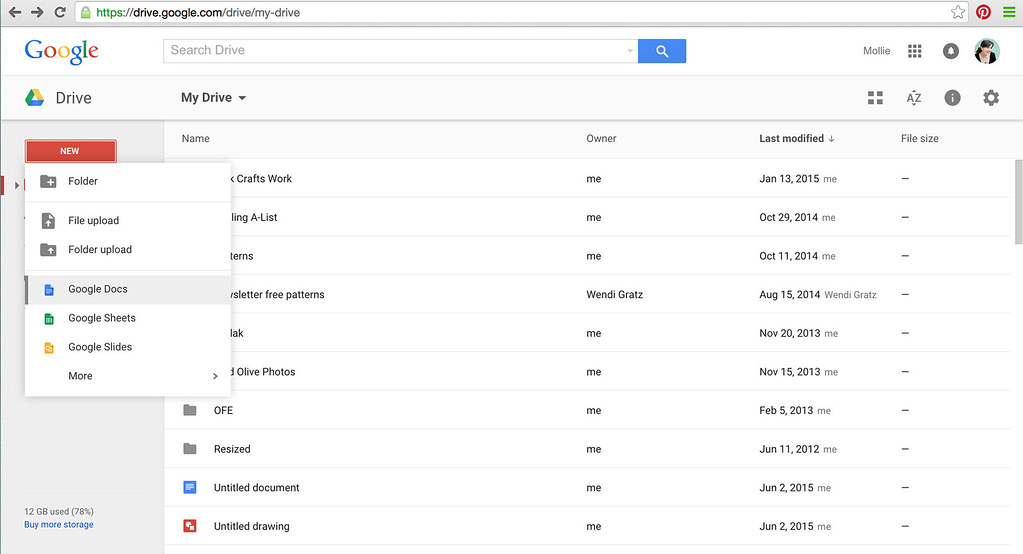
First, go to Google Drive, and start a new Google Docs. Click new, then click Google Docs in the dropdown.
As long as you're online, your work will automatically be saved, however, you might want to name your document so you can find it easily later. Up at the top left it starts out as "Untitled Document". Click that and it will pop up a box where you can name it something good.
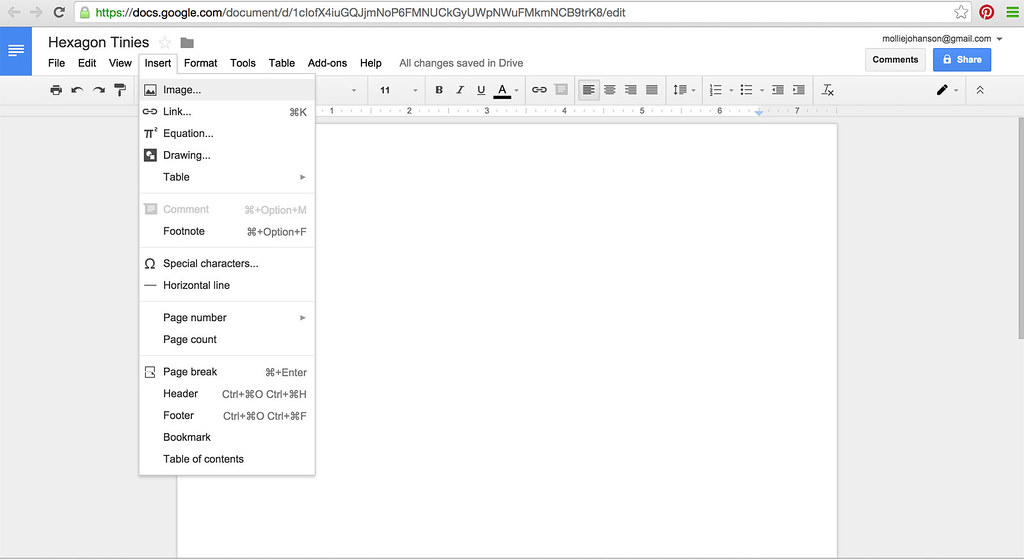
Now you're ready to add your first pattern. In the top menu, click on Insert, then click Image.
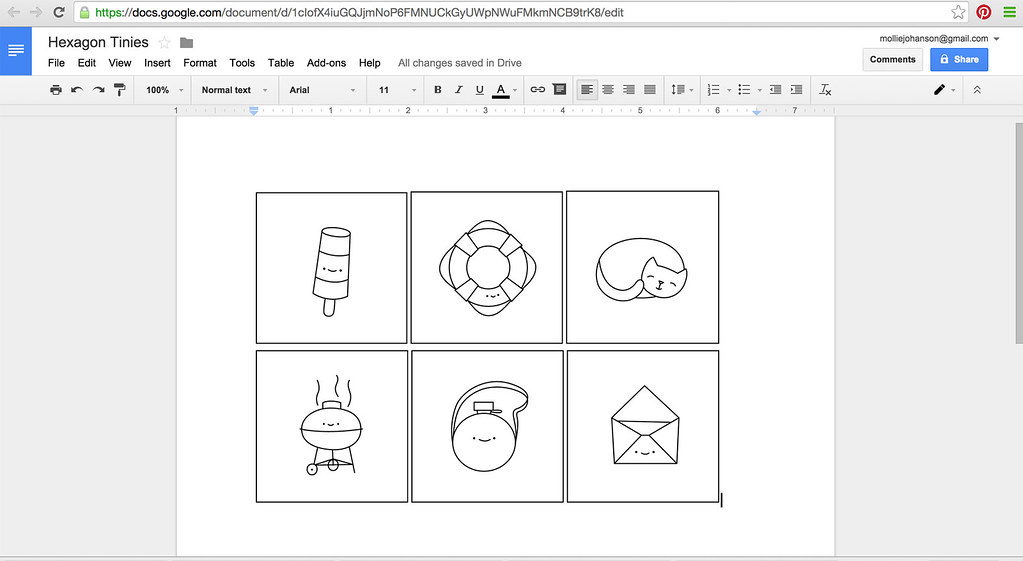
If you've saved the Hexagon Tinies patterns to your computer (or any other individual patterns), you'll upload them one by one. Google Docs gives you the option to add your images other ways, like with a web link, but I'm not going to go into detail on that here.
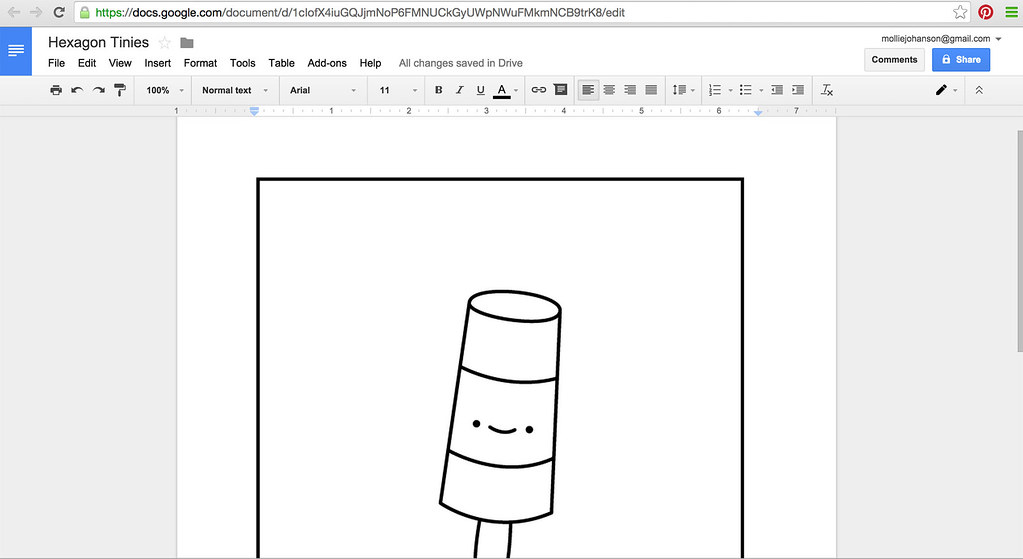
When the pattern appears in the document, it will probably be quite large. The Hexagon Tinies patterns are sized this way so you can resize them without losing image quality. They're also designed to fit on 1-inch hexagons, and for that, the square frame should be two inches.
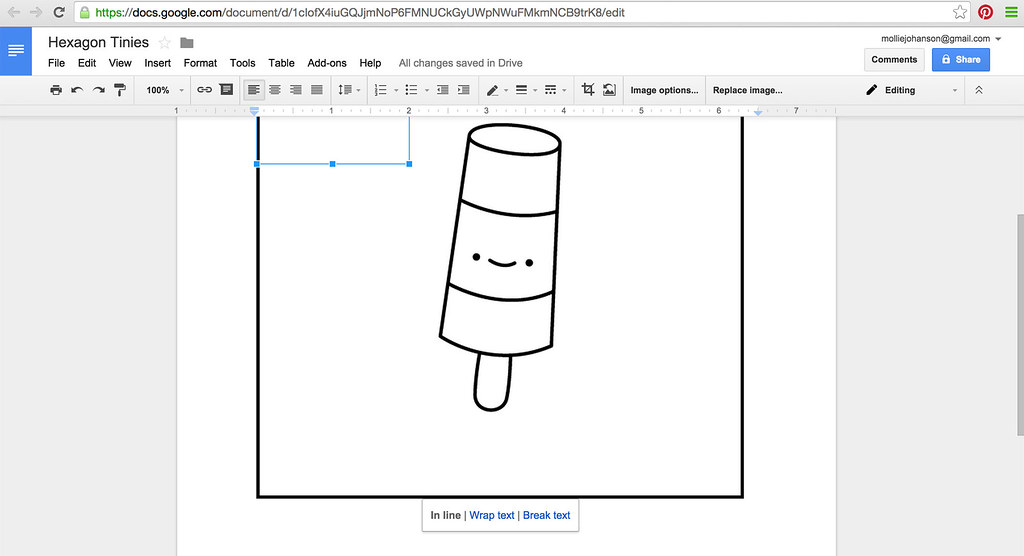
Scroll down to the bottom of the image, click the image, then click and hold the lower right corner image anchor. Drag the corner up to the left to resize the image, and keep an eye on the ruler. Drag it until the blue outline is on the 2-inch mark. It doesn't need to be too precise.
Of course, you can make these or other patterns any size you want. Just click and drag!
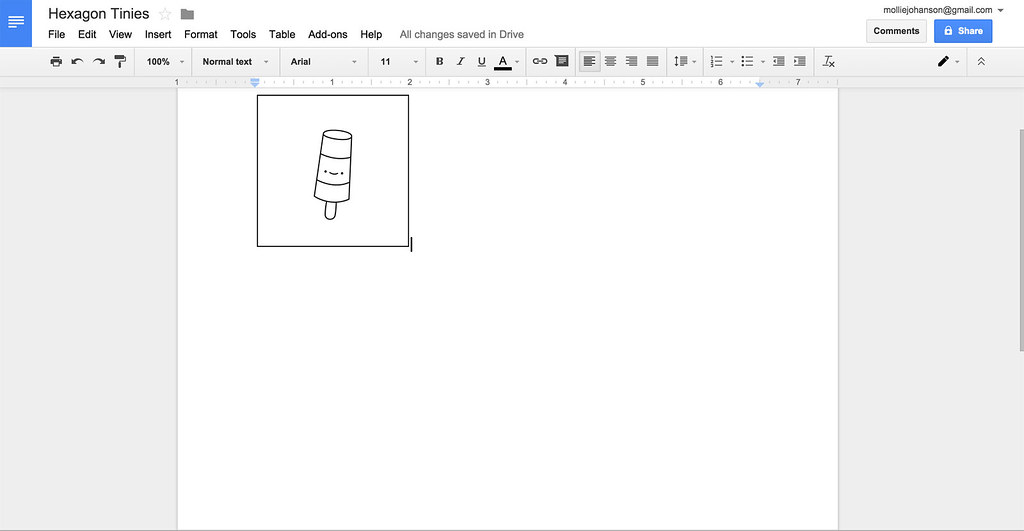
This first pattern is all set, and now you can add another pattern.
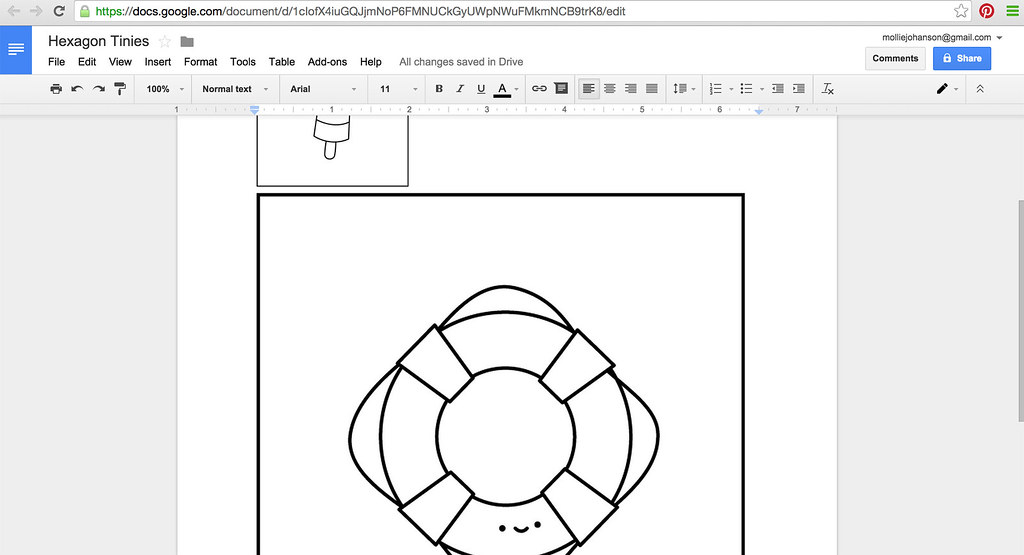
Just like before, click Insert, then Image, and choose your next pattern. It appears below your first pattern, but don't worry about that.

Click and drag the lower right corner up to the 2-inch mark.
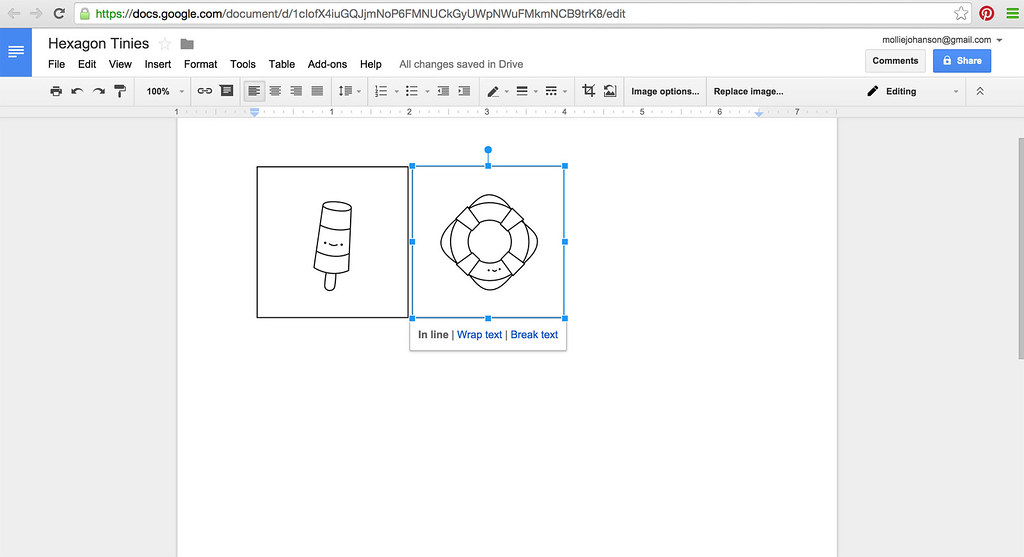
And practically like magic, it moves itself up next to the first pattern! With these 2-inch wide designs you can fit three patterns across, and then it will star magically adding to the next row of patterns.
Add as many patterns as you want to a page. And actually, since this is a document, you can have multiple pages, and they'll add themselves on as you fill the pages. Very handy! Now you can print your page (at 100%!) and use less paper.
Again, there are lots of ways to accomplish this sort of thing, but this way is easy and free. Plus, with Google Drive, you'll always have access to your pattern page...no matter where you are!
By the way, you can also place images from other sources this way. For example, if you want to use only one pattern from a PDF page, you can screen capture the single pattern and insert that into your document. Would that be helpful for a future post?

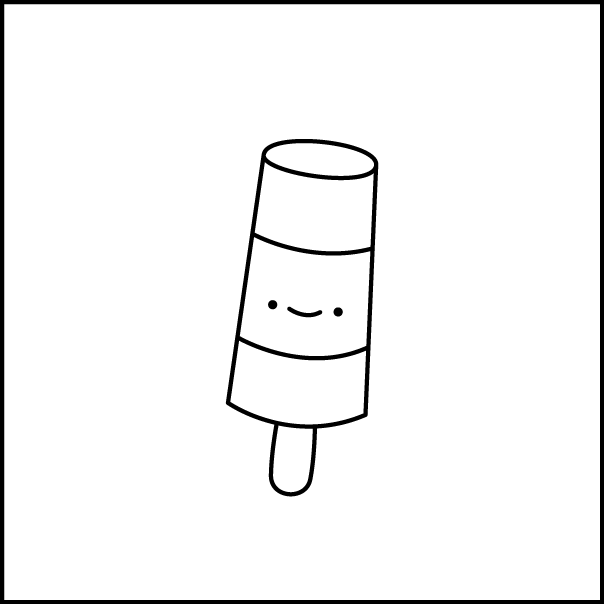
And here's the ice pop that was featured in this little how-to. It's a bit like a patriotic bomb pop, but you can make it any colors you like!
Happy pattern printing!
Interesting! It's always good to know various ways of doing a task, thanks for sharing! PS: The cute tinie Star pattern is the only one that downloads with a different size from the rest. It's the only one that doesn't align properly for me.
ReplyDeleteOh, just followed the suggestion on screen capturing the single pattern with the Star tinie and was able to make it work that way :-)... thanks again!
DeleteAhh...I think I had messed that one up before. It's fixed now so if you go back, it will size properly. But I'm glad that you found the scree capture to work!
DeleteYay! Thank You!! The Popsicle is super cute!
ReplyDeleteThank you for sharing how to do this! I've been sending them to my son to resize for me. :)
ReplyDeleteThanks for the great tutorial:) It was very helpful. And thank you for the adorable popsicle:) Much love to you
ReplyDeleteThank you! I've been saving all your tinies this month and was wondering how to print them on one page. Love your patterns! I recently bought Stitch Love and have been been stitching up the patterns in there ( so far, the elephant, spider and goldfish bowl).
ReplyDeleteThe pop may be my favorite, so far!
ReplyDeleteIf you can set all four of your margins to .12 or .13 (which can be done in Microsoft Word) you would be able to get four of the two-inch patterns in one row, and approximately five rows per page. This will save even more paper, assuming you have a lot of patterns that you would want to print.
ReplyDelete