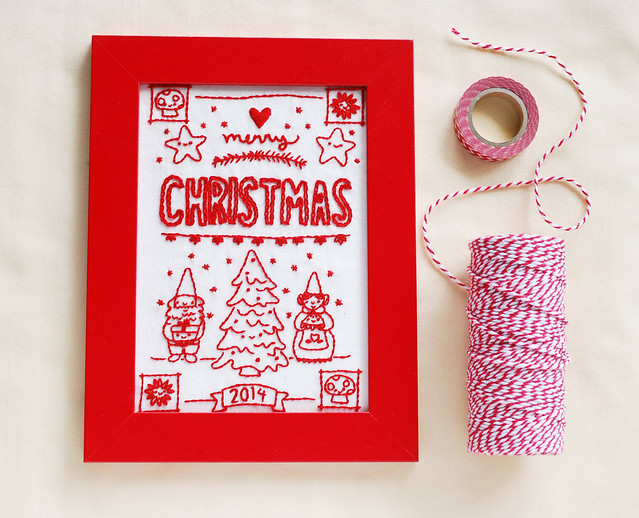

So, I've been working on this little Christmas sampler for just about a month now. It's not that it takes a long time to stitch, I've just been setting it down and getting distracted. In fact, by stitching only in red, the process is a lot faster than most pieces of this size.
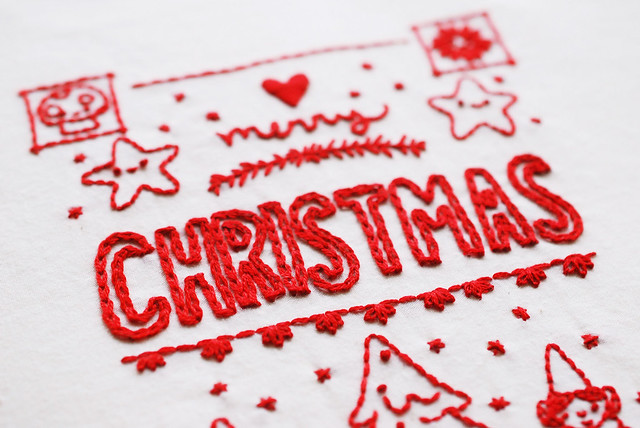
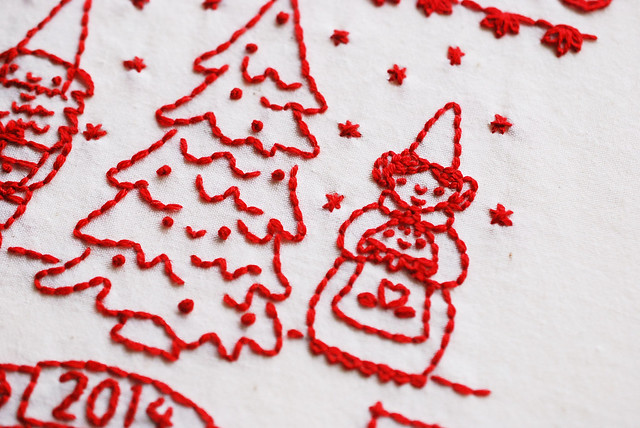

The pattern for the 2014 Christmas Sampler (which I hope will become a yearly release) is now in my shop. There are gnomes and mushrooms, a tree and stars, and lots of happy Wild Olive faces. It's sized to fit a 5x7 frame (my sample stitching is just a bit larger than the final pattern, so the real thing fits better than what you see), and the goal was so you could frame it easily.
So, grab an IKEA frame (or your favorite kind of frame), and let's get this embroidery ready to display!
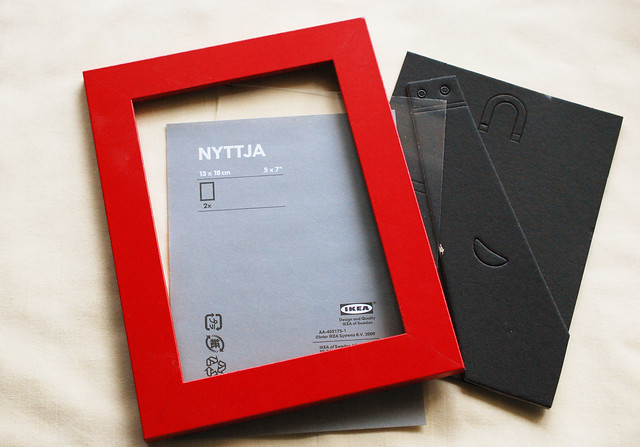
What's nice about IKEA frames is that they have plastic instead of glass in them. For this framing tutorial, we're not going to put the embroidery under the plastic, which would flatten the stitches. Instead, we'll wrap the fabric around the sheet of plastic.
Typically, these frames come with a protective coating on both sides of the plastic. I've left it on for the photos (so you can see it better), but you'll want to remove that.
Oh, and just as a side note, this post is not sponsored by IKEA...I just like them and their frames!
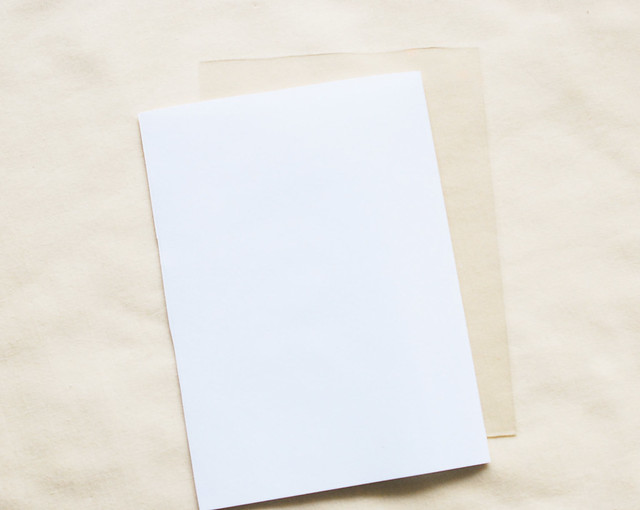
If your embroidery is on a light color, cut a piece of card stock, or a doubled piece of paper to the size of the plastic. The backing of the frame is dark, so the paper prevents that from showing through.
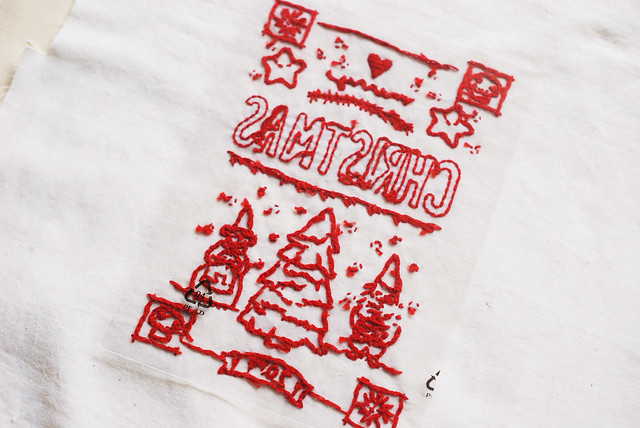
Lay your embroidery face down and position the plastic rectangle so it is centered on the embroidery. Cut around the sides so there is about 1 inch on each side. Then, slide the white paper under the plastic.
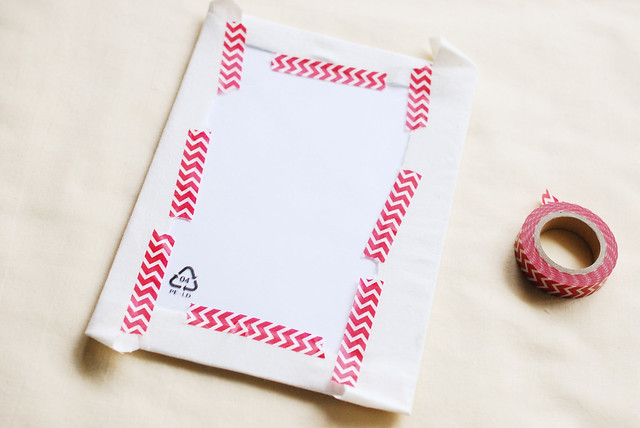
Wrap the edges to the back and secure them with washi tape, tucking the corners as neatly as you can. It doesn't have to be super pretty, but you do want to semi-stretch the fabric evenly. Also, the tape won't need to hold the fabric long-term, so don't worry if it doesn't want to hold permanently. It just needs to hold it tight while you're framing.
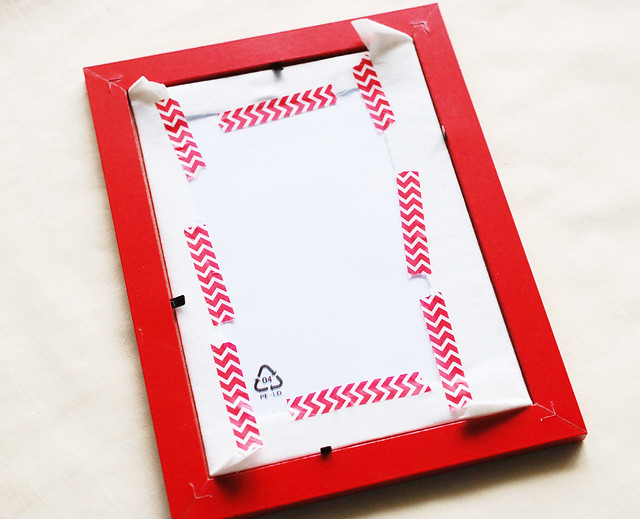
Make sure that the embroidery is centered and looking how you want it, then place the wrapped piece in the frame.
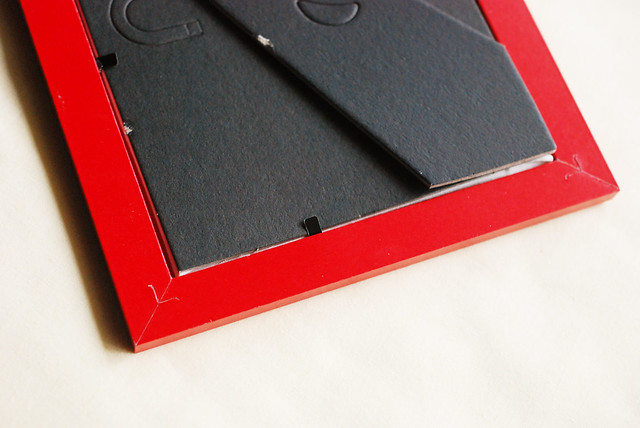
Tuck the corners as needed and then secure the frame backing in place.
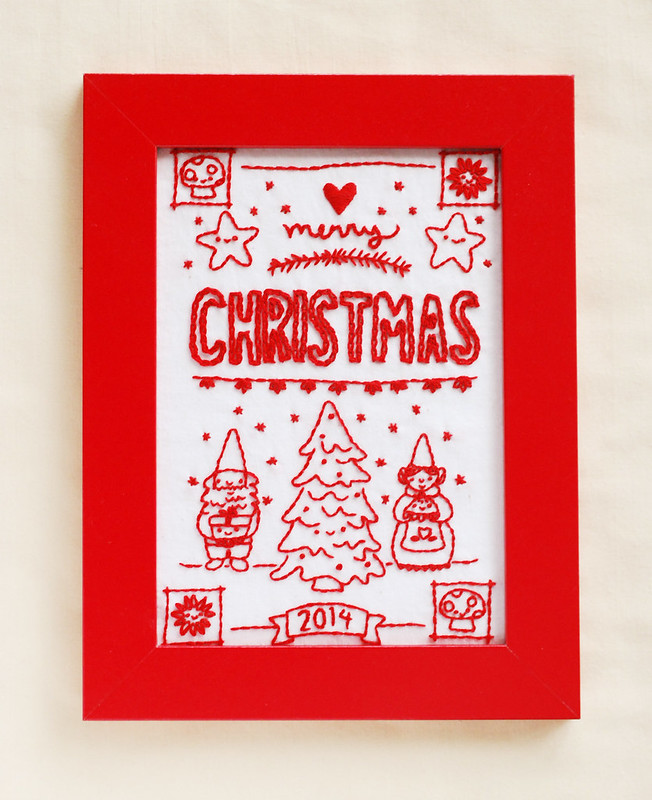
And with minimal effort, you've got embroidery that's ready for displaying or gifting! Which means, even if you take until the last minute to finish those stitches, you won't have to fret about what happens next.
danke für die schönen bilder und inspirationen!!! liebe grüße und einen schönen tag wünscht angie aus deutschland
ReplyDeleteLove this pattern! I will be getting it as soon as I get paid tomorrow! :) Thanks for the tutorial on framing embroideries too, I'll be doing some of this soon! I've been wondering what to do with some of my cross stitch....
ReplyDeleteThanks for this great tutorial! I have some ninja cats I embroidered for my sister and was sort of struggling with how to present them - problem solved!
ReplyDeleteWill you be releasing an ornament set like last year's felt one?
ReplyDeleteI had hoped to, but it was one of the things that I had to let go of this year. Hopefully next year, though! And I'm sure there will be at least one or two felt ornament freebies here on my blog this December!
DeleteThanks, Mollie!
DeleteBrilliant! And the design is adorable!
ReplyDeleteThis is irresistibly cute. Well done!
ReplyDeletewww.thecraftconspiracy.blogspot.com