


A couple months ago (has it really been that long?) I shared how to make a super simple stitching pouch to hold your embroidery work. It's the kind of thing that you probably want more than one of, because, let's face it...we all have a bunch of things that we're working on at any given time.
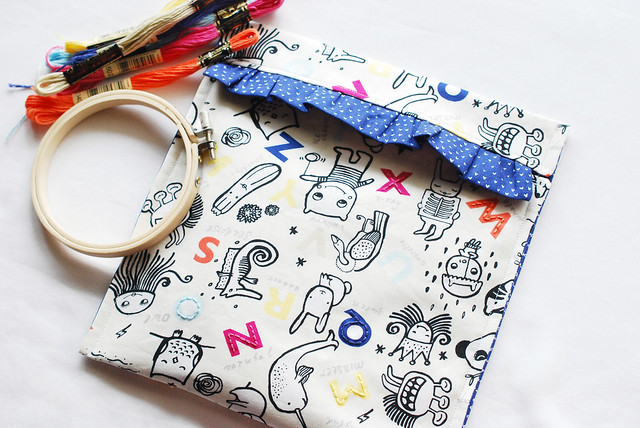
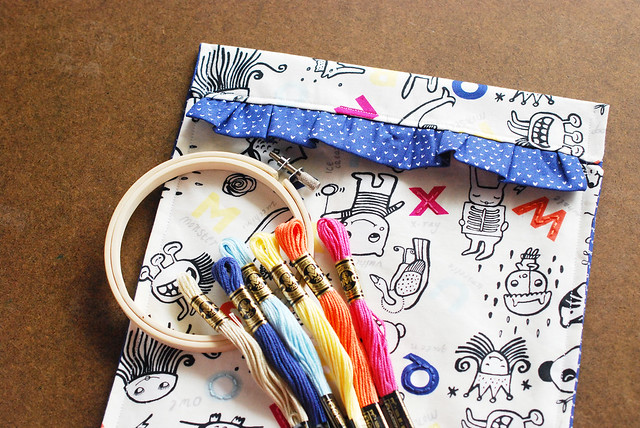
This time around I've made a pouch that has a little ruffle that not only looks cute, but also serves as an extra means of keeping everything safe and sound inside. Oh, and I made it from the CUTEST fabric from Wee Gallery for Dear Stella and added some embroidery embellishment!
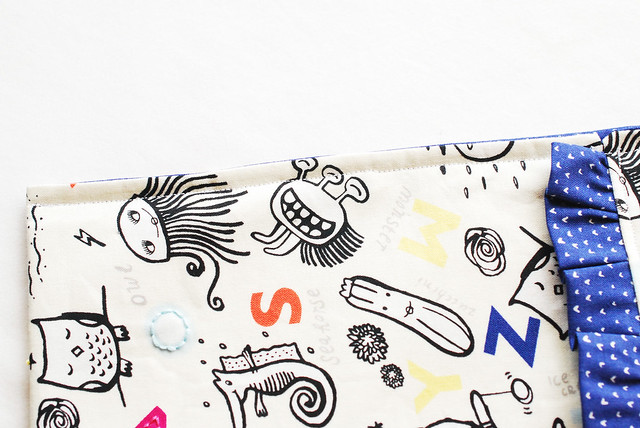
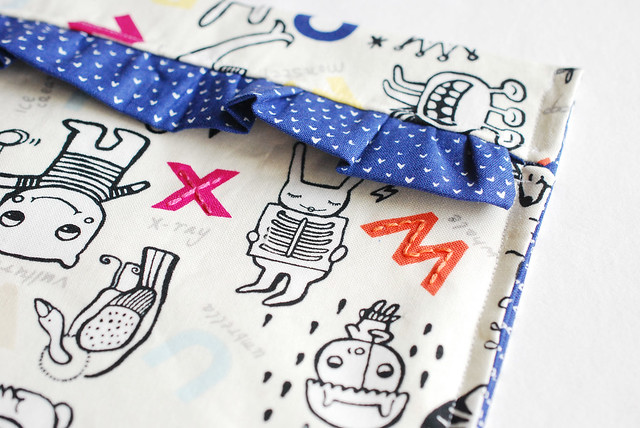
The outside fabric is called Alphabet and the lining and ruffle are Hearts in blue, from the same line. The Hearts print reminds me of my childhood and makes me so happy!
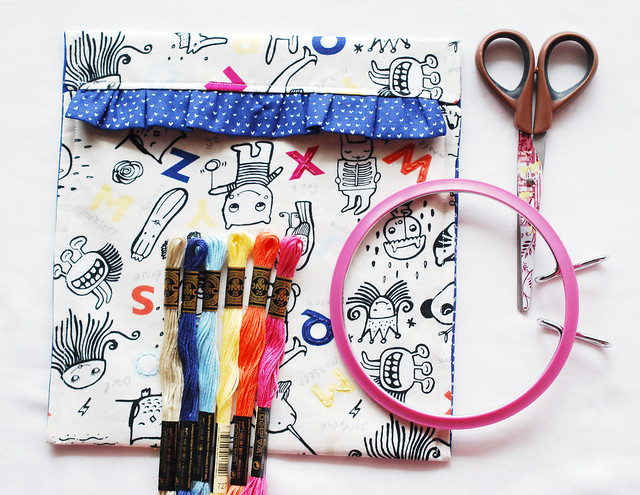
To make your own ruffled stitching pouch, here's what you need:
2 Fabrics - 1/4 yard each (fat quarters work!)
Fusible interfacing - 19 x 9.5 inches
Embroidery floss
Needle and thread
Scissors
Iron
Sewing Machine
Pins
Rotary cutter and mat (optional)
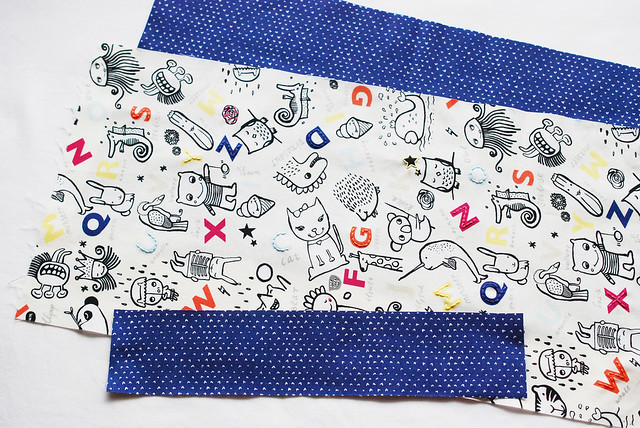
From each of the two fabrics, cut a piece that is 19 x 9.5 inches. From the fabric you're using for the ruffle, cut a piece that is 12 x 2.5. If your fabrics go one way, be sure to pay attention to the direction.
On my fabric, I added some stitching to some of the alphabet letters as well as to a few details. If you're doing this too, keep the stitching in from the edges a bit.
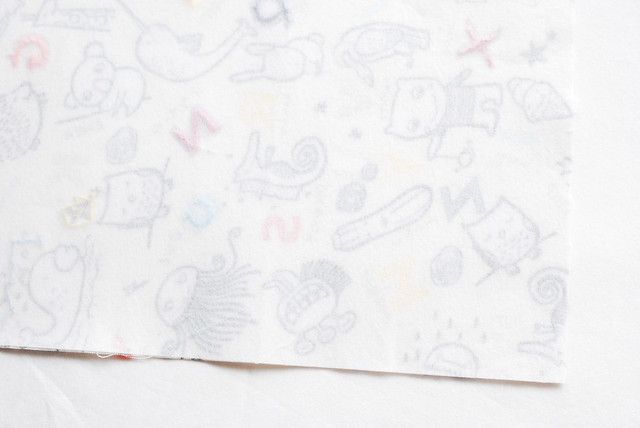
Iron the fusible interfacing onto the back of the fabric for the outside of the pouch.
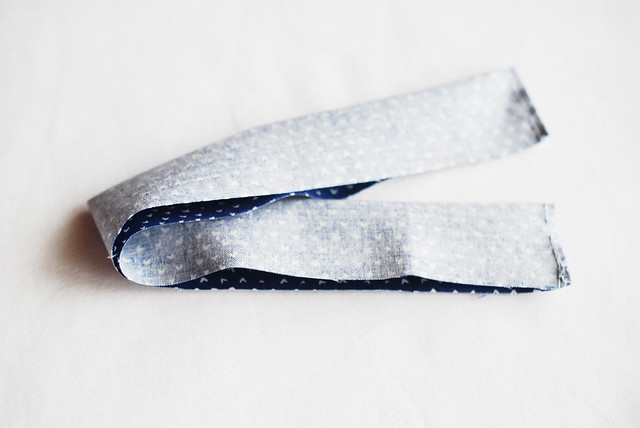
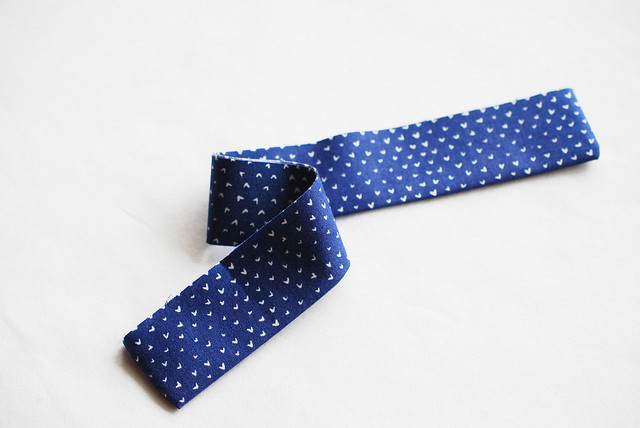
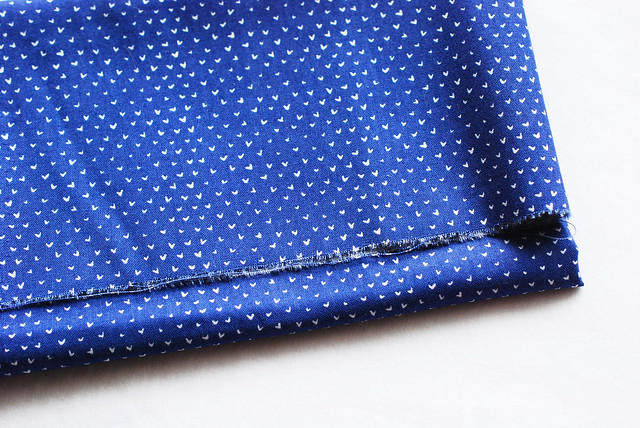
Fold the ruffle strip in half lengthwise, with right sides together. Sew the two ends together with an 1/8-inch seam allowance. Now, turn the ruffle right side out and press the fold.
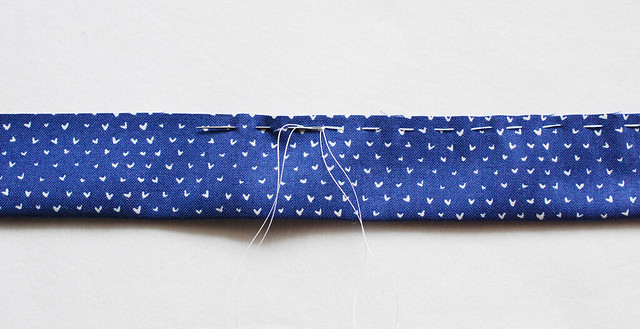
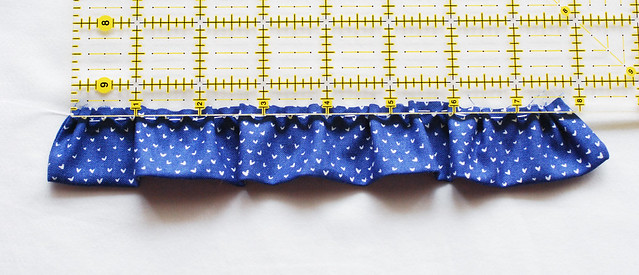
With the needle and thread, stitch a line of running stitch close to the raw edge of the ruffle. Pull the stitches to gather the ruffle until it is just under 8 inches wide. Secure the thread with a good knot so it stays in place.
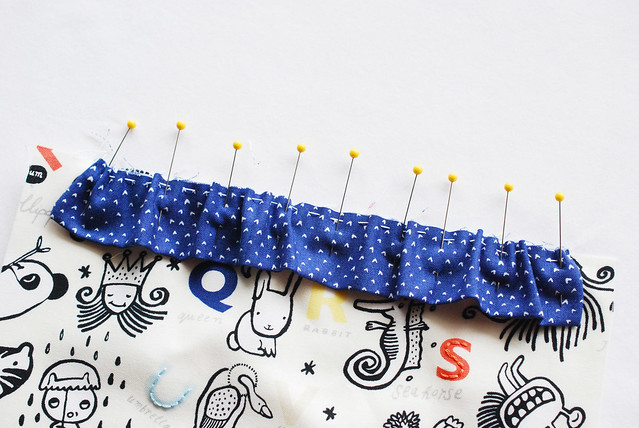
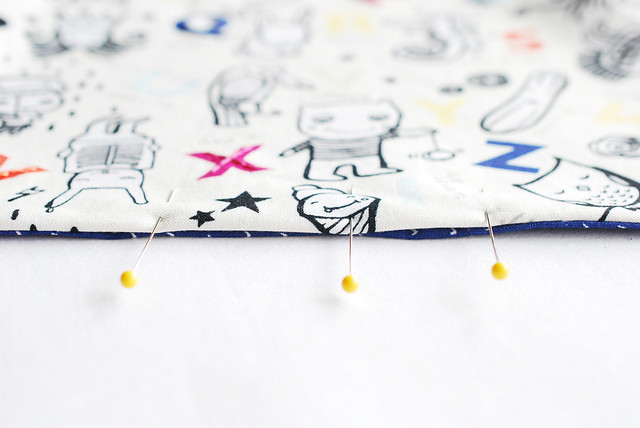
Pin the ruffle onto the center of one of the short ends of the outside piece of fabric. Space the gathers as evenly as you can.
Keep in mind that the end of the fabric you use will be the top of the opening for the pouch. Also, the side of the ruffle that is facing down will be the side that shows, so again, if the fabric is directional, this is important to watch for!
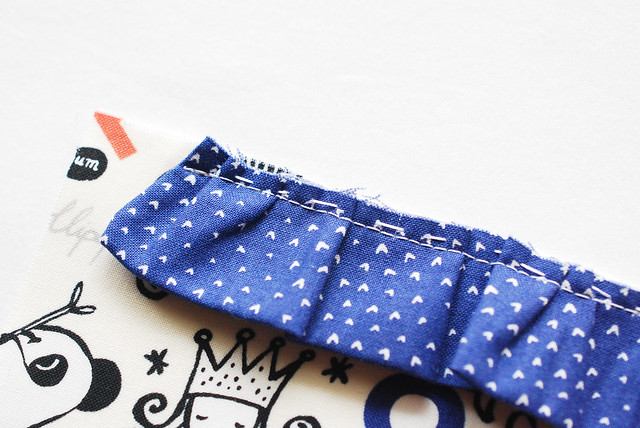
Machine baste the ruffle to the outside fabric piece using a 1/8-inch seam allowance.
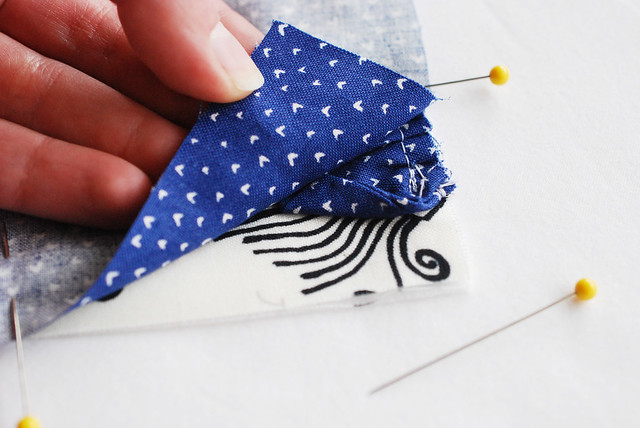
Pin the lining fabric on top of the outside piece, right sides together. Fold the edges of the ruffles in so they don't get caught in the seams.
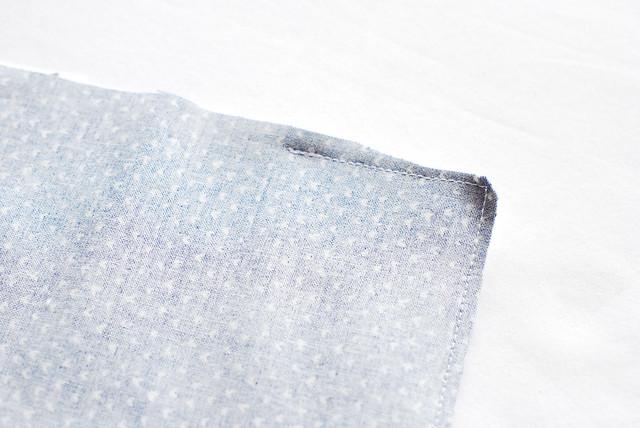
Starting at the short end that is opposite from the ruffle, sew around the pouch, leaving an opening for turning.
I used a 1/4-inch seam allowance, but then I trimmed the seams down to 1/8-inch and clipped the corners to help reduce bulk. The opening for turning, however, is still 1/4-inch.
Turn the pouch right side out and poke the corners out with a chopstick or similar object. Fold in the edges of the opening and pin the seam closed as shown.
Top stitch the two short ends with a 1/8-inch seam allowance. It looks nice and finished...and it closes the opening!
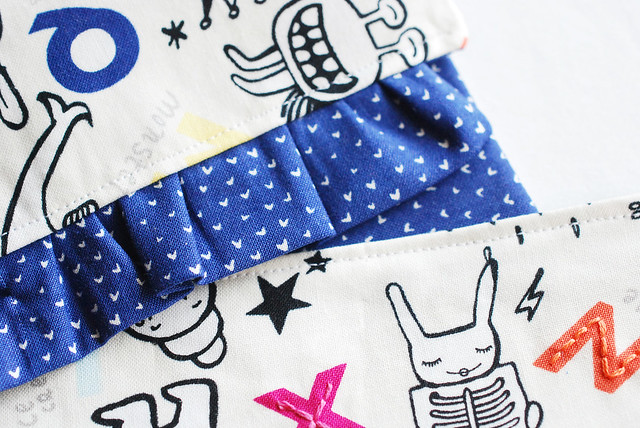
Fold the ruffled end down by about 1-1/2 inches (this isn't to exact!), and fold the bottom end up to meet the edge where the ruffle is coming out. Pin the sides and sew them together with a 1/4-inch seam allowance.
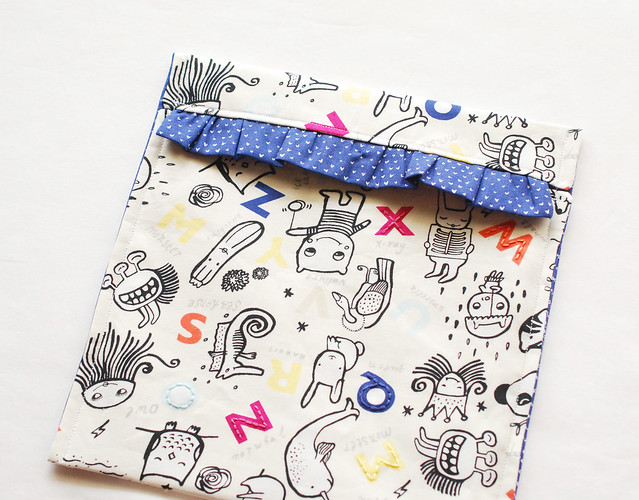
Now your stitching pouch is ready to be put to use!
The only thing I would have changed on mine is the fabric direction. The Alphabet print does have these super sweet items in all directions, but it tends to go more one way than the others. In my head, I thought it would be best if the large area of the bag (the back) had things mainly upright. Now that it's finished, I wonder if I should have switched that around. Ah well...I love it no matter which way I turn it!
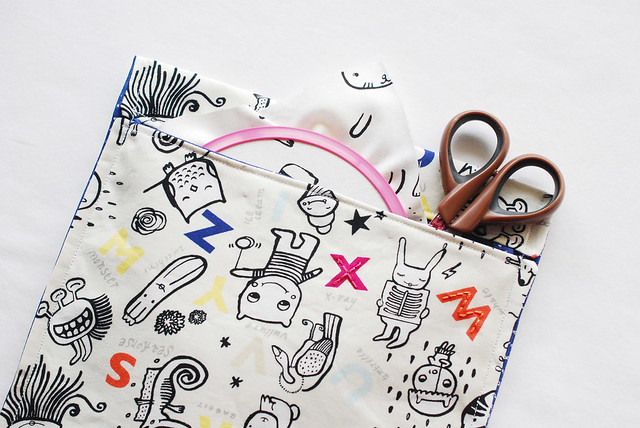
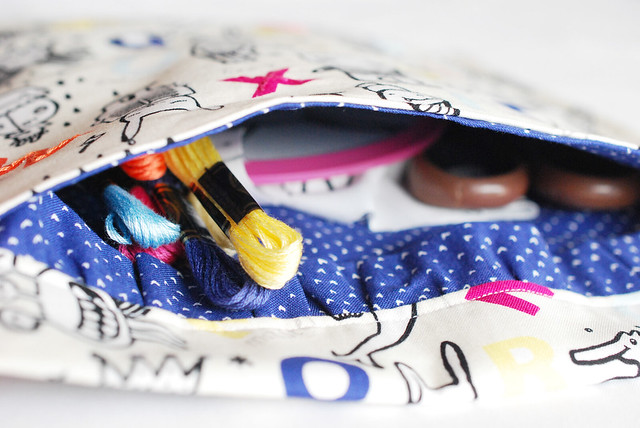
Because the ruffle is not as wide as the pouch, it allows you to very easily slide your work inside, then it pops right back out to cover the opening!
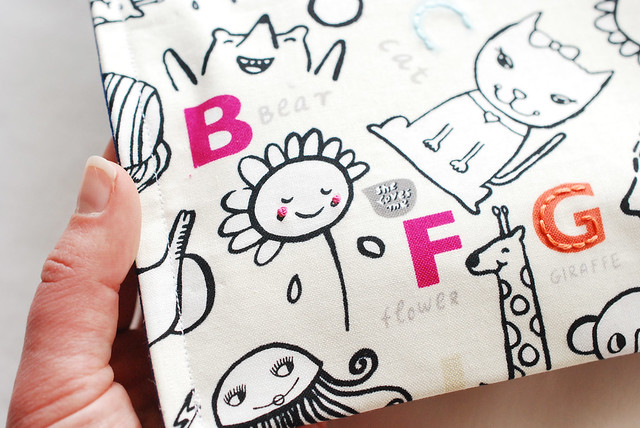
All of the little details in this fabric have me in love! I'm pretty sure there will be more embroidery projects with this Wee Gallery print in my future!
Happy Stitching! And thanks to Dear Stella for providing such joy-filled fabric!
What an adorable pouch! I love your fabric choice.
ReplyDeleteSo, so cute! I'm on my way out of town tomorrow (only the second time ever without littles in tow) and have a new project to start on the plane. I was just upstairs trying to figure out where to keep everything while I am flying. Not enough time to put a cute pouch like this together, but I so wish I did!
ReplyDeleteCutie patootie! Love it and your directions are so good!
ReplyDeleteSo cute! I love the fabric of your choice.
ReplyDeleteYour projects are very simple and appealing and your step by steps beautifully clear – we love them over here at www.craft-seller.com!
ReplyDeleteLindo, e tão doce.
ReplyDelete