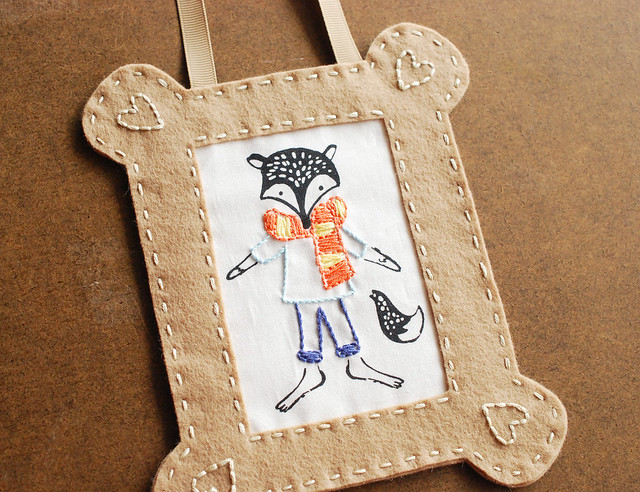

I love making projects that use a little bit of embroidery! Sometimes I use something I stitched a while ago, and sometimes I stitch something new, but just incorporating embroidery in some way is wonderful to me.
Today I'm sharing this embroidered portrait in a felt frame. If you follow me on Instagram or Twitter you've probably seen some peeks at this fabric I've been working with, and I'll have more fun to show you all week. The fabric line is called Wild, and it was designed by Wee Gallery for Dear Stella. I've added some stitching (the patterns are on the Dear Stella blog!), and framed it with felt.
To make your own wall hanging (with a fabulous fox or other design inside), here's what you need:
Wool blend felt
Embroidery
Fusible interfacing
Embroidery floss
Ribbon
Frame Template PDF
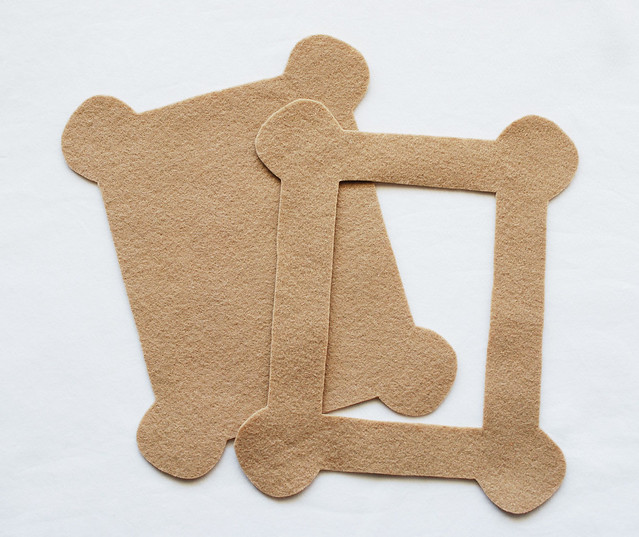
From felt, cut out two frame pieces: one solid, and one with the center cut out.
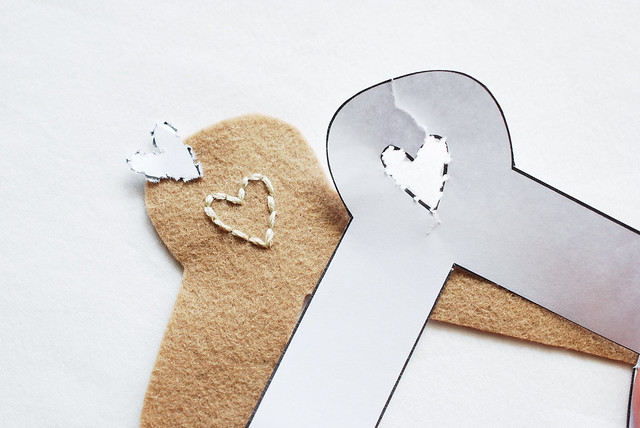
Use the template to stitch the hearts in the corners of the front frame piece with the center cut out. Since it's just a small amount of embroidery, I used my printed template. It's pretty easy to tear away when you're done stitching.
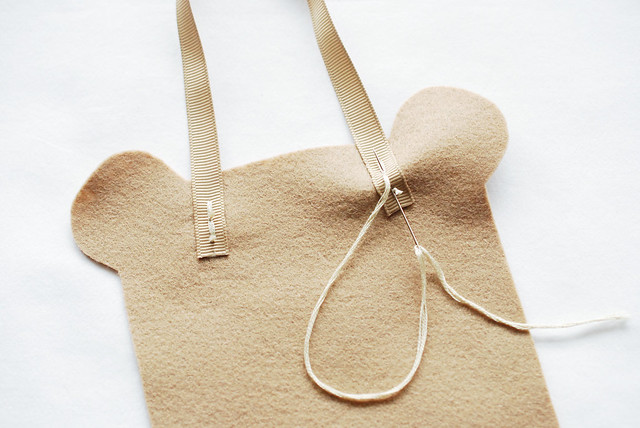
Cut an 8-inch piece of ribbon and stitch the two ends onto the solid back piece of the frame as shown.
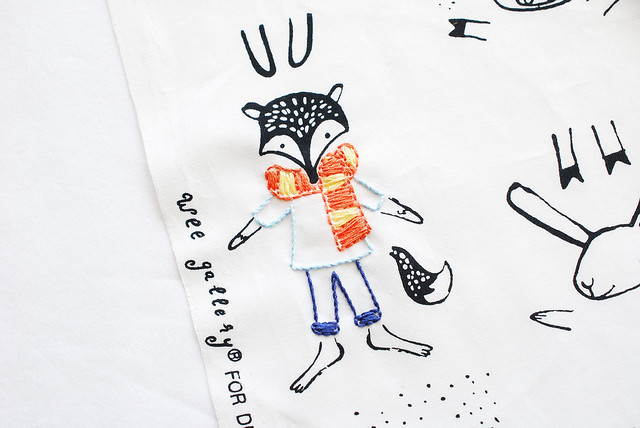
Grab your embroidery and trim it down to about 3-3/4 x 5 inches. Of course, you can resize the frame or make your own...just be sure that your embroidery ends up large enough so there is plenty of overlap with the front frame piece.
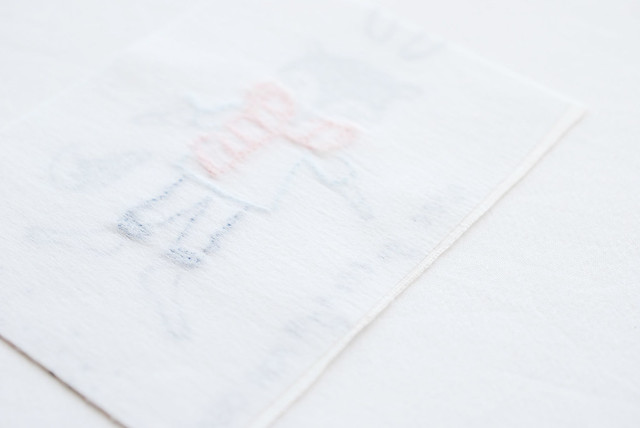
To give your wall art some extra stability, iron fusible interfacing (the single-sided kind) to the back of your embroidery.
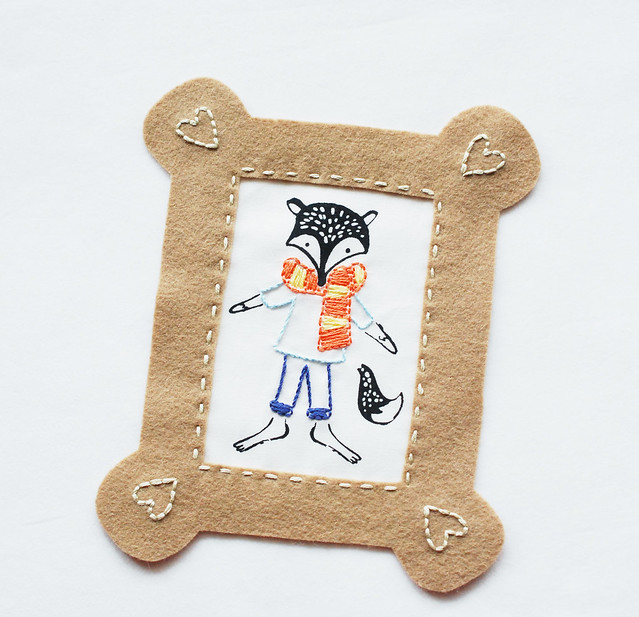
Place your embroidery behind the front frame piece and stitch around the opening with running stitch. You may find it helpful to pin it as you work so that it doesn't shift or make your foxy embroidery crooked.
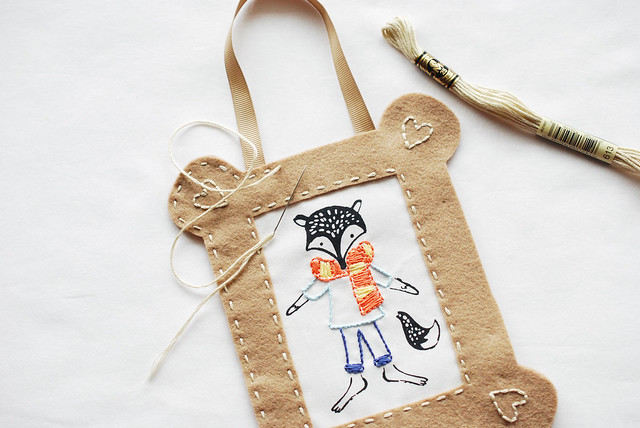
Layer the back piece of the frame behind the front so that the ribbon ends are hidden inside the layer. Stitch around the outside with running stitch.
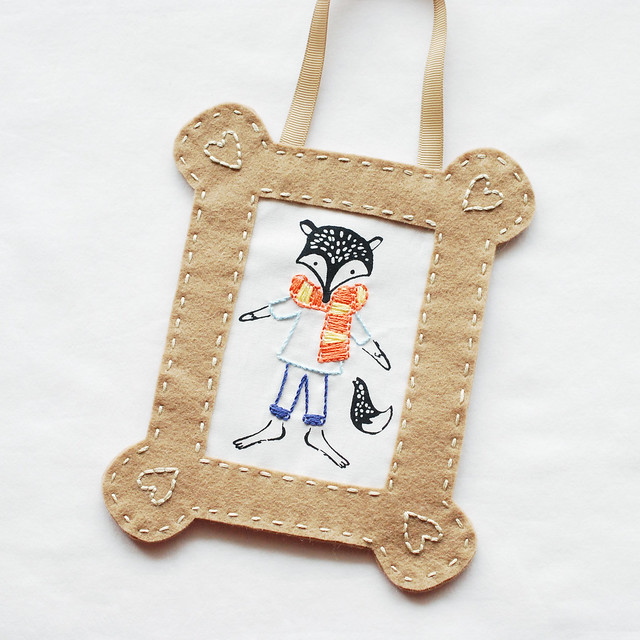
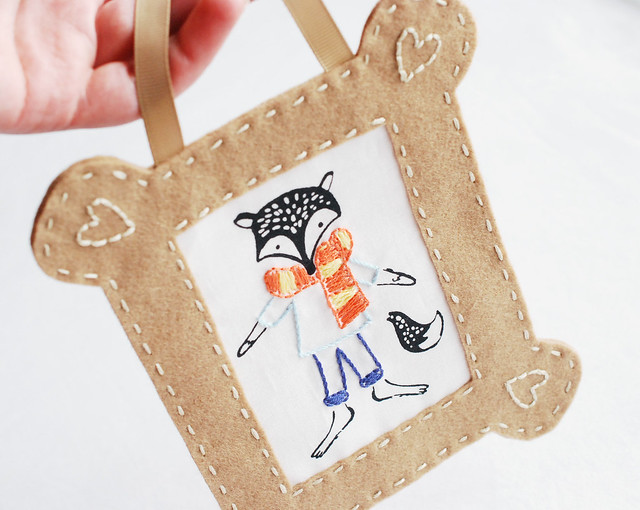
Now your portrait is ready to hang! Can you just imagine a grouping of these? I think they make great little gifts and would look so fun hanging in a nursery!

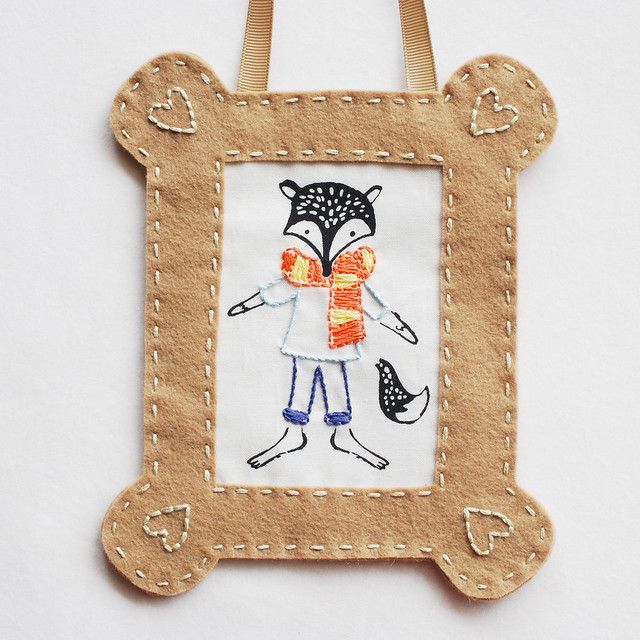
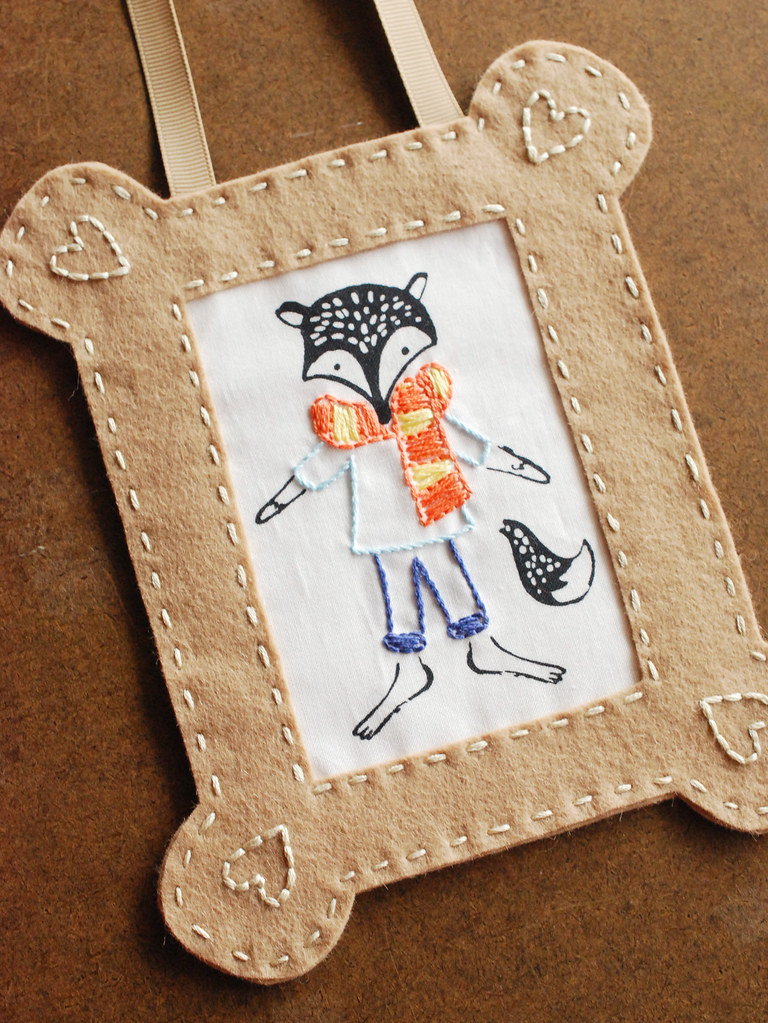
Thanks to Dear Stella for the fantastic fabric to fill my frame!
Yes yes yes! I love the idea of a felt frame, let alone an embroidered one. You've inspired me. ^-^
ReplyDeleteoh this is so cute - I love it!
ReplyDeleteThe frame and the embroidery is just adorable.
ReplyDeleteQuite a lovely idea.
ReplyDeleteThat is adorable. What a great way to make a frame for those of us who don't feel comfortable working with wood!
ReplyDeleteThis is just darling! And there are so many directions one could take with this project...Gosh, I'm tempted to frame a couple of my Audubons in felt embroidered like wood or twigs. At least once I'm done embroidering baby gifts!
ReplyDeleteooooh...yes! I love that idea!
DeleteI LOVE this! I've been struggling to find just the right frame for a cross stitch I've done for my niece but this has given me a great idea, thank you!
ReplyDeleteI love the sweet frame and embroidery....thank you for sharing
ReplyDeleteThis is too cute Mollie and thanks for sharing ♥ http://felting.craftgossip.com/2014/04/24/project-embroidered-portrait-frame-tutorial/
ReplyDeleteThis is an absolutely genius idea!!! Simple and so sweet! I think your felt frame method could lend itself to all kinds of shapes, and would make great easy ornaments for Christmas too:) Also really like the idea of embellishing a favourite fabric motif, your fox is very cute and clever!
ReplyDeleteI'd love to be able to pin this but can't :(
ReplyDeleteSo sorry that it wasn't working! I adjusted some settings, so hopefully you'll be able to pin any of the images now.
Delete