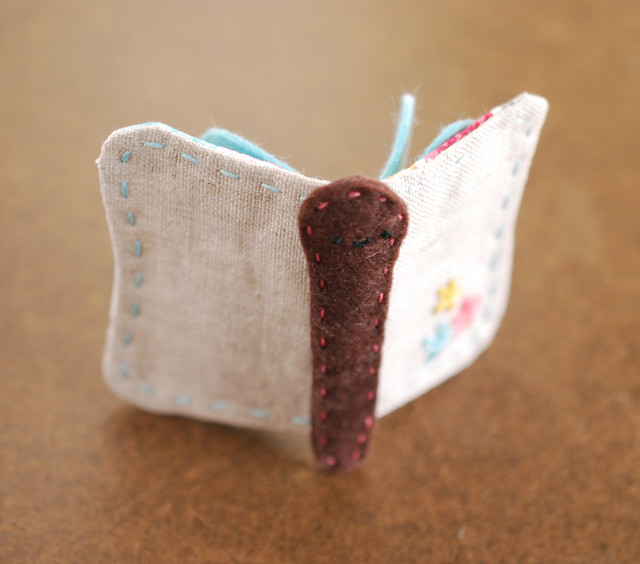

I promised lots of butterfly treats this month, and I'm worried that today's project will be tough to beat. This darling little needle book has me entirely smitten. And since I lose needle books almost as often as I lose needles, I can always use another to try and keep on hand!
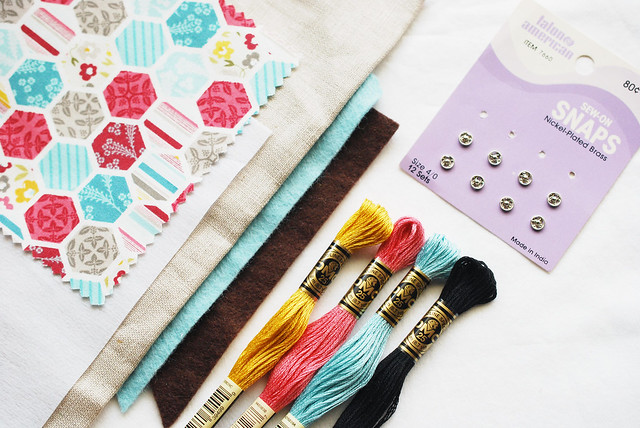
Here's what you need:
Linen (or a solid fabric)
Print fabric (a square from a charm pack will work!)
Fusible interfacing (medium weight, single sided)
Felt (wool or wool blend will make your needles happy!)
Embroidery floss
Sew-on snaps
Iron
Scissors
Sewing machine
Needle and thread
Butterfly Needle Book PDF Template
NOTE: This makes a petite needle book, which I like for a variety of reasons...one being that I could use my 5-inch square of hexagon fabric! You may want to enlarge the template by 125-150 percent on a copier/scanner for a more standard-sized book.
Here's what you do:
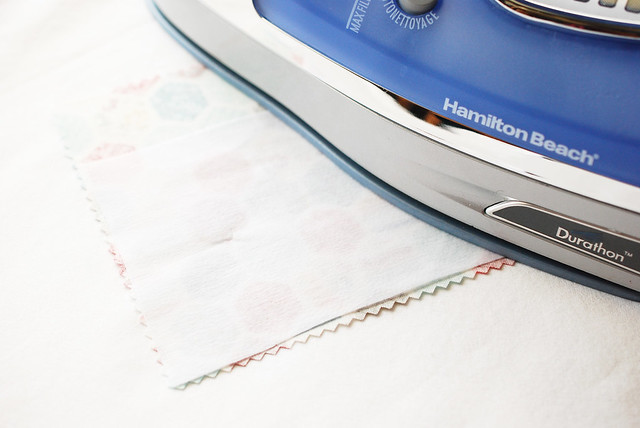
Iron the interfacing to the back of the linen and print fabrics. To save on waste, cut the fabrics and interfacing into rectangles that are just a bit larger than the wing cover template.
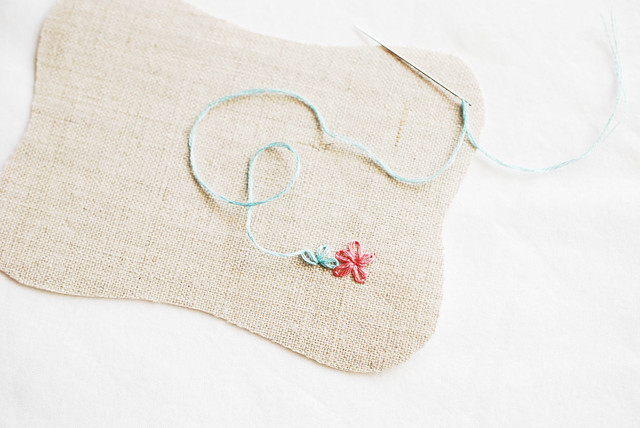
Cut one wing cover piece from the print fabric and one from the linen. Add some embroidery embellishment to the linen wing piece if you'd like. I went with a few simple lazy daisy flowers on one side, but you could add a lot more. Just be sure to keep your stitching in from the edge by at least 1/2 inch to be safe.
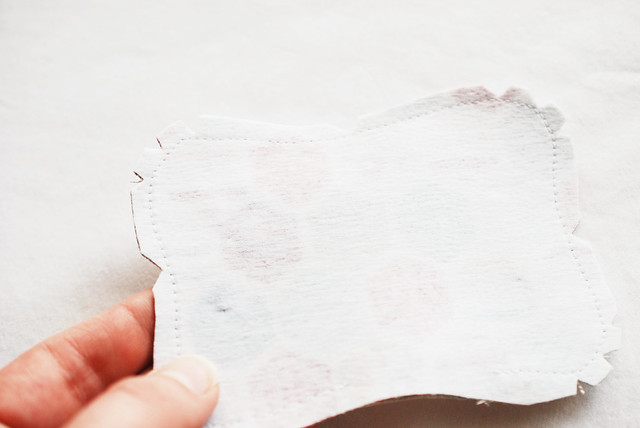
Pin the two wing pieces right sides together and sew around the edge leaving an opening for turning. I'd suggest leaving about 2 inches for the opening. Mine was smaller and though I got it turned, it was close!
Clip the curves so they end up nice and pretty when this goes right side out.
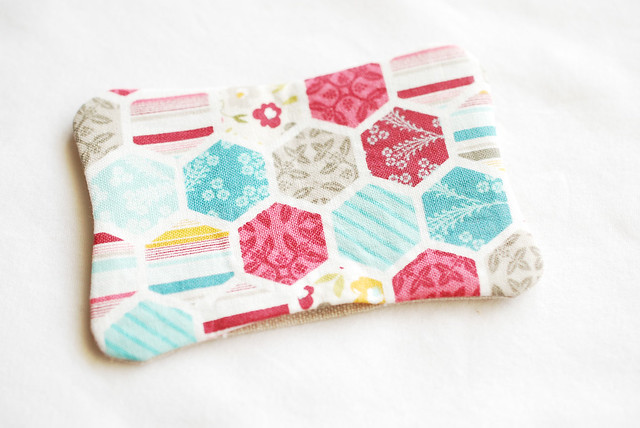
Turn the wings right side out and gently push all those curves out. Then, stitch the opening closed using ladder stitch.
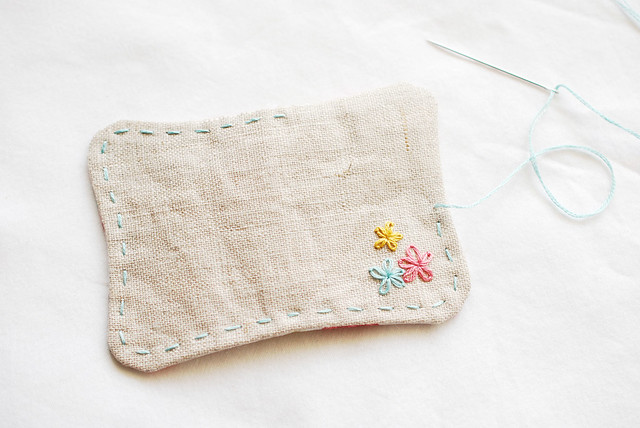
Stitch around the edge of the wing shape with running stitch and contrasting thread. Why? Because I think running stitches are cute.
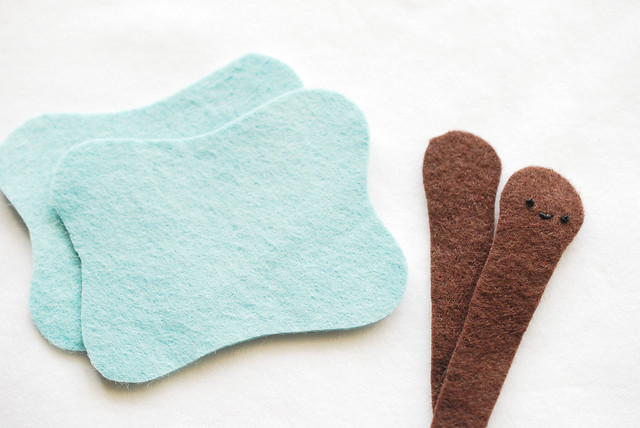
Cut out two wing page pieces from felt and cut two body pieces from felt. Embroider a face onto one of the body pieces.
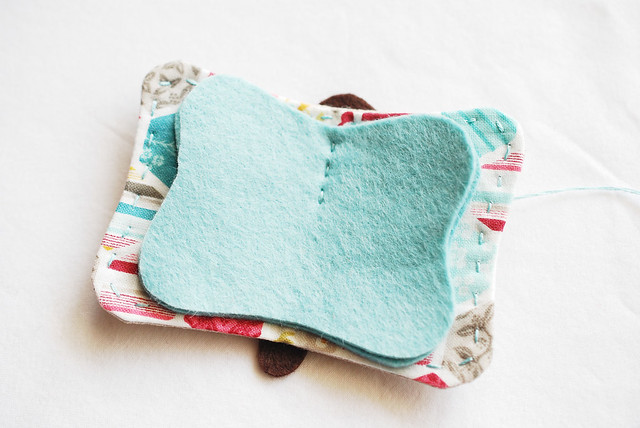
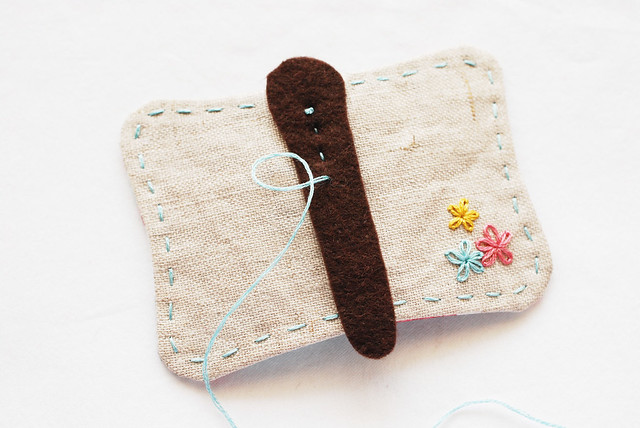
Layer one of the body pieces, the wing cover, and the two wing pages so they are all centered up as best as you can. Using running stitch, sew the layers together by hand.
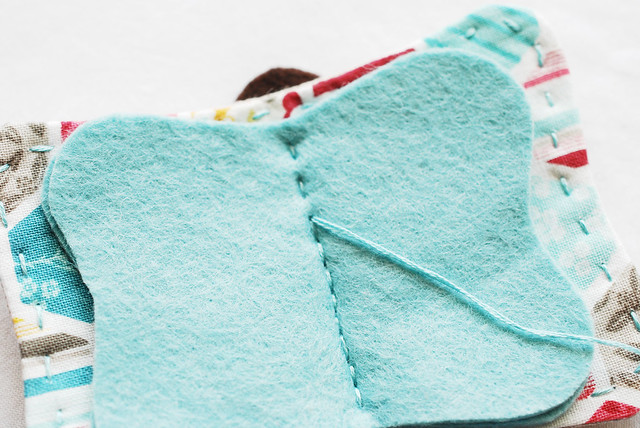
After you've stitched down the middle, go back and fill in the those stitches with more running stitch. Doubling up makes it stronger, and actually, at this point, the stitching is called "holbein stitch". Tie it off with a knot on the outside/body, because it will get hidden away.
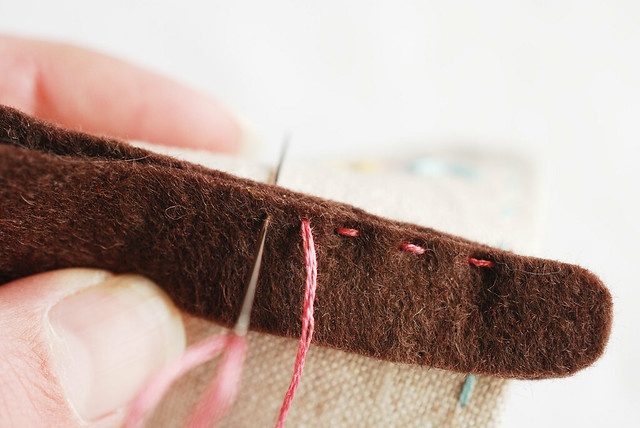
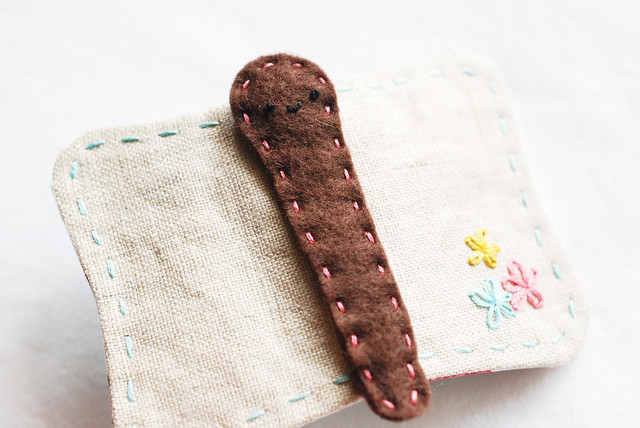
Place the embroidered body piece on the first body piece and stitch around the edge with running stitch. As long as you keep the wings folded together, you should have very little trouble only going through the felt.
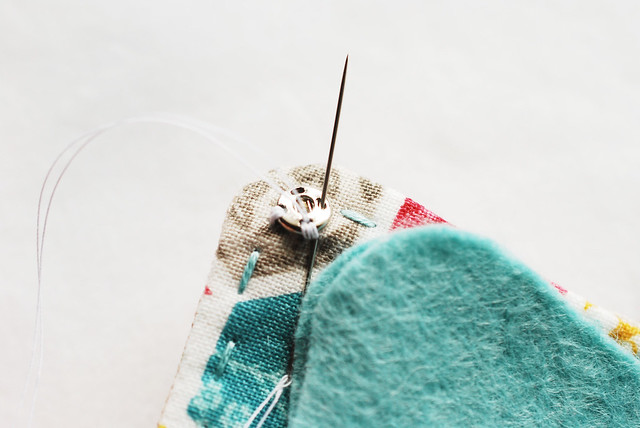
Sew a snap onto the top and bottom of the wings, right at the edge.
Tips: 1. Use a small needle so it fits through the holes of the snaps. 2. Stitch carefully so you don't sew through to the outside. 3. Make sure you sew the snaps on in the right direction. (Yes, I messed this up on my first round!)
Technically, you could sew these on before you put the wing cover together, but I prefer the control of getting them placed just right, even if it makes the sewing a little trickier.
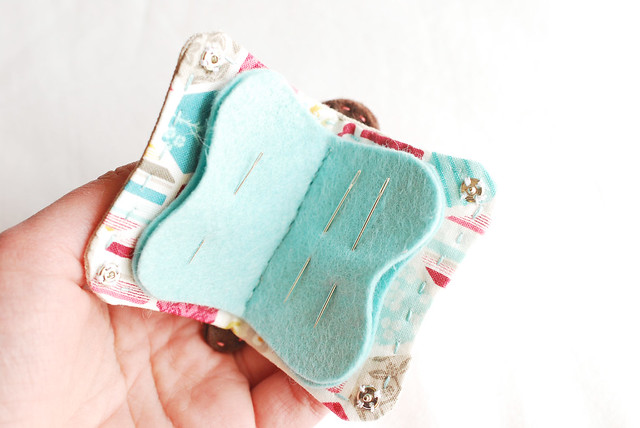
Now your needle book is ready to be filled up with needles!
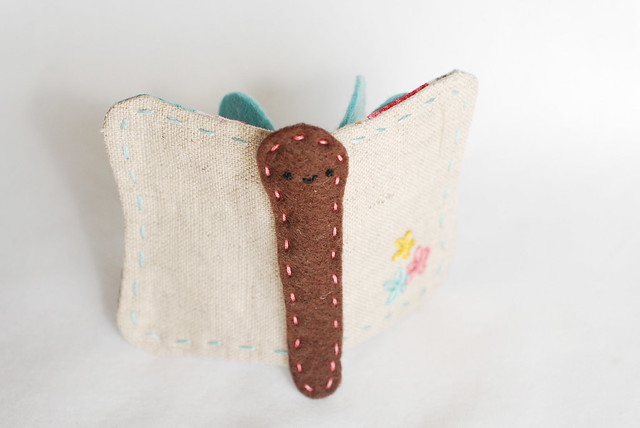
It would be weird for me to flap the wings and make my needle book fly around the house a bit, right? Yeah, um, I didn't do that.
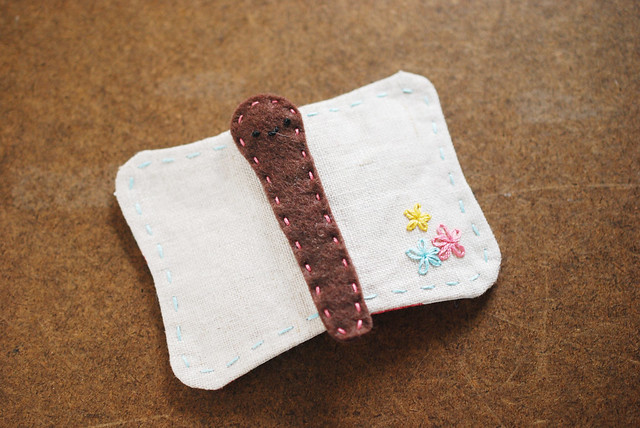
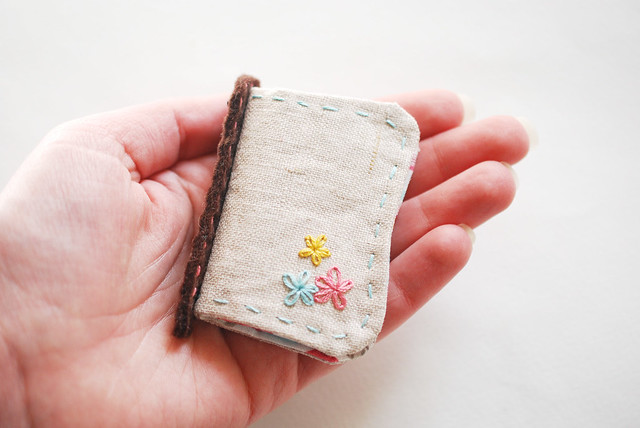
Like I said, this is a petite needle book, but I find it to be so precious that I can't imagine that I would allow it to get lost. And since I prefer to have only a few needles going at a time (with the rest secured in their packaging), the size should work just find for me.
Plus, I got to use some of my hexagon fabric, which might have been the inspiration for the hexagon on this month's calendar. You know, because I may have planned this all out from the beginning...
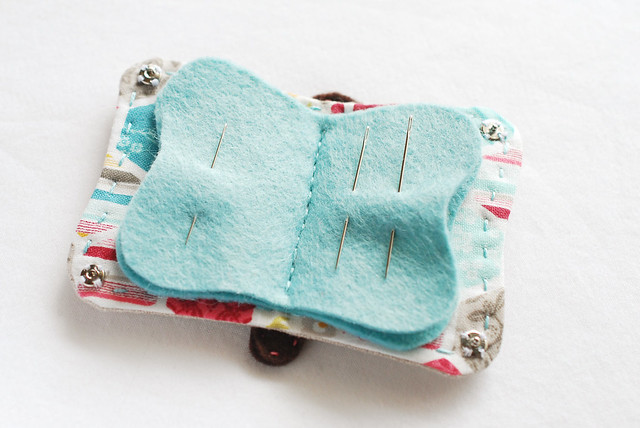
How sweet. Another thing to add to my list of things to make :)
ReplyDeleteAww, your project put the Reading Rainbow theme in my head! "Butterfly in the sky....."
ReplyDeleteYou can't hear me squealing over here, but I am squealing quite loud. This is adorable! The little flower embellishments are so cute--the whole thing is just lovely. I think I need to make one for myself, as I'm in need of a needle book anyway. :)
ReplyDeleteLove this - so cute!
ReplyDeleteSo unique and adorable! I love it. Thank you so much!
ReplyDeletethis looks so cute and neat!
ReplyDeleteI loves needle books. And I "lose" 'em too. This one is too cute not to make. Soon as I find the supplies somewhere in this mess. (We just moved - ugh)
ReplyDeleteOh my gosh! I love this!!! :)
ReplyDeleteVery cute! I don't have a needle book so I will have to make myself one of these!
ReplyDeleteThis is precious! I made myself a small needle book last year, but I lost it in one of my craft bins, just may need to make one of these :-D thanks for sharing and inspiring!
ReplyDeleteThis is absolutely awesome!!! I made a very rough book for my sisters birthday last year. I need to upgrade it to this and I want one too!!! Even if I never get around to it thank you for the tutorial! This is fabulous!!!
ReplyDeleteThank you for sharing this is lovely, I have made many needle cases in different forms but not a sweet one like this.
ReplyDeleteThis is so adorable! Thank you for the lovely tutorial :)
ReplyDeleteSo sweet ! Thank you.
ReplyDeleteI can't even describe how much I love this butterfly! ;)
ReplyDeleteThis is so cute! I've been meaning to make a needle book for my little boy for some time and this might be just the one. Thanks!
ReplyDeleteSo cute it tickled my tonsils. I had to download it. Thanks a bunch!
ReplyDelete