


Once I got my hands on the new Dress Me fabric from Dear Stella, I couldn't stop at just one project. In fact, even though I've only made two projects with this print, I have several more I'd like to try in time, because there are just so many possibilities. Nicole found a great way to use it in a big way!
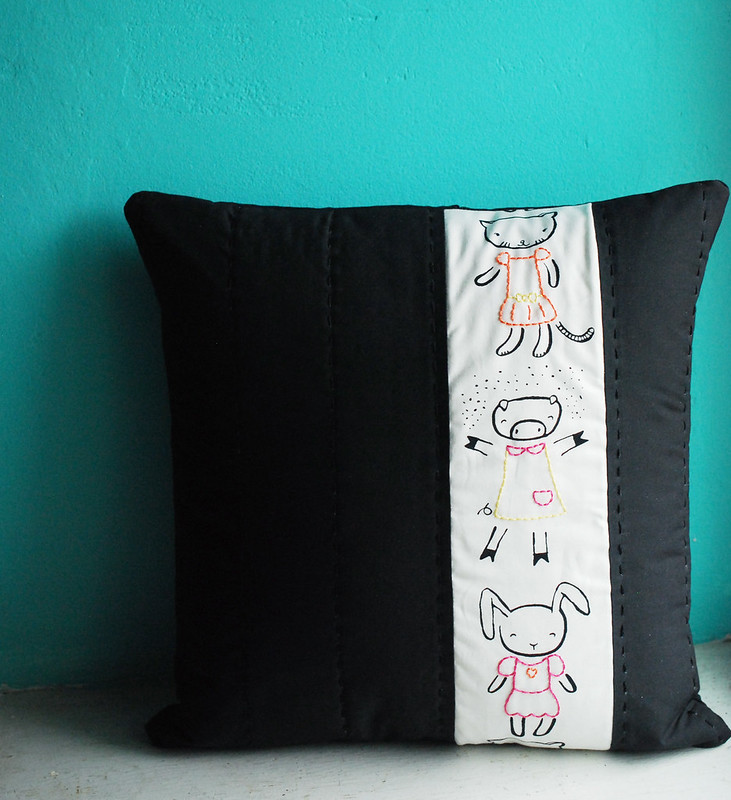
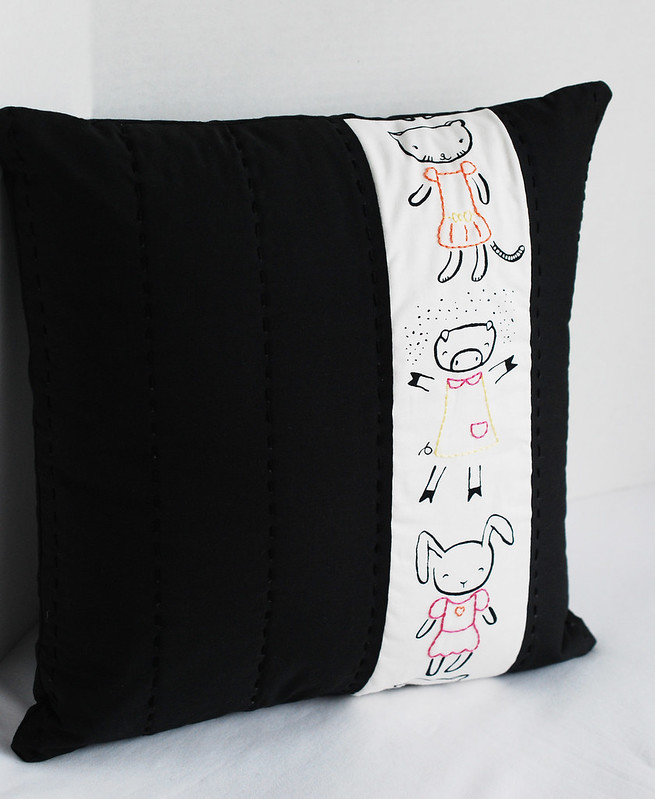
When you look at a big piece of this fabric, you'll see that it kind of runs in columns of animals. Taking my cue from that, I created this pillow that has a strip of stitched sweeties that really pop with the black that surrounds them. To make your own, here's what you need:
Dear Stella Dress Me fabric
Black fabric
Embroidery floss
Cotton batting
12-inch pillow form
Scissors
Needle
Rotary cutter and mat
Pins
Sewing machine
The clothing patterns I used for my embroidered panel are free for you on the Dear Stella blog!
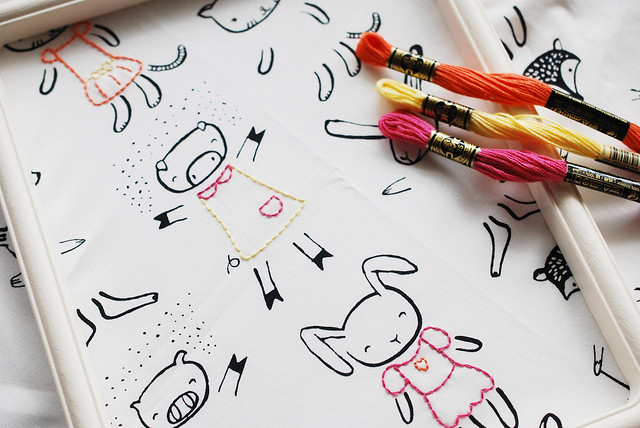
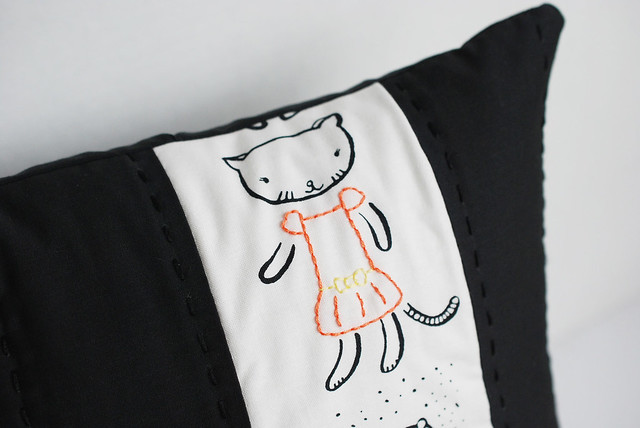
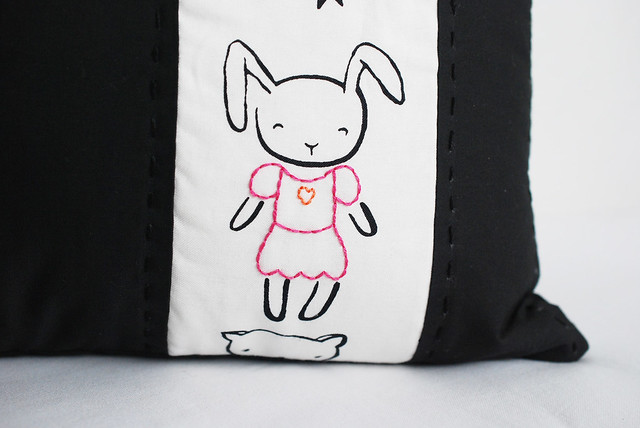
Start by choosing three of the animals in a column that you want on your pillow. Embroider some clothes on them.

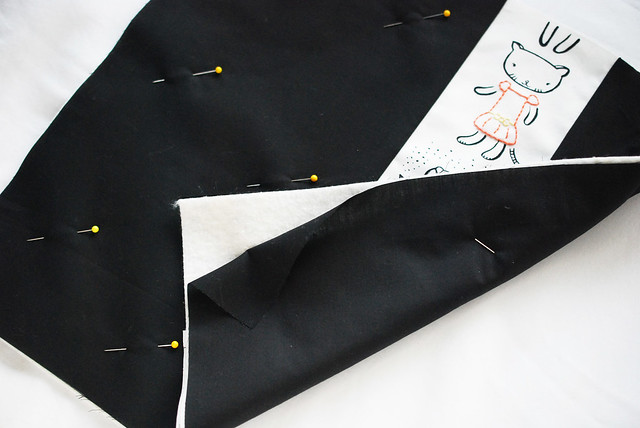
Cut the embroidered area into a strip that is 4 inches wide by 15 inches tall. Cut a piece of black fabric that is also 4 x 15 inches, and another black piece that is 8 x 15 inches.
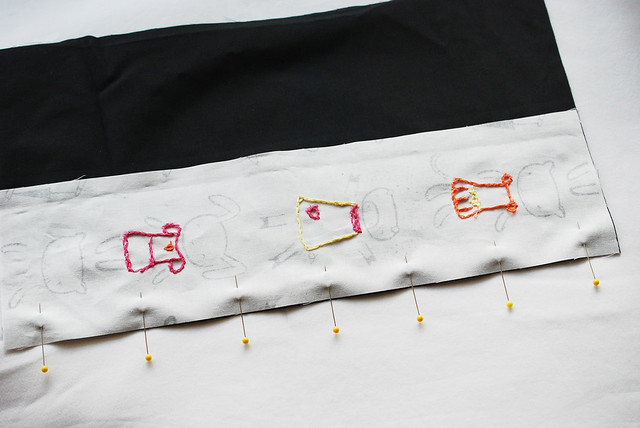
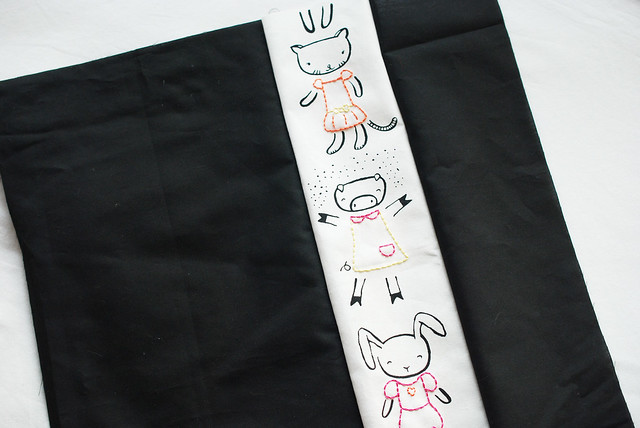
Pin and sew these three strips together so that the embroidery is in the middle. I used 3/8-inch seams.
Do pay attention to which direction your animals seem to be facing. The kitty is looking to the left, so I positioned the embroidered strip on the right. However, if the animals you choose are looking the other way, you may want to shift the center panel to the left side.
Cut a 15-inch square of batting and black fabric and make a quilt sandwich so that the batting is between the fabric layers. Pin the layers together.

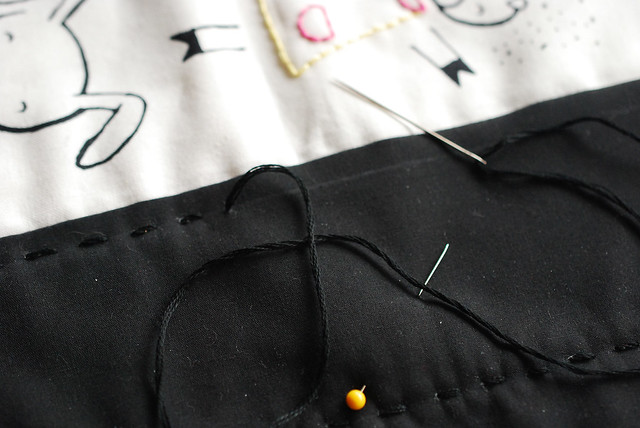
Use a white pencil to mark vertical lines for quilting. You'll want lines right on either side of the stitched panel, then more that are evenly spaced on the black areas. Mine are 2 inches apart, but you can change this to suit your taste and patience!
With black embroidery thread or perle cotton, quilt the lines with running stitch. Or, if you'd rather, machine quilt the black areas.
When all of the quilting is finished, square up the pillow front and trim it down to 14 inches square. You could start with it this size, but sometimes the quilting alters the size, and it's better to trim it than wish you had more wiggle room!
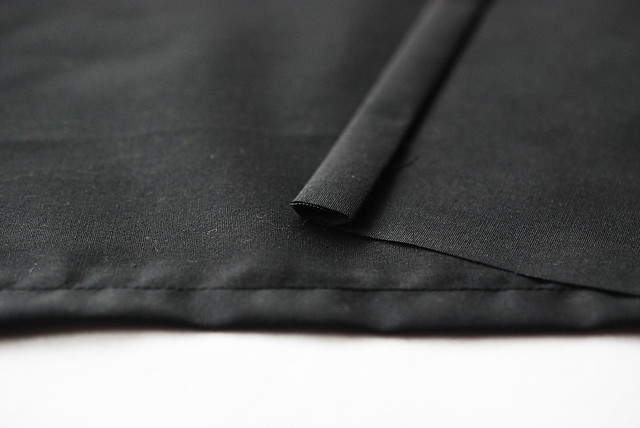
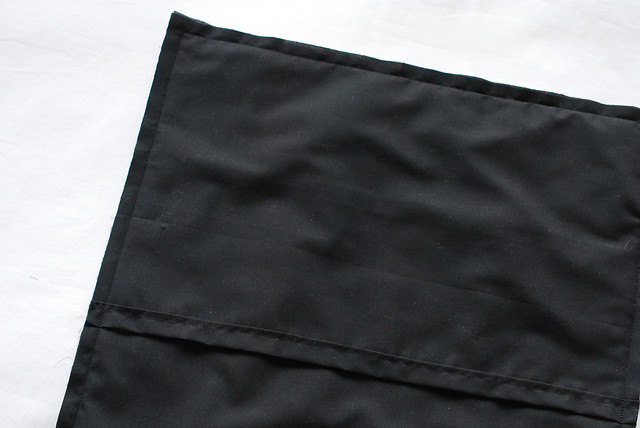
Cut two pieces of black fabric that are 14 x 10 inches. On each, fold and press one long edge down by 1/2 inch, then fold and press it again. Sew this folded hem. These two pieces will form the envelope back for your pillow cover.
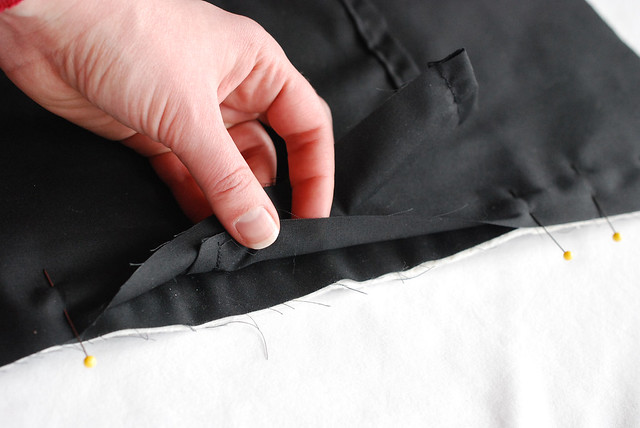
Lay your pillow front face up, then place one of the back pieces on top so the raw edges match up with the top and sides of the pillow front, and so that the "right" side of the hem is face down. Place the second back piece on top of this so that the hemmed edge overlaps with the first back piece. Pin around the edges.
Sew around all four sides. I like to back stitch on areas where the back pieces are hemmed because these will have the most stress when inserting the pillow form. You don't want anything ripping!
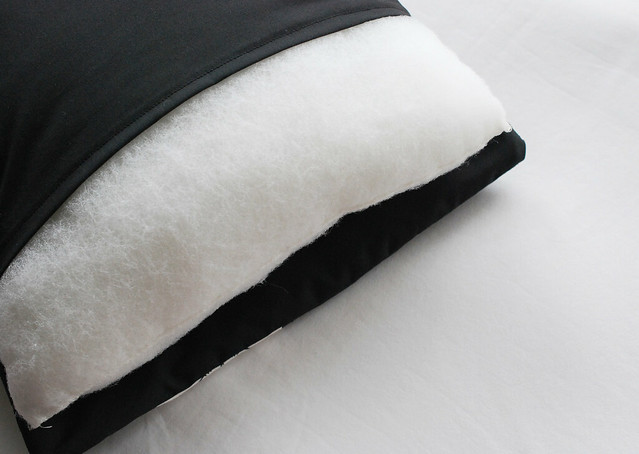
Carefully trim the corners, then turn the cover right side out. Slide your pillow form in, and get it all smoothly situated inside.
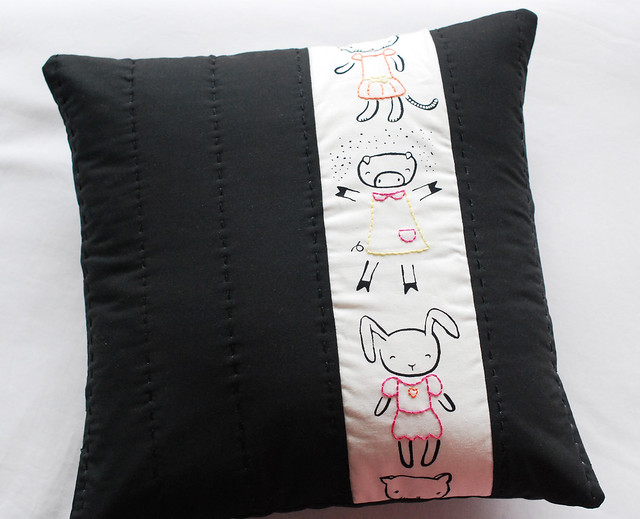
This pillow makes me so happy! Especially that piggy. My sister has always had a fondness for pigs, and when you see one that's throwing confetti in the air, you can't help but smile. Of course, they're all adorable animals!

Be sure to check out the entire Wild fabric line by Wee Gallery for Dear Stella, and if you make anything from the fabrics, share it and tag your photos with #dearstella so we can see!
Special thanks to Dear Stella for the fun fabric I've been stitching with!
Oh my goodness! That is adorable!! Thank you so much for sharing the pattern with us.
ReplyDeleteMollie, I love this whole concept! I think my 6 year old who is just learning to stitch would love it, too.
ReplyDeleteThis is so cute and your stitching skills are amazing. Thanks for the share!
ReplyDelete