about shop patterns projects printables extras sponsorship wild olive twitter flickr pinterest subscribe
Showing posts with label no-sew. Show all posts

project // no-sew tiny pumpkin quilt

No-Sew Tiny Pumpkin Quilt

Have you ever wanted to make a little quilt but you don't know how to sew? Or maybe you just want to have a cute bit of fall decor finished in a hurry? Then you should consider making a no-sew tiny quilt. I also considered calling this a fabric pixel art project, because that's kinda what it is. I see it as a blend of crafts that I love: quilting and cross stitch. But this takes WAY less time.

I started making these tiny quilts this fall when my friend Kristin of Woolly Petals announced her Ghost Party Sew A Long. I love her quilts (and even collaborated with her to make embroidery patterns for one!), but I knew that making a quilt was not gonna happen before Halloween. But I still LOVED those little ghosties made of so many fabrics. And an idea materialized.

No-Sew Tiny Pumpkin Quilt

What if I made just one ghost and made it tiny? Now, Kristin has an add-on to make her pattern much smaller than usual, but that would still require sewing and I'm not fast at that. So instead of sewing, I fused the tiny squares to felt. No sewing!

By the way, when I say tiny, I mean the squares on my finished project are 5/8". Because I'm fusing them, there's no seam allowance, so you cut the squares the actual size you want them. You could make them smaller. You could make them bigger. Also because I wasn't sewing, I decided to add some curves to my tiny qhost, which wasn't part of the Ghost Party pattern. They are a little wonky, but that's part of how this how thing goes.

When I made the ghost, I captured the process on video, but really just for fun. Not a whole tutorial. But people asked me more about how I did it, and so I thought I'd make a coordinating pumpkin and show the process better.

No-Sew Tiny Pumpkin Quilt

For this one, I didn't add curves, but kept the shapes more like traditional quilting. So half-square triangles. But I think it still absolutely works. You'll also notice that the backing and way I added a hanger is different from the ghost. That's mostly for variety!

These are hanging out together at my house, and having them not look exactly the same works well. But I also think that having different ways to make, essentially, the same thing is good. But now let's dive in and make a tiny quilt!

No-Sew Tiny Pumpkin Quilt

You will need:

Fabric scraps in orange, pink (or another background color), and a tiny bit of brown
Wool or wool blend felt - at least 4-1/2" for the tiny quilt and 5-1/2 x 6" for the backing
Heavy Duty Wonder Under or paper-backed fusible web - 4-1/2" square
Embroidery floss
Wood or bamboo skewer
Perle cotton
Rotary cutter, ruler, and cutting mat
Iron
Tracing paper
Needle
Scissors
Craft glue

Note: When choosing a color for the felt you'll fuse the fabric to, be mindful that some felt may show through a bit. I used white felt, but pink would blend well with all my colors.

No-Sew Tiny Pumpkin Quilt

Cut the fabric scraps into 5/8" squares. You will need one brown square, 18 orange squares, and 30 pink squares. Cut two pink and two orange squares in half from corner to corner.

No-Sew Tiny Pumpkin Quilt

Iron the Wonder Under to the felt you're using for the tiny quilt. Once it's cool, peel off the paper.

No-Sew Tiny Pumpkin Quilt

Arrange the fabric squares on the area of the felt with the fusible web. Follow the grid pattern below:


Try to keep the pieces all straight and lined up with each other. But also know that it's almost impossible to have them be perfect. That's par of the charm of this.

No-Sew Tiny Pumpkin Quilt

When you're satisfied with the placement of the pieces, gently lay a piece of tracing paper (or the paper backing from the Wonder Under) over the pieces. This is important so you don't end up with adhesive on your iron.

Iron to fuse the fabric to the felt.

No-Sew Tiny Pumpkin Quilt

Trim the edges with a rotary cutter so there's no extra felt showing on the sides. This is also when you can make your tiny quilt more square.

No-Sew Tiny Pumpkin Quilt

If you want a face on your pumpkin (and why wouldn't you? it's super cute!), embroider the face with six strands of embroidery floss. Use French knots for the eyes and a scallop stitch for the mouth.

No-Sew Tiny Pumpkin Quilt

Next, cut the backing felt to 5-1/2 x 6" if you haven't already done so. Cut the skewer to the same width as the tiny quilt. Utility scissors are helpful for this.

No-Sew Tiny Pumpkin Quilt

Stitch the skewer piece to the top of the felt backing. Use perle cotton and whip stitch to make two sets of stitches at each end as shown.

No-Sew Tiny Pumpkin Quilt

Slide your needle under the skewer between the sets of stitches to create a hanger. Make a loop and tie the ends together.

No-Sew Tiny Pumpkin Quilt

Glue the tiny quilt to the backing with a thin layer of craft glue.

No-Sew Tiny Pumpkin Quilt

Once the glue is dry (which doesn't take long!), you can hang your tiny quilt and enjoy pumpkin spice season! This is truly a quilt project you can make in an hour or two. No sewing machine needed.

No-Sew Tiny Pumpkin Quilt

For spooky season, these two tiny quilts are ready to hang out together. And ideas for more fall or Halloween designs are in the works, along with more tiny quilts for other holidays and cute stuff.

No-Sew Tiny Pumpkin Quilt

I think these would look especially adorable on a wall full of embroidery hoops and other artwork. Right? Pull out your scrap bins and start sewing...er...ironing!

project // 5-minute mix 'n' match earrings

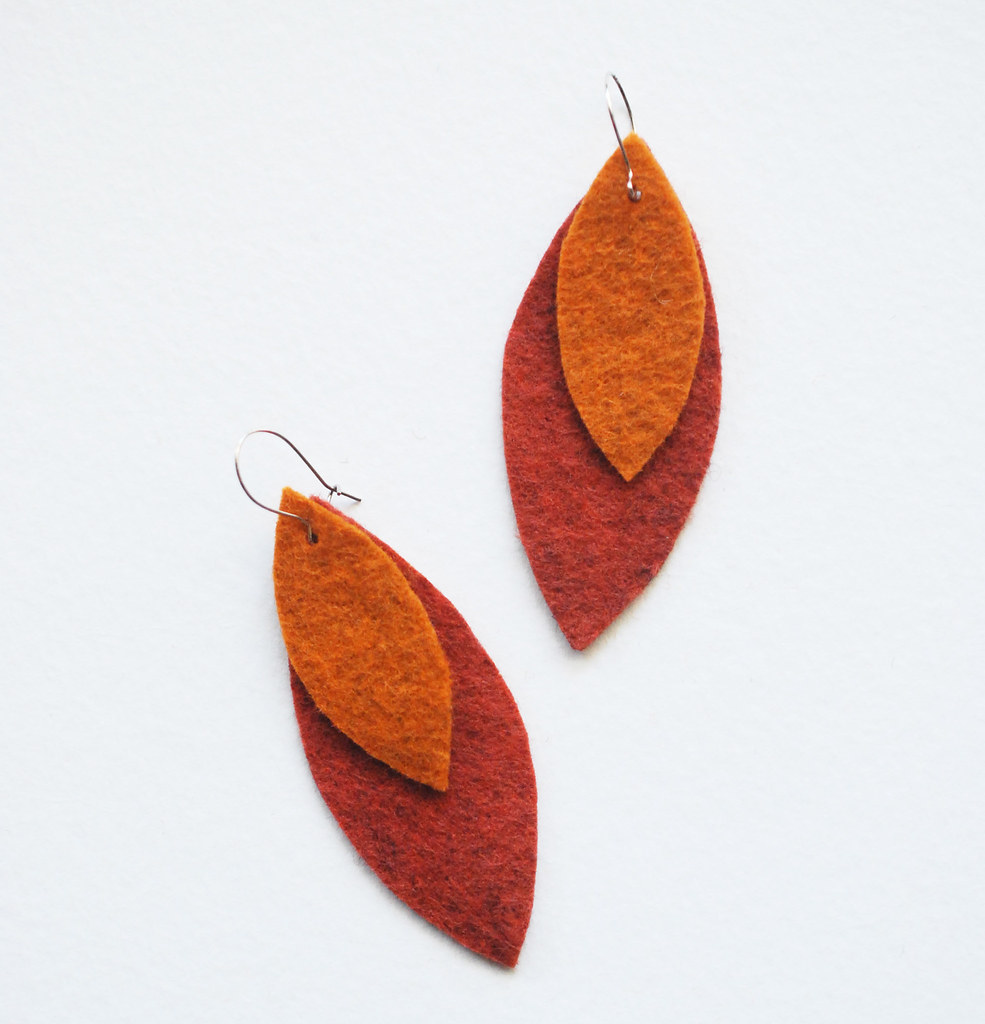
5-Minute Mix 'n' Match Leaf Earrings


For a time I found myself making lots of small and fast projects, while lately I've been making many more big, long, slow, complicated projects. Big embroidery and English paper piecing, and even some regular sewing can be like that. And although I do love the big, long, slow, complicated things, sometimes it's nice to work on an instant-gratification sort of craft.

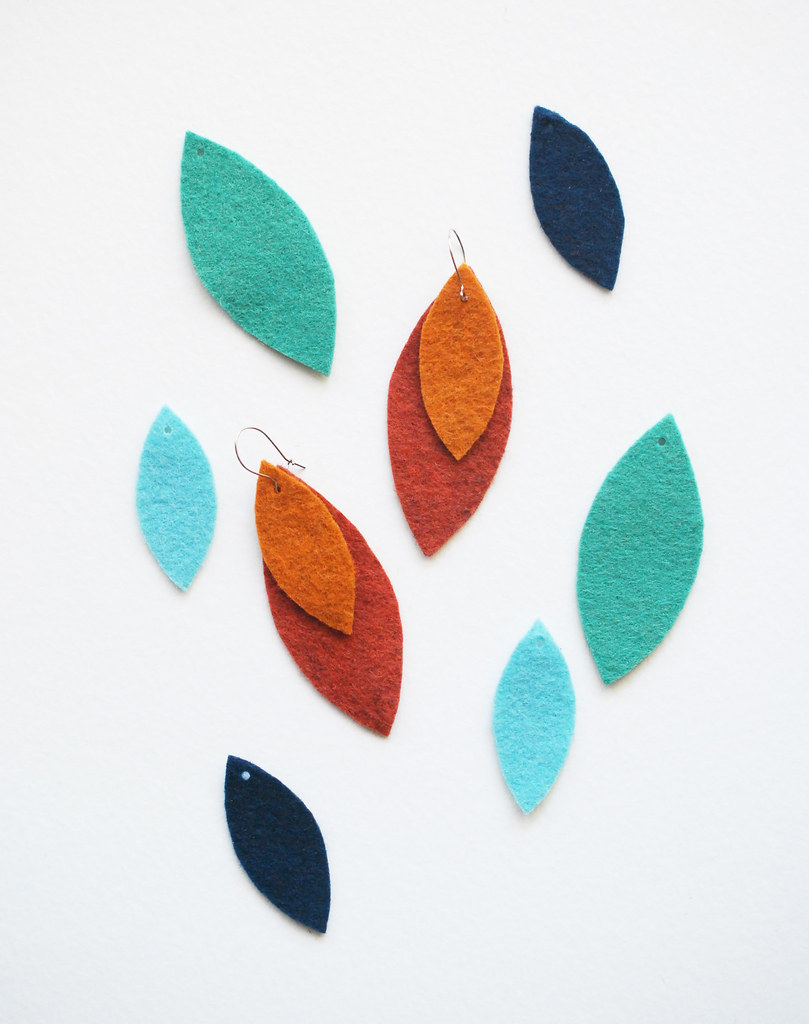
So, in just five minutes you can make, a whole bunch of earring options. And even though I'm showing this with a leaf/feather shape, you could easily change this up.

5-Minute Mix 'n' Match Leaf Earrings

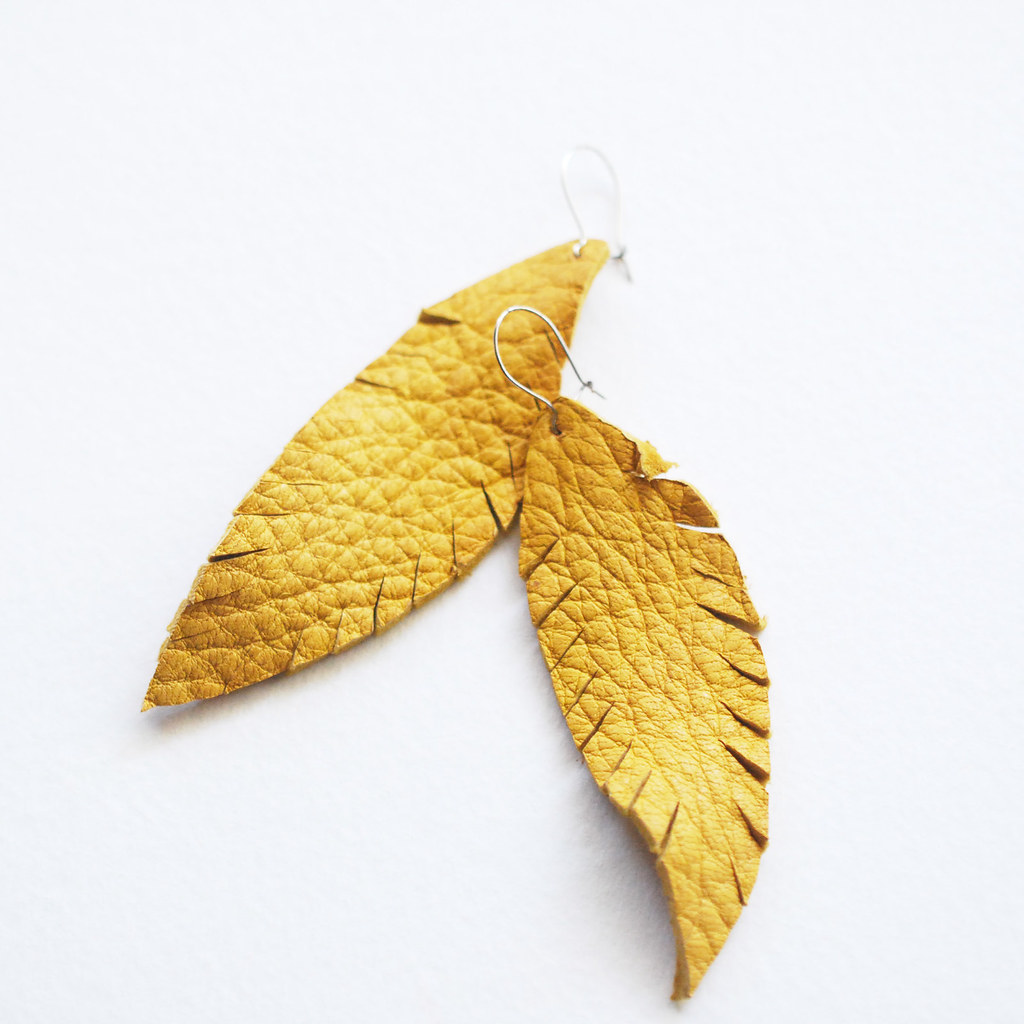
My inspiration was this pair of leather earrings that I made years ago. They were also very quick and easy, and I still love them!

5-Minute Mix 'n' Match Leaf Earrings

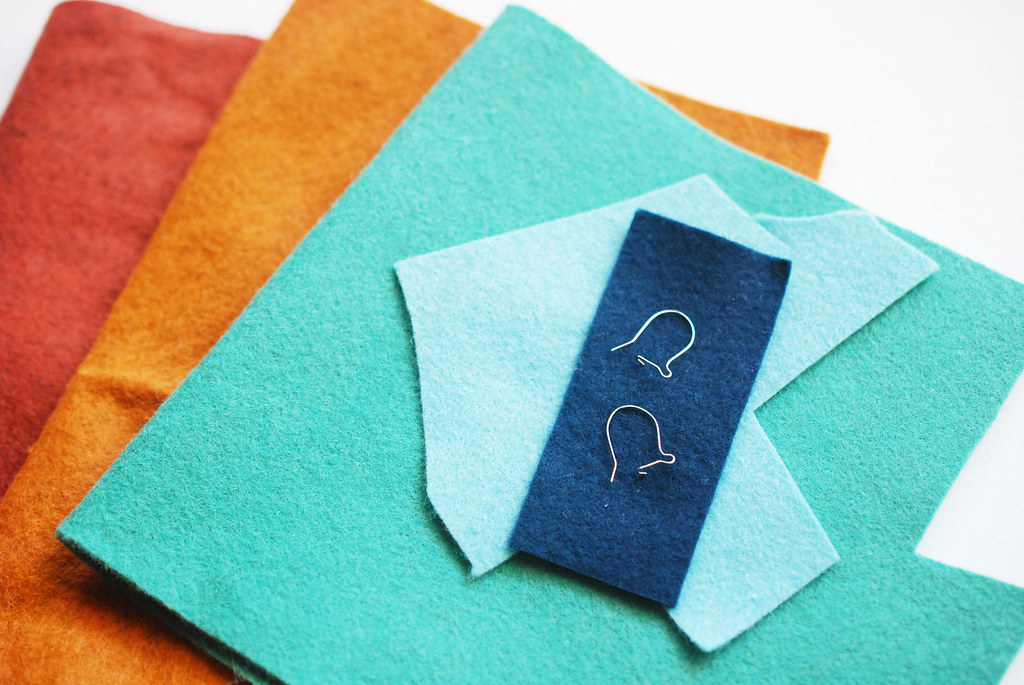
You will need:

Felt
Earring Hooks
Scissors
1/16-inch Hole Punch or a Large Needle

5-Minute Earring Template

5-Minute Mix 'n' Match Leaf Earrings

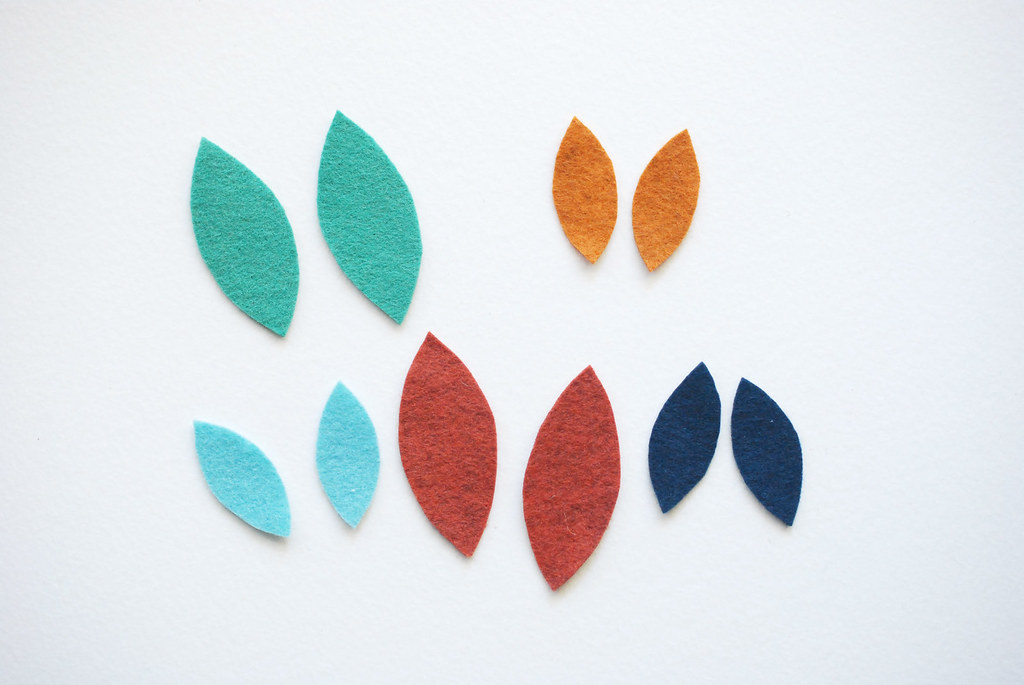
In the template there are two sizes of the leaf shape. From felt, cut two from each size in a few colors of felt that will mix and match well. Fall colors work great for this, but it's fun to add in some unexpected shades too!

This is the part that takes the longest. If you can cut felt shapes quickly, this project will take less than five minutes!

5-Minute Mix 'n' Match Leaf Earrings

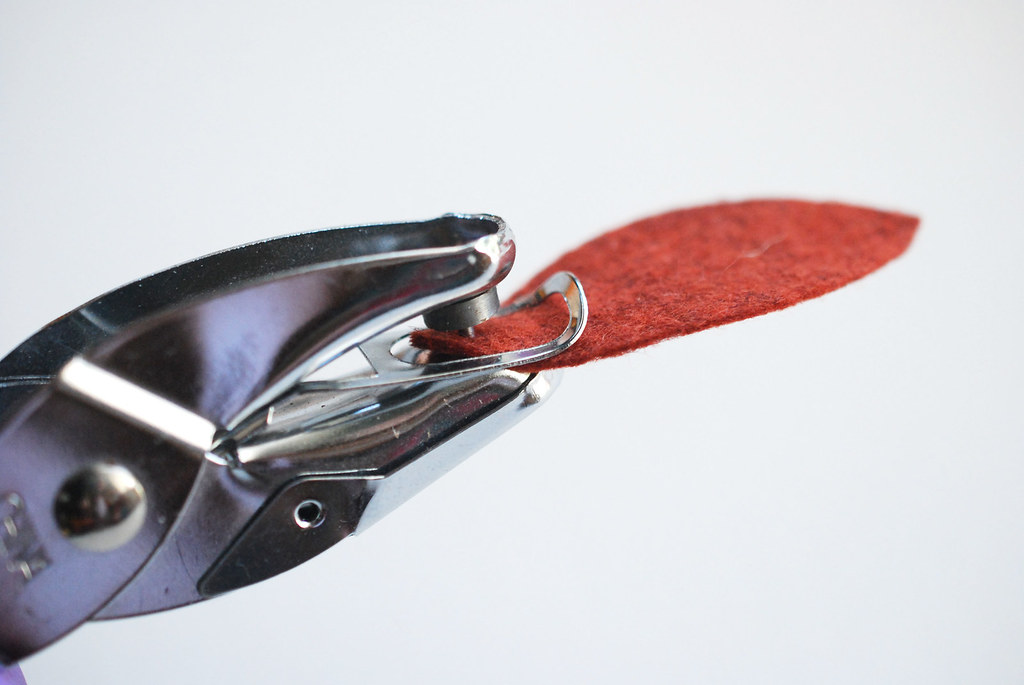
Use the hole punch or needle to make a hole at the top of each felt shape. You can usually go through two at one time.

5-Minute Mix 'n' Match Leaf Earrings

Layer up two leaf shapes and slide them onto the earring hooks.

Done!

5-Minute Mix 'n' Match Leaf Earrings

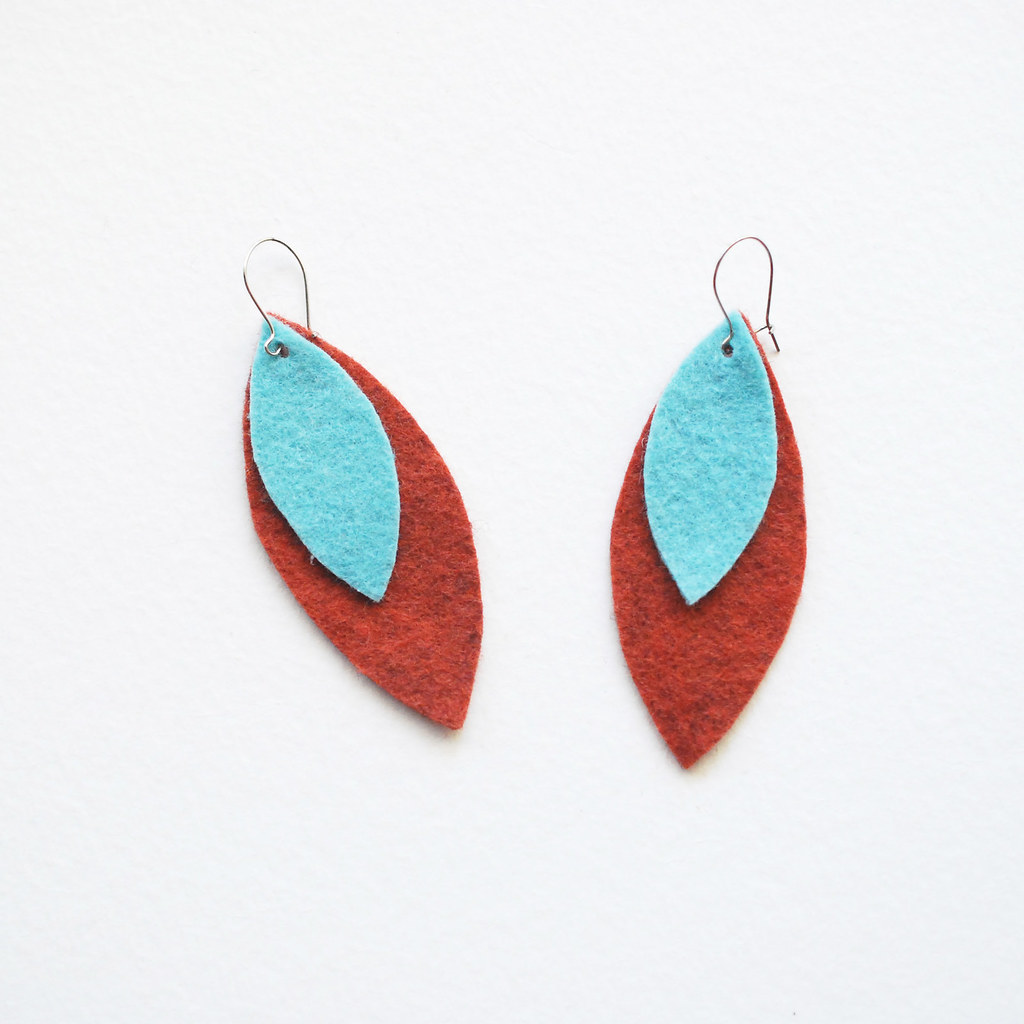
And since you've already prepared some more leaf shapes, you are ready to mix and match the colors! Only one set of hooks is needed, because it's just a matter of switching the felt pieces.

I'm really liking this combo.

5-Minute Mix 'n' Match Leaf Earrings

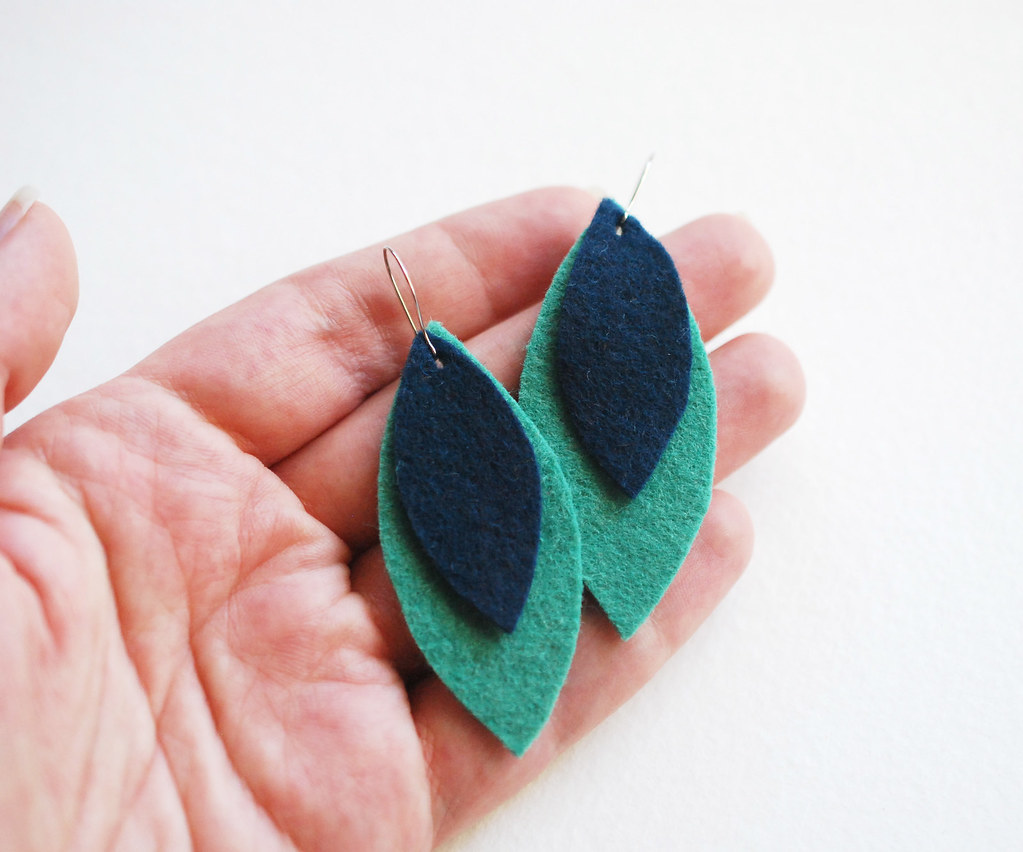
You could also add some stitching to the felt, although that will take a little longer. This one reminds me of a peacock, so some extra details might be nice here. I can add that when I have more time on my hands.

In the meantime, you've got easy earrings that you can customize on the fly!

project // no-sew werewolf hoop art

No-Sew Werewolf Hoop Art


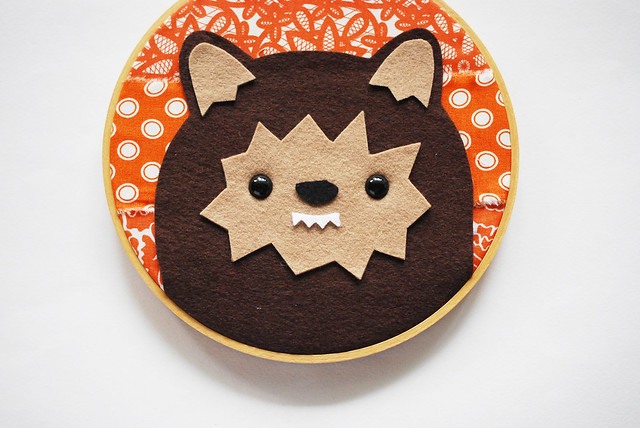
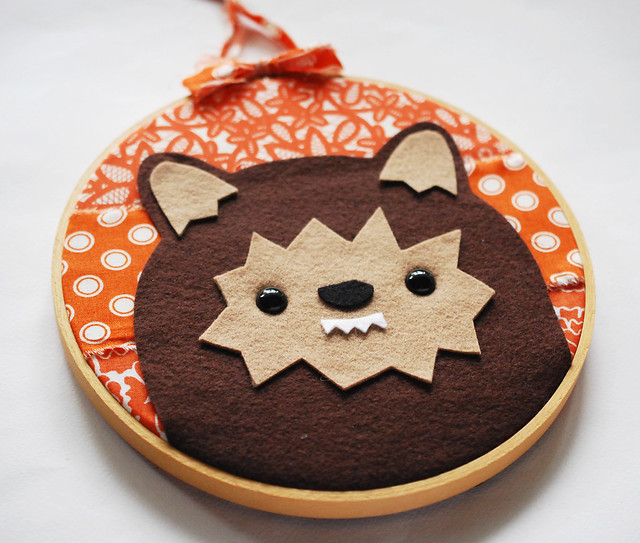
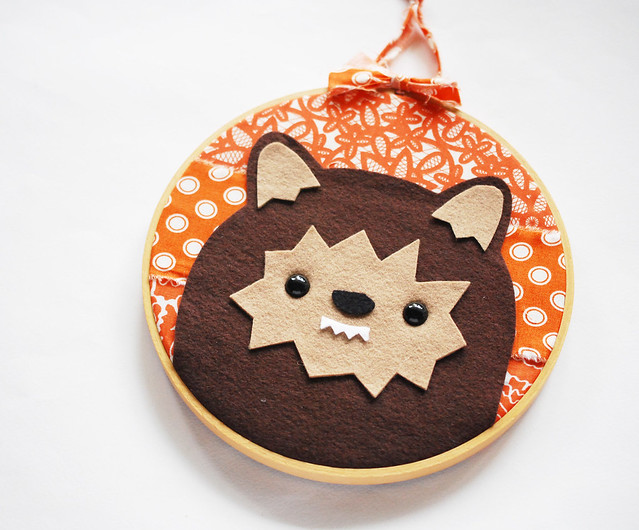
Halloween is going to be here before we know it, but that doesn't mean that we've run out of time for spooky crafting. In fact, my own lack of time is what made this into a no-sew project, and I pretty much love it. My werewolf embroidery pattern has been enlarged and transformed into a piece of hoop art that can be put together in no time.

No-Sew Werewolf Hoop Art

After I finished my furry friend, I realized that it reminded me of the amazing Star Wars hoop art by Love and a Sandwich. And while I wasn't trying to imitate her work, I was no doubt influenced. If you haven't see her pieces, go check them out!

Now, let's make some felt artwork!

No-Sew Werewolf Hoop Art

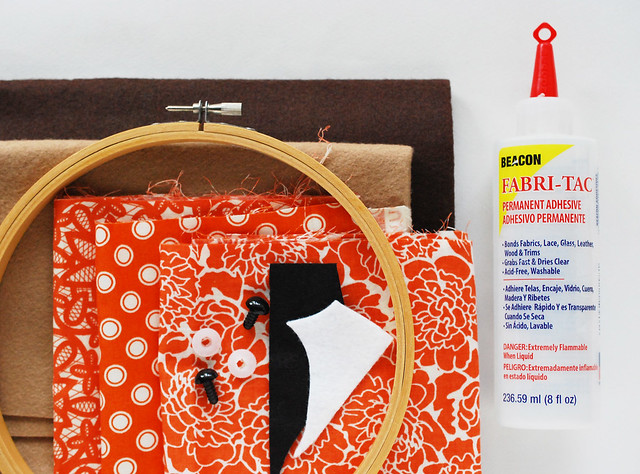
Here's what you need:

8-inch embroidery hoop
background fabric (you can use one piece, or strips as I did)
brown and tan felt
blank and white felt scraps
12mm safety eyes (optional)
fabric glue
scissors
crop-o-dile (optional, but helpful for the safety eyes)

Werewolf Hoop Art Pattern PDF

No-Sew Werewolf Hoop Art

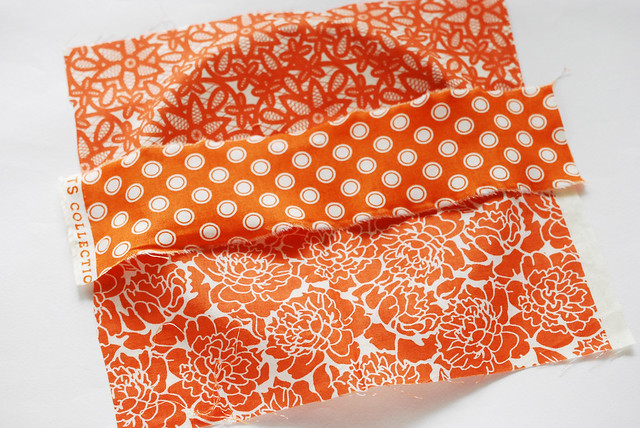
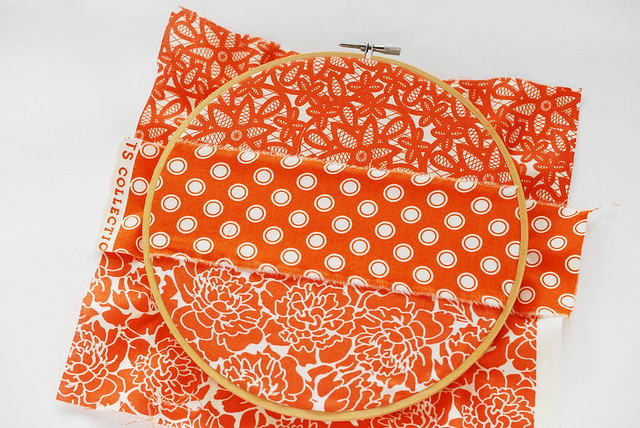
You can use one piece of fabric as your background, or, for more texture, tear a few pieces of fabric into strips that are 3-5 inches wide. Tearing adds the frayed edges that remind me of werewolf clothes!

Lay them across the bottom of your embroidery hoop, then tighten the top piece over them. You may need to pull the edges a bit to get them laying flat.

No-Sew Werewolf Hoop Art

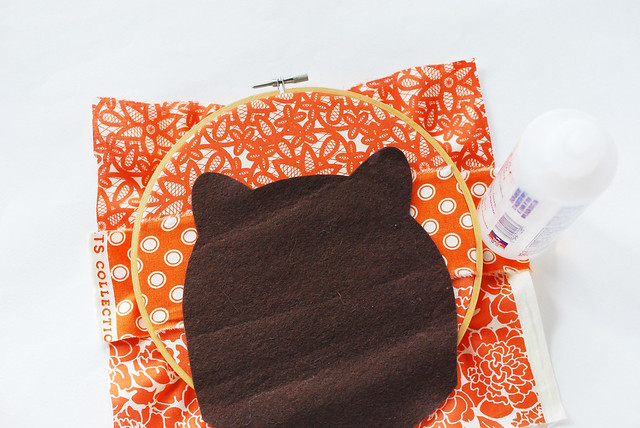
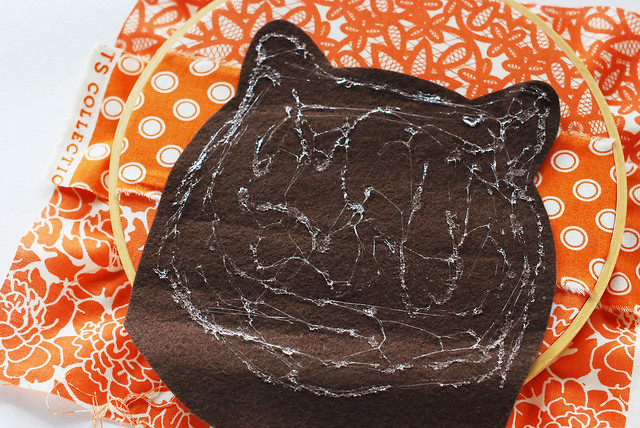
Cut out the head from brown felt. Position it on the hoop so the bottom is extending past the hoop by about 1/2". Spread fabric glue on the back of the head, but not on the section that extends over the edge. You don't really need a lot, just be sure to get around the edges, and a little through the center.

No-Sew Werewolf Hoop Art

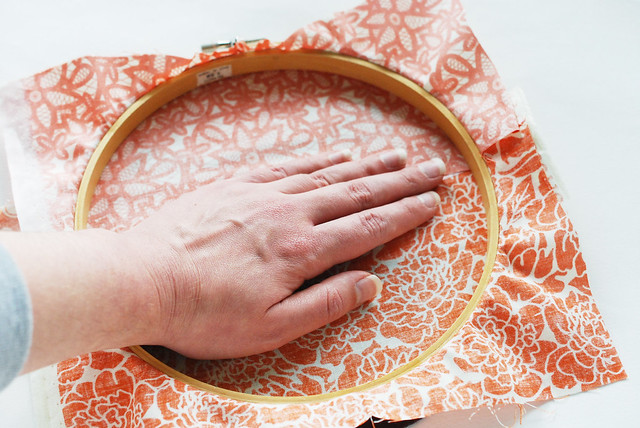
Flip the hoop over and press it from the back. Make sure it sticks and is flat without messing up the fabric tension. This is especially important if you have the layered strips for the background.

No-Sew Werewolf Hoop Art

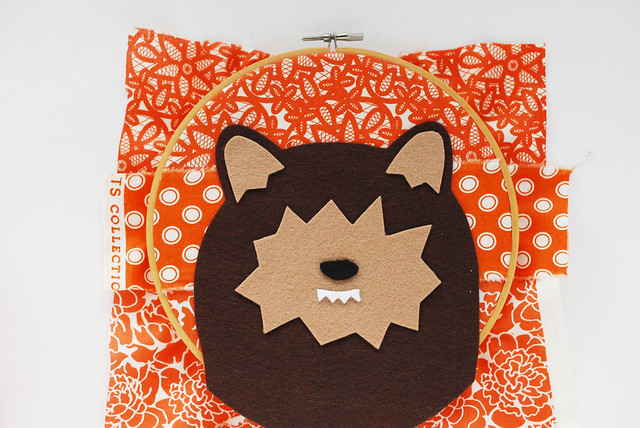
Cut out the ear and face pieces from tan felt, the teeth from white felt, and the nose from black felt. If you're not using safety eyes, you can cut the eyes from black felt too. Glue them all in place.

No-Sew Werewolf Hoop Art

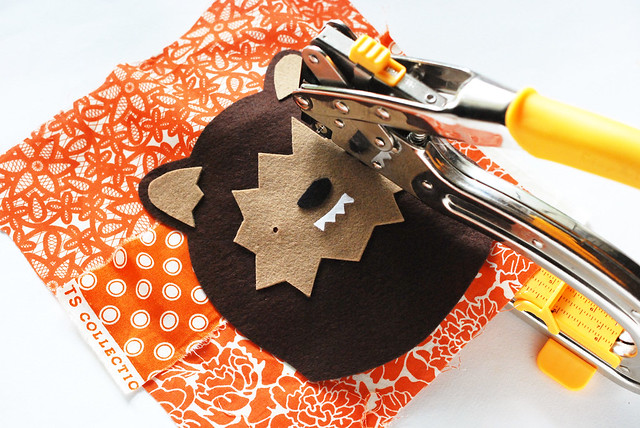
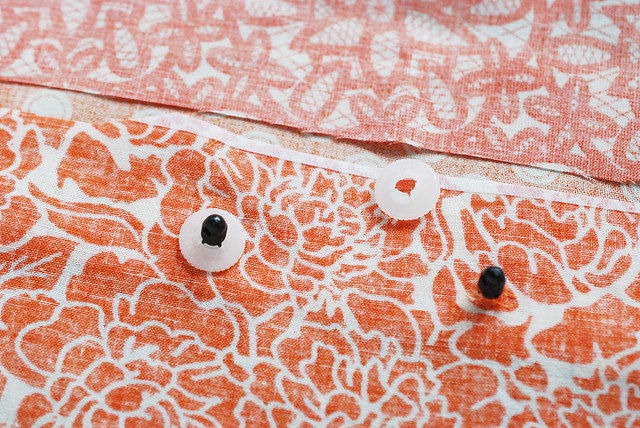
After the glue has had time to dry, remove the fabric from the hoop. If you're using safety eyes, make a small hole at the center of each eye shown on the template. You'll need to go through all of the layers, which is where a Crop-o-dile Big Bite helps immensely. Sharp scissors or an awl should also work for you.

Insert the eyes through the holes and add the locking ring to the back.

No-Sew Werewolf Hoop Art

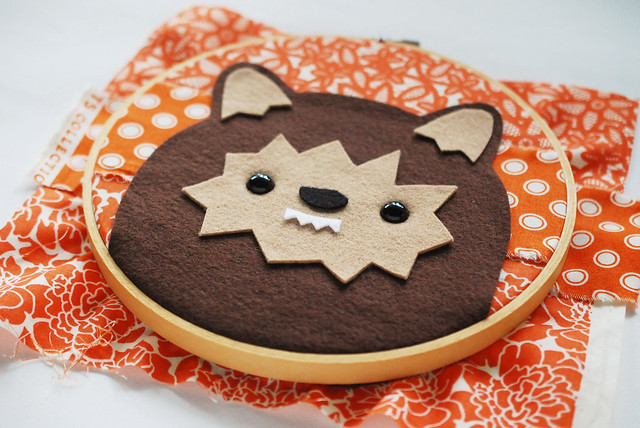
Place the fabric back in the hoop again, and this time, push the top hoop over the felt to hold it in place. Now you can finish off the back of your hoop however you'd like. The simplest option is to just trim the fabric down and leave it showing with a bit of fray. Or, read about more ideas for preparing your hoop for hanging.

No-Sew Werewolf Hoop Art

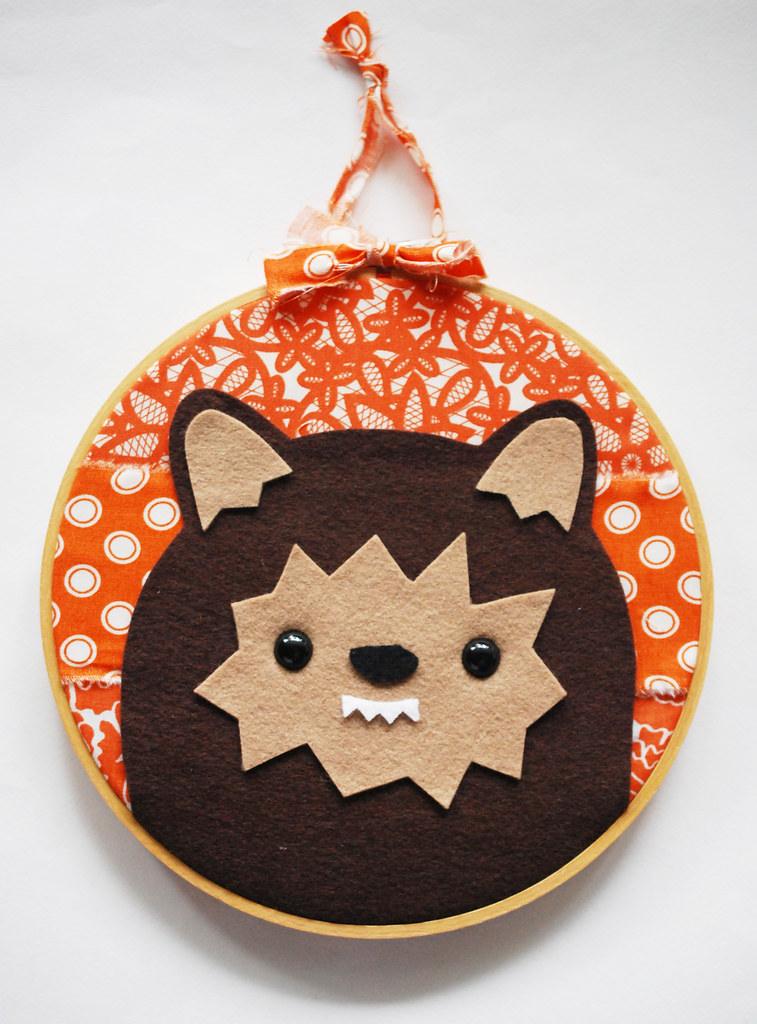
If you'd like, tear a strip of fabric and add a hanger, and perhaps a little bow too. I like how it softens it and adds extra detail.

No-Sew Werewolf Hoop Art

But really, the beady eyes are my favorite part about this. They shine and add some dimension, and it makes me think about how much fun it would be to use these in other hoop art. Hmmm...I might have to work on that.

Happy Halloween Crafting!