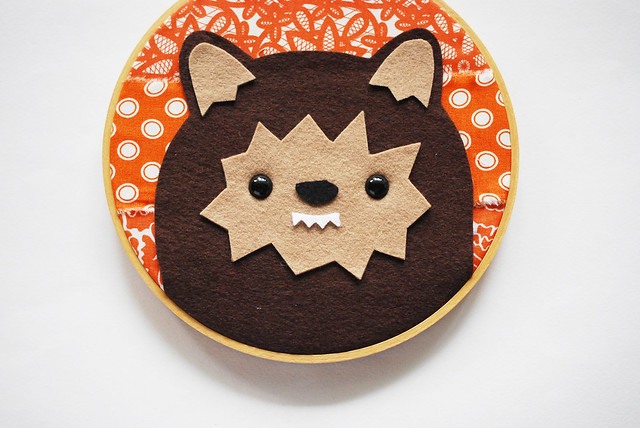

Halloween is going to be here before we know it, but that doesn't mean that we've run out of time for spooky crafting. In fact, my own lack of time is what made this into a no-sew project, and I pretty much love it. My werewolf embroidery pattern has been enlarged and transformed into a piece of hoop art that can be put together in no time.
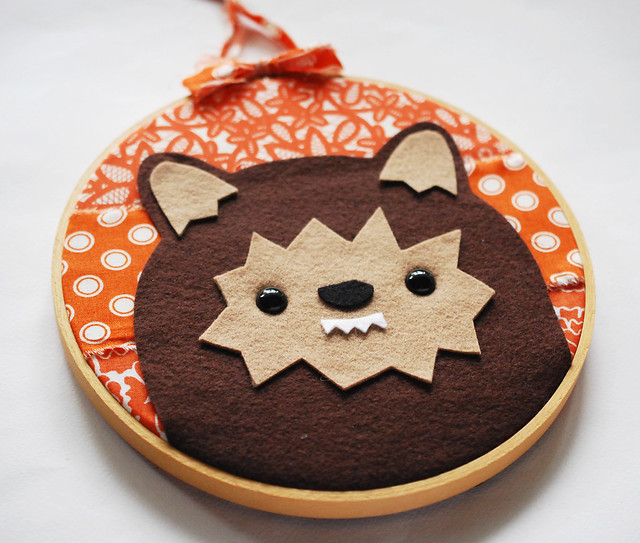
After I finished my furry friend, I realized that it reminded me of the amazing Star Wars hoop art by Love and a Sandwich. And while I wasn't trying to imitate her work, I was no doubt influenced. If you haven't see her pieces, go check them out!
Now, let's make some felt artwork!
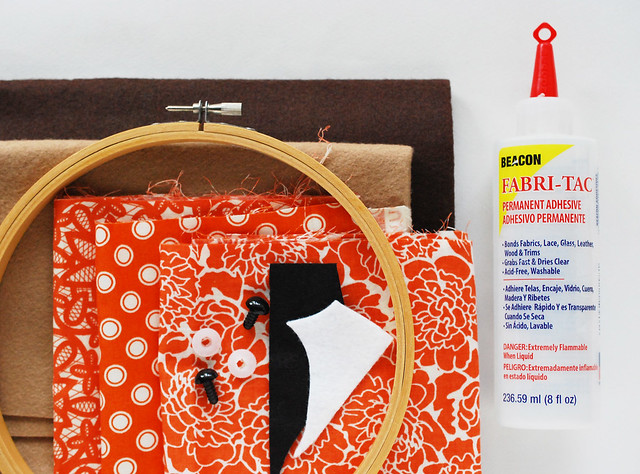
Here's what you need:
8-inch embroidery hoop
background fabric (you can use one piece, or strips as I did)
brown and tan felt
blank and white felt scraps
12mm safety eyes (optional)
fabric glue
scissors
crop-o-dile (optional, but helpful for the safety eyes)
Werewolf Hoop Art Pattern PDF
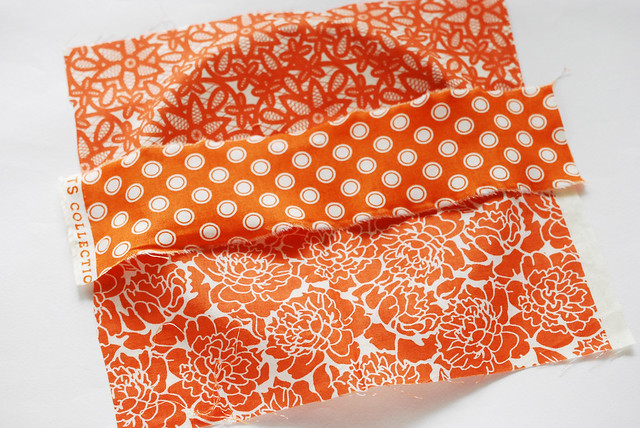
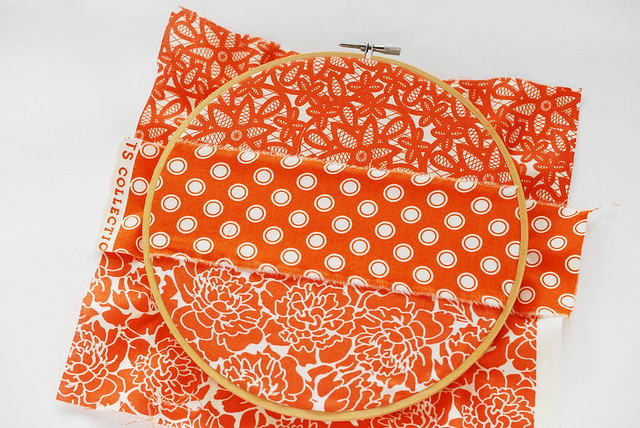
You can use one piece of fabric as your background, or, for more texture, tear a few pieces of fabric into strips that are 3-5 inches wide. Tearing adds the frayed edges that remind me of werewolf clothes!
Lay them across the bottom of your embroidery hoop, then tighten the top piece over them. You may need to pull the edges a bit to get them laying flat.
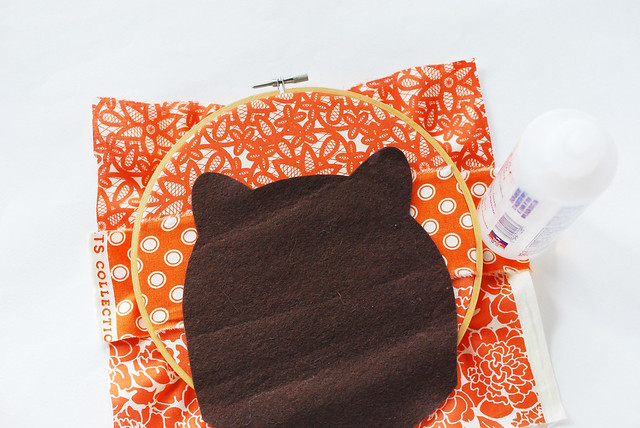
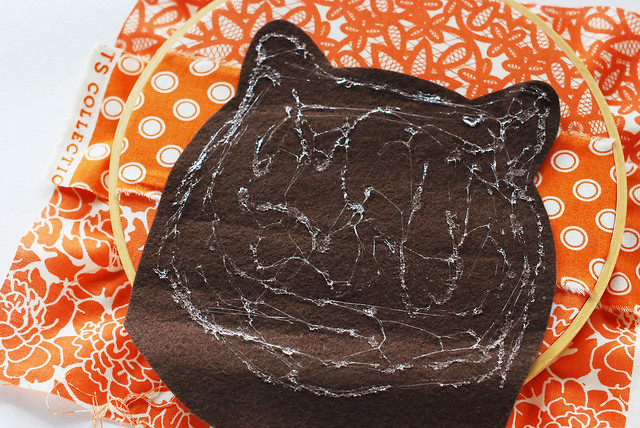
Cut out the head from brown felt. Position it on the hoop so the bottom is extending past the hoop by about 1/2". Spread fabric glue on the back of the head, but not on the section that extends over the edge. You don't really need a lot, just be sure to get around the edges, and a little through the center.
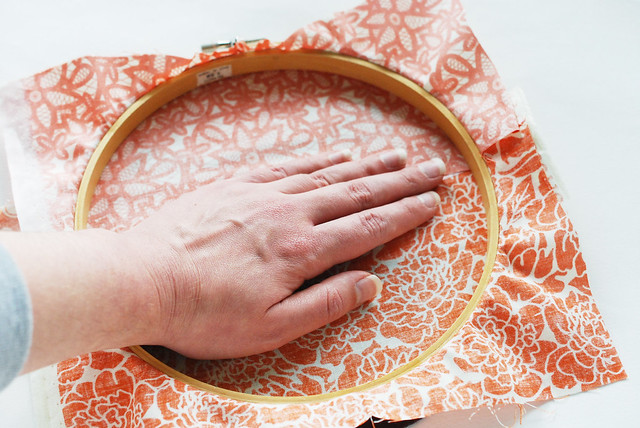
Flip the hoop over and press it from the back. Make sure it sticks and is flat without messing up the fabric tension. This is especially important if you have the layered strips for the background.
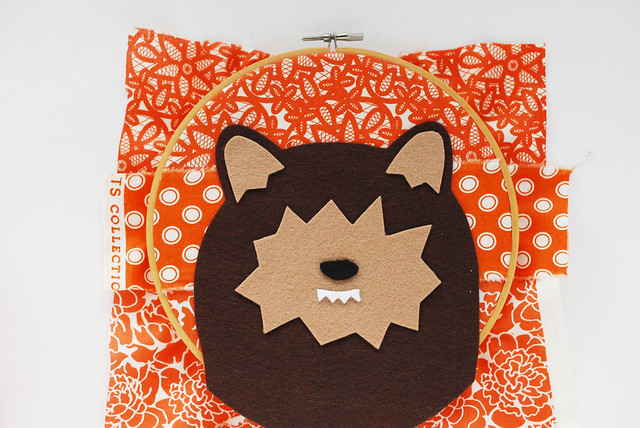
Cut out the ear and face pieces from tan felt, the teeth from white felt, and the nose from black felt. If you're not using safety eyes, you can cut the eyes from black felt too. Glue them all in place.
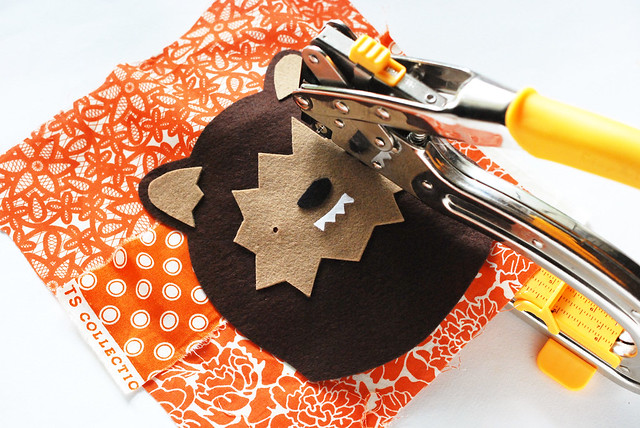
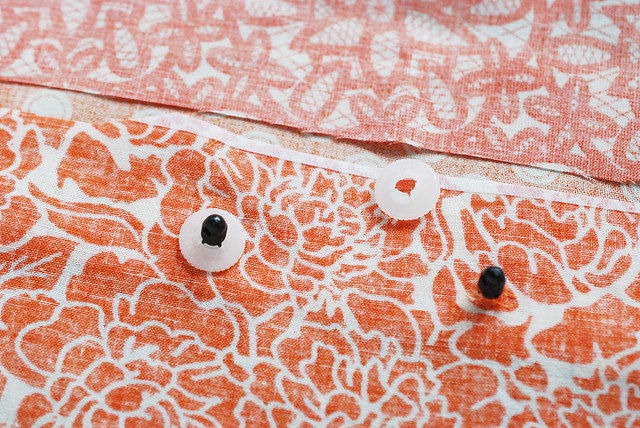
After the glue has had time to dry, remove the fabric from the hoop. If you're using safety eyes, make a small hole at the center of each eye shown on the template. You'll need to go through all of the layers, which is where a Crop-o-dile Big Bite helps immensely. Sharp scissors or an awl should also work for you.
Insert the eyes through the holes and add the locking ring to the back.
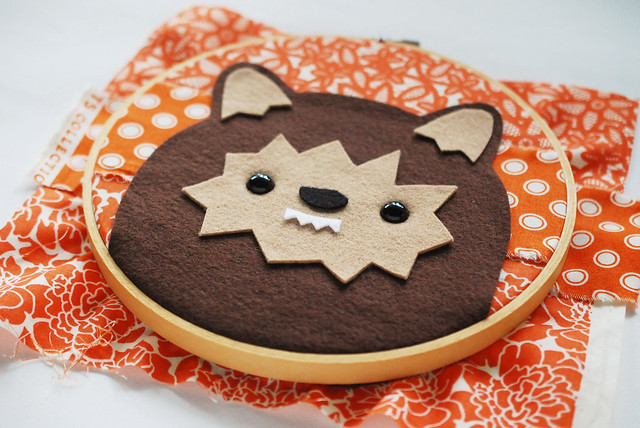
Place the fabric back in the hoop again, and this time, push the top hoop over the felt to hold it in place. Now you can finish off the back of your hoop however you'd like. The simplest option is to just trim the fabric down and leave it showing with a bit of fray. Or, read about more ideas for preparing your hoop for hanging.
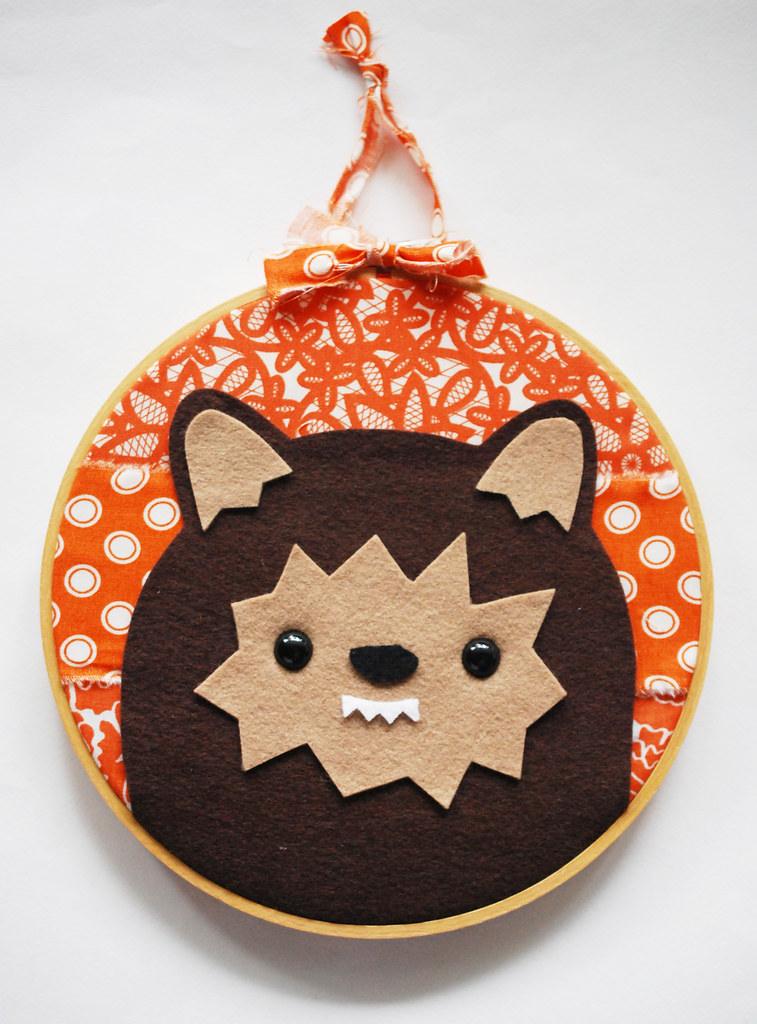
If you'd like, tear a strip of fabric and add a hanger, and perhaps a little bow too. I like how it softens it and adds extra detail.
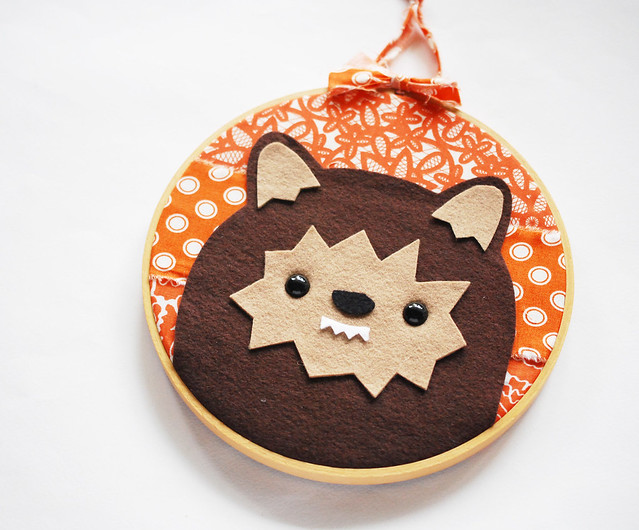
But really, the beady eyes are my favorite part about this. They shine and add some dimension, and it makes me think about how much fun it would be to use these in other hoop art. Hmmm...I might have to work on that.
Happy Halloween Crafting!
Thanks for the idea, i love it! I think it could be a cutie ewok too using light brown felt :)
ReplyDeleteThat's the cutest werewolf EVER!! Love the use of animal eyes here - it really makes this little guy sing!
ReplyDeleteReally cute and REALLY creative!
ReplyDeleteAwwwww, he is so cute!! No fear here :-)
ReplyDeleteToo sweet to be scary! (And it does look a lot like an Ewok.)
ReplyDeleteI LOVE this project I cant wait to make it.
ReplyDeleteSO CUTE! :)
ReplyDeleteAck! So cute!
ReplyDeleteque fofuraa *-*
ReplyDeleteSublimar-me