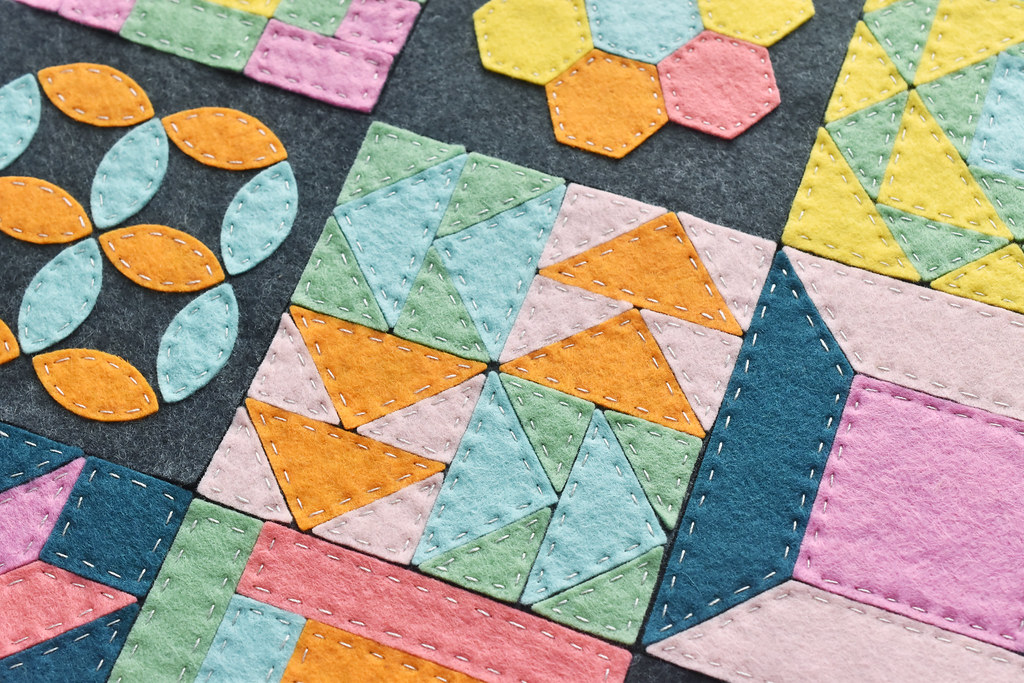
Do you love quilts like I do? Even when they aren't made in tradtional ways, I love their look. Which is why I decided to make this felt sampler mini quilt to hang on my wall! It has 12 different quilt blocks, but I never touched a sewing machine. In fact, you could make this entirely no-sew, but I think a few stitches by hand make it extra special.
Want to see the whole thing?
Note: This post contains affiliate links. If you order items I link to, I may receive compensation at no extra cost to you. Thanks for supporting my work in this way!

For my sampler quilt, I chose quilt blocks that I really like, but you can make this lots of ways. The colors will make a big difference in the overall look, but so will the blocks and placement. You could even choose to make this more like a regular quilt with only one or two different types of blocks, but just repeating them instead of making it a sampler.
And because I can't help but leave room for lots of options on any of the projects I make, there are several ways you can hang your felt mini quilt too. But we'll get to that later.

To cut out all the felt pieces for my quilt blocks, I used my three sets of Cozy Quilt Block deep-etch dies, which I designed for Benzie Design. The three sets are Sylvia, Jeanette, and Mollie, all named for my grandmas! If you aren't familiar with how these dies work, I recommend watching my YouTube video that shows the process from cutting apart the metal pieces (and when not to) all the way to rolling the felt through the manual cutting machine.
Now, here's what you need to make your own:
Two 12x18 sheets of felt (see notes on felt below)
Felt in various colors for the quilt blocks
Cozy Quilt Block deep-etch dies and manual cutting machine
Squares and Scallops deep-etch die OR ruler and rotary cutter Craft glue
12-wt embroidery thread/perle cotton
Needle
Scissors
Hanging clip holder OR dowel rod and string
Note: I always recommend wool or wool blend felt, and I used Benzie Design felt for this. Their 12x18 sheets are hand cut, so they may not all be exact. HOWEVER, there's a bit of wiggle room when it comes time to assemble the quilt.
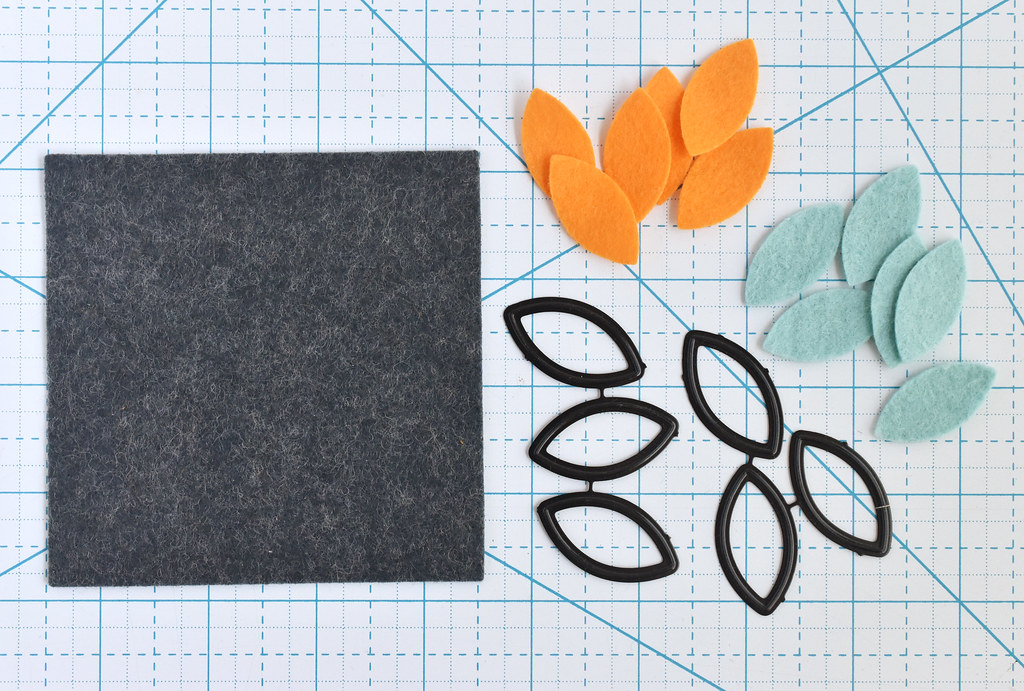
For each quilt block, cut a 4x4 inch square from one of the large felt sheets (keep the other one intact!). Use the deep-etch dies to cut out all of the felt pieces for the each block. Be sure to keep the pieces together so you can tell which block is which.
Each of the deep-etch die sets shows some inspiration for what blocks you can make with each set, but you can make even more than what is shown.
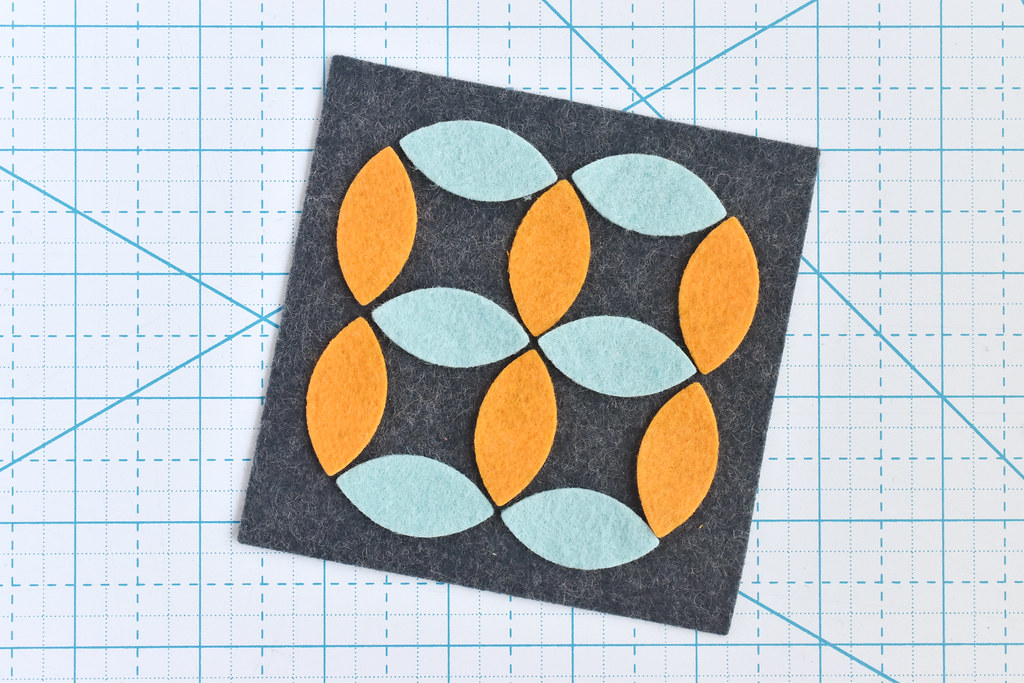
Arrange the quilt pieces on the square and use a tiny dot of glue to hold each one in place. This just keeps the pieces from moving while you stitch them down.
If you want to make your project without any stitching, you can use more glue to hold them more permanently.

You may want to try out some color arrangement on the blocks early on, even more you glue anything down. When you decide how you want everything, take a photo to remember!

To stitch down the pieces, thread your needle with 12-wt embroidery thread. You can also use several strands of regular embroidery floss.
Stitch around the shapes with running stitch, spacing the stitches as evenly as possible. I went for this because I like seeing the stitches.

One quilt block all finished!
Now, I probably shouldn't point this out, but originally I was going to have this orange peel design turned 45 degrees, which you can see in the phone photo. I DIDN'T look at that before I started gluing and stitching, so I ended up with a different look. But I share that to say that ultimately if the pieces fit together and you like how they look, it's not wrong! Go with what you like.

Make all your blocks following the same steps. Some have pieces that fill the entire square, but some are more open like the hexagons and orange peels. Those ones won't be as thick on your finished quilt, but they all still work together.
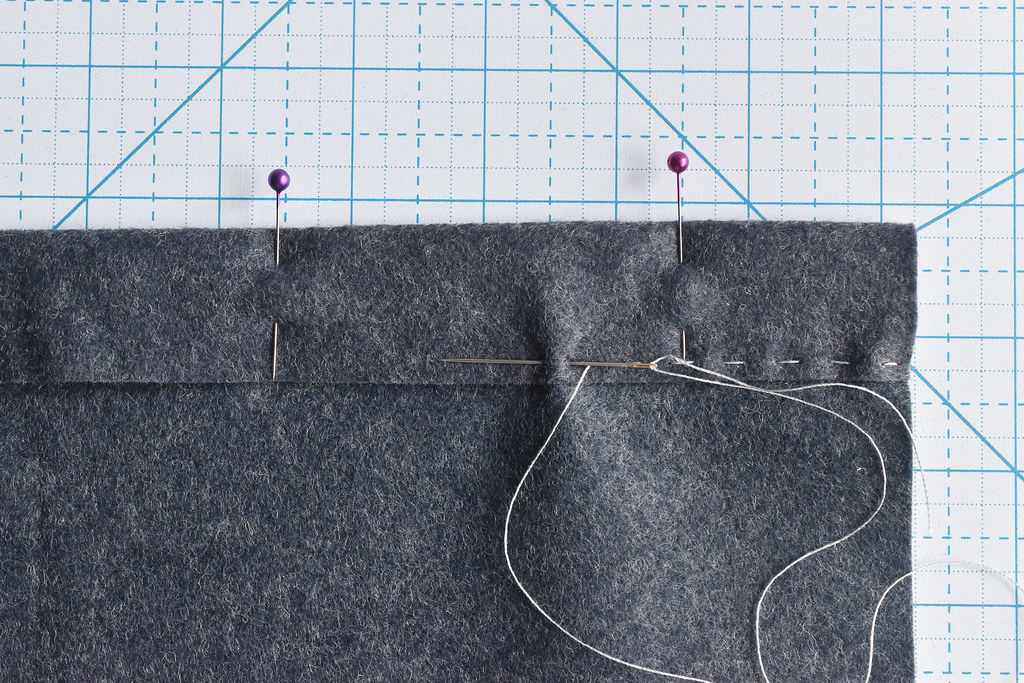
To prepare the backing that will hold all your quilt blocks, fold the top edge down about 1-1/4". Pin it in place and then stitch across the edge with running stitch. This will be the back.
This makes a little channel that you can run a dowel rod through. I did this even though I'm not using a dowel because I wanted an area that I could clip onto without attaching directly to the quilt blocks.
You could also glue this folded channel, as long as you leave room for a dowel (if you're using that).

Starting at the bottom edge, begin gluing the quilt blocks down to the backing. Make sure they are all lining up with each other and the edges. It's okay if the blocks hang off the edge of the back a bit, but you want everything to fit together nicely.
If any of the backing felt shows, you may need to trim it down with a rotary cutter and ruler. Just don't cut your quilt blocks!
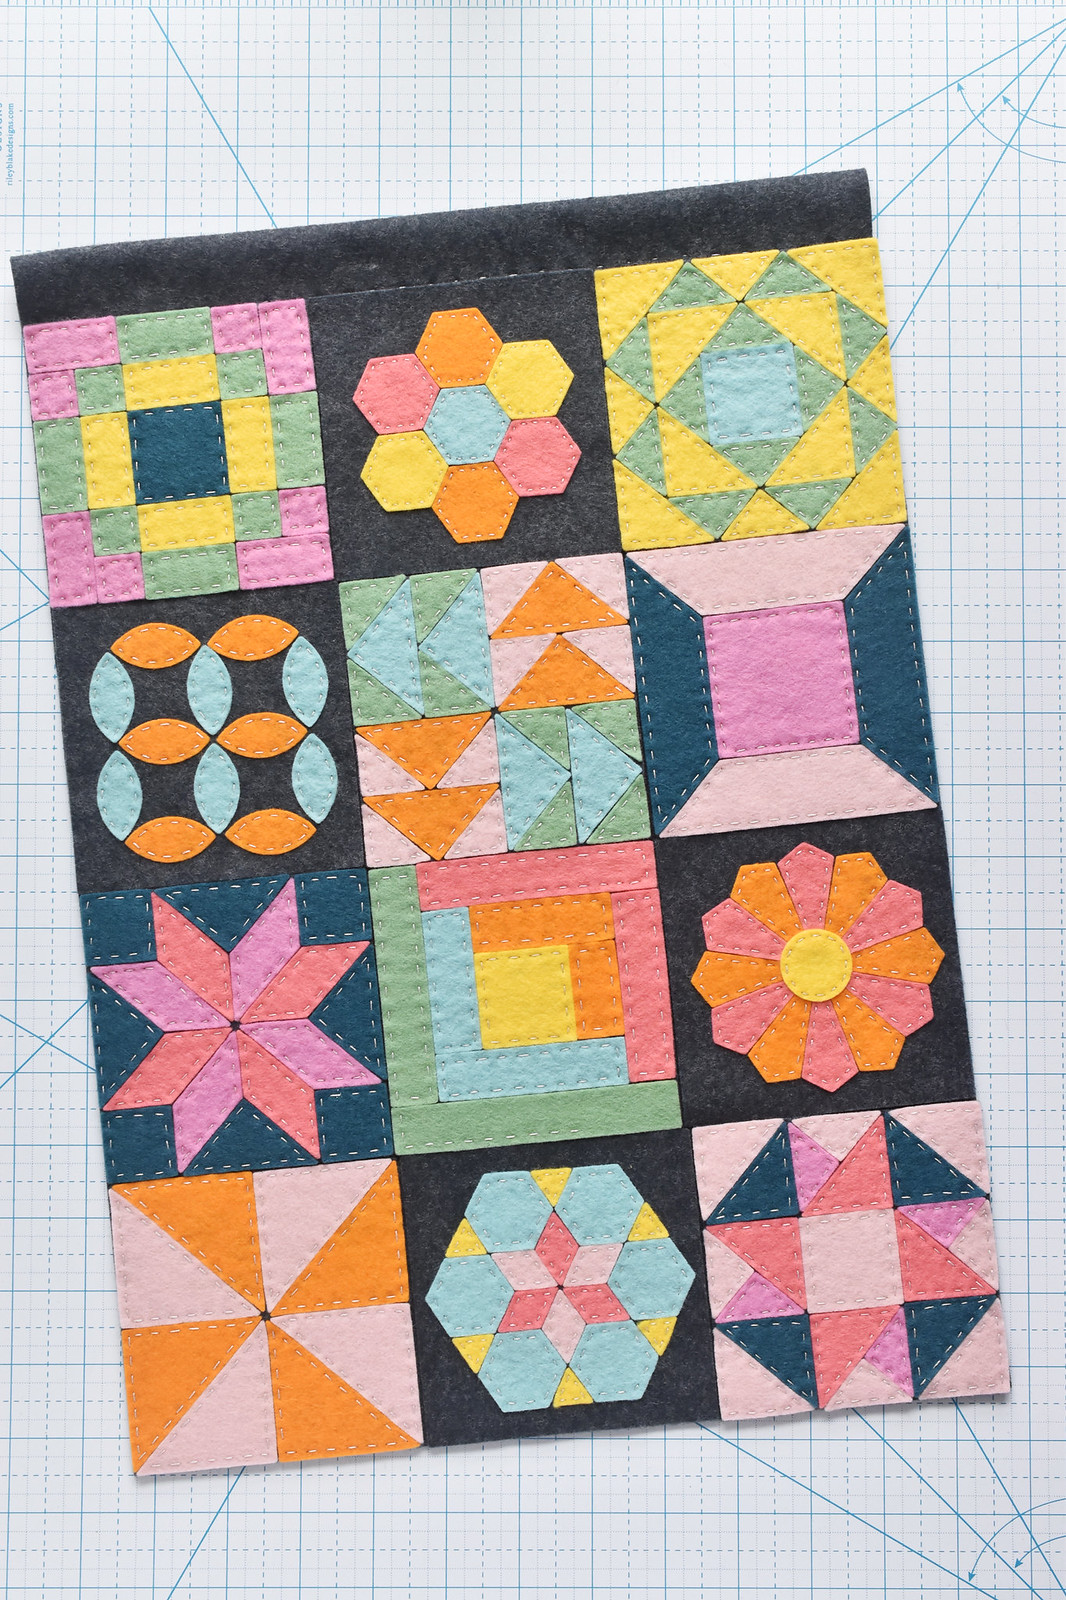
And look at that! You have a felt mini quilt! This honestly makes me so happy.

To hang my quilt, I used a ring clip holder, which I received from Missouri Star Quilt Co. It just clips on to each end of the top edge.

It has all the feeling of a traditional quilt, but with colors and materials that give it a cute and modern vibe. But I also love that you could make this lots of ways and get entirely different looks. Just like any kind of quilt!

Speaking of different looks, if you go to Missouri Star Quilt Co. and search for "ring clip holder" you'll find several styles and sizes. I used the 12-inch heart for my wall hanging, but the 8-inch version would hold a mini quilt that has a 2x2 or 2x6 grid of quilt blocks. That would be cute too!

Happy stitching!
0 comments:
Post a Comment
I often reply to comments in the comments...check back if you have a question!