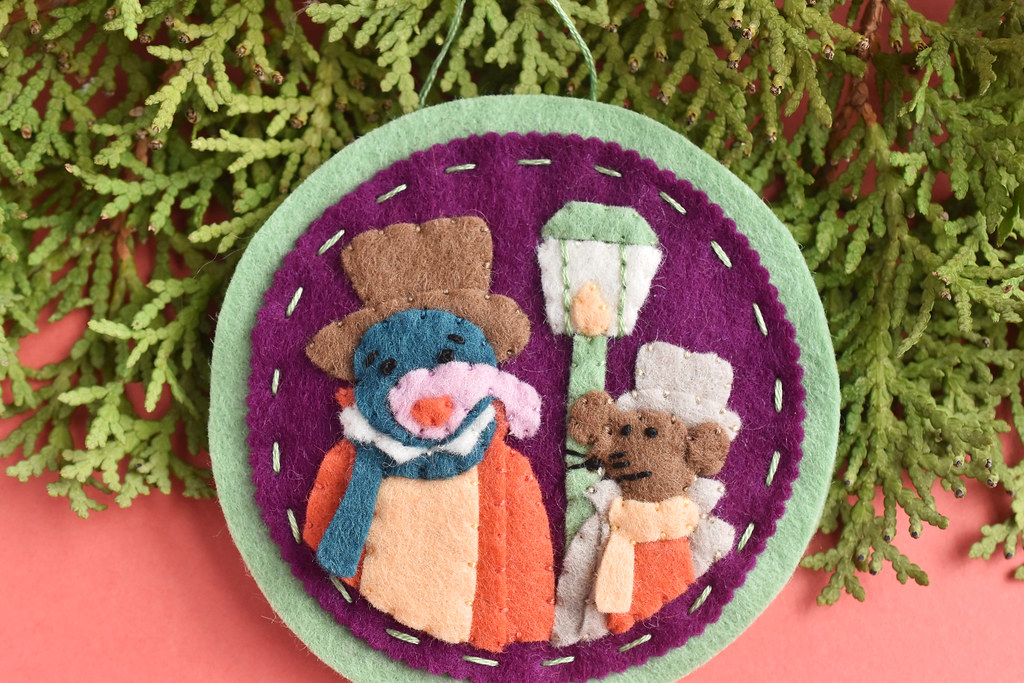
I love the Muppets and I love making felt ornaments. Putting those things together is only natural, and if you like those things too, this is the free pattern for you! If you're a fan of the Muppets (or you read the title of this post...ha!), you probably already recognize that this is Gonzo and Rizzo the Rat as they appear in A Muppet Christmas Carol. Gonzo is here to tell the story, and Rizzo is here for the food. Rizzo also thanks you for making him a part of this and would like to remind you to light the lamp, not the rat! Can you tell that this is one of my all-time favorite Christmas movies?
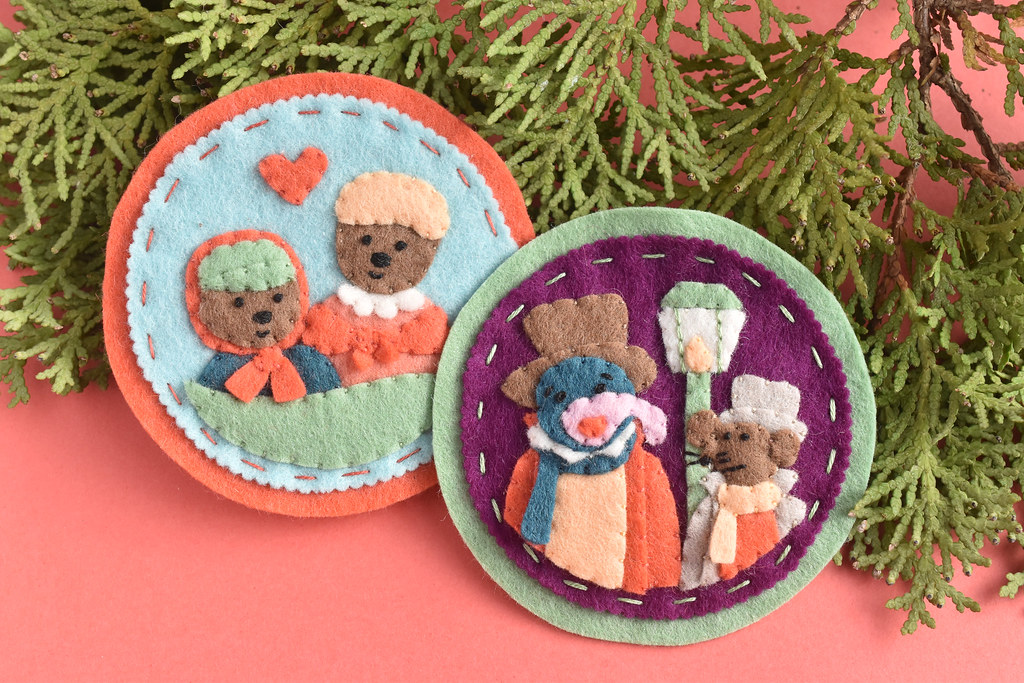
One of my other favorites is Emmet Otter's Jug-band Christmas, and last year I made a felt ornament with Emmet and Ma. At the time I thought making them into a series of sorts might be fun. To keep them looking like they go together, I used the same tiny scallop scissors and a similar felt palette.
Speaking of felt, this is 100% wool Bellwether felt from Benzie Design. It's absolutely wonderful to work with, it makes these feel like heirloom ornaments, and it also makes the tiny pieces a little easier to work with.
And speaking of tiny pieces, there are a lot here. Because of this, I'd classify this as an ADVANCED pattern. If you've never made one of my felt ornaments before, I'd highly recommend that you make a few easier ones before tackling this. And be sure to read through all the instructions here.
Okay, so shall we get started?

The Marleys were dead to begin with. Wait...that's how the movie starts, not how the project starts...
You will need:
Felt (I highly recommend 100% wool for this)
Matching Embroidery Floss, Plus Black
Freezer Paper and Pencil
Iron and Ironing Mat
Scissors
Scallop Shears (these are the 3mm size)
Glue
Needle
GONZO AND RIZZO ORNAMENT PATTERN
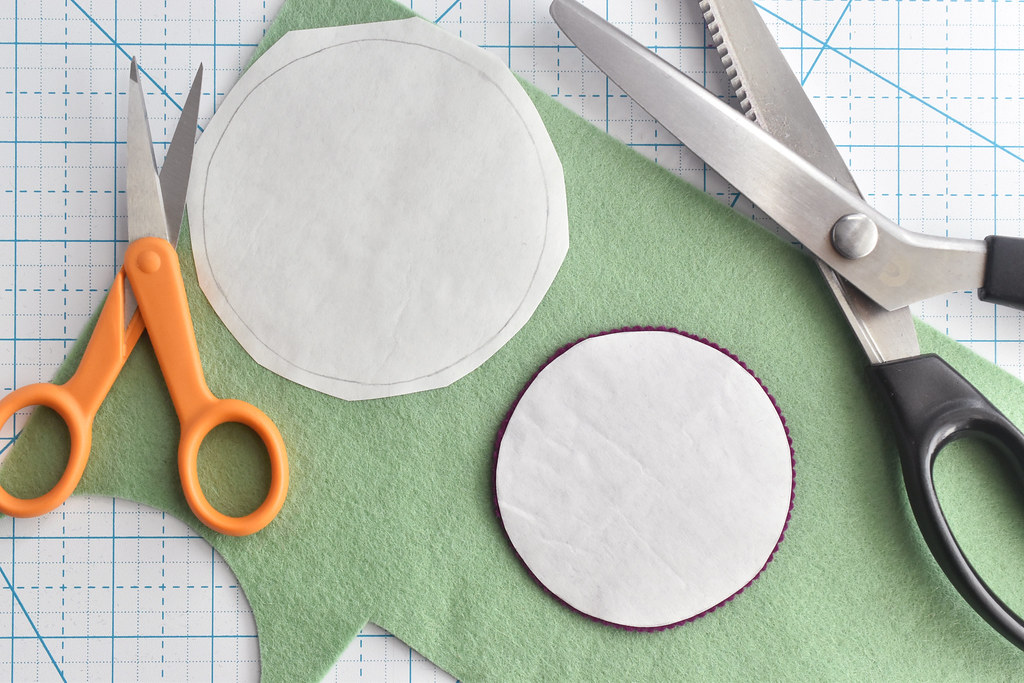
Trace the circles onto freezer paper. Cut out the smaller circle, but leave the larger one uncut. Iron the templates to the felt.
Cut out the larger circle with regular scissors, cutting on the line. Cut out the smaller circle with scallop shears, cutting close to, but around the template.
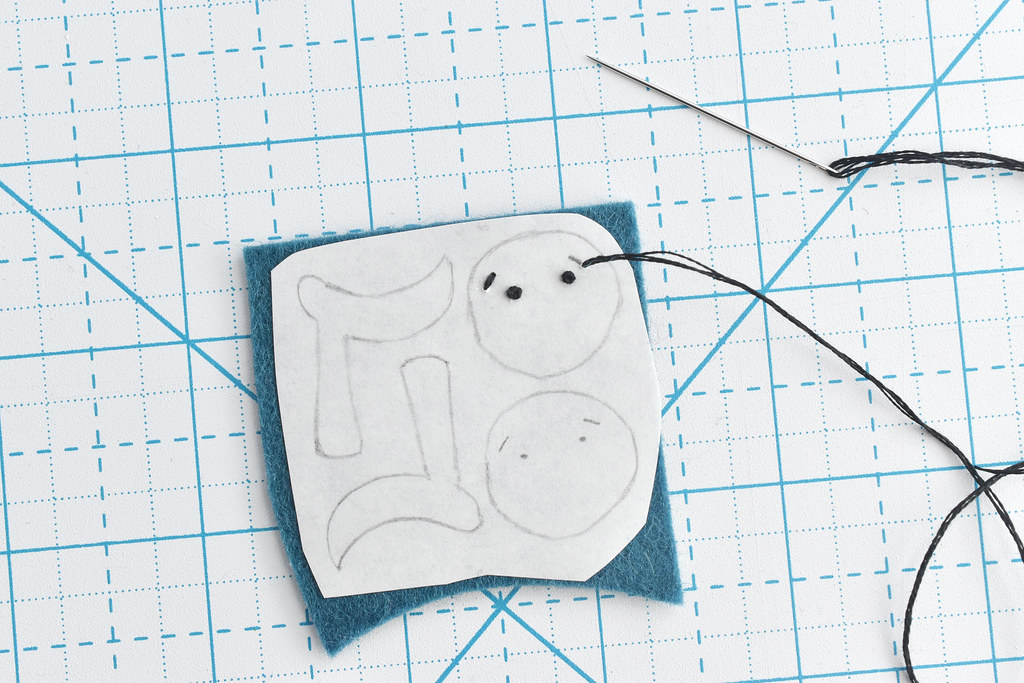
Trace the other pattern pieces on freezer paper, grouping them by color. (I'm making two ornaments, which is where there are multiples here.)
On Gonzo's face I embroidered the details before I cut them out and used three strands of black embroidery floss.
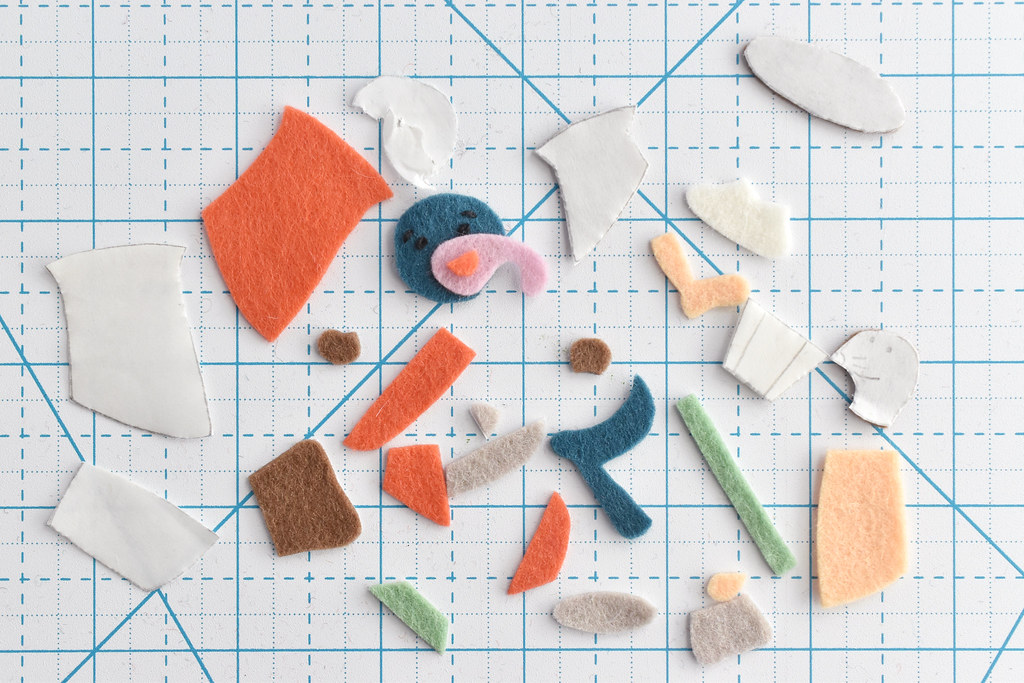
Cut out the felt pieces and remove the freezer paper. Leave the paper on the large lamp piece and Rizzo's face. When removing the paper from Gonzo's face, carefully tear it away so you don't tug at the stitches.

Layer the pieces on the smaller circle, using the illustration on the pattern PDF as a guide. This helps you see how the pieces will fit together.

Remove the top layer (or layers!) of pieces and then use glue to hold the lower layers in place. You only need a tiny bit of glue because you'll be stitching the pieces down. This is just to help keep them from shifting. As you add more layers you can repeat this to hold them in place too.
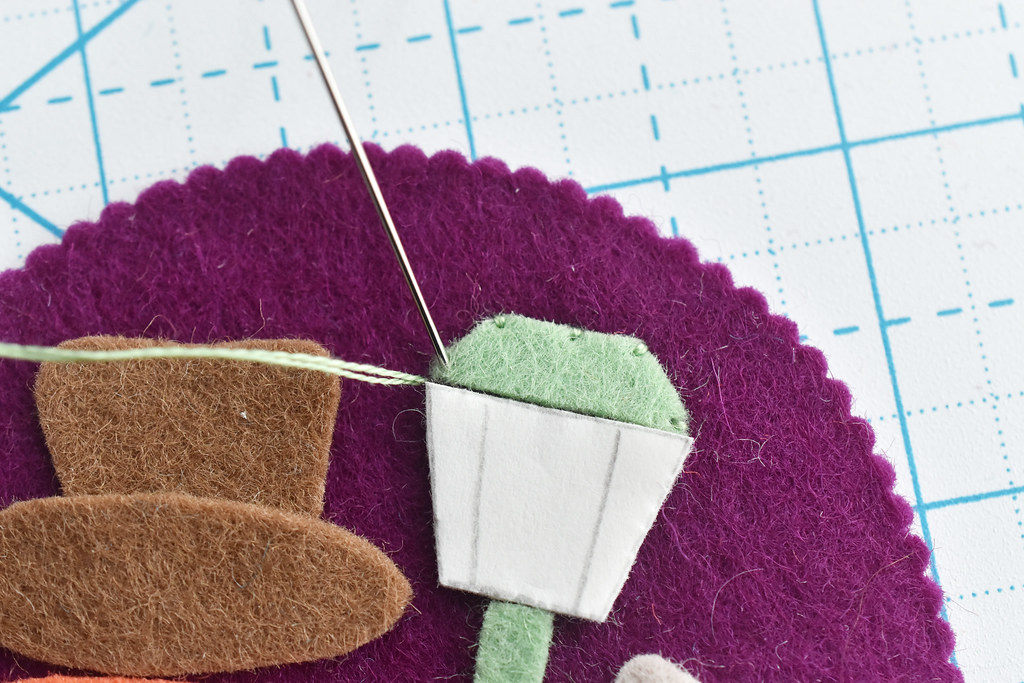
Use two strands of matching embroidery floss to stitch down all the pieces. Use a whip stitch around the edges coming up on the back layer and down through the edge of the top layer. I have a video showing this type of stitch on my YouTube channel.
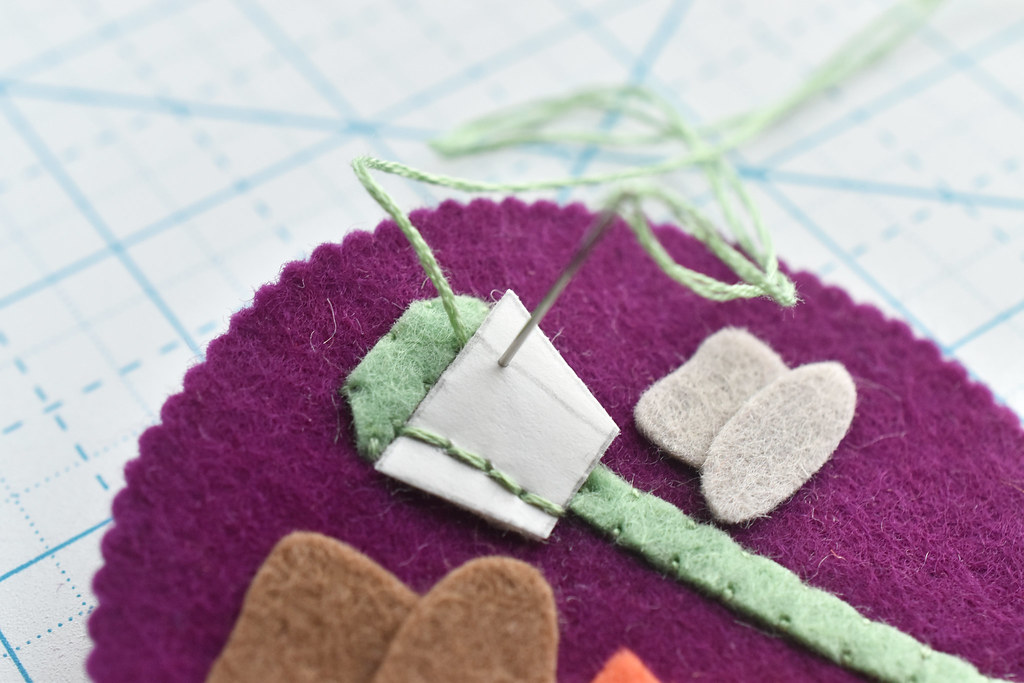
On the lamp, use three strands of green embroidery floss (or whatever color you make your lamp post) and stitch the lines on the glass with back stitch.
I did this while it's on the circle so that the stitches can go all the way to the edge of the felt. They actually wrap around the the edges of the felt.
Carefully tear away the paper and then stitch around the edge of the felt as you do with all the other felt pieces.
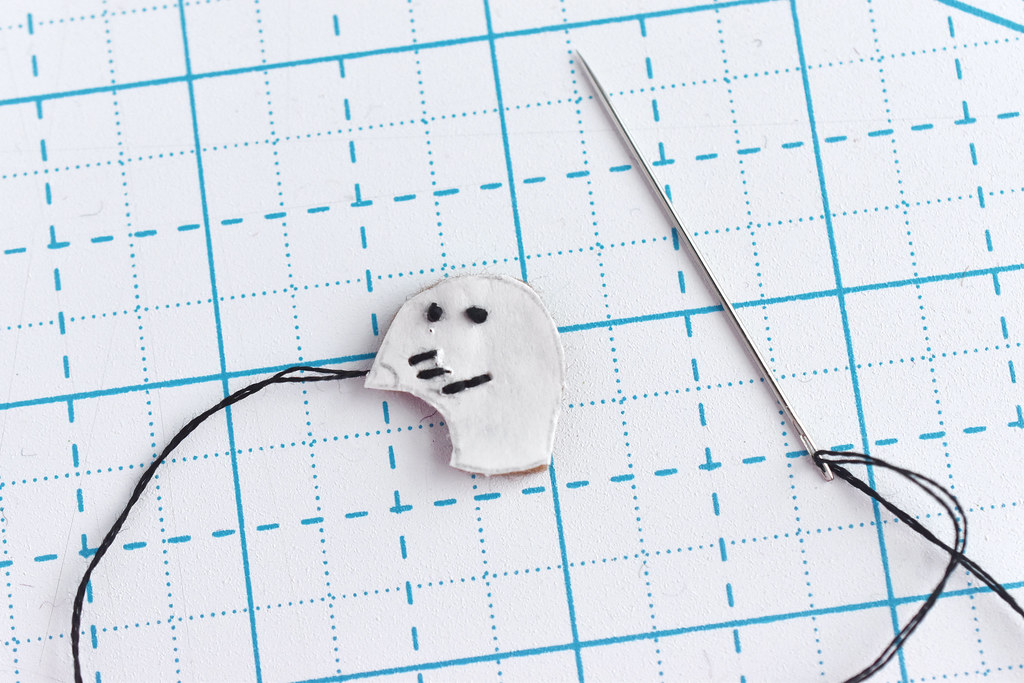
For Rizzo's face, us two strands of black embroidery floss. I cut out the felt pice and embroidered everything but the nose. On the mouth, I brought the thread around the edge of the felt like with the lamp.
You could do this while it's glued onto the back circle and layered pieces if you want. Carefully tear away the paper and then stitch around the head, with the ears layered as shown below.
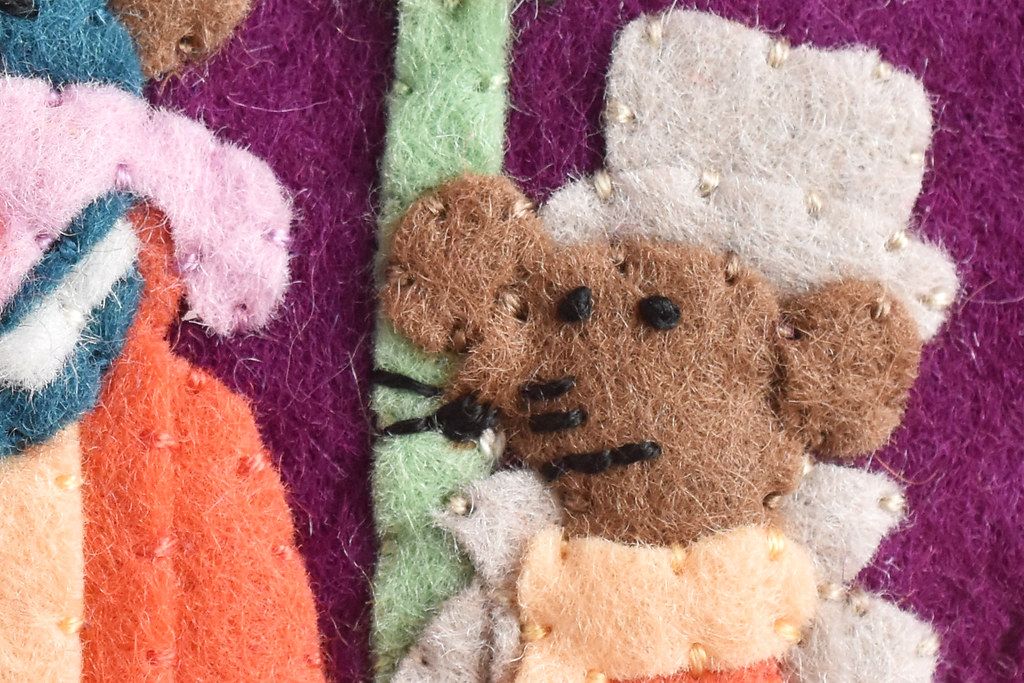
The ear on the left is layered behind the head and the ear on the right is in front.
His nose is embroidered with the stitches starting at the point of the nose so they fill that area like a little triangle. The teeth are just a few straight stitches under the nose and the whiskers are also straight stitches.
I just looked at the pattern and aimed for close enough while stitching freehand!

After all the pieces are in place, layer the two circles and stitch around the edge with running stitch. Use three strands of embroidery floss to match the larger circle.

Add a hanger by stitching through the back layer of felt and tying the ends together.
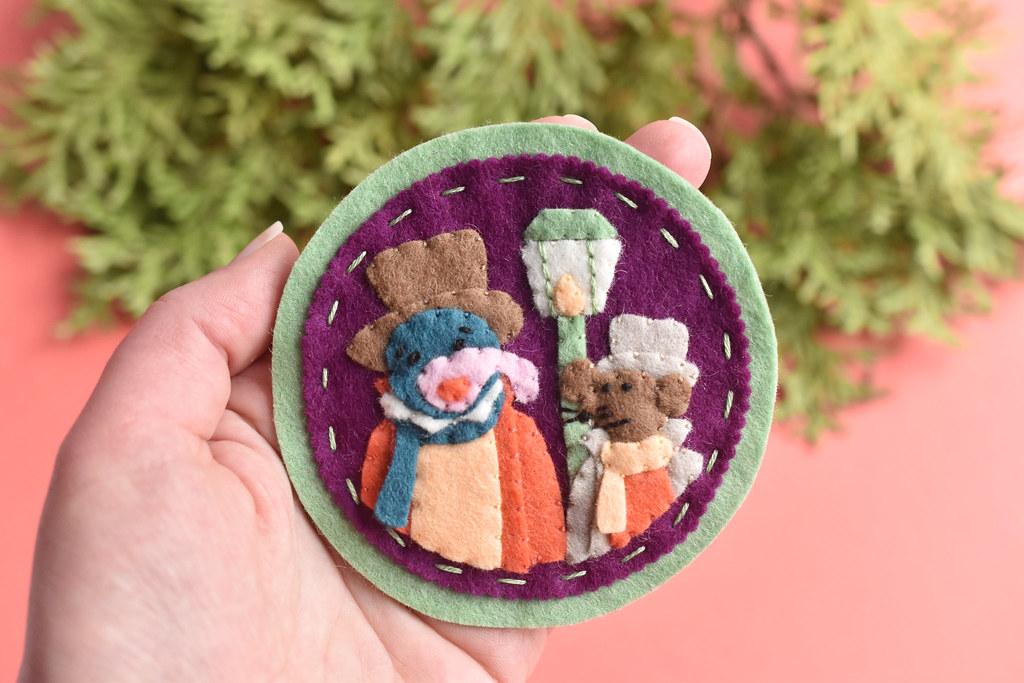
And your ornament is all finished! This is definitely a challenging one. But when you see it all come together, I think it's worth it. I'm also the first one to say that both of the ornaments I made have some wonky parts, but they're Muppets. Wonky is part of who they art. And Gonzo is a "whatever" so I think close enough is just fine!
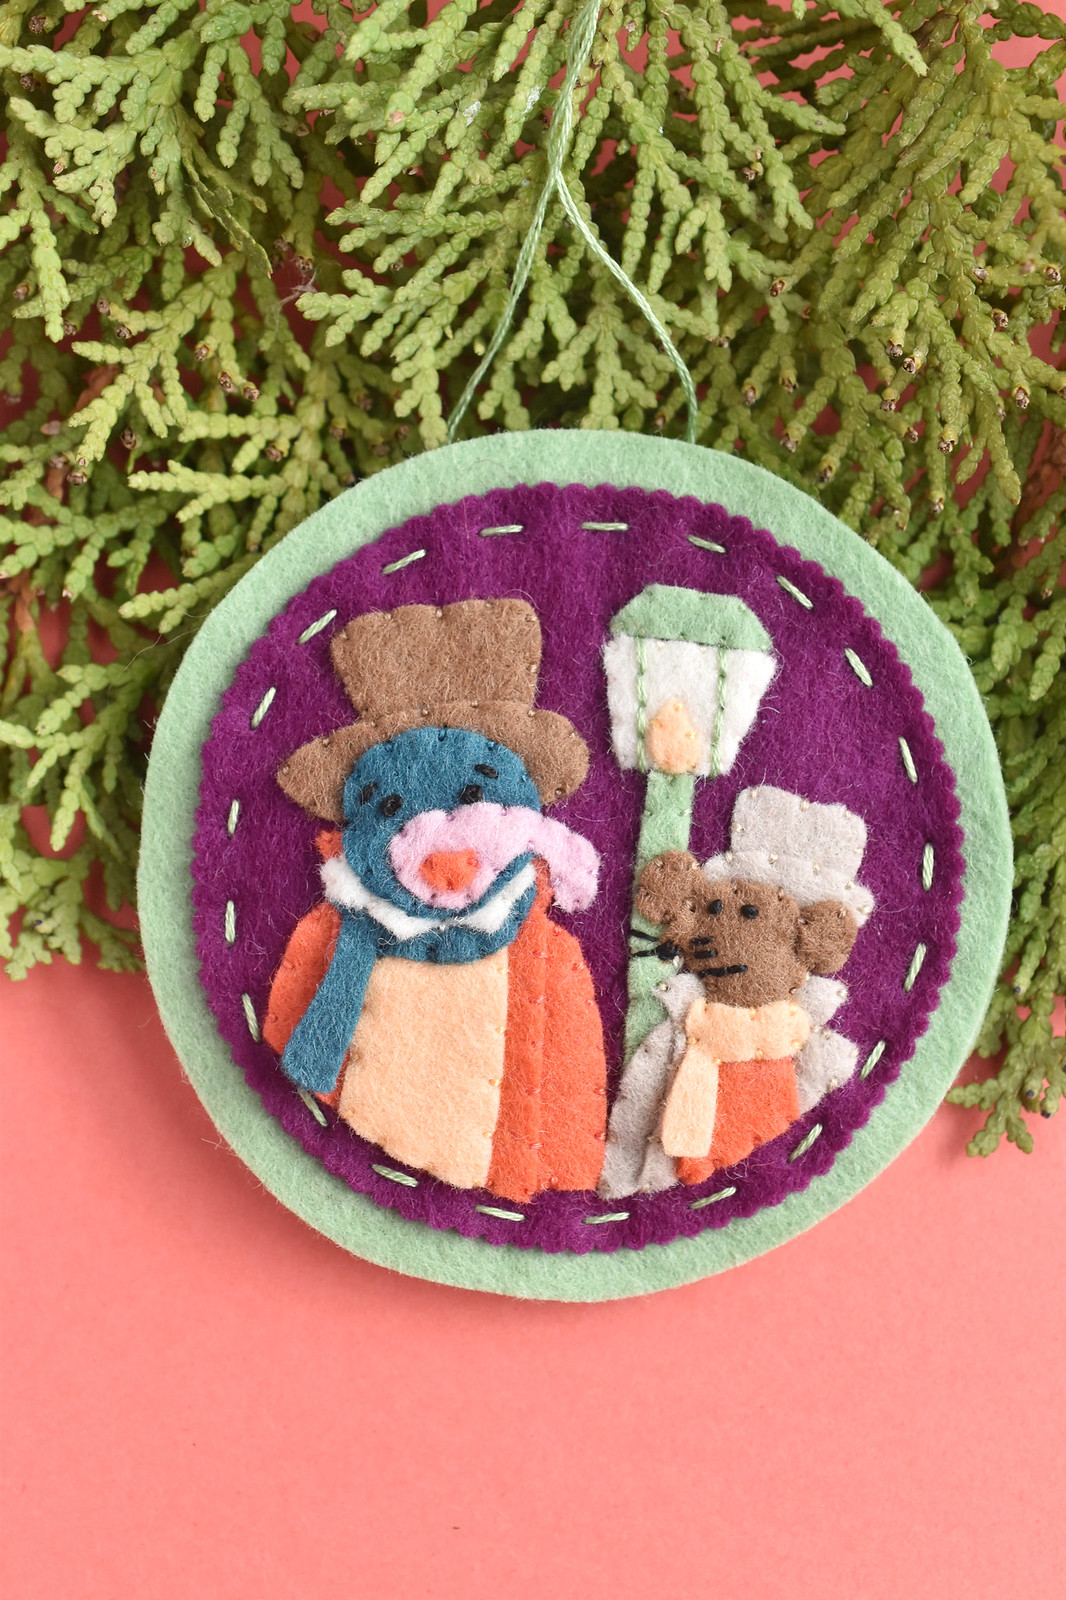
Besides, when you love these characters, I think their personality shines through. And having them on your Christmas tree is really the fun part.
Now in the words of Tiny Tim, God bless us, every one!
What are the names of the Benzie felt you used for this project?
ReplyDelete