
Need a spot to stow your small stitching tools or maybe a cup of coffee? Knit this mini tray with my free knitting pattern!
This month, my free calendar (and accompanying stitching patterns) features yarn shop that looks like a green ball of yarn and I just couldn't resist the opportunity to create a knitting pattern to go with it. Now, if you're a regular visitor to Wild Olive, you might notice that I don't usually post knitting patterns here. I do knit, but I've only ever shared a few patterns on other sites. This pattern may seem out of place. But it was too perfect to connect it to my other things this month.
The prerequisites for whatever I would make were that it needed to be a small and simple project and it needed to be green to match the yarn shop. Oh, and ideally I would use yarn in my stash.


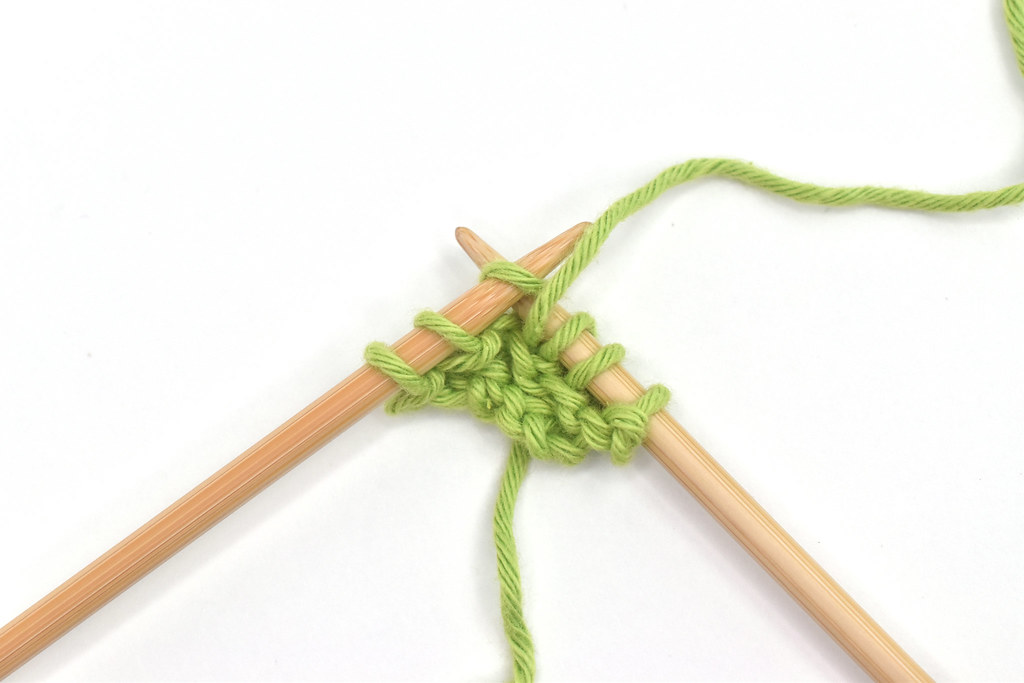
Cast on 4 stitches. I used the long-tail cast-on method for mine.
Knit the first two rows. For each of these, knit 2, knit in front and back of the next stitch to increase, then knit to the end of the row. You should have six stitches now.

Now it's time for the main increasing rows. In the PDF pattern, this is row three and you'll repeat the same thing 30 times.
Knit 3, yarn over (to increase and add that little space near the edge), and then knit to the end of the row.
Repeat this (row 3) until you have 36 stitches.
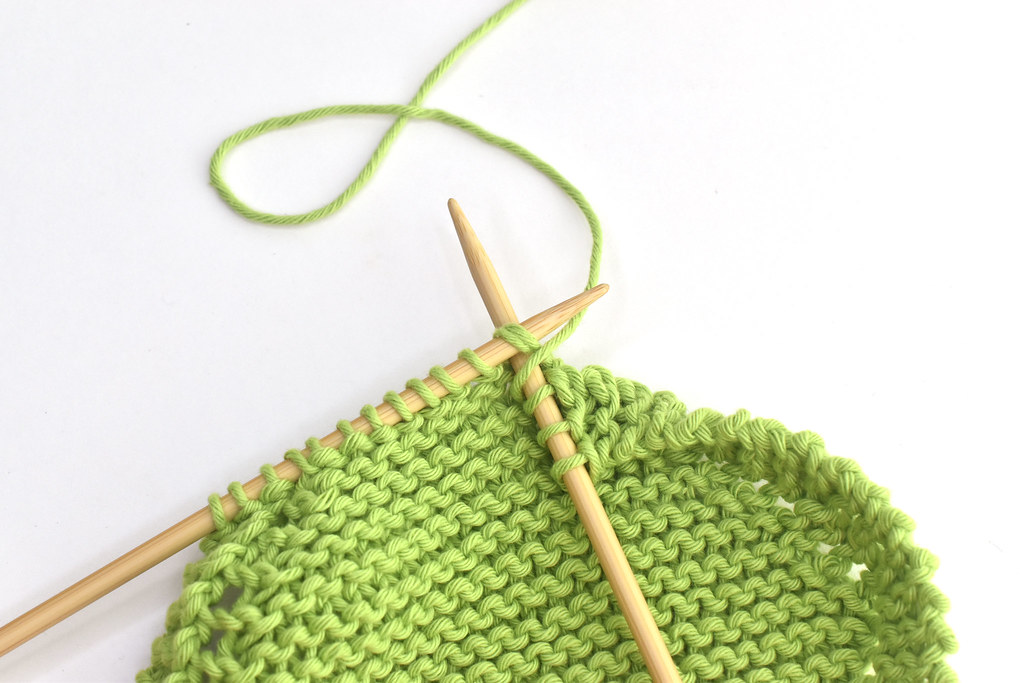
Next, you'll knit the decreasing rows. In the PDF version, this is row 4.
Knit 2, knit 2 together (to decrease), yarn over, knit 2 together (this counteracts the yarn over increase), and knit to the end of the row.
Repeat this (row 4) until you have 7 stitches.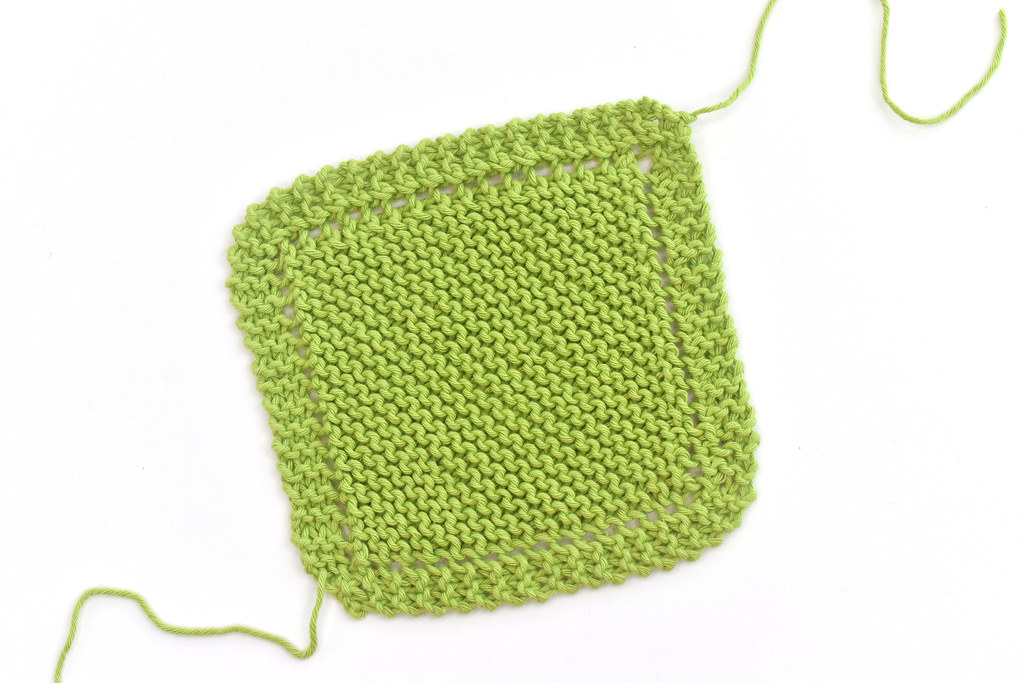
To finish, you need to decrease a little more with what is row 5 in the PDF.

For the first two corners, use the yarn tails from starting and ending your knitting. Thread the tapestry needle and weave it through the edge until it's about 3/4" from the corner point.

Pinch the corner together and stitch through the two layers to sew them together. Make several stitches to secure it.

Weave the yarn through the stitching and then finish weaving the yarn end. Repeat this with the second yarn end that's already attached.

For the remaining two corners, cut a piece of yarn and attach it to the tray near an unstitched corner, then follow the same steps above to make the pinched corners.


Inspiration hit in the form of One Dog Woof's crocheted Jasmine Star Valet Tray. ChiWei's design is beautiful and I had never thought of using a yarn craft to make a little tray like this. Now, I've sewn trays, but this was the perfect kind of small project like I was looking for.
So I came up with a knit version that's not quite as fancy, but it's fun and easy to knit. If you have ever knit anything, you may recognize this as being similar to a classic dishcloth pattern. My grandma probably made hundreds of them and I like the connection to her through this. So yes, I riffed off of that too.
Remember, the goal was a knitting pattern that was small and simple. I think I accomplished that and here we are. I hope you enjoy making a knit mini tray (or a bunch!) as much as I have.
You will need:
Worsted weight cotton yarn, about 45 yards- I used Paintbox Yarns Cotton Aran
Size US 7/4.5mm knitting needles
Large tapestry needle
Note: gauge isn't particularly important for this, but if you tend to knit loosely, you may want to go down a needle size or two.
Worsted weight cotton yarn, about 45 yards- I used Paintbox Yarns Cotton Aran
Size US 7/4.5mm knitting needles
Large tapestry needle
Note: gauge isn't particularly important for this, but if you tend to knit loosely, you may want to go down a needle size or two.
The full instructions are below, but you can also download the PDF version (which is simplified and includes basic abbreviations, but not the full step-by-step photo tutorial) to keep it handy.

Cast on 4 stitches. I used the long-tail cast-on method for mine.
Knit the first two rows. For each of these, knit 2, knit in front and back of the next stitch to increase, then knit to the end of the row. You should have six stitches now.

Now it's time for the main increasing rows. In the PDF pattern, this is row three and you'll repeat the same thing 30 times.
Knit 3, yarn over (to increase and add that little space near the edge), and then knit to the end of the row.
Repeat this (row 3) until you have 36 stitches.

Next, you'll knit the decreasing rows. In the PDF version, this is row 4.
Knit 2, knit 2 together (to decrease), yarn over, knit 2 together (this counteracts the yarn over increase), and knit to the end of the row.
Repeat this (row 4) until you have 7 stitches.

To finish, you need to decrease a little more with what is row 5 in the PDF.
Knit 2, knit 2 together, and then knit to the end of the row.
Repeat this (row 5) until you have 4 stitches. Bind off in knit.

For the first two corners, use the yarn tails from starting and ending your knitting. Thread the tapestry needle and weave it through the edge until it's about 3/4" from the corner point.

Pinch the corner together and stitch through the two layers to sew them together. Make several stitches to secure it.

Weave the yarn through the stitching and then finish weaving the yarn end. Repeat this with the second yarn end that's already attached.

For the remaining two corners, cut a piece of yarn and attach it to the tray near an unstitched corner, then follow the same steps above to make the pinched corners.


Now your mini tray is ready to use! I like using them as a place to hold my small stitching items while I work on a project, or even so they are handing to find on a shelf.


You can also use these little trays as a place to keep a bar of soap near your sink (they're machine washable!) or as a coaster. If you know me, you'll know that I can work coffee into just about anything I'm working on.
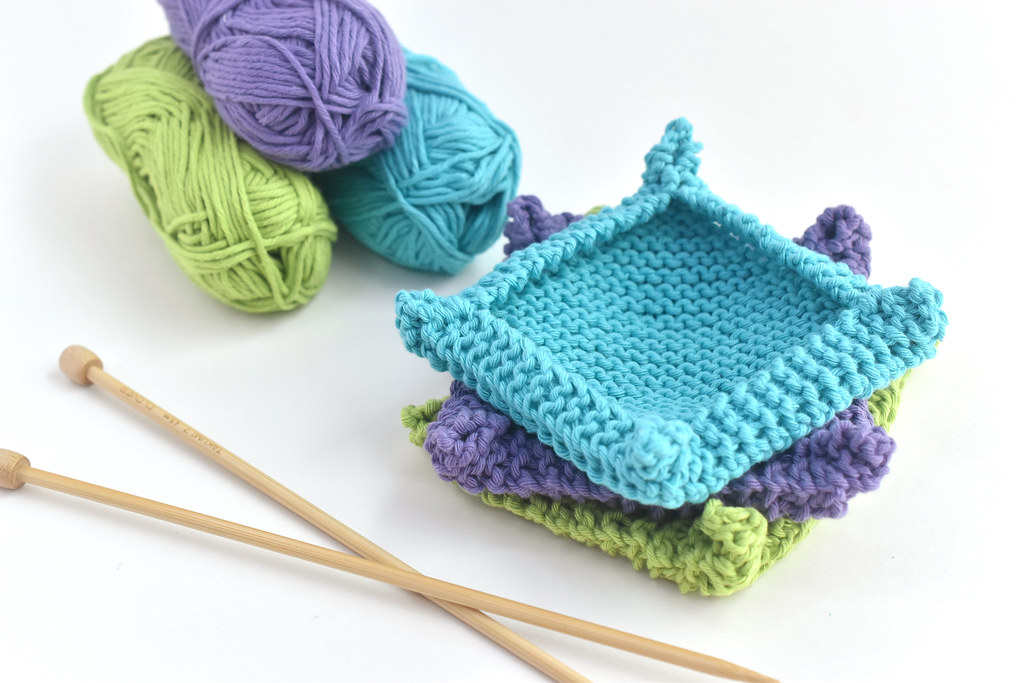
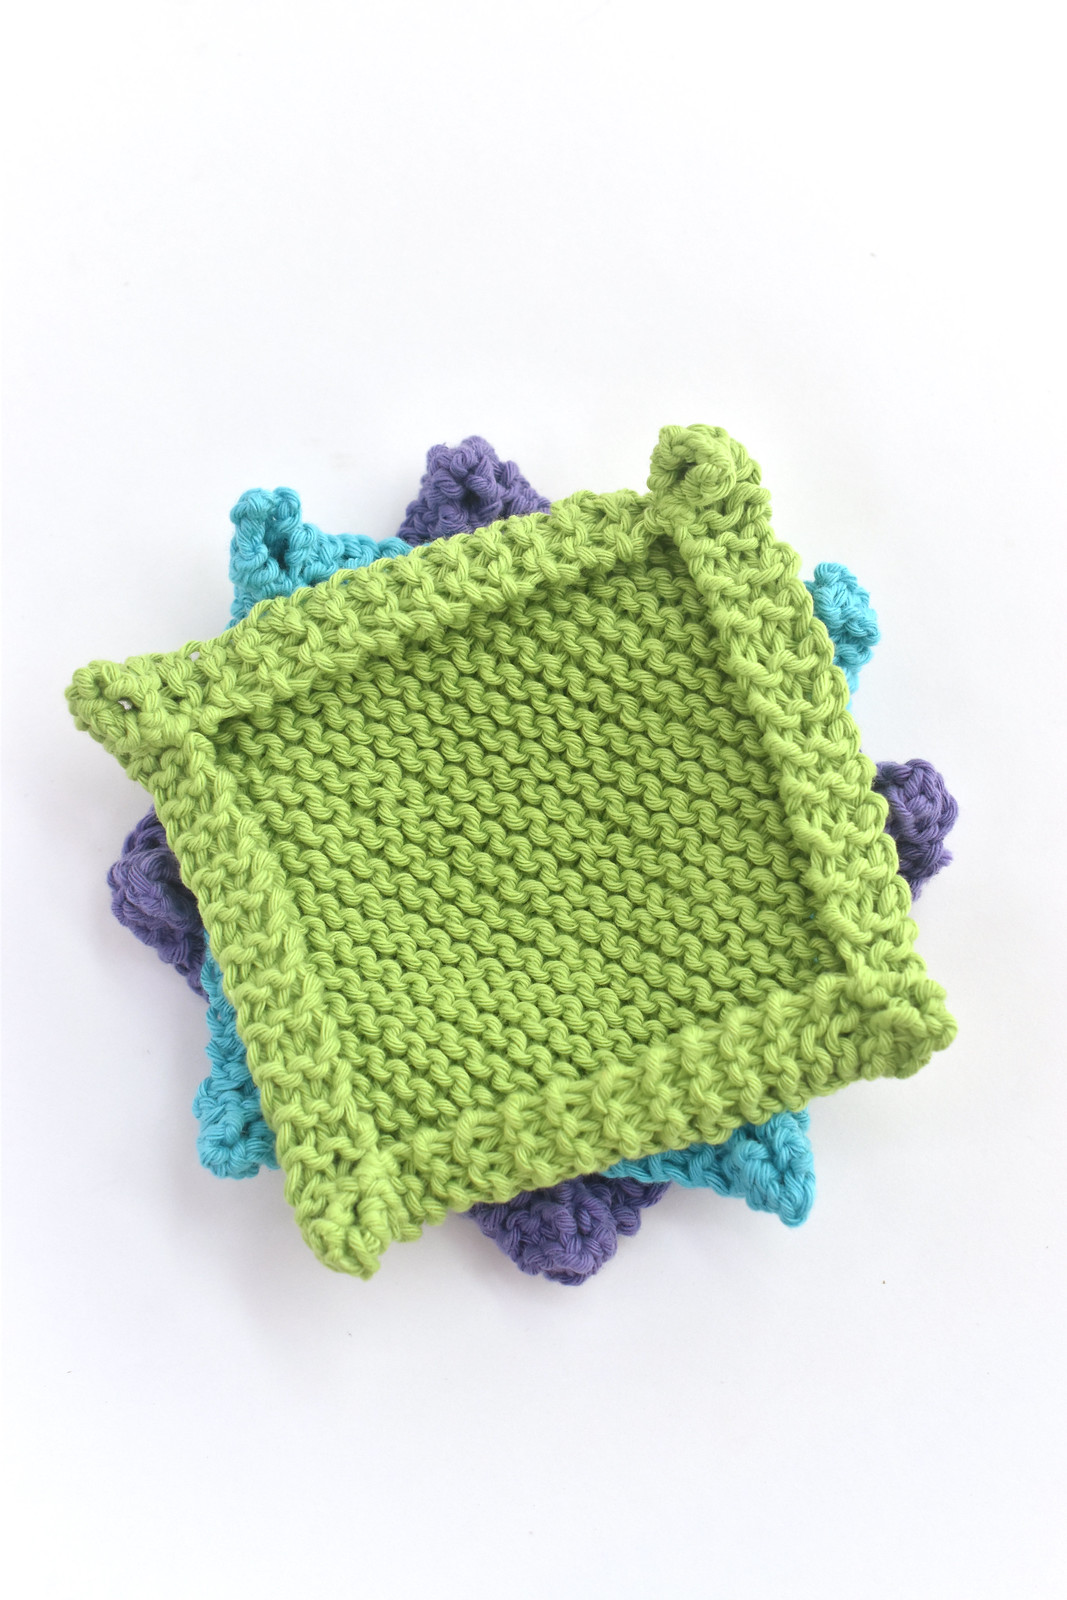

I especially love that these are fast and easy to make, which means you can make a bunch for yourself or as a gift. AND they don't use a ton of yarn, so it's ideal for when you have a partial skein leftover!


You can also use these little trays as a place to keep a bar of soap near your sink (they're machine washable!) or as a coaster. If you know me, you'll know that I can work coffee into just about anything I'm working on.


I especially love that these are fast and easy to make, which means you can make a bunch for yourself or as a gift. AND they don't use a ton of yarn, so it's ideal for when you have a partial skein leftover!


adorable!
ReplyDelete