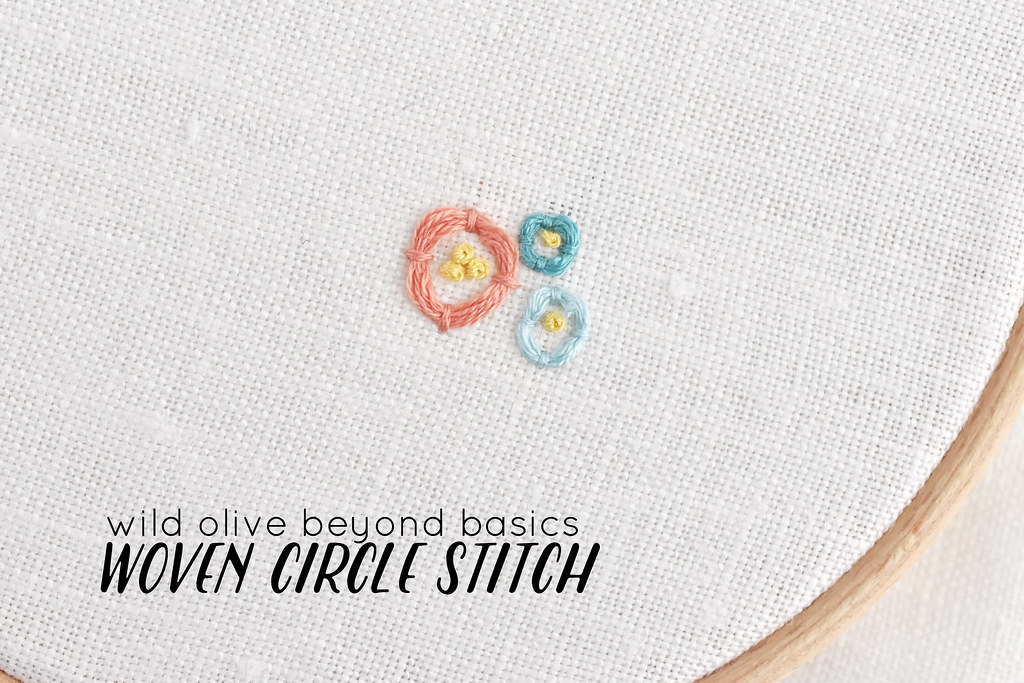
Do you ever need to embroider a small circle? You can use simple outline stitches, but there are more options. And that's where the woven circle stitch comes in! Today's beyond embroidery basics tutorial shows you how to form this stitch and ways to use it.
A while back, I showed how to make another type of circle stitch. The woven circle stitch is similar to that in how it looks, but it's easier to do. Instead of making a circle of thread and tacking it down with two stitches, this starts with four tacking stitches and then you weave the circle under them.
But before I get too far, let me bring in a friend of mine...
It has been a long time! Everyone say hello to Olive! She likes to help me out in these stitch posts and it didn't feel right to make another one without her.
Plus, I had olives on my mind when making this tutorial. (Don't tell Olive this, but this stitch is perfect for making the sliced olives on the pizza in my pattern set, A Pizza My Heart.")
Oh, nothing! Let's move along, shall we?
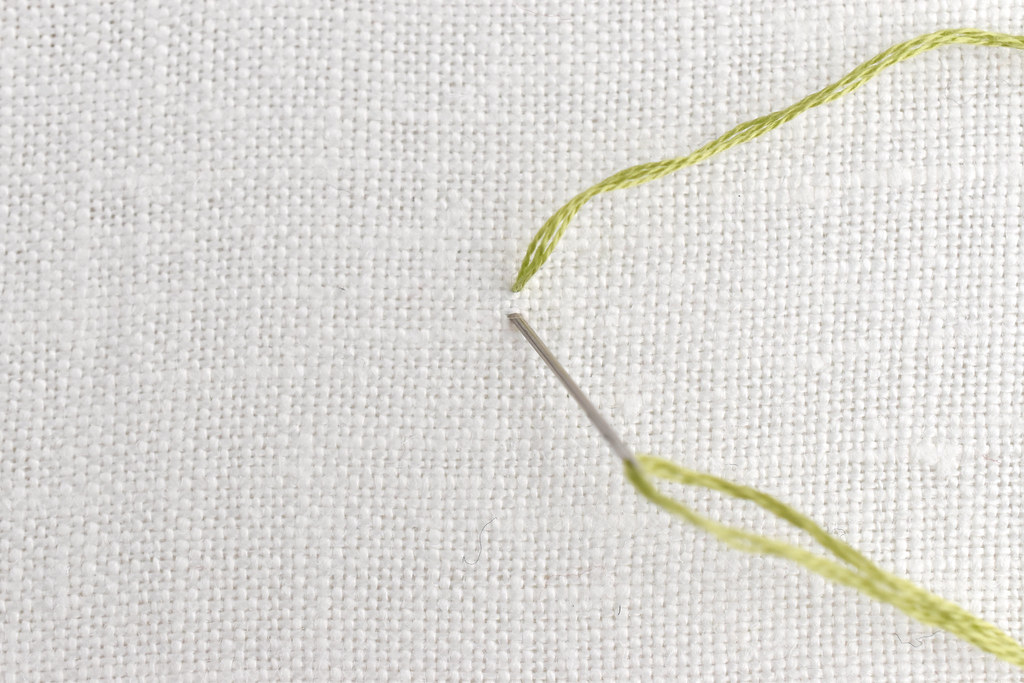
At the top of what will be your circle, make a small straight stitch.
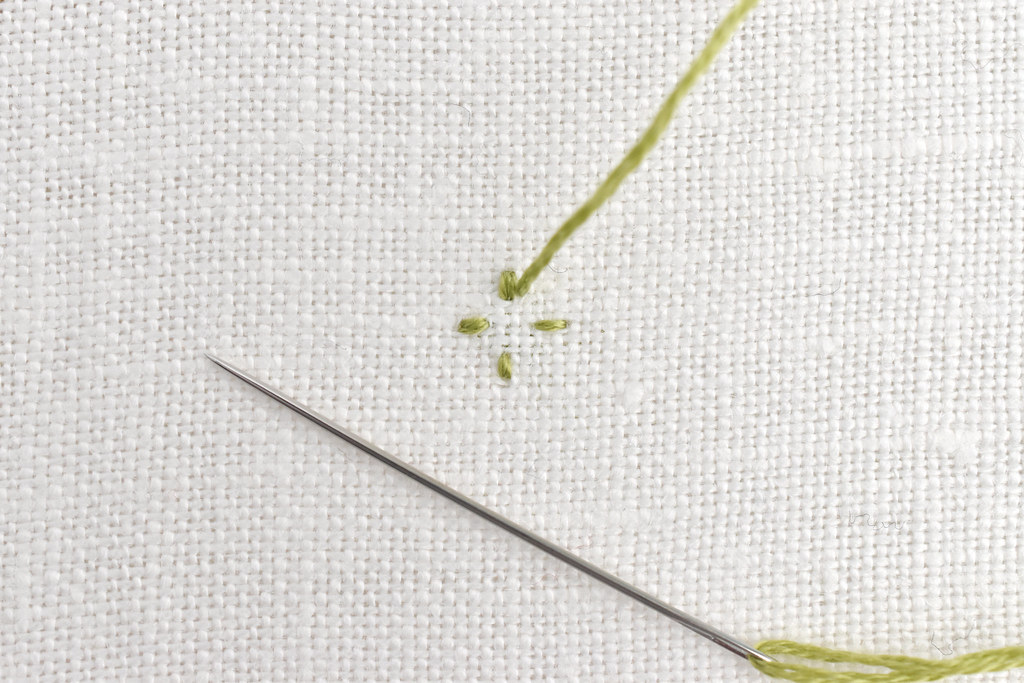
Make three more straight stitches like the markings on a clock at the 12, 3, 6, and 9 o'clock spots. Come back up near the top stitch.
I know, Olive. Right now it looks more like a diamond or twinkly star shape. But trust me...it's gonna become a circle! A woven circle stitch!
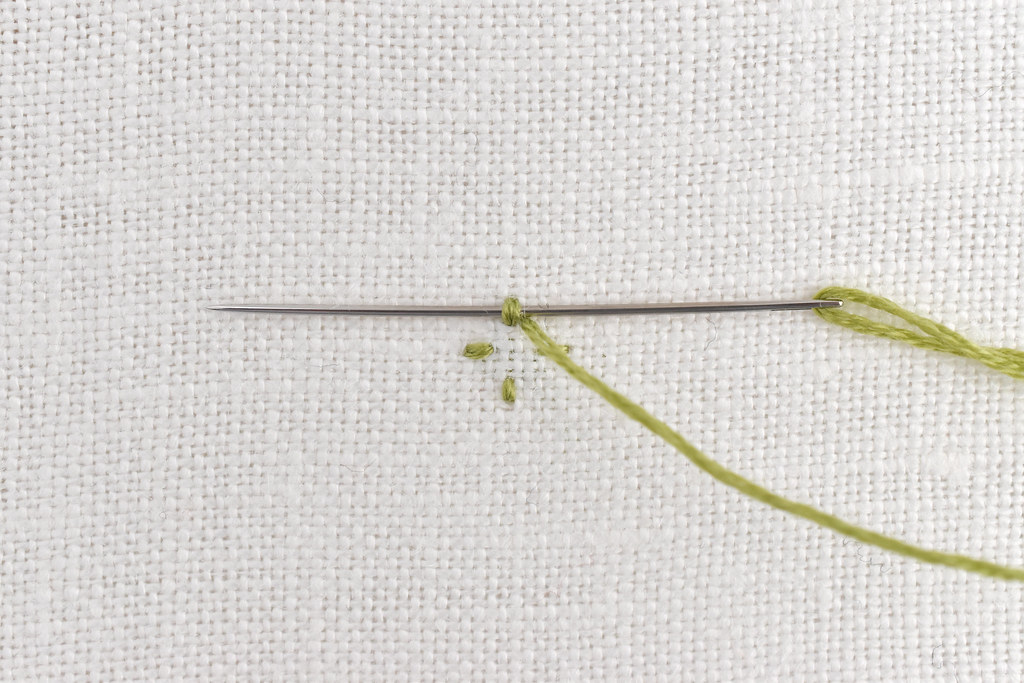
Slide the needle under the top straight stitch.
Now, despite that clock description I gave before, I'm actually working counterclockwise. But you can work in either direction!

Slide the needle under each stitch around the circle. Don't pull the thread too tight or it will look more square-ish.
Repeat this, sliding the needle under each stitch, so you go around the circle several times.
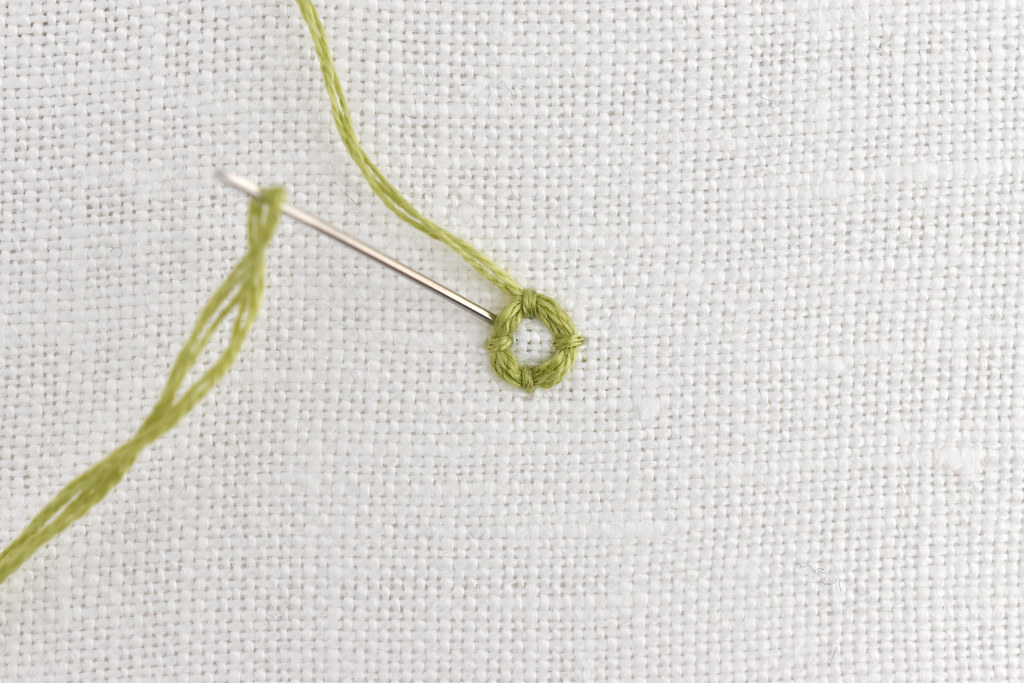
It's okay, Olive! Because now it's time to end the stitch by going down through the fabric under the circle part.

And that's a woven circle stitch!
Really, you can use this for any time you want to make a circle. You can even make the straight stitches a little longer so you have a fuller area to fill in with more dizzying times around the circle.
It's also great for making tiny flowers!
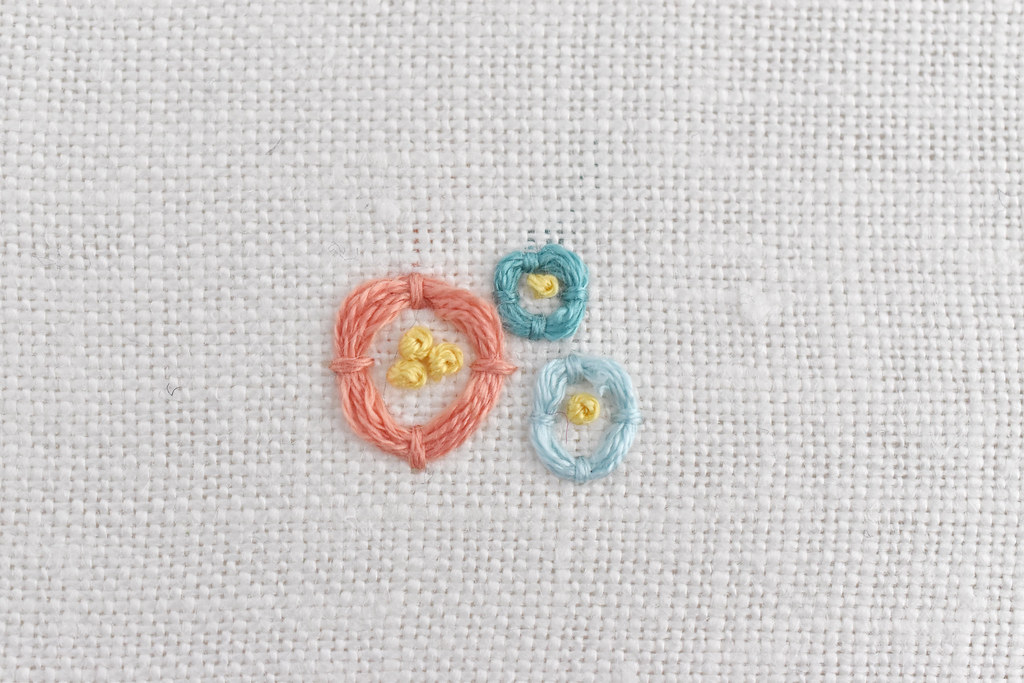
I made these with a few different sized circles (some are a little more like ovals because I wasn't being super careful), and then I added french knots in the middle to make them into flowers. See how fun and easy that was?
Try these out for your next floral embroidery project, for stitched pizza toppings, or anytime you need some fun polka dot circles. And thanks to Olive for joining me again!
Mollie,
ReplyDeleteGiven the right colors it could be eggs in a small nest.
Hope you are weathering the quarantine well.
Maureen
How cute! Thank you for sharing your technique.
ReplyDelete