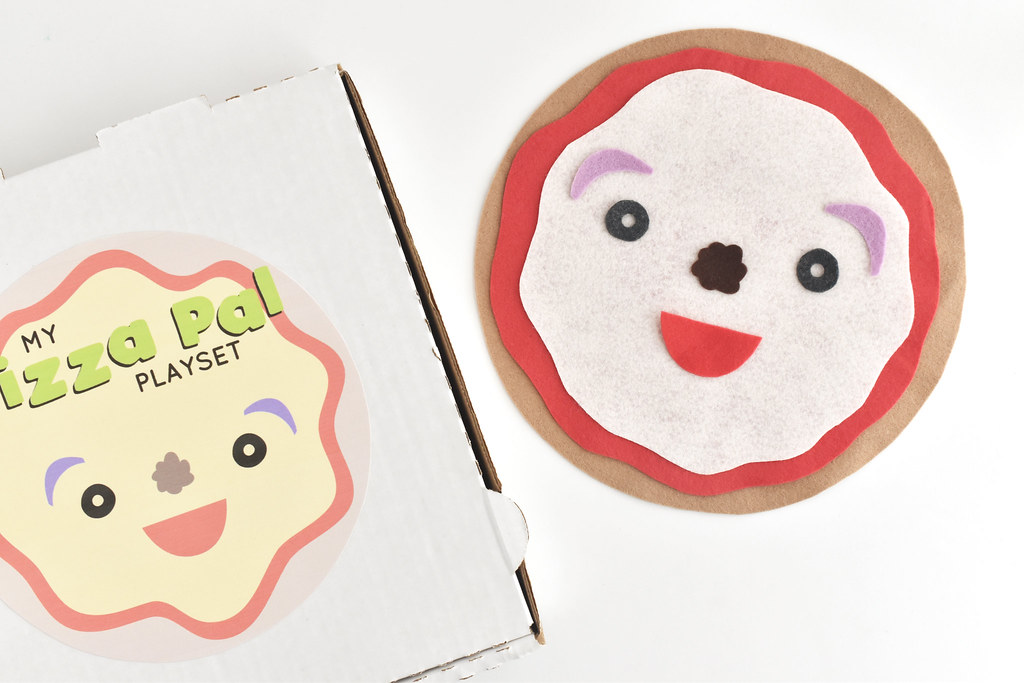
You shouldn't play with your food, but with this felt pizza pal playset your kids (or you!) can play and make faces to your heart's content!
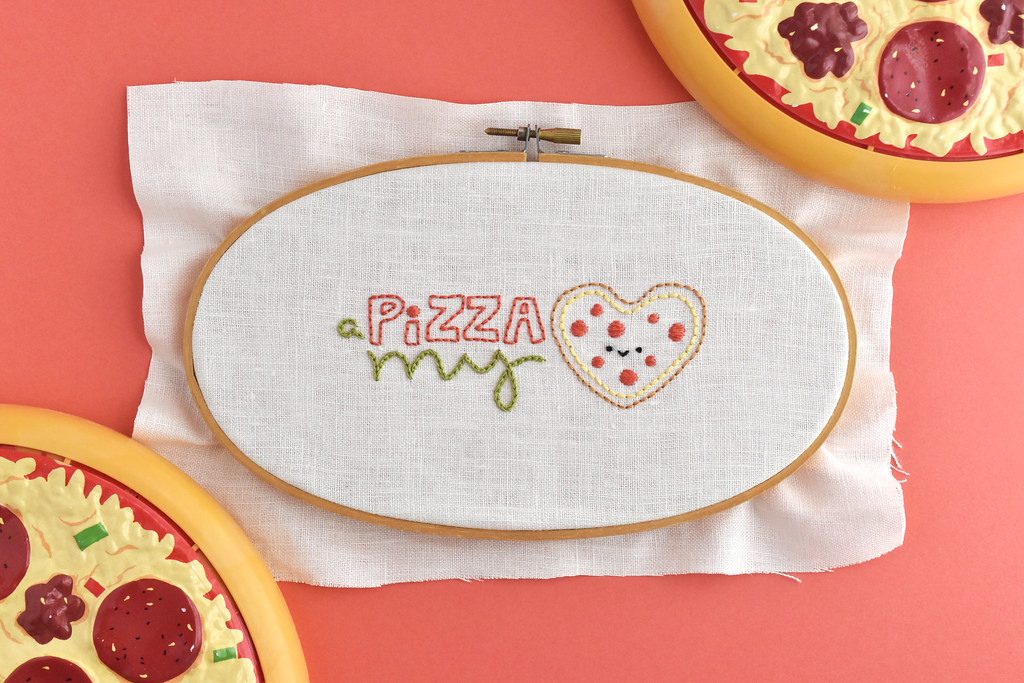
I've been on a pizza kick here on the blog, thanks to my Kawaii Crossing Pizzeria cross stitch and embroidery patterns. And I'm quite fine with that! Anyway, I like putting faces on things, and that includes pizza. In fact, I recently added a new pattern set to my shop and it's filled with pizza-y things.
But let's get back to this felt playset. So, I've had these small pizza boxes sitting here for a while and I couldn't decide what to do with them. They are clean and never had any pizza in them, making them perfect for crafting. You could probably use a box with minimal grease and cover it, but having these ones was quite lucky. I don't know how I even ended up with them, it's been so long.
Once I got on a pizza roll with my making (pizza roll...get it?), I quickly thought of a felt board type pizza. And then I realized that you could use the pieces to make faces! Your own pizza pal!
It's as easy as cutting out felt pieces. If you have a box, it's a perfect place to store the pieces and play (there's even a printable label for your box top!), but it also works on a felt board or as its own thing stored in a bag or large envelope.
Here's what you need:
Felt in a bunch of pizza colors: I used tan, red, cream, two shades of green, yellow, orange, brown, lavender, and more
Freezer paper
Pencil
Scissors
Iron
Plate (should fit in the box if you're using one)
Rotary cutter and mat (optional – you can simply trace and cut the circle)
Pins
Pizza box (optional)
Glue stick (optional — for attaching the label to the box)
DOWNLOAD THE PIZZA PAL PLAYSET PDF

Print the first page of the PDF on paper and trace the topping pattern pieces on freezer paper. I like to group the pieces by color. Then, iron the freezer paper to the felt.
Cut out the pieces. For the center of the olives, you can use a hole punch, which is much easier than cutting! You can also cut some of the bell pepper pieces in half.
Finally, peel away the freezer paper.

Use a plate as a template and cut out a circle of crust-colored felt.
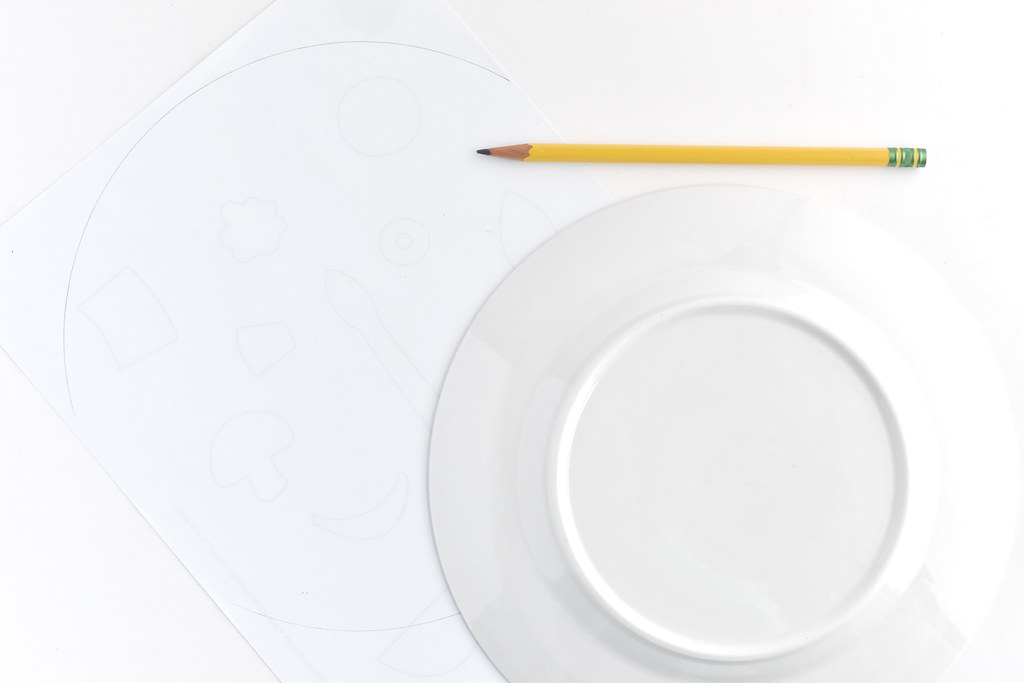
Next, flip over your pattern page and trace the plate. It's okay if it doesn't all fit on the page, as you'll be cutting it out smaller.
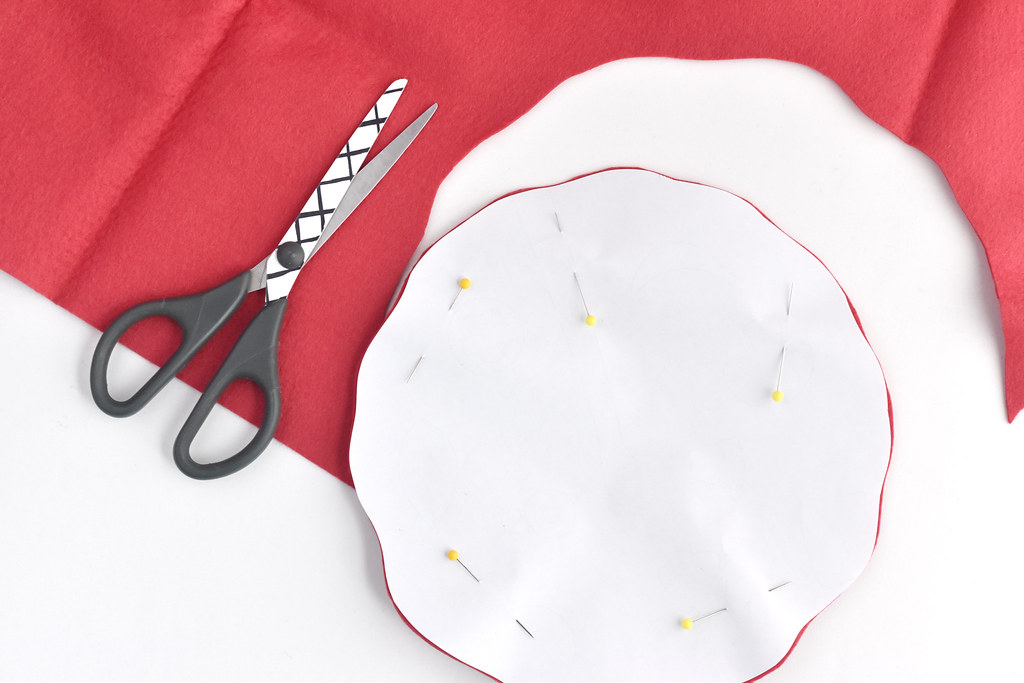
Trim the paper template down a little with a wavy line around the edge. Use this to cut out a sauce-colored piece of felt.
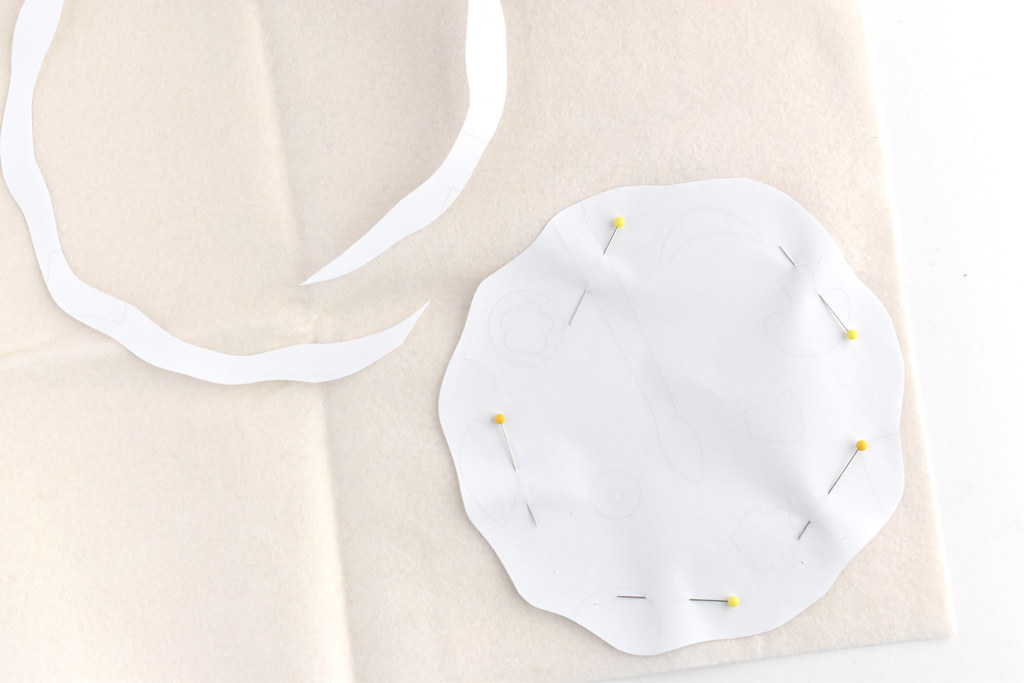
Trim the template down again in the same way. Once you make it a little smaller than the sauce template, cut out a cheese-colored piece of felt.

Print the second page the PDF on cardstock and cut out the circle. If you have a small (clean!) pizza box, attach it to the top with a glue stick.


Layer the crust, sauce and cheese pieces in the box and get ready to design a pizza pal!
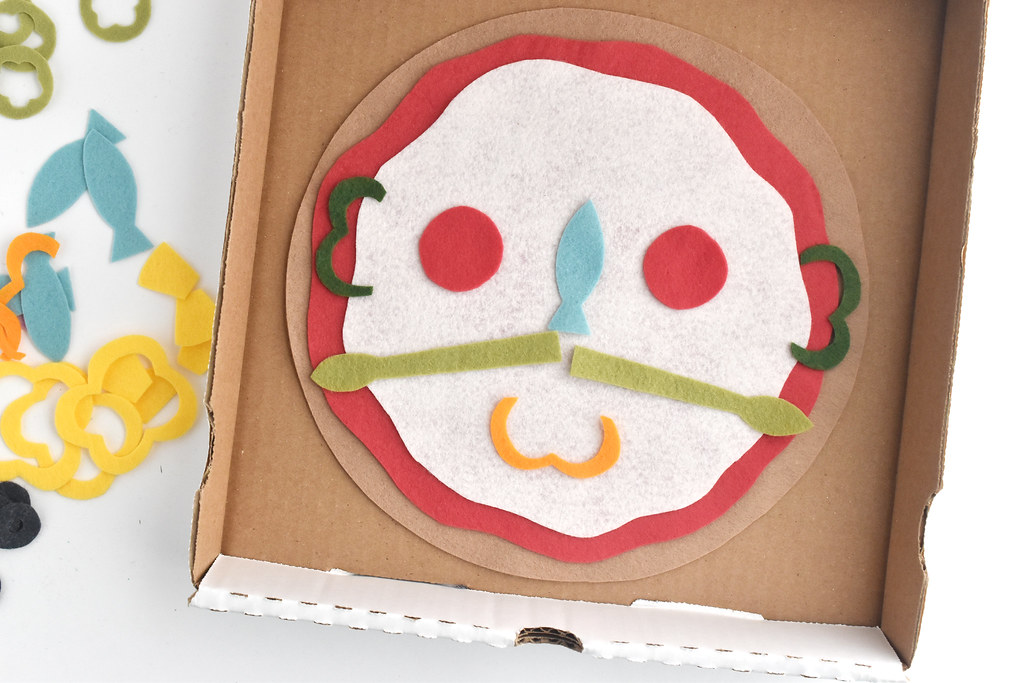

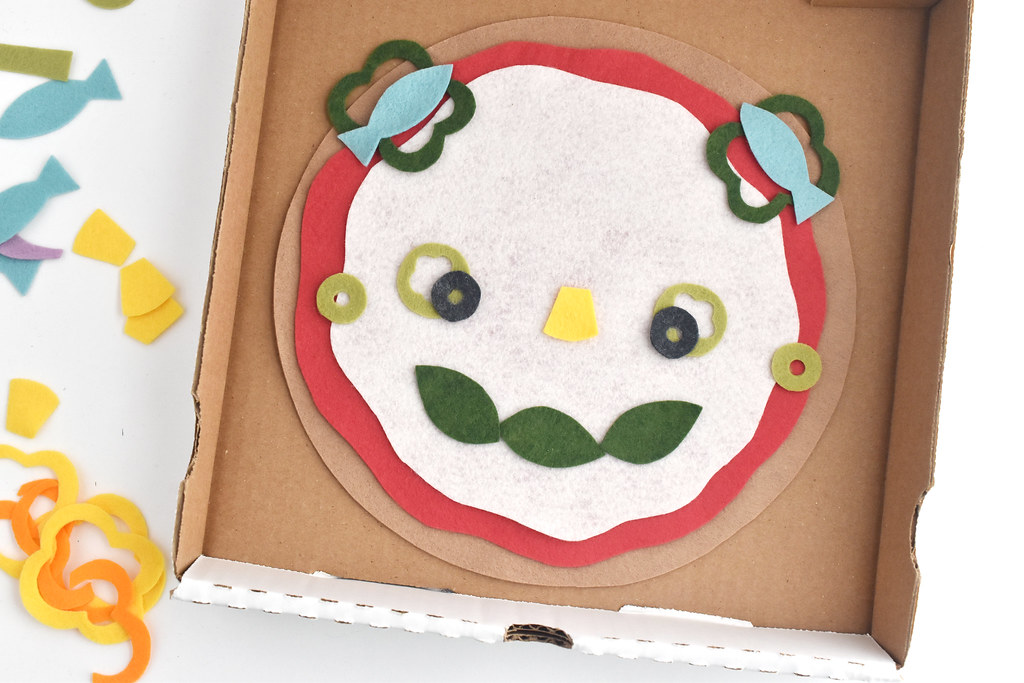
You can use the toppings in all kinds of ways to make all kinds of faces and kids will certainly be even more creative than I have!
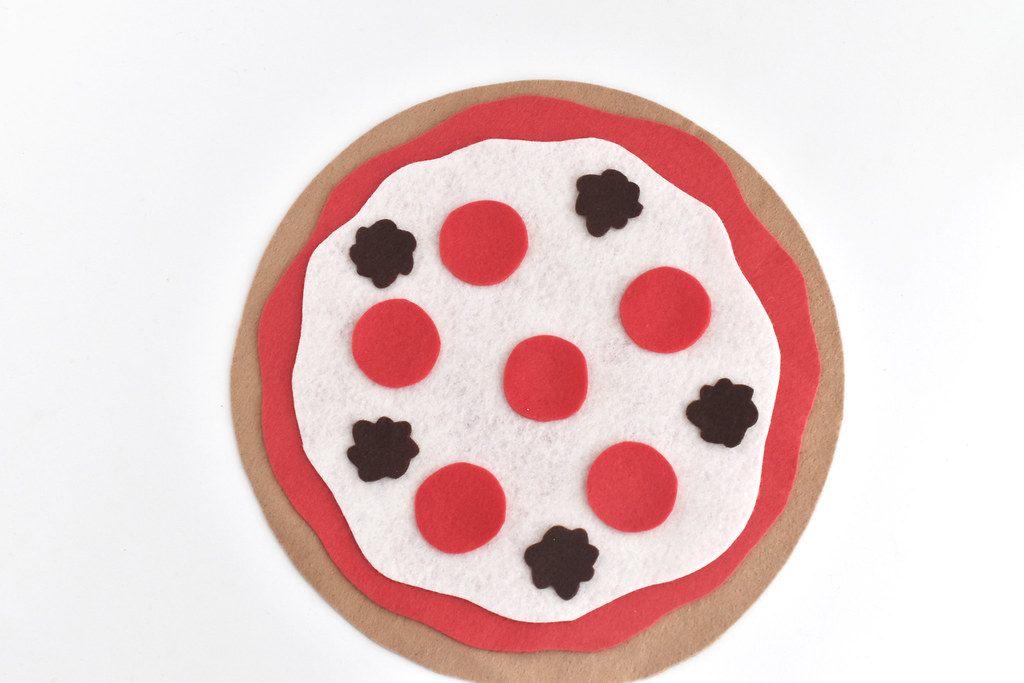


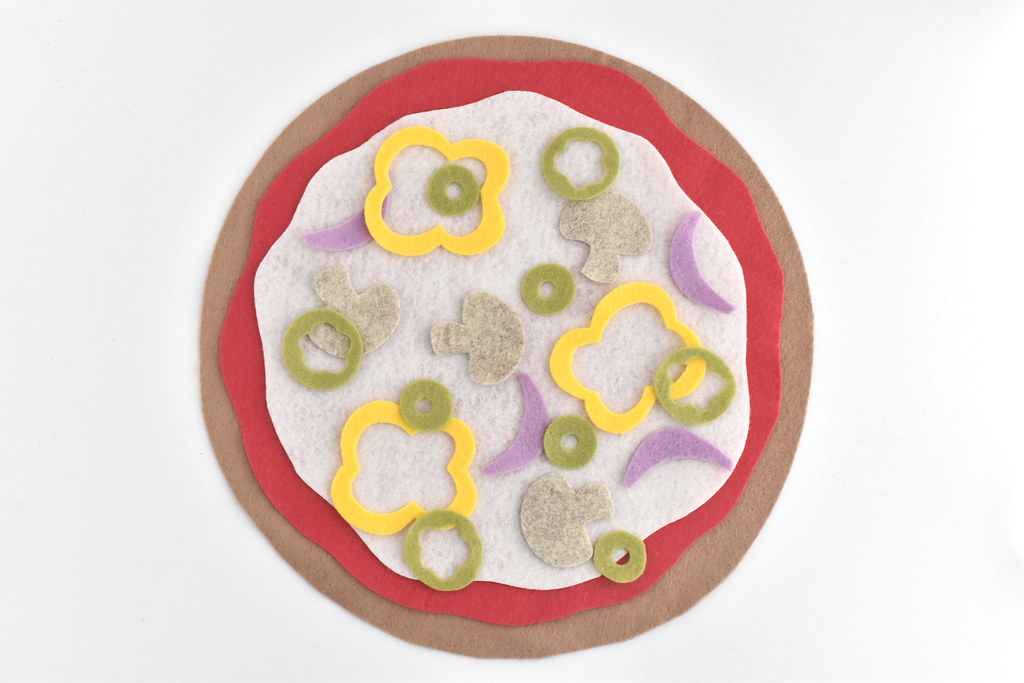
Of course, you don't have to only make faces. You can simply create regular pizzas with your favorite toppings!
And to end this, I'll add one more pizza that may be more than a little contentious, but it's one that I love:
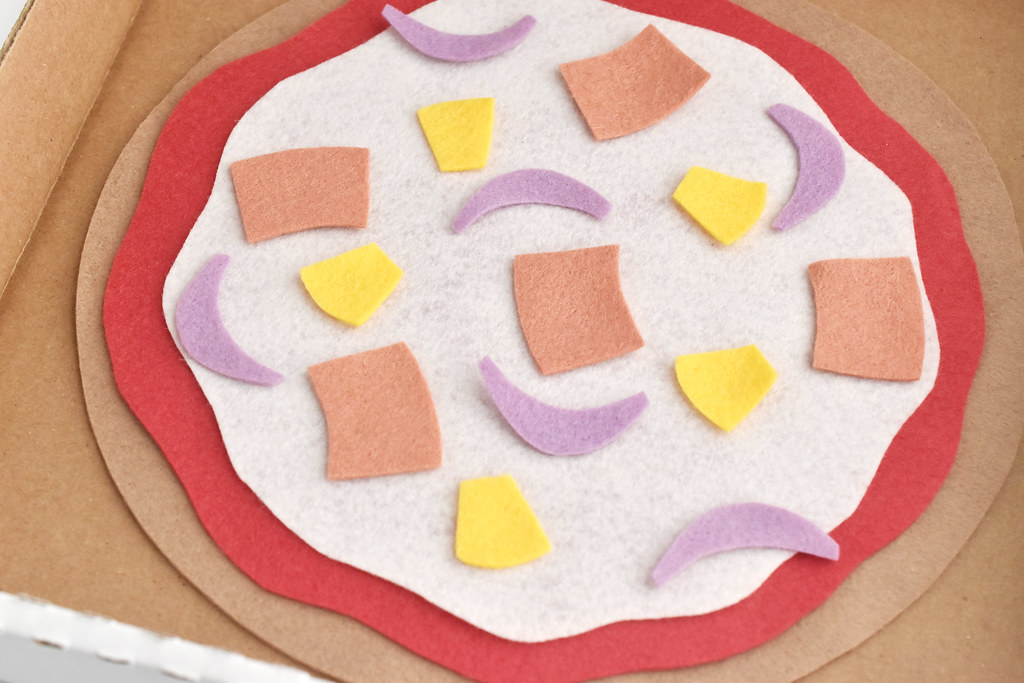
Pineapple, (turkey) bacon, and onion pizza!
Hi Mollie, I can't download the Pizza Pal Playset pdf - the link takes me to a non-existent web page (http://molliejohanson.com/wildolive/pizzapalplayset.pdf). Help!
ReplyDeleteThank you for the heads up! It's fixed now.
DeleteAwesome! Thanks so much. My grandson will love this.
DeleteSame here! This playset is adorable, but the link to the templates is does not work. :(
ReplyDeleteI apologize for the error! It's working now!
DeleteThis so cute! Thanks!
ReplyDelete