


May the 4th be with you! I love Star Wars. I mean, I'm not quite the crazy fan my brother is (he knows so many details about so many things related to all of the storylines and so on), but I just love watching these movies and taking in these characters.
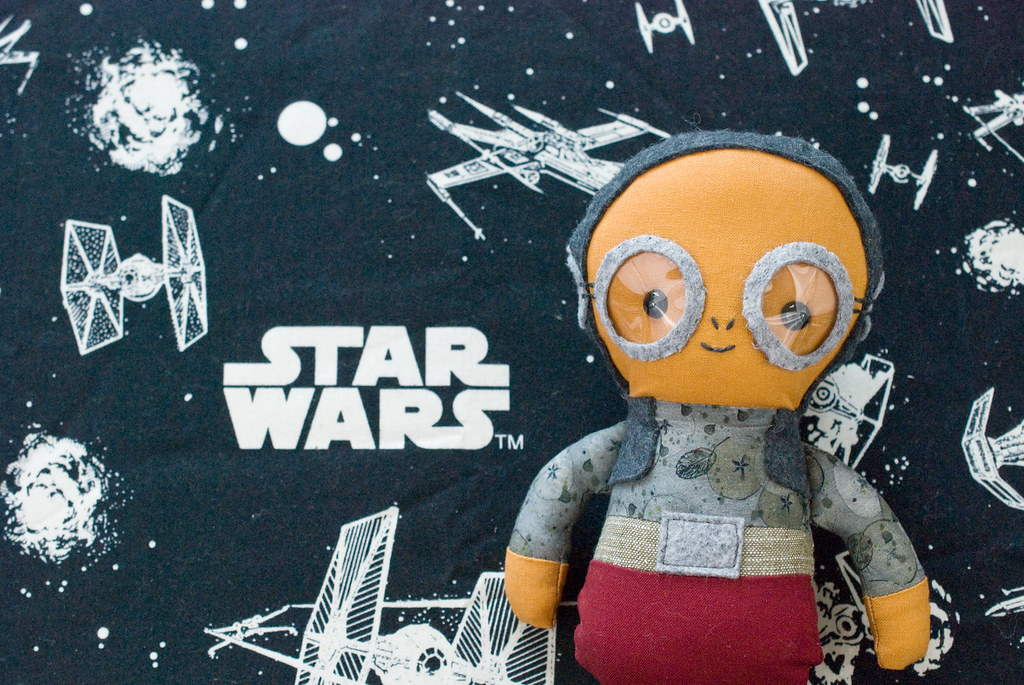
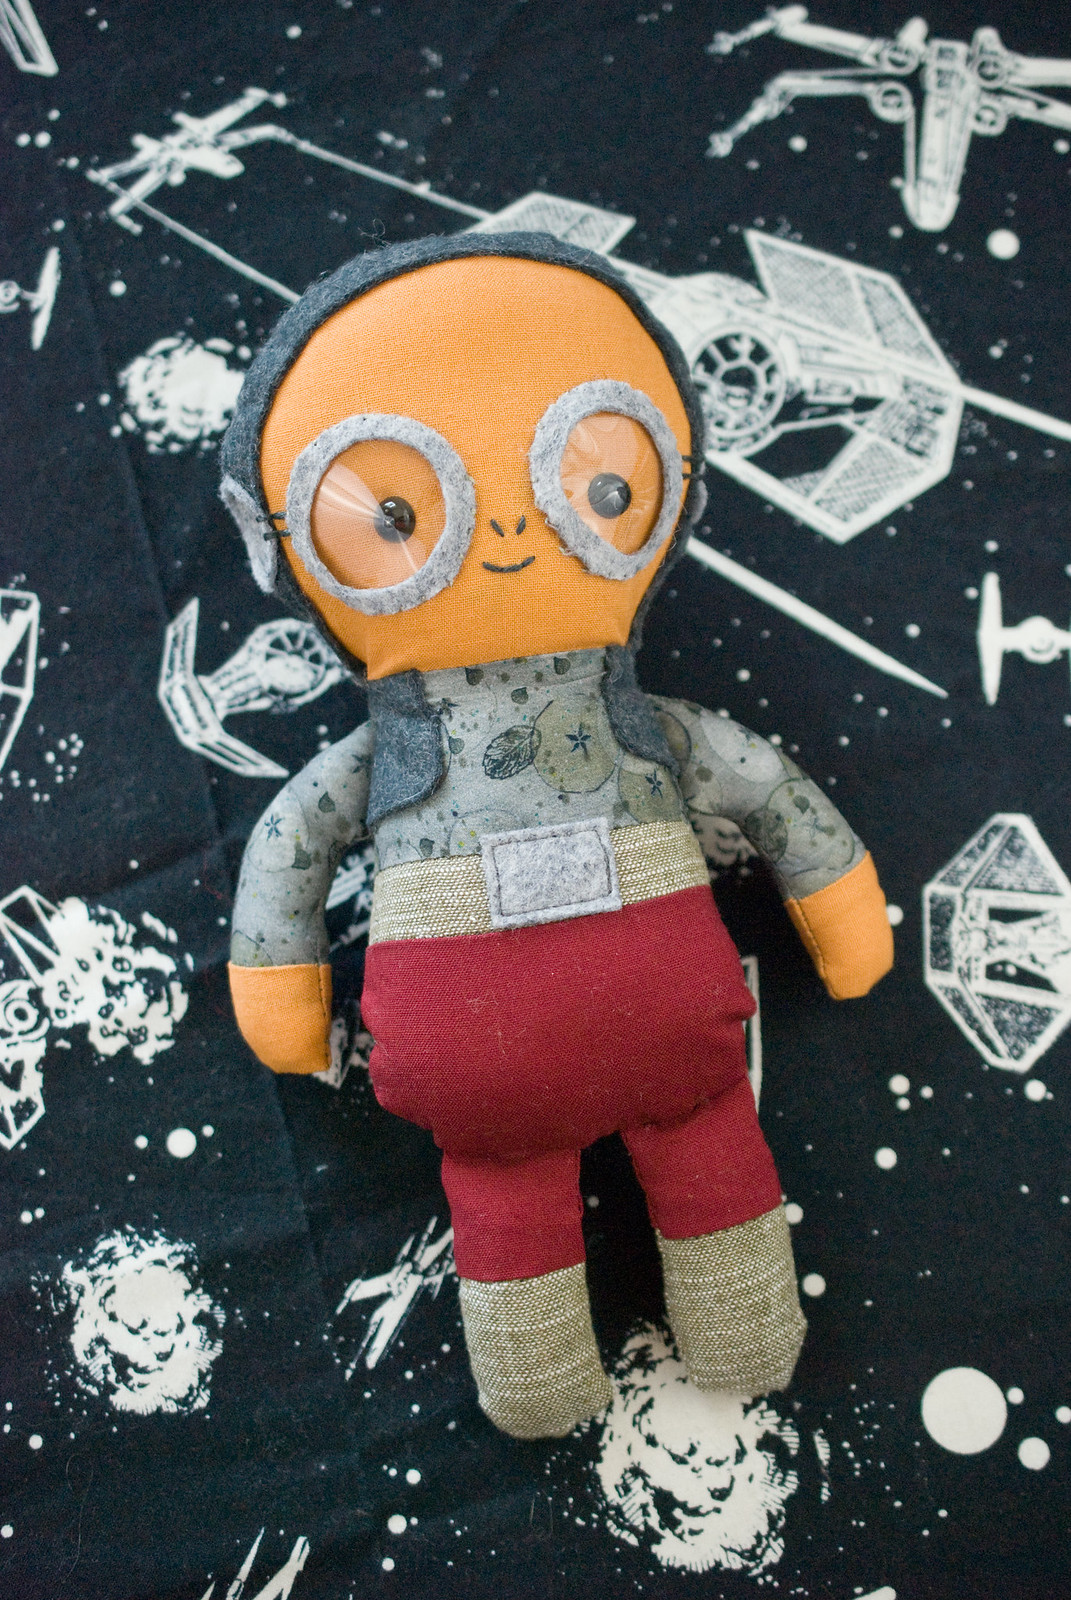
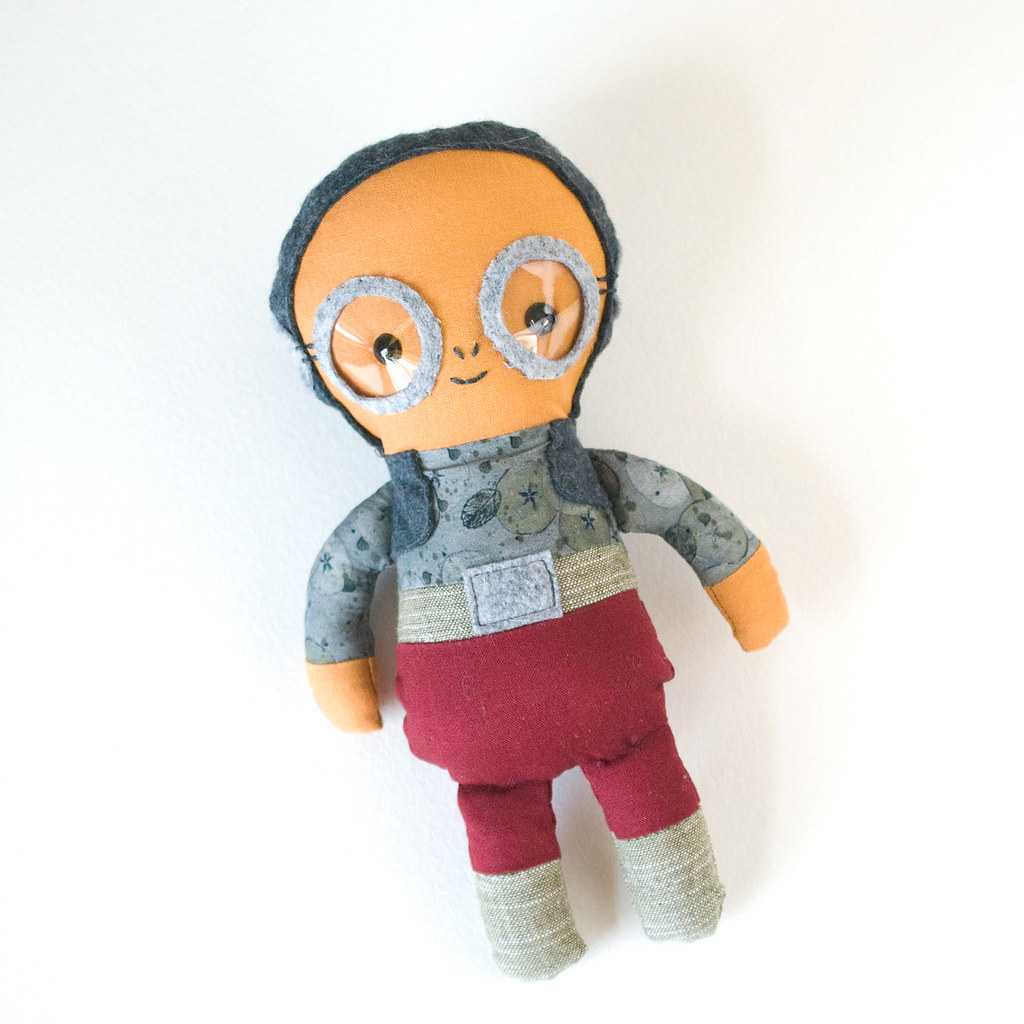
Since my brother is such a fan, I try to make him something Star Wars related each year for his birthday. After The Force Awakens came out, I knew that this year needed to be a new character and Maz Kanata won out. She's just so much fun!
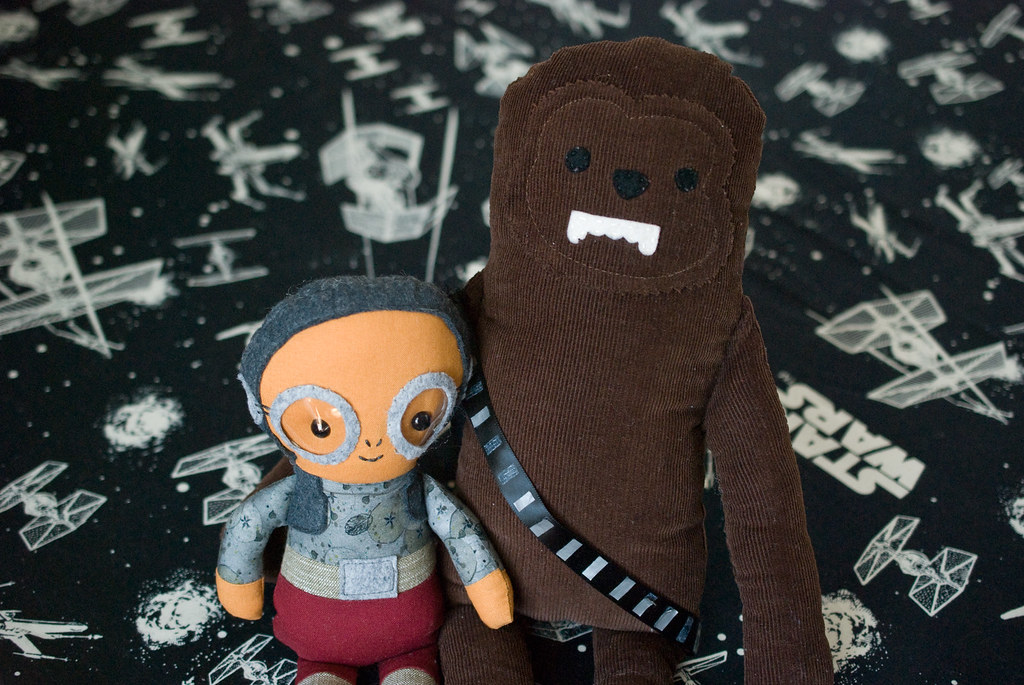
Plus, a while back I made Draw Pilgrim's Chewbacca plush and thought that the two would be a fun pair. You know...I like that wookiee!
Oh, and if you'd like to take a look at the other Star Wars posts I've done through the years, you can scroll through them all here.
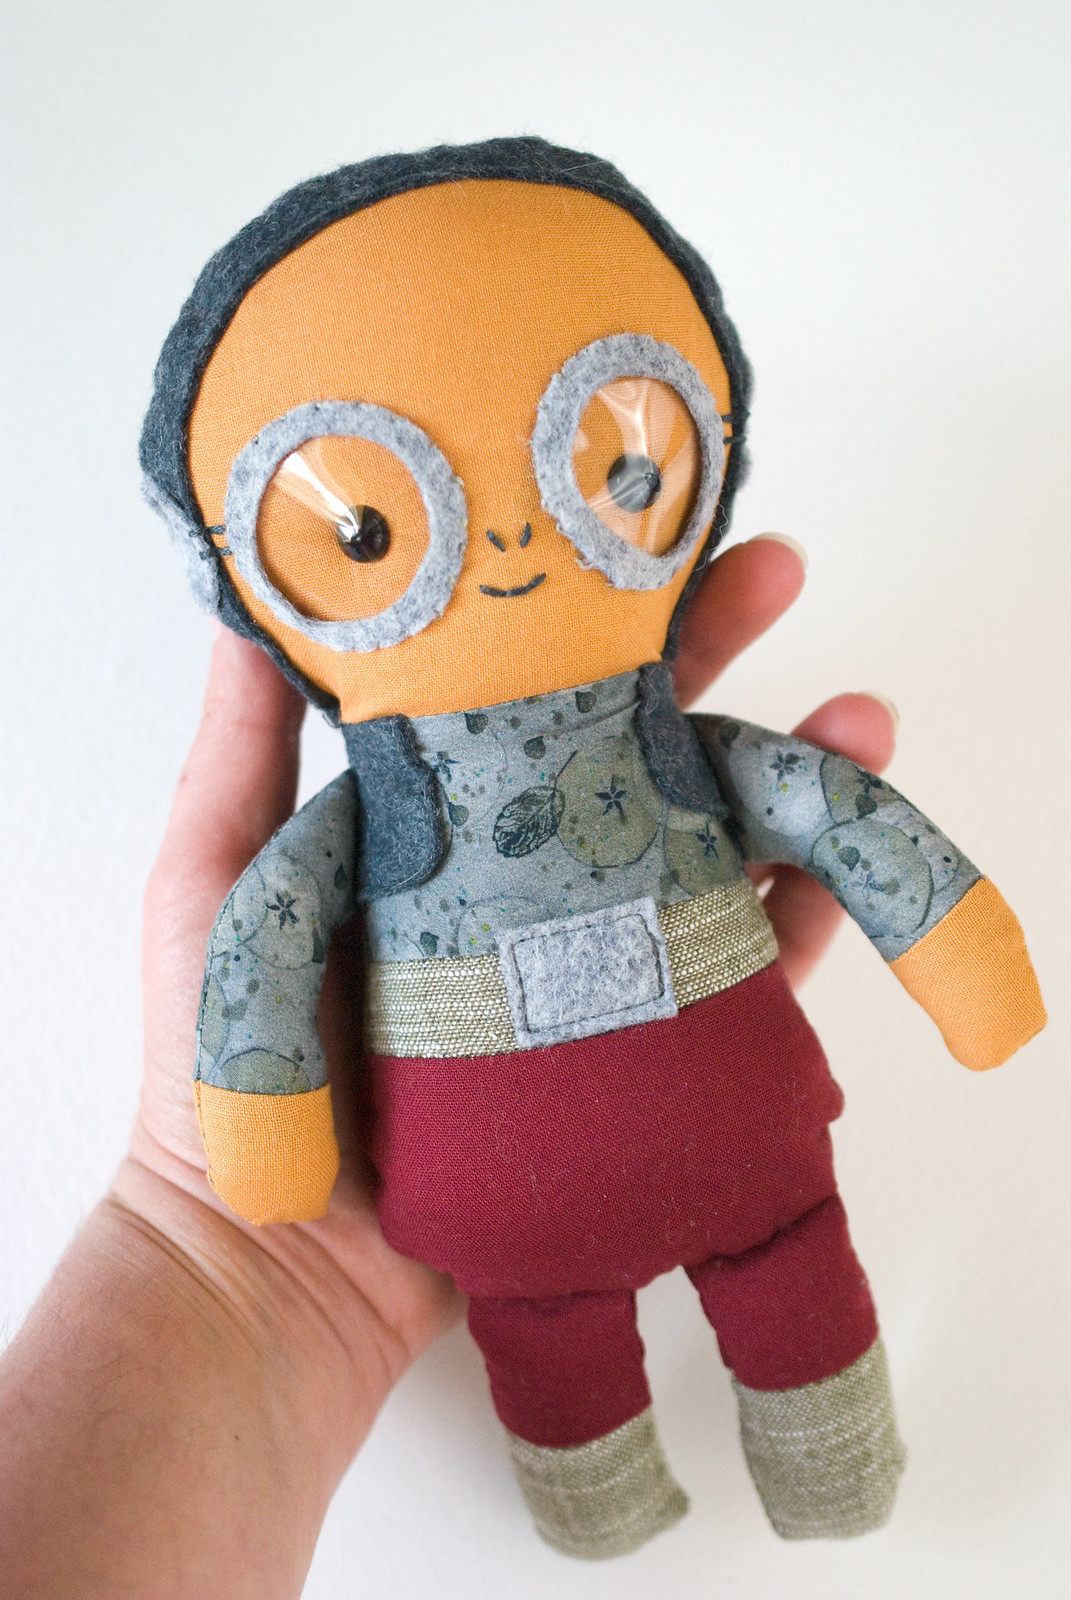
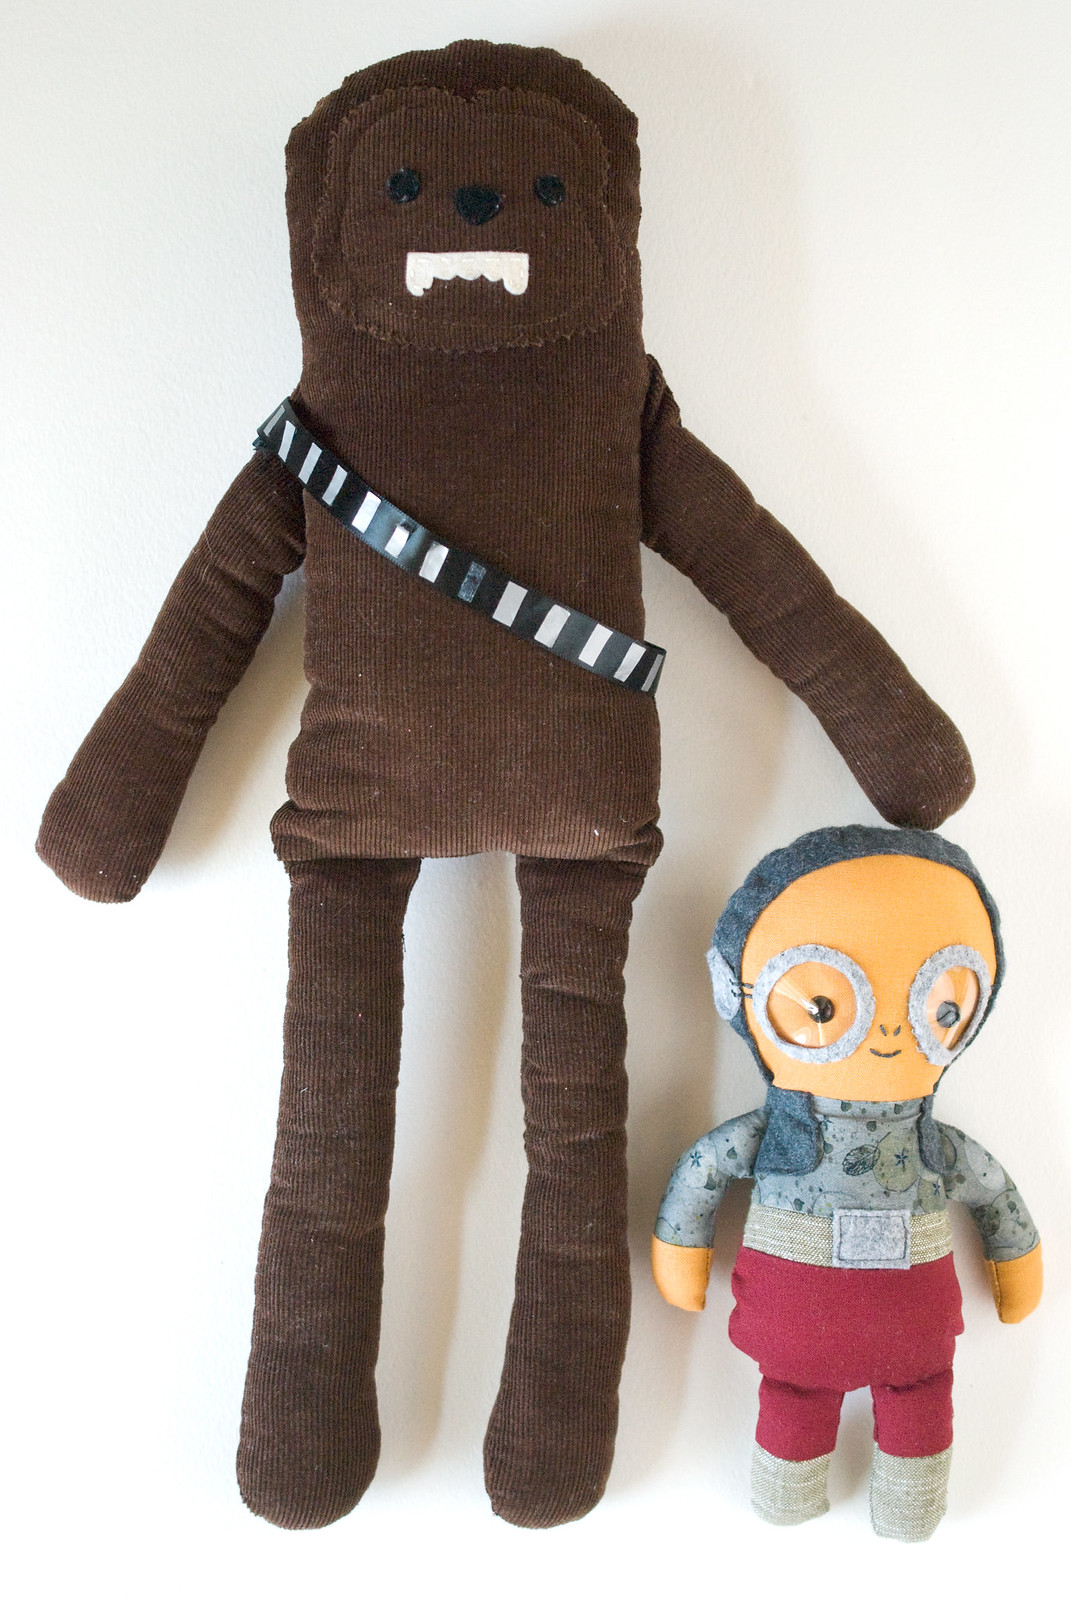
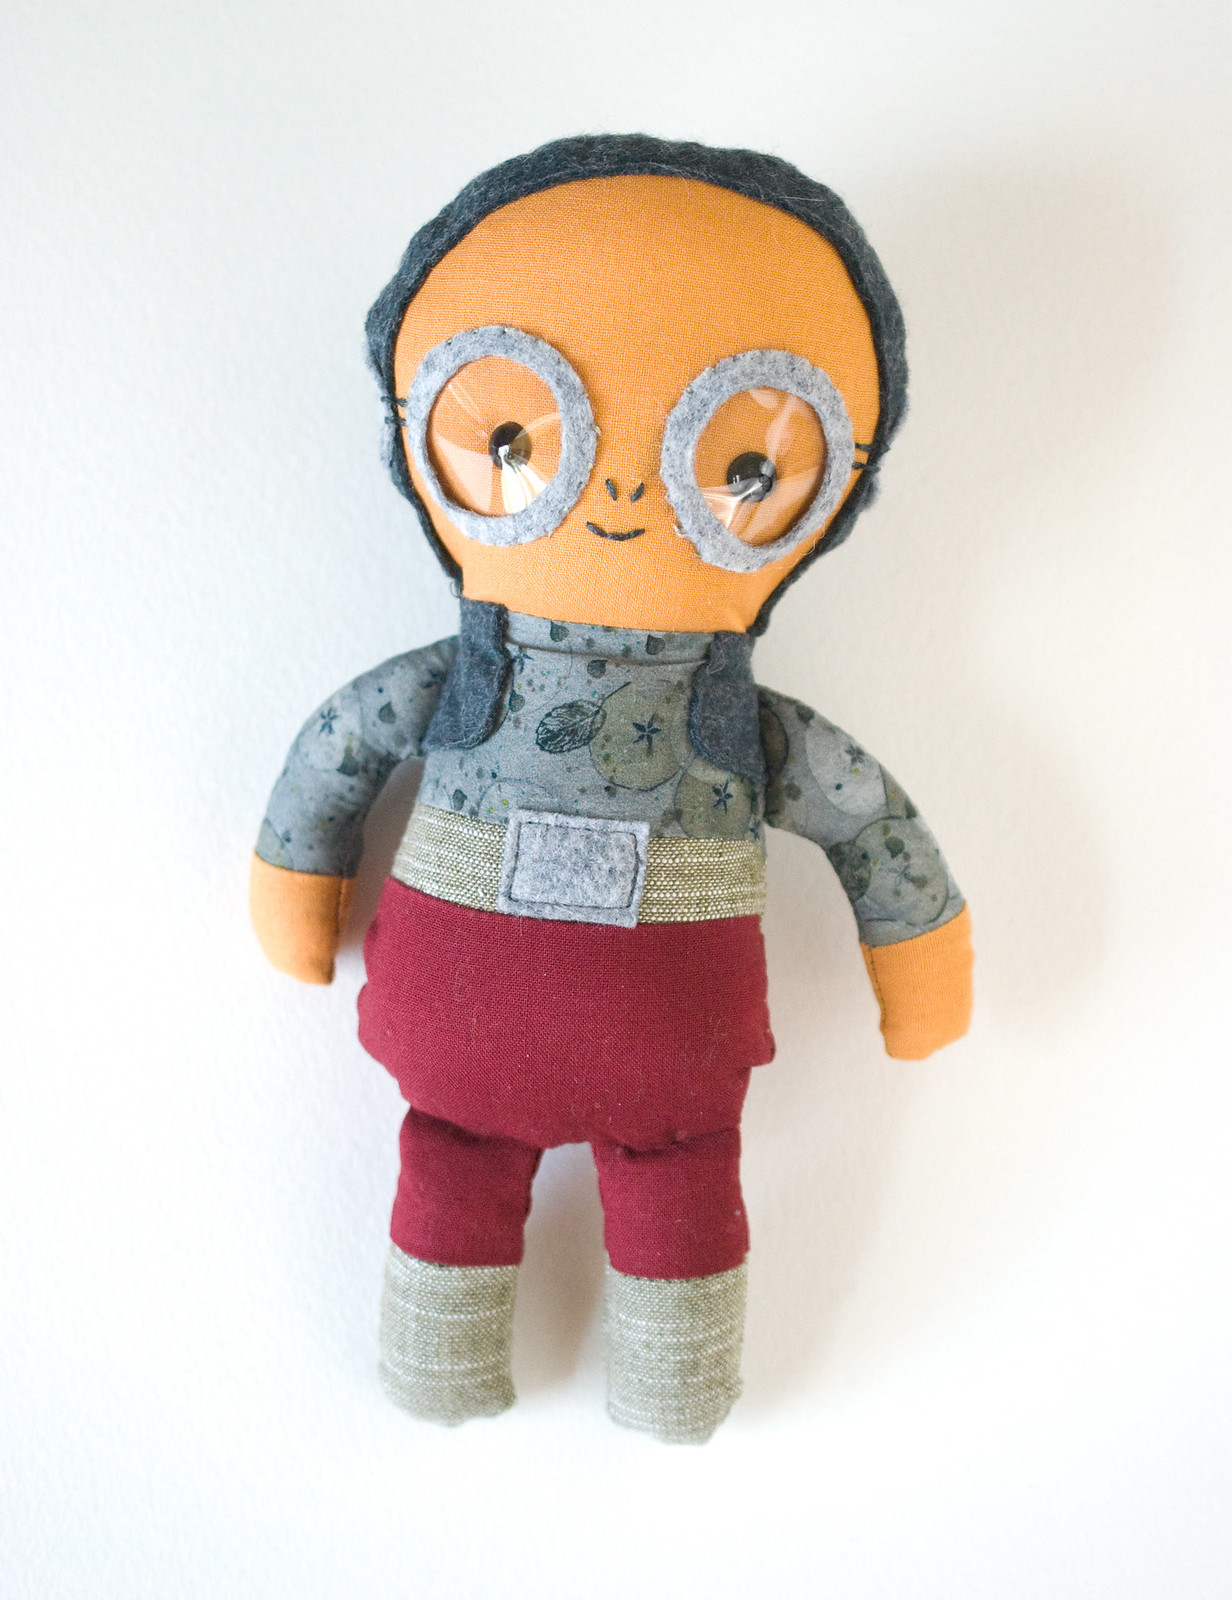
The Maz plush is quite small. She nearly fits in the palm of my hand! There's no need to make yours this small; you can enlarge the pieces. The size of mine was guided by the Chewie doll, because I wanted them to look similar to the height proportion in the film.
Going back to the fact that I made this as a gift for my brother, my step-by-step photos for this are lacking. This is what happens when you are struggling to get something made in time for gifting and without the recipient seeing. Also since I made some tweaks to the pattern along the way, there's a chance that pieces may a little off.
Thankfully, the assembly is fairly simple, so I hope you'll forgive the minimal photos and any errors.
Now, here's what you need:
Felt - light & dark gray
Fabric - choose colors based on Maz (there's a good pic here)
Clear vinyl
12mm safety eyes
Embroidery floss - dark gray
Stuffing
Basic sewing tools
Maz Kanata Template PDF
The pattern pieces have cutting instructions on them, so look at those and look at the photos in this post for a cutting guide. When pieces say to cut something reversed, flip the pattern piece over for cutting.
Okay, let's start sewing!
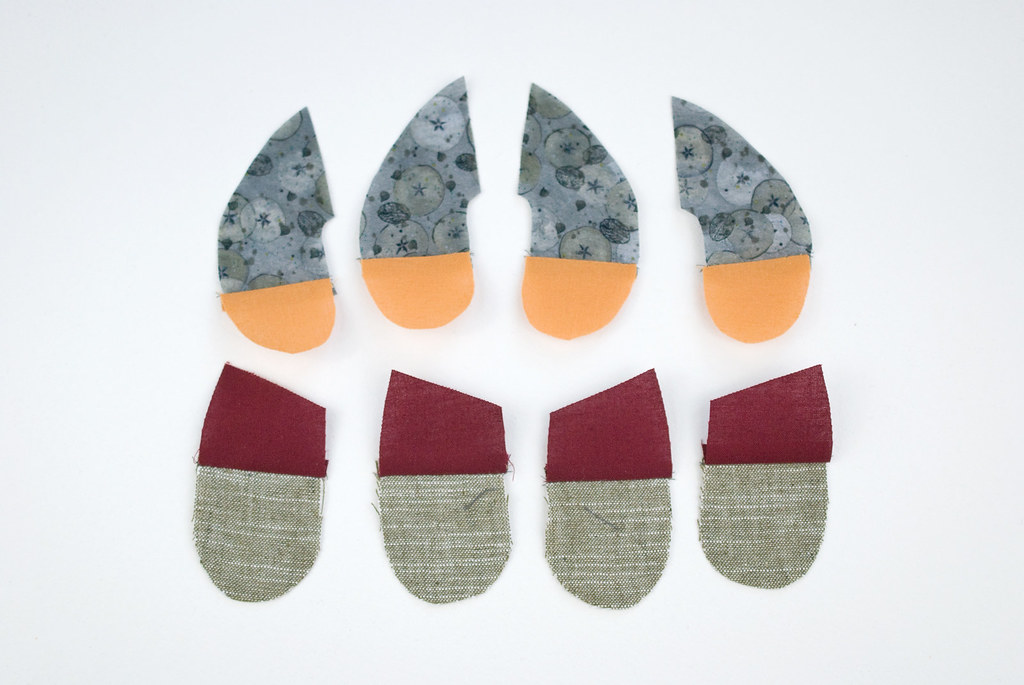
Sew the hands to the arms and the feet to the legs. There should be two arms facing one way and two facing the other way. The same for the legs. Press the seam allowance to one side (use your judgement based on your fabric).
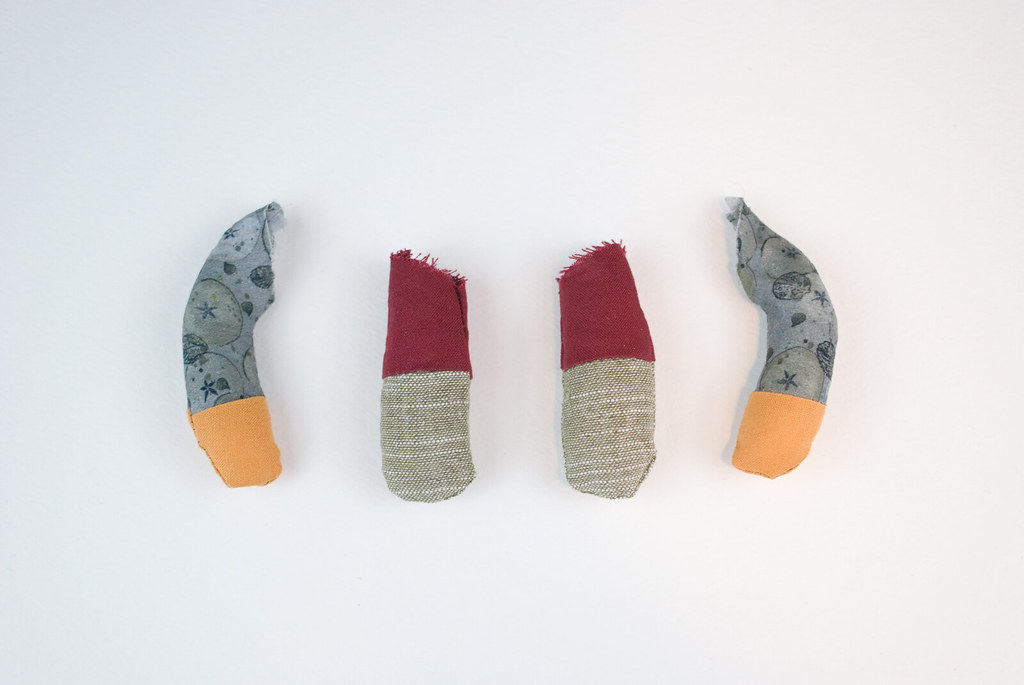
Pin and sew arm pieces with right sides together, and repeat with the other arm and legs. Turn them right side out and fill with stuffing. Set them aside.

Place the felt "hood" on the fabric head and sew around the inside of the hood. You can do this by hand or machine. It's not necessary to sew the outside edge, as it will be sewn into the main seam.
Now it's time for the face.
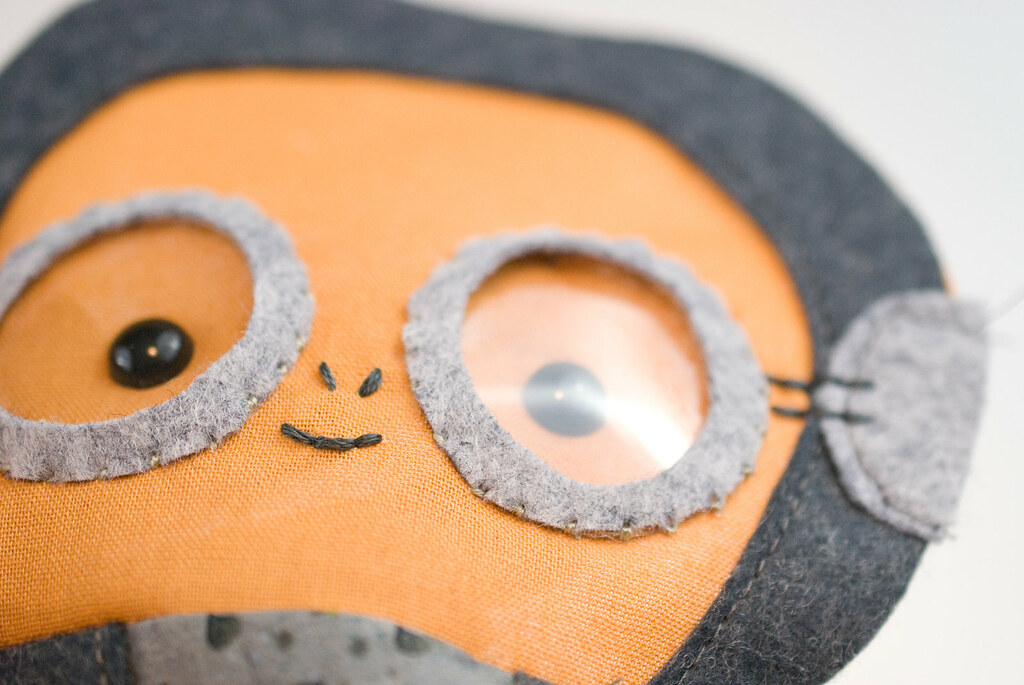
Cut out the goggle rings from felt, then cut out the vinyl pieces as a circle, not a ring. You may need to trim it down just a tiny bit, but start with it the same size as the outside of the ring.
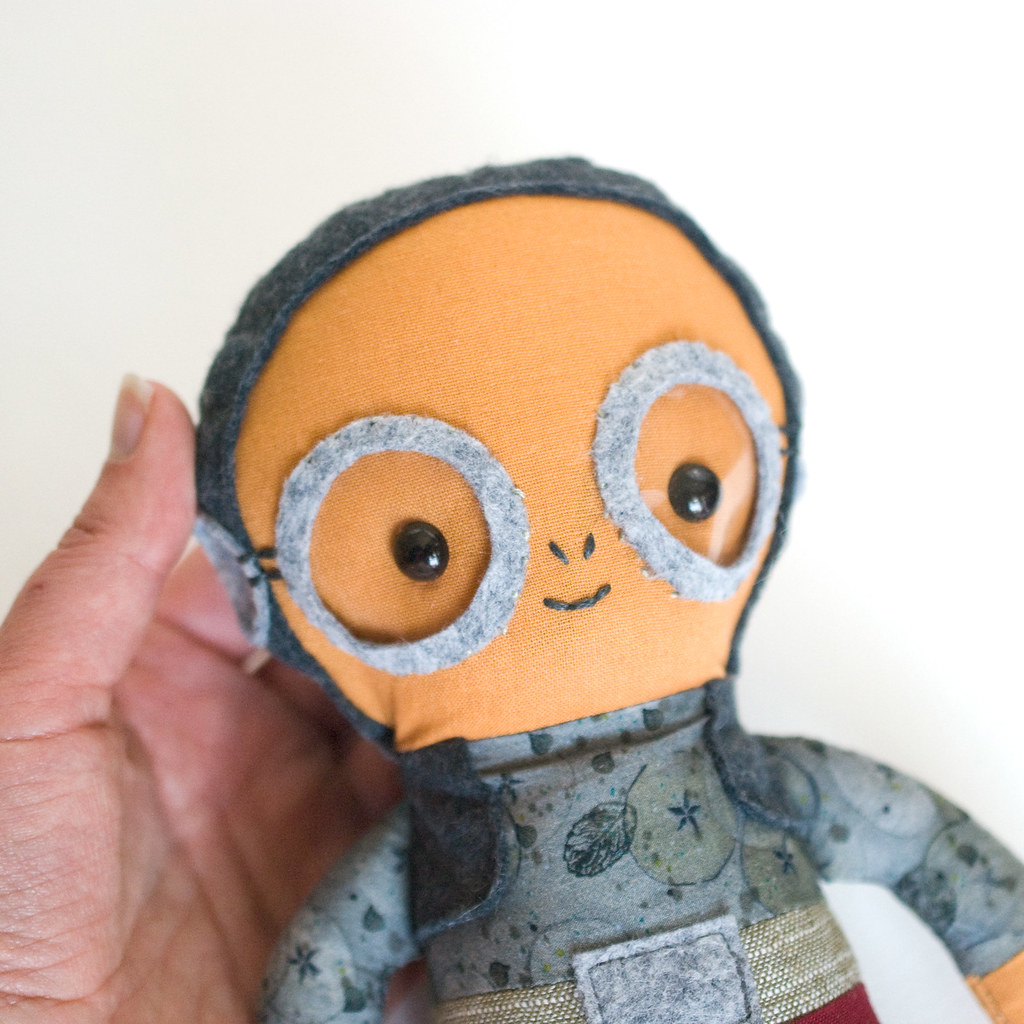
Place the rings on the head to help with placement, then mark where you will install the safety eyes and go ahead and attach the eyes. (You can make the eyes from felt, but I love the dimension the safety eyes create.)
Embroider the nose and mouth in the middle of where the goggles will go.
Place a vinyl circle over an eye and a goggle ring over that. Stitch around the outside of the ring with a whip stitch. If you can, catch some vinyl with these stitches to secure it. But if you only catch the felt and fabric, the vinyl should still hold in place. Repeat with the other eye.
Place the "ear" pieces on the sides and sew around the curve. Embroider two lines connecting the ear pieces to the goggles. Sew the ear pieces to the back head piece, and take care that they are all positioned the same so they match up when the front and back go together.

Sew the shirt to the belt and the belt to the pants. Sew a front vest piece to each side of the shirt, and sew the buckle to the middle of the belt.
Maz wears some awesome jewelry and has some great accessories hanging from her belt too. I wanted to add some of these with embroidery or even metal charms, but ran out of time. Consider adding these!
Sew the head to the body.
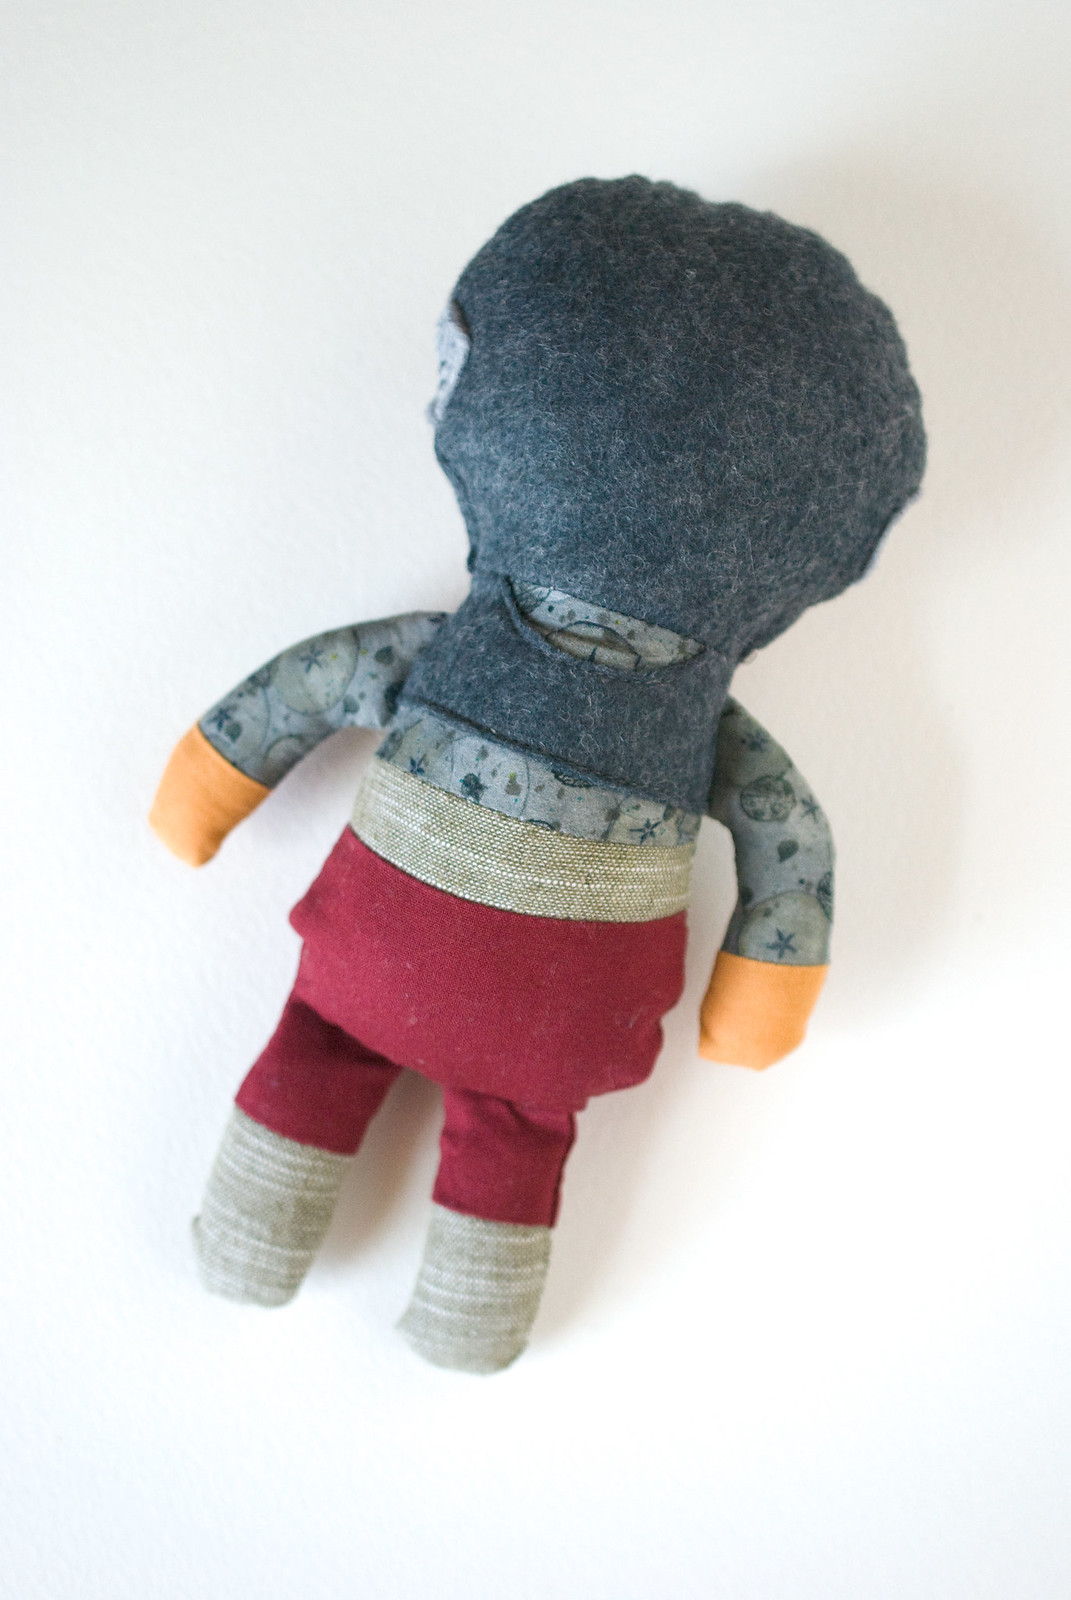
Repeat this for the back of Maz. Instead of two vest pieces, you'll have just the one and no buckle. But the rest is pretty much the same process.
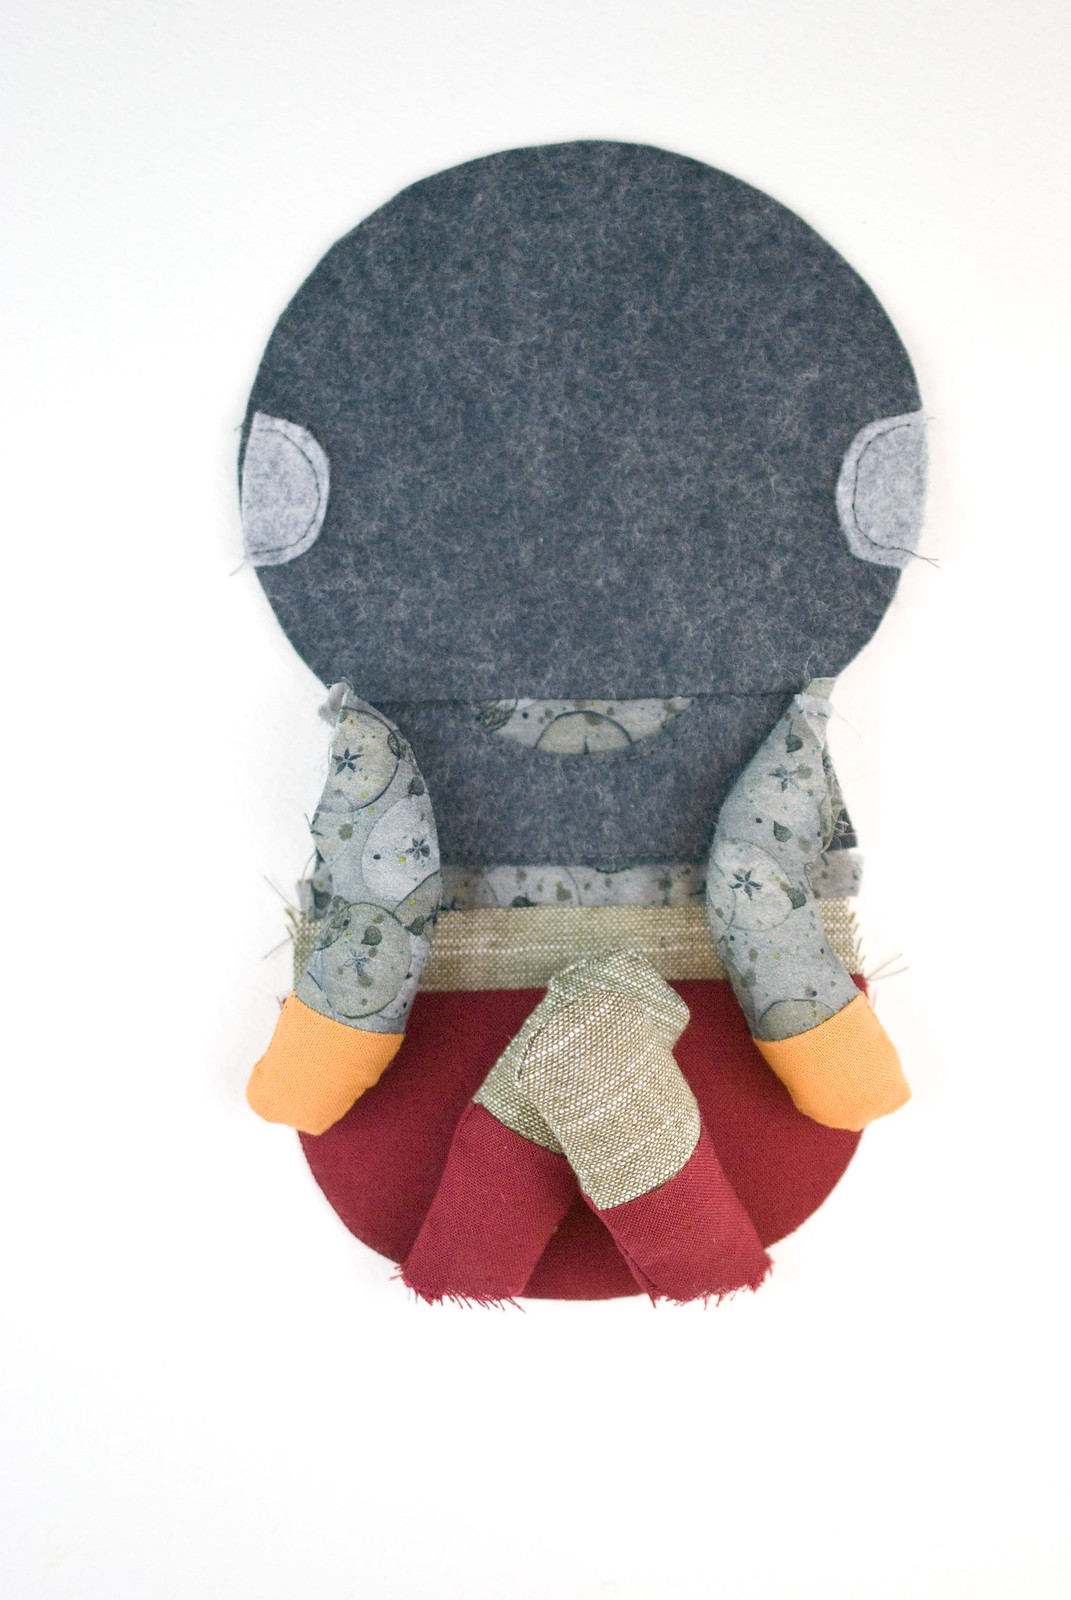
Place the arms and legs on the back as shown. You might want to baste these in place.
Pin and sew the front and back with right sides together and leave an opening for turning. Be sure to backstitch when you start and stop. I left the opening in the top of the head, and that worked well.
Turn it right side out and fill her with stuffing. Sew up the opening with ladder stitch.
And then give Maz a hug, because she's all finished!
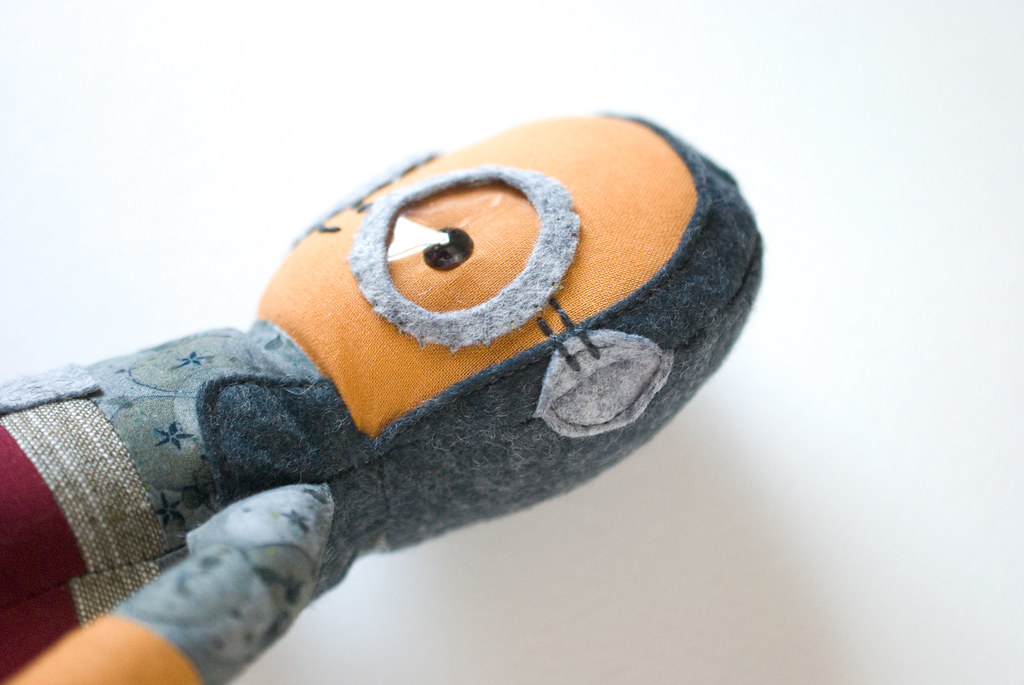
If you've done this right, the sides will match like the ear pieces here.
If your fabric doesn't cooperate, they might not match so well, like the belt here. I tell ya, my sewing machine decided it wasn't a fan of that linen, and it wasn't liking the Liberty from Maz's shirt either!
Speaking of her shirt, I think we can all agree that Maz would choose to wear Liberty if she lived in our galaxy, right? I know she wears a sweater, but since I wasn't up for knitting a tiny garment, this is the next best thing.
With any of these elements, go for as much accuracy as you want. I knew that I could have found fabrics that were a closer match, but I had all of these on hand, and they were close enough.
I think finding a fabric that is a good skin color is one of the most important elements, because that and her facial features are what really make her Maz.

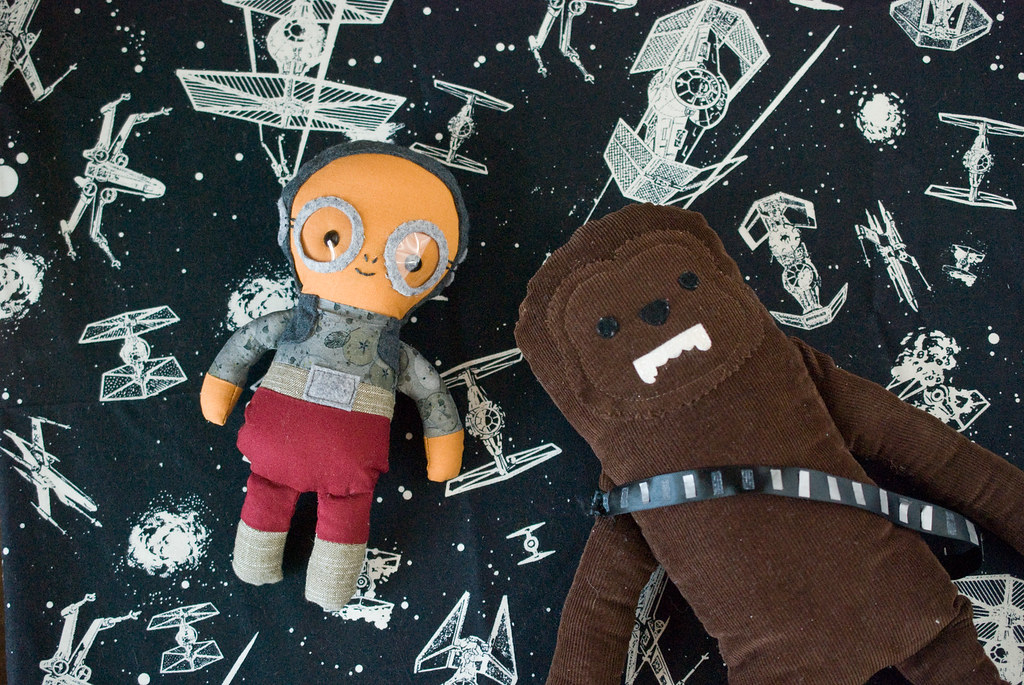
Ahh...a match made in Heaven! If you want to ruffle the Star Wars fan in your life, be sure to share theory with them: Rey is the love child of Maz and Chewie. She's just had a bit of laser hair removal.
Have a wonderful Star Wars Day, and May the 4th be with you!
I just LOVE everything you do Mollie!!!! That's awsome!!!!! congrats!!! Love from México!
ReplyDeleteThis is so cool! great idea :0) greetings from Denmark ulrike
ReplyDeleteSo cute!! I love Star Wars too...but my daughter loves it more....she has a huge collection of goodies. I need to make this!
ReplyDelete