about shop patterns projects printables extras sponsorship wild olive twitter flickr pinterest subscribe

project // simply bound blanket

Simply Bound Blanket

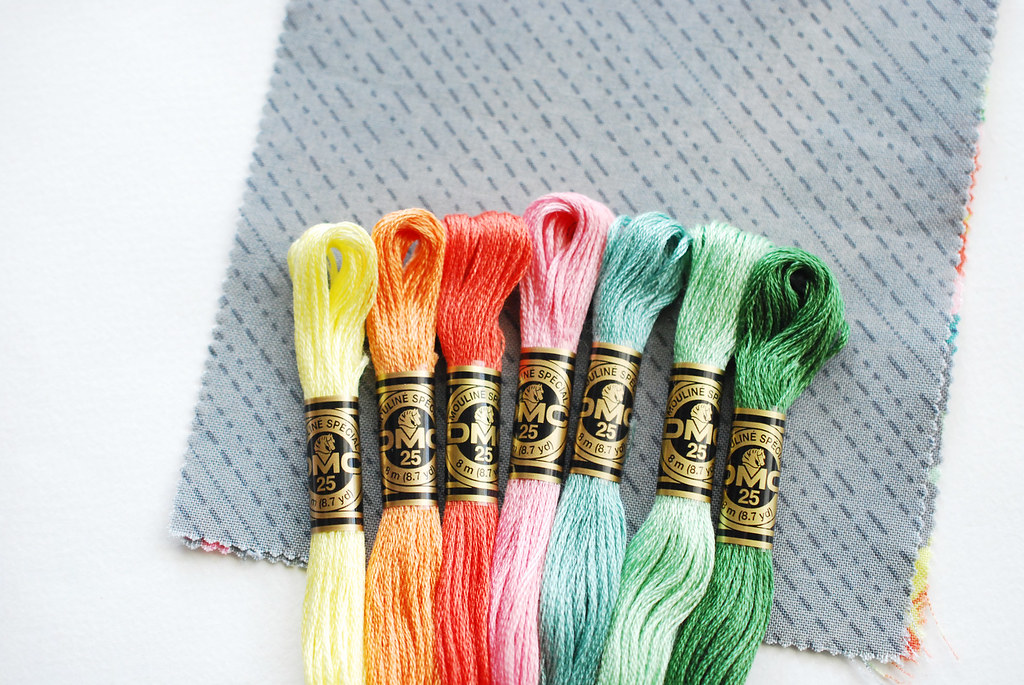
I love finding a new supply, tool, or material to work with, as those items often inspire a new project to try, or a new way to do something I've tried before. This was the case with the double knit interlock that I found at JoAnn.

Simply Bound Blanket

It was during a sale on their nursery fabrics, and although I don't usually even look in that area, their ad showed some prints that were perfect for something I was working on. And then I spotted the knit. It was thick and heavy and 57" wide, and while one of the prints was little elephants, the others did not scream "baby fabric" to me.

Still...what would I do with it? I went home.

And then went back. After a bit of thought I realized that because of its thickness and the fact that it is print on one side and solid on the other, it would be a perfect lightweight blanket just as it is. All I needed to do was add regular quilt binding along the edge.

Simply Bound Blanket

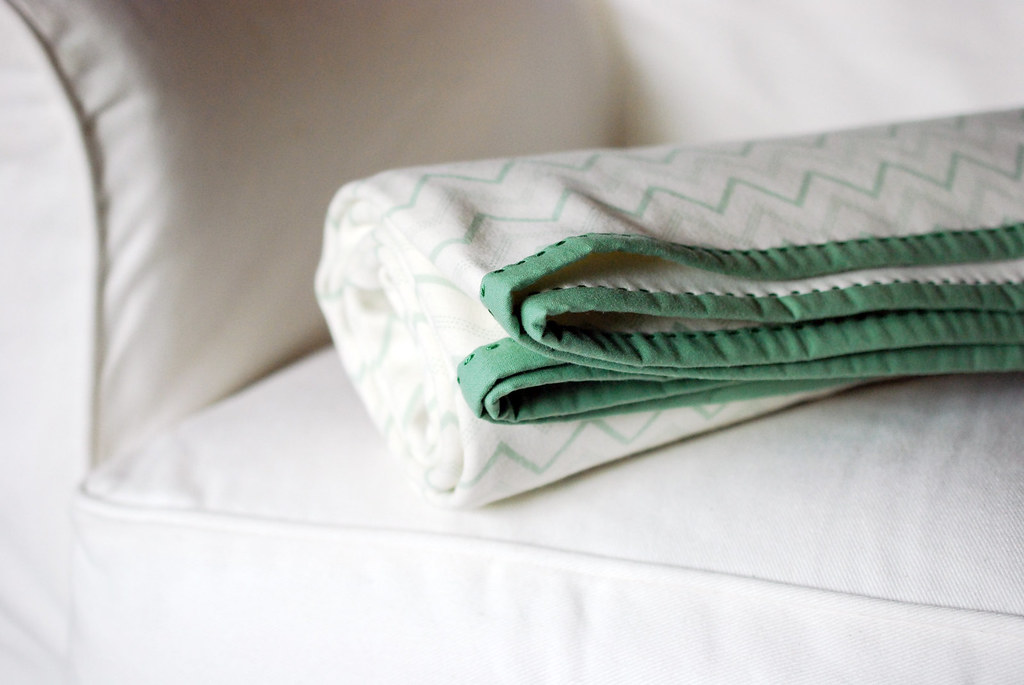
Even more wonderful was that the chevron print was a near-perfect color match for our living room. It would be just the thing for having on hand on cool spring and summer evenings.

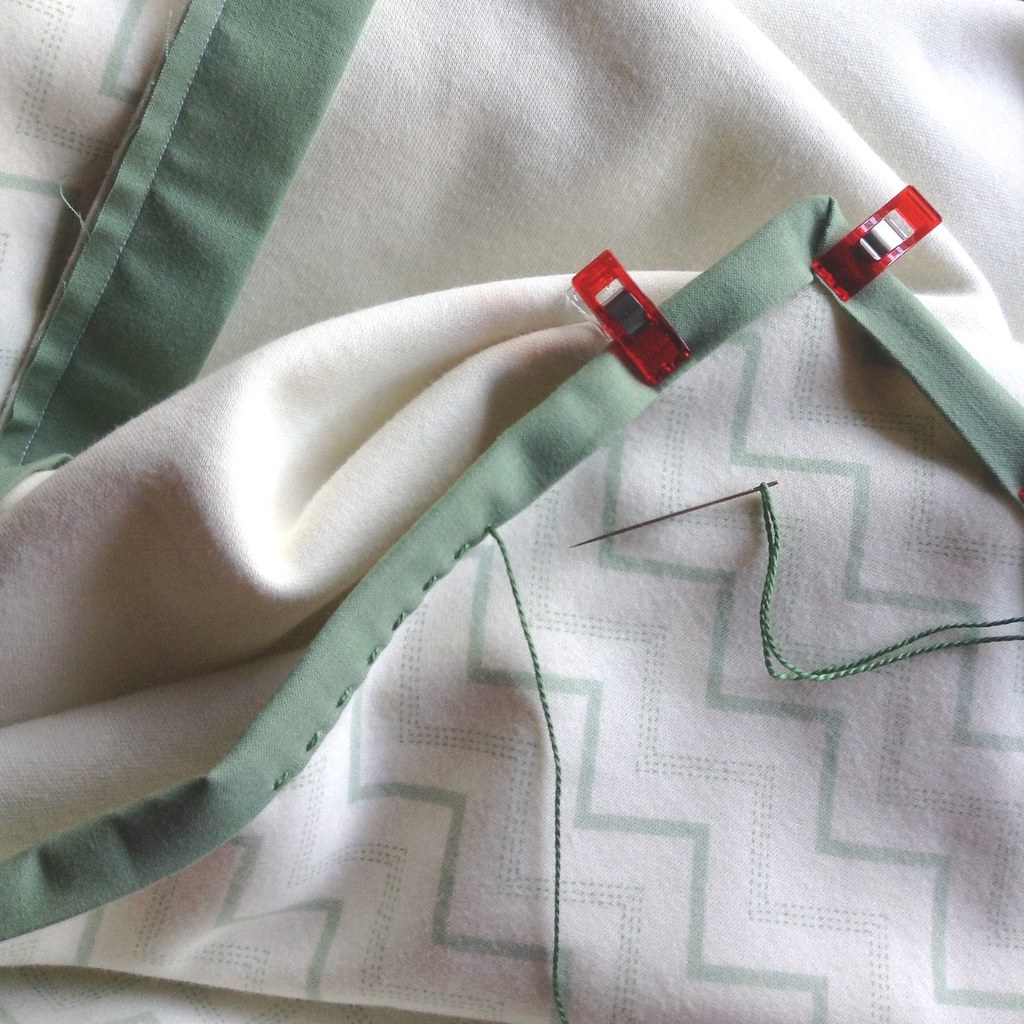
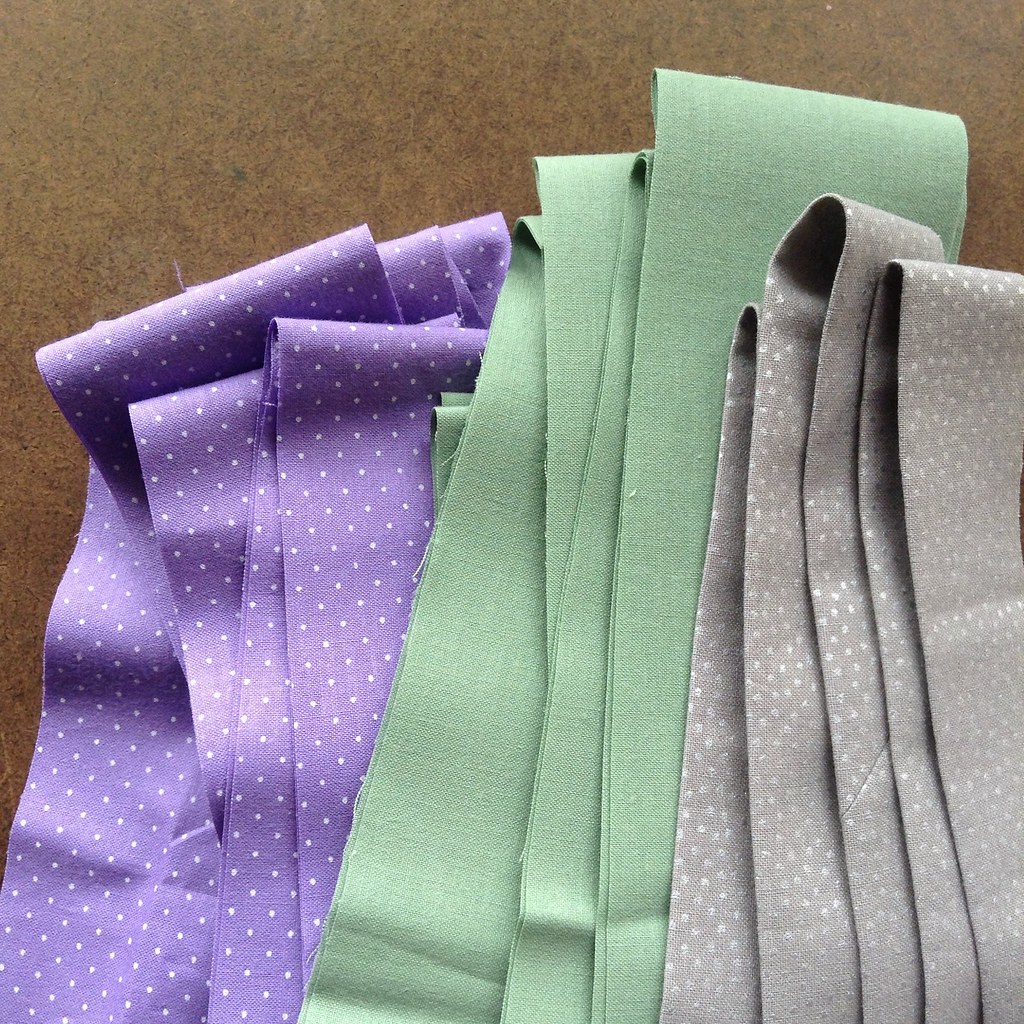
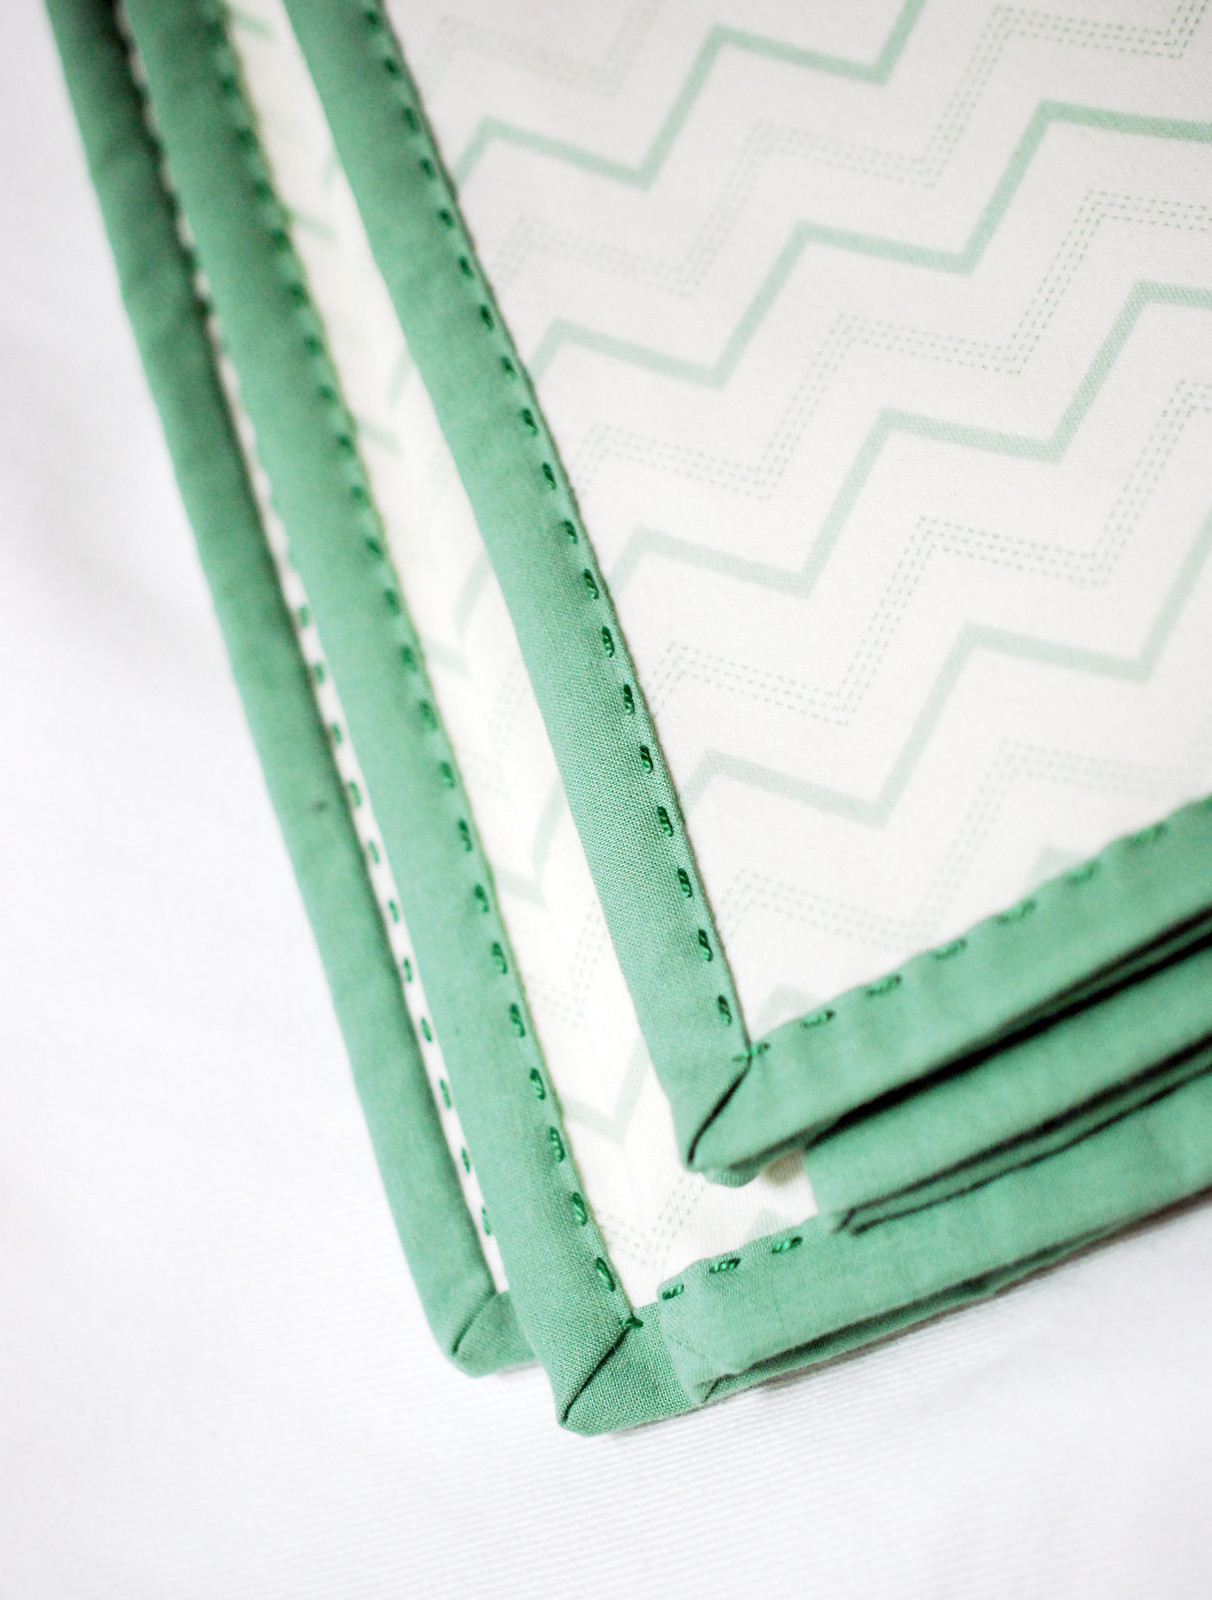
I chose a solid green fabric for the binding, and bound it using the same method as I did with my whole cloth quilt. Done.

This really is very simple, and because it's a small lap quilt size (mine is about 46 x 56 inches), it's fast. All you are doing is adding binding! That's my favorite part!

Simply Bound Blanket

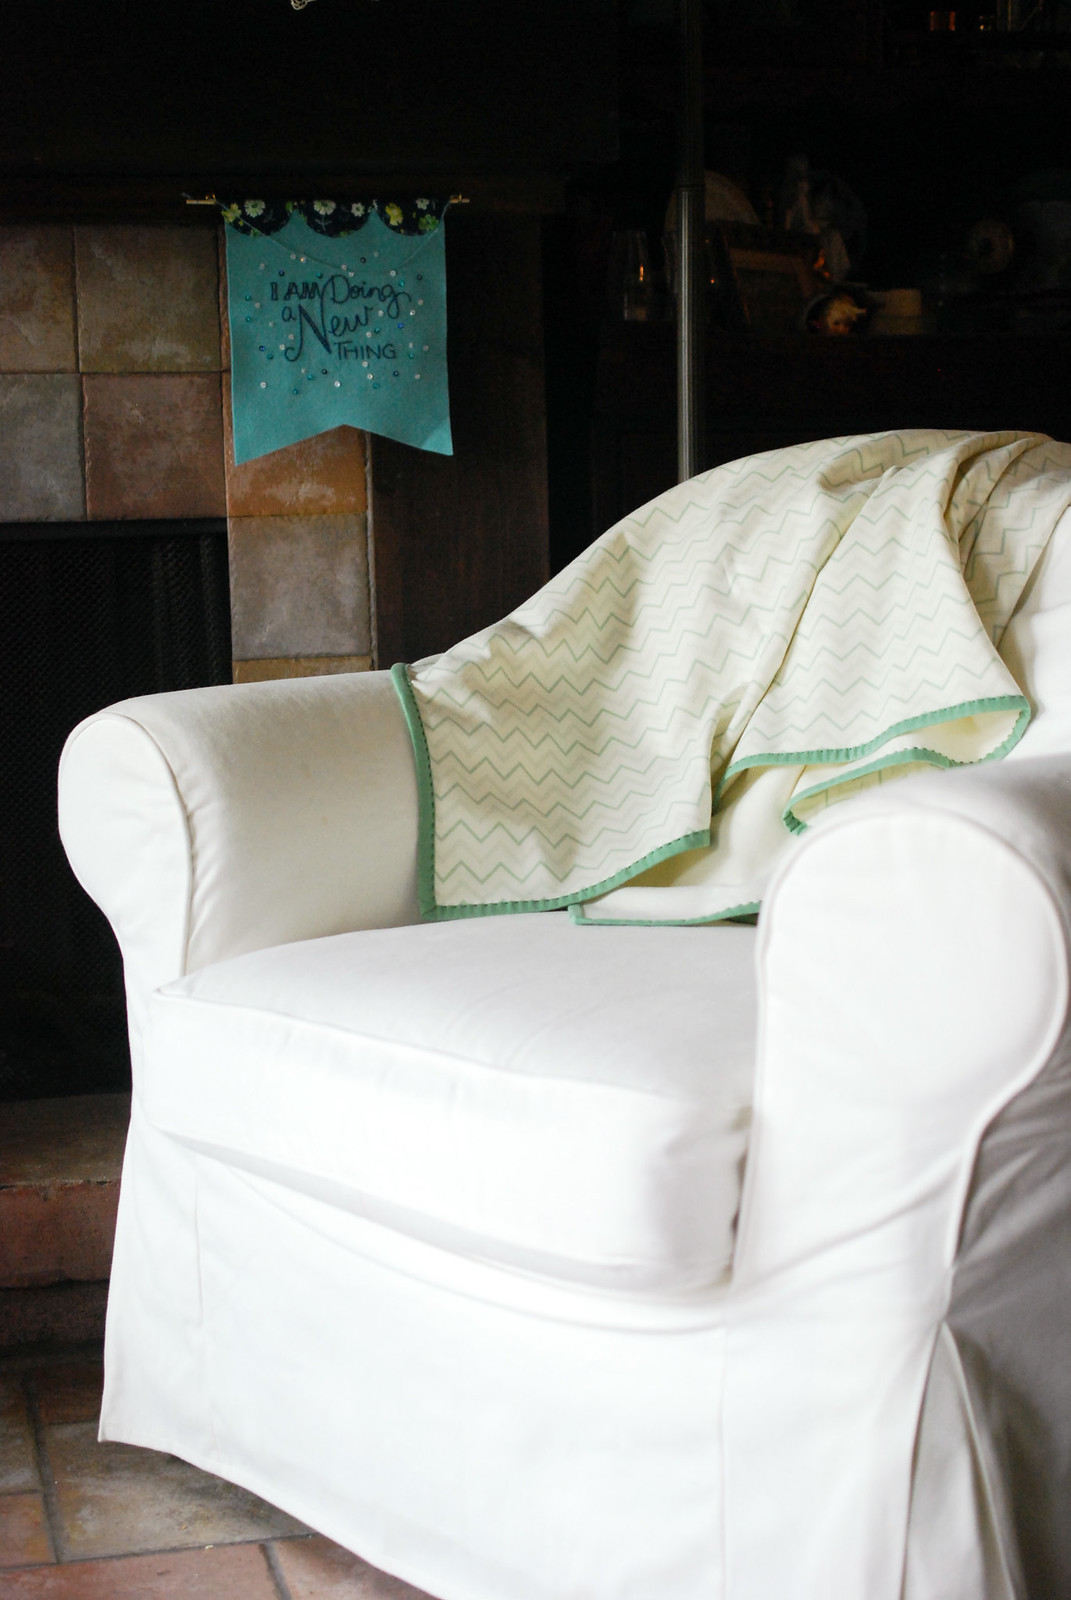
And just look how nice it looks on the back of our big IKEA chair? I mean, yes, you can make this for a baby, but may I even suggest that this would make a nice gift for your mom? Or as a little housewarming gift?

I suppose it does look a little sad setting unused on the chair. Let's get a prop.

Simply Bound Blanket

Good kitty. Now, snuggle with the blanket like you always try to do. And look cute!

Simply Bound Blanket

I guess she's done with pictures. But she nailed it on the cute part!

Simply Bound Blanket

A quick word on this fabric, and thoughts I had while working with it.

First, this has a higher price tag that most of JoAnn's fabrics. Look for a sale, and/or use a coupon.

When they are cutting it, check for any flaws, as you should with any fabric. I found one that we could avoid while cutting (and one afterward...boo). They aren't anything major, but if you're making a gift, you want it to as nice as possible!

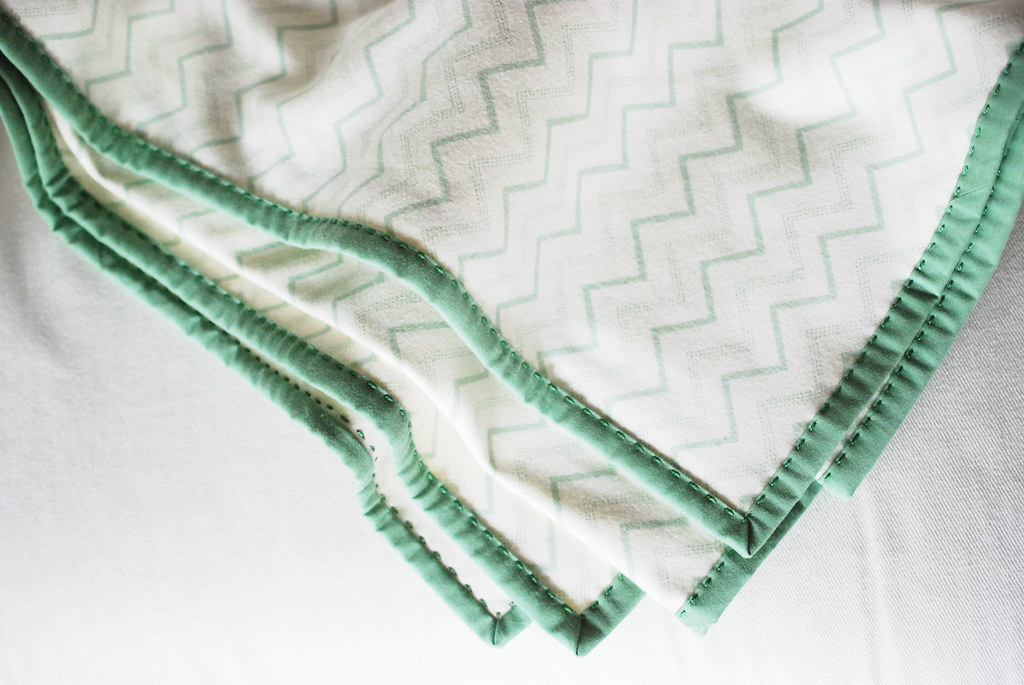
Even if you trim the edges as straight as you've ever cut anything in your life, because you're adding woven binding to a knit fabric, there will probably be a bit of ripple to the edges. It's minor and gives it character. Go with it!

Oh, and if you make this for a gift, be prepared to want one for yourself. I already have binding cut and prepared for a second one!

star wars mini guinea hams

Star Wars Mini Guinea Hams


Last week I showed off the little hamster that I made using the Gleeful Guinea Pig project from my book Stitch Love. As I was writing the post, the name "mini guinea ham" came to mind, and I think it's gonna stick. For me at least. Especially as I've found that you can take this design and modify it to make other characters.

Like characters from Star Wars.

Now you may have never thought about taking a beloved movie character and transforming it into a hamster, but apparently that's just where my head goes. If Disney can do it with Tsum Tsum, so can I.

The basics are that you take the Gleeful Guinea Pig templates in Stitch Love and shrink them down 50%. Then, you customize a little!

Star Wars Mini Guinea Hams

Wicket the Ewok is pretty close to the original style. I used wool blend felt for the middle section so I could get a color I liked, but I was really happy with how the felt worked on here. Since there's no stretch, I made the section a little longer just in case I needed the length.

His ears are also a little smaller, and the nose is rounded. I left off the mouth on all of these.

Oh, and I found that a regular hole punch make great little eyes!

Star Wars Mini Guinea Hams

For Chewbacca, I wanted his fur to stick out a little more than the fur on the standard mini guinea ham. Instead of whip stitch I used running stitch so that the zig zag fur remained free. I also made a little bandoleer that you'll see below.

Star Wars Mini Guinea Hams

For Yoda, a green face and big ears were all that I needed to convey who this was, right? I just free-handed the ear shape.

The robe (which I realized too late that I did have a better color I could have used) is cut with a wavy edge instead of the zig zag of the pattern. I also made it a little wider so I could fold it back like you see. At the front end, I used the running stitch method about 1/2 from the edge, then folded it. At the back end, it's whip stitch.

Princess Leia has the same folded back front, and Han Solo is all whip stitch, but with that wavy edge. They also got some free-hand cut hair.

For all of these, I looked for ways to show the essence of the character in the simplest way possible. Sometimes my family would tell me that I was missing some detail, or that a color wasn't quite right. But that wasn't the point. I wanted these to have just enough of that character so you could tell. Han Solo is the hardest, but when he's hangin' with Chewie, it's all good.

Honestly, I think the only reason I chose some of these characters was so that I could do this:

Star Wars Mini Guinea Hams

What can I say? It's the simple things in life that bring me joy!

These are so easy to customize like this. I hope you give it a go and make a few for Star Wars Day next week. They come together quickly enough that you won't even have to go into hyperdrive!

Star Wars Mini Guinea Hams

more raindrop fun (and a free pattern!)

Water Bottle Holder

This has been a month of raindrop projects, but in a few days, it will be over. So I thought I had better squeeze in a few more rainy day ideas.

First, on Pinterest, you can find my board of Lovely Raindrop Crafts. It's still small, but like my other themed boards, will be ever-growing.

Water Bottle Holder

In my Etsy shop, you can find a project pattern to make a Keep Your Cool Water Bottle Holder with a sort of reverse applique. The pattern is $4, but you, my dear blog reader, can have it for FREE with any purchase. Just mention that you would like it when you place your order.

8 a Day

Speaking of water, to go along with a water bottle holder, how about a water checklist? It's not exactly raindrops, but play along. It's still one of the most popular pages here on Wild Olive. I guess we all need a reminder to drink more water (even if it's not 8 a day!).

Despite the fact that I made the checklist, I'm more likely to be successful with a coffee checklist. Maybe I should work on that.

Water Bottle Holder

Have a happy Monday, and enjoy some water! Or raindrops! Or at least use some water to make a cup of coffee. Yeah, I think I'll go do that now...

netflixing // gilmore girls

Netflixing Gilmore Girls

Making while watching is a very fine thing, and finding the good stuff to watch while you're making is important. And I love when people share what they're watching while they work. Sometimes it takes me a little while to get through a whole show and all its seasons, but as I make my way through Netflix, I'll be sharing my recommendations (even when they're embarrassing!).

Speaking of embarrassing, can you believe that I've never watched Gilmore Girls until now? Seriously, other than a few clips here and there, this is my first time. And I'm loving it.

As I'm watching, I've been stitching down quilt binding and working towards the big wrap up of 50 States Stitching Club, which will be here before we know it.

What are you Netflixing and stitching right now?

stitch love // making a hamster out of a guinea pig

Making a Hamster from Stitch Love

When my mom was growing up she had pet guinea pigs (a family fact you'll find in my book, Stitch Love), but when I was growing up I always had pet hamsters.

A few of my hamsters met with untimely ends (there are some good stories here!), and once my dad even revived one of my little pets. There was no mouth-to-mouth, but he did do some compressions and held that little guy until he came back!

Making a Hamster from Stitch Love

Even with all my hamster tales, I decided to have a guinea pig, a Gleeful Guinea Pig, in Stitch Love. Not wanting to snub my tinier furry friends, I included a hamster embroidery pattern in embroidery gallery and right there on the cover. I also suggested that you could take the same pattern, shrink it down, and have a hamster.

The process is pretty much exactly the same as what is in the book, just smaller. When I made my little hamster, I printed the pattern at 50%. That's 50% of the full size download patterns (the link is in the back of Stitch Love under "Using Templates"). The circles for his head and bottom are 5 or 5-1/2 inches (a cereal bowl is perfect!).

I made the face, ears, and feet a little larger than 50%, tracing them directly from the book. In hindsight, I'd probably go smaller and make them a true 50% also.

And are you ready for this?

Making a Hamster from Stitch Love

I'm a little behind on the trend, but my hamster is a perfect size to play with Tsum Tsums! He's just a bit longer, but as you can see, he stacks just like the rest! Being a hamster (and squirrel!) fan, you know I had to have Chip and Dale. Chipmunks are like, right in-between.

I picked them up on a recent trip to Target. My little sister and I decided that we needed them in our lives, and undoubtedly she'll be swiping my hamster friend...just like my other sister took the guinea pig!

Untitled
Making a Hamster from Stitch Love

Here's the fun part...after I made a mini guinea ham, I knew that I just HAD to make more. And the latest have a theme that I think you might just love. If you haven't picked up Stitch Love yet, this is a great time!

project // rainy day bean bag game

Rain Bean Bag Game


Rainy days got you a feeling a little crazed? This little project will keep you busy stitching for a day, then it will keep your little ones occupied as they toss raindrops at a happy little umbrella!

All it takes is a bit of felt, fabric, and some stitching, and you'll have plenty of rainy day fun! I seriously had so much fun making this. What can I say? It's a rainy April, and the simple things make me happy.

Rain Bean Bag Game

Here's what you need:

12x18 piece of felt (for the umbrella base)
Four bright colors of felt (for the umbrella panels)
Tan felt (for the handle)
Light blue fabrics
Embroidery floss in matching colors, plus black
Poly Pellets, rice, or small beans
Scissors
Needle
Craft/fabric glue
Pins
Sewing Machine

Rainy Day Bean Bag Game Template PDF

Rain Bean Bag Game

Print and cut the template pieces. Cut the umbrella base on the large piece of felt, placing it on the fold as noted on the pattern. Cut the panel pieces from the four colors of felt. Go ahead and cut out the umbrella handle pieces too.

Rain Bean Bag Game

Arrange the umbrella panels so they fit. Pin the first one in place, then stitch around the edges with running stitch and matching embroidery floss. I used three strands of variegated floss for this. Repeat for each panel.

Just a note...you can pin all of the panels in place to start, but I find that having less pins to deal with as I'm hand sewing really helps. The thread just catches too much. If you're not up for hand stitching these down, you can very easily sew these on a sewing machine.

Rain Bean Bag Game

Embroider the face onto one of the handle pieces. I used three strands and made the face with colonial knots and a scallop stitch. After you embroider the face, stitch the two handle pieces together with three strands of matching floss and running stitch.

Rain Bean Bag Game

Glue the top of the handle to the back of the main umbrella piece, centering it and making sure that the face will be on the front. (You'd feel so silly if it ended up backwards!)

Fabri-Tac is great for this, because it holds really well and dries quickly.

Rain Bean Bag Game

Your finished umbrella should look something like this! Now it's time to tackle the raindrop bean bags...

Rain Bean Bag Game

There are different ways you can do the bean bags. I chose to make three bean bags that have two fabrics: a more basic for the front, and a metallic for the back. This is more of a one-player game.

You could also make two sets of bean bags and make each one its own fabric. This would be good for playing with two people. The choice is yours!

Either way, you'll need to cut two raindrop shapes for each bean bag. Stitch a face on the front piece of each bean bag. I used six strands, and kinda think I should have done only three.

Rain Bean Bag Game

Sew around each bean bag, leaving an opening for turning and back stitching at the start and stop. Trim the point and clip the curves as shown.

Rain Bean Bag Game

Turn the bean bags right side out, smooth the curves, and poke the top point into shape. I used a semi-sharp chopstick for that.

Fill the bean bags with your filling, then stitch the openings closed with ladder stitch.

Rain Bean Bag Game

You're all ready to play!

Rain Bean Bag Game

Grab the raindrops...

Rain Bean Bag Game

...and toss them at the umbrella!

Rain Bean Bag Game
Rain Bean Bag Game

Before you start, assign point values to the different colors. Or play a round where you're only aiming for one color. You could also decide that you get bonus points if all the raindrops land face up!

There's no right or wrong for how to play this, so mix it up each time you play!

my favorite part of the making

Untitled

Do you have a favorite part of every project? Maybe it's choosing materials, crossing over into being more than halfway done, or adding the finishing details. Maybe it's different with every project you make.

For me, it's the same...and different depending on the type of thing I'm making.

The planning process is always so enjoyable. I love sketching ideas and selecting colors, and getting ready to get started. After the planning is done, it looks different depending on the type of creative work I'm doing.

I thought I might share what parts of the projects I like, from least to most favorites. Ready?

Quilting:

4. Cutting pieces
3. Piecing
2. Quilting
1. Binding

Embroidery:

3. Soaking/pressing/framing
2. Transferring patterns
1. Stitching

English Paper Piecing:

3. Joining the pieces
2. Making the EPP into something
1. Basting the pieces

Just a few examples, and only in general terms. Some projects can have elements that switch these around.

Now, how about you? What is your favorite (or least favorite!) part of making something new?

waiting to become something

Untitled

Confession: Like these strips of fabric, waiting to become something, there are a bunch of blog posts in my head, waiting to be written or stitched or photographed or what not.

I mentally write them, or start to write them. Sometimes they become an actual post, and sometimes I edit them away until they are gone and never reach the screen.

Just know that when I'm not sharing anything here, I'm at least thinking about sharing something here.

That counts, right?

color combo // fresh cut

Fresh Cut Fabric and DMC Floss Palette

This fabric. I saw it and was head over heels. It was one of those fabric lines where I said, if I ever find a deal on that, I WILL buy it. So when it was up as one of Missouri Star Quilt Company's Daily Deals a few weeks back, I snatched up a charm pack.

Fresh Cut is a recent line from Moda, and the colors are so fresh...and...colorful. Okay, so I'm not feeling the words today. But the fabrics have a slightly vintage feeling to them, and I can't wait to make something with these prints. I'm considering a quilt of some kind.

But since the colors are so, ahem, fresh and colorful, I thought they would make a nice DMC floss palette. Take a look...

Fresh Cut Fabric and DMC Floss Palette


There are actually more colors in this fabric line than I selected. Some are variations on these colors, and some are more like neutrals (navy, gray, etc.). I went with the ones that I really loved.

So you can see more of why I love this fabric line, and because once I start taking pictures of fabric and floss, it's hard to stop, here are a few more beauty shots!

Fresh Cut Fabric and DMC Floss Palette

That last one is a color that doesn't really fit for me. At least, not with the dominant colors that you see in the rest of the line. And yet, when you take it all as a whole, it completely works. I love fabric lines for this very reason. So often there are things that you might not match up on your own, but they really are perfect together!

Fresh Cut Fabric and DMC Floss Palette

And finally, some neutral. Here you really see the colors pop, and I think that stitching something with these floss hues on a gray would really be stunning.

I hope these colors inspire some freshly cut stitching!