

Last week I shared how to use English paper piecing to make a pineapple placemat, and today is the next fruit in the series...a watermelon slice! I remember seeing in movies (Polyanna, perhaps?) where people would serve giant slices of watermelon at picnics, and I thought that was pretty great. We're more of a cut up the watermelon into smaller chunks sort of family.
Anyway, this happy slice of juicy melon makes a great table mate, so grab some fabric and start stitching!
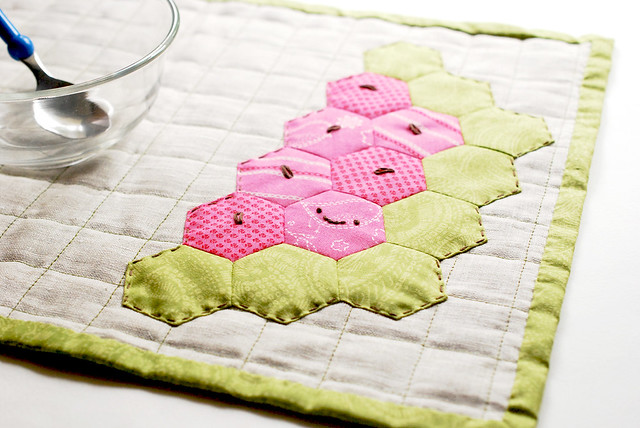
Here's what you need for one placemat:
1 fat quarter of quilting cotton
1 fat quarter of linen
1 fat quarter of batting
(So, if you plan on making the set of four, you'll need a yard of each of these!)
For the watermelon, you will need:
pink fabric scraps
green fabric scraps
brown or black embroidery floss
EPP template PDF with 1-inch hexagons printed on card stock
You will also need:
scissors
pins
ruler
rotary cutter and mat (optional, but helpful!)
disappearing ink pen
sewing machine
walking foot (if you have one!)
thread
needle
fabric glue (like Fabri-Tac)
For the instructions on how to make the placemat base, you'll need to visit the pineapple post. That will get you started! Hmm...pineapple post. That sounds like where Spongebob would get his mail!
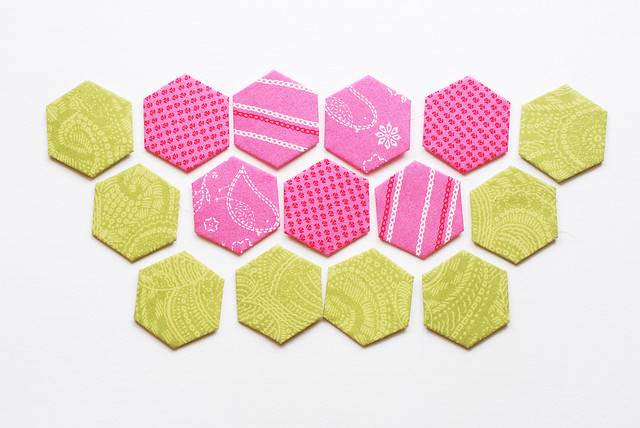
But back to the watermelon! Make seven pink hexagons and eight green hexagons. Arrange them to form a great big slice of watermelon.
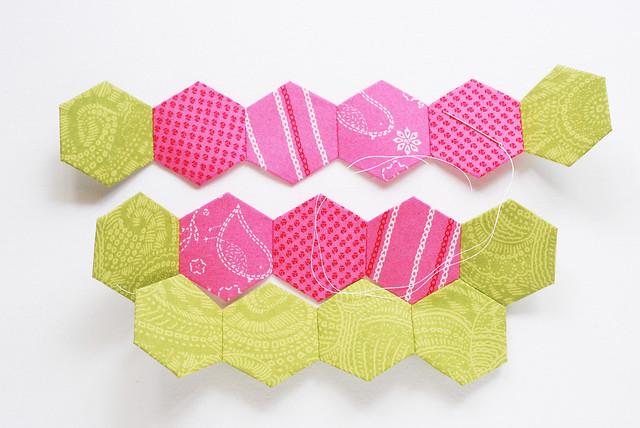
Join the hexagons in three rows, then join the rows together. I used running stitch to join mine.
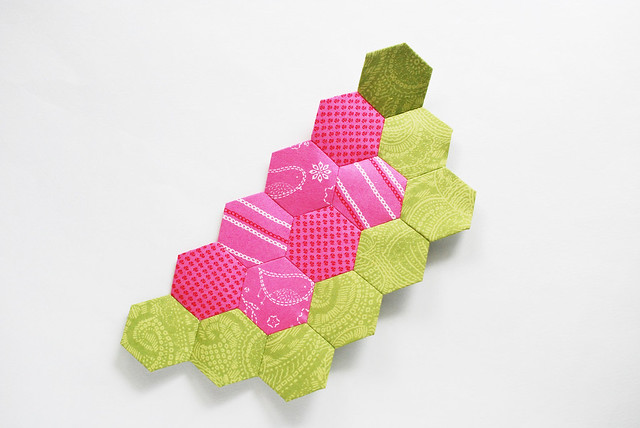
Even just like this, it's pretty clear what this is, but for good measure, let's add some details. Before you do this, you'll need to remove the papers. I only pulled them out of the pink hexies, leaving the green ones in for some structure while I worked.
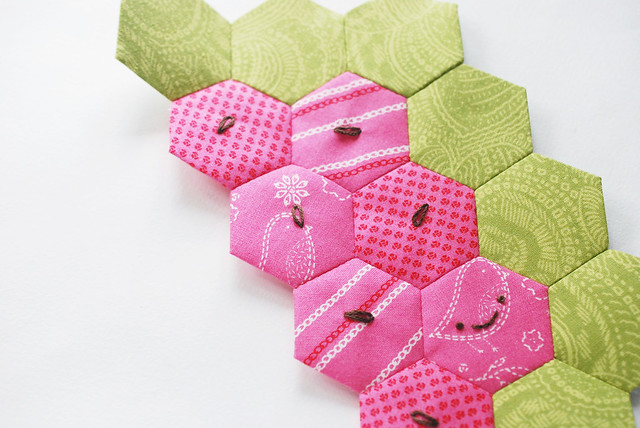
Stitch a face (just because it's cute) onto one of the inside pink hexies, then use lazy daisy stitch to add some seeds. I put one on each of the hexagons without a face, but you could do more than that.
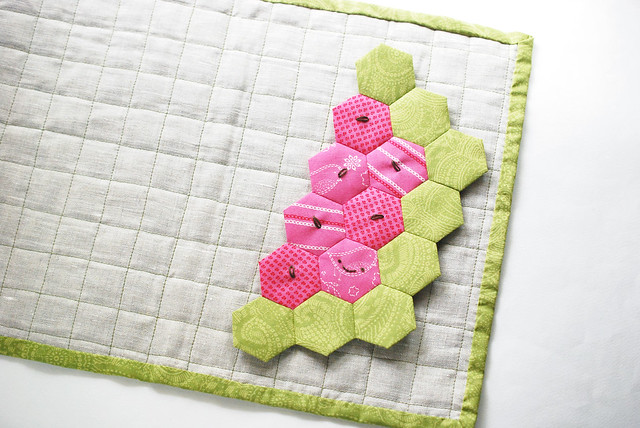
Remove the rest of the paper inserts, then lay the watermelon on the placemat to see where you want it to be.
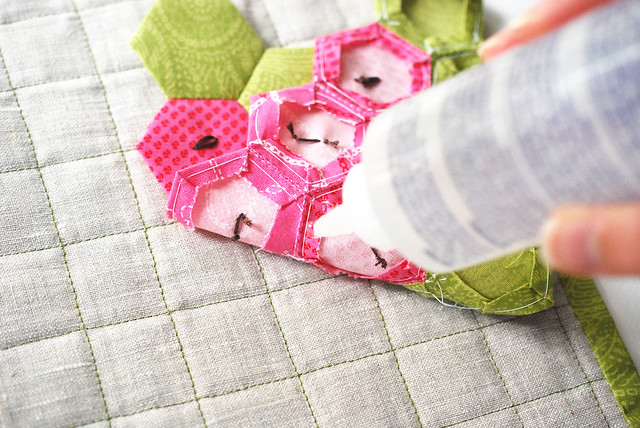
Use fabric glue along the seams to help hold the watermelon in place. It will keep it from shifting as you sew it down, and it will give it extra security for washings.
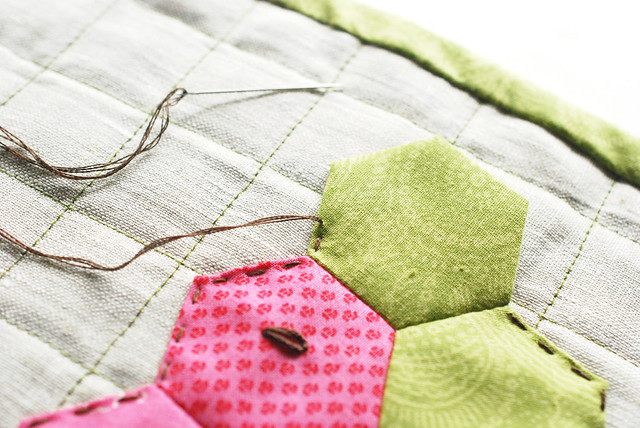
With three strands of brown or black embroidery floss, stitch around the watermelon with running stitch, hiding the knots between the layers.
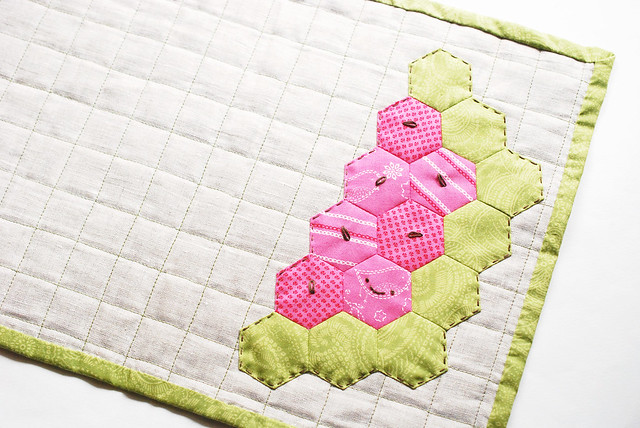
Now your placemat is ready for the table!
It's perfect for summer, or any time you just need to brighten your day.
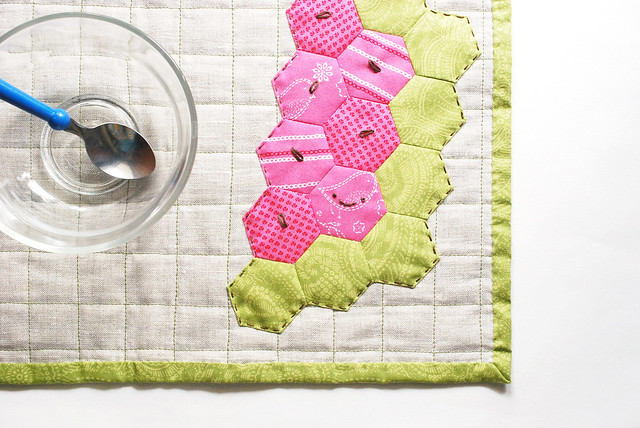
Two more fruit placemats are still coming! Oh, and think about this...if placemats aren't your thing, why not use this same technique to make a longer mat as a table runner? You'll be able to stitch all four fruits onto the one mat!
Sooo cute! Our family is a "cut up the watermelon in to smaller chunks" kind, too... but chunks do not make cute hexie placemats!! Thank you so much for this... you are sooo creative! Looking forward to your next "hexinized" fruit!!
ReplyDeleteI love this little collection :) Only problem I've been having with my hexies is getting sore fingers when I stitch them together!
ReplyDeleteThese placemats are getting cuter! I may have to break down and make a few!!!
ReplyDeleteThis is so cute! Thanks for sharing! :)
ReplyDeleteOMG you are absolutely killing me with these. Cutest. Things.Ever. Can't wait to see the rest!
ReplyDeleteBellos individuales! Gracias por el tutorial. Saludos desde Venezuela!
ReplyDeleteThis is such a fun project! It really made me smile! I love the bright colours against the linen.
ReplyDeleteThank you so much also for your sweet comment on my blog the other day.