


I'm shocked that Thanksgiving is only a week away. Less than a week, really. But I find that some of my favorite holiday crafts happen when I'm running short on time. Thankfully, the project that I finished up today doesn't take very long. Even if you are a slow stitcher, you can make this before you need to start cooking.
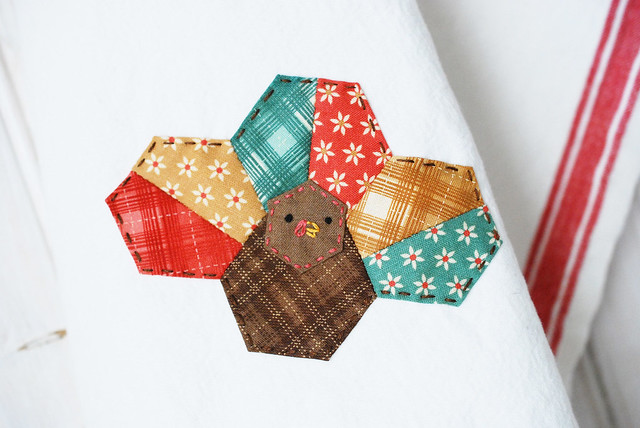
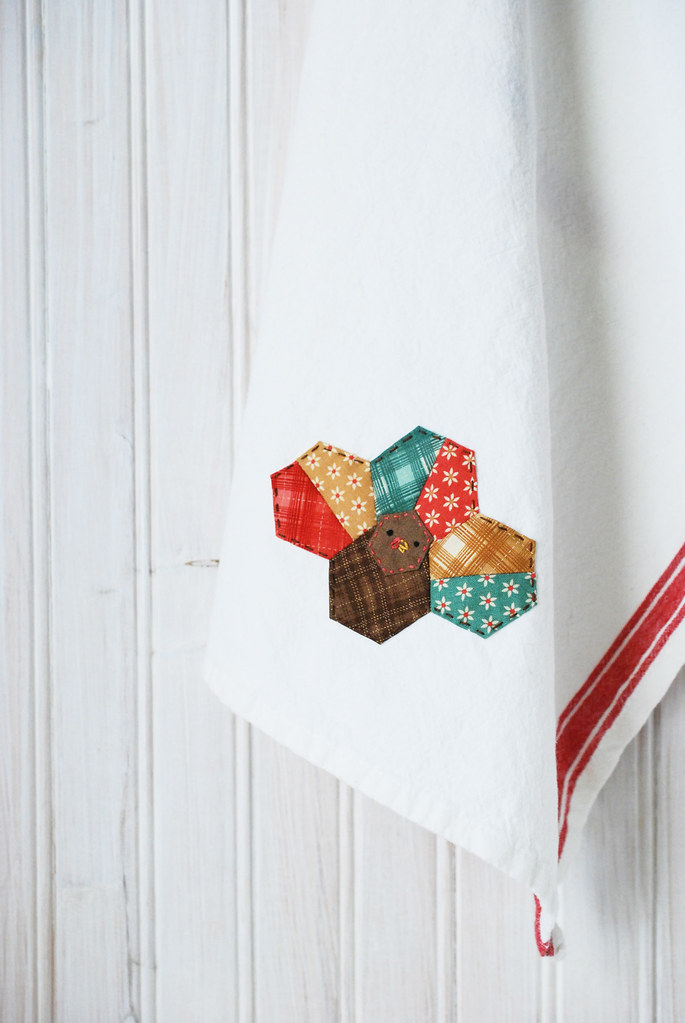
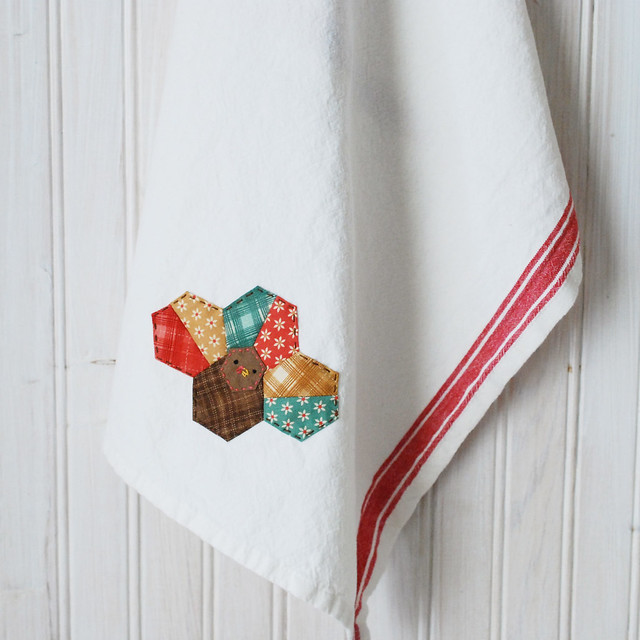
English paper piecing always makes me happy, so I really wanted to come up with a design for Thanksgiving that would use this technique. A tiny turkey seemed appropriate. Stitch this towel for yourself, or bring it as a gift for your Thanksgiving host!
Here's what you need:
A flour sack towel (pre-washed and dried!)
Small pieces of fabric
Embroidery floss
Fabric glue (optional)
Needle and Thread
Turkey Towel EPP Templates
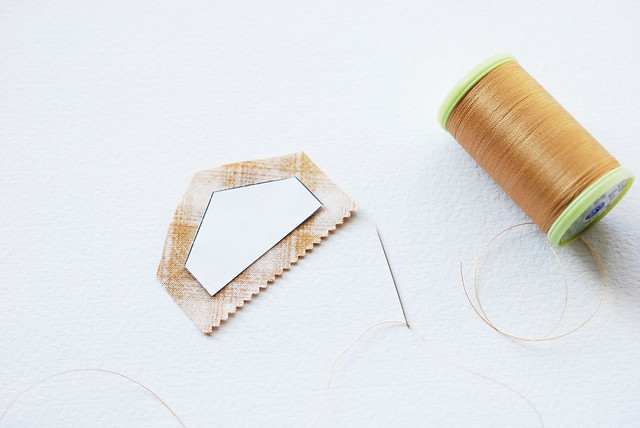
These shapes go together like regular English paper piecing. I hadn't tried this kind of half hexagon before, and I found that if you work the sides in a particular order, they come out well.
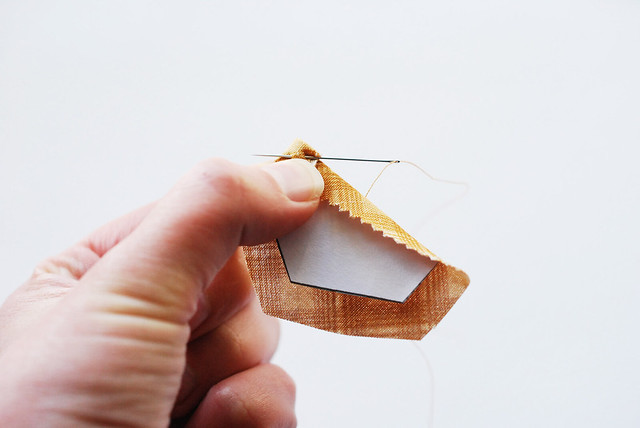
Fold the long edge over first. Fold the next side over, and stitch through the fabric layers.
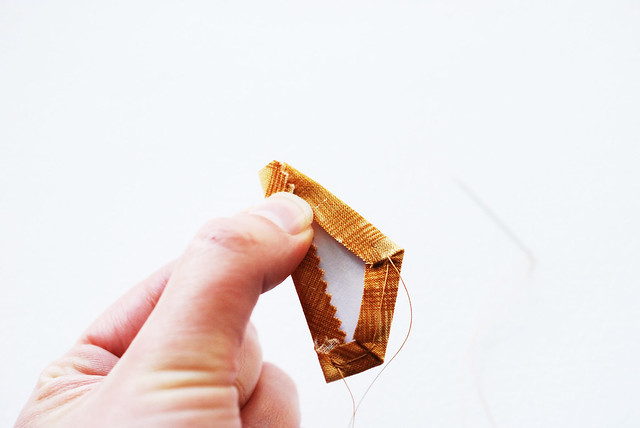
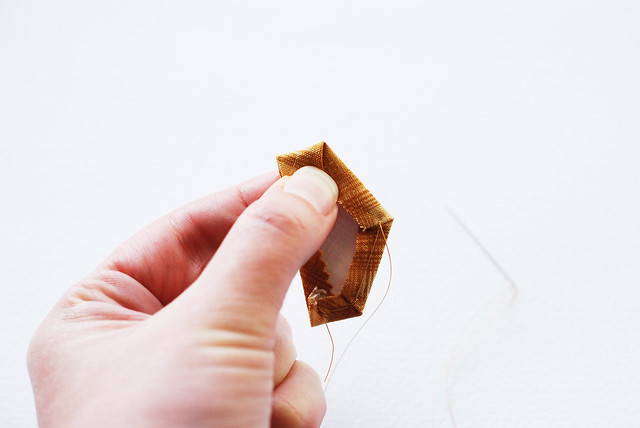
When you reach the end, at the second short edge, make sure that the long side is still folded in. Then fold the short end down and baste.
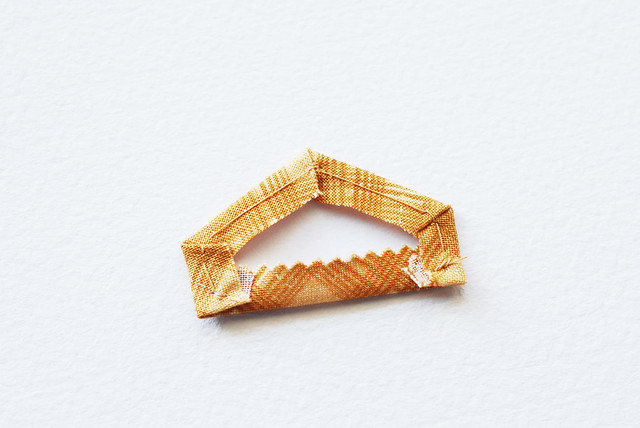
A happy little half hexagon!
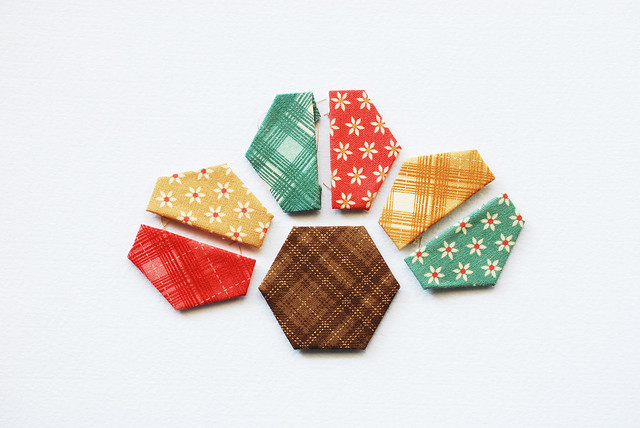
You'll need one whole hexagon, and six half hexagons. These are all 1-inch hexies, and they're in the downloadable template, but in case you want to do your own, it's good to have this info. You'll also be making one (just a bit larger than) 1/2-inch hexagon.
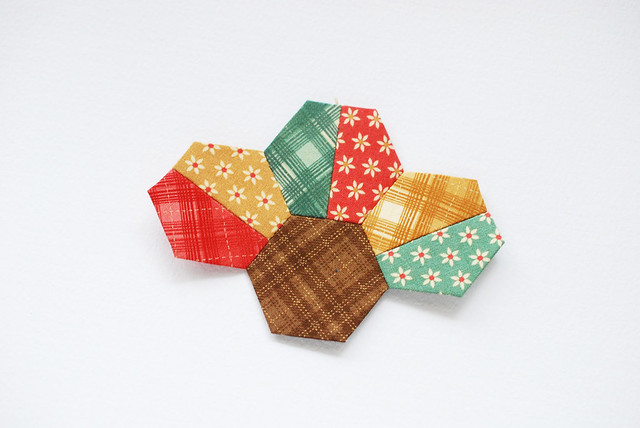
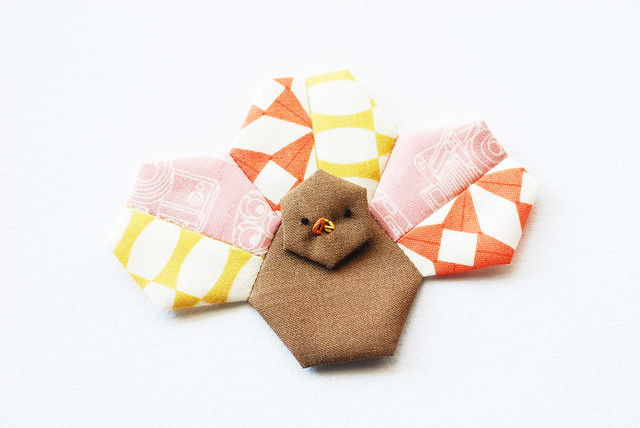
Join the halves together, then stitch them onto the whole hexagon and join the tail feather sections. When you're done, give it a good ironing.
By the way, you can also make these half-hexagons by using half-square triangles and placing the the seam across the center of a whole hexagon, but I wanted to be able to do this project wherever and whenever.

Embroider the turkey face and make the tiny hexagon. Or, if you're like me and enjoy doing things the hard way, make the tiny hexagon and then stitch the face.
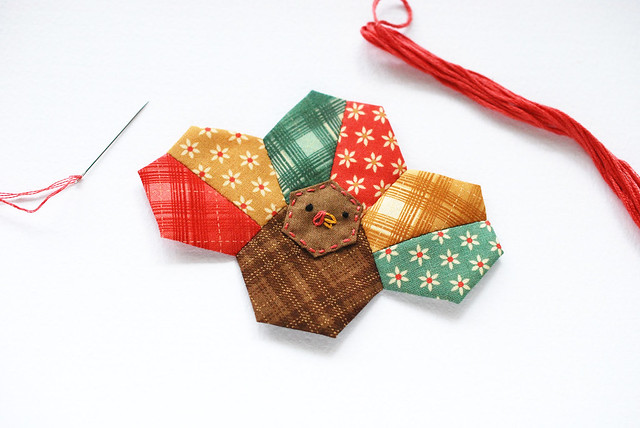
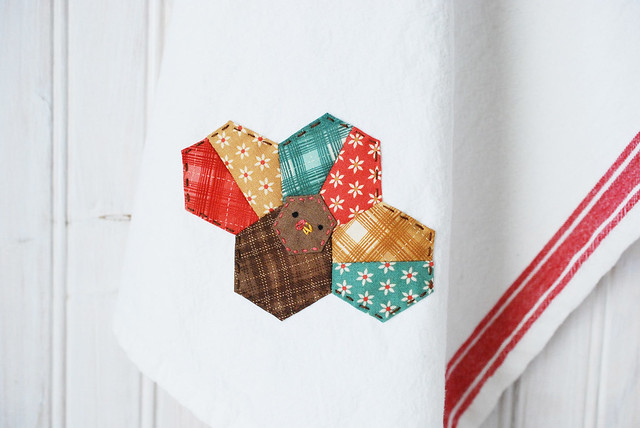
Remove the templates from all of the sections, and place the turkey head on the body, overlapping the tail feathers a bit. Stitch around the head with running stitch.
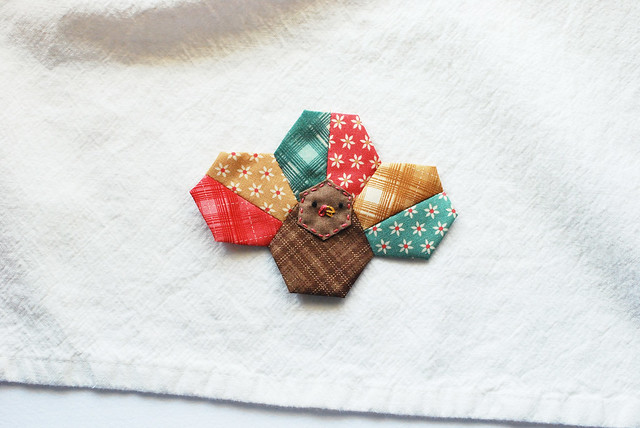
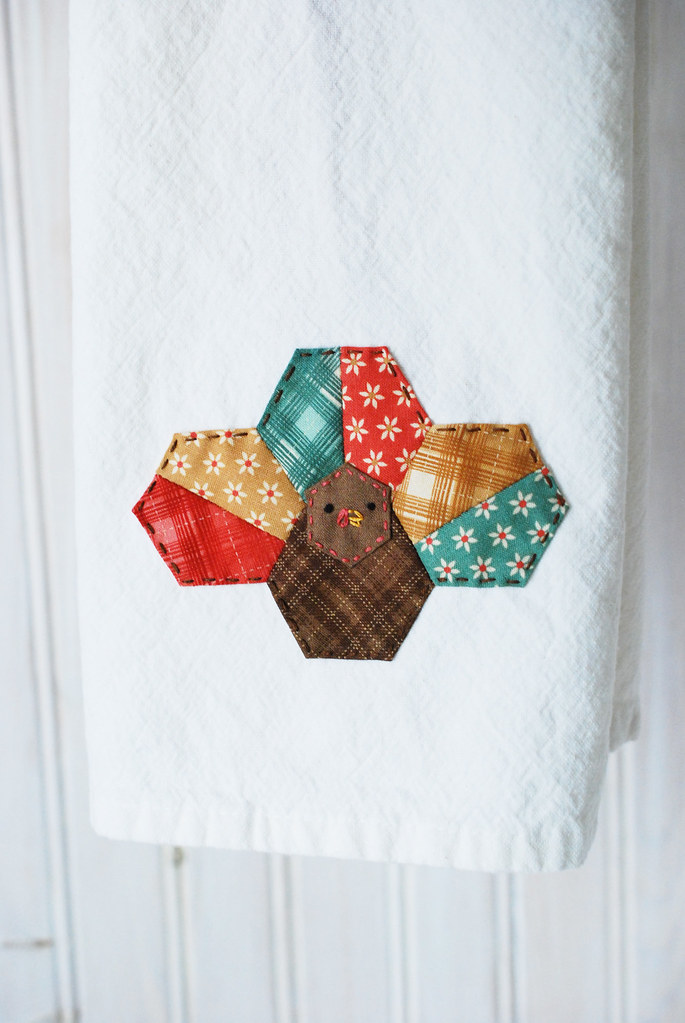
Position the turkey where you want it on the towel. I placed mine so it is centered along the bottom edge.
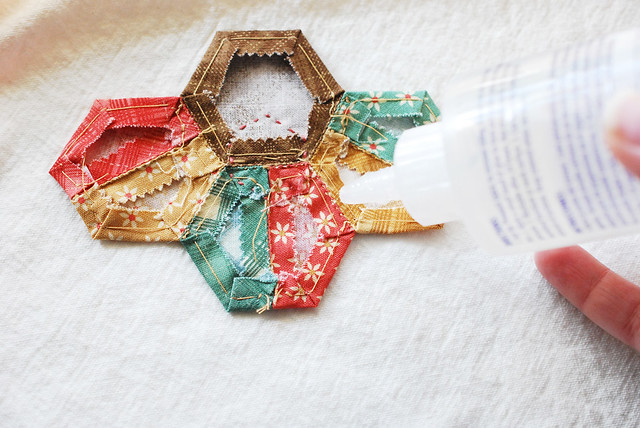

This step is optional, but it always makes me feel a lot better. Apply a bit of fabric glue to the back of the turkey. It doesn't need to be a lot. Just go around the edges (not too close though!), and maybe along the seams too. It makes it less likely that your turkey will bunch and shift.

After the glue has dried, stitch around the edge with running stitch, hiding the knots between the layers.
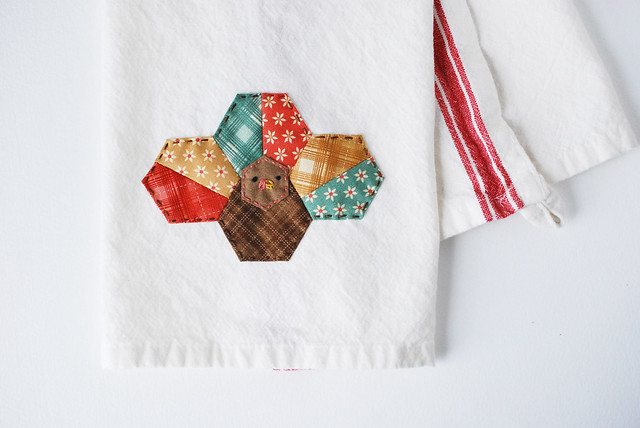
And that's how you make a turkey towel the week before Thanksgiving and still have time to peel the potatoes, thaw the turkey, make the stuffing, cook the cranberries, and bake a bunch of pies.
I mentioned in the supplies list that you should use a pre-washed and dried towel for this. It will prevent your turkey from crinkling. That said, it will look nicer longer if it's used more for looking pretty than for drying post-feast dishes. Just keep that in mind.
You could also use this little turkey for other things too. I've started a second one that I plan on making into a little ornament. To do that, I'll add a second turkey (but without the head) to the back. Maybe with some stuffing in there? The non-edible kind, of course.
Is it weird to be so thankful that EPP exists? Because I really am grateful that we get to make fun little things like this.
Aww, he's so adorable. Great job (again), Molly!
ReplyDeleteReally cute and fun!
ReplyDeleteVery inspiring. The turkey could also be a peacock too! Thank you.
ReplyDeletewow this is such a great idea ! I love it :))
ReplyDeletewow!!! das sieht süß aus!!! liebe grüße von angie und einen schönen freitag!!!
ReplyDeleteRidiculously adorable!!! I love it, thanks for sharing!
ReplyDeleteThat is ridiculously darling. I love it!
ReplyDeleteStinking adorable!
ReplyDeleteCuuuuuuuuute!! I love this so much!!
ReplyDeleteThis is so adorable! Thank you for sharing :) Have a happy Thanksgiving!
ReplyDeleteOh my goodness! How cute is this turkey??? I'm definitely gonna have to make one before Thanksgiving next week! Thanks for the tutorial!
ReplyDeletehandcraftedvintage.blogspot.com
So cute! I love your ideas, Molly!
ReplyDeleteLove it! You are so clever!
ReplyDeleteThis is adorable. Thank You so much.
ReplyDeleteAbsolutely adorable!
ReplyDeleteThanks for sharing your way of stitching. I like your way and it is very easy. I have never tried this method, but will definitely start a project using it. It would be interesting to apply specifically on bigger projects.
ReplyDelete